
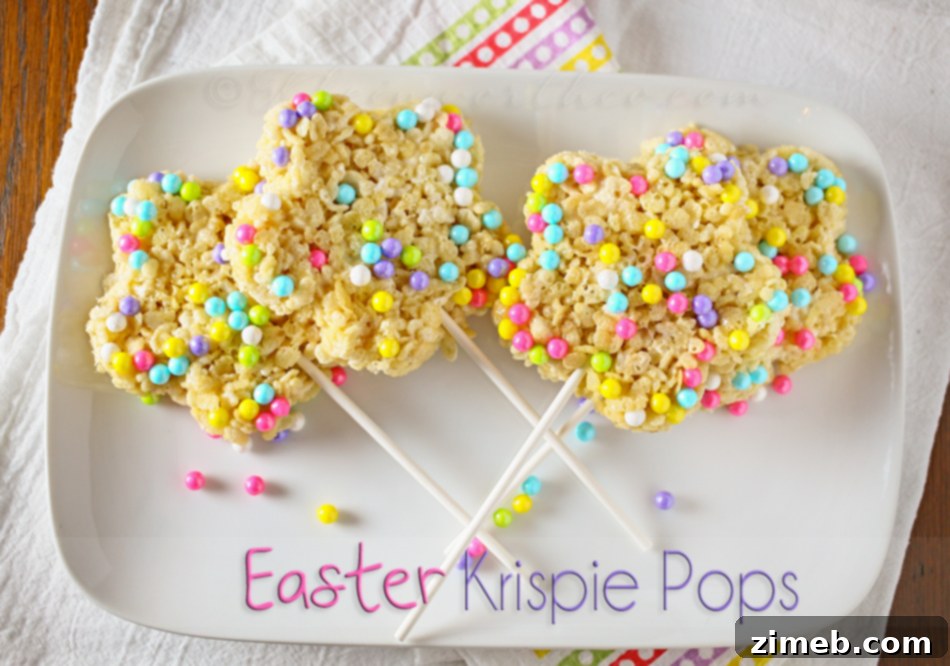
Amidst the recent flurry of decluttering and organizing, I found myself sifting through a rather substantial box of cake pans. These were treasures I had carefully shipped home from my mom’s house during a massive clean-out of her extensive cake decorating supplies. At the time, I was moving through a bit of a haze, simply packing items into boxes without truly registering their contents. It was only recently, as I unpacked them with fresh eyes, that I rediscovered a truly delightful find: a charming flower-shaped pan, specifically designed for making pops. Its intricate design immediately caught my attention, sparkling with the promise of creative kitchen adventures.
Initially, my mind gravitated towards making delicate flower-shaped cookies. However, the practical side of me quickly noted a limitation – this pan only allowed for making four pops at a time. The thought of a long, drawn-out cookie-baking process for such a small batch felt daunting. Yet, the desire to use this adorable pan was undeniable. I have a quirky habit: I can spend weeks meticulously planning a series of recipes, only to stumble upon a new kitchen gadget that doesn’t fit any of my existing plans. Inevitably, all previous culinary intentions are promptly abandoned, solely for the joy of experimenting with my new acquisition. I confess, it’s a peculiar trait, but one I can’t quite shake!
So, with the Easter season fast approaching and a desire for something quick, fun, and vibrantly festive, a brilliant idea blossomed: **Easter Krispie Pops!** These weren’t just any Krispie treats; I envisioned them transformed into delightful pops, adorned with cute little Easter colored candies to give them that extra special “pop” of color and charm. This recipe would allow me to utilize my newly found flower pan perfectly, creating a memorable and delicious treat with minimal fuss. The no-bake aspect was an added bonus, making it an ideal project for a busy holiday weekend or a fun activity to share with family.
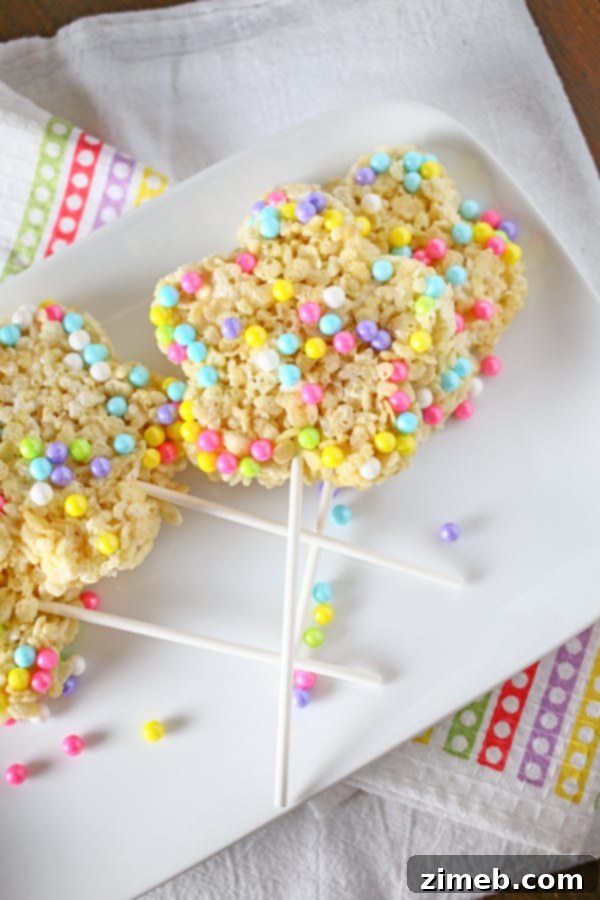
One of the most appealing aspects of Krispie treat recipes, and certainly true for these delightful Easter Krispie Pops, is their remarkable simplicity. There’s no complicated baking, no finicky techniques, and no extensive ingredient list. The process is straightforward and incredibly forgiving, making it perfect for novice bakers and seasoned kitchen enthusiasts alike. Essentially, it boils down to two main actions: preparing the gooey, marshmallowy mixture and then pressing it firmly into your desired molds. This ease ensures that anyone can create these charming pops without stress, freeing up time to enjoy the holiday festivities.
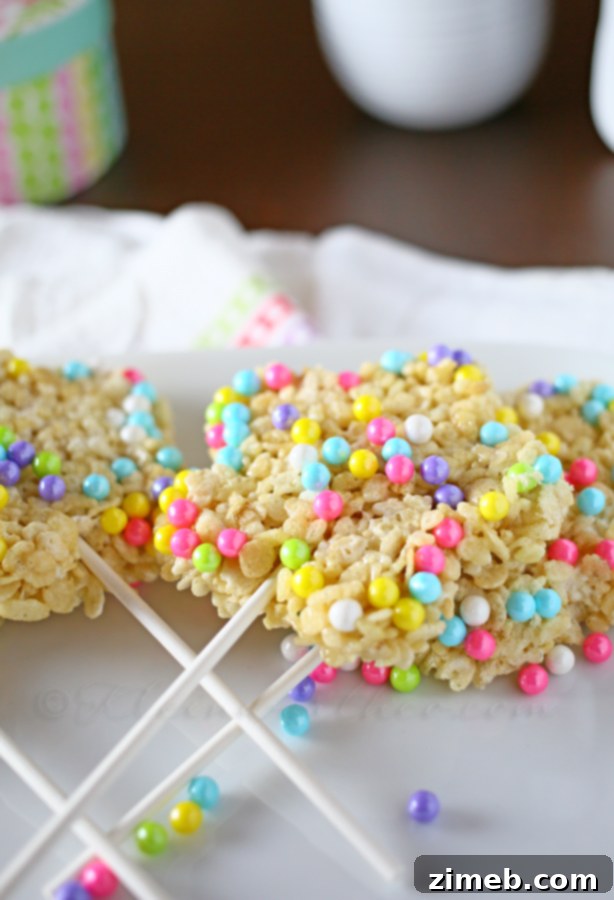
Choosing Your Festive Embellishments
The key to making these Easter Krispie Pops truly special lies in the vibrant candies used for decoration. I discovered my little pastel candies in the same aisle as popular treats like Sixlets at my local market. These small, pearl-like candies, often found in a spectrum of soft, spring-appropriate hues, are perfect for adding a touch of elegance and whimsy to your treats. They provide a lovely textural contrast and an immediate visual appeal that screams “Easter!”
However, don’t feel limited to specific brands or types of candy. The beauty of this recipe is its adaptability. You can absolutely use any bright-colored candies you fancy! Think about small M&M’s, sprinkles, chopped mini chocolate eggs, or even finely crushed pastel-colored hard candies. The goal is to infuse these pops with a joyful, celebratory look that captures the essence of spring and Easter. Experiment with different combinations to find your favorite, or let the kids pick out their own toppings for an extra layer of fun.

Rate this Recipe
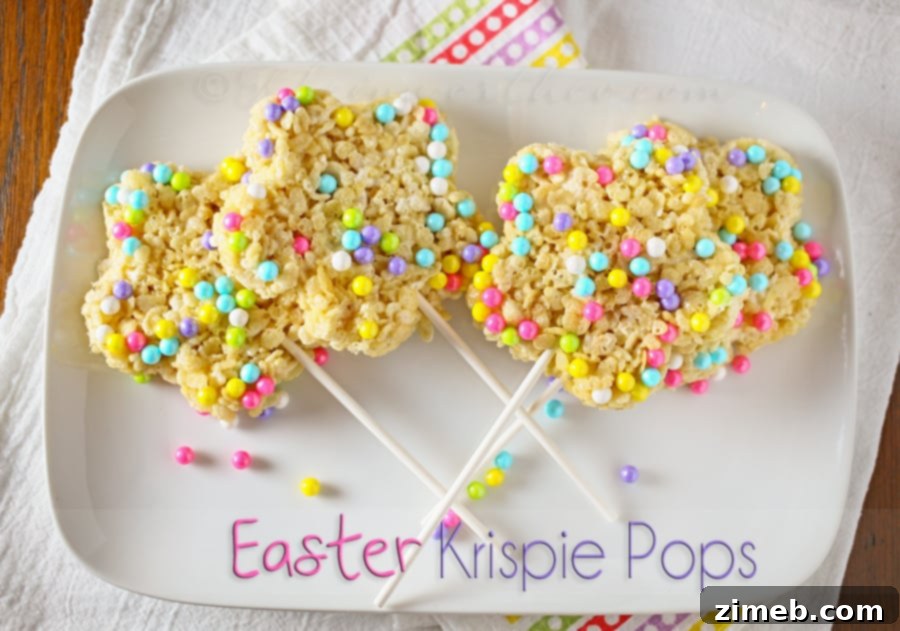
Easter Krispie Pops
Ingredients
- Makes 4 Pops
- 2 tbsp butter
- 2 cups rice krispie cereal
- 2 cups mini marshmallows
- 1 tsp vanilla extract
- 1/4 cup Pastel Candy Pearls
- 4 8-Inch Cakepop Sticks
Instructions
-
Distribute the candy pearls between the 4 pop shapes in the pan – set aside. This initial step ensures the candies are beautifully embedded on the surface of your pops, creating a visually appealing finish.
-
Add butter, mini marshmallows, and vanilla extract to a large microwave-safe bowl. Choose a bowl large enough to comfortably mix in the cereal later.
-
Heat the mixture in the microwave for 2-3 minutes, stirring thoroughly after the first 2 minutes. The goal is a smooth, melted marshmallow consistency, not overcooked.
-
Continue to stir the melted mixture until it is completely smooth and free of lumps. This creates the perfect gooey base for your Krispie treats.
-
Add the rice krispie cereal to the marshmallow mixture. Stir quickly and gently until the cereal is evenly coated. Avoid overmixing, as this can crush the cereal and make the treats less airy.
-
With clean, wet hands, divide the krispie mixture into 4 equal parts. Wetting your hands prevents the sticky mixture from adhering to them, making handling much easier.
-
Press each portion firmly into the flower pop pan. Really pack it down to ensure a well-defined shape and a sturdy pop. The firmer you press, the less likely your pop will crumble.
-
Carefully insert your 8-inch cakepop stick about 2 inches deep into the base of each treat. Make sure it’s centered for stability.
-
Refrigerate the pan with the pops for at least 1 hour. This crucial chilling period allows the treats to firm up completely before you attempt to remove them, preventing breakage and ensuring a perfect pop.
Nutritional information for the recipe is provided as a courtesy and is approximate. Please double-check with your own dietary calculator for the best accuracy. We at Yummi Haus cannot guarantee the accuracy of the nutritional information given for any recipe on this site.
Tips for Perfect Krispie Pops Every Time
Making these Easter Krispie Pops is incredibly simple, but a few insider tips can elevate your treats from good to absolutely fantastic. First, always use fresh ingredients, especially the marshmallows and cereal. Stale marshmallows won’t melt as smoothly, and old cereal can taste, well, stale! For the butter, unsalted is usually preferred in baking to control the salt content, but for Krispie treats, salted butter can actually add a nice depth of flavor. If you use salted butter, you might want to omit any additional salt if your recipe calls for it.
When melting your butter and marshmallows, whether in the microwave or on the stovetop, keep the heat low and stir frequently. Overheating marshmallows can make them hard and chewy instead of delightfully soft and gooey. The microwave method is a speedy choice, but ensure you pause to stir, distributing the heat evenly and preventing scorching. Once melted, stir in your vanilla extract – it’s a small addition that makes a huge difference in flavor, transforming simple sweetness into a comforting, aromatic treat.
The moment you add the cereal, work quickly but gently. You want to coat every piece without crushing them into tiny fragments. A rubber spatula is your best friend here, ensuring thorough mixing without excessive agitation. And remember the wet hands trick for pressing the mixture into the pan! This simple step is a game-changer, preventing the sticky mixture from adhering to your fingers and making the shaping process smooth and mess-free. Press firmly to ensure your flower shapes are well-defined and hold together beautifully once chilled.
Creative Variations and Serving Suggestions
These Easter Krispie Pops are fantastic as is, but don’t hesitate to get creative with variations. For an extra touch of decadence, consider drizzling them with melted white chocolate or pastel-colored candy melts after they’ve chilled. You can use different colored sprinkles or even edible glitter for extra sparkle, making them truly show-stopping. A touch of food coloring stirred into the marshmallow mixture before adding the cereal can also create wonderfully vibrant, colored treats, perfect for a rainbow effect or specific Easter hues.
While the flower pan is adorable for Easter, you can use this basic recipe to create Krispie treats for any occasion. Simply press the mixture into a greased 9×13 inch pan and cut out shapes using cookie cutters. Stars for patriotic holidays, hearts for Valentine’s Day, or even simple squares for an everyday snack. Change the flavor profile by adding a different extract, such as almond or lemon, or stir in mini chocolate chips or chopped nuts with the cereal for added texture.
Easter Krispie Pops are best enjoyed fresh, when they are at their softest and chewiest. However, if you have any leftovers, store them in an airtight container at room temperature for up to 2-3 days. If you’ve added chocolate drizzles, it’s best to keep them in the refrigerator to prevent melting, though this might alter the texture slightly. These treats are ideal for Easter baskets, dessert tables, or as a thoughtful homemade gift. Their individual stick presentation makes them easy to grab and enjoy, minimizing mess, especially for little hands.
In conclusion, these Easter Krispie Pops offer a delightful blend of simplicity, festive charm, and irresistible flavor. They’re a fantastic no-bake option that brings a burst of spring cheer to any gathering, fulfilling that spontaneous urge to create something beautiful and delicious with a fun new gadget. Whether you’re a seasoned baker or just looking for a quick and easy holiday treat, these pops are sure to bring smiles and sweet memories. Enjoy the process, get creative with your decorations, and savor every colorful bite!
Want More Easy Treats?
If you loved how simple and fun these Easter Krispie Pops were, you’re in for a treat! We have a collection of other easy-to-make desserts that are perfect for any occasion, from springtime celebrations to everyday sweet cravings. These recipes focus on minimal effort for maximum deliciousness, ensuring you can whip up something special without spending hours in the kitchen.
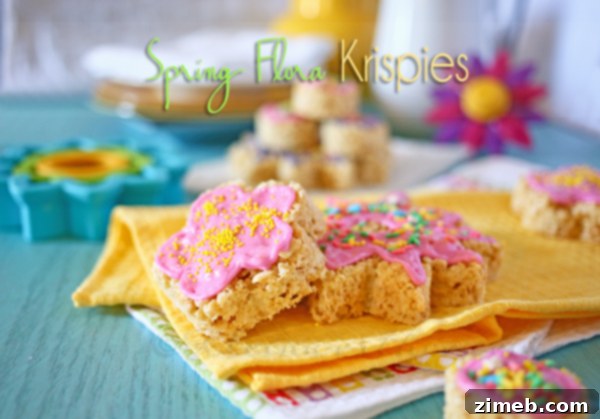
Spring Flora Krispies
For another charming no-bake option that celebrates the beauty of spring, be sure to check out our Spring Flora Krispies. These treats are similar in spirit to our Easter Krispie Pops, offering another delightful way to enjoy the classic rice krispie cereal in a festive, visually appealing format. They’re perfect for garden parties, springtime birthdays, or simply brightening up your dessert table with their cheerful colors and shapes.

M&M Cookie Dough Bites
If you’re a fan of edible cookie dough, you absolutely must try our M&M Cookie Dough Bites. These no-bake morsels are incredibly addictive and satisfying, packed with colorful M&M’s and that irresistible cookie dough flavor, all without the need for an oven. They’re a fantastic option for movie nights, potlucks, or when you need a quick chocolate fix. These bites are a testament to how simple ingredients can come together to create something truly magical and deeply satisfying.
To see where I am linking today- visit HERE