
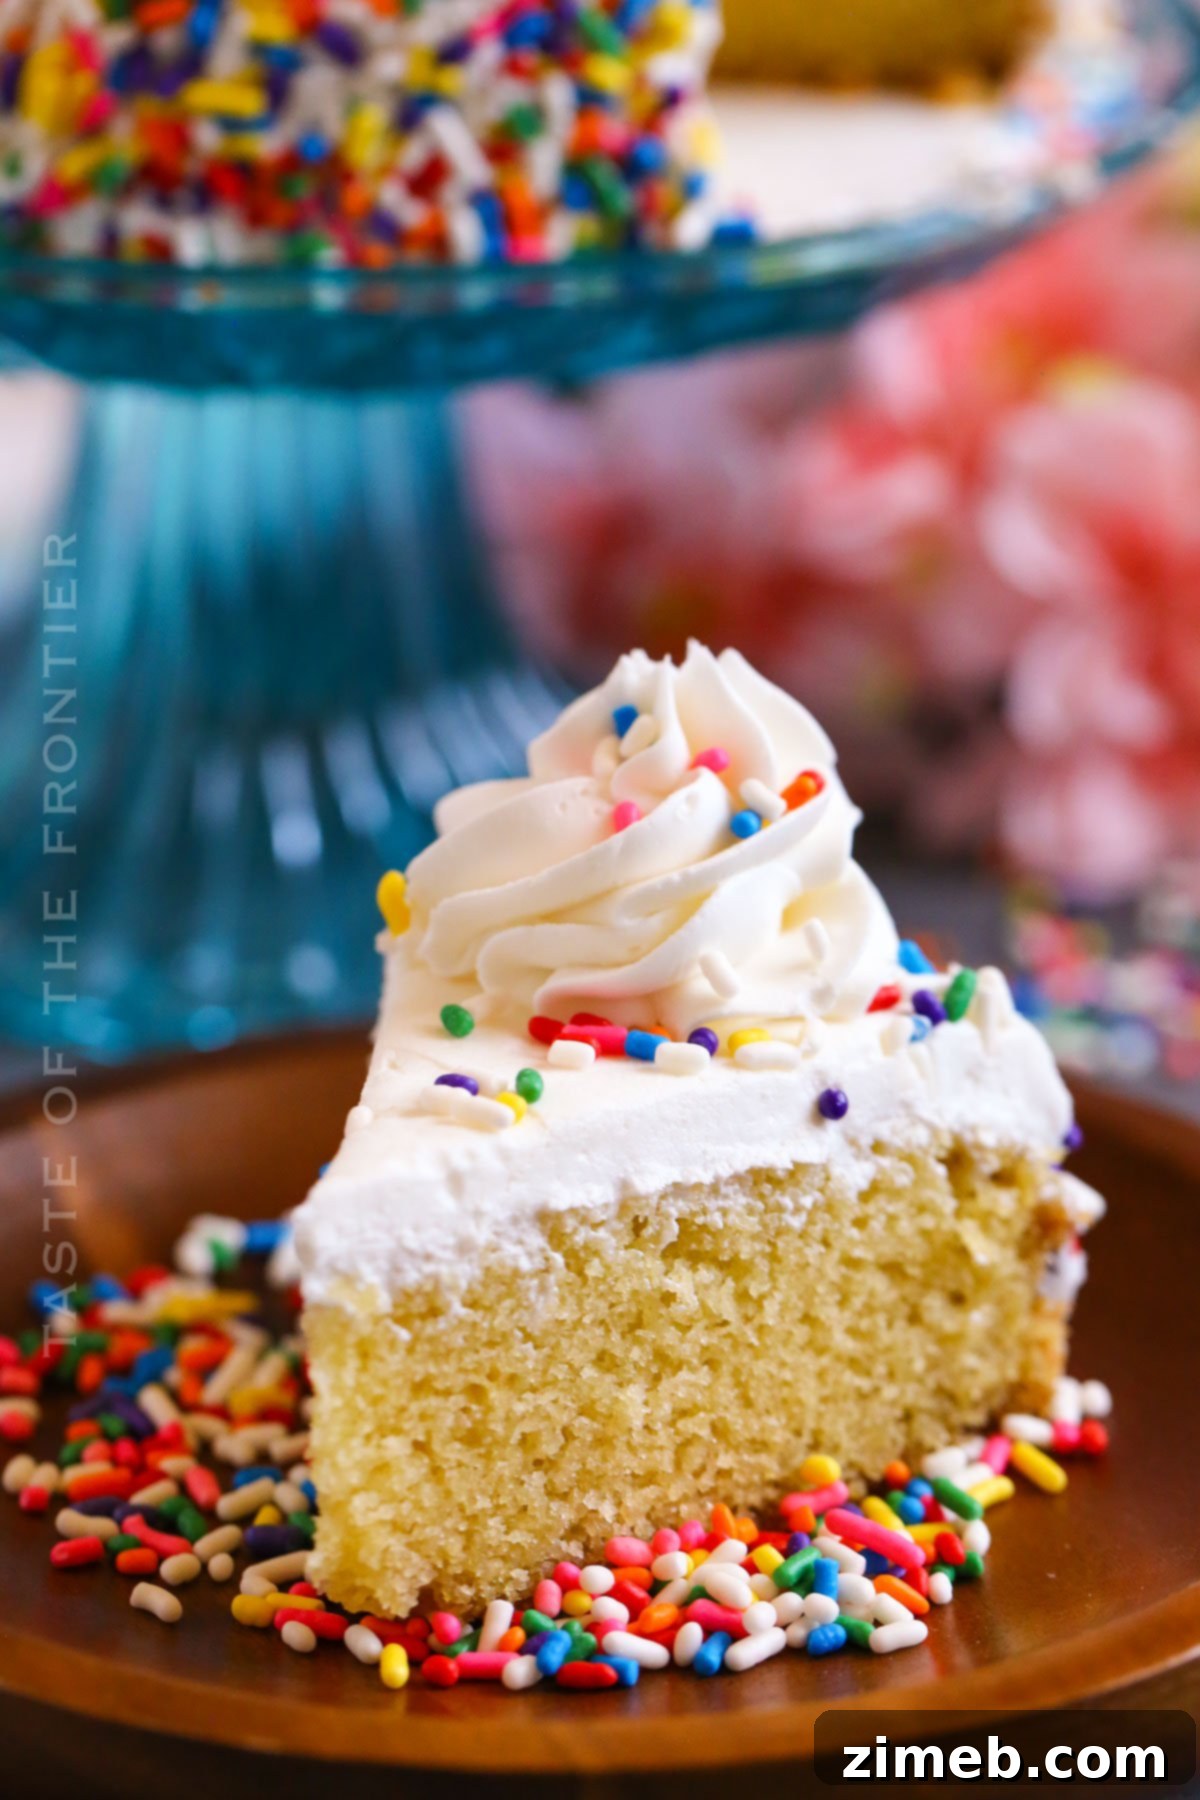
Elevate your special day with this charming Small Birthday Cake that proves good things truly come in small packages.
The Ultimate Small Birthday Cake: Perfect for Intimate Celebrations
Who says you need a massive cake to make a birthday special? Our delightful Small Birthday Cake recipe offers a petite and delightful creation, perfectly suited for intimate celebrations, cozy family gatherings, or simply when you crave a delicious treat without the excess of a large dessert. Forget the stress of baking for a crowd; this 6-inch wonder is designed for maximum flavor and charm in a compact size.
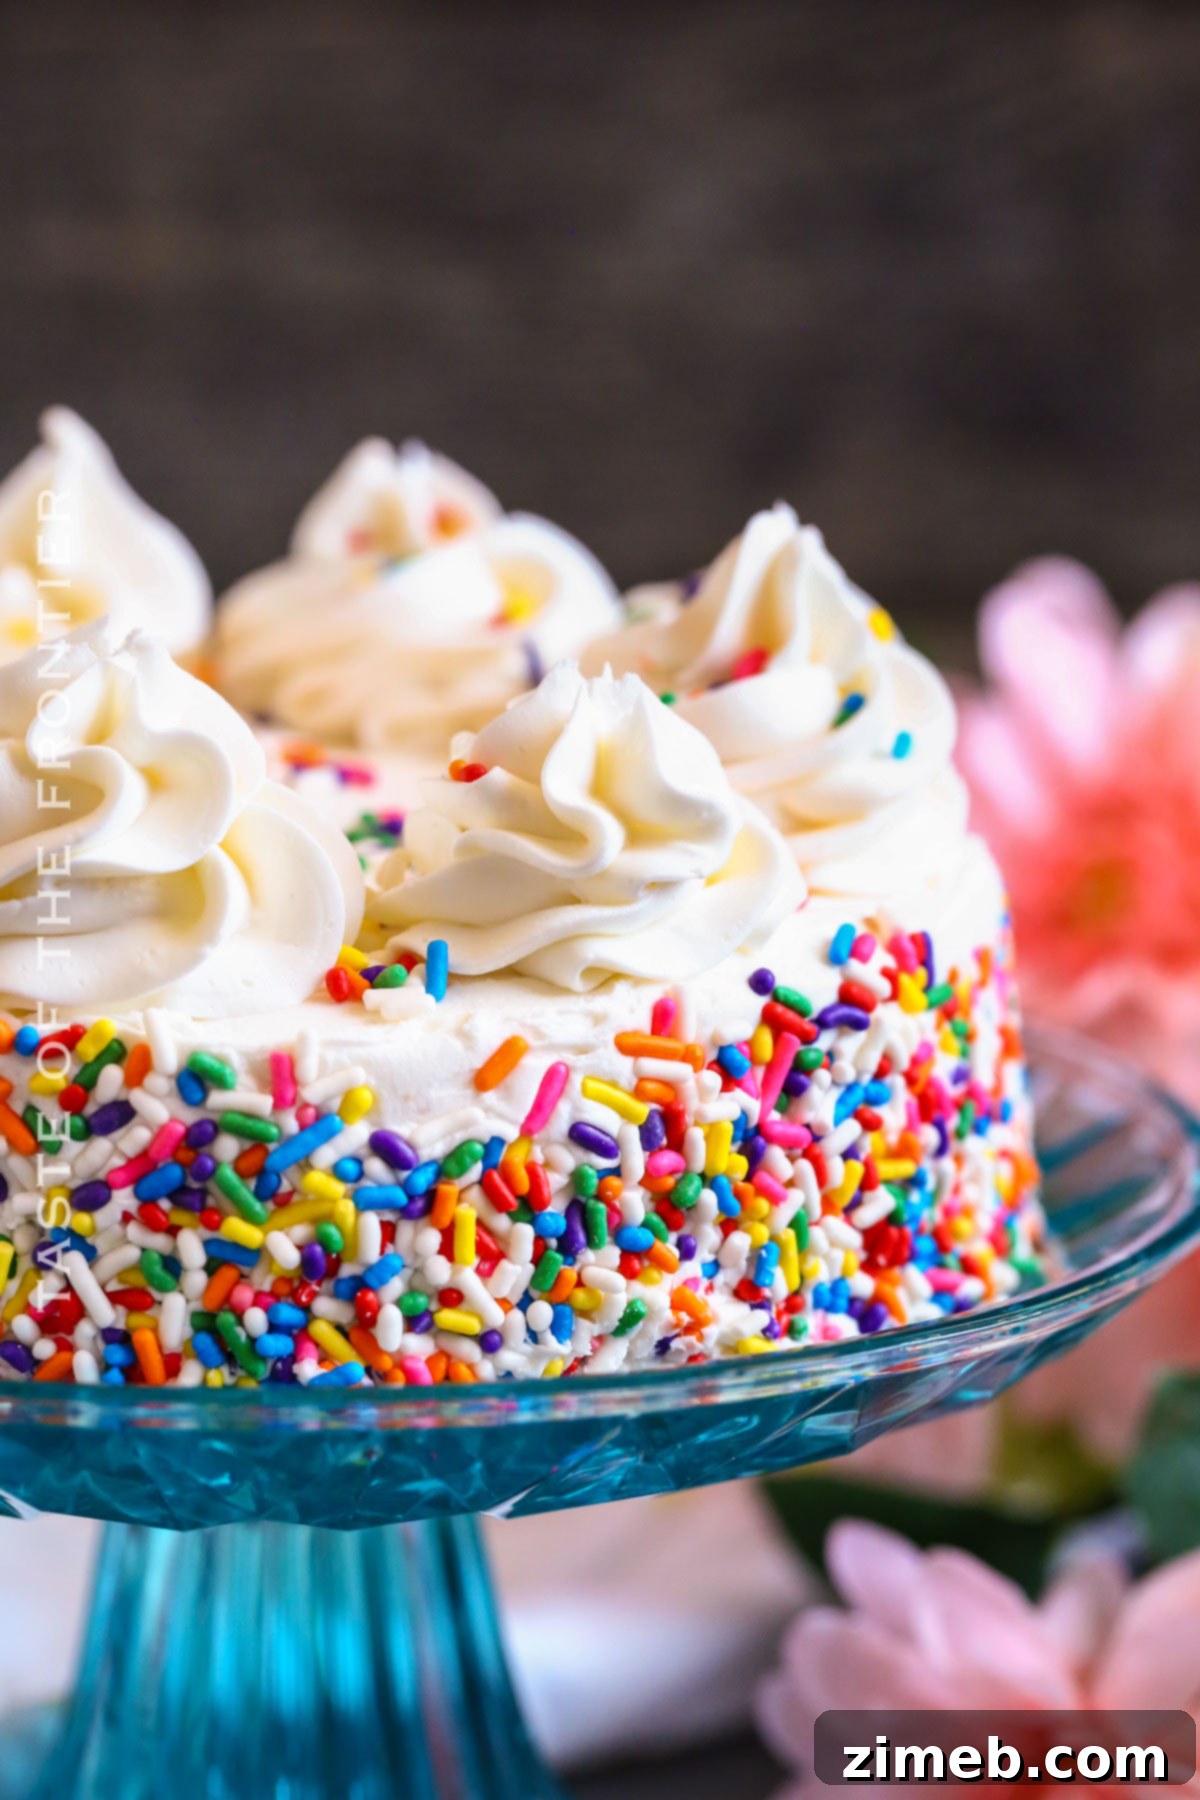
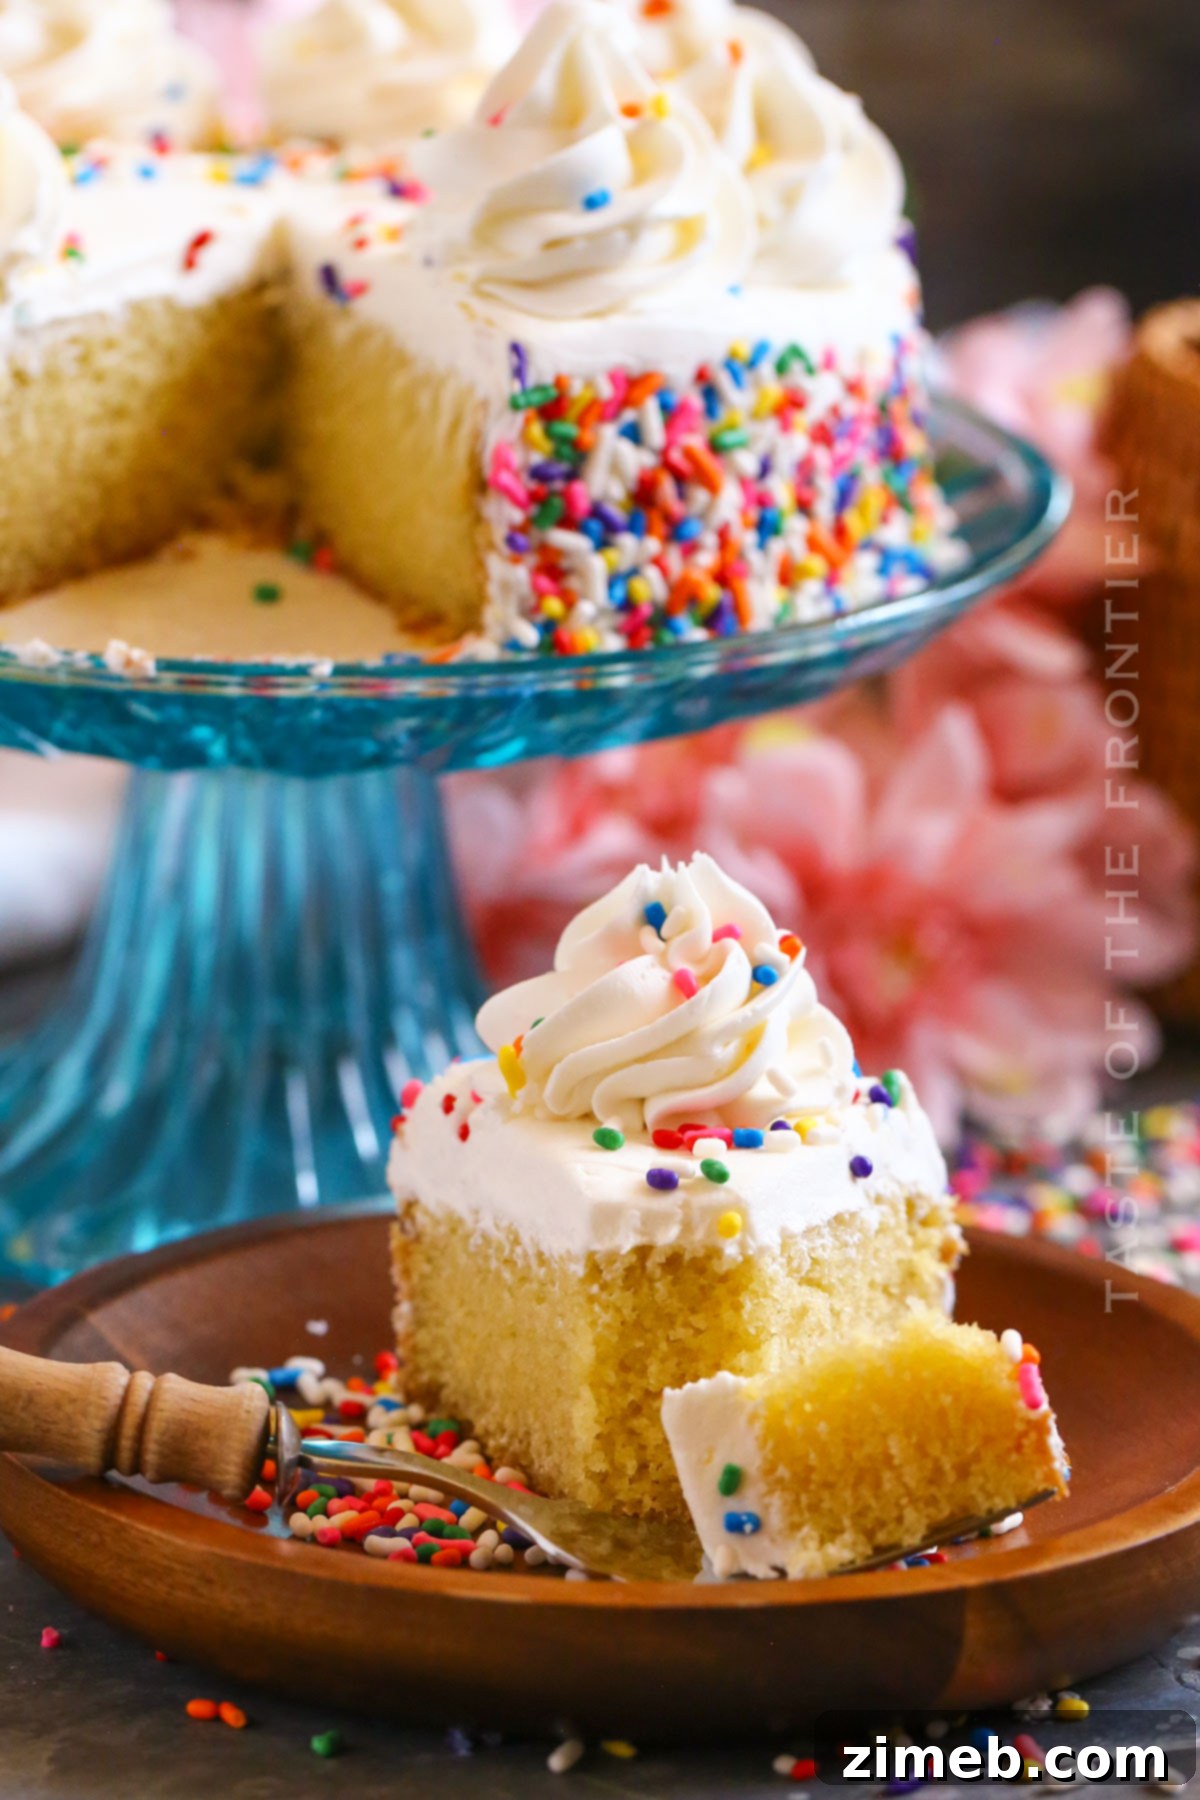
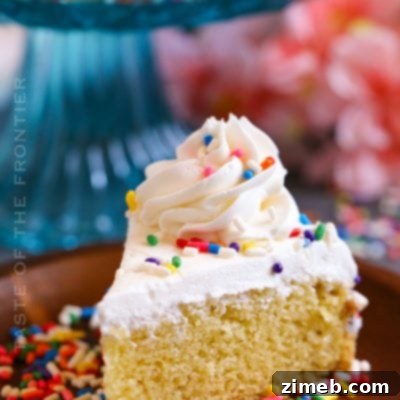
Imagine a cute, perfectly portioned cake, beautifully fluffy and rich in classic vanilla flavor, adorned with layers of creamy, dreamy frosting and a festive sprinkle of joy on top. This isn’t just a cake; it’s an invitation to create memorable moments, savoring every bite, no matter the size of your gathering. It’s about celebrating life’s special occasions with intention and a touch of homemade warmth.
Why Choose a Small Birthday Cake?
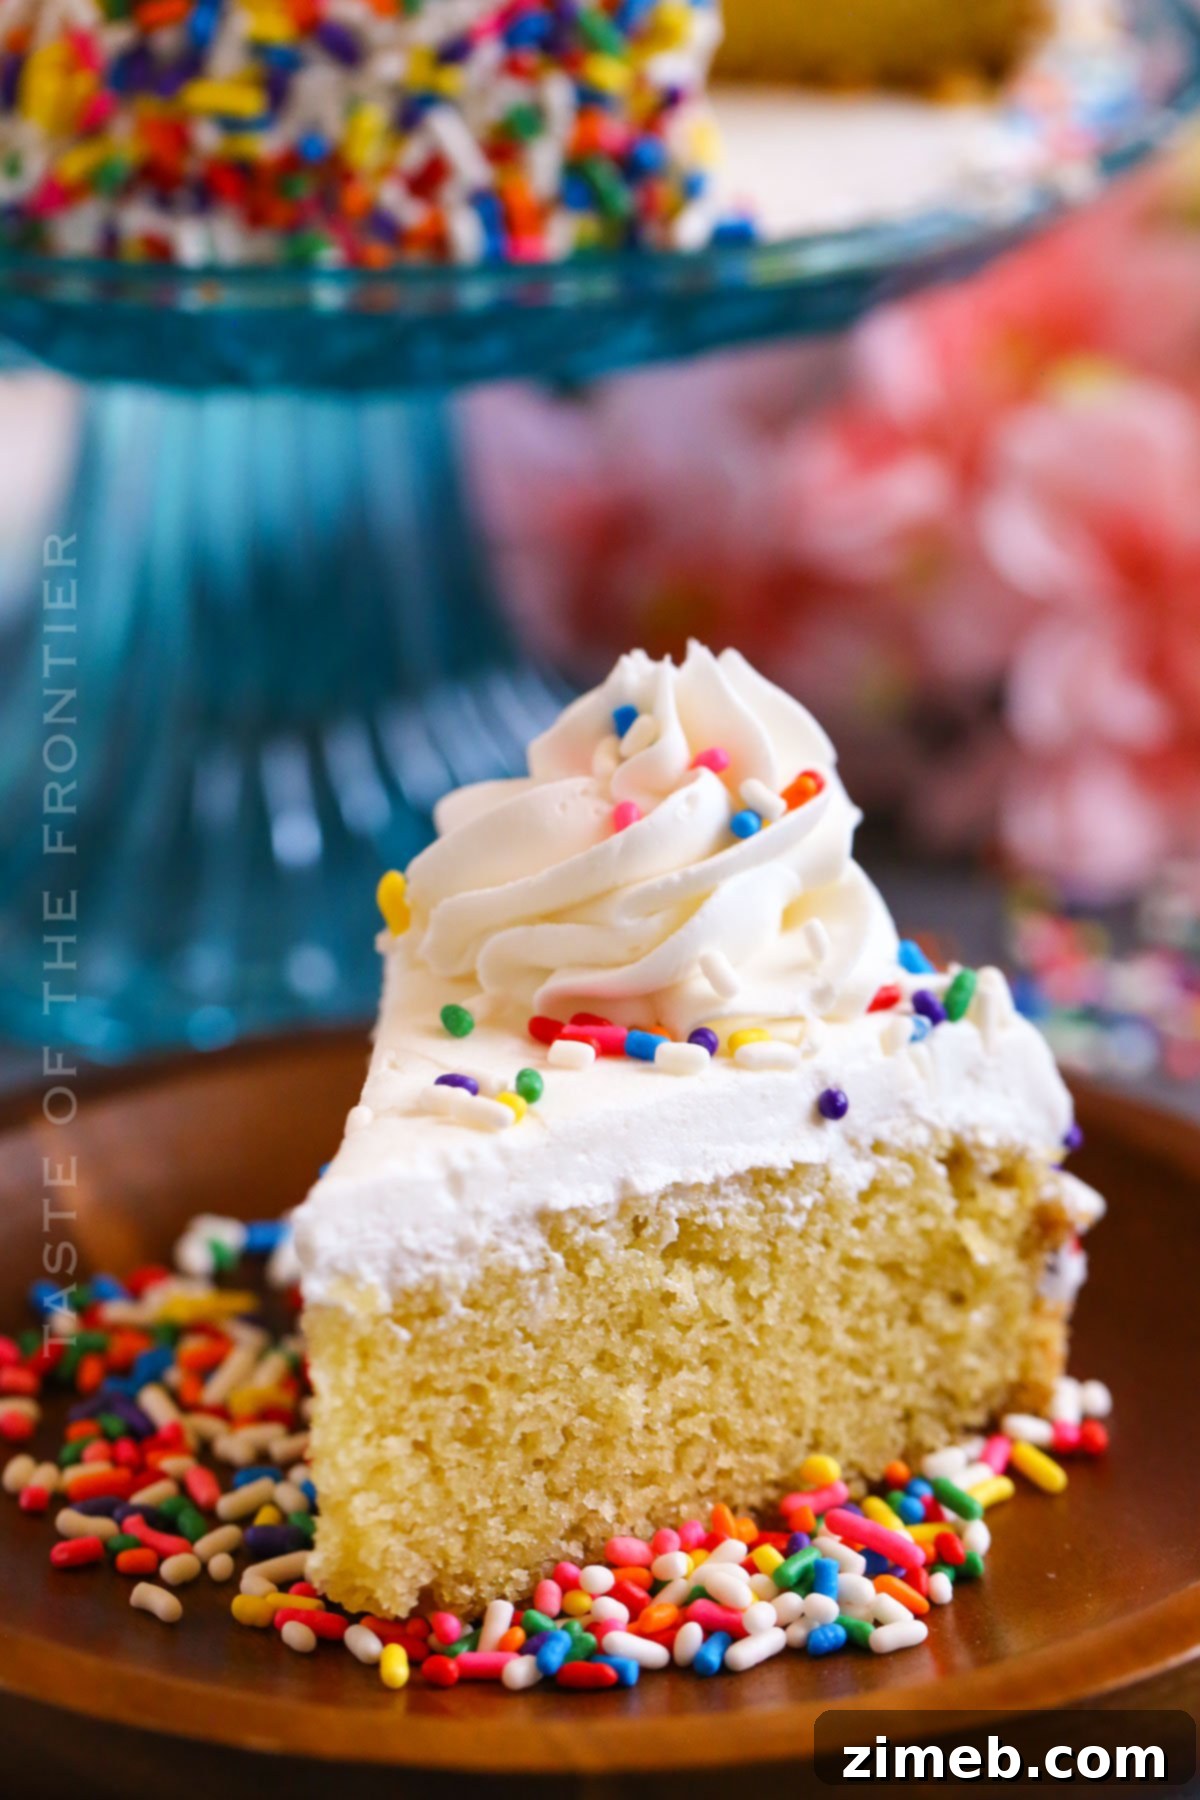
There are countless reasons why a small birthday cake is often the perfect choice for your next celebration. Beyond its undeniable cuteness, a mini cake offers practical benefits that make it an increasingly popular option for modern bakers and celebrants alike.
Perfect Portions, Less Waste
One of the primary advantages of a small cake is the perfect portion control it offers. Instead of facing a colossal cake that might lead to excessive leftovers or unnecessary waste, a 6-inch cake provides just enough slices for a small group, typically serving 4-6 people generously. This means every slice is savored, and you avoid the dilemma of what to do with a half-eaten large cake.
Ideal for Intimate Gatherings
Whether it’s a quiet dinner with close family, a romantic celebration for two, or a cozy get-together with a few best friends, a small birthday cake fits seamlessly into intimate settings. It creates a focal point that feels personal and special, without overpowering the occasion. It encourages closer connection and a more focused celebration.
Personalization Made Easy
A smaller canvas often means easier and more elaborate personalization. You can experiment with intricate frosting designs, delicate sugar flowers, or custom toppers without feeling overwhelmed. It’s simpler to achieve a professional-looking finish on a 6-inch cake, allowing you to pour your creativity into every detail.
Baking is Less Daunting
For novice bakers or those with limited time, baking a small cake can be far less daunting than tackling a multi-tiered masterpiece. This recipe simplifies the process, making it accessible for anyone to whip up a homemade delight. Less baking time, fewer ingredients, and smaller batches mean a more enjoyable and less stressful baking experience.
Common Questions About Baking Your Small Birthday Cake
Making a delicious homemade cake doesn’t have to be complicated. Here are answers to some frequently asked questions to help you bake your perfect small birthday cake.
Can I Use Different Flavors for the Cake?
Absolutely! While this recipe provides a fantastic base for a classic vanilla cake, it’s truly just the beginning of what you can create. Feel free to venture into the realms of new flavors and textures. For a rich chocolate cake, you can easily fold in chocolate chips to the batter or substitute a portion of the all-purpose flour with high-quality cocoa powder. For a vibrant red velvet cake, add red food coloring and a touch of vinegar and cocoa. You could even create an innovative ice cream cake version by layering a thin cake with your favorite ice cream flavor.
The beauty of using a 6-inch cake pan is its versatility. You can easily adapt this recipe to include various flavors, from the classic chocolate chip to an elegant rainbow sprinkle cake, by incorporating different extracts or a bit of food coloring for a fun touch. If you’re feeling adventurous, try adding lemon zest for a zesty lemon cake, or a hint of almond extract for a nuanced flavor profile. Remember, when adding wet ingredients (like purees) or dry ingredients (like spices or more cocoa), you might need to slightly adjust your liquid ratios to maintain the perfect batter consistency. Always adjust your baking time accordingly, especially if altering ingredients or using a smaller oven, or even scaling the recipe for a larger 9-inch cake pan.
Can I Make It in Advance?
Yes, preparing your cake a day or even two days ahead is an excellent way to manage your time effectively and reduce stress on the day of the celebration. Once your cake layers have completely cooled to room temperature, wrap them tightly in plastic wrap to prevent them from drying out. For optimal freshness, you can also place them under a cake dome or in an airtight container. This method works perfectly whether you’re making a simple sheet cake, an elegant mini birthday cake, or a more elaborate layered creation. Baking in advance allows the flavors to meld beautifully and ensures you have more time to enjoy the special day with the birthday boy or girl, rather than being stuck in the kitchen.
How Do I Make the Frosting Super Fluffy?
Achieving a light and airy, fluffy frosting is all about the technique and the quality of your ingredients. Start with softened, room-temperature butter – this is your absolute foundation for a smooth, creamy frosting. Cold butter will result in a lumpy mess, while overly melted butter will yield a greasy frosting. Gradually add sifted powdered sugar (confectioner’s sugar) to prevent lumps and ensure a silky texture. Then, incorporate a splash of whole milk or heavy cream, along with your chosen flavorings like vanilla extract. Beat this mixture on medium-high speed for several minutes, scraping down the sides of the bowl frequently. You’ll notice it transform into a noticeably lighter, airier, and significantly fluffier frosting, perfect for spreading evenly over your cake or piping decorative swirls. Whether you’re making a simple frosting for a mini birthday cake or a larger celebration cake, this method guarantees the best results. For extra richness, consider adding a tablespoon of cream cheese, or experiment with unique flavors like adding a couple of tablespoons of melted and cooled peanut butter to create a deliciously unique frosting.
Storage Guidelines
I love the convenience of making cake ahead of time, and this small cake recipe fits perfectly in the fridge without taking up too much space!
Refrigerator
Once frosted, your small birthday cake can be kept in the refrigerator, covered with a cake dome or in an airtight container, for up to 3 days. For best flavor and texture, allow the cake to come to room temperature for about 30-60 minutes before serving.
Freezer
Unfrosted cake layers freeze beautifully! Wrap individual cooled cake layers tightly in plastic wrap, then an additional layer of aluminum foil, and store in the freezer for up to a month. Thaw them in the refrigerator overnight before frosting and serving. This is a fantastic tip for preparing components well in advance of your event.
Essential Baking Tips for a Perfect Small Cake
This recipe truly makes for the perfect birthday cake when you want a delightful treat without a mountain of leftovers. Here are some invaluable tips to ensure your baking experience is smooth and successful, resulting in a perfectly moist and flavorful cake every time.
- **Room Temperature Ingredients:** Always ensure all your cold ingredients, such as eggs, butter, and buttermilk, are at room temperature. This allows them to emulsify properly with the other ingredients, creating a smoother, more uniform batter and a finer, more tender cake crumb.
- **Measure Accurately:** Baking is a science! Use proper measuring techniques for both dry and wet ingredients. For flour, spoon it into your measuring cup and level it off with a straight edge; never scoop directly from the bag, as this can pack the flour and lead to a dry cake.
- **Don’t Overmix:** Once you add the flour, mix the batter only until just combined. Overmixing develops the gluten in the flour, resulting in a tough, dense cake. A few small lumps are better than an overmixed batter.
- **Cake Flour vs. All-Purpose Flour:** For an exceptionally fine and tender crumb, opt for cake flour. If using all-purpose flour, the cake will still be delicious and have a classic texture. You can create a makeshift cake flour by removing two tablespoons of all-purpose flour per cup and replacing it with two tablespoons of cornstarch, then sifting well.
- **Sift Dry Ingredients:** Sifting flour, baking soda, and salt together ensures they are evenly distributed and eliminates any lumps, contributing to a lighter cake. If using cocoa powder for a chocolate version, sift it thoroughly as well.
- **Prepare Your Pan:** Properly grease and flour your 6-inch round baking pan, and consider lining the bottom with a parchment paper round. This crucial step prevents the cake from sticking and ensures an easy release after baking.
- **Check for Doneness:** The toothpick test is reliable: insert a toothpick into the center of the cake; it should come out clean or with a few moist crumbs attached. Also, gently press the center of the cake; if it springs back, it’s ready.
- **Cool Completely:** Allow your cake to cool in the pan on a wire rack for 10-15 minutes before inverting it onto the rack to cool completely. Attempting to frost a warm cake will result in melted, messy frosting.
- **Use a Small Offset Spatula:** This tool is incredibly helpful for spreading frosting evenly and smoothly, especially on smaller cakes and in between layers.
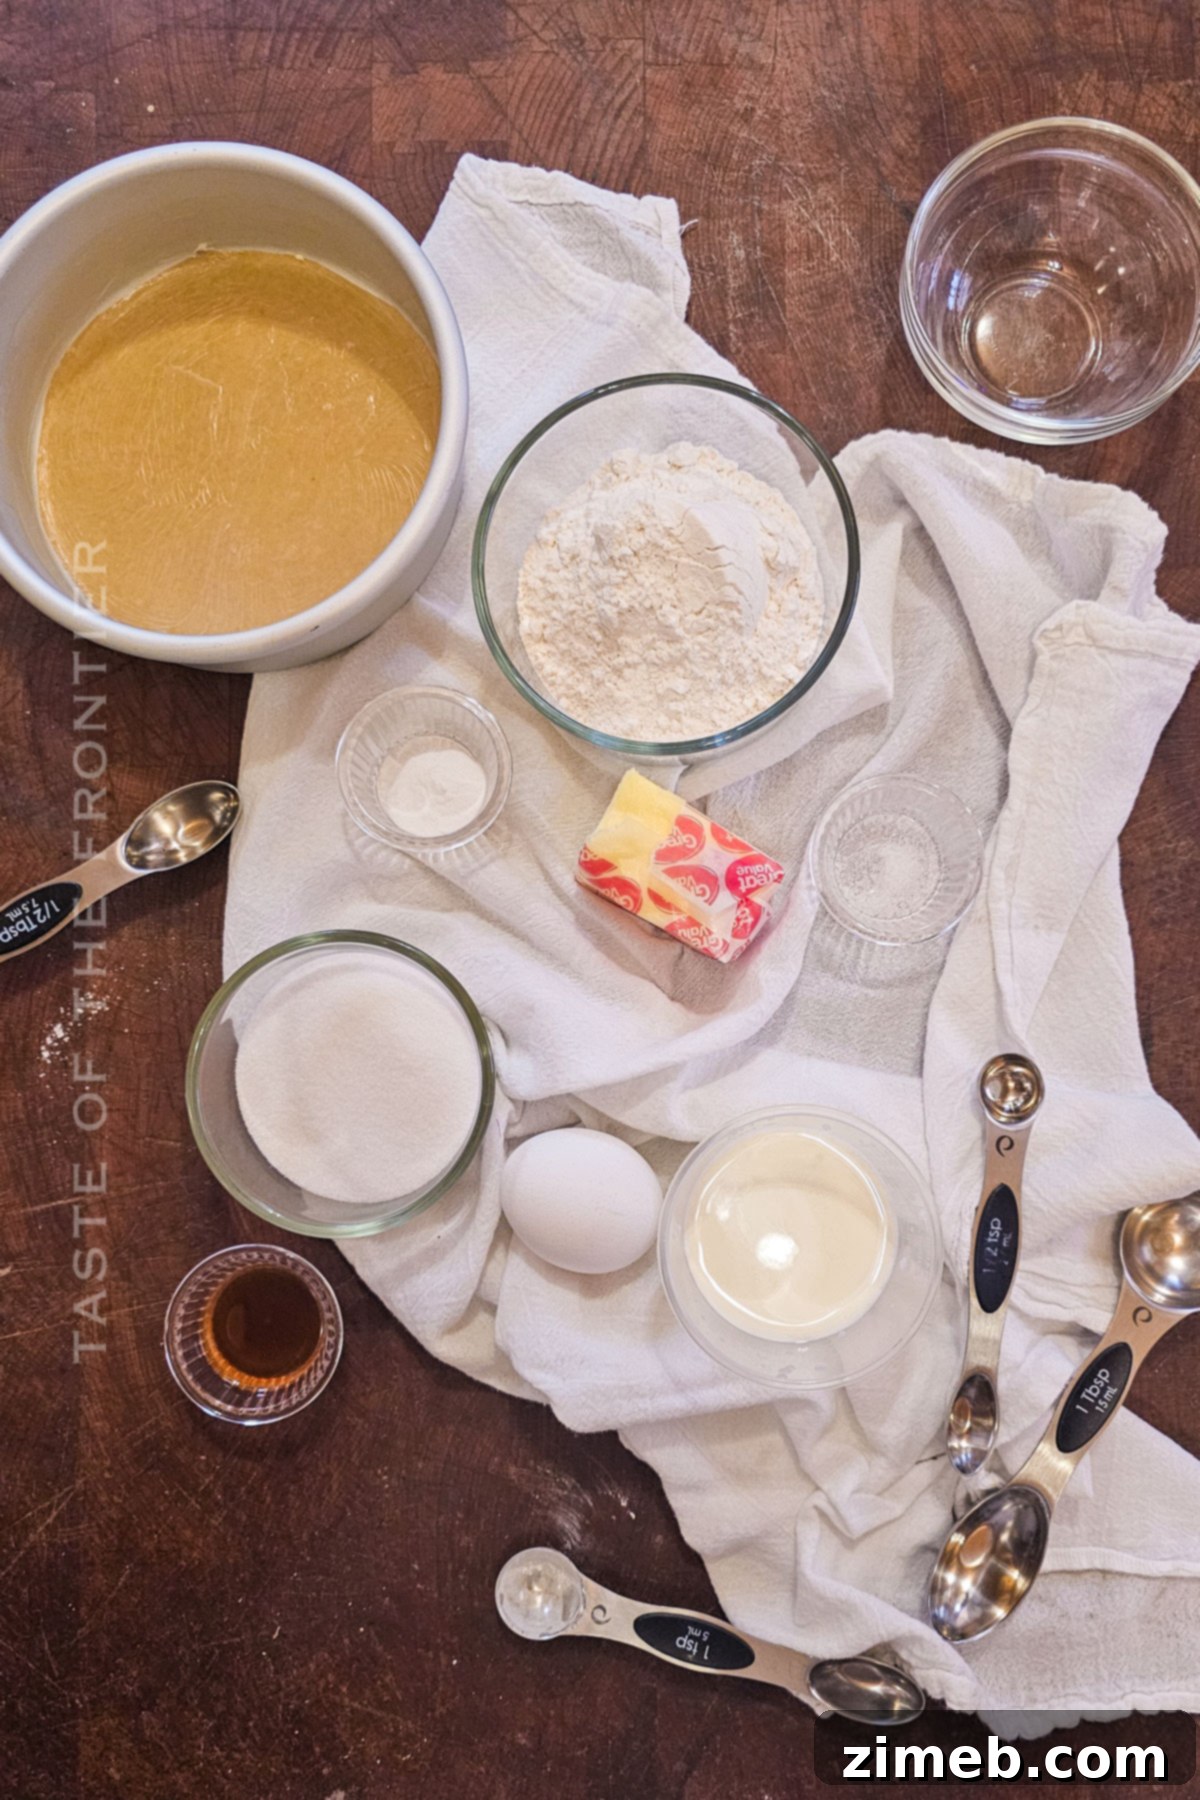
Ingredients for Your Charming Small Birthday Cake
You might just think this is the perfect cake when all is said and done – I know I do! Simple, accessible ingredients come together to create something truly special.
For the Cake:
- Unsalted butter (at room temperature for best results)
- Granulated sugar
- Large egg
- Vanilla extract (pure vanilla extract offers the best flavor)
- All-purpose flour
- Baking soda
- Salt
- Buttermilk (for moisture and tender crumb)
For the Fluffy Frosting:
- Butter (preferably unsalted, at room temperature)
- Confectioner’s sugar (sifted to prevent lumps)
- Clear vanilla extract (to maintain a bright white frosting)
- Heavy cream (for richness and texture)
How to Make Your Small Birthday Cake
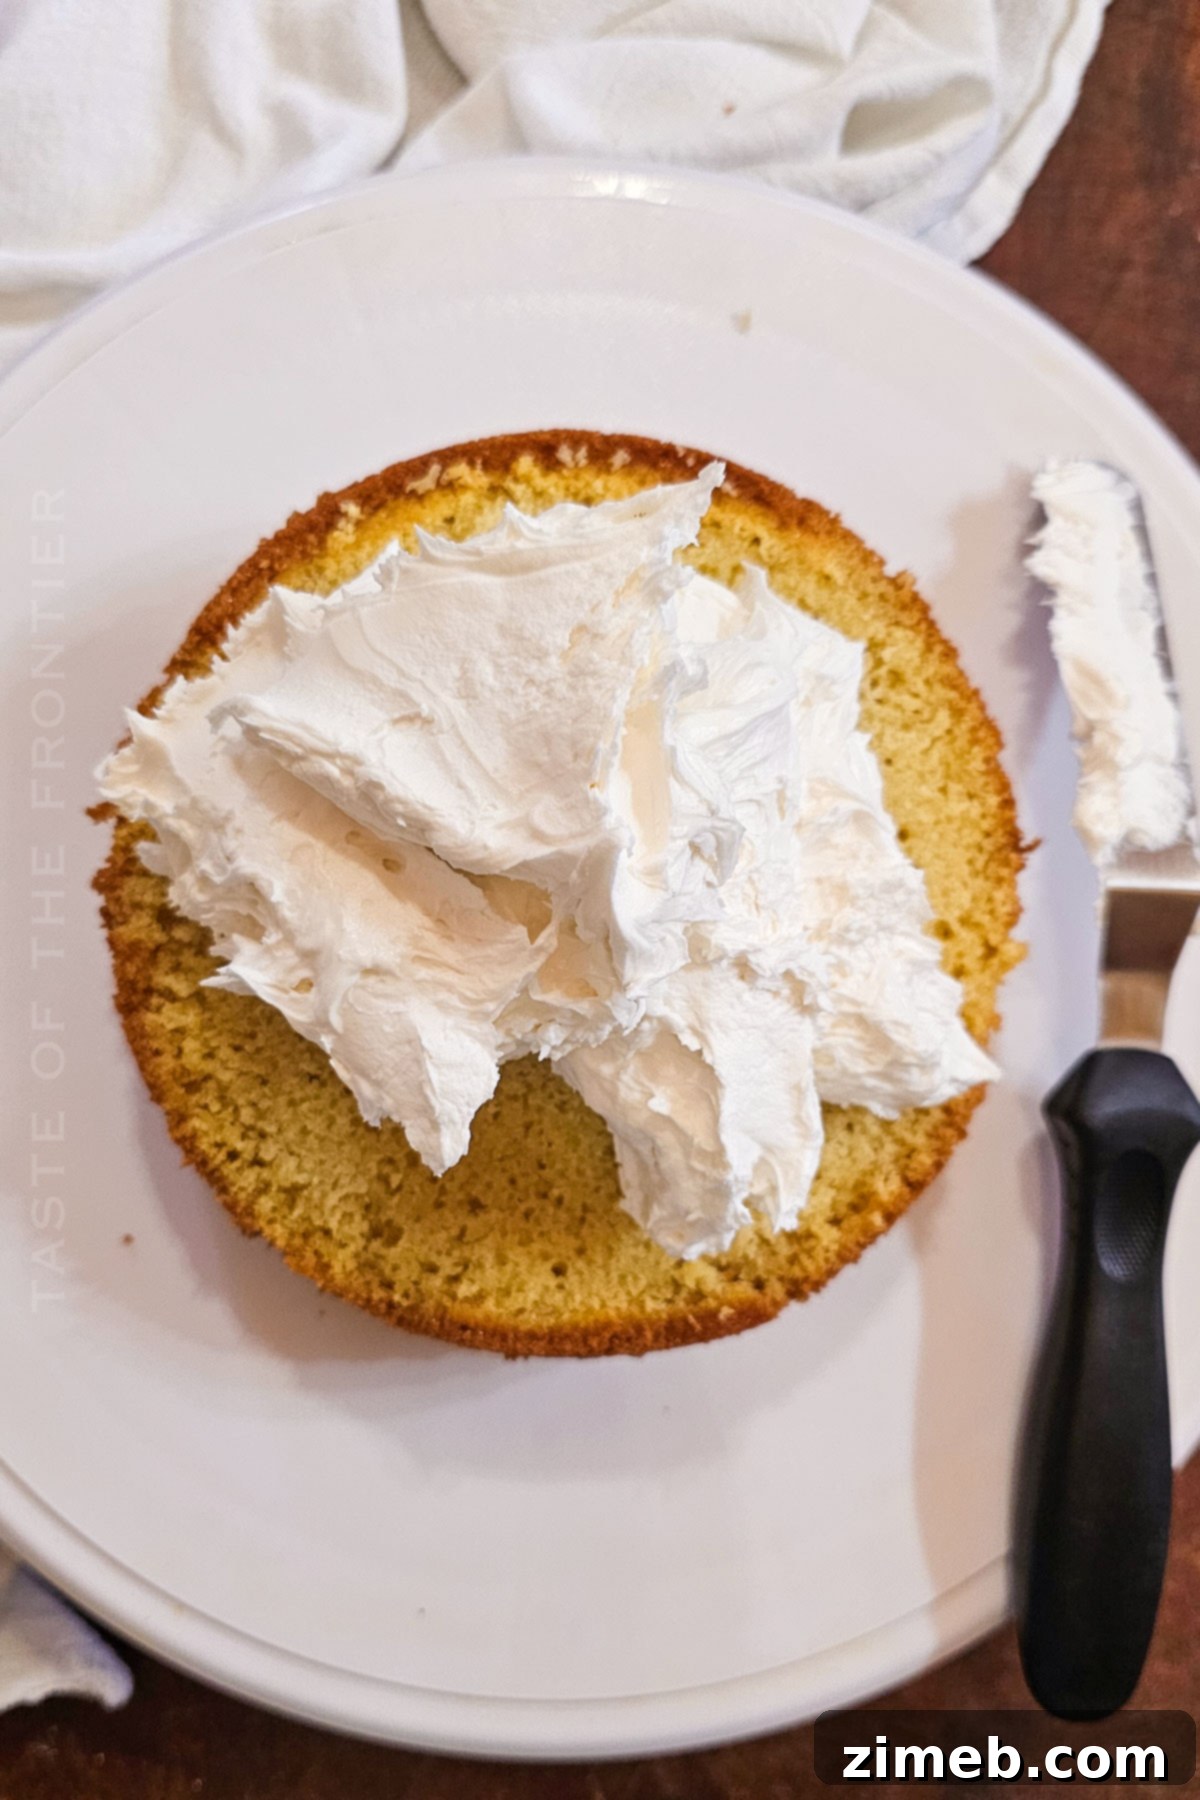
Don’t worry, the steps for this small birthday cake are truly simple and straightforward. We’re making the perfect amount of frosting to coat this adorable cake, ensuring every slice is as beautiful as it is delicious. You’re going to love it!
Cake Instructions:
- Preheat your oven to 350 degrees Fahrenheit (175°C). Prepare your baking pan by lightly greasing the bottom and sides of a ONE 6-inch round baking pan with butter or shortening. For extra assurance and easier release, I highly recommend adding a parchment paper round to the bottom of the pan.
- In a medium-sized mixing bowl, combine the softened, room-temperature butter and granulated sugar. Beat them together with an electric mixer until the mixture is light, fluffy, and the butter has thoroughly emulsified with the sugar – this usually takes about 1-2 minutes. The mixture should be pale in color and creamy.
- Add the large egg and vanilla extract to the creamed butter and sugar. Beat well for another 10-20 seconds until fully incorporated. Ensure the egg is at room temperature to prevent the batter from curdling.
- In a separate small bowl, whisk together the all-purpose flour, baking soda, and salt. This ensures these dry ingredients are evenly distributed.
- Gradually add half of the dry ingredient mixture into the wet butter mixture, folding gently until just combined.
- Next, mix in half of the buttermilk. Continue beating on low speed, slowly adding the remainder of the flour mixture and the buttermilk alternately, starting and ending with the dry ingredients, until the batter is thick, smooth, and just combined. Be careful not to overmix at this stage.
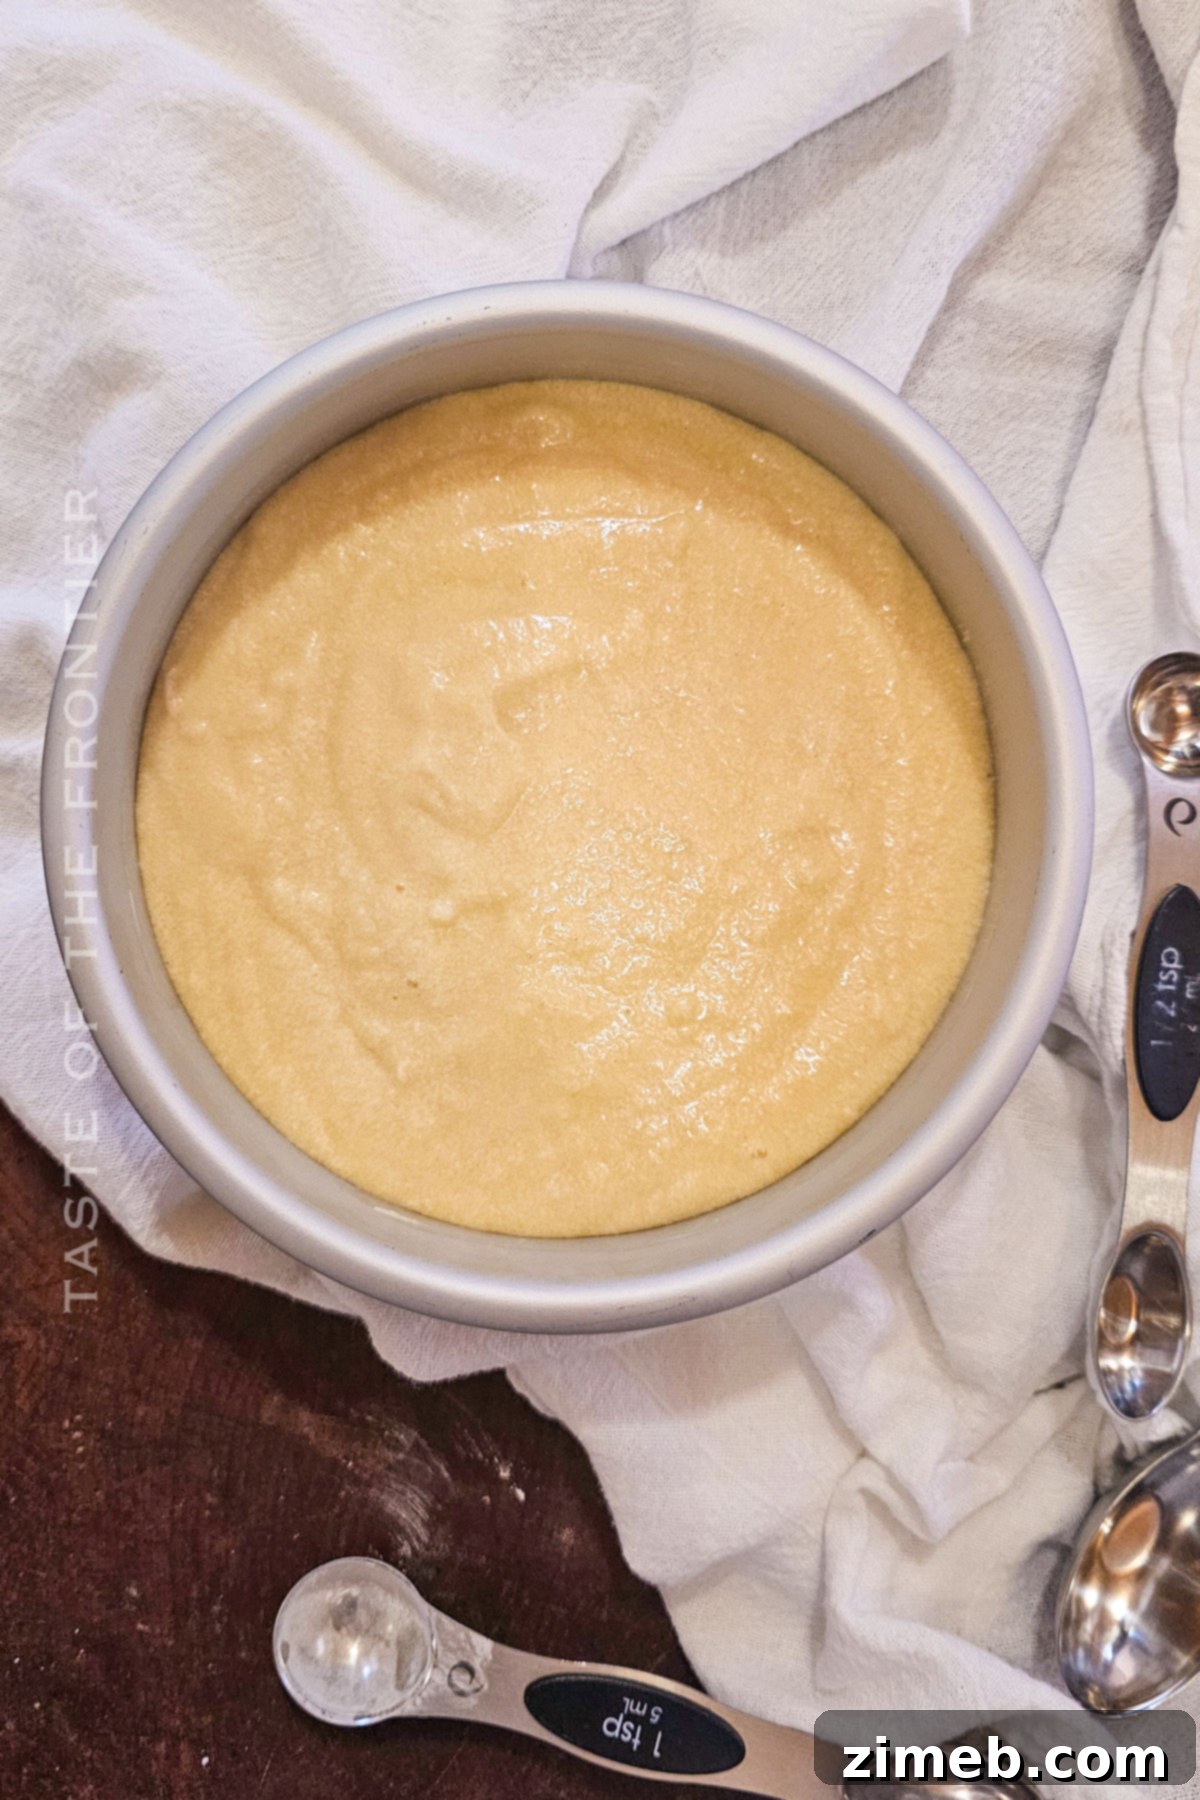
- Transfer the smooth cake batter to your prepared 6-inch pan, spreading it evenly.
- Bake for 35-40 minutes. The cake is done when a toothpick inserted into the center comes out clean, or when the top springs back gently when lightly pressed.
- Once baked, remove the cake from the oven and allow it to cool completely to room temperature on a wire rack BEFORE attempting to remove it from the pan or decorate. This prevents the cake from breaking.
Note: Instead of buttermilk, you can use 6 tablespoons of heavy cream mixed with ½ teaspoon of apple cider vinegar. Let it sit for 5 minutes before adding to the batter.
Pro Tip for Decorating: I like to pop my cooled cake (still wrapped in plastic wrap to prevent drying out) into the freezer for about 30 minutes after removing it from the pan but before decorating. A slightly chilled cake is firmer and much easier to handle, level, and frost, leading to a cleaner finish.
Fluffy Frosting Instructions:
- In a clean mixer bowl, beat the softened butter with an electric mixer until it is light, pale, and fluffy, about 2-3 minutes.
- Gradually add the sifted confectioner’s sugar, clear vanilla extract, and heavy cream. Start mixing on low speed until the sugar is just incorporated enough that it won’t fly out of the bowl. Then, increase the speed to medium-high and beat vigorously for 3-5 minutes until the frosting is incredibly light, airy, and fluffy. If the frosting seems too thick, you can add 1 tablespoon of heavy cream or milk at a time until you reach your desired consistency.
Kitchen Supplies You’ll Need
Ensure you have these essential kitchen tools to make your cake baking process smooth and enjoyable. This elegant little cake will truly be the right treat for any occasion!
- Electric Mixer: Stand mixer or hand mixer for creaming butter and making fluffy frosting.
- 6-inch Round Cake Pan: The star of the show for achieving that perfect mini size.
- Mixing Bowls: A set of various sizes for combining ingredients.
- Measuring Cups and Spoons: For accurate ingredient measurements, crucial for baking success.
- Rubber Spatula: Essential for scraping down bowls and folding batter gently.
- Wire Rack: For proper cooling of your cake layers.
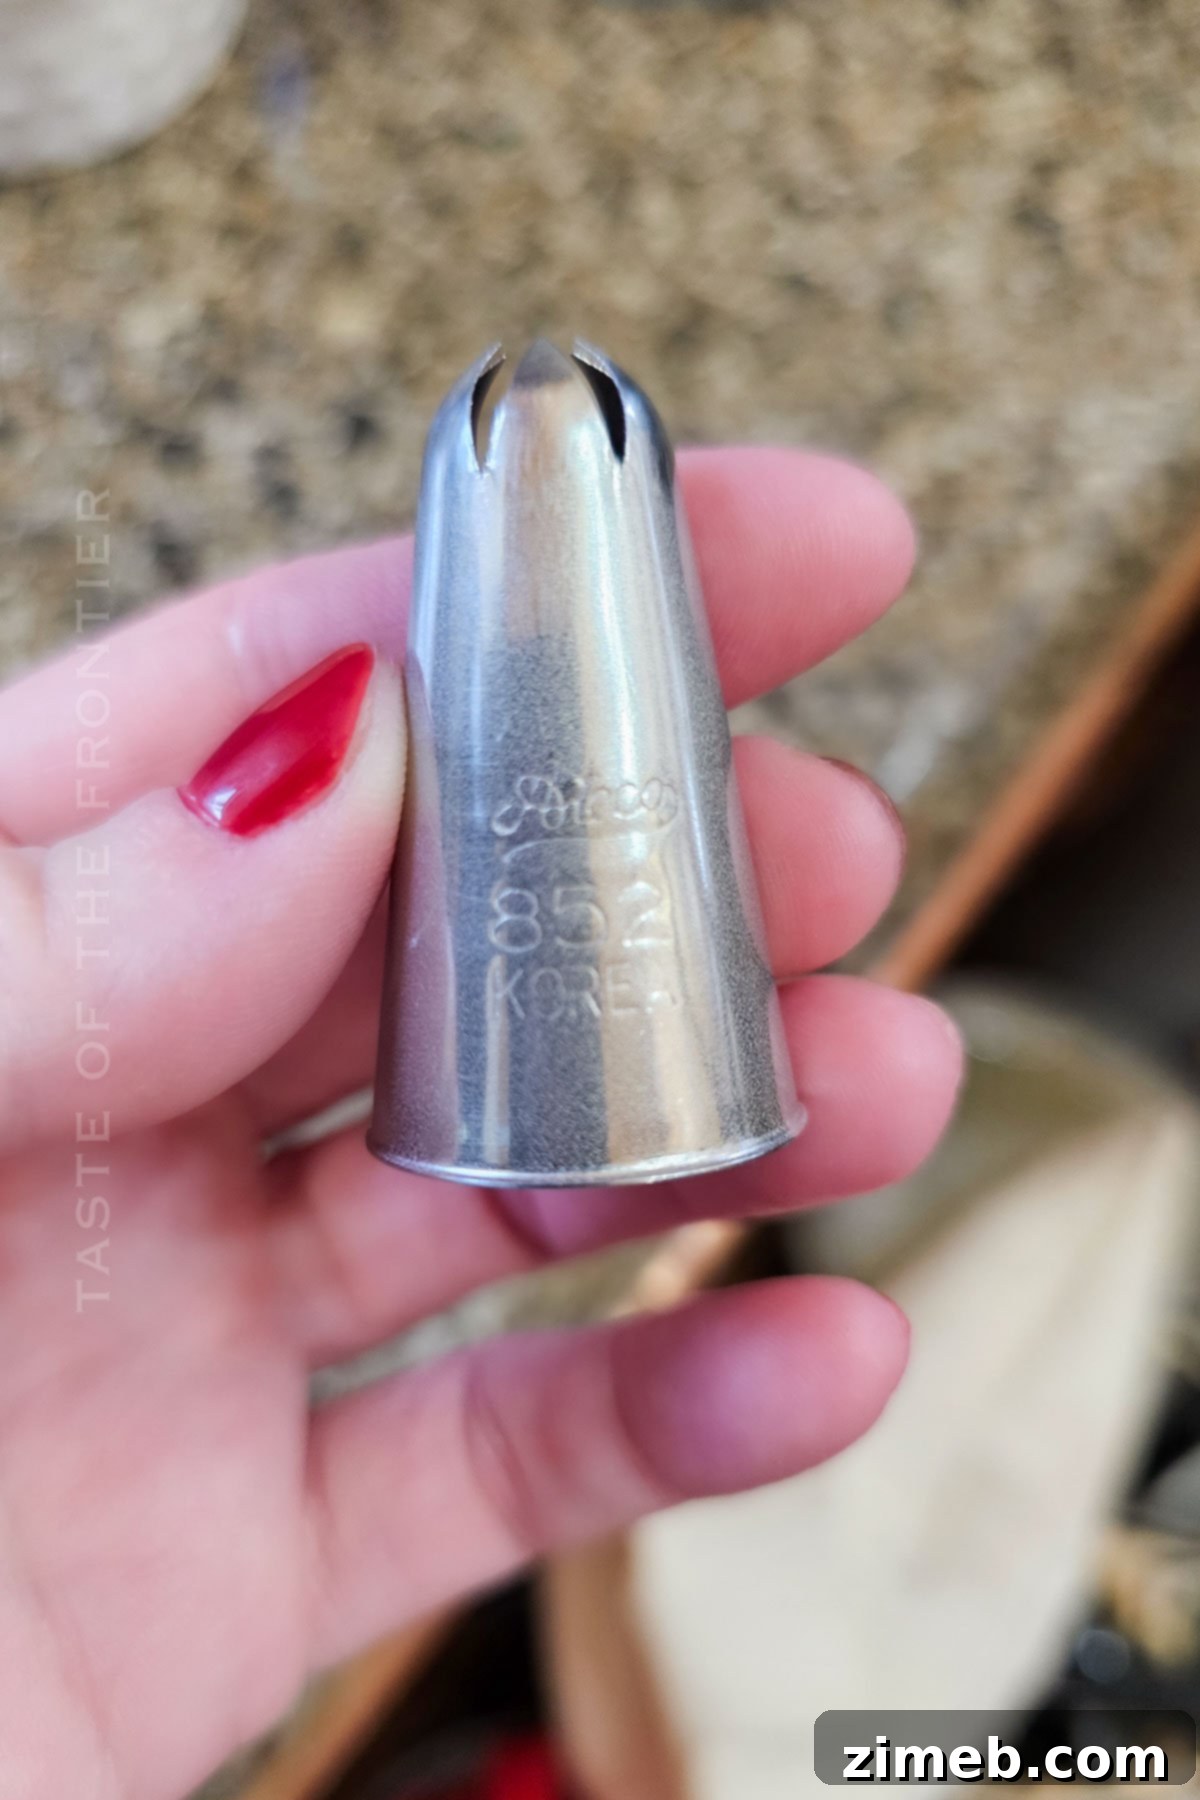
- Large Closed Star Tip and Piping Bag: Optional, but perfect for creating beautiful frosting decorations.
What to Serve With A Small Birthday Cake
You’ve probably got this one covered, but what else pairs wonderfully with cake at a birthday celebration? Ice cream, of course! If it’s a chilly winter birthday, I’d also highly recommend some warm hot cocoa for a comforting touch.
- A generous scoop of ice cream, especially classic vanilla or rich chocolate, perfectly complements the cake.
- A freshly brewed cup of hot coffee or a refreshing glass of cold milk makes a delightful pairing.
- For adult celebrations, a glass of a sweet dessert wine or a sparkling cider can elegantly elevate the experience.
Decorative Touches for Your Mini Masterpiece
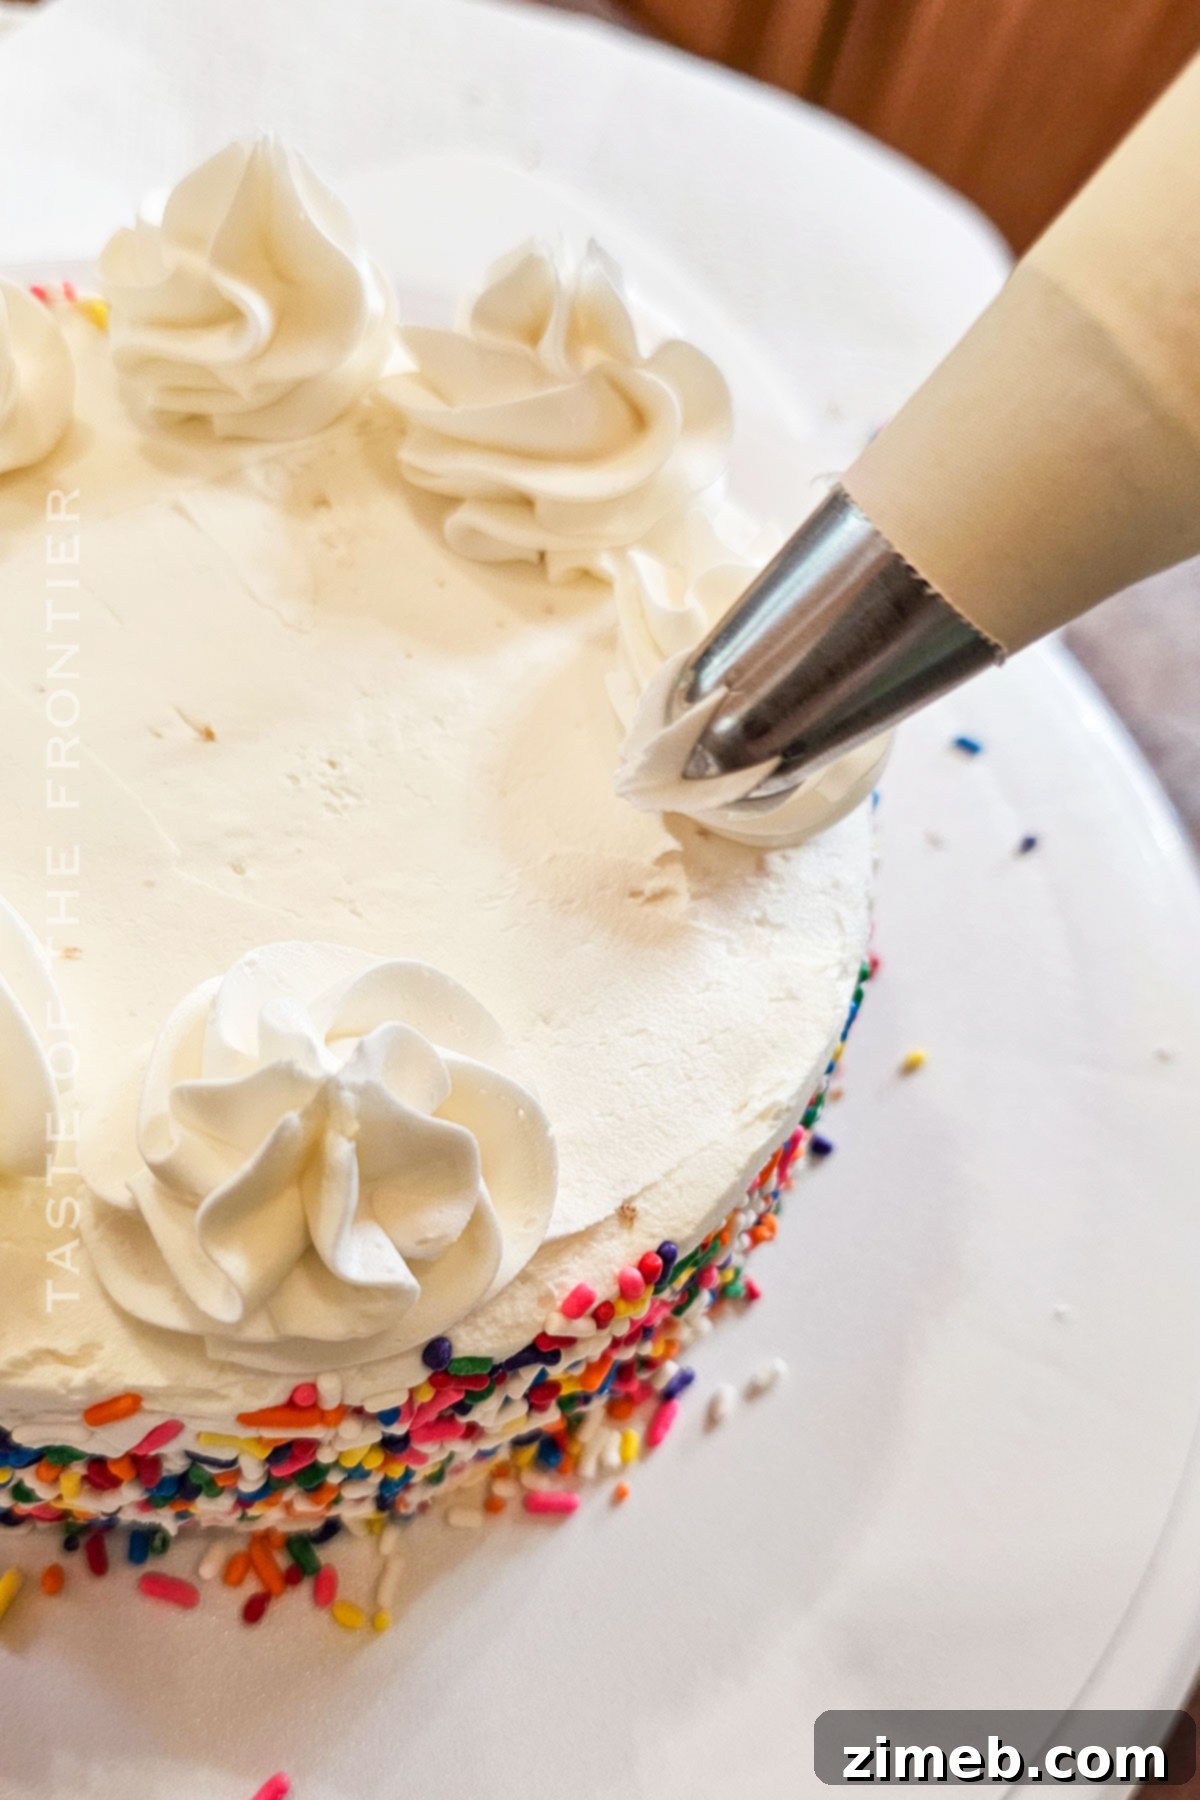
A small cake offers an intimate canvas for creative decoration. Here are a few simple ideas to make your cake truly shine:
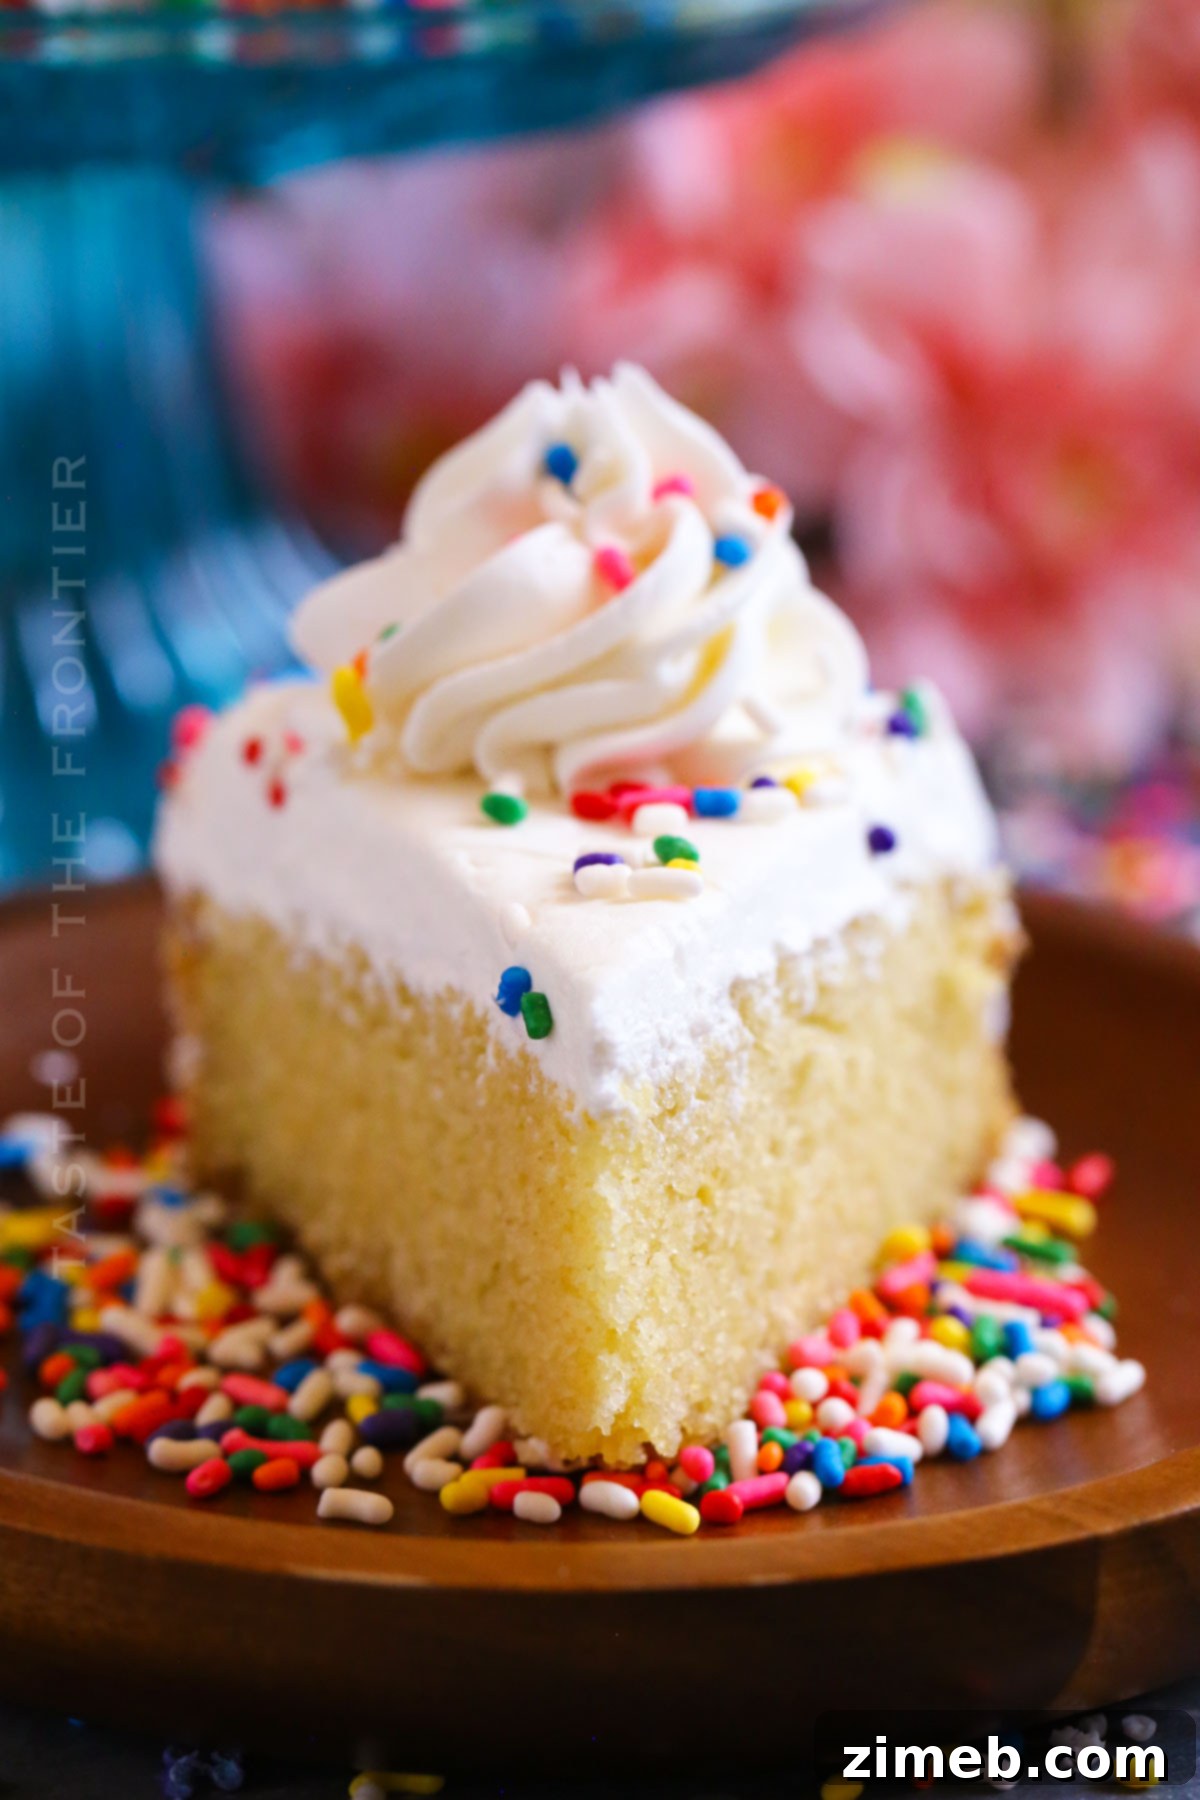
- **Sprinkle Power:** Classic rainbow sprinkles instantly add a festive and joyful touch, perfect for any birthday.
- **Fresh Fruit Elegance:** Arrange fresh berries like strawberries, raspberries, or blueberries on top for a burst of color and natural sweetness.
- **Chocolate Shavings/Drizzle:** For chocolate lovers, a sprinkle of chocolate shavings or a delicate chocolate ganache drizzle can elevate the flavor and appearance.
- **Edible Flowers:** A few carefully placed edible flowers can transform your cake into a sophisticated and elegant treat.
- **Simple Messages:** Since it’s a smaller surface, a simple “Happy Birthday” or an initial in piped frosting looks wonderfully neat.
Why You Should Make This Small Birthday Cake
This is truly one of the best birthday cakes out there for so many reasons. I love how absolutely simple and consistently delicious it is, making every celebration feel extra special.
- Perfect Size: Ideal for small gatherings, a quiet family celebration, or when you just want a slice of homemade goodness without the vast leftovers.
- Customizable: Exceptionally easy to modify for different flavors, dietary needs (within reason), or seasonal themes.
- Memorable: Creates a special, personalized focal point for birthdays, regardless of the number of guests. It shows thoughtfulness and homemade love.
- Less Stress Baking: Its smaller scale makes the baking process quicker, easier, and less intimidating for bakers of all skill levels.
Creative Variations and Add-ins
If you’ve got any other fantastic ideas for variations on this delightful cake, please let me know in the comments below – you guys always come up with the greatest inspirations!
- Chocolate Lovers Dream: Easily transform this into a decadent chocolate cake by swapping a quarter cup of flour for unsweetened cocoa powder, or simply folding in mini chocolate chips.
- Nutty Twist: Add finely crushed pecans, walnuts, or almonds to the batter for a delightful texture and nutty flavor.
- Fruit Filled Delight: Layer with fresh strawberries, raspberries, or a light berry compote between the cake and frosting layers for a fresh, vibrant taste.
- Citrus Burst: Incorporate lemon or orange zest into the batter and frosting for a bright and refreshing flavor profile.
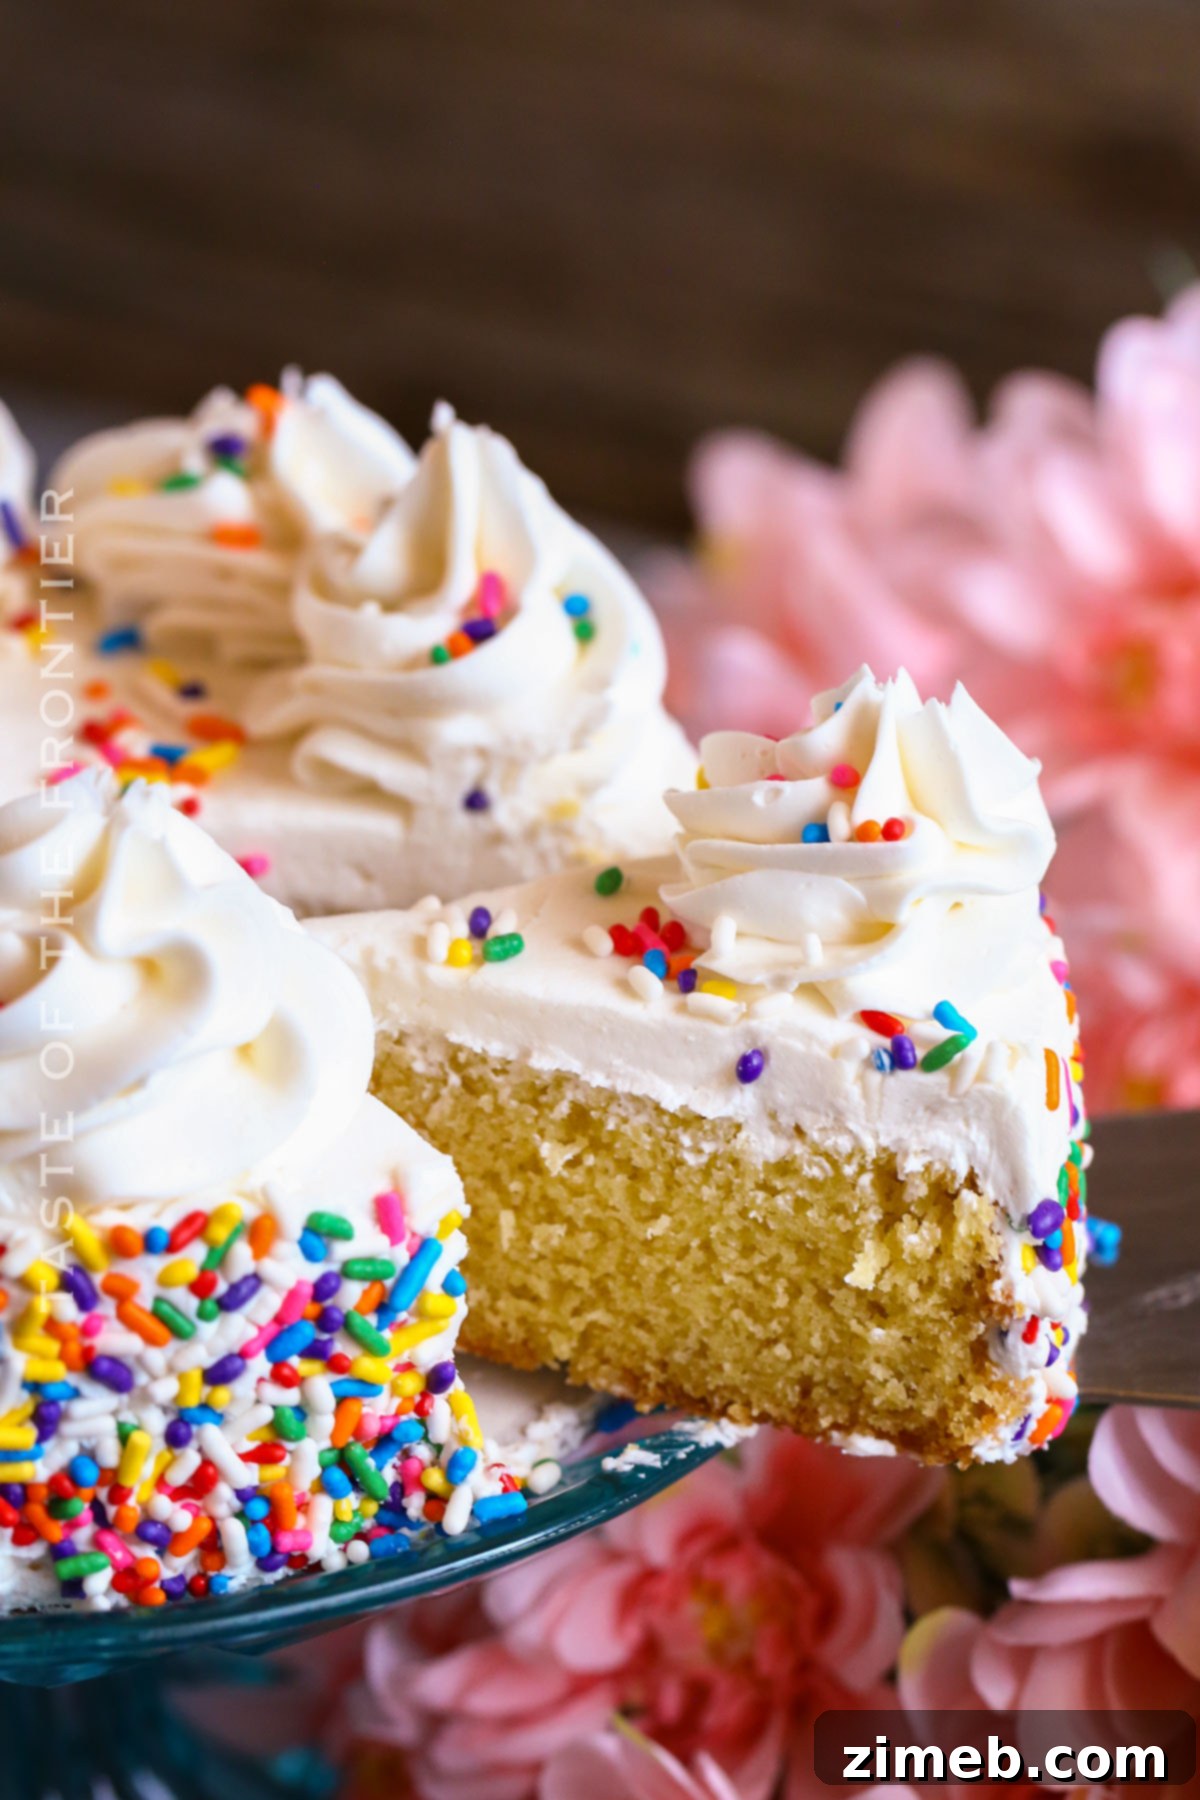
If you love this easy birthday cake recipe, you’re going to love these other delicious cake recipes too. Please click each link below to find the easy, printable recipe!
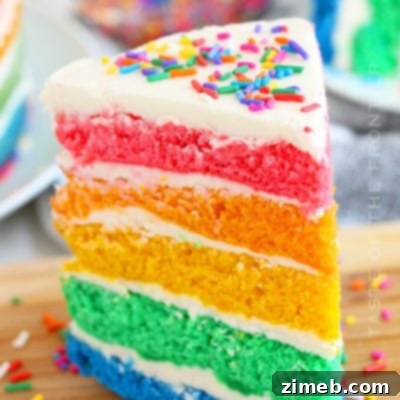
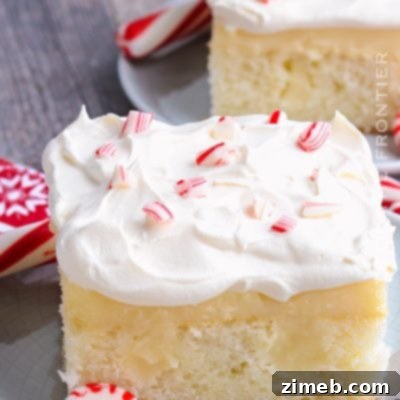
Make It Even Better With These Frosting Recipes
While our classic fluffy vanilla frosting is divine, you can explore other frosting options to perfectly complement your small birthday cake.
- Chocolate Buttercream Frosting
- Whipped Cream Frosting
- Oreo Frosting
- Cake Batter Frosting Recipe
CONNECT WITH YUMMI HAUS!
Be sure to follow me on my social media, so you never miss a post!
Substack, FB, Pinterest, IG, Email Subscription
Small Birthday Cake
Ingredients
Cake
- 6 tbsp unsalted butter – room temperature
- ½ cup granulated sugar
- 1 large egg
- 1 tbsp vanilla extract
- ¾ cup all-purpose flour
- ¼ tsp baking soda
- Pinch table salt
- 6 tbsp buttermilk
FROSTING OF CHOICE – you can use the recipe down in the notes if you don’t have a favorite.
SPRINKLES OF CHOICE
Instructions
- Preheat the oven to 350 degrees Fahrenheit (175°C).
- Grease the bottom and sides of ONE 6” round baking pan with butter or shortening. Add a parchment round in the bottom of the pan as well for easier release.
- In a medium bowl, beat the butter and sugar together until the butter has emulsified with the sugar – about 1-2 minutes, becoming light and fluffy.
- Add the egg and vanilla extract – beat well for about 10-20 seconds until fully incorporated.
- Combine the flour, baking soda, and salt in a small bowl. Fold half of that mixture into the butter mixture gently.
- Mix in half of the buttermilk and continue beating on low speed while slowly adding the remainder of the flour mixture and the buttermilk until the batter is thick and smooth. Do not overmix.
- Transfer the batter to the prepared pan. Bake for 35-40 minutes. The cake is done when a toothpick inserted into the center returns clean, OR when the center springs back when gently pressed.
- Remove and allow the cake to cool completely to room temperature on a wire rack BEFORE removing it from the pan to decorate.
Notes
- ½ cup butter – room-temperature – I prefer to use salted to cut the sweetness
- 1 ¾ cups confectioner’s sugar
- 1 tbsp clear vanilla extract – to keep the frosting bright white
- 1 tbsp heavy cream
- Beat the butter in the mixer bowl until light and fluffy.
- Add the confectioner’s sugar, vanilla, and heavy cream. Stir on low until the sugar has incorporated enough to not fly out of the bowl. Then increase the speed and beat well until the frosting is light and fluffy. If it is too thick, you can add 1 tbsp at a time of heavy cream or milk.
Equipment
- Mixer
- 6” round cake pan
Nutrition
Nutritional information for the recipe is provided as a courtesy and is approximate. Please double-check with your own dietary calculator for the best accuracy. We at Yummi Haus cannot guarantee the accuracy of the nutritional information given for any recipe on this site.