
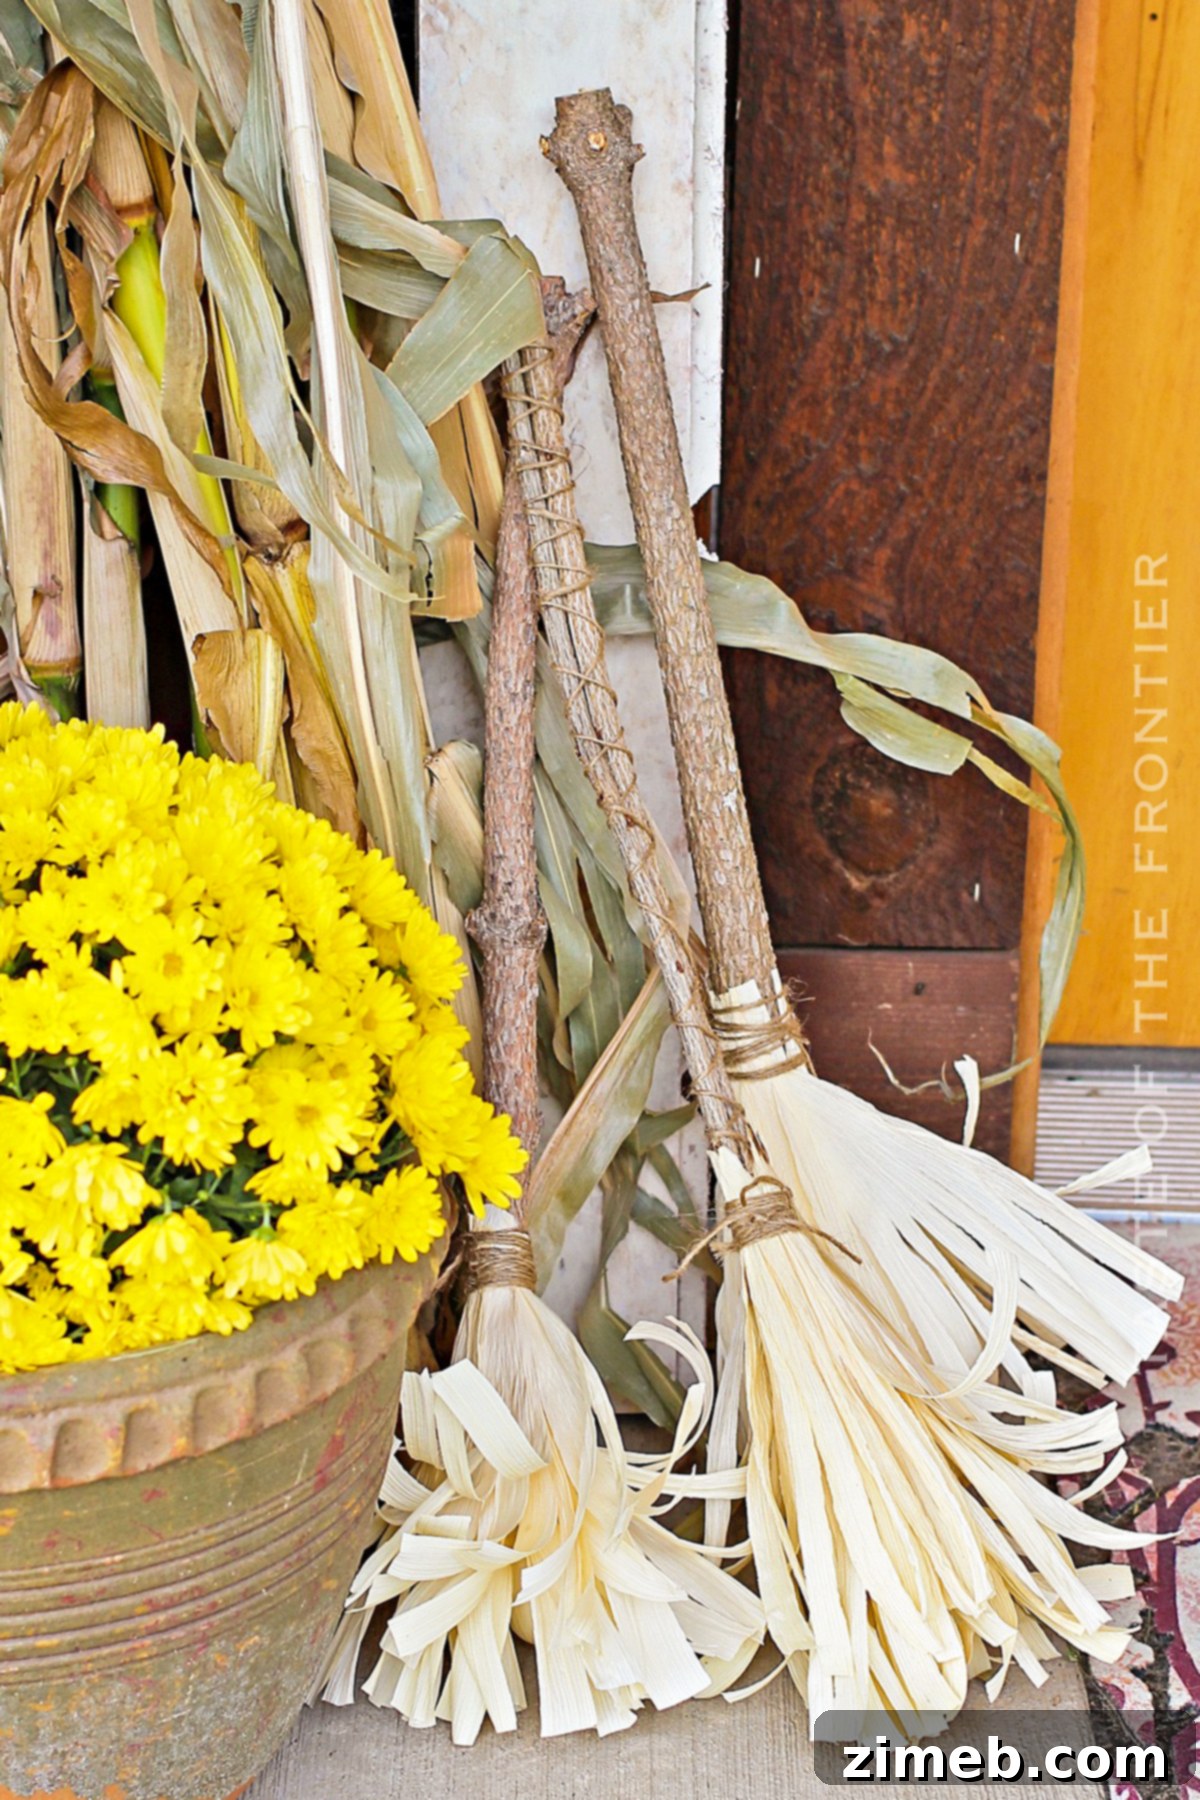
Embrace the cozy charm of autumn with these delightful corn husk brooms, perfect for adding a rustic, festive touch to your home decor. This simple yet rewarding fall craft is enjoyable for all ages.
As the leaves begin to turn and a crisp chill fills the air, our thoughts naturally drift towards seasonal decorating. If you’re searching for an enchanting, budget-friendly, and truly unique way to adorn your porch or entryway this fall, look no further than handmade corn husk brooms. This engaging craft is not only straightforward to create but also offers a wonderful opportunity to infuse your space with natural beauty and rustic elegance. Imagine the warm, inviting atmosphere these brooms will bring, transforming your home into a haven of autumn delight.
Crafting corn husk brooms is an incredibly satisfying project that can be completed in just a few enjoyable steps. Beyond their decorative appeal, they provide a fantastic eco-friendly solution for utilizing corn husks, ensuring no part of the harvest goes to waste. Whether you’re aiming for a classic fall aesthetic or a whimsical touch for Halloween, these versatile brooms are sure to impress. So, gather your materials, ignite your creativity, and embark on the journey of making your very own corn husk broom today!
PIN THIS TO SAVE FOR LATER
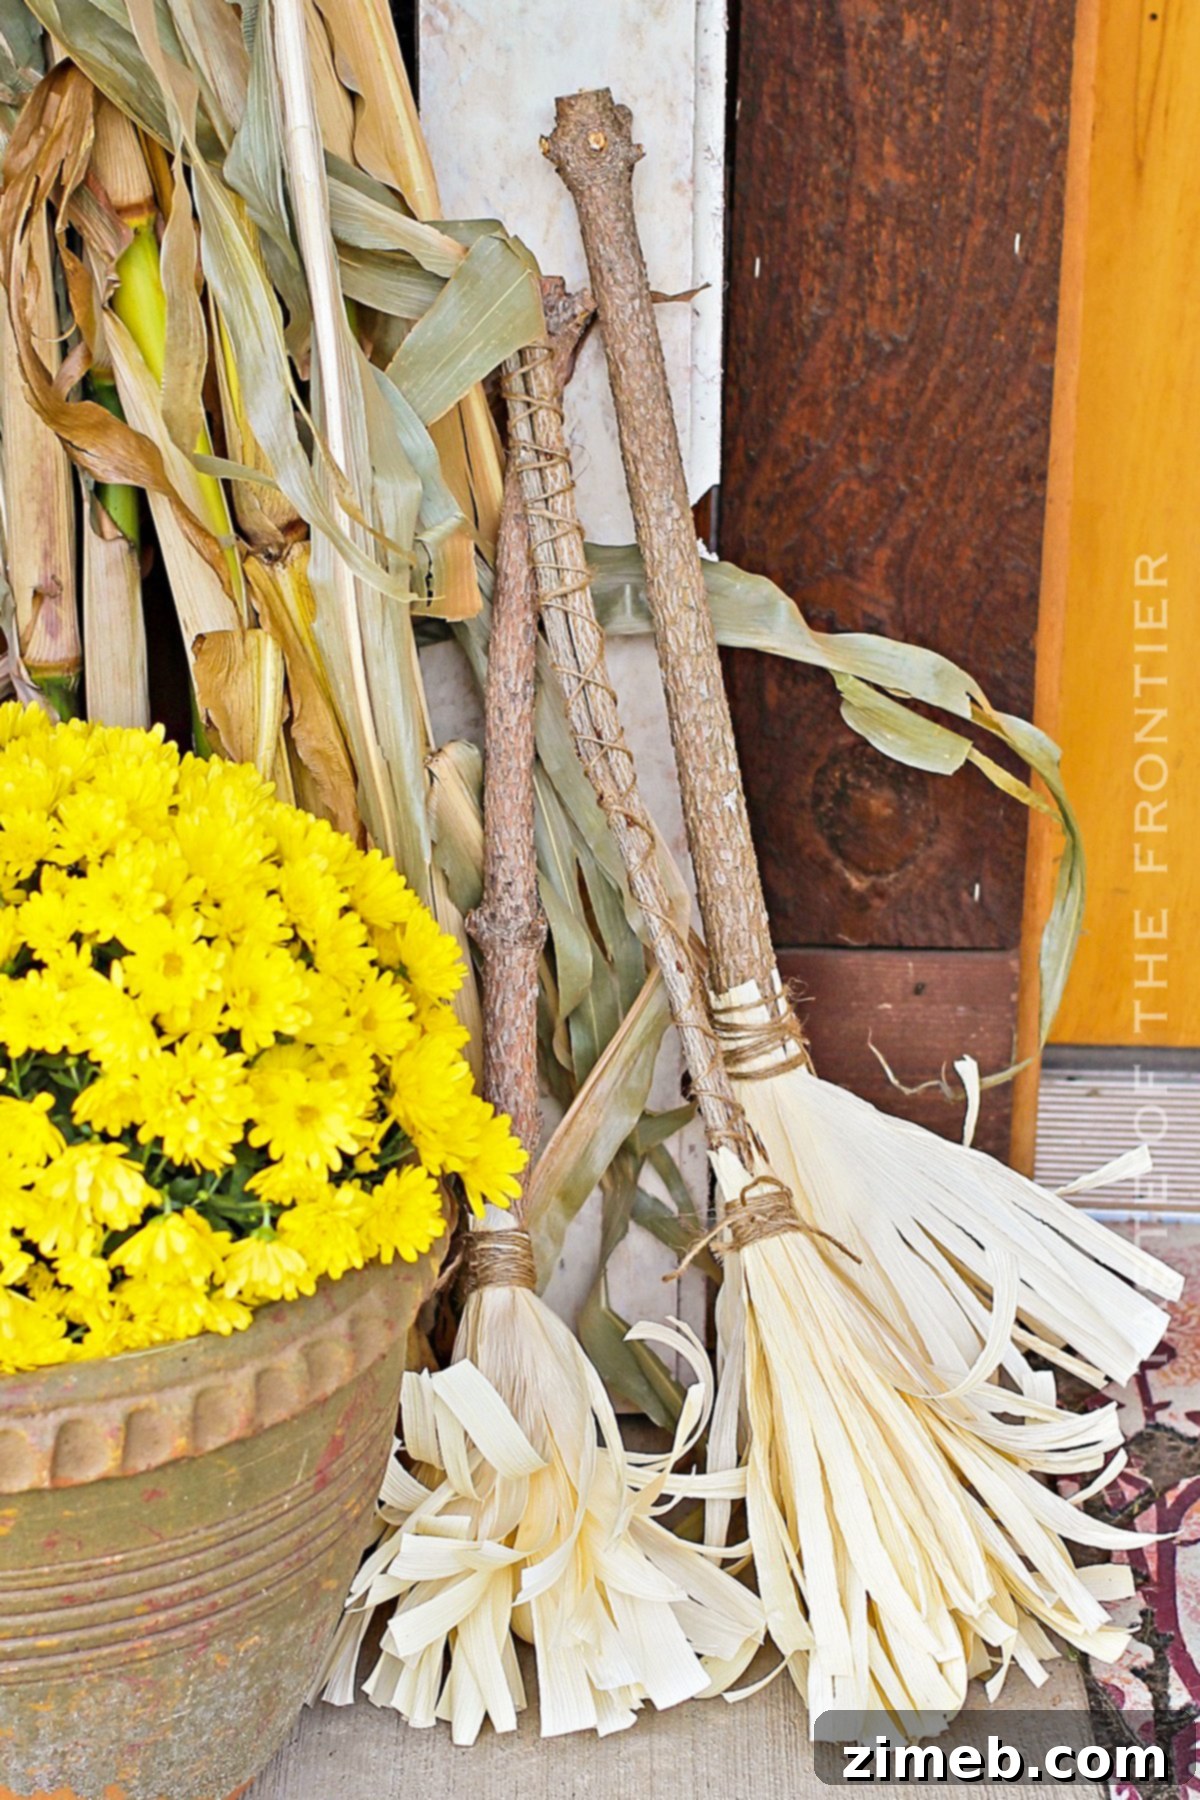
With autumn truly upon us, the spirit of fall decorating comes alive! It’s the perfect time to immerse ourselves in crafting projects that celebrate the season’s bounty and vibrant colors. As we transition from the golden hues of fall foliage to the spooky delights of Halloween, handmade decorations like these corn husk brooms bridge the gap beautifully. They offer a simple, charming way to embrace the changing seasons, bringing a touch of nature’s elegance right to your doorstep. It’s a wonderful period for creative expression, setting the stage for festive family gatherings and memorable celebrations. While our minds might race ahead to holiday preparations, let’s take a moment to savor these moments of autumn crafting, creating pieces that resonate with the heart of the season.
Fall Crafts: Embracing Natural Elements for Seasonal Decor
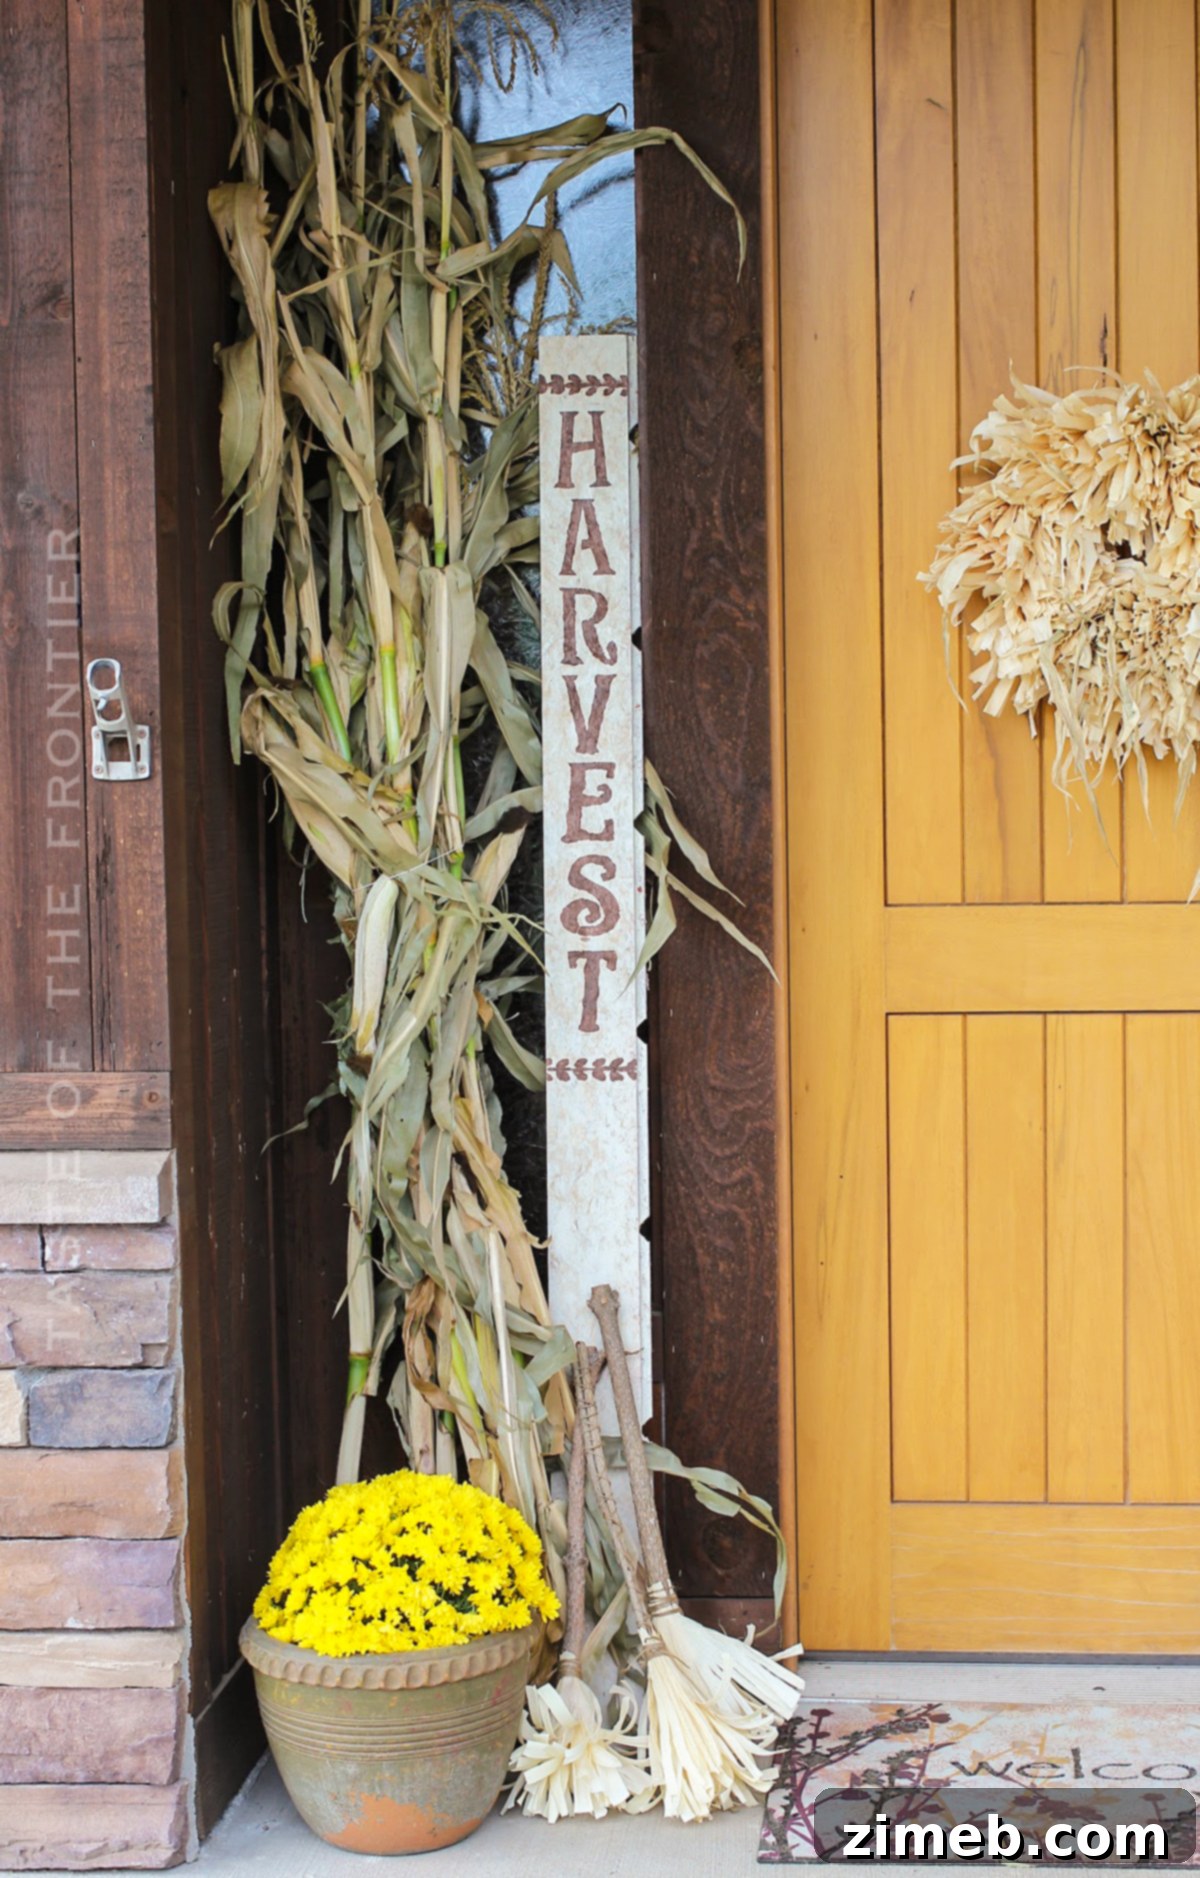
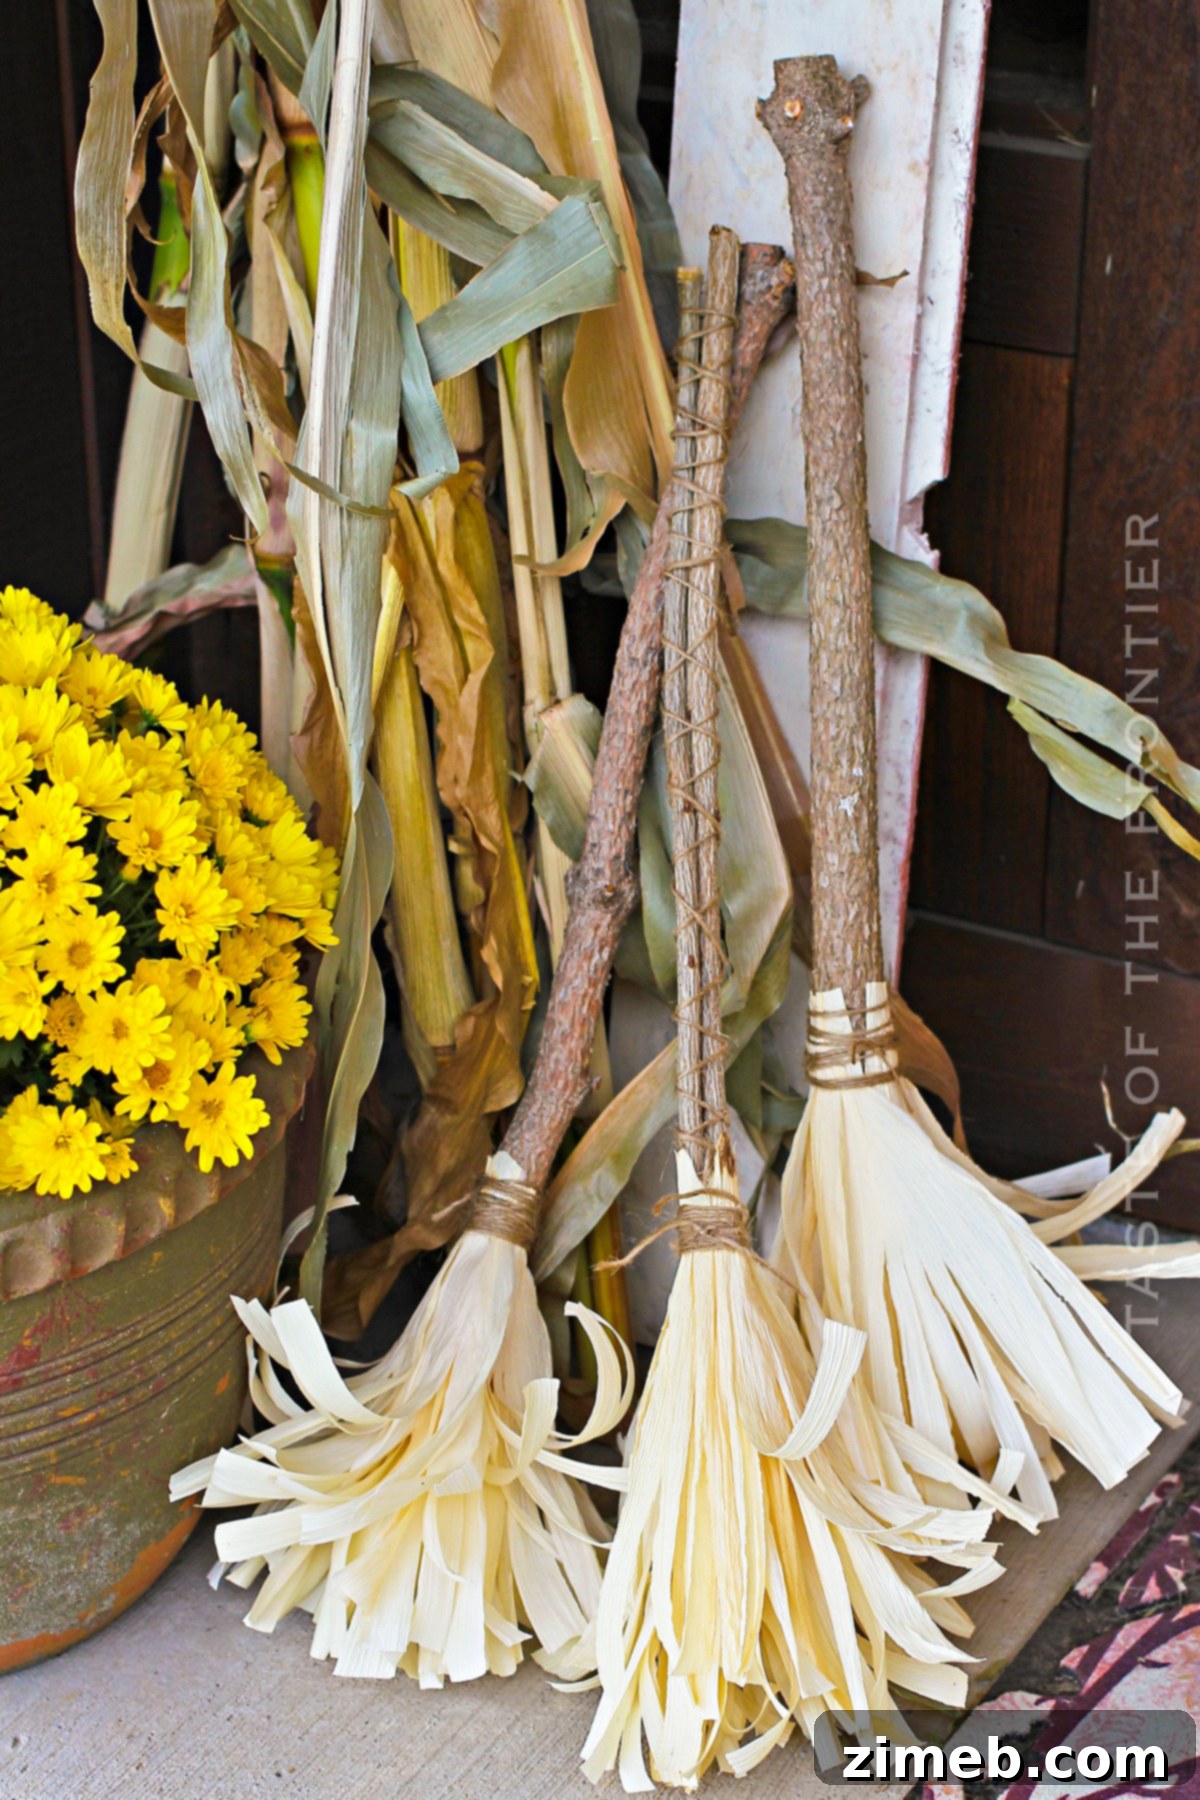
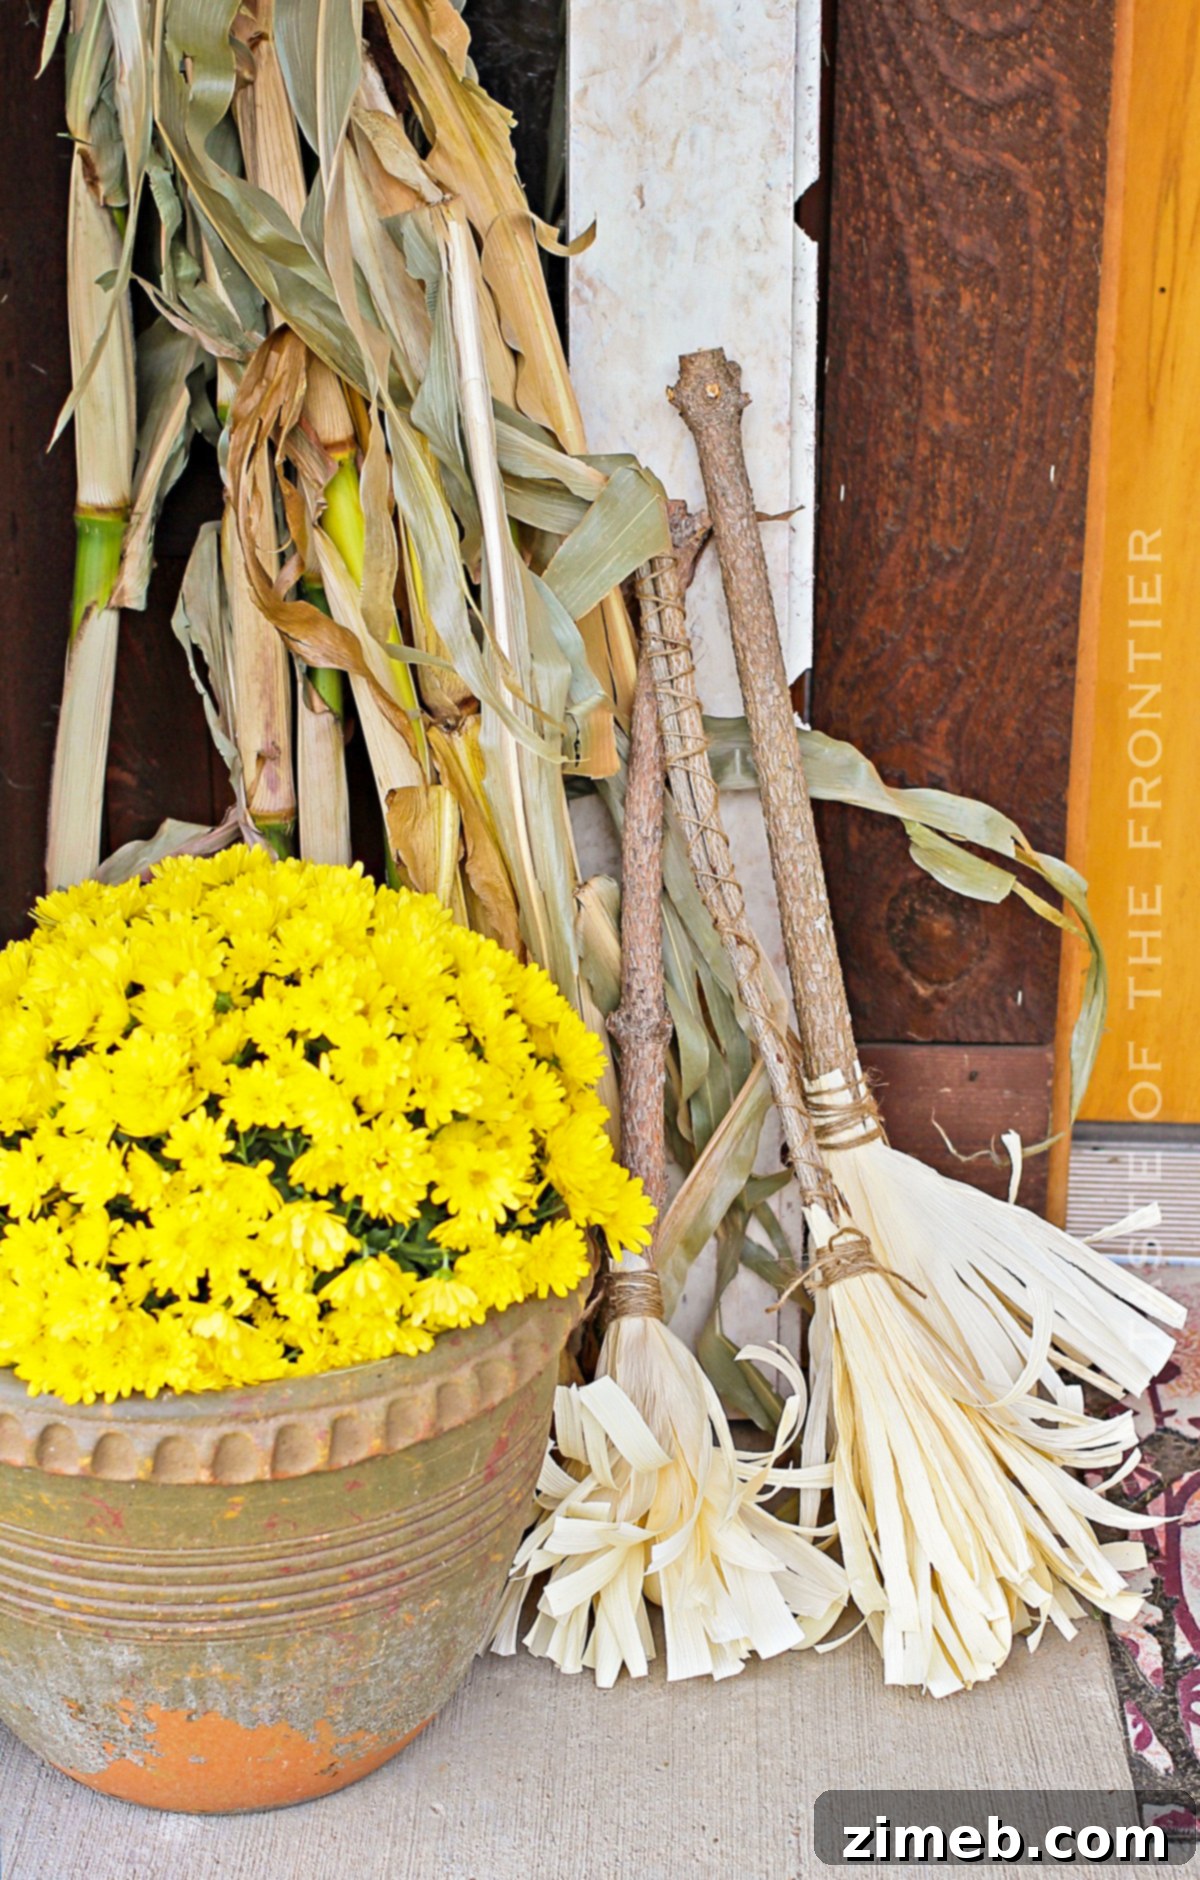
My passion for decorating with natural elements, especially corn husks, continues with these charming corn husk brooms for the front porch. There’s something inherently inviting and authentic about using materials directly from nature to adorn your home. These brooms offer immense versatility in decor; while they perfectly capture the rustic essence of fall, they can also be transformed into whimsical witch’s brooms for Halloween with just a few creative additions. Imagine them leaning against a potted mum, or perhaps grouped together as part of a larger harvest display. Their textured, organic look instantly grounds your decor in the season.
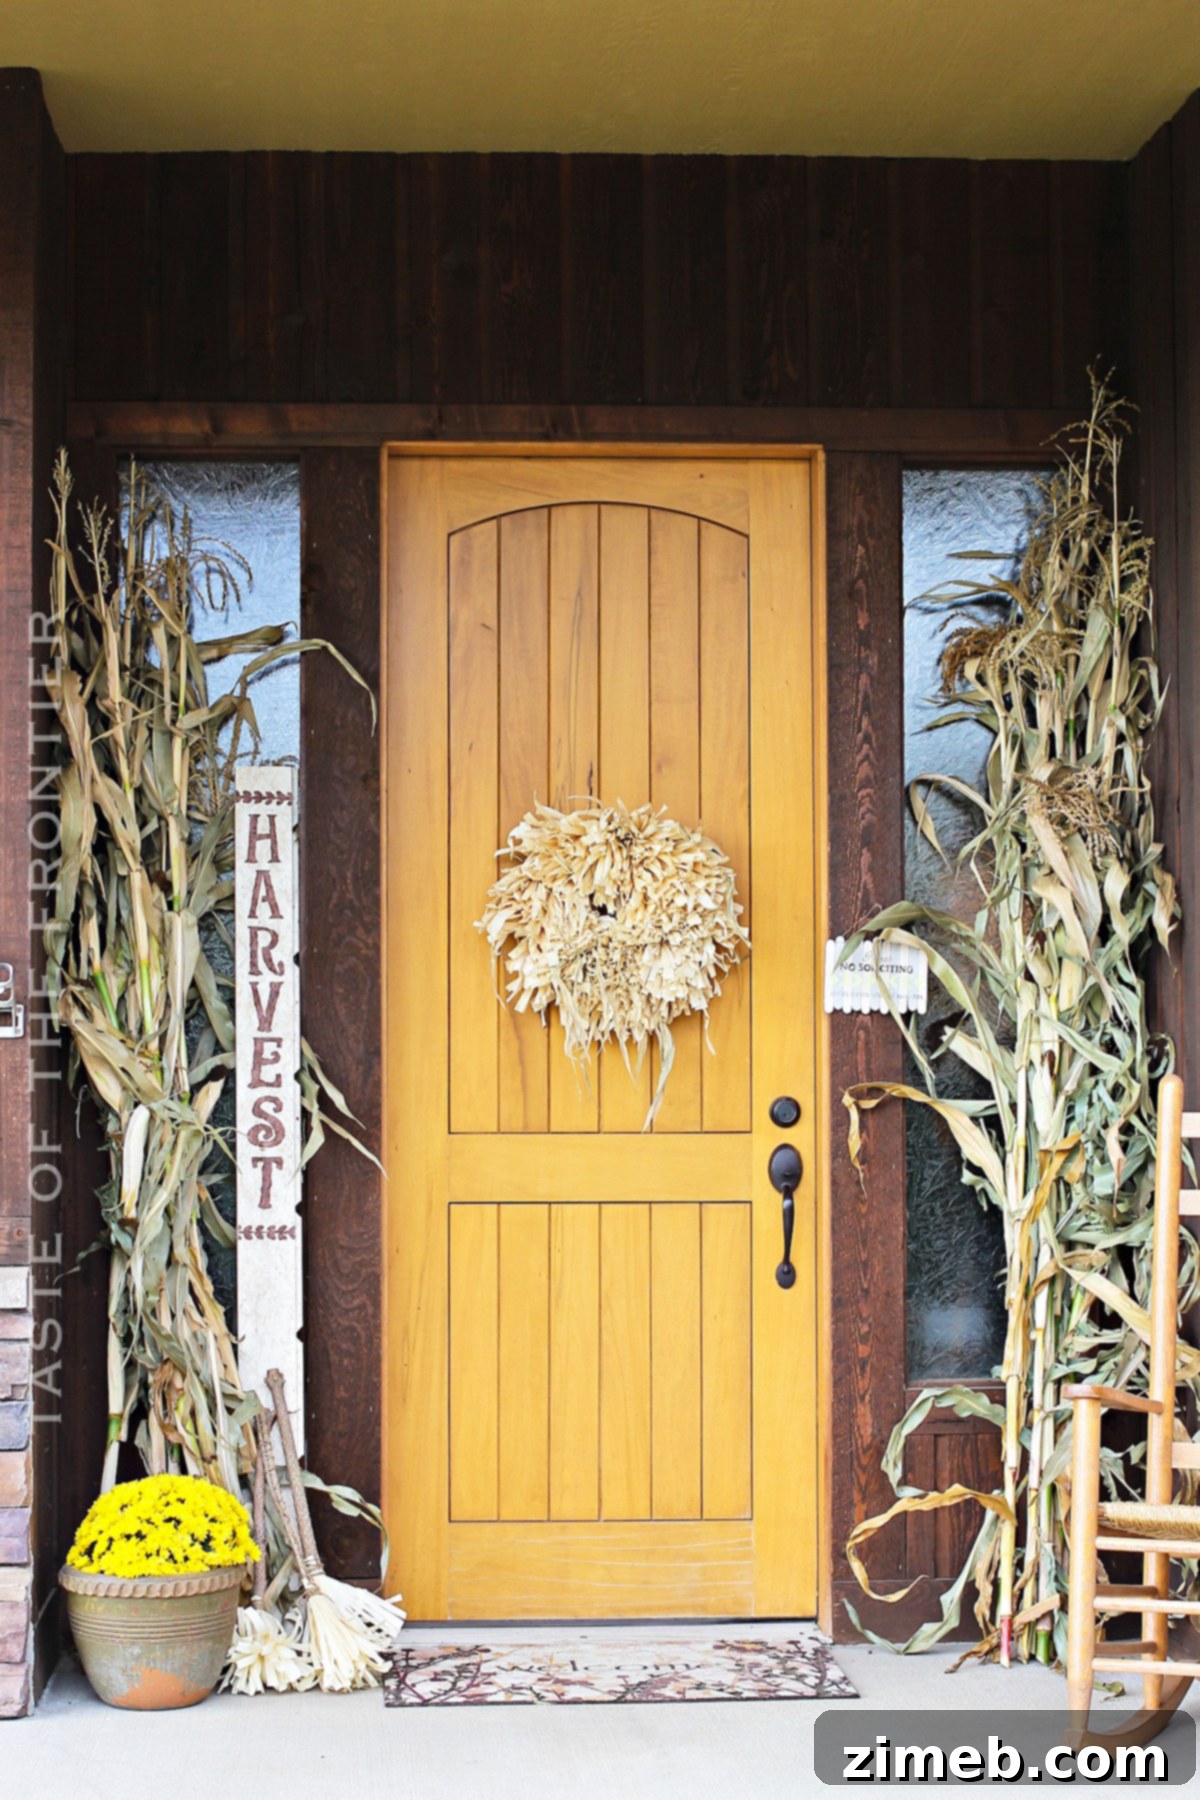
For now, my porch boasts a delightful array of these husks, creating a look that feels as though a cornfield has gracefully settled upon my entryway, and I couldn’t be happier with the result. This natural abundance brings an authentic, country-chic vibe that welcomes guests with warmth. I plan to share more details about the complete fall porch transformation very soon, but these corn husk brooms are undoubtedly the stars of the show, setting the perfect autumnal tone.
Frequently Asked Questions About Crafting with Corn Husks
Where Can I Find Corn Husks for My Craft Projects?
Finding quality corn husks is often the first step in embarking on beautiful corn husk crafts. They are typically available in the international or Mexican food section of most grocery stores, especially those with a well-stocked global foods aisle. These are usually dried and packaged, ready for crafting or culinary uses like tamales. While prices can fluctuate, a decently sized bag historically cost around $2-5. In recent times, you might find them retailing for approximately $8 a bag, but it’s always worth checking discount stores or dollar stores, as they sometimes carry them for significantly less.
For projects like a corn husk wreath or multiple brooms, you will likely need at least 2-3 bags to achieve a full and lush final result. The quantity depends on the desired density and size of your craft. When purchasing, look for husks that are relatively intact, free from excessive discoloration, and have a good length, as longer husks provide more flexibility and coverage for your designs. Buying a bit extra is always a good idea, as some husks might be too small or damaged for your specific needs, ensuring you have enough material to complete your vision without interruption.
IMPORTANT NOTE: ALWAYS TIE THE HUSKS AS TIGHTLY AS POSSIBLE. THIS IS CRUCIAL BECAUSE CORN HUSKS WILL NATURALLY SHRINK CONSIDERABLY AS THEY DRY. If not secured firmly, they will loosen over time and could eventually detach from the twine, causing your beautifully crafted broom to fall apart. Apply ample pressure when binding to ensure longevity.
Cleaning and Maintaining Your Corn Husk Brooms
Like any outdoor decoration, corn husk brooms are susceptible to collecting dust, pollen, and other environmental debris. Proper cleaning and maintenance are key to preserving their rustic charm and extending their lifespan. To keep your brooms looking fresh and vibrant, a gentle approach is best. Avoid harsh chemicals or abrasive cleaning methods that could damage the delicate husks.
The most effective way to clean accumulated dust and dirt is by using compressed air. A can of compressed air, readily available at most office supply or electronics stores, works perfectly for smaller brooms and intricate areas. For larger brooms or quicker cleaning, an air compressor with a low-pressure nozzle or even a leaf blower can be used. Direct the stream of air gently over the broom, ensuring you blow away debris without tearing or displacing the husks. This method is quick, efficient, and protects the integrity of your craft.
It is critically important to understand that re-wetting the husks will compromise the structural integrity of your brooms. Therefore, **do not wash them with a garden hose, bring them indoors to rinse them under a faucet, or expose them to heavy rain or snow**. The drying process after assembly causes the husks to shrink and harden, creating a tightly bound structure. Introducing moisture again will soften the husks, causing the twine to loosen and the broom to unravel. To ensure your beautiful corn husk brooms last for many seasons, keep them dry and protect them from direct exposure to the elements.
Essential Supply List for Crafting Your Corn Husk Brooms
Gathering your materials before you begin ensures a smooth and enjoyable crafting experience. Here’s a simple list of everything you’ll need to create your own rustic corn husk brooms:
- Sticks or Branches: The foundation of your broom! We utilized sturdy sticks and branches collected from pruning our own trees, embracing a sustainable approach. Look for pieces that are relatively straight, about 1-2 feet long (or your desired broom handle length), and robust enough to support the husks. Natural imperfections add to the charm!
- 2-3 Bags of Corn Husks: As discussed, these can be found in the international section of most grocery stores. The quantity needed will depend on the size and fullness you desire for your brooms. It’s always better to have a little extra than to run short mid-project.
- Durable Twine: A strong, natural twine is essential for securely binding the corn husks to the stick. Jute twine or similar natural fibers work perfectly, offering both strength and a rustic aesthetic that complements the corn husks beautifully. Ensure it’s robust enough to withstand the tension required to tie the husks tightly.
CRITICAL ADVICE: TO MAINTAIN THE INTEGRITY AND LONGEVITY OF YOUR CORN HUSK BROOMS, IT IS IMPERATIVE TO KEEP THEM OUT OF DIRECT WEATHER EXPOSURE. THIS MEANS PROTECTING THEM FROM RAIN, SNOW, AND PROLONGED HIGH HUMIDITY. MOISTURE WILL CAUSE THE HUSKS TO SOFTEN, LOOSEN, AND ULTIMATELY COMPROMISE THE STRUCTURE OF YOUR BROOM. DISPLAY THEM IN SHELTERED AREAS LIKE A COVERED PORCH, OVERHANG, OR INDOORS.
How to Prepare Corn Husks for Optimal Crafting
Proper preparation of corn husks is the secret to creating pliable, easy-to-work-with material for your brooms. This simple soaking process makes all the difference in achieving a beautifully crafted end product.
- Initial Soaking: Begin by carefully removing the natural husks from their packaging. Place them into a large bowl or basin filled with clean, fresh water. Ensure the husks are fully submerged for the best results.
- Submersion and Softening: Corn husks tend to float, so to ensure they remain fully underwater and absorb moisture evenly, place another bowl, a heavy jar, or even a small plate on top of them. This weight will hold them down. Allow the husks to soak for several hours, ideally 2-4 hours, or even overnight if they are particularly dry or stiff. This extended soaking period is vital; it thoroughly softens the husks, making them incredibly pliable and much easier to manipulate without tearing or cracking during the crafting process.
- Drying and Preparation for Use: Once the husks have achieved a soft, flexible texture, carefully remove them from the water. Gently pat off any excess moisture using paper towels or a clean cloth. They should be damp but not dripping. At this point, your corn husks are perfectly prepared and ready to be transformed into stunning decorative brooms. Work with them while they are still damp, as they will stiffen again as they dry.
Step-by-Step Guide: How to Craft Your Own Corn Husk Broom
Now that your corn husks are perfectly prepared, it’s time to assemble your beautiful fall brooms. Follow these detailed steps to create a charming and sturdy decoration:
- Attaching the First Layer of Husks: Begin by taking several damp husks at a time. The goal is to build a full and lush broom, so don’t be shy with your husks. Position the small, tapered end of these husks around the base of the stick you’ve chosen for your broom handle. Ensure they are evenly distributed around the circumference of the stick to create a balanced foundation for the broom head.
- Securing with Twine: Once you have a good cluster of husks positioned, take a long piece of strong twine. Start wrapping the twine tightly around the husks and the stick, just above where the husks begin to flare out. Wrap it multiple times, pulling firmly with each pass to ensure the husks are securely bound to the stick. A robust knot at the beginning and end of this wrapping will prevent any loosening.
- Building Fullness: Continue to add more bundles of damp corn husks onto the stick. As you add each new layer, make sure to overlap the previous husks slightly. This layering technique is key to achieving a dense, full, and visually appealing broom head. Keep binding each new addition tightly with twine, working your way down the stick a bit if you want a longer broom head, or concentrating at one point for a more compact shape. The more husks you add, the fuller and more traditional your broom will appear.
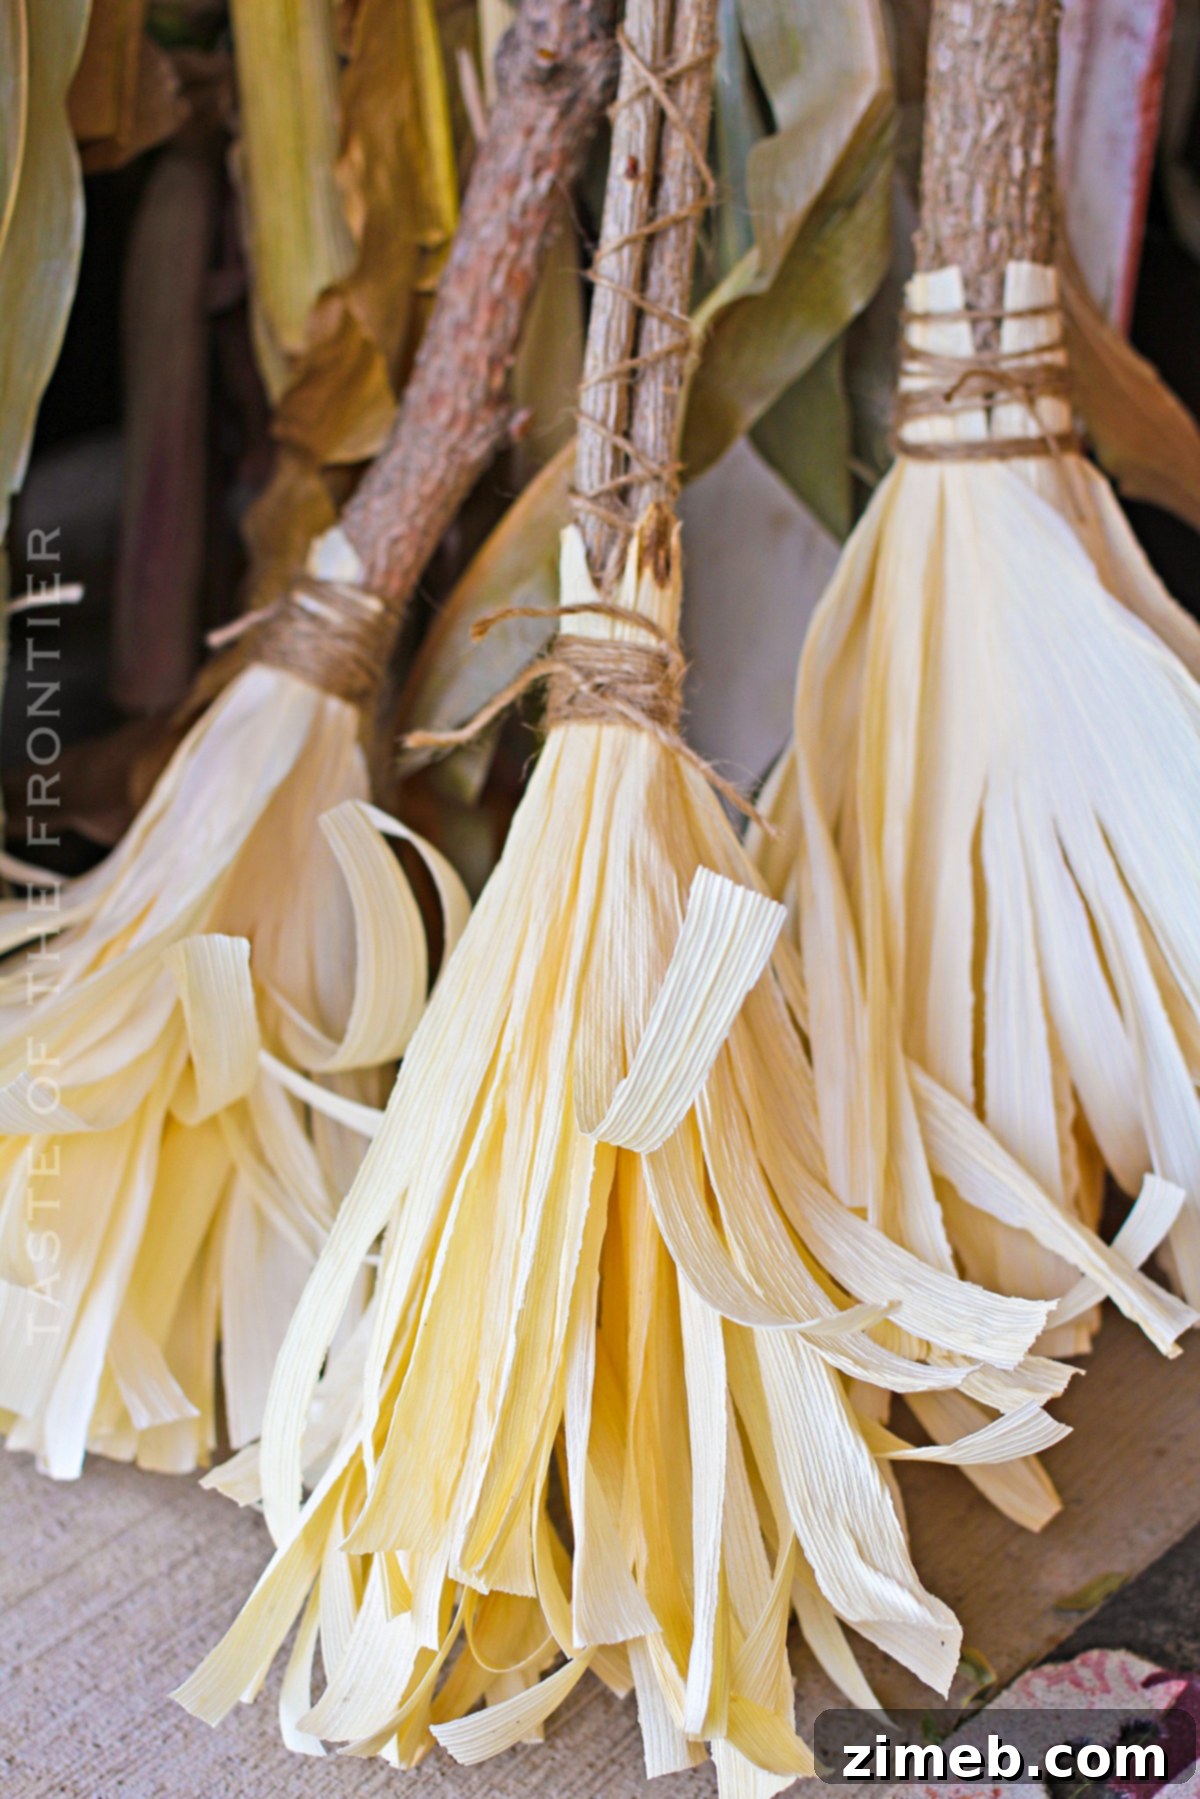
- Creating the Frayed Broom Look: Once you are satisfied with the volume of your broom head, it’s time to create the classic frayed “bristle” look. Gently tear the wider ends of the husks upwards, creating natural strips. This tearing mimics the bristles of a traditional broom and adds to the rustic aesthetic. Don’t worry if they don’t look perfectly uniform; the natural variations will add to their charm. As the husks dry, these torn ends will naturally curl and become stiff, enhancing the broom-like appearance.
- Drying Your Finished Broom: After assembling the entire broom, it’s crucial to allow it to dry thoroughly in a warm, well-ventilated area. This drying process allows the husks to shrink and harden, locking them firmly into place and giving the broom its final, rigid form. Hanging the broom by its stick ensures that the weight of the husks doesn’t squish or distort their shape as they dry. I found success by attaching mine to a wire hanger with paper clips and hanging it in a warm garage for a couple of days. Ensure good airflow around the broom to prevent any mold or mildew.
If you’ve enjoyed crafting these easy-to-make fall corn husk brooms, you’re in for a treat! Discover more creative and enchanting seasonal craft ideas below to continue decorating your home with handmade charm.
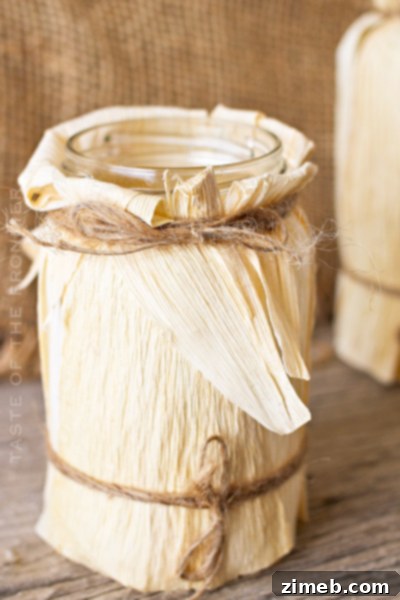
Corn Husk Luminaries: Add a Glowing Touch to Your Fall Decor
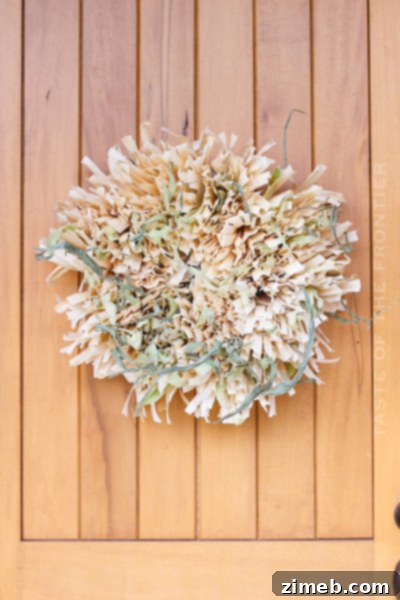
Raw Corn Husk Wreath: A Simple Yet Elegant Harvest Decoration
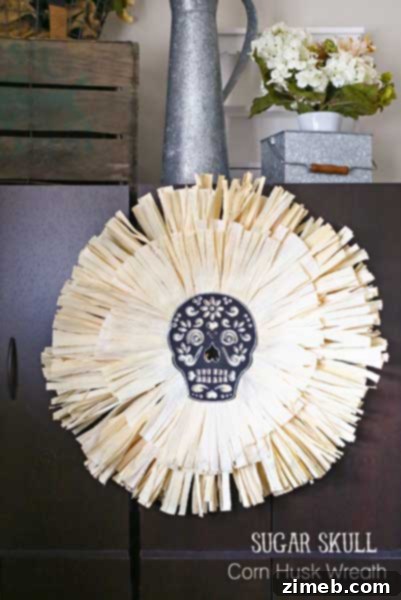
Sugar Skull Corn Husk Wreath: A Festive Twist on Traditional Decor
Free Thanksgiving I Spy Printable: Fun for the Whole Family
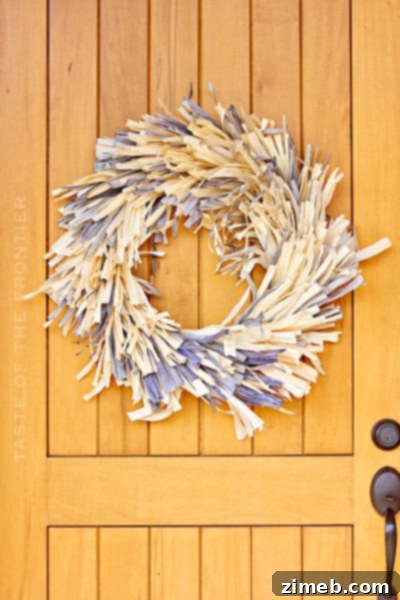
Frayed Corn Husk Wreath: Textural Beauty for Your Fall Home
Halloween I Spy Printable: A Spooktacular Game for Kids
CONNECT WITH YUMMI HAUS!
Be sure to follow me on my social media channels so you never miss a post, new recipe, or crafting idea!
Substack, Facebook, Pinterest, Instagram, Email Subscription