
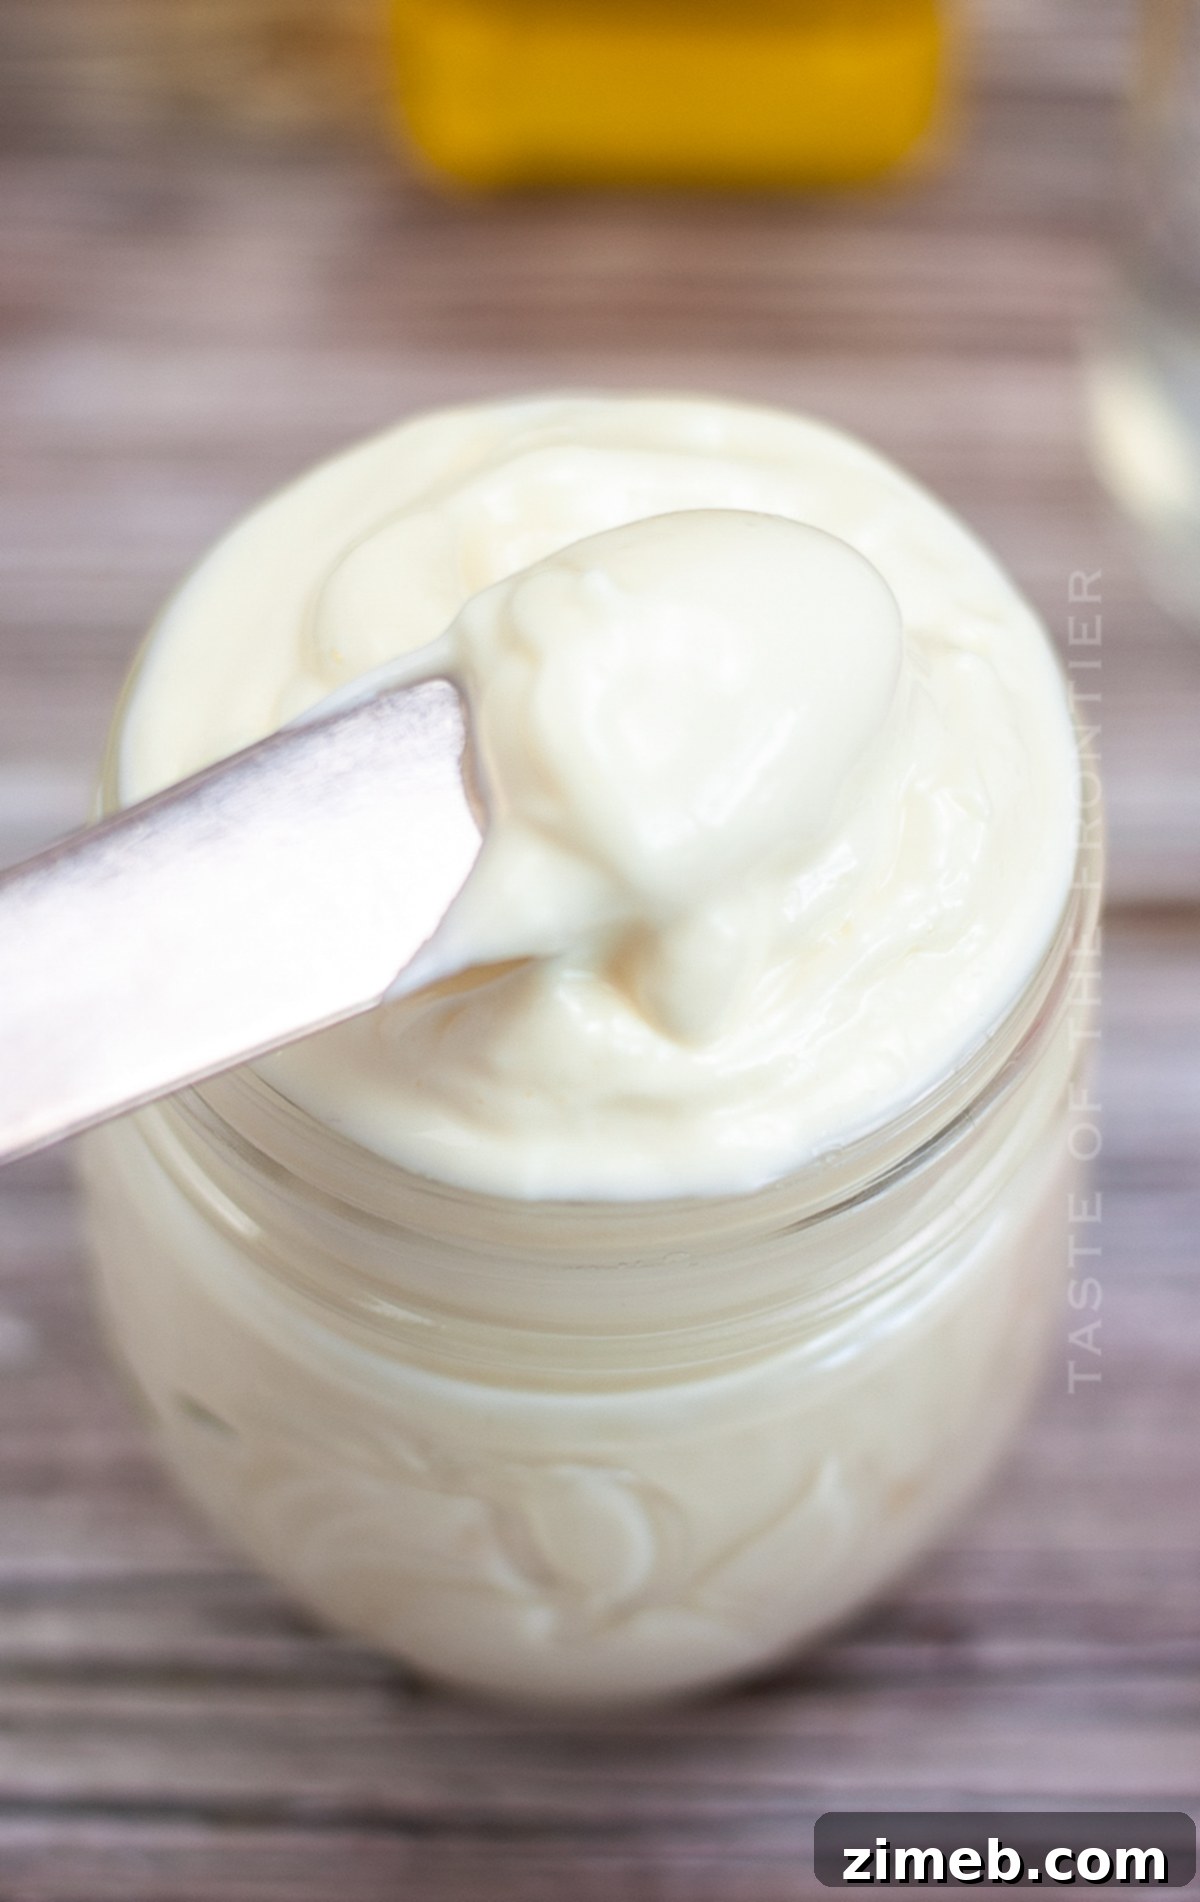
Unlock the secret to creamy perfection in your kitchen! Make your own **Homemade Mayonnaise** at home with this incredibly easy, foolproof recipe. All it takes is a handful of staple ingredients, a trusty blender, and mere minutes of your time. Ditch the store-bought jars and elevate your culinary creations with fresh, vibrant mayo that tastes profoundly better.
Have you ever considered the magic of crafting your own mayonnaise? For those mindful of every ingredient in their diet, whether due to health concerns, specific dietary plans, or simply a desire for cleaner eating, making kitchen staples from scratch becomes an empowering habit. This homemade mayonnaise recipe is a shining example, allowing you to control precisely what goes into your food. The peace of mind that comes from knowing every component is pure and wholesome is truly invaluable.
The notion of making mayonnaise from scratch might seem daunting at first glance, conjuring images of fussy techniques and potential failures. However, this recipe is designed to be as straightforward as possible, proving that homemade doesn’t mean complicated. The sheer satisfaction of transforming simple ingredients into a rich, luscious condiment in your own kitchen is incredibly rewarding. Plus, the ability to tailor it to your exact preferences – from the type of oil to the acidity level – ensures a personalized touch that no commercial product can match.
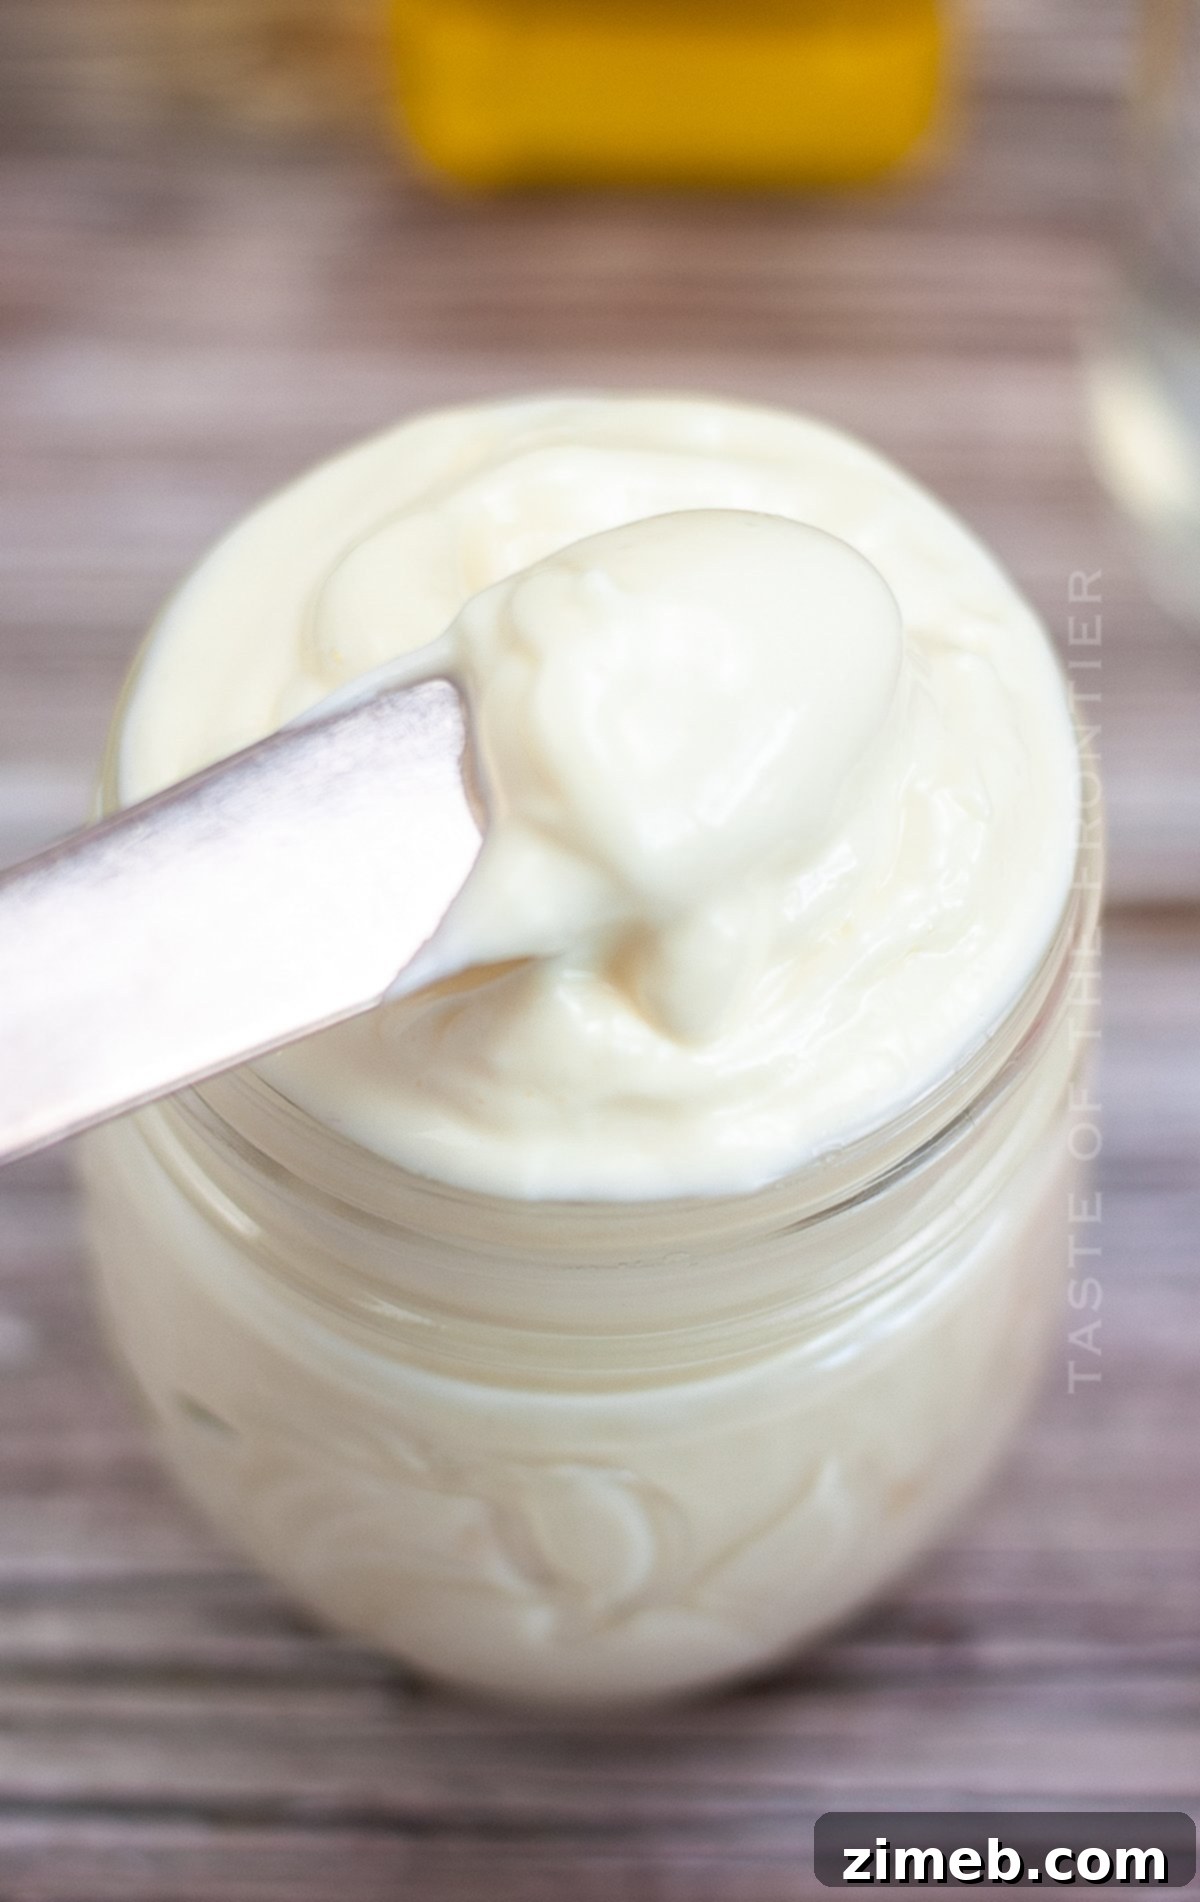
One of the aspects we particularly cherish about preparing our own mayonnaise is the flexibility it offers. We create only the amount we need, precisely when we need it. This eliminates the common predicament of a large, half-used jar languishing in the refrigerator for weeks, slowly losing its freshness and taking up precious space. Instead, each batch is made fresh, ensuring peak flavor and quality every single time.
This approach fosters a more mindful relationship with our food, encouraging us to be intentional about what we consume and produce. Beyond the health benefits and convenience, the flavor profile of this homemade mayonnaise is simply unparalleled. It’s light-years ahead of anything you’ll find on a grocery store shelf – creamier, more vibrant, and free from the artificial aftertastes that often accompany mass-produced condiments. We are confident that once you try this recipe, you’ll be captivated by its superior taste and will never look back.
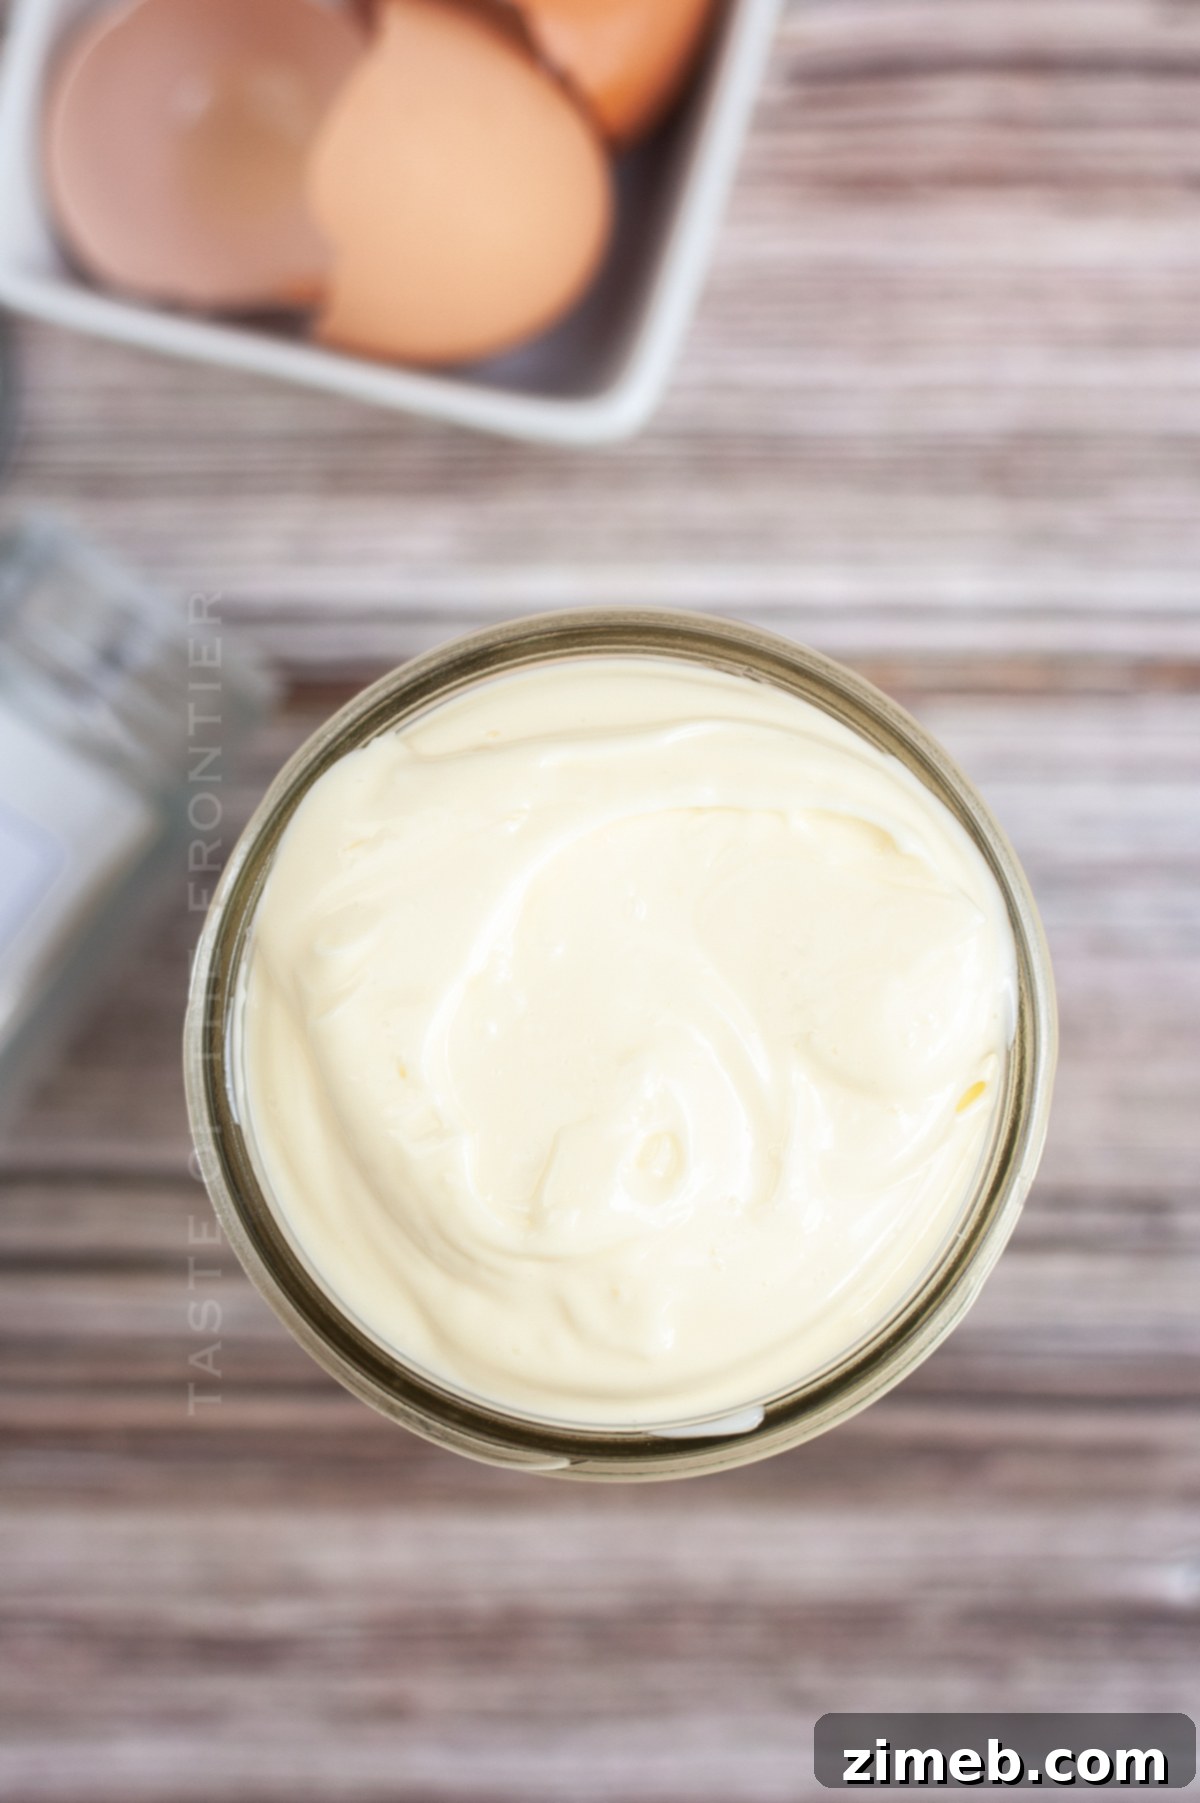
Frequently Asked Questions About Homemade Mayonnaise
Embarking on the journey of making your own mayonnaise often comes with a few common questions, especially regarding safety, storage, and the science behind this delicious emulsion. Let’s delve into some of the most frequently asked queries to ensure your homemade mayo experience is both successful and worry-free.
Is Homemade Mayonnaise Safe to Eat? Addressing Raw Egg Concerns
The primary concern with homemade mayonnaise typically revolves around the use of raw eggs. It’s true that raw egg products can carry a risk of salmonella bacteria, which can cause foodborne illness. However, there are several straightforward ways to significantly reduce this risk, making your homemade mayonnaise a safe and enjoyable treat.
The most effective method is to use **pasteurized eggs** or **pasteurized egg products**. These eggs have been heated to a temperature sufficient to kill harmful bacteria like salmonella without cooking the egg, making them perfectly safe for raw consumption in recipes like mayonnaise. You can often find pasteurized eggs in the refrigerated section of larger supermarkets. If pasteurized eggs aren’t available, selecting the freshest possible eggs from a reputable source and ensuring proper refrigeration can also minimize risk, though it doesn’t eliminate it entirely. For an extra layer of caution, some home cooks choose to gently temper their eggs (warm them slightly without cooking) before blending, though this requires careful temperature control.
How Long Does Homemade Mayonnaise Last? Maximizing Freshness and Shelf Life
One of the compelling reasons many choose to make their own mayonnaise is to avoid the artificial additives and preservatives commonly found in store-bought versions. This commitment to natural ingredients means that homemade alternatives generally have a shorter shelf life and should be enjoyed fresh.
When stored properly in an airtight container in the refrigerator, homemade mayonnaise will typically remain safe and delicious for **3 to 4 days**. Its freshness can begin to decline after this period, and it’s always best to err on the side of caution. This short lifespan encourages smaller, more frequent batches, which, as discussed, is a wonderful way to minimize waste and ensure optimal flavor.
For those looking to extend the life of their homemade mayonnaise naturally, **fermentation** offers an excellent solution. By introducing beneficial microbes, you can significantly prolong its freshness. Simply add 1 tablespoon of a commercial starter culture or whey (strained from plain, live-culture yogurt) to your freshly made mayonnaise. Allow this mixture to sit at room temperature for approximately 8 hours. During this time, the good microbes will flourish, creating a slightly tangy flavor and actively inhibiting the growth of spoilage organisms. This fermentation process can extend your mayonnaise’s shelf life to up to two weeks in the refrigerator, providing a longer window to savor your homemade creation.
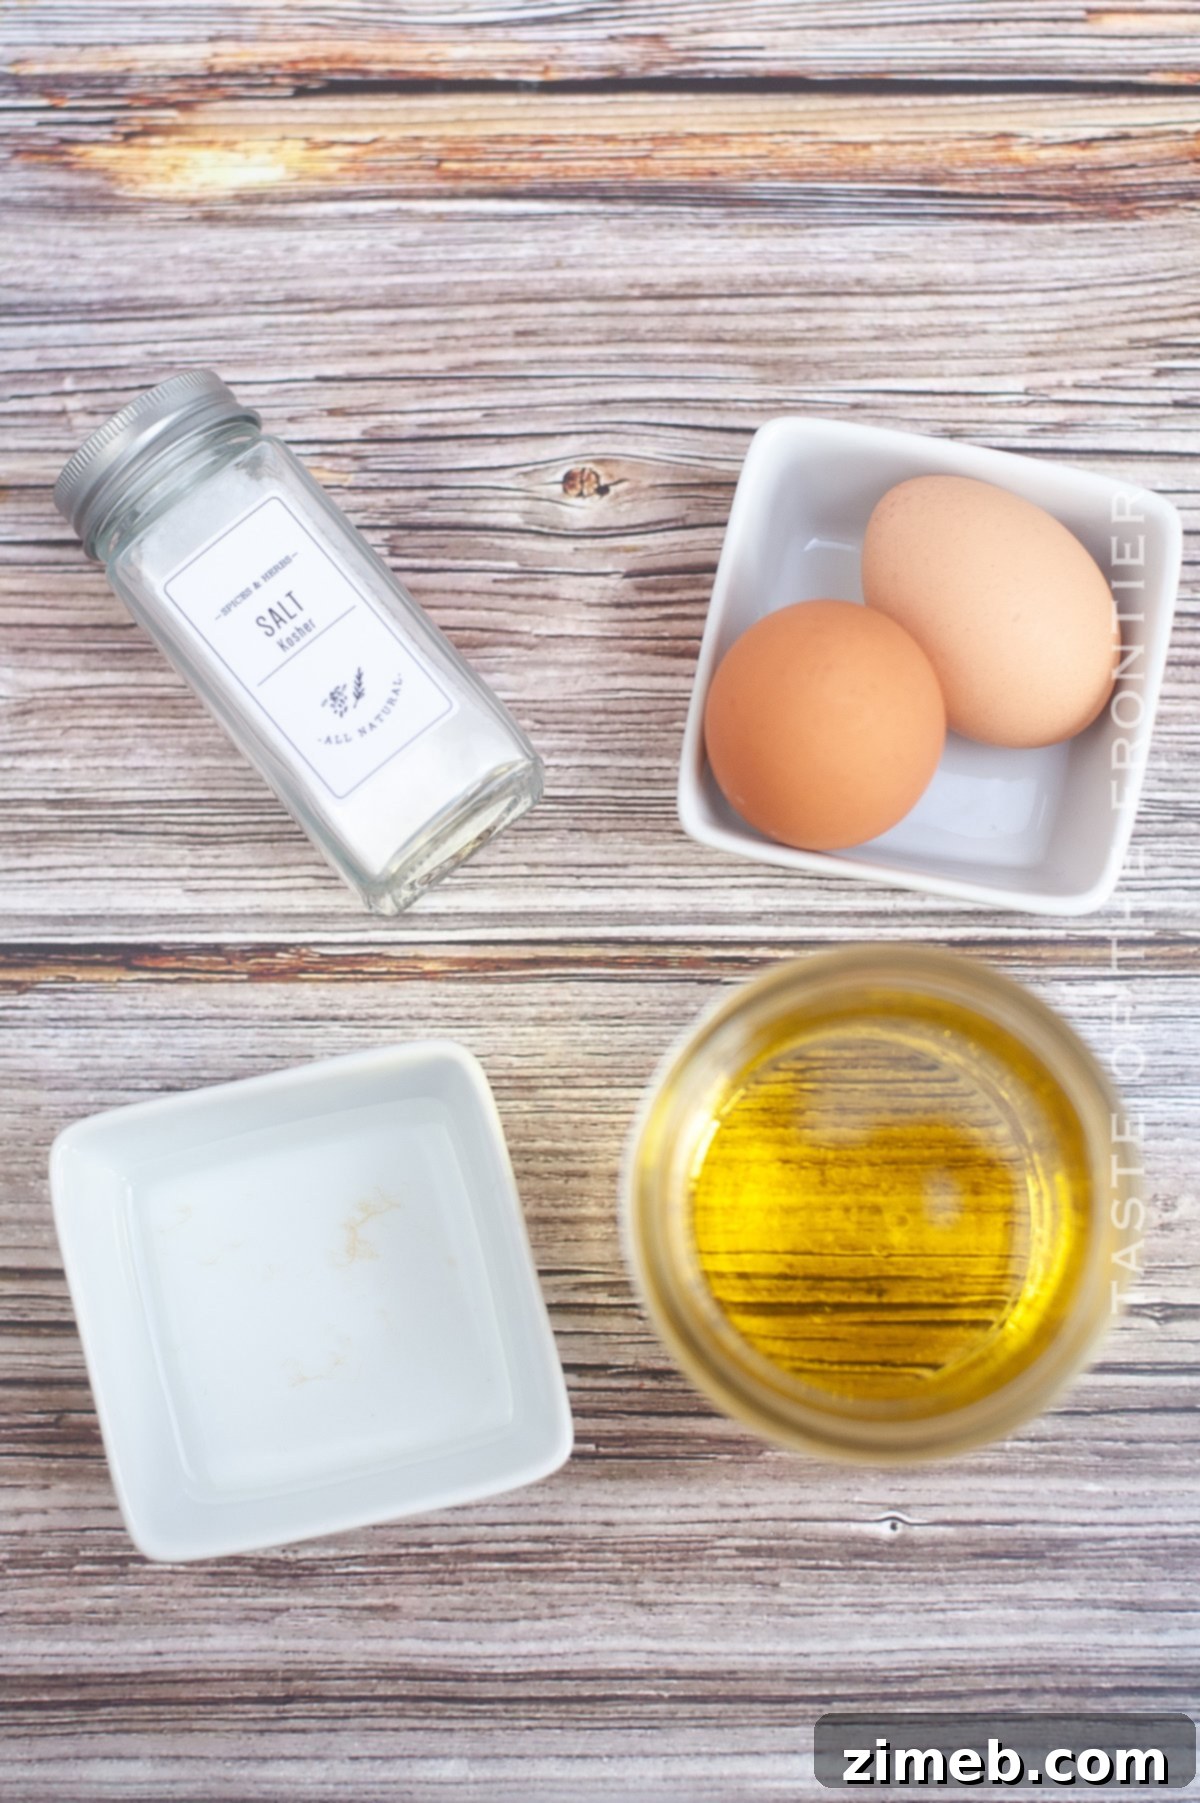
Essential Ingredients for Perfect Homemade Mayonnaise
The beauty of homemade mayonnaise lies in its simplicity. You only need a few fundamental ingredients to achieve a rich, creamy, and wonderfully flavorful result. Here’s a closer look at what you’ll need and why each component is crucial:
- Eggs: Specifically, the egg yolks are vital for emulsification. They contain lecithin, a natural emulsifier that helps bind the oil and water-based ingredients together, creating that smooth, stable consistency. Using fresh, high-quality eggs (preferably pasteurized for safety) is key.
- White Vinegar: This adds a necessary acidic tang, balancing the richness of the oil and eggs. Vinegar also acts as a natural preservative. For a milder flavor or if you prefer a different kind of acidity, fresh lemon juice is an excellent alternative.
- Salt: A fundamental seasoning that enhances all the other flavors. Don’t skimp on it, as it brings out the best in your mayonnaise. Adjust to taste.
- Vegetable Oil: The base of your mayonnaise. A neutral-flavored oil like canola, grapeseed, or sunflower oil is ideal as it won’t overpower the other ingredients. You can also experiment with light olive oil or avocado oil for different flavor profiles and health benefits, but be aware that strong-flavored oils can significantly impact the final taste.
These four ingredients, when combined correctly, form the foundation of a truly exceptional homemade mayonnaise. Their quality directly influences the final taste and texture, so choose wisely!
Why Did My Mayonnaise Liquefy Over Time? Understanding Emulsification
Mayonnaise is, at its core, an emulsion – a stable blend of two liquids that typically don’t mix, in this case, oil and a water-based mixture (from eggs and vinegar). The egg yolks act as a powerful emulsifier, keeping the oil droplets suspended within the water. Store-bought mayo often contains hydrogenated oils and various stabilizers to ensure a long-lasting, thick emulsion.
Homemade mayonnaise, free from these artificial stabilizers, can occasionally “break” or liquefy, especially if exposed to temperature fluctuations or stored for too long. This happens when the emulsion separates, and the oil and watery components un-mix. It’s a common issue but easily fixable!
To rescue de-emulsified mayonnaise, simply transfer the separated mixture to a clean blender. Add 1-2 teaspoons of boiling water (or even an additional fresh egg yolk for a stronger emulsifying boost) to the blender. Begin blending on low speed, then gradually pour in the broken mayonnaise mixture in a slow, steady stream. The boiling water (or fresh yolk) will help re-emulsify the components, restoring your mayonnaise to its creamy glory.
Step-by-Step: How to Make Homemade Mayonnaise
Creating your own mayonnaise is surprisingly quick and simple with the right tools and technique. Follow these steps for a perfectly creamy result every time:
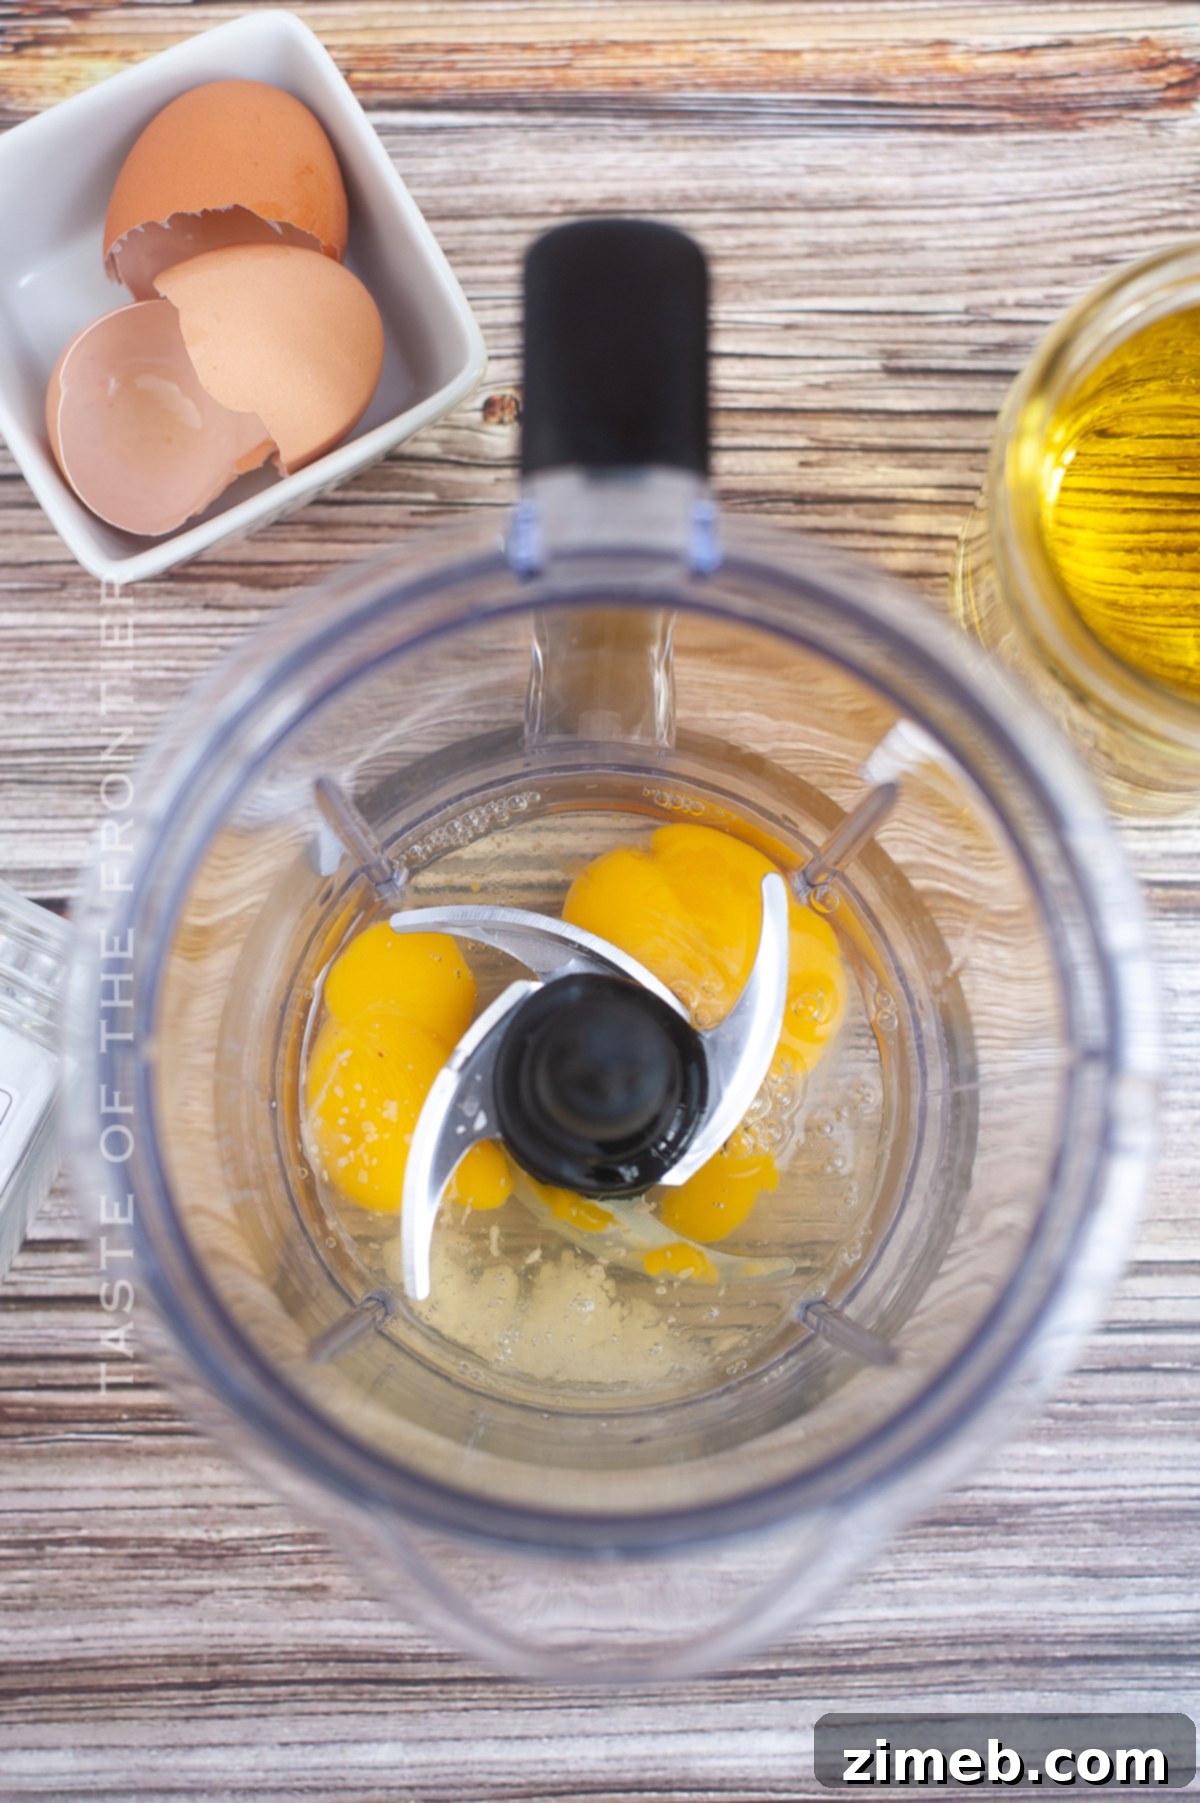
- Begin by combining the core water-based ingredients: crack the eggs into your blender, add the white vinegar, and a pinch of salt. Blend these ingredients on medium speed for about 30 seconds until well combined and slightly frothy. This initial mix ensures all flavors are integrated before the oil is introduced.
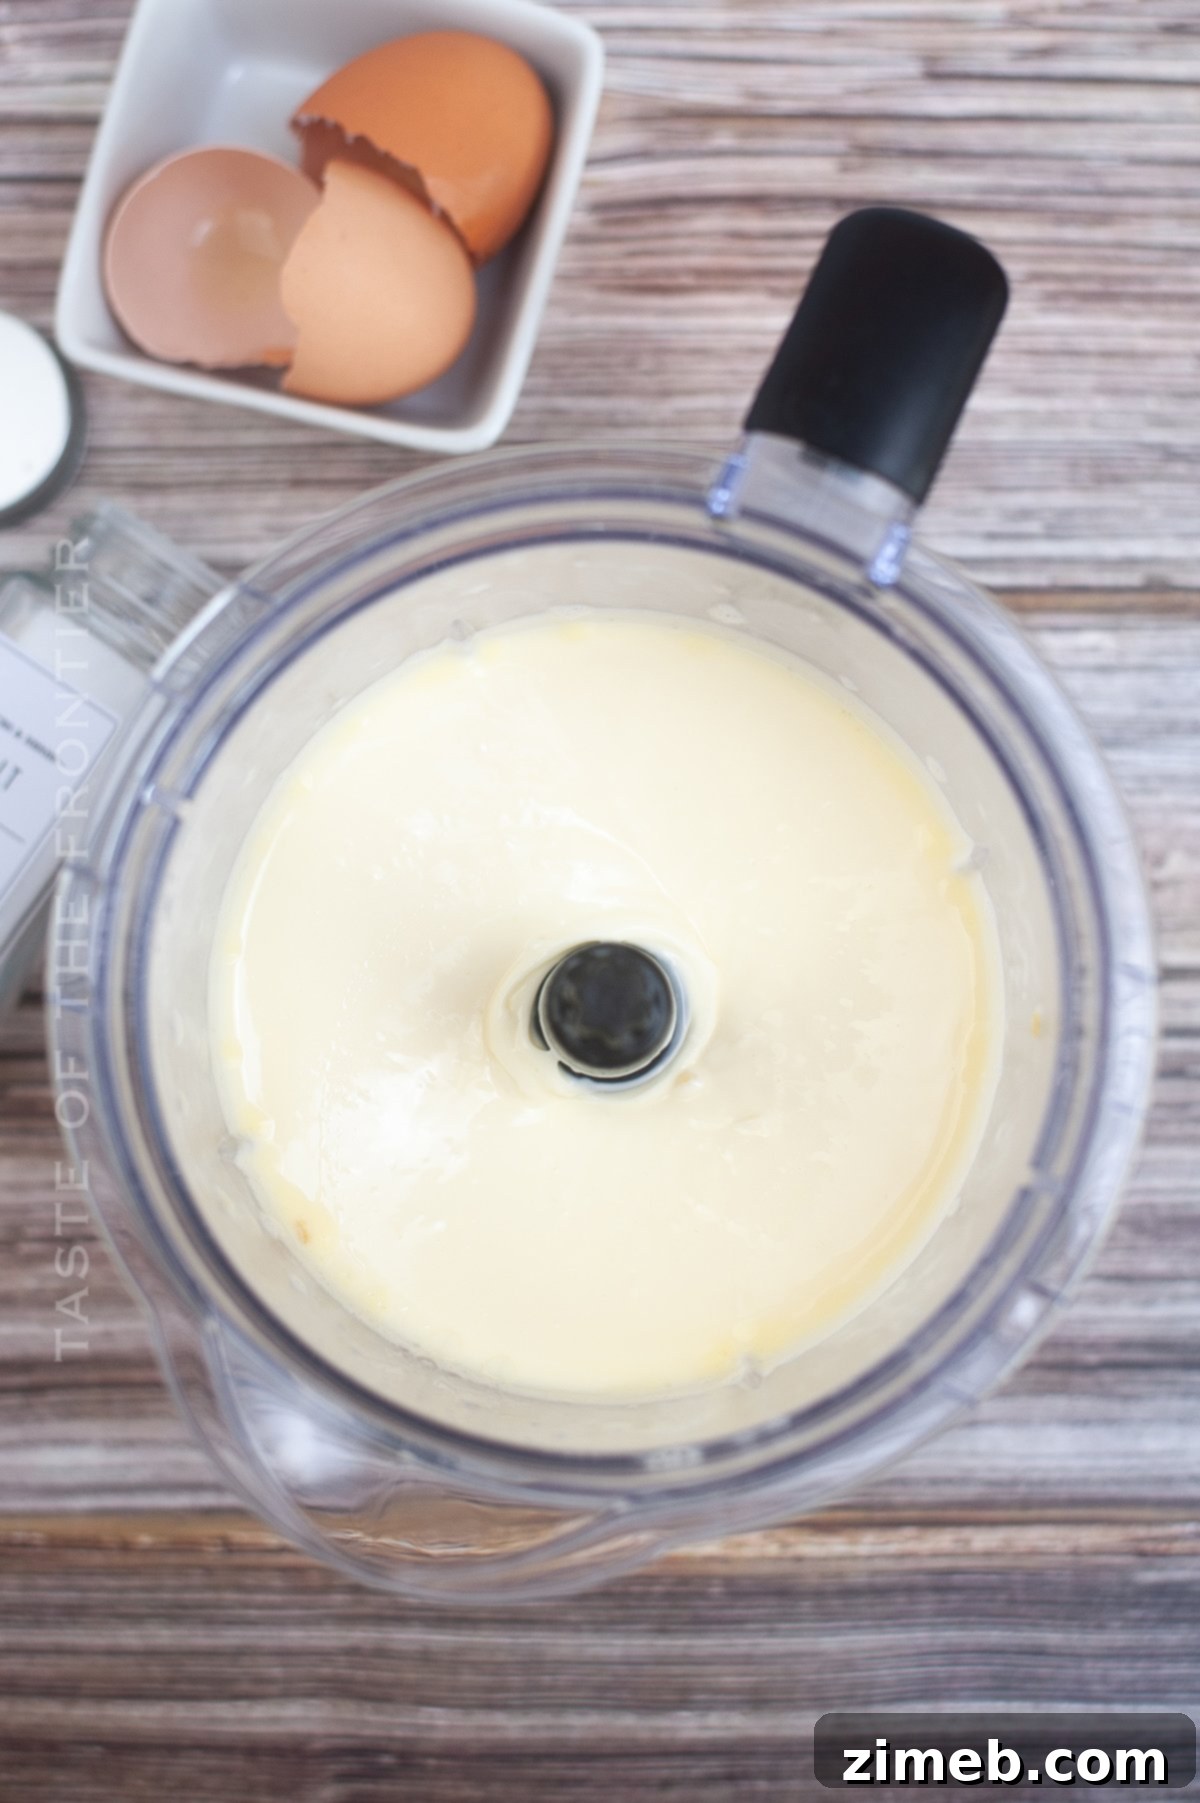
- With the blender running continuously on a medium-high setting, slowly and steadily drizzle in the vegetable oil. This slow addition is critical for achieving a stable emulsion. A thin, consistent stream works best. As the oil is incorporated, you’ll notice the mixture beginning to thicken and turn creamy. Once all the oil has been added, continue blending for another minute to ensure the mayonnaise is fully emulsified and reaches your desired thick consistency.
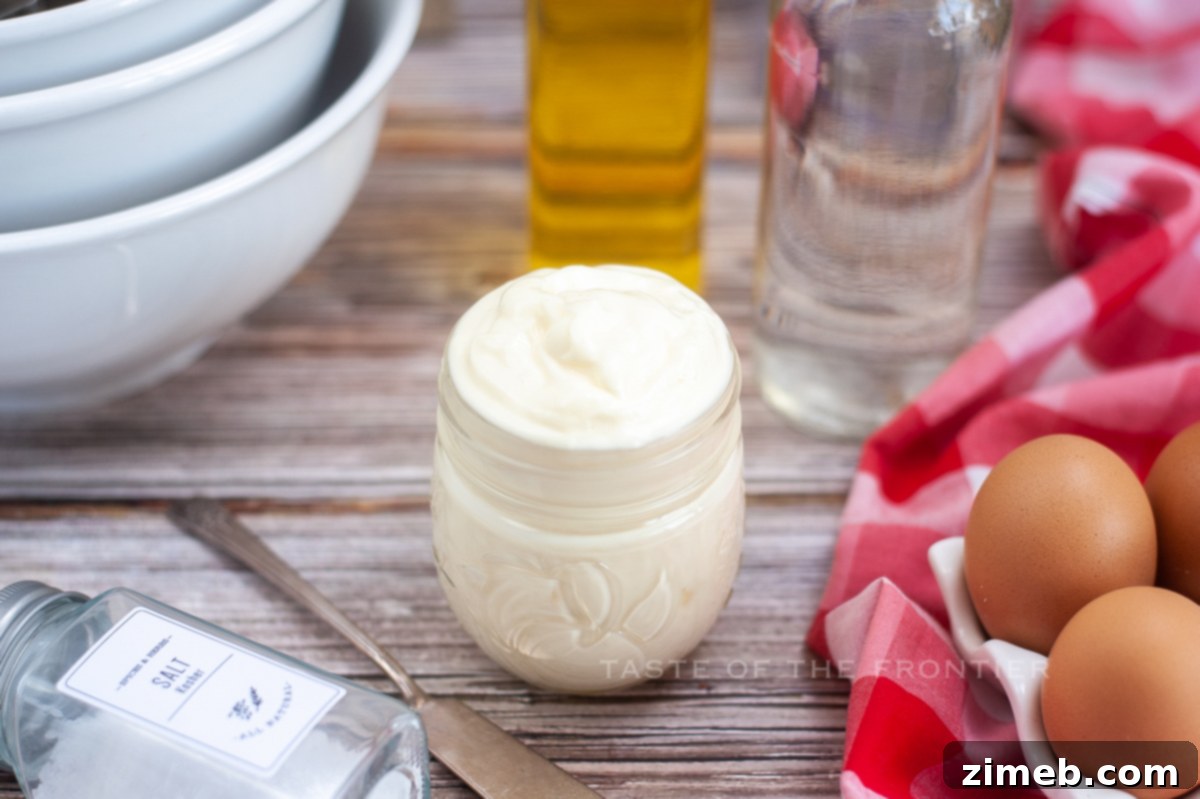
- Once your mayonnaise is perfectly smooth and thick, transfer it immediately to an airtight container. Store it in the refrigerator. With fresh ingredients and proper storage, it will keep beautifully for up to 3-4 days, ready to enhance all your favorite meals.
My Mayonnaise Is Too Thin: Troubleshooting Thickness
If your homemade mayonnaise turns out thinner than expected, it’s typically a sign that the emulsion didn’t fully form, or perhaps too much water-based liquid was present relative to the oil. The key to a thick, stable mayonnaise is the proper ratio of oil to egg yolks and a consistent, slow stream of oil during blending.
To thicken a runny mayonnaise, the solution is usually to add more oil. Continue blending the thin mixture, and while the blender is running, slowly drizzle in additional vegetable oil, about 1 tablespoon at a time. Watch carefully as the mixture emulsifies and thickens. Stop adding oil once it reaches your desired consistency. Be patient and add the oil gradually to avoid breaking the emulsion again.
Why Is My Homemade Mayonnaise Yellow? Embracing Natural Color
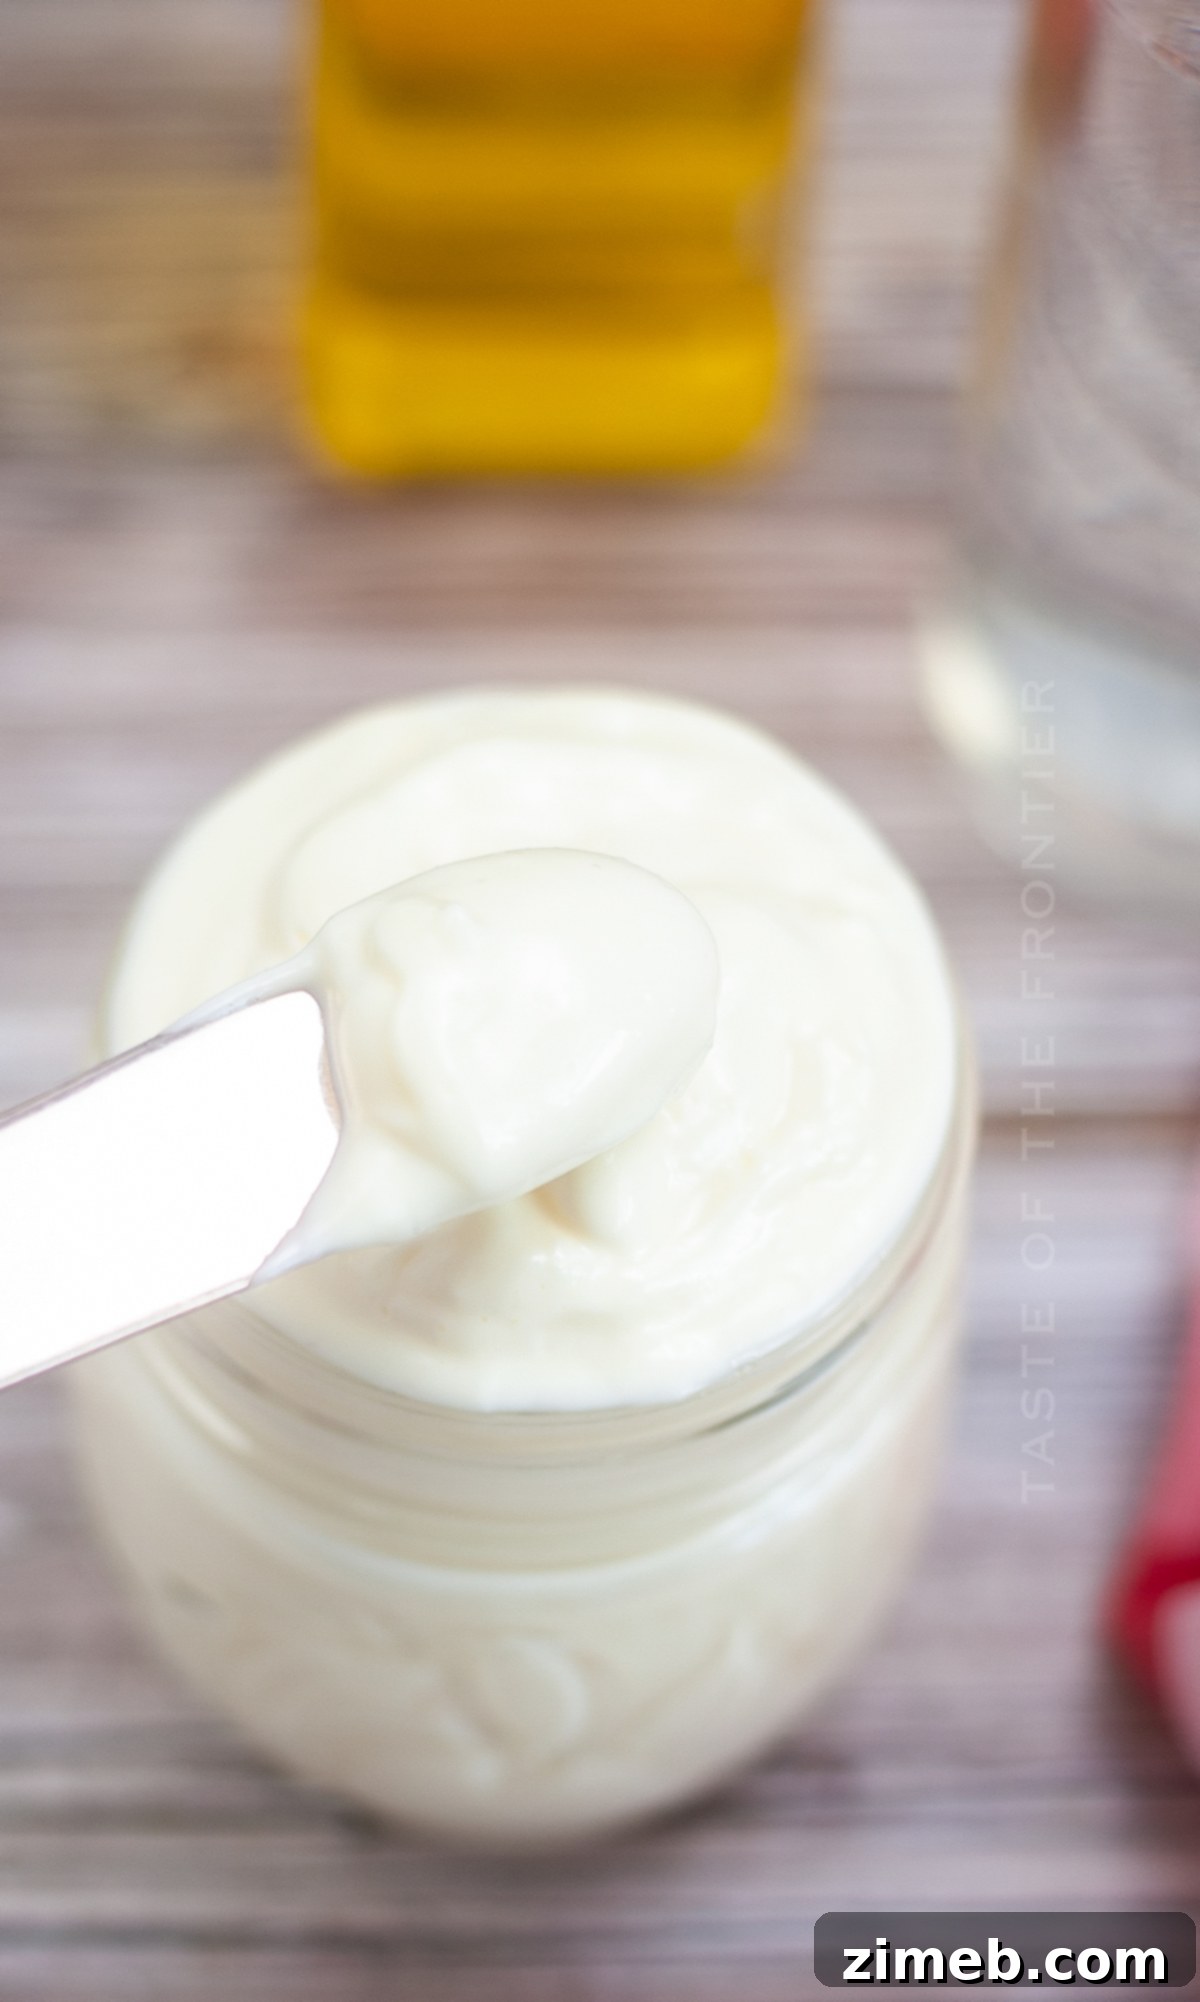
Don’t be surprised if your homemade mayonnaise has a lovely, natural yellow hue – this is perfectly normal and a testament to its authenticity! Store-bought mayonnaise often undergoes a bleaching process or uses additives to achieve its uniform white color, which consumers have come to expect.
However, the vibrant yellow color of homemade mayonnaise comes directly from the natural pigments present in fresh egg yolks. The richer the yolk color, the more pronounced the yellow in your final product. If you decide to ferment your mayonnaise, as described earlier, the color might become even a more intense yellow due to the metabolic activities of the microbes, which is another sign of a healthy, natural product.
Does Homemade Mayonnaise Taste Different from Store-Bought? A Flavor Journey
Absolutely, homemade mayonnaise can, and often does, taste wonderfully different from its store-bought counterparts! The flavor profile is significantly influenced by the quality and type of ingredients you choose, offering a world of customization that commercial brands simply cannot match.
For instance, to achieve a more muted and neutral flavor, similar to what you might expect from a standard store-bought mayo, opt for a very clean, mild-flavored oil such as grapeseed oil, sunflower oil, or a light vegetable oil. These oils have minimal intrinsic taste, allowing the other ingredients to shine. If you want to further soften the flavor, select a milder acid. While white vinegar provides a classic tang, fresh lemon juice offers a brighter, less sharp acidity that many prefer. Experiment with different combinations to discover your perfect mayo!
We highly recommend using fresh lemon juice if you prefer to omit the vinegar from the recipe, or simply desire a different type of zest. Its bright, citrusy notes can elevate the mayonnaise, making it incredibly versatile for various dishes, from sandwiches to dressings.
Can This Mayonnaise Recipe Be Doubled? Batch Cooking for Convenience
Yes, absolutely! This versatile mayonnaise recipe can certainly be doubled, or even tripled, to suit your needs. We frequently make larger batches, especially when we anticipate preparing several recipes that call for mayonnaise throughout the week. Whether you’re planning a big picnic, preparing a week’s worth of meal prep, or simply want to have plenty on hand for unexpected culinary adventures, scaling up this recipe is straightforward and convenient. Just ensure your blender is large enough to accommodate the increased volume of ingredients.
A Simple Trick: How to Tell if Eggs Are Fresh
When working with eggs, especially for recipes like homemade mayonnaise where freshness is paramount, it’s always wise to ensure their quality. We often find ourselves stocking up on eggs and sometimes they get overlooked in a secondary fridge, leading to uncertainty about their age. While eggs can remain perfectly good for up to 6 weeks past the carton’s date if properly refrigerated, relying solely on the date isn’t always foolproof. This simple test is a lifesaver if you’re ever in doubt:
The “float test” is a quick and reliable way to check an egg’s freshness. As eggs age, the tiny air cell inside the shell gradually enlarges due to moisture loss through the porous shell. The larger the air cell, the more buoyant the egg becomes. Here’s how to do it:
Fill a bowl or glass with a few inches of cold water and gently place an egg into it. Observe its behavior:
- **If it sinks to the bottom and lies flat on its side:** Your egg is very fresh and perfectly safe to eat.
- **If it sinks but stands on one end, with the blunt end pointing upwards:** The egg is still good and safe to consume, but it’s not as fresh as one that lies flat. It’s best to use these eggs soon.
- **If the egg floats to the surface:** This indicates that a significant air bubble has formed inside, meaning the egg is old and likely spoiled. It should be discarded immediately to avoid any health risks.
This simple trick will give you confidence in the freshness of your ingredients, ensuring your homemade mayonnaise is not only delicious but also safe.
Recommended Products for Crafting Your Homemade Mayo
This mayonnaise recipe is not only incredibly easy but also remarkably delicious. Whether you’re a seasoned home cook who already has these tools on hand, or a nervous first-timer venturing into homemade condiments, you’re going to adore the results. To ensure your success and make the process even smoother, I’ve compiled a list of essential items I genuinely can’t live without when whipping up this simple recipe. (You can also SHOP MY FAVORITES in my store for more kitchen staples and tools!)
- Mixing Bowl: Essential for prep and initial ingredient combining, especially if you’re not blending directly.
- Whisk: Useful for traditional hand-whipped methods or for gently incorporating initial ingredients before blending.
- Blender: The star of this recipe! A good quality blender makes achieving that perfect emulsion quick and effortless.
- Airtight Jars: Ideal for storing your fresh homemade mayonnaise, keeping it fresh and ready for use.
If you adore this incredibly easy and delicious **homemade mayonnaise recipe**, then you’re certainly going to love exploring these other fantastic homemade sauces and spreads too. Each recipe is designed to be straightforward and packed with flavor, making them perfect additions to your culinary repertoire. Please click each link below to discover the easy, printable recipes and elevate your kitchen creations!
Check out this recipe
Check out this recipe
Check out this recipe
Check out this recipe
Check out this recipe
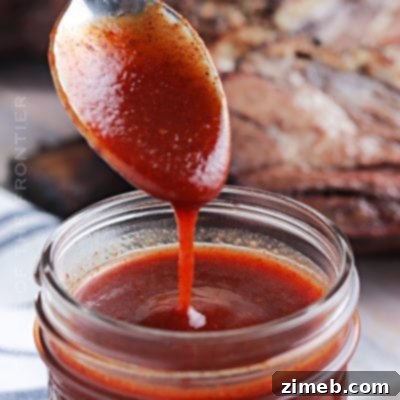
Check out this recipe
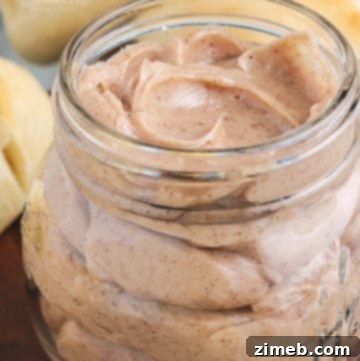
Check out this recipe
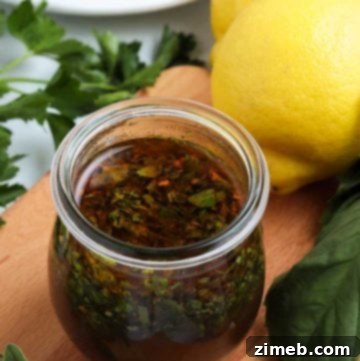
Check out this recipe

Check out this recipe
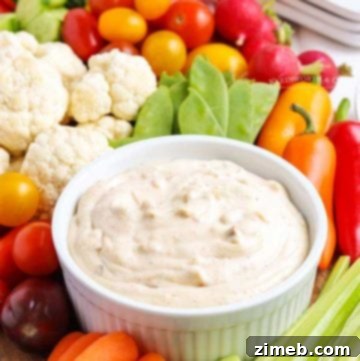
Check out this recipe
Other Essential Homemade Kitchen Staple Ingredients to Master
Beyond mayonnaise, there’s a world of kitchen staples you can easily make from scratch, transforming your cooking with fresh, wholesome ingredients and customizable flavors. Explore these other fantastic homemade recipes that will elevate your everyday meals:
- Honey Cinnamon Butter: A sweet and creamy spread that’s perfect for toast, pancakes, or warm rolls.
- Italian Garlic Butter: Infused with aromatic garlic and herbs, ideal for garlic bread, pasta, or grilled meats.
- Homemade Brown Sugar: A simple recipe for creating soft, moist brown sugar right in your pantry, saving you a trip to the store.
- Herb Butter: A versatile compound butter bursting with fresh herbs, excellent for roasting vegetables, flavoring chicken, or melting over steak.
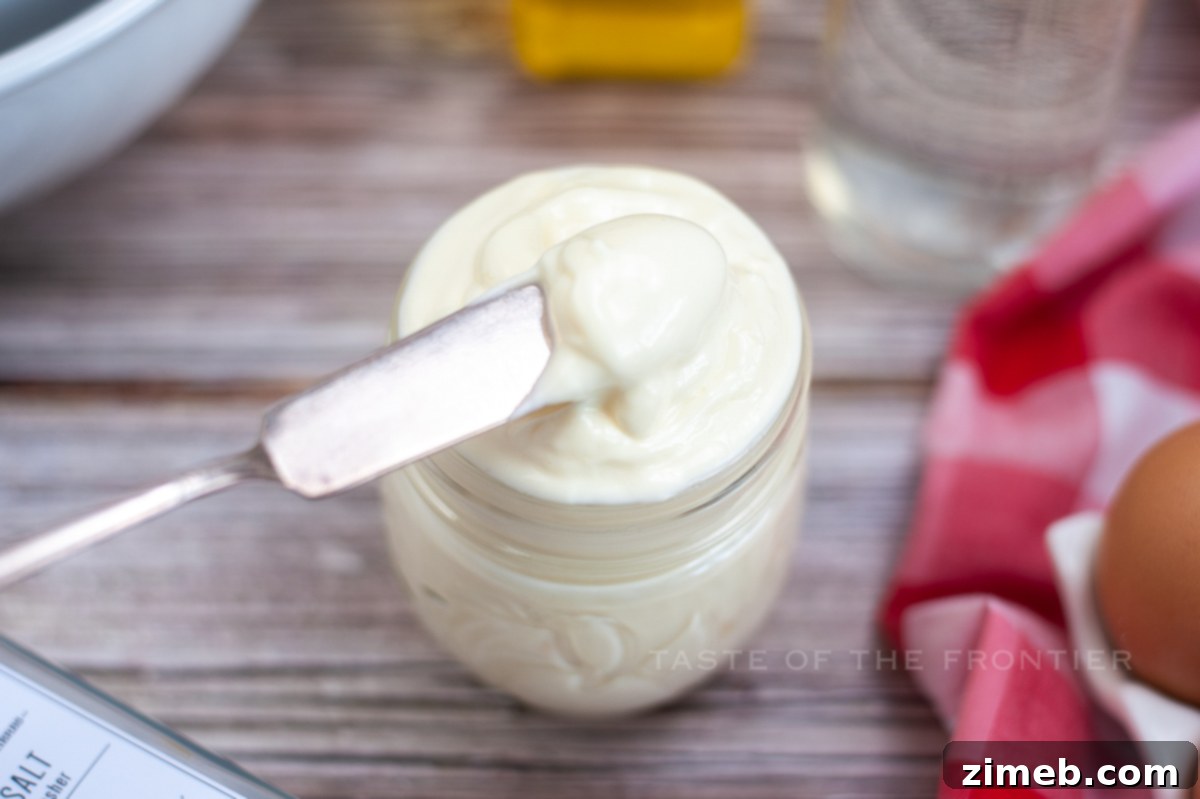
We truly hope you enjoy this easy recipe for **Homemade Mayonnaise** as much as we do! If you found it helpful and delicious, please consider leaving a five-star review below. Your feedback helps others discover and trust our recipes. And don’t forget to spread the culinary love by sharing this recipe with your friends and family on Facebook and Pinterest!
CONNECT WITH YUMMI HAUS FOR MORE INSPIRATION!
Don’t miss out on our latest recipes, tips, and tricks! Be sure to follow us on our social media channels to stay connected and never miss a delicious post!
Substack, Facebook, Pinterest, Instagram, Email Subscription
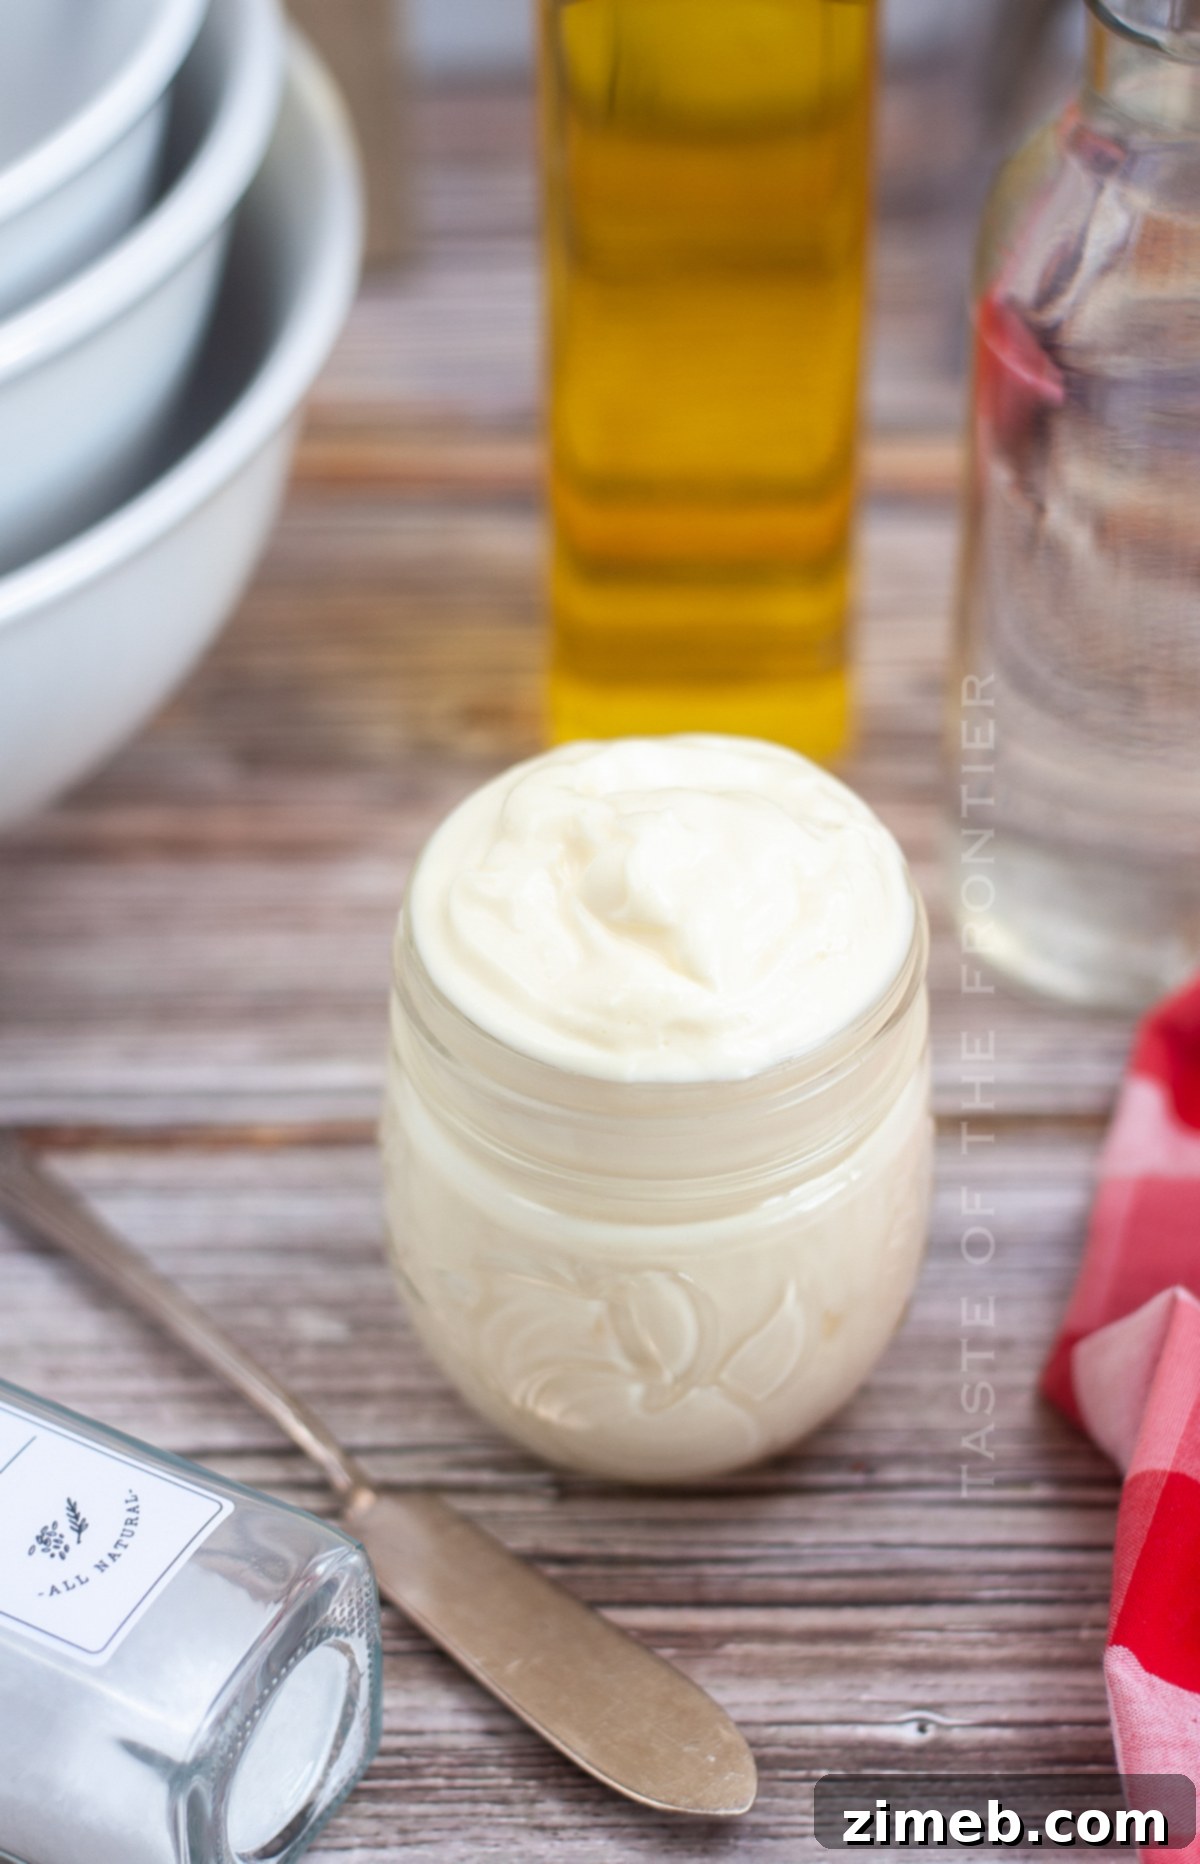
PIN THIS RECIPE TO SAVE FOR LATER
Rate this Recipe
Homemade Mayonnaise
Ingredients
- 2 large eggs (preferably pasteurized)
- 3 tbsp white vinegar (or fresh lemon juice)
- 1 tsp fine sea salt (or to taste)
- 2 cups neutral-flavored vegetable oil (e.g., canola, grapeseed, or sunflower)
Instructions
-
In a high-speed blender, combine the eggs, vinegar (or lemon juice), and salt. Blend on medium speed for about 30 seconds until the mixture is well incorporated and slightly frothy.
-
With the blender still running, slowly and steadily drizzle in the vegetable oil in a thin stream. This gradual addition is crucial for the emulsion to form properly. Continue blending for about 1 more minute after all the oil has been added, until the mayonnaise is thick and creamy.
-
Transfer the freshly made mayonnaise to an airtight container and store it in the refrigerator. Enjoy within 3-4 days for optimal freshness and flavor. For an extended shelf life, consider fermenting as described in the FAQ section.
Equipment
-
High-speed blender
Nutrition
Nutritional information for the recipe is provided as a courtesy and is approximate. Please double-check with your own dietary calculator for the best accuracy. We at Yummi Haus cannot guarantee the accuracy of the nutritional information given for any recipe on this site.