
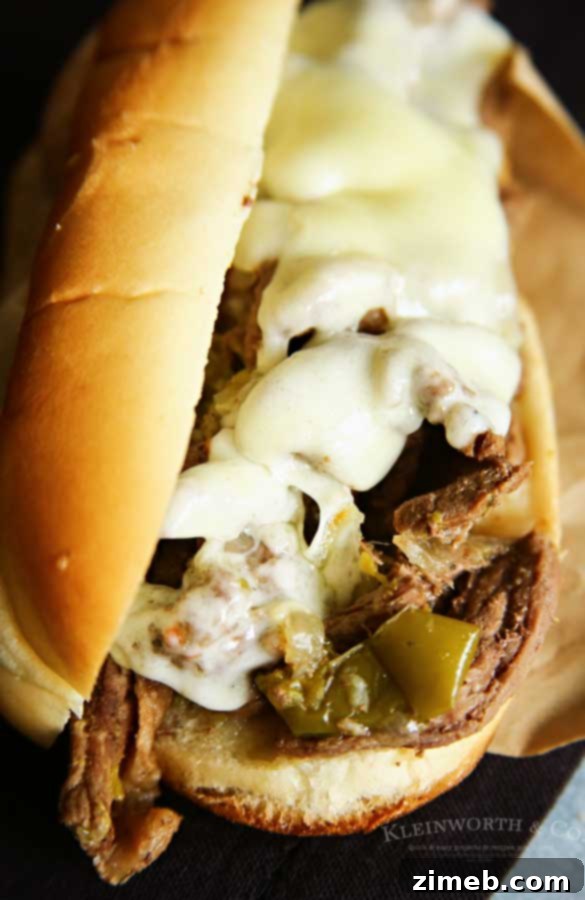
Instant Pot Philly Cheesesteak: Your Quick and Easy Route to a Legendary Sandwich
Imagine sinking your teeth into a warm, savory sandwich piled high with tender, juicy beef and perfectly melted cheese. That’s the undeniable allure of a classic Philly Cheesesteak, a culinary icon that has captured hearts for generations. While traditional methods can be a bit time-consuming, we’ve discovered the ultimate shortcut to this beloved sandwich: the Instant Pot Philly Cheesesteak. This recipe takes all the incredible flavors you love and transforms them into an unbelievably simple, rapid meal perfect for busy weeknights, exciting game days, festive tailgates, or any occasion demanding serious comfort food.
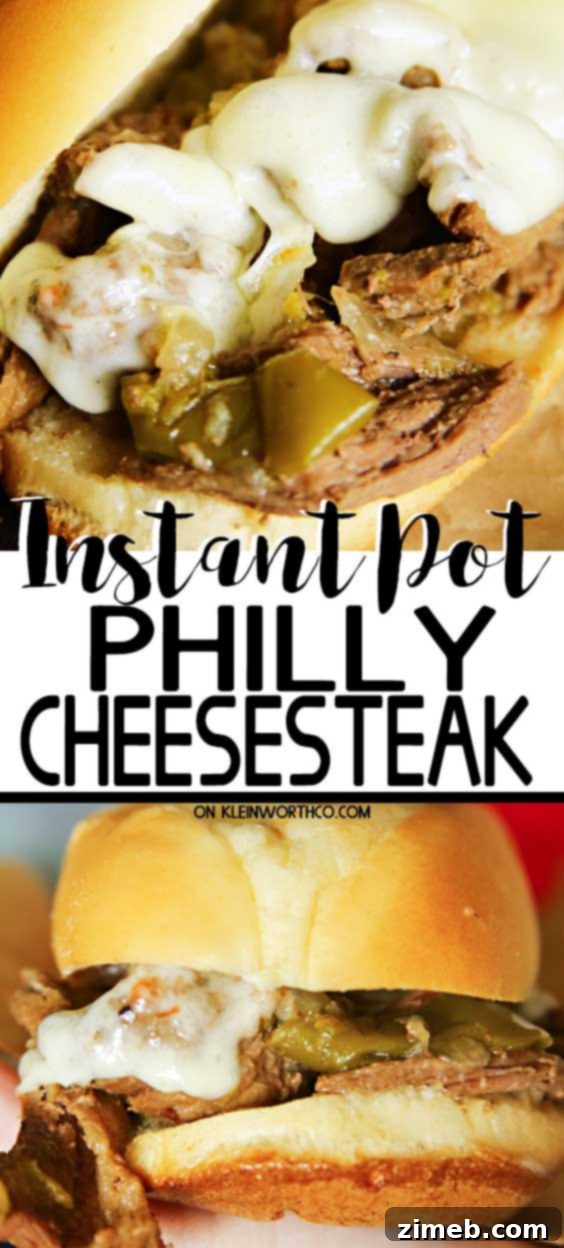
The beauty of this Instant Pot version lies in its effortless preparation. It’s truly as simple as combining your ingredients in the pressure cooker, setting it, and letting the magic happen. While the Instant Pot works its wonders, you’ll have plenty of time to toast your hoagie rolls to golden perfection. Before you know it, the savory beef filling is ready, perfectly cooked and infused with rich flavor. A quick assembly, a moment under the broiler to melt that luscious cheese, and you’re ready to savor an exceptionally delicious meal that feels gourmet but comes together with minimal fuss.
Mastering the Instant Pot Philly Cheesesteak Sandwich
There’s a reason the Philly Cheesesteak holds such a special place in American cuisine. It’s a harmonious blend of simple yet powerful ingredients: thinly sliced beef, sautéed onions and peppers, and melted cheese, all nestled within a crusty hoagie roll. Our Instant Pot recipe respects these traditional elements while drastically cutting down on cooking time, delivering an authentic taste experience without the lengthy commitment. The pressure cooker environment tenderizes the beef to an exceptional degree, ensuring every bite is melt-in-your-mouth perfection.
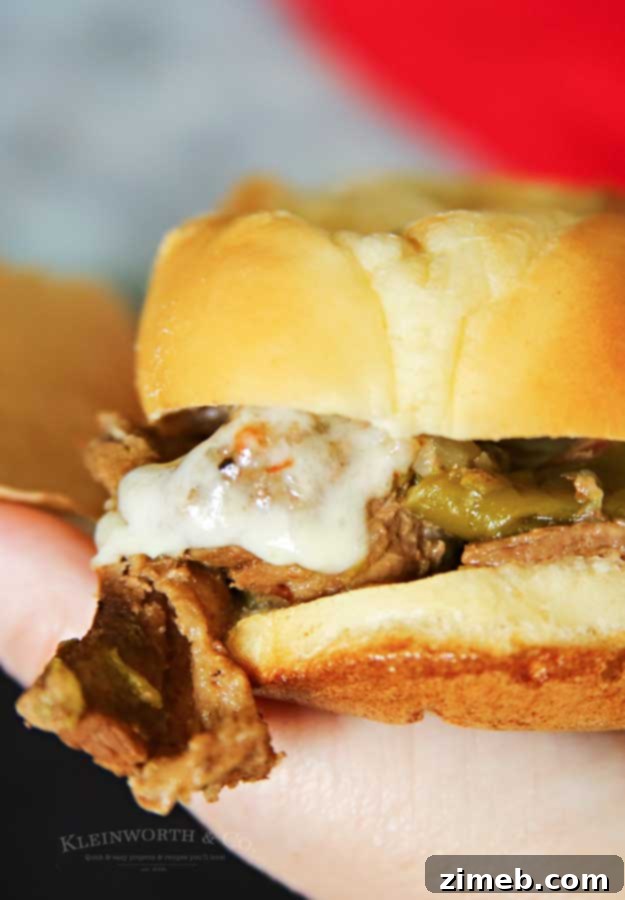
We consistently find ourselves preparing multiple batches of this recipe because it’s such a family favorite. The convenience means you can easily scale up for larger gatherings, ensuring everyone gets to enjoy this irresistible sandwich. It’s an ideal solution when you need to feed a crowd or simply want to have delicious leftovers for lunches throughout the week. The minimal cleanup associated with Instant Pot cooking is just another bonus, freeing up more time to enjoy your culinary creation.
Common Questions About Instant Pot Philly Cheesesteak
Choosing the Best Cheese for Your Cheesesteak
The debate over the “right” cheese for a Philly Cheesesteak is almost as famous as the sandwich itself! Many purists swear by a sharp provolone, which offers a creamy texture and a distinct, slightly tangy flavor that complements the beef beautifully. This is our preferred choice for its classic appeal and excellent melting properties. However, you’ll also find variations using a rich, gooey cheese sauce, often likened to nacho cheese. Both options are incredibly delicious and satisfy that essential cheesy craving. Feel free to experiment based on your personal preference. If you lean towards a saucy cheese, a high-quality nacho cheese can elevate your sandwich to a new level of indulgence.
Selecting and Preparing the Perfect Beef
For an authentic and tender Philly Cheesesteak, the cut and preparation of the beef are crucial. Flank steak or thinly sliced sirloin are excellent choices, offering a good balance of flavor and tenderness when cooked under pressure. Ribeye is also a popular premium option for its rich marbling. The key is to slice the beef as thinly as possible, ideally against the grain. This ensures the meat cooks quickly and becomes incredibly tender. You can achieve this with a very sharp knife or by partially freezing the steak for about 30 minutes before slicing, which makes it much easier to get those paper-thin strips.
Optimizing Onions and Peppers
While some traditional recipes call for sautéing onions and peppers separately until deeply caramelized, the Instant Pot method simplifies this step by cooking them directly with the beef. This allows the vegetables to soften and meld their flavors with the meat, creating a cohesive and savory filling. For those who prefer a more intense caramelized flavor, you can always quickly sauté the onions and peppers in the Instant Pot on the ‘Sauté’ setting before adding the beef and broth, then proceed with the pressure cooking. This extra step adds depth but isn’t strictly necessary for a delicious result.
Essential Instant Pot Tools and Accessories
To make your Instant Pot cooking experience as smooth and enjoyable as possible, having a few key accessories can be incredibly helpful. These tools aren’t just for cheesesteaks; they’ll enhance countless other pressure cooker recipes.
- Instant Pot (6-quart model recommended): The cornerstone of this recipe, providing rapid cooking and incredible flavor infusion.
- 5-Piece Accessory Set: Often includes a steamer basket, trivet, and other versatile tools that expand your Instant Pot’s capabilities.
- 3-Piece Bundt Pan Bundle Set: Perfect for baking cakes or creating savory dishes like meatloaf in your Instant Pot.
- Stackable Stainless Steel Insert Steamer Pans: Ideal for cooking multiple components of a meal simultaneously without mixing flavors.
- Glass Lid and Extra Sealing Rings: A glass lid is handy for slow cooking or when the pressure isn’t needed, and extra sealing rings prevent flavor transfer between savory and sweet dishes.
HOW TO MAKE Instant Pot Philly Cheesesteak: A Step-by-Step Guide
Making a mouthwatering Philly Cheesesteak at home has never been easier thanks to your Instant Pot. Follow these simple steps for a truly unforgettable sandwich experience.
-
**Cheesesteak Preparation in the Instant Pot**
- Begin by combining your thinly sliced flank steak (or carne asada), beef broth, granulated garlic, salt, pepper, and the thinly sliced onion and green bell pepper directly into the inner pot of your Instant Pot. Ensure all ingredients are well distributed.
- Securely place the lid on the Instant Pot. Rotate it until it locks into position. Make sure the steam release valve is set to the ‘Sealing’ position to allow pressure to build effectively.
- Select the ‘Manual’ or ‘Pressure Cook’ setting (depending on your Instant Pot model) and set the cooking time to 6 minutes on high pressure. This short cooking time is all that’s needed to achieve incredibly tender beef.
- Once the cooking cycle is complete, allow a natural pressure release for 10 minutes. This crucial step helps the meat remain tender and juicy. After 10 minutes, carefully switch the steam release valve to ‘Venting’ for a quick release of any remaining pressure before you remove the lid.
- While the cheesesteak cooks, prepare your hoagie rolls. Lightly brush the cut insides of each roll with melted butter. Arrange the buttered rolls on a baking sheet.
- Place the baking sheet under your oven’s broiler for several minutes. Watch them closely, broiling until the rolls are lightly golden brown and slightly toasted. This adds a fantastic texture and helps prevent the roll from becoming soggy.
- Remove the toasted rolls from the oven. Using tongs or a fork, generously pile the hot, cooked cheesesteak mixture onto each hoagie roll.
- Top the beef with 1-2 slices of provolone cheese (or your preferred cheese). Arrange the cheese so it drapes over the meat and partially touches the roll.
- Return the assembled sandwiches to the broiler for a final minute or two. Continue to broil just until the cheese is beautifully melted and bubbly. Be careful not to burn the rolls.
- Carefully remove the finished sandwiches from the oven. Serve immediately and enjoy the incredible flavors of your homemade Instant Pot Philly Cheesesteak!
**Sandwich Assembly and Finishing**
Instant Pot Philly Cheesesteak: A Feast for the Eyes and Palate
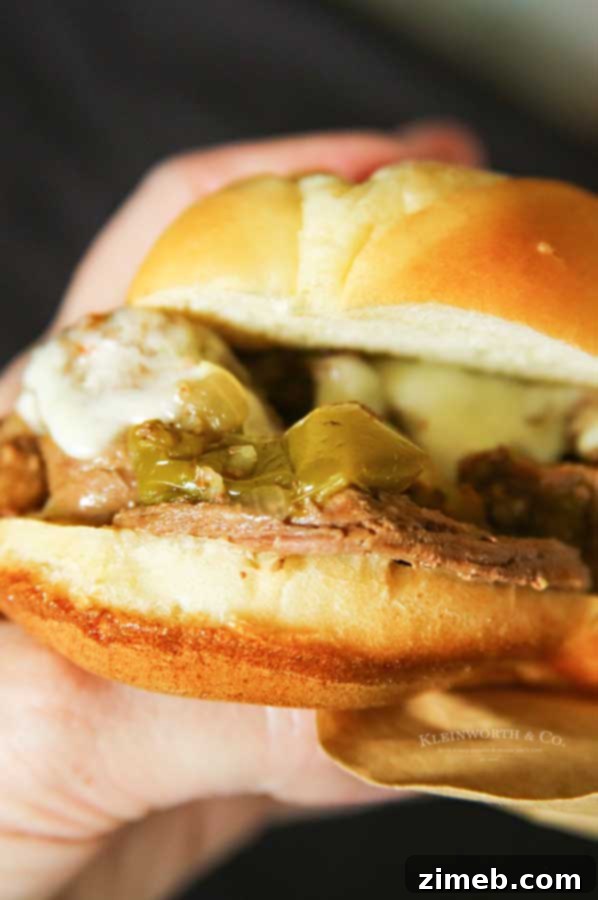
Ingredients You’ll Need for the Best Instant Pot Philly Cheesesteak
Gathering the right components is the first step to creating this incredible sandwich. While the Instant Pot does much of the heavy lifting, high-quality ingredients truly make the difference.
- Flank Steak or Carne Asada: The star of the show. Choose a good quality cut, and remember to slice it very thinly for optimum tenderness.
- Beef Broth: Provides moisture and deep beefy flavor for the pressure cooking process.
- Granulated Garlic: A convenient way to infuse garlic flavor throughout the meat.
- Table Salt: Essential seasoning to enhance all the other flavors.
- Black Pepper: Adds a subtle kick and classic seasoning to the beef.
- Onion: A medium onion, thinly sliced, will soften and sweeten as it cooks with the beef.
- Green Bell Pepper: Thinly sliced, it adds a touch of freshness and a classic cheesesteak flavor.
- Provolone Cheese: Slices of mild or sharp provolone are our top recommendation for authentic melt and flavor.
- Hoagie Rolls: The foundation of your sandwich. Opt for sturdy, fresh rolls that can hold up to the juicy filling.
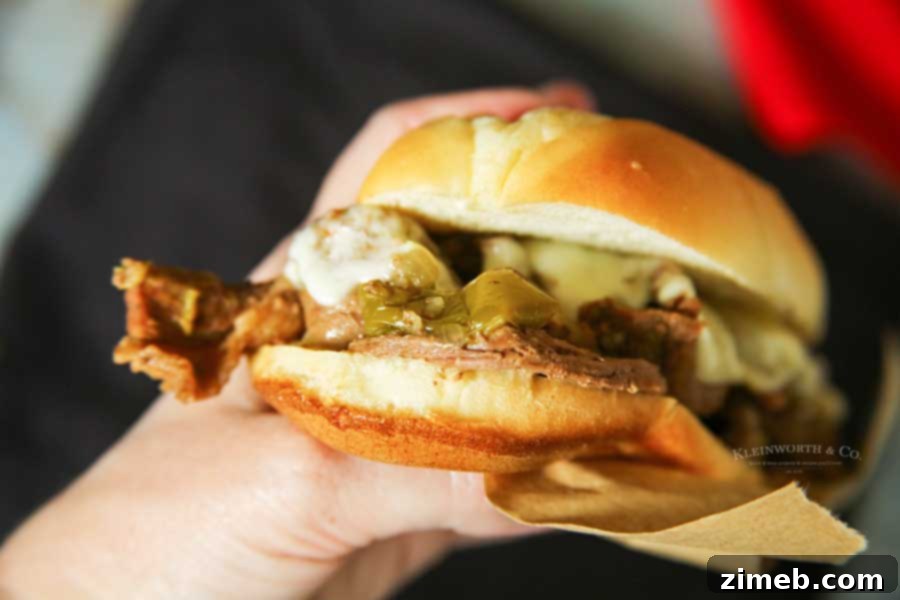
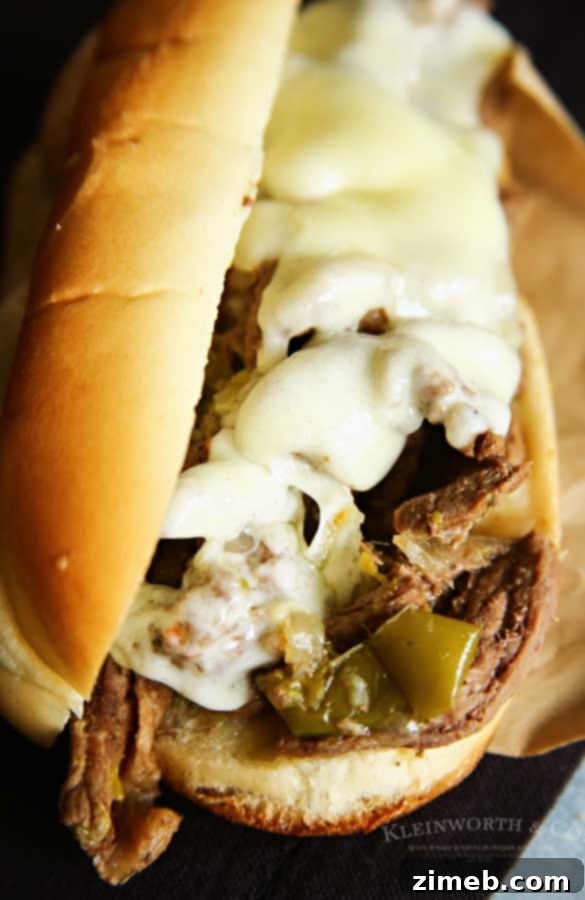
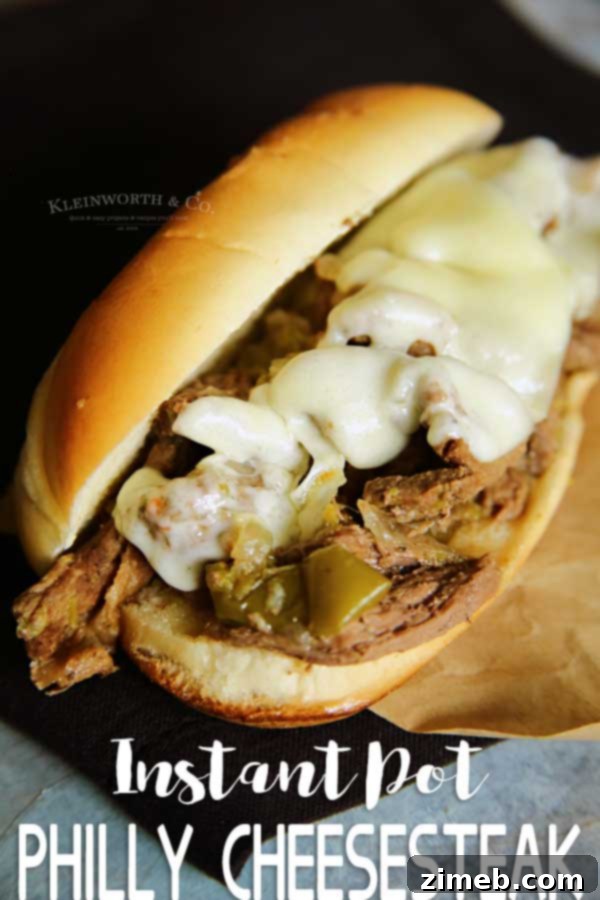
Just look at that magnificent sandwich! You know you want some!
Scroll to the bottom for the Printable Recipe Card
Pressure Cooker Philly Cheesesteak: More Than Just a Meal
This Instant Pot Philly Cheesesteak is more than just a quick dinner; it’s a testament to how modern kitchen appliances can bring classic comfort food to your table with incredible ease and speed. Whether you’re a seasoned Instant Pot user or new to pressure cooking, this recipe is straightforward and delivers consistently delicious results. The pressure cooking method not only speeds up the process but also ensures the beef is incredibly tender, absorbing all the savory flavors of the broth, onions, and peppers.
Think about the versatility of this dish. It’s fantastic for a casual family meal, but also impressive enough for entertaining guests. Imagine serving these delicious cheesesteaks at your next game day party or tailgating event – they’re sure to be a crowd-pleaser. You can even prepare the beef mixture ahead of time, store it in the refrigerator, and then quickly assemble and broil the sandwiches when you’re ready to serve. This makes meal prep a breeze and keeps the flavors fresh.
For an even richer experience, consider experimenting with additional toppings. Some people love adding sautéed mushrooms, a touch of spicy pickled jalapeños, or even a drizzle of sriracha mayo for an extra kick. While purists might stick to the core ingredients, there’s no harm in customizing your cheesesteak to suit your personal taste. Serve with a side of crispy French fries, a fresh green salad, or a creamy coleslaw to complete the meal.
Looking for More Delicious Instant Pot Recipes?
The Instant Pot is a versatile appliance, capable of creating a wide array of mouth-watering dishes beyond just cheesesteaks. If you’re looking to explore more pressure cooker magic, check out these fantastic recipes:

Instant Pot Chicken Recipes: From whole roasted chicken to creamy pasta dishes, discover how easily chicken can be transformed.
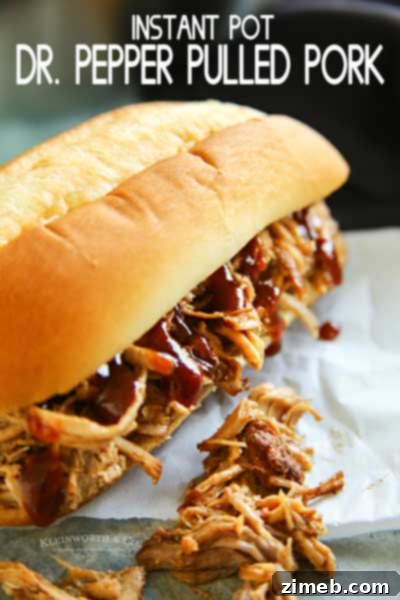
Instant Pot Dr. Pepper Pulled Pork: Sweet, savory, and perfectly shredded pork that’s great for sandwiches, tacos, and more.
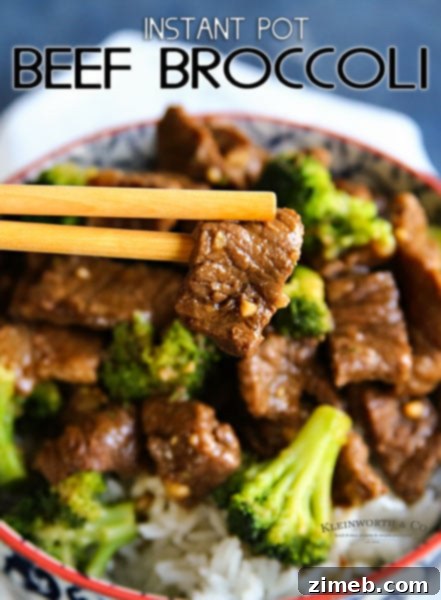
Instant Pot Beef Broccoli: A takeout favorite made healthier and faster right in your pressure cooker.
Rate this Recipe
Instant Pot Philly Cheesesteak
Ingredients
Cheesesteak Filling
- 3 lbs flank steak or thinly sliced sirloin/ribeye (carne asada)
- 2 cups beef broth
- 1 tsp granulated garlic
- 1 tsp table salt
- 1/2 tsp black pepper
- 1 medium onion thinly sliced
- 1 green bell pepper thinly sliced
For Sandwich Assembly
- Provolone cheese sliced (1-2 slices per sandwich)
- Hoagie rolls fresh, good quality
- Melted butter for brushing rolls
Instructions
Preparing the Cheesesteak Filling
-
Carefully combine the thinly sliced steak, beef broth, granulated garlic, table salt, black pepper, and the sliced onion and green bell pepper directly into the inner pot of your Instant Pot. Ensure ingredients are evenly distributed.
-
Place the lid on your Instant Pot and twist to lock it securely. Confirm that the steam release valve is set to the ‘Sealing’ position.
-
Select the ‘Manual’ or ‘Pressure Cook’ button and set the cooking time for 6 minutes on high pressure.
-
Once the pressure cooking cycle is finished, allow the Instant Pot to naturally release pressure for 10 minutes. This helps the beef tenderize further. After 10 minutes, carefully perform a quick release of any remaining pressure by turning the steam release valve to ‘Venting’ before removing the lid.
Assembling and Finishing Your Sandwiches
-
While the beef is cooking, preheat your oven broiler. Lightly brush the cut insides of the hoagie rolls with melted butter. Place the buttered rolls on a baking sheet.
-
Broil the hoagie rolls in the oven for several minutes, watching them closely, until they are lightly golden and toasted. This creates a delicious crispy texture.
-
Remove the toasted rolls from the oven. Using a spoon or tongs, place a generous amount of the hot, flavorful cheesesteak mixture onto each hoagie roll.
-
Top the beef with 1 to 2 slices of provolone cheese, ensuring it covers the meat generously.
-
Return the baking sheet with the assembled sandwiches to the broiler. Broil for an additional 1-2 minutes, or until the cheese is perfectly melted and bubbly. Again, keep a close eye to prevent burning.
-
Carefully remove from the oven and serve your delicious Instant Pot Philly Cheesesteak immediately. Enjoy every tender, cheesy bite!
Helpful Notes for Success
**High Altitude Adjustments: Because water boils at a lower temperature at higher altitudes, pressure cooking requires specific adjustments. For every 1,000 feet above 2,000 feet elevation, you should increase your cooking time by approximately 5 percent. For instance, if you reside at 4,000 feet above sea level, add 10 percent to the specified cook time. A recipe calling for 20 minutes of cooking time would then require 22 minutes. In pressure cooking, even a minute or two can significantly impact the final texture, much more so than with traditional cooking methods.
**Storage and Reheating: Leftover cheesesteak filling can be stored in an airtight container in the refrigerator for up to 3-4 days. To reheat, gently warm the filling in a skillet or microwave, then assemble fresh sandwiches with toasted rolls and melted cheese.
Nutritional information for this recipe is provided as a courtesy and is an estimate. Please double-check with your preferred dietary calculator for the most accurate details. We cannot guarantee the absolute accuracy of the nutritional information presented for any recipe on this site.
Discover more fantastic sandwich ideas from these talented bloggers:
Authentic Cuban Sandwich Recipe (aka El Cubano) | Yellow Bliss Road
Gooey, Cheesy Patty Melts | Southern Bite