
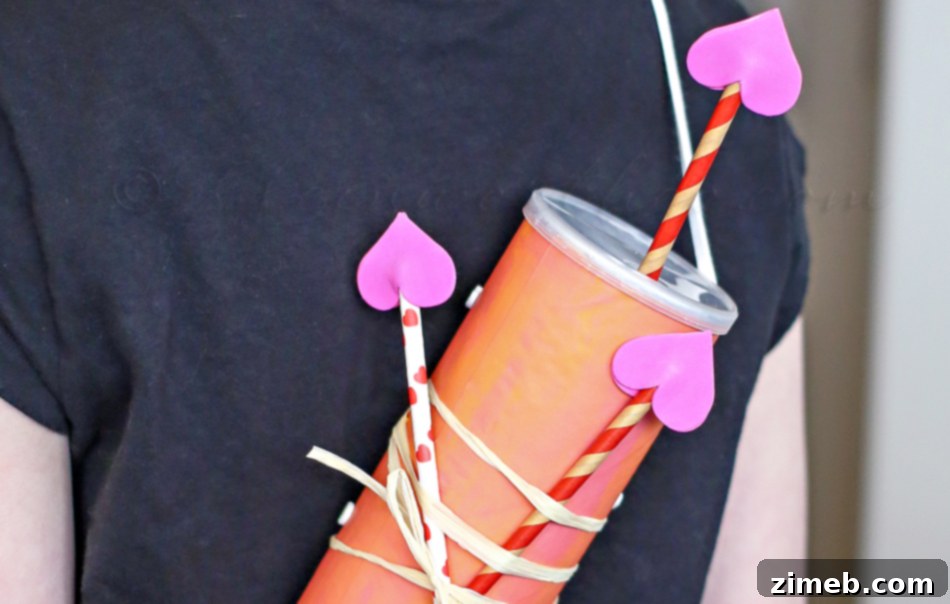
This post is part of a sponsored collaboration with Plaid brands and Blueprint Social. All views and opinions expressed here are solely my own, reflecting my genuine experience with their products.
Craft a Whimsical Cupid’s Valentine Card Holder: A DIY Project for Valentine’s Day
Valentine’s Day evokes cherished memories of childhood – the excitement of exchanging colorful cards, sharing sweet treats, and celebrating friendship. While those nostalgic school days of class parties might be a fond memory for many, the tradition of giving and receiving Valentine’s cards remains a beloved custom. Today, a delightful trend involves creating unique Valentine boxes or card holders, providing a special place for children (and adults!) to collect their heartfelt messages and candy gifts. Inspired by this charming idea, I decided to repurpose a common household item into an enchanting Cupid’s Valentine Card Holder. This DIY project is not just fun and easy, but also perfectly captures the spirit of love and craftsmanship. Let’s dive into creating something truly special for Valentine’s Day with Plaid Crafts, transforming simple materials into a beautiful and functional keepsake.
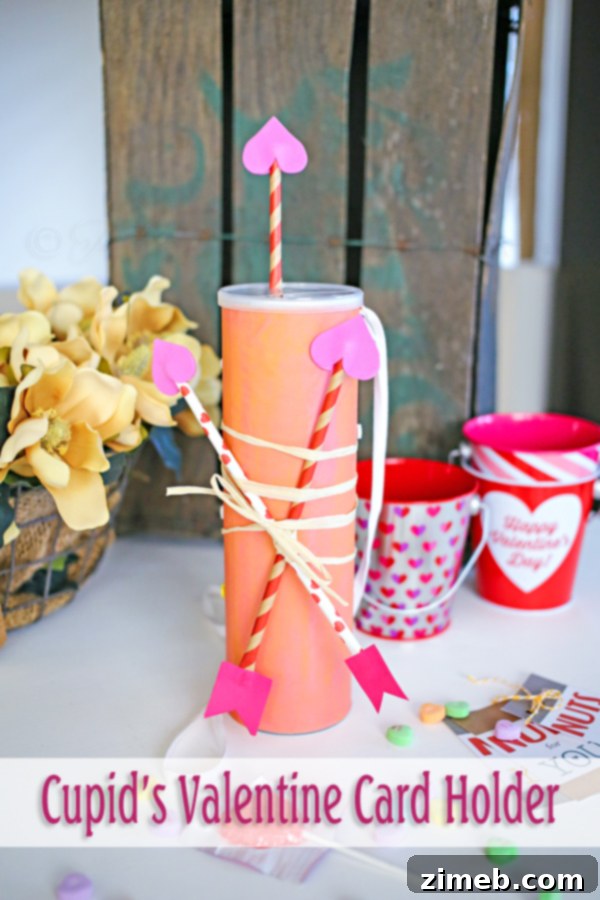
Why Choose a DIY Valentine Card Holder?
In an age of digital communication, there’s something inherently special about a tangible Valentine’s card. A handmade card holder adds an extra layer of thoughtfulness to this tradition. It’s more than just a receptacle; it’s a creative expression, a personalized piece that reflects the joy of the season. Opting for a DIY approach allows for complete customization, letting you incorporate specific colors, themes, and embellishments that resonate with your personal style or a child’s preferences. Furthermore, repurposing materials, as we do with this project, is an eco-friendly choice, teaching valuable lessons about sustainability while creating something beautiful. This craft also provides a wonderful opportunity for family bonding, inviting children to participate in the creative process and make their own unique contribution to Valentine’s Day celebrations. Imagine the pride in collecting cards in a holder you made yourself!
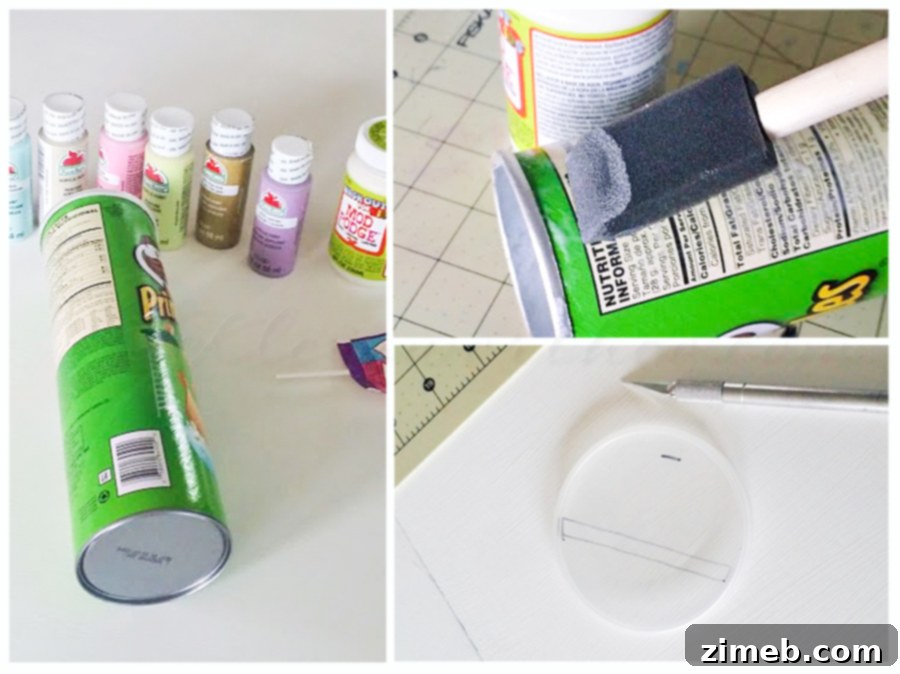
Gather Your Crafting Essentials: Materials You’ll Need
This charming Cupid’s Valentine Card Holder is surprisingly simple to create, requiring only a few readily available items. The beauty of this project lies in its adaptability; feel free to substitute materials based on what you have on hand or what sparks your creative interest. Here’s a comprehensive list of what I used to bring this delightful craft to life:
- A sturdy cardboard tube: An empty chip canister or similar cylindrical container works perfectly. This will form the main body of your card holder.
- Craft paints (optional): While I opted for paper, having some Apple Barrel craft paint on hand offers an alternative for covering your tube if you prefer painting over paper.
- Mod Podge: Essential for adhering paper and sealing your project. I recommend the matte finish for a classic look, or gloss for a subtle sheen.
- Decorative paper: Marbled paper, scrapbook paper, or even patterned gift wrap can be used to cover the tube. Choose patterns and colors that evoke a romantic or festive Valentine’s theme.
- Sparkly foam heart stickers: These add a playful and festive touch, perfect for Valentine’s Day.
- X-Acto knife or craft knife: Crucial for precisely cutting slits and holes in the cardboard tube. Always use with caution and on a protected surface.
- Paper straws: These will form the shafts of your Cupid’s arrows.
- Heart-shaped foam cutouts or stickers: For creating the arrowheads.
- Decorative paper (for arrow flags): Small scraps of colored or patterned paper to create the fletching (flags) of the arrows.
- Raffia or decorative string/ribbon: For tying the arrows together and adorning the holder.
- Strong string or cord: To create a sturdy carrying strap for your card holder.
- Craft glue or hot glue gun (optional): For extra secure adhesion of smaller elements if needed.
- Heavy objects: To hold glued pieces in place while drying.
Step-by-Step Guide: Crafting Your Cupid’s Valentine Card Holder
1. Preparing and Covering Your Tube
Begin by ensuring your cardboard tube is clean and dry. If using a chip canister, remove any food residue. Next, measure and cut your chosen decorative paper to fit around the tube, allowing for a slight overlap. Apply a generous, even coat of Mod Podge directly onto the tube. Carefully wrap the paper around, smoothing out any bubbles or wrinkles as you go. Overlap the edges slightly for a seamless finish. Once the paper is adhered, apply a second layer of Mod Podge over the entire paper-covered tube. This layer acts as a sealant, protecting the paper, adding durability, and providing a subtle, attractive finish. Allow it to dry completely.
2. Adding Festive Embellishments
Once the Mod Podge is dry, it’s time to add some sparkle and charm! Take your sparkly foam heart stickers and adhere them all over the tube. You can create a random pattern, line them up, or concentrate them in specific areas – let your creativity guide you. These stickers instantly elevate the festive feel of your Valentine’s Day card holder. If you prefer, you could also use glitter, rhinestones, or painted designs with Apple Barrel craft paints for decoration at this stage.
3. Creating the Card Slot and Arrow Opening
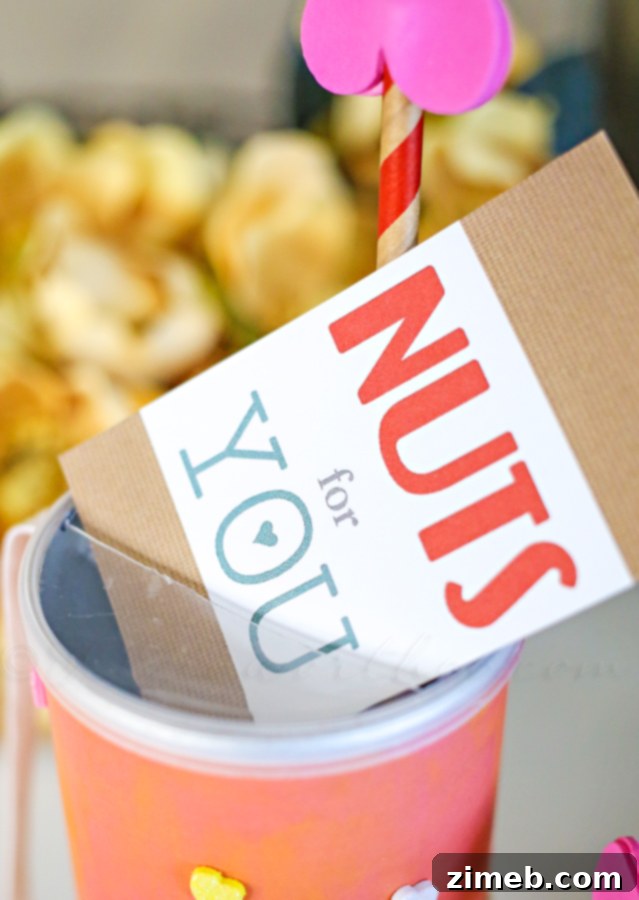
With the tube decorated, carefully use your X-Acto knife to cut a slit on the top of the tube’s lid. This will be the opening where Valentine’s cards will be inserted. Make sure the slit is wide enough to accommodate typical card sizes. Next, cut a smaller, circular hole near the edge of the lid. This tiny aperture is specifically designed to hold one of our Cupid’s arrows, giving the holder its distinctive look. Always exercise extreme caution when using a craft knife and work on a self-healing mat or a protected surface.
4. Crafting Cupid’s Arrows
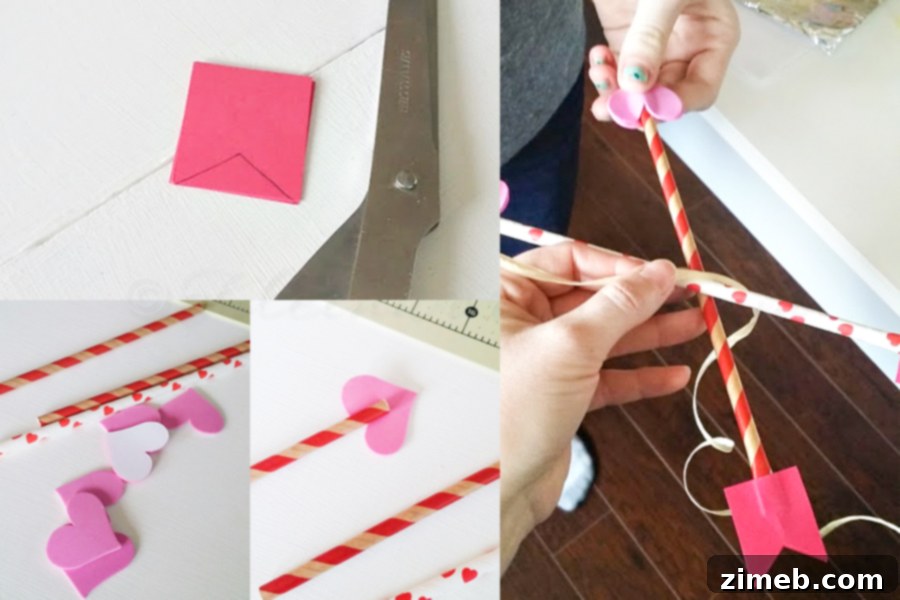
Now, let’s make the iconic Cupid’s arrows! Take your paper straws – these will serve as the arrow shafts. For the arrowhead, take two heart-shaped foam stickers or cutouts. Place them back-to-back, upside down, on one end of a straw, ensuring the point of the heart faces away from the straw’s end to form the arrow’s tip. Press them firmly together to secure. For the fletching (the ‘flags’ on the other end), cut small rectangular or triangular shapes from decorative paper. Apply a thin layer of Mod Podge to one end of the straw and adhere your paper flags, wrapping them slightly around the straw. To ensure they dry flat and secure, place something heavy on them, like a book, until the Mod Podge fully cures. Repeat this process to create three arrows in total.
5. Assembling the Display
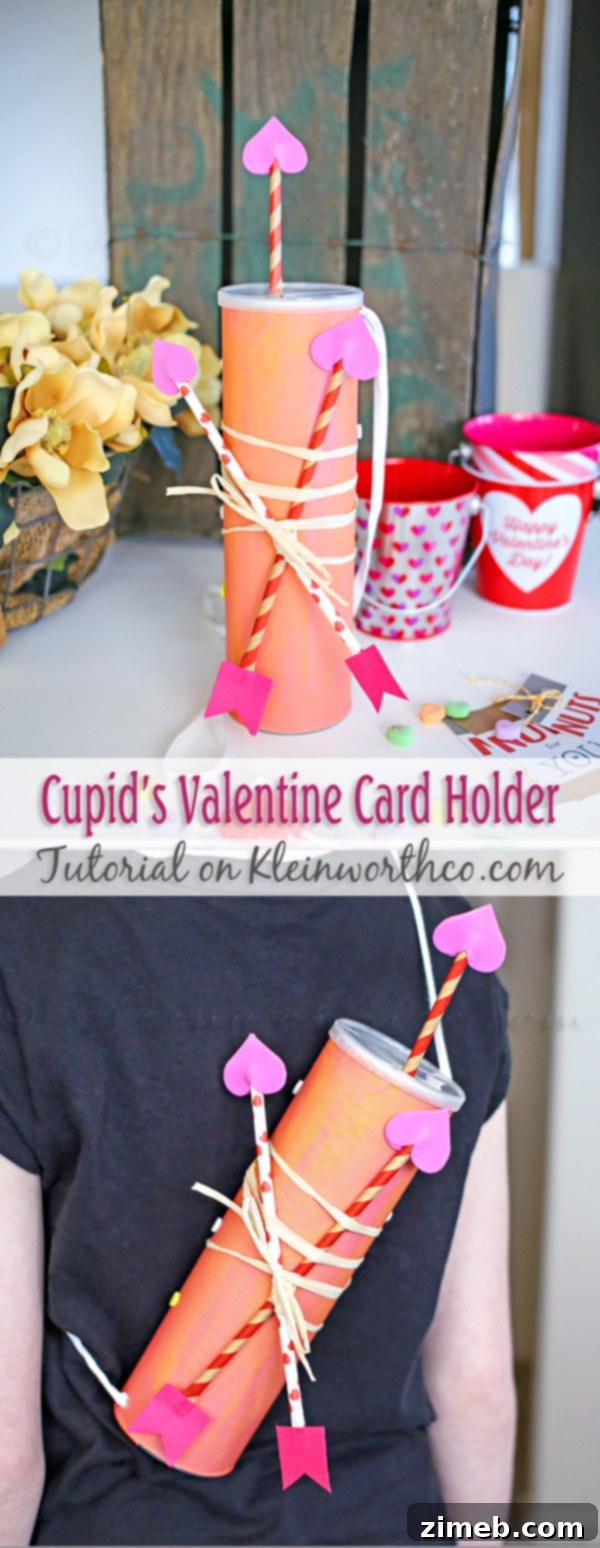
Once your arrows are dry, it’s time to arrange them. Take one finished arrow and insert the non-pointy end into the small hole you cut in the lid of the card holder. This arrow will stand upright, adding height and an undeniable Cupid charm to your creation. For the other two arrows, criss-cross them gracefully. Use a piece of raffia or decorative string to tie them together in this formation. Then, wrap the raffia around the main body of the card holder, securing the criss-crossed arrows to the tube. This not only enhances the visual appeal but also creates a more dynamic and intricate design element.
6. The Grand Finale: Adding a Carrying Strap
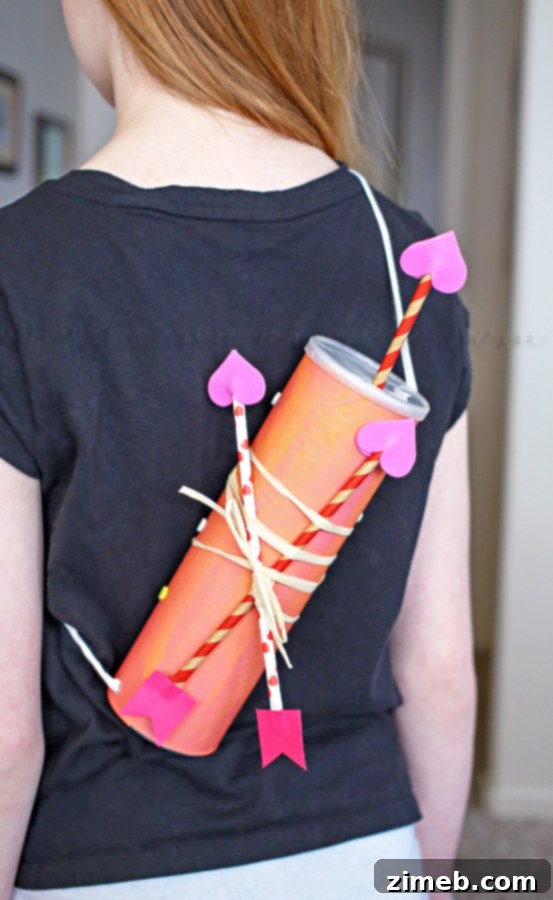
For the final touch that makes this truly a “holder,” we’ll add a strap. Using a small hole punch or the tip of your X-Acto knife, carefully poke two small holes: one near the top edge of the tube and another directly opposite it near the bottom edge. Thread a sturdy string or cord through these holes. On the inside of the tube, tie a secure knot at each end of the string to keep it in place. This creates a functional and decorative strap, allowing the Cupid’s Valentine Card Holder to be carried or hung, completing its charming resemblance to a quiver for Cupid’s arrows – perfect for collecting all those lovely Valentine’s Day greetings!
Personalization and Creative Variations
One of the greatest joys of DIY projects is the freedom to personalize. While the Cupid theme is classic for Valentine’s Day, don’t hesitate to adapt this card holder to your unique vision. Consider painting the tube with vibrant Apple Barrel craft paints instead of covering it with paper for a different texture and look. You could also experiment with different embellishments like glitter, ribbon, lace, or even small photographs. For the arrows, try using feathers instead of paper flags for a more authentic feel. If crafting for a specific child, incorporate their favorite colors or characters into the design. This card holder isn’t just for Valentine’s Day; with different decorations, it could be adapted for birthdays, anniversaries, or even as a charming desk organizer!
Discover the Quality of Plaid Crafts
Throughout this project, the quality of Plaid brands like Mod Podge and Apple Barrel craft paints truly shines. Their reliability makes crafting enjoyable and ensures beautiful, lasting results. Plaid offers an extensive range of crafting supplies, including FolkArt® paints and Martha Stewart Crafts® products, empowering creators of all skill levels to bring their imaginative ideas to life. Whether you’re a seasoned crafter or just starting, Plaid provides the tools you need for success. They frequently have promotions and special offers, so be sure to check their website for current discounts and deals that can help you save on your next crafting haul! You’ll love celebrating Valentine’s Day with Plaid Crafts.
Connect with Plaid for More Inspiration:
Stay inspired and discover a world of creative ideas by connecting with Plaid on their social channels:
- Explore their products: Apple Barrel & Mod Podge
Looking for More Great Valentine’s Day Ideas?
If you’re brimming with Valentine’s Day spirit and eager for more festive projects or treats, explore these delightful ideas:

Indulgent Red Velvet Bundt Cake w/ Kahlua Ganache
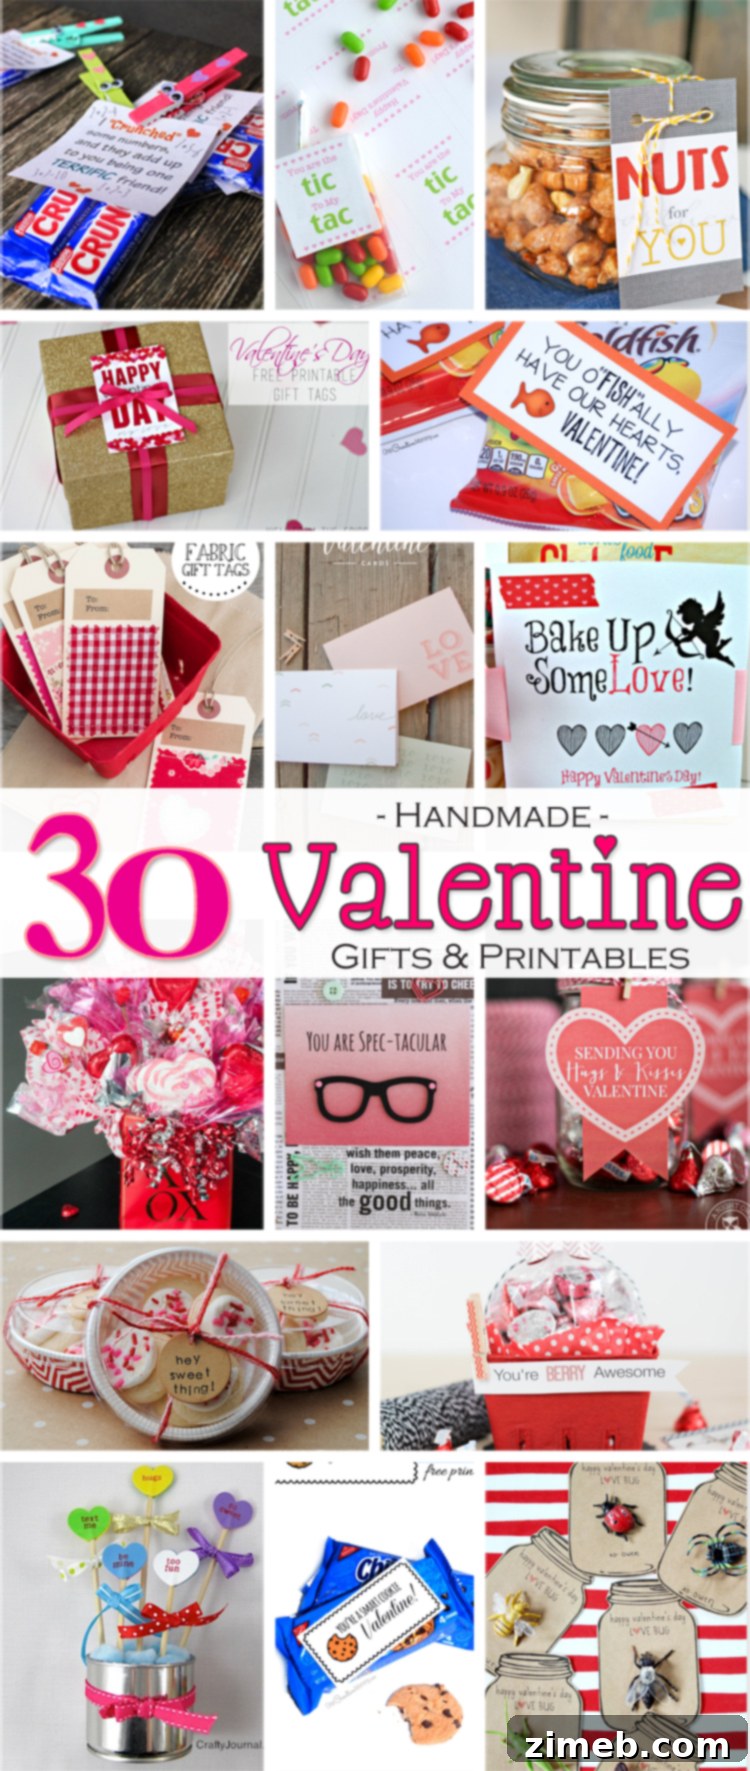
30 Creative Handmade Valentine Gift Ideas

Decadent Valentine Red Velvet Brownies
Creating a Cupid’s Valentine Card Holder is a wonderfully rewarding project that combines creativity, repurposing, and the joy of giving. It’s a charming addition to any Valentine’s Day celebration, providing a unique and personalized way to collect tokens of affection. We hope this guide inspires you to gather your materials, embrace your inner crafter, and create something truly memorable. Happy crafting, and Happy Valentine’s Day!
Don’t miss out on more wonderful Valentine Boxes created by other talented bloggers! Explore the web for endless inspiration for your next project.