
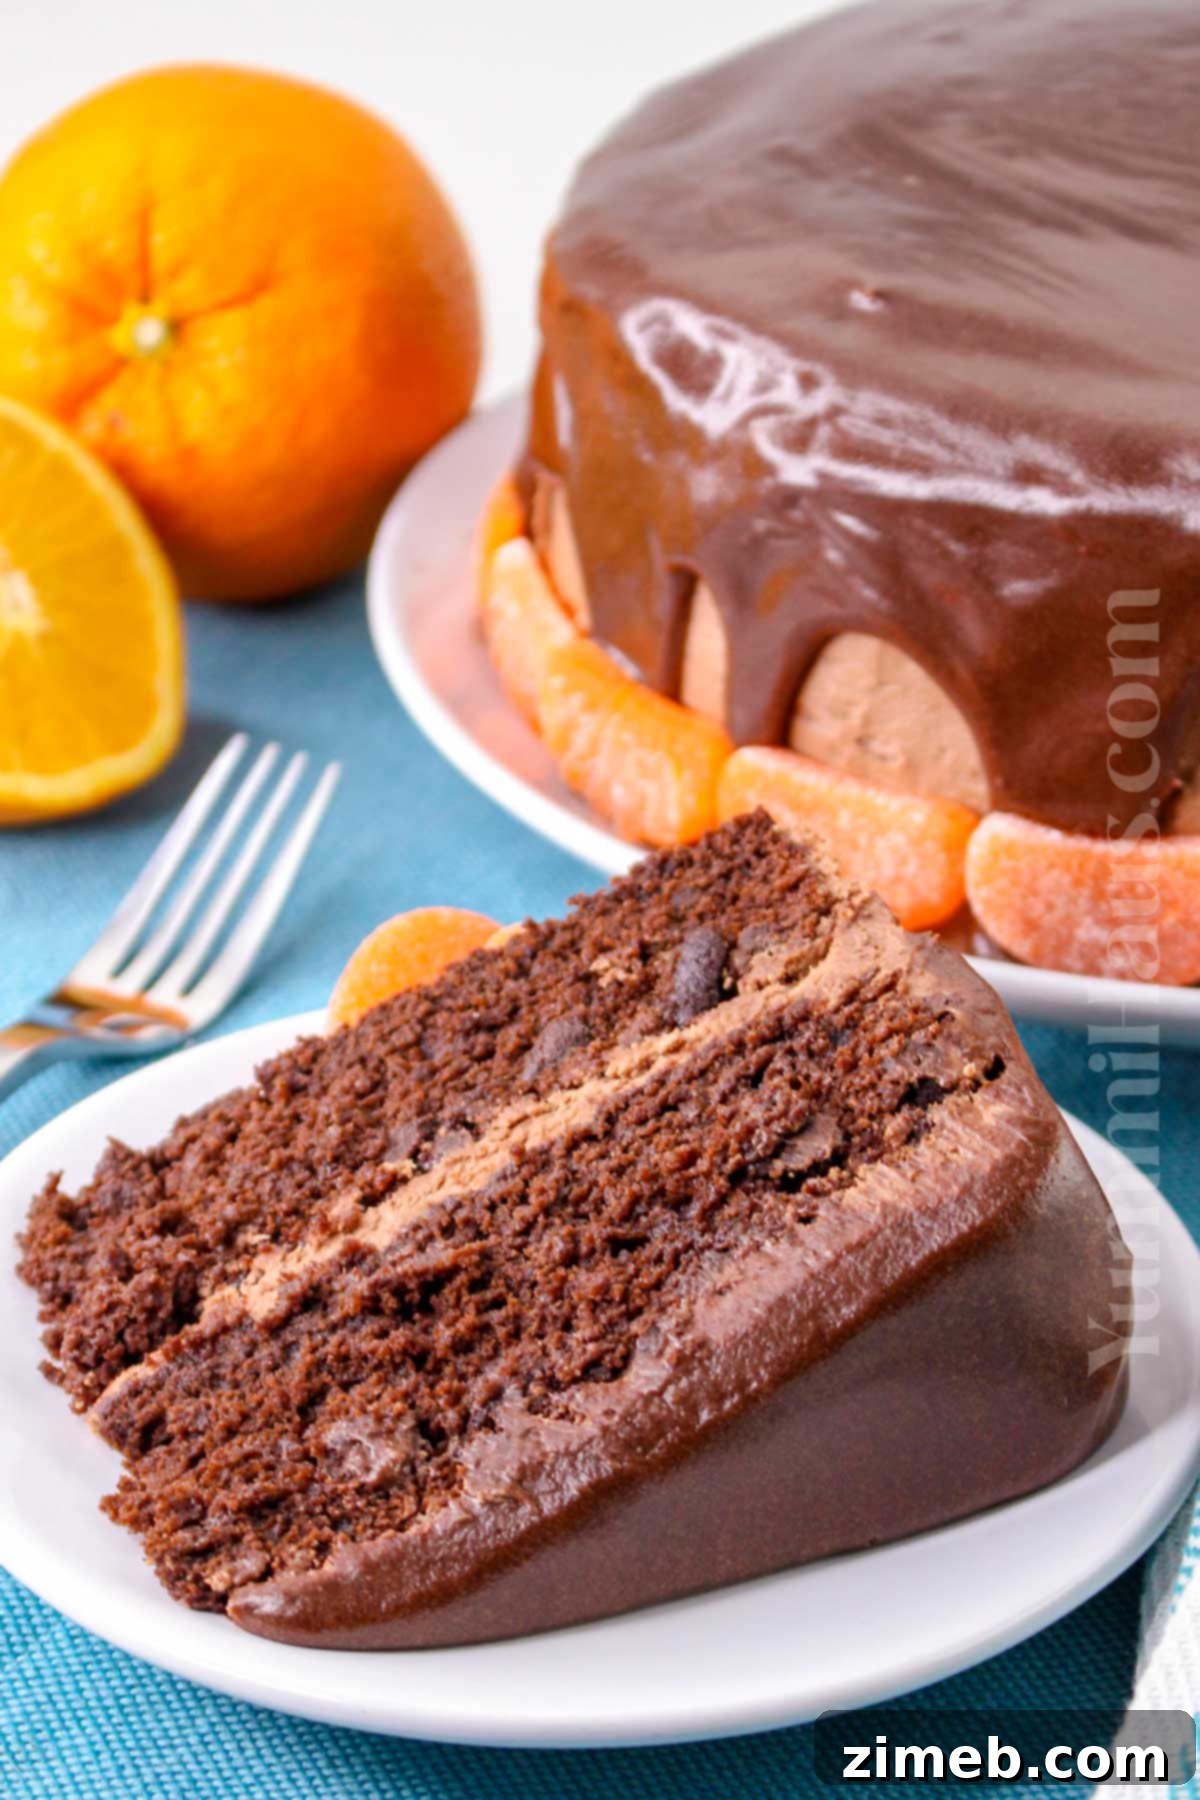
Decadent Homemade Chocolate Orange Cake: A Zesty Indulgence
There’s something uniquely comforting about a slice of homemade cake, especially when it’s as luxurious and refreshing as this chocolate orange masterpiece. It’s more than just a dessert; it’s a delightful escape, a moment of pure bliss. Many chocolate cake recipes often leave me feeling like they’re missing that special spark. But for me, the magic truly happens when rich, dark chocolate meets the vibrant, zesty notes of fresh oranges.
I remember those cherished Sundays when my whole family gathered, and I’d instinctively reach for a basket of fresh oranges to create a chocolate orange cake. The aroma alone was enough to fill our home with warmth and anticipation. This recipe isn’t just a cake; it’s a tradition, a memory, and a natural stress-reliever all baked into one incredible treat. And trust me, the effort is undeniably worth it for this oh-so-delicious experience!
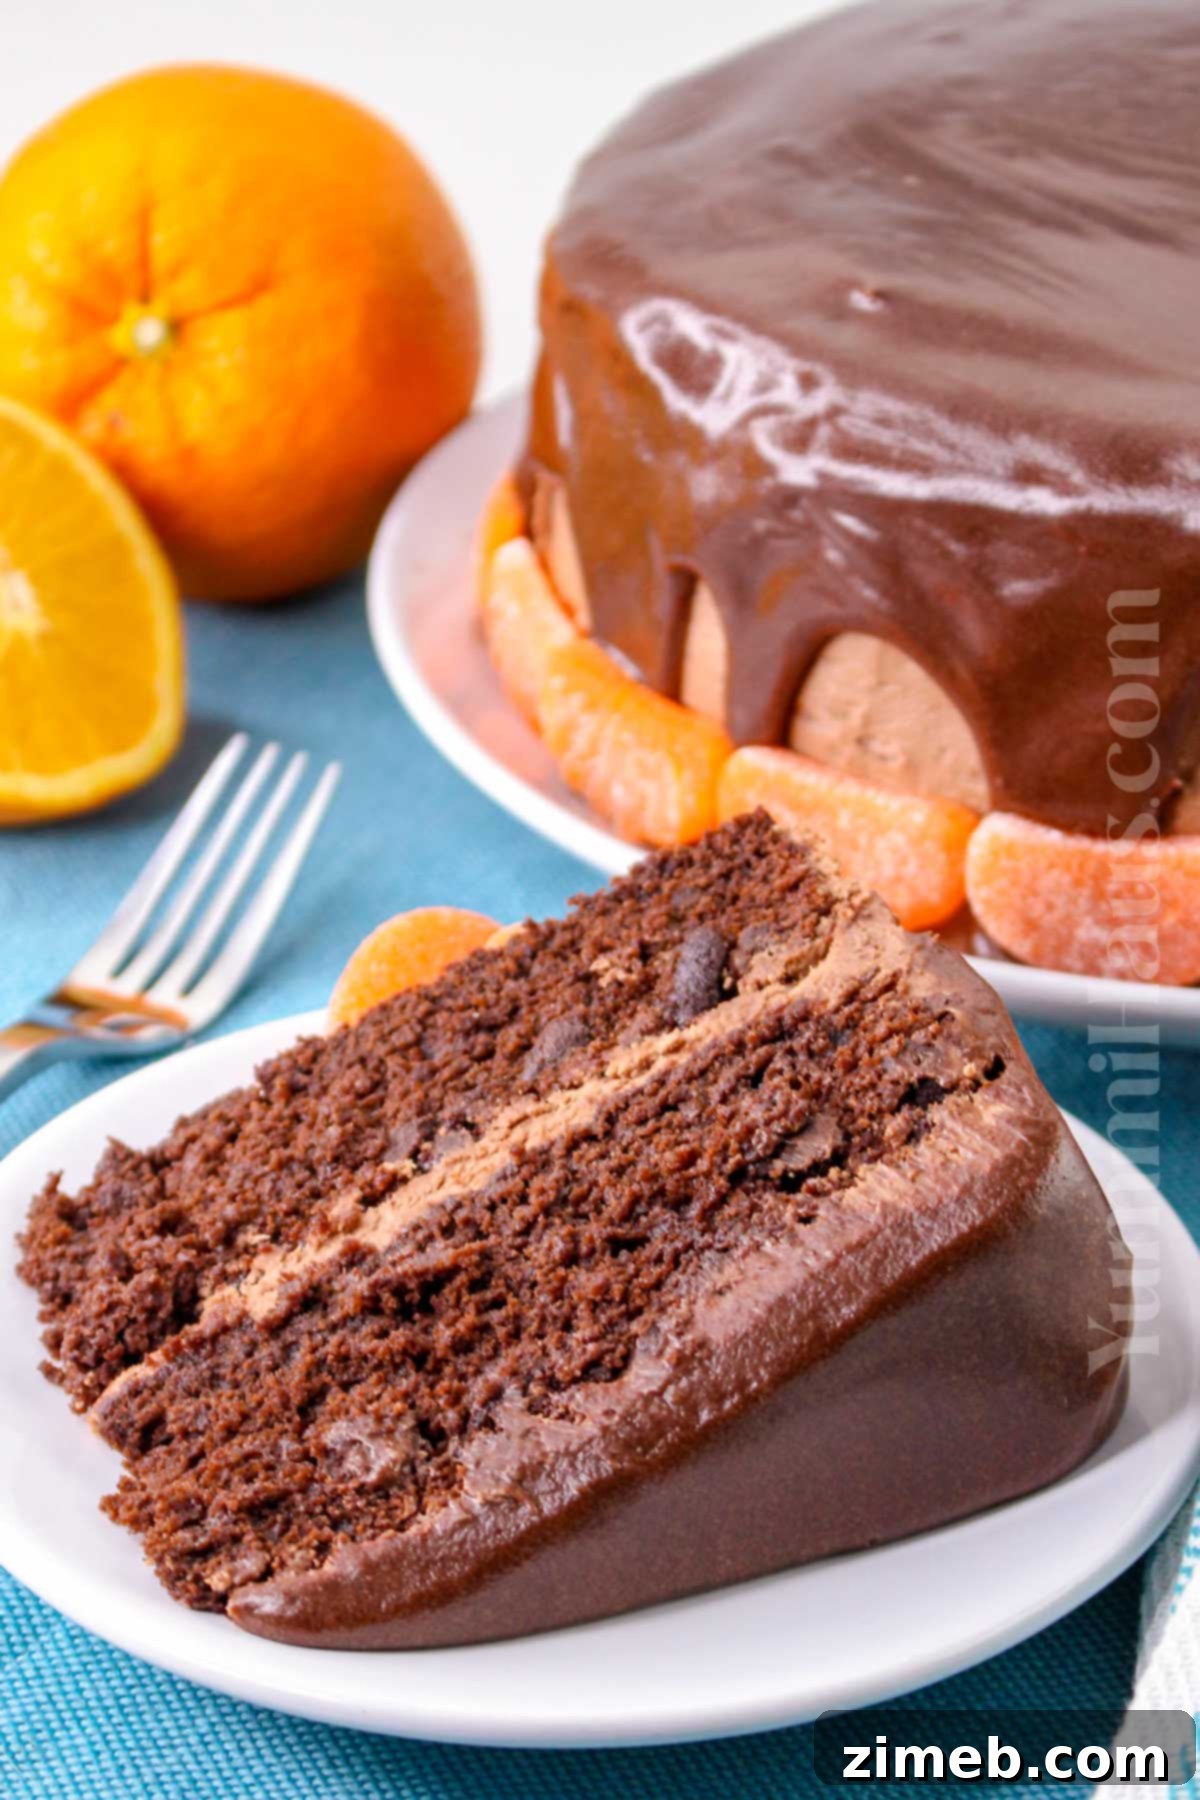
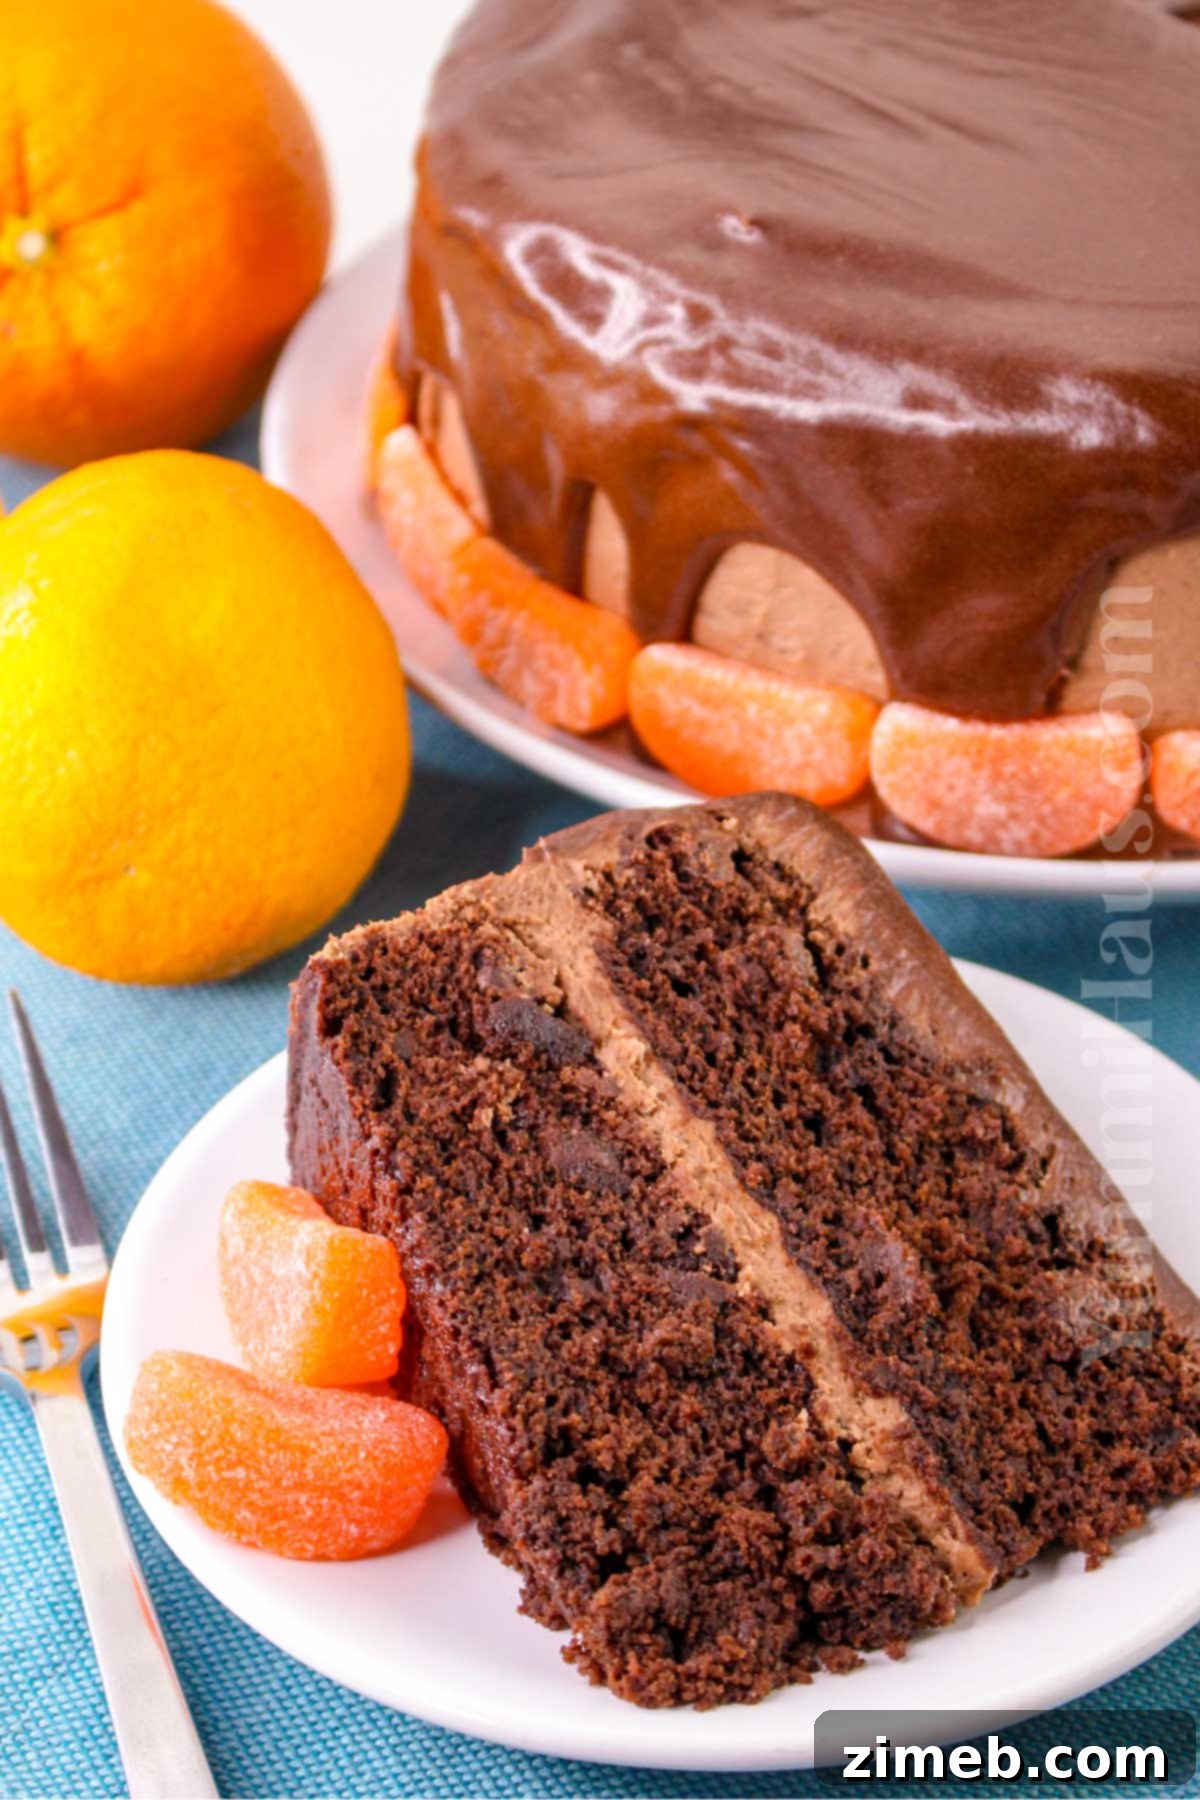
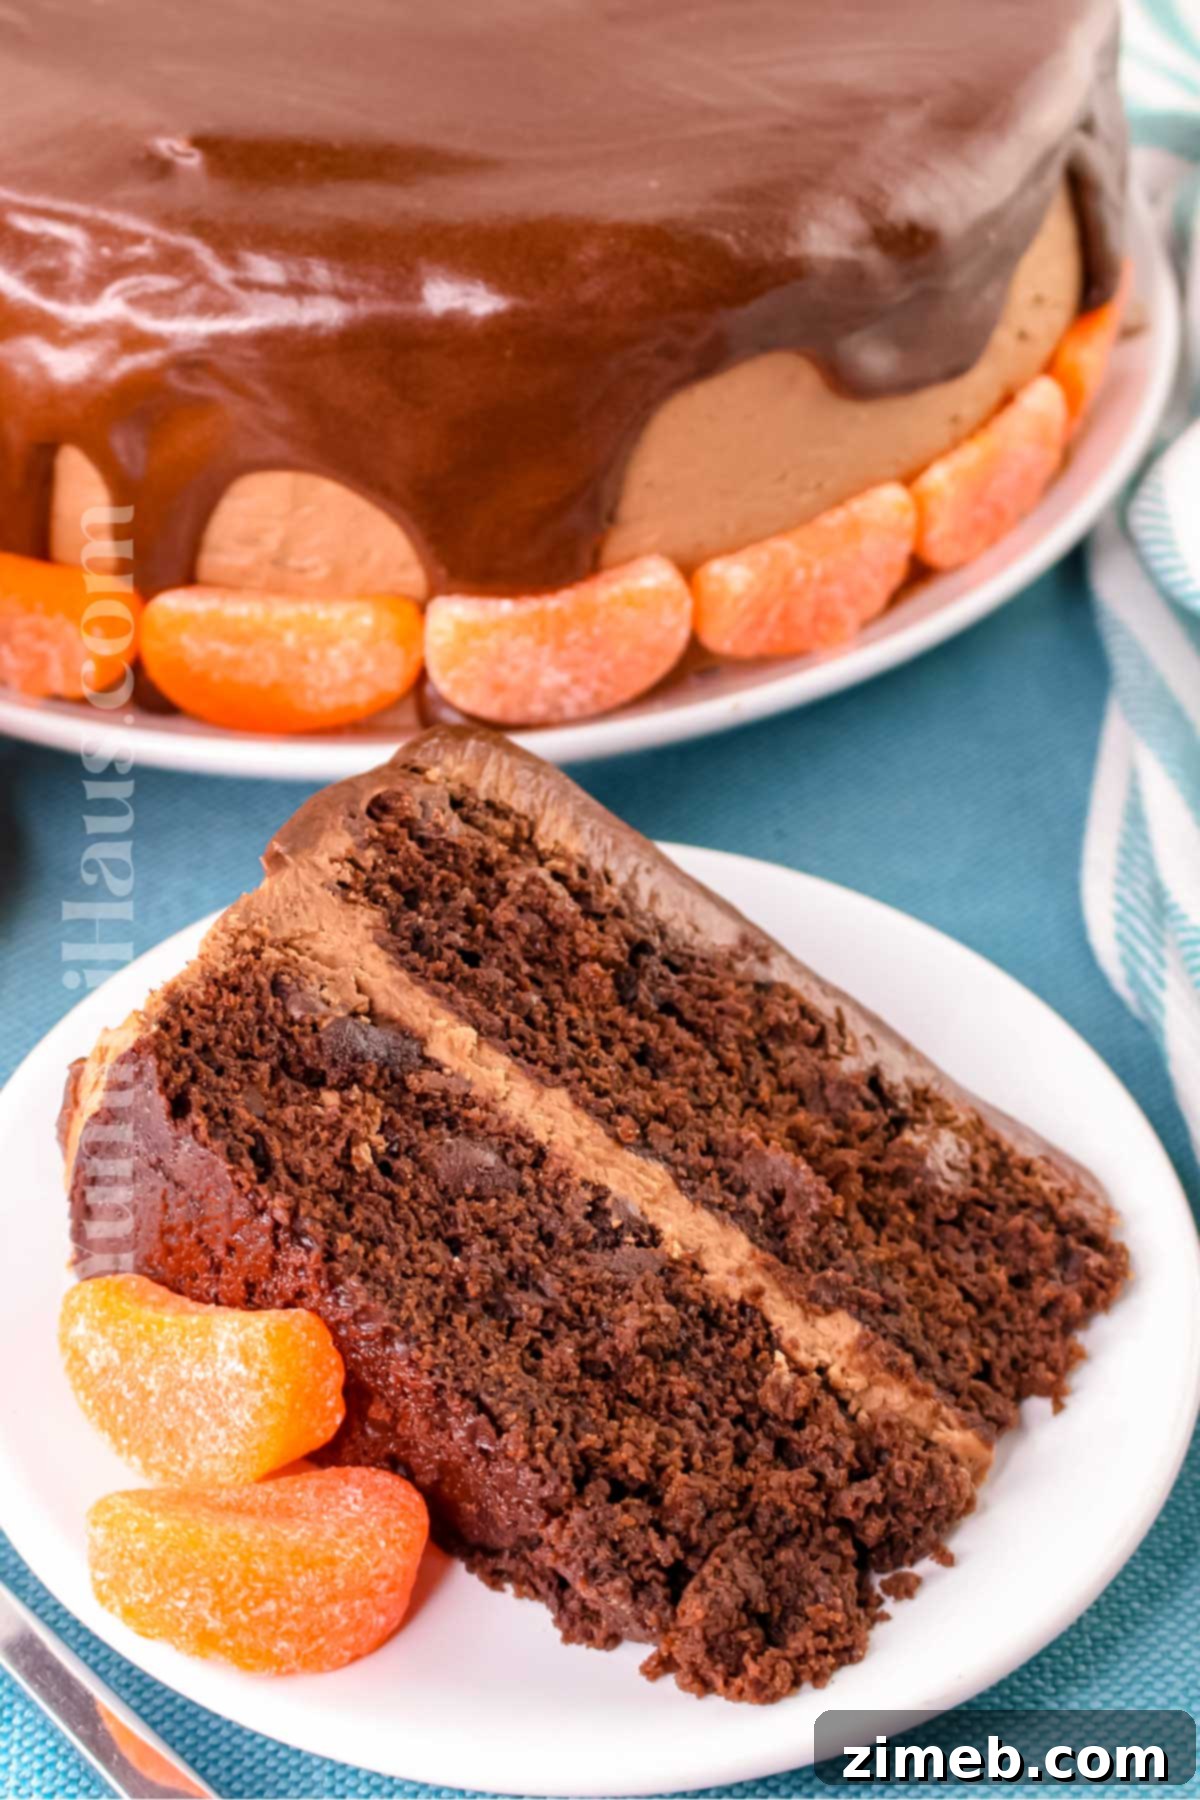
While the convenience of cake mixes can be tempting, crafting a cake from scratch offers an unparalleled sense of accomplishment and a depth of flavor that simply cannot be replicated. This particular recipe stands as a testament to the enduring appeal of traditional baking. You might find the idea of making a cake entirely from scratch a bit daunting at first, but I assure you, it’s far less complicated and doesn’t take significantly longer than using a store-bought mix. The rich, moist layers of chocolate cake, infused with bright orange zest, and topped with a luscious chocolate orange buttercream and glistening ganache, will prove that homemade truly tastes best.
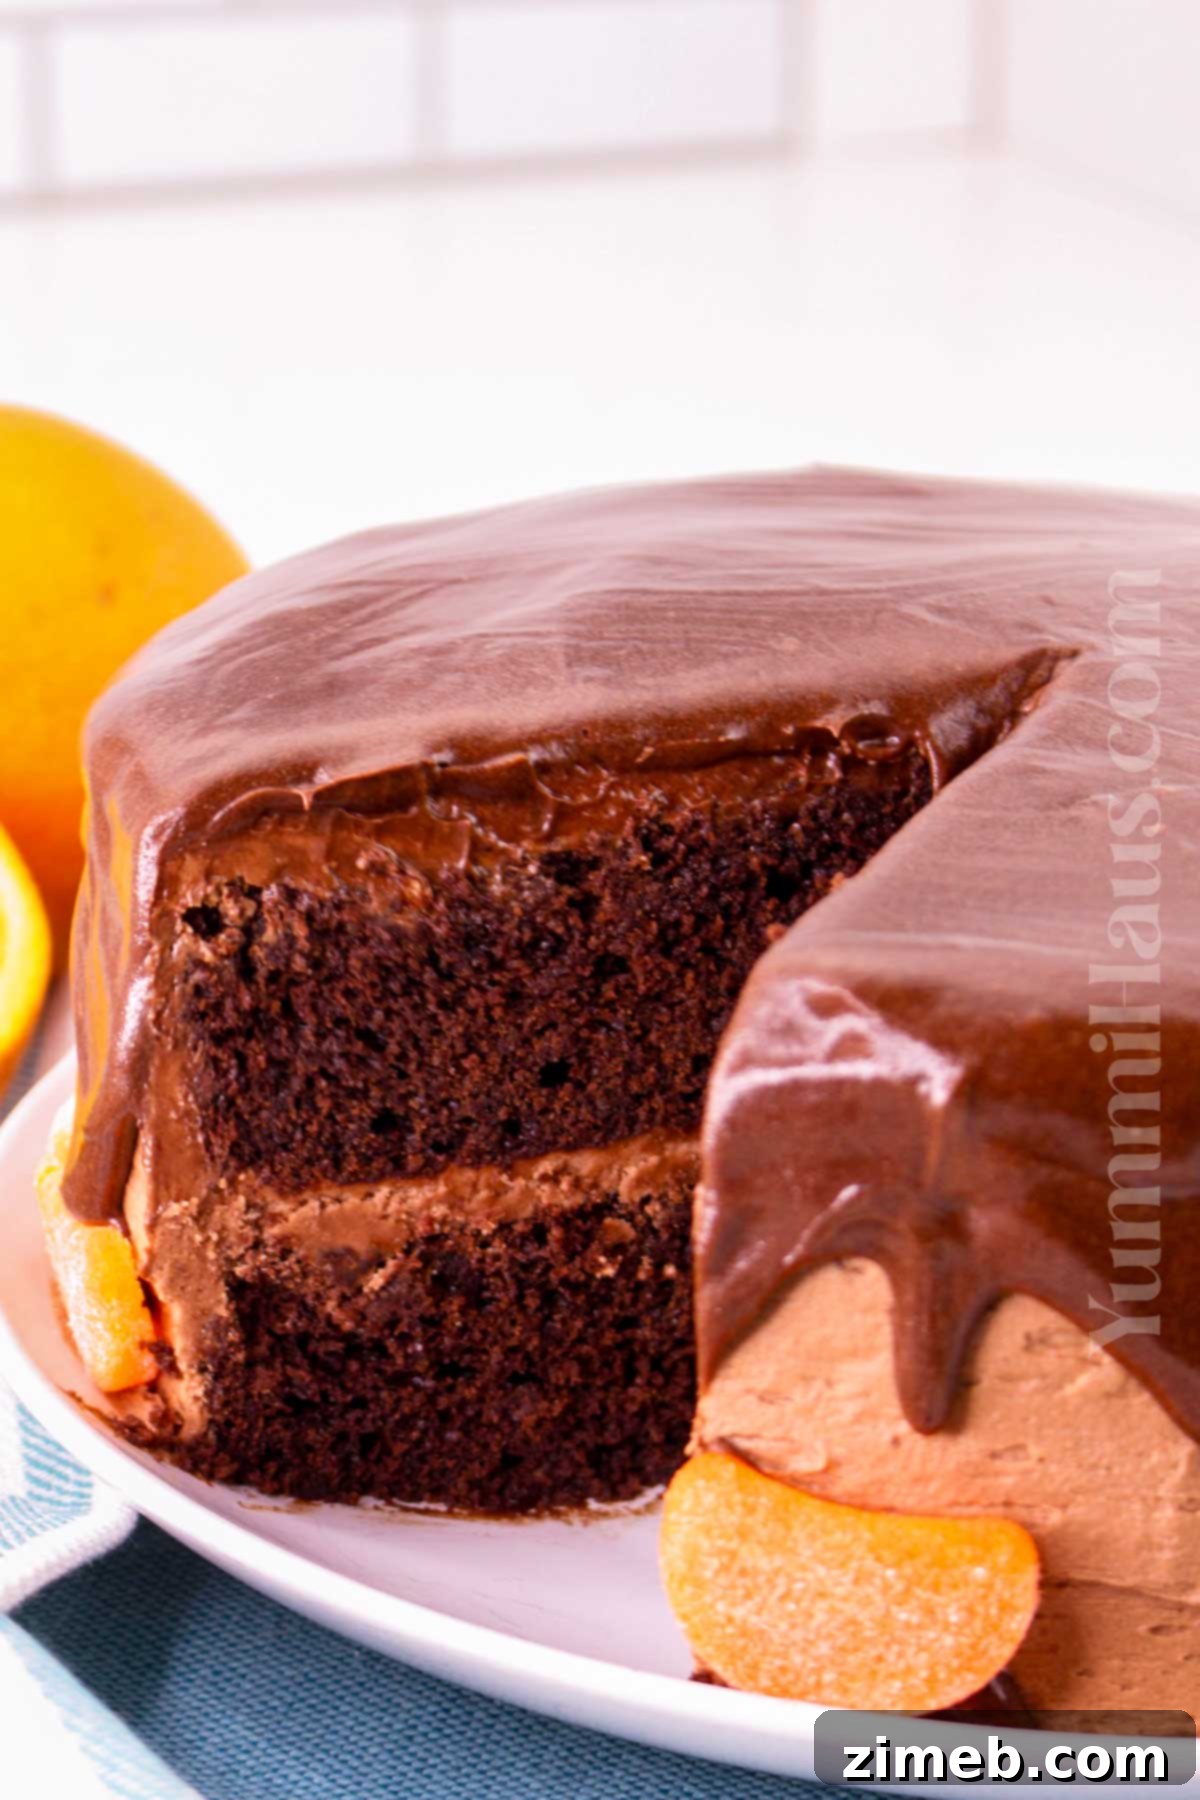
Why You’ll Adore This Chocolate Orange Cake Recipe
This isn’t just another cake; it’s a celebration of flavors and a delightful baking experience. Here’s why this homemade chocolate orange cake will quickly become a favorite in your kitchen:
- **An Exquisite Flavor Fusion:** Prepare your taste buds for an indulgent symphony where the rich, deep notes of chocolate perfectly intertwine with the bright, sweet, and tangy essence of fresh oranges. This classic combination is elevated to new heights, offering a sophisticated and incredibly satisfying dessert experience.
- **Effortlessly Homemade, Surprisingly Quick:** Don’t let the “from scratch” label intimidate you. Despite creating every component yourself, from the moist cake layers to the creamy buttercream, this recipe is designed for efficiency. You’ll find yourself prepping and baking this stunning layered cake in about an hour, making it perfect for both special occasions and weekend baking projects.
- **Triple-Layered Orange Chocolate Infusion:** The magic of this cake lies in its comprehensive flavor profile. The delightful hint of orange and deep chocolate notes are not just confined to one element; they are thoughtfully infused throughout the entire dessert. You’ll find orange zest and cocoa in the tender cake batter, a refreshing burst of citrus and chocolate in the velvety buttercream frosting, and a rich finish with the chocolate ganache. This ensures a consistent and captivating flavor in every single bite.
- **A Dream for Discerning Chocolate Lovers:** For those who adore chocolate but crave a little something extra, this recipe is a revelation. It offers a wonderful alternative to traditional, solely chocolate-based cakes, introducing a refreshing citrus twist that brightens and invigorates the familiar cocoa richness. It’s truly the perfect cake recipe for chocolate enthusiasts seeking a new and exciting flavor adventure.
Essential Ingredients for Your Perfect Chocolate Orange Cake
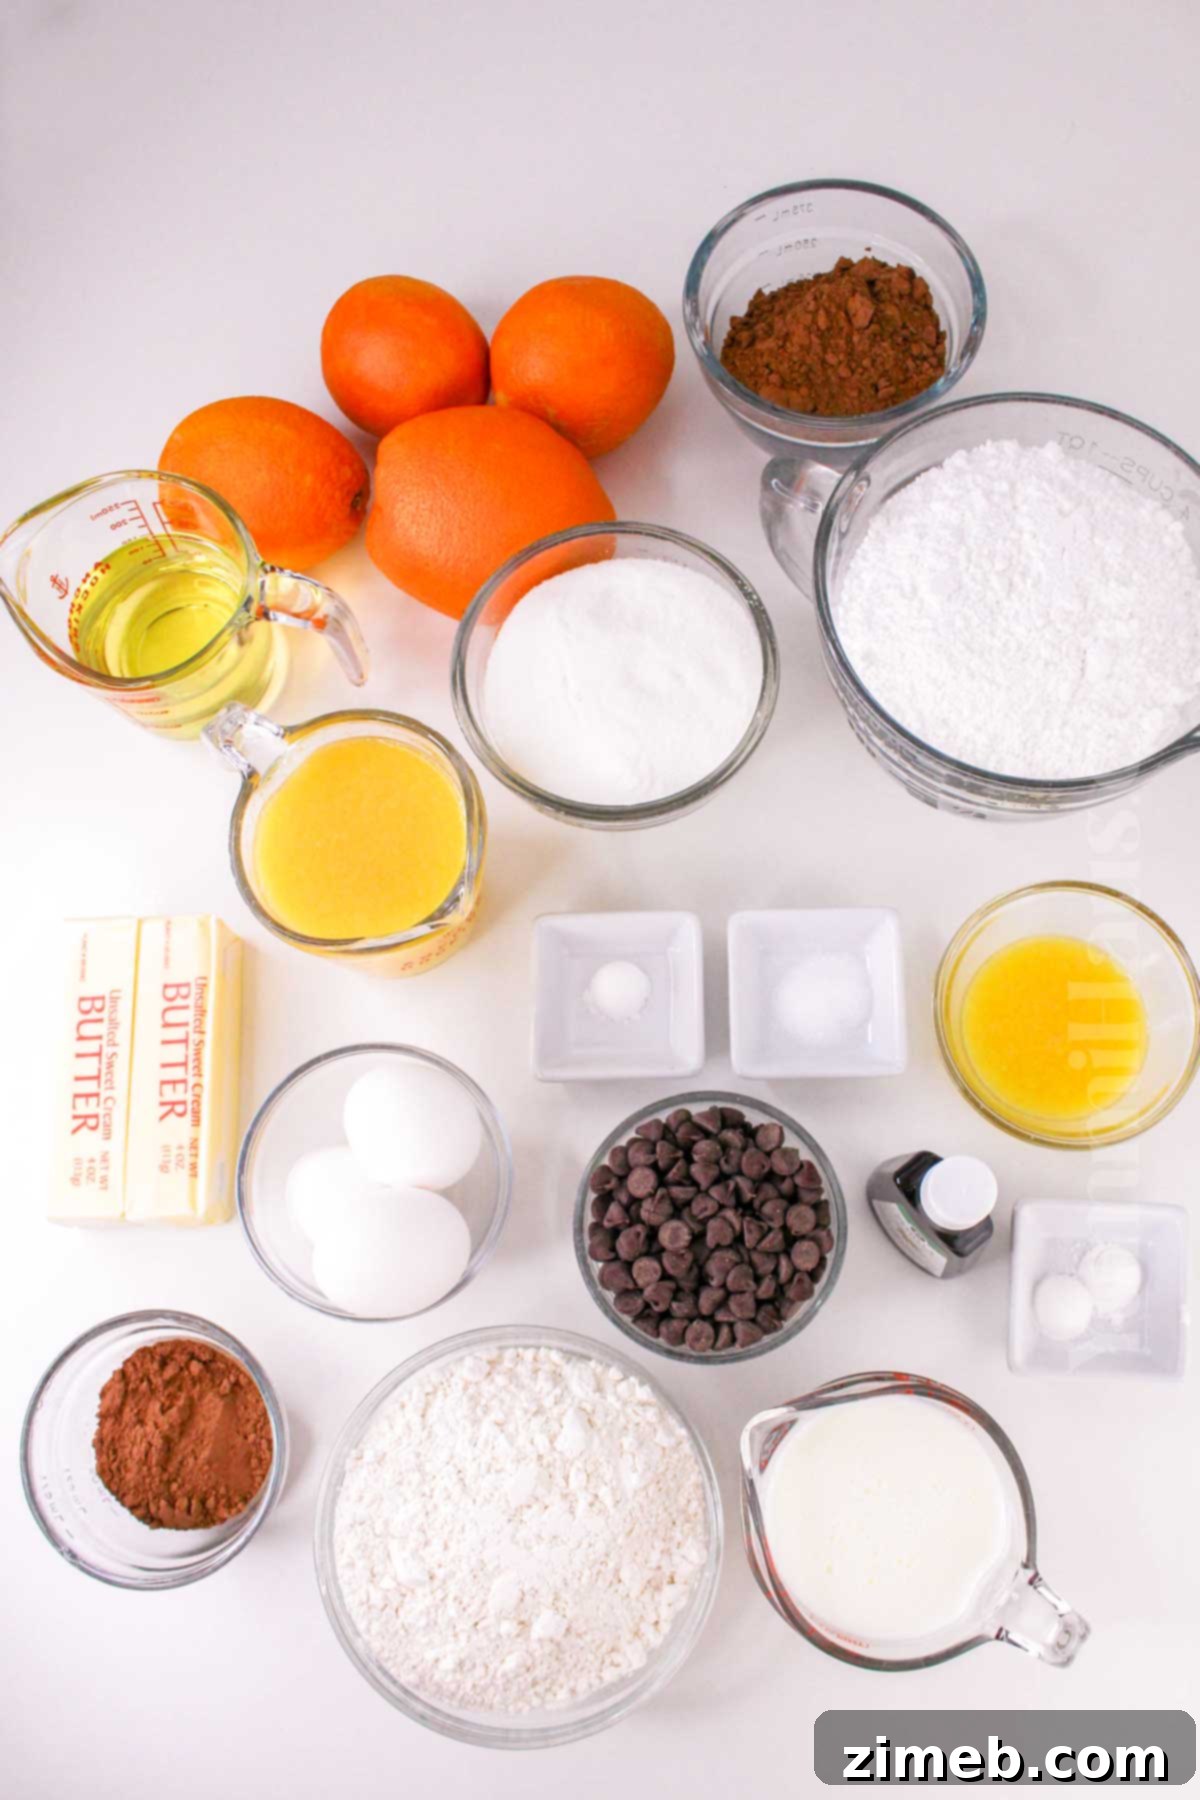
Crafting this irresistible chocolate orange cake relies on a selection of high-quality ingredients. Paying attention to these notes will ensure your cake turns out moist, flavorful, and perfectly balanced. Here’s a breakdown of what you’ll need and why each component is important:
For the Moist Orange Chocolate Cake Layers
- **All-Purpose Flour:** This is the standard, providing the necessary structure for your cake. For an even finer crumb, you can opt for cake flour. If you’re catering to dietary needs, a good quality gluten-free flour blend will also work wonderfully, ensuring everyone can enjoy a slice.
- **Granulated Sugar:** Sweetness is key! You can use pure granulated sugar, or for a more tender cake with a subtle, rich toffee-like undertone, try a mix of white and brown sugar. The molasses in brown sugar also contributes to a moister texture.
- **Unsweetened Cocoa Powder:** This is where the chocolate flavor truly shines. Investing in a high-quality natural cocoa powder is crucial, as its depth and richness directly impact the cake’s overall chocolate essence. For an even darker, less acidic cake, Dutch-processed cocoa powder is an excellent choice, known for its smooth, mellow flavor.
- **Leavening Agents (Baking Powder and Baking Soda):** These powerhouses are essential for a light and airy cake. They react to create carbon dioxide, helping the cake rise beautifully, resulting in a fluffy texture with a lovely chewy crumb and subtly crisp edges. If you prefer, self-raising flour can be used as a convenient substitute, as it already contains both.
- **Zest of 2 Oranges:** The zest is where most of the orange flavor and aromatic oils are concentrated. For this recipe, you’ll need the zest from two oranges for the cake layers, and an additional one for the buttercream. Freshness makes all the difference! Clementines can be used as a sweet alternative.
- **Freshly Squeezed Orange Juice:** Complementing the zest, fresh orange juice infuses the cake with natural, bright citrus notes and contributes significantly to its moisture. If fresh oranges aren’t available, ensure you use 100% orange juice with no added sugars or artificial flavors to maintain the cake’s pure taste.
- **Buttermilk:** This tangy dairy product is a secret weapon for a soft, incredibly moist cake. Its acidity reacts with the baking soda, enhancing the rise and tenderness. Store-bought buttermilk is great, but you can easily make your own (see tips section). Sour cream or plain yogurt are also excellent substitutes, offering similar benefits.
- **Vegetable Oil:** Essential for creating an amazingly moist cake that stays tender for days. Avocado, canola, or a light olive oil are all suitable choices, providing richness without overpowering the delicate flavors.
- **Large Eggs:** Eggs bind the ingredients, add moisture, and contribute to the cake’s structure and richness. Ensure they are at room temperature for optimal mixing.
- **Vanilla Extract:** A touch of pure vanilla extract enhances all the other flavors, adding a subtle warmth and complexity that rounds out the chocolate and orange.
- **Chocolate Chips (Optional):** For an extra burst of chocolatey goodness and texture, folding in some chocolate chips into the batter is a fantastic option.
For the Luscious Chocolate Orange Buttercream
- **Unsalted Butter, Softened:** You’ll need about one cup (two sticks) of unsalted butter, softened to room temperature. This is crucial for achieving a smooth, creamy, and light buttercream.
- **Confectioner’s Sugar (Powdered Sugar):** The base of any great buttercream. Start with 3-4 cups and adjust to achieve your desired level of sweetness and frosting consistency. Sifting it prevents lumps.
- **Unsweetened Cocoa Powder:** For that decadent chocolate flavor in your frosting. Use the same high-quality cocoa powder as for the cake layers.
- **Zest of 1 Orange:** A final flourish of orange zest in the buttercream provides a powerful aromatic kick and visual appeal.
- **Fresh Orange Juice:** A couple of tablespoons of fresh orange juice will add brightness and flavor, helping to balance the richness of the butter and chocolate.
- **Pure Vanilla Extract or Vanilla Bean Paste:** A teaspoon of vanilla extract complements the chocolate and orange beautifully, adding depth to the buttercream’s flavor profile.
Garnish for a Stunning Finish
- **Chocolate Ganache:** A glossy, rich chocolate ganache provides a beautiful finish and an extra layer of chocolatey indulgence. You can choose between dark chocolate ganache for a more intense flavor or a sweeter chocolate glaze. For ganache, a chocolate with 50-70% cocoa solids works best. Feeling adventurous? Consider using white chocolate ganache for a unique twist that stands out from the typical milk or dark chocolate options!
- **Sliced or Candied Oranges:** Fresh orange slices, elegant candied oranges, or even simple chocolate shavings or leftover orange zest make for a stunning and flavorful decoration that highlights the cake’s citrus heart. Candied oranges dipped in chocolate add an extra layer of sophistication and deliciousness.
Essential Kitchen Equipment
Having the right tools at hand makes the baking process smoother and more enjoyable. Here’s a list of kitchen equipment you’ll need to create this magnificent chocolate orange cake:
- **Two 9-inch Round Cake Pans:** These are ideal for baking perfectly even layers. For a single-layer, decorative cake, bundt pans can also be used. Always remember to line your pans with parchment paper and grease them thoroughly to prevent sticking.
- **Mixing Bowls:** You’ll need at least two large mixing bowls – one for dry ingredients and one for wet ingredients – to keep everything separate and ensure proper mixing.
- **Stand Mixer or Hand Mixer (Optional):** While I often enjoy the meditative process of mixing by hand, a stand mixer with a paddle attachment can significantly cut down on effort, especially when preparing the buttercream frosting. A hand mixer also works wonderfully.
- **Offset Spatula (Optional):** This specialized spatula is a game-changer for spreading frosting smoothly and evenly across cake layers and sides, giving your cake a professional finish.
- **Microplane Grater:** Essential for finely zesting oranges, ensuring maximum flavor extraction without including any bitter white pith.
- **Wire Rack:** Crucial for allowing your cake layers to cool completely and evenly, preventing them from becoming soggy or dense.
How to Bake the Ultimate Chocolate Orange Cake: A Step-by-Step Guide
Get ready to create a show-stopping dessert! Follow these detailed instructions to bake, frost, and decorate your very own decadent chocolate orange cake from scratch.
Part 1: Baking the Perfect Chocolate Orange Cake Layers
- **Preheat Your Oven:** Begin by preheating your oven to 350 degrees Fahrenheit (175 degrees Celsius). This ensures the oven is at the correct temperature for even baking from the moment your cakes go in.
- **Prepare Your Cake Pans:** Take two 9-inch round cake pans. Generously grease the bottoms and sides with butter or baking spray. For easy removal, line the bottom of each pan with a round of parchment paper, then dust the greased pans with either a light coating of all-purpose flour or cocoa powder. Tap out any excess flour/cocoa. Set these prepared pans aside.
- **Combine Dry Ingredients:** In a large mixing bowl, sift together the all-purpose flour, granulated sugar, unsweetened cocoa powder, baking powder, baking soda, and salt. Sifting helps to remove lumps and aerate the ingredients, leading to a lighter cake. Stir in the freshly grated orange zest, ensuring it’s well distributed throughout the dry mixture.
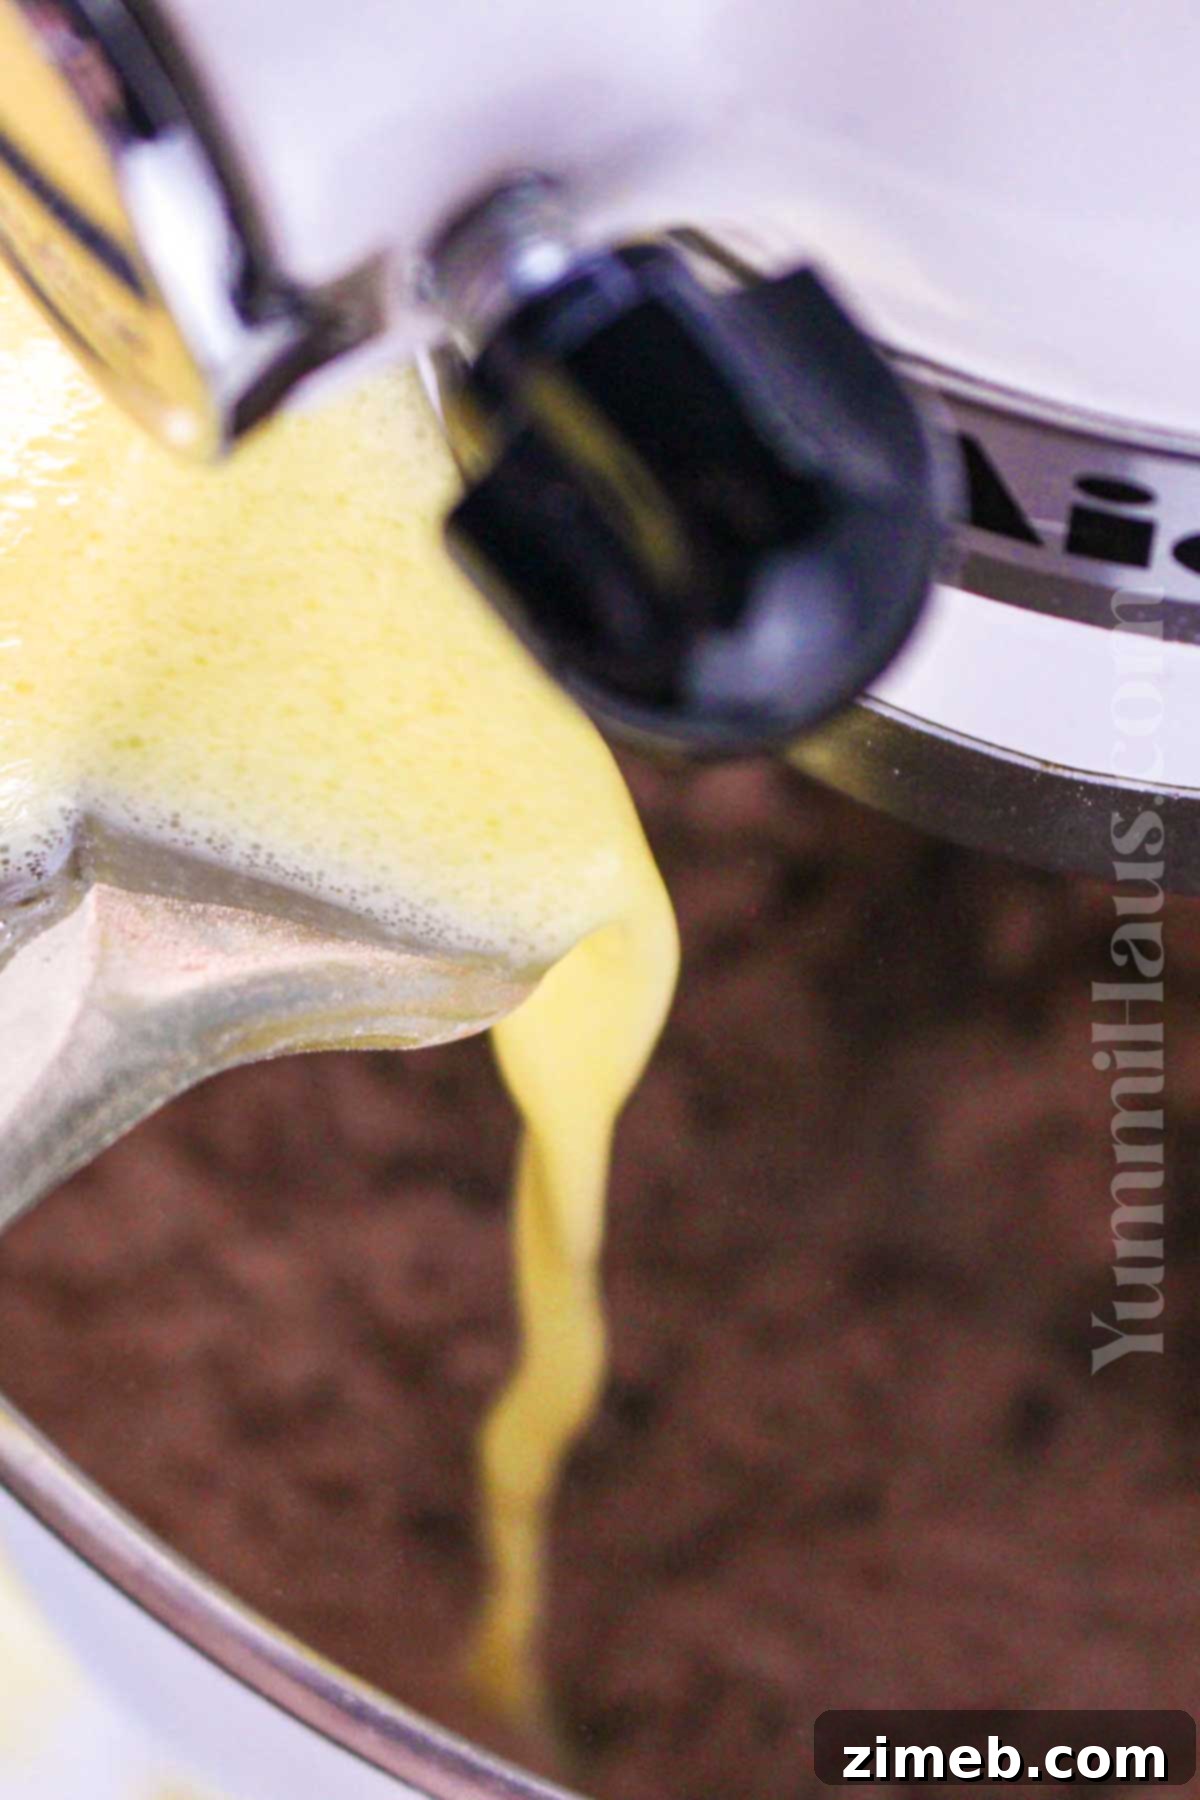
- **Whisk Wet Ingredients:** In a separate large bowl, whisk together the freshly squeezed orange juice, buttermilk, vegetable oil, large eggs, and vanilla extract until they are thoroughly combined and smooth.
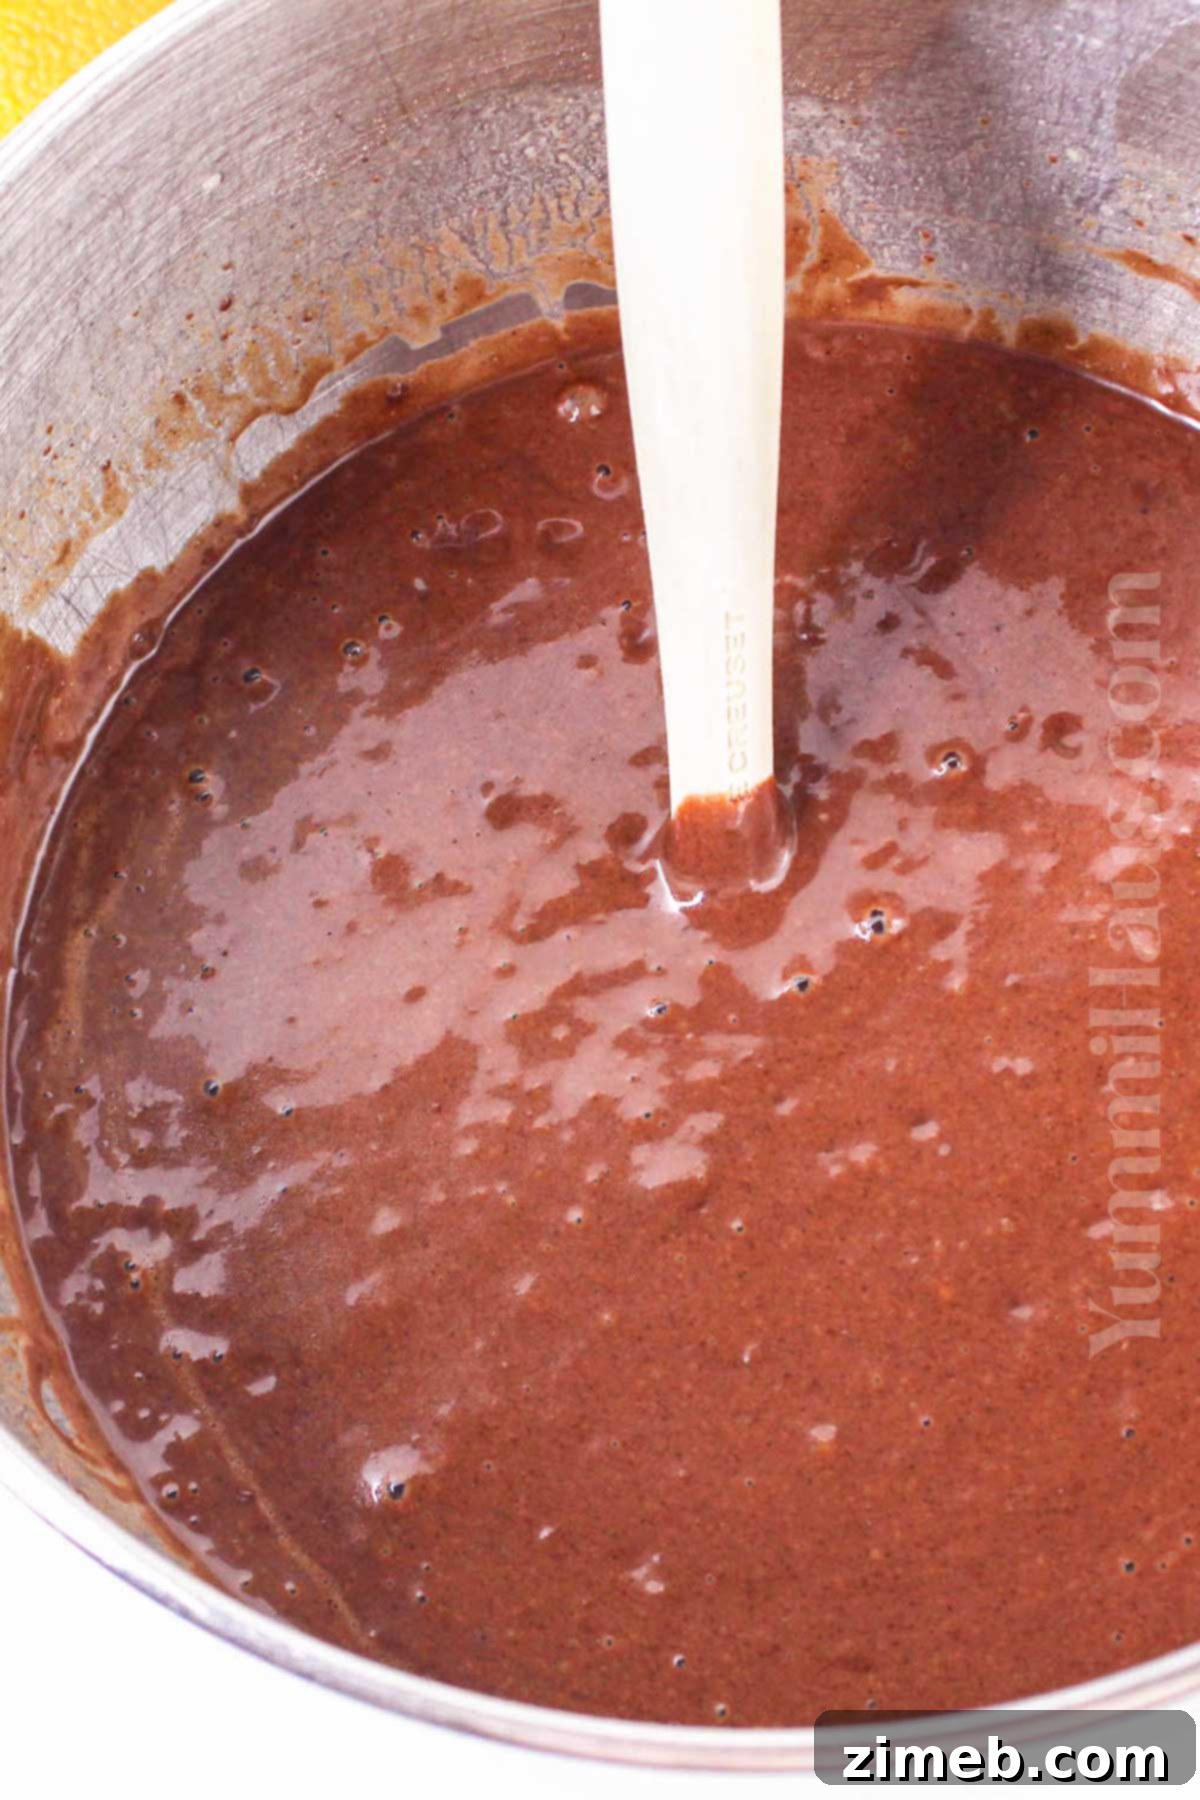
- **Combine Wet and Dry Mixtures:** Gradually add the wet ingredients into the dry ingredients, mixing slowly with a whisk or spatula until just incorporated. Be careful not to overmix; overmixing can develop the gluten in the flour too much, resulting in a tough cake. A few small lumps are perfectly fine.
- **Fold in Chocolate Chips (Optional):** If you’re adding chocolate chips for an extra textural and flavor boost, gently fold them into the batter with a spatula until evenly distributed.
- **Divide and Prepare for Baking:** Evenly divide the cake batter between your two prepared 9-inch round cake pans. Gently tap each pan on your kitchen counter a few times. This helps to release any trapped air bubbles, ensuring a more uniform and smooth cake crumb.
- **Bake to Perfection:** Place the cake pans in the preheated oven and bake for 30-35 minutes. To test for doneness, insert a toothpick into the center of a cake; if it comes out clean or with just a few moist crumbs attached, your cakes are ready. Another reliable method is to gently press the center of the cake with your finger; if it springs back, the cakes are done.
- **Initial Cooling in Pans:** Once baked, remove the cakes from the oven and allow them to cool in their pans on a wire rack for at least 20 minutes at room temperature. This crucial step allows the cakes to firm up slightly, making them easier to handle.
- **Complete Cooling:** After the initial cooling, carefully invert the cakes onto the wire rack, remove the pans and parchment paper, and let them cool completely before attempting to frost or decorate. Decorating a warm cake will cause the frosting to melt.
Part 2: Crafting the Silky Chocolate Orange Buttercream Frosting
- **Start While Cakes Cool:** While your beautiful cake layers are cooling on the wire rack, you can begin preparing the rich and zesty chocolate orange buttercream frosting.
- **Cream the Butter:** In a large mixing bowl, using a stand mixer with the paddle attachment or a hand mixer, beat the softened unsalted butter on medium speed until it’s light, fluffy, and creamy. This takes a few minutes and ensures a smooth frosting base.
- **Incorporate Cocoa and Salt:** With the mixer running on low speed, slowly sift the unsweetened cocoa powder and a pinch of salt into the creamy butter. This gradual addition prevents a cloud of cocoa powder and ensures even distribution.
- **Gradually Add Confectioner’s Sugar:** Begin adding the confectioner’s sugar, one cup at a time, mixing well after each addition until fully incorporated. During this stage, you have the flexibility to adjust the sweetness to your preference – add more or less sugar as desired.
- **Infuse with Orange Flavor:** Once the sugar is combined, stir in the orange zest and fresh orange juice. Mix until smooth. If your frosting appears too thick, gradually add a little more orange juice (a teaspoon at a time) until it reaches your desired spreadable consistency. Remember, adding more confectioner’s sugar will also help to thicken the frosting if it becomes too thin.
- **Whip for Lightness:** Increase the mixer speed to high and beat the frosting for several minutes (typically 3-5 minutes). This whipping process incorporates air, making the buttercream wonderfully light, airy, and fluffy. You can add the vanilla extract during this final high-speed whipping stage to ensure it’s evenly distributed.
Part 3: Assembling and Decorating Your Masterpiece
Now for the exciting part – bringing all the components together to create your stunning chocolate orange cake!
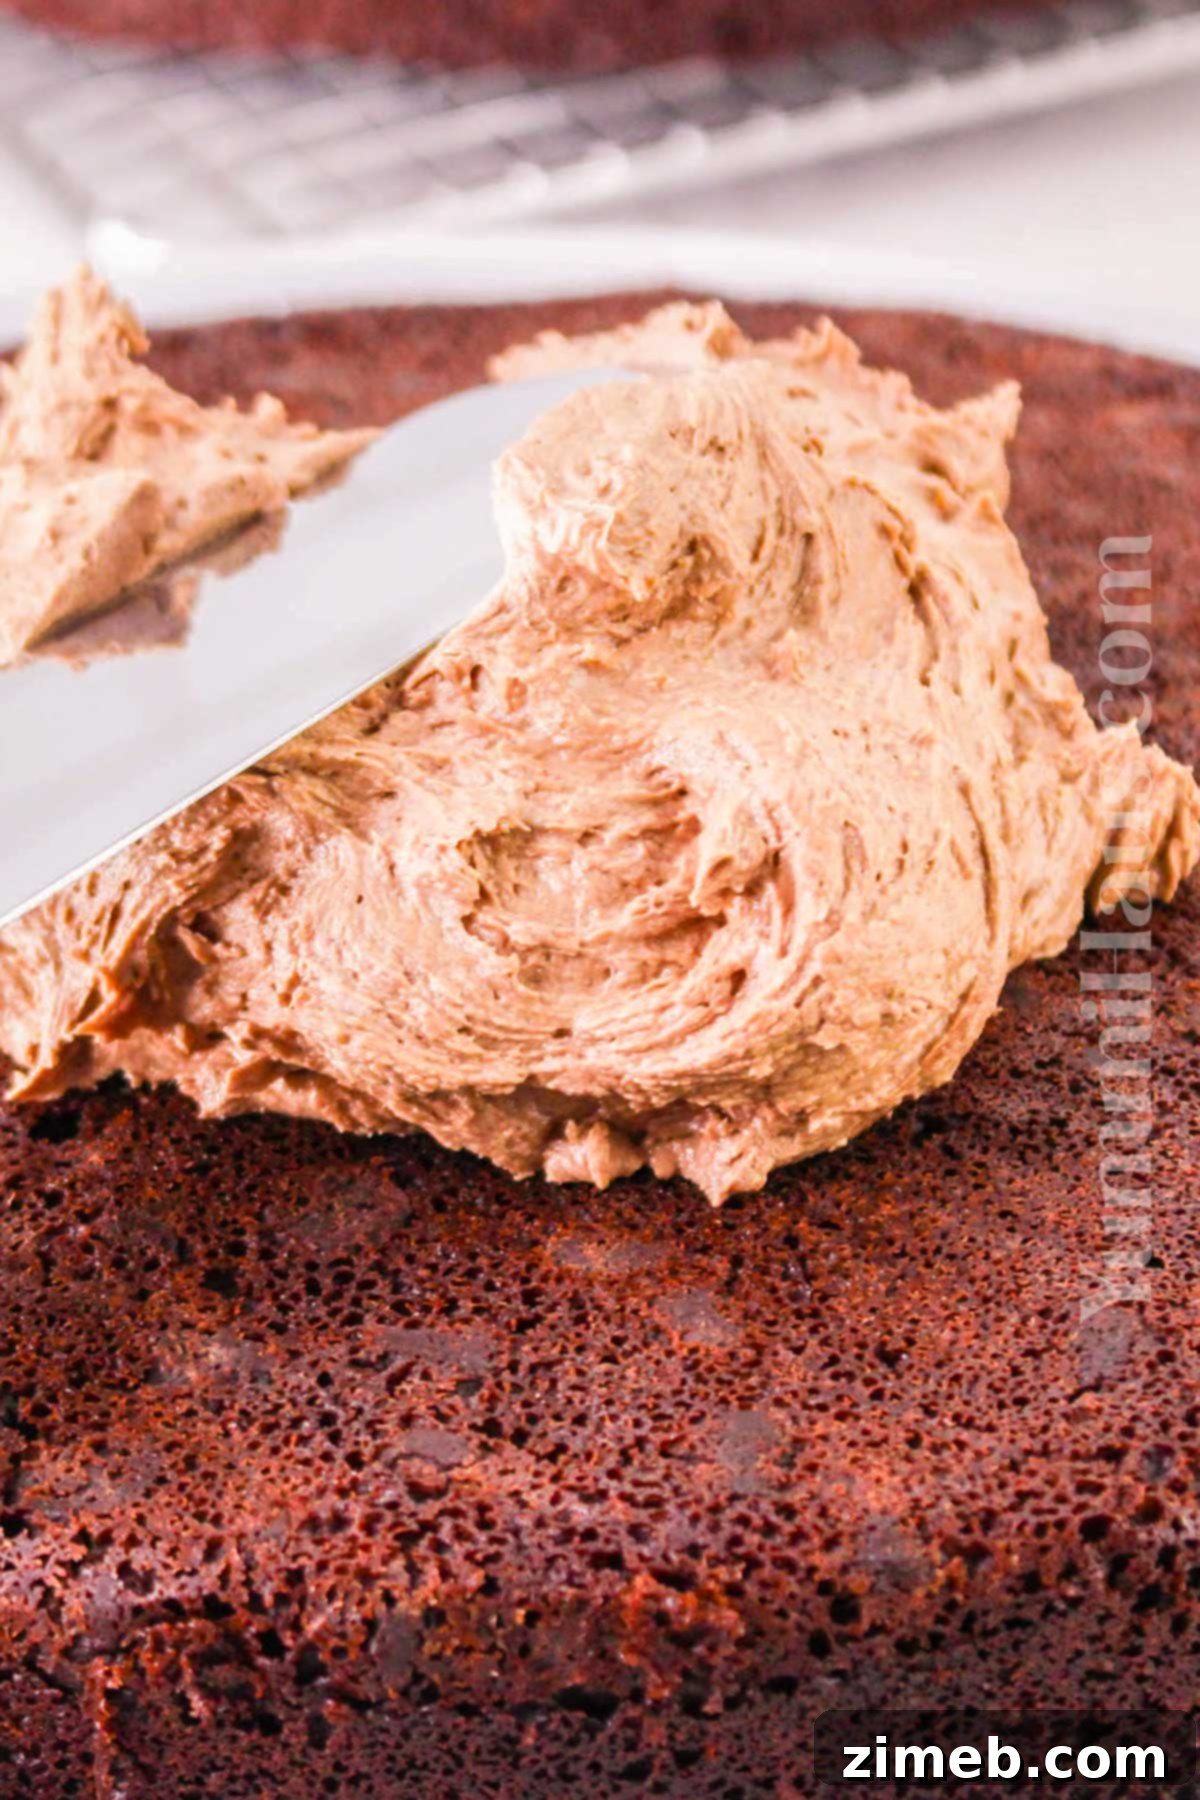
- **First Layer of Frosting:** Place one cooled cake layer onto your chosen cake plate or serving stand. Dollop a generous amount of the chocolate orange buttercream onto the center of this layer, then use an offset spatula to spread it evenly all the way to the edges.
- **Stack and Smooth:** Carefully place the second cooled cake layer directly on top of the frosted first layer. Add another dollop of frosting to the top of this second layer and spread it smoothly across the top. Now, begin applying frosting to the sides of the entire cake, working your way around until the entire exterior is coated in a smooth, even layer of buttercream. Don’t worry about perfection at this stage; a rustic look is charming, or you can aim for a perfectly smooth finish with more practice.
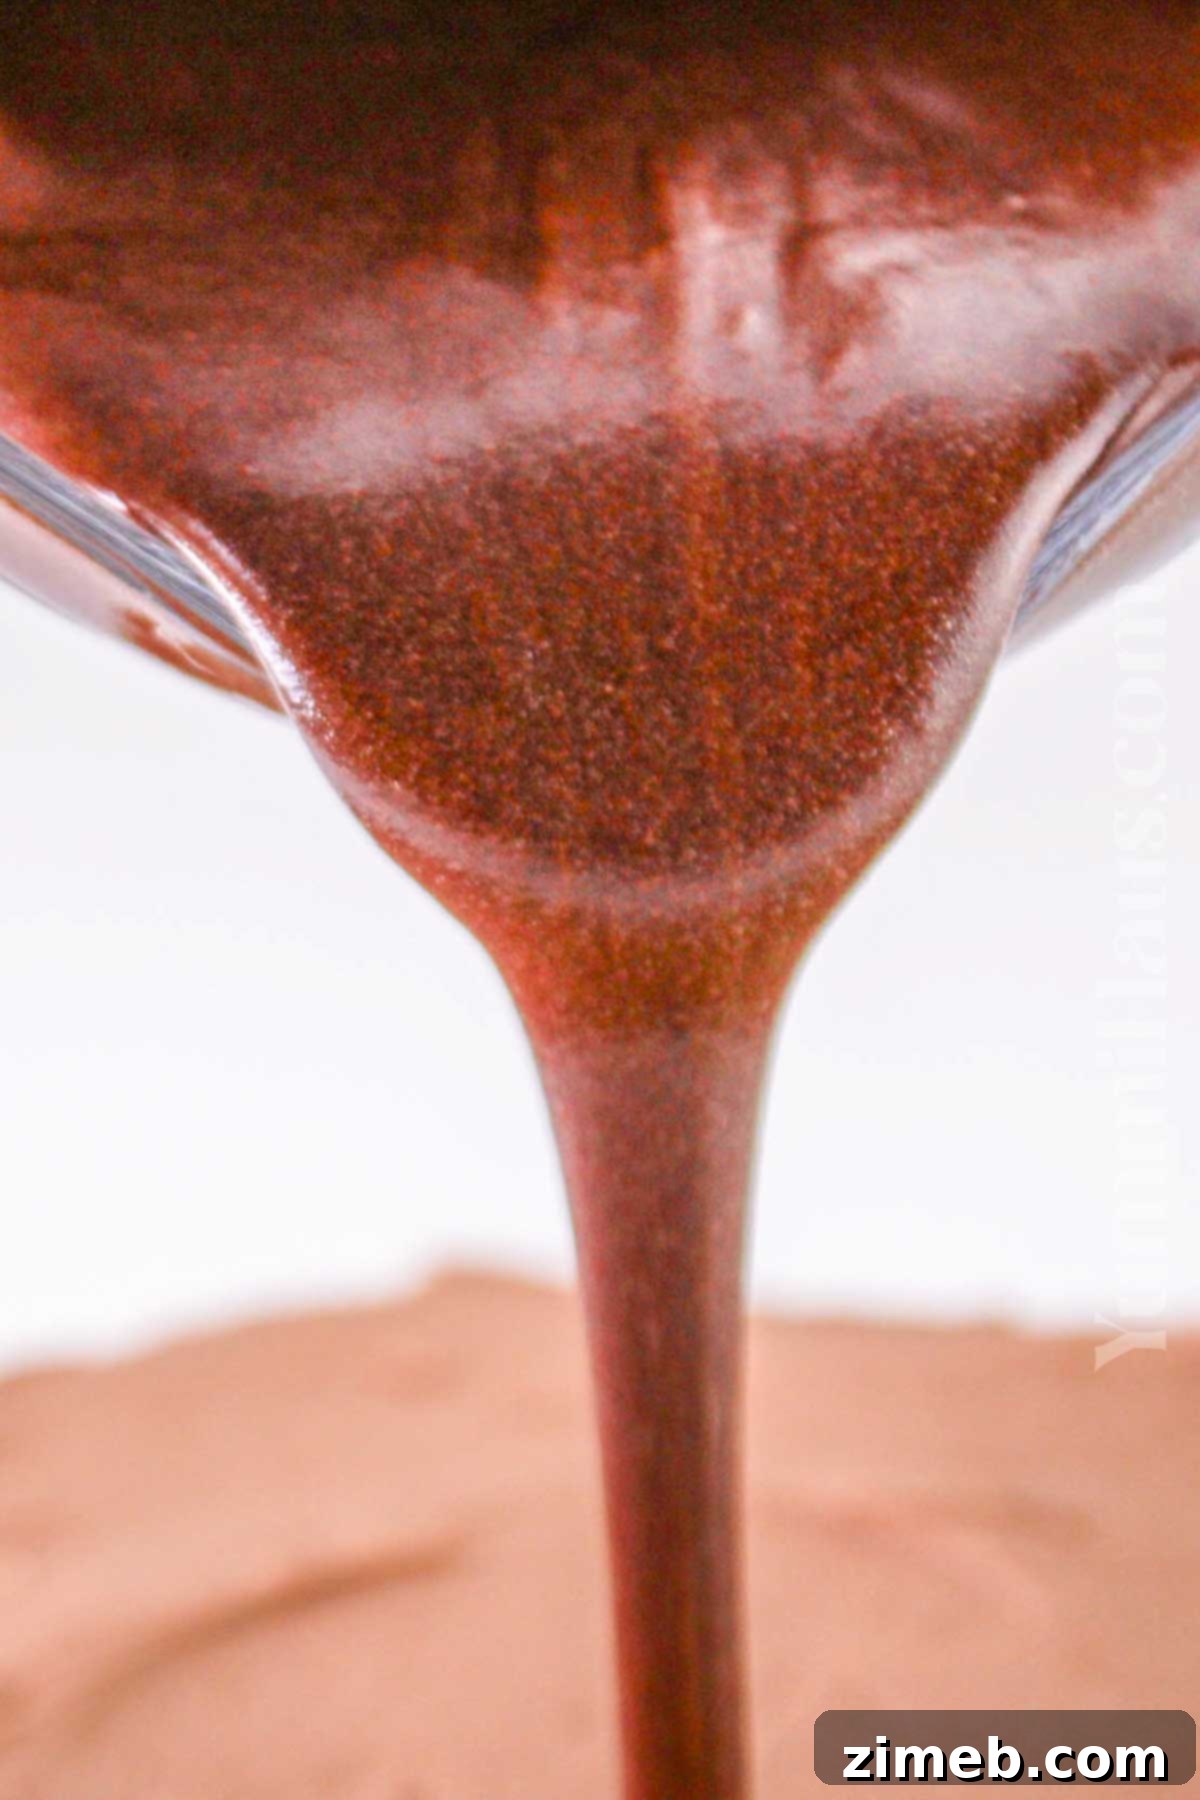
- **Garnish and Serve:** Once the cake is fully frosted, it’s time for the final touches! Drizzle generously with your prepared chocolate ganache, letting it elegantly drip down the sides. Then, artfully arrange fresh orange slices, delicate candied oranges, or sprinkle with vibrant orange zest. For an extra touch of elegance and chocolatey crunch, add chocolate curls or shavings. Your magnificent chocolate orange cake is now ready to be admired and devoured!
Storage Tips for Your Chocolate Orange Cake
To keep your delicious chocolate orange cake fresh and flavorful for as long as possible, follow these simple storage guidelines:
If you somehow manage not to devour the entire cake in one sitting, any leftover slices can be stored at room temperature for up to 24 hours. Ensure they are placed in an airtight container to prevent them from drying out. For frosted cakes, particularly those with a buttercream frosting, it’s best to store them in the refrigerator. The frosting contains butter and dairy, which benefit from colder temperatures. Stored in an airtight container in the fridge, your cake will remain fresh and delightful for 3-4 days. You can also prepare the cake one day ahead of your celebration, allowing the flavors to meld beautifully overnight.
For longer preservation, this cake is excellent for freezing. You can freeze individual slices by wrapping each piece tightly in a layer of plastic wrap, followed by a layer of aluminum foil. This double-layer protection helps prevent freezer burn and keeps the cake fresh for 1-2 months. If you prefer to bake ahead, you can also freeze the baked cake layers (without frosting) for up to 3 months. Wrap them thoroughly in plastic wrap and foil before freezing. Thaw frozen cake layers or slices in the refrigerator overnight before frosting or serving.
Exciting Substitutions & Creative Variations
One of the joys of baking is the ability to customize and experiment! Here are some fantastic substitutions and variations to make this chocolate orange cake uniquely yours:
- **Enhance the Orange Flavor:** While vanilla extract adds a lovely depth, it’s not strictly mandatory. For an even more pronounced citrus kick, consider substituting the vanilla extract with orange extract in both the cake batter and the buttercream. This will intensify the orange notes, making them truly sing.
- **Add a Crunchy Element:** For delightful texture and nutty flavor, chopped nuts make a wonderful addition. Fold finely chopped pecans, walnuts, or almonds into the cake batter just before baking. They also serve as a beautiful and crunchy topping when sprinkled over the finished ganache.
- **Customize Your Chocolate Ganache:** The chocolate ganache offers room for creativity. You can use your preferred type of melted chocolate – whether it’s bittersweet, semi-sweet, or even milk chocolate – combined with heavy whipping cream. The classic ratio is 1:1 chocolate to cream for a pourable ganache. Simmer them together until smooth, let the mixture cool slightly, and then generously coat your cake. For an extra citrus punch, a hint of orange extract or fresh orange juice can be whisked into the ganache as it cools.
- **Buttercream Frosting Designs:** The buttercream frosting can be a canvas for your creativity. While spreading it smoothly is elegant, you can also pipe decorative elements. Piping equal blobs around the edge of each layer, or creating elaborate swirls on top, can make your cake look absolutely stunning. For a visual highlight, divide your buttercream: keep one portion chocolate, and to the second portion, add a few drops of orange food coloring to create a vibrant orange-hued frosting, truly emphasizing the orange presence in the cake.
- **Layer with Marmalade:** For an additional layer of tangy-sweet fruit flavor and moisture, spread a thin layer of orange marmalade between the first and second cake layers, underneath the buttercream filling. This adds a beautiful sticky sweetness and a deeper orange essence.
- **Homemade Candied Orange Zest:** Elevate your garnish game by making your own candied orange zest. In a small saucepan, combine finely peeled orange zest strips with about 1 ounce (approx. 2 tablespoons) of caster or powdered sugar and 2 ounces (approx. 1/4 cup) of water. Simmer gently for about 5 minutes, or until the zest softens and the sugary water reduces to a thick, glossy syrup that coats the zest. Transfer the candied zest onto a baking sheet lined with parchment paper and let it cool and set for at least 1 hour until firm and slightly chewy. This makes a stunning and delicious decoration.
- **Bake Cupcakes Instead:** If you’re looking for individual portions or a quicker bake, this recipe adapts beautifully into cupcakes! Simply divide the batter into lined cupcake tins. Cupcakes typically take less time to bake – around 15 to 20 minutes for regular-sized cupcakes – making them a fantastic option for parties or quick treats.
Expert Tips to Bake Your Best Chocolate Orange Cake
Achieving a truly exceptional chocolate orange cake involves a few insider tricks. These expert tips will help ensure your cake is perfectly moist, flavorful, and beautiful every time:
- **Homemade Buttermilk is a Cinch:** No buttermilk on hand? No problem! You can easily make your own. Simply add 1 tablespoon of lemon juice or white vinegar to a liquid measuring cup, then fill the rest of the cup with whole milk until it reaches the 1-cup mark. Give it a gentle stir and let it sit for about 10 minutes. The milk will curdle slightly, and voilà – you have homemade buttermilk! This acidity is vital for tender cakes.
- **Embrace Room Temperature Ingredients:** For the best results, always use room temperature butter, eggs, and dairy (like buttermilk). Ingredients at room temperature combine much more easily and uniformly, creating a smoother, emulsified batter without lumps. This leads to a more consistent cake texture and a lighter, fluffier frosting. Take them out of the refrigerator at least 30-60 minutes before you start baking.
- **Achieve Even Cake Layers:** For a professional-looking layered cake, even layers are key. If your cake layers bake with slightly domed tops, don’t fret! Once the cake layers have cooled completely, you can easily level them by carefully trimming off the domes with a sharp, serrated knife. This creates flat surfaces that stack perfectly and make frosting much easier.
- **Prioritize Organic Oranges (or Scrub Well):** When zesting oranges, you’re incorporating the outermost layer of the peel directly into your cake. It’s highly recommended to use organic oranges whenever possible to avoid pesticides. If organic isn’t an option, be sure to scrub your oranges thoroughly under warm water with a vegetable brush to remove any wax coatings or residues before zesting. This ensures the purest, cleanest orange flavor.
Frequently Asked Questions About Chocolate Orange Cake
Curious about certain aspects of this delightful flavor combination? Here are answers to some popular questions:
Do Orange And Chocolate Really Go Together?
Absolutely! Orange and chocolate are celebrated as one of the most classic and harmonious flavor combinations in the culinary world. The natural sweetness and bright, tangy citrus notes of orange provide a refreshing contrast to the rich, sometimes bitter, depth of chocolate. This interplay creates an intriguing and incredibly well-balanced taste experience that is both indulgent and invigorating. It’s a pairing that has delighted palates for centuries, making it a timeless favorite in desserts.
Can I Substitute Milk For Orange Juice In A Cake?
While you can sometimes substitute liquids in cake recipes, for this specific chocolate orange cake recipe, it’s generally not recommended to completely replace the orange juice with plain milk. The recipe is carefully crafted to include both dairy (like buttermilk) and fresh orange juice. The orange juice is vital not only for providing natural orange flavor and zest but also for its acidity, which reacts with the leavening agents to create a moist and tender crumb. Substituting it entirely with milk would significantly alter the flavor profile and potentially affect the cake’s texture and rise. Stick to the recipe’s specified use of both for the best results, ensuring a moist cake infused with that wonderfully refreshing sweet and zesty orange flavor.
Can I Put Orange Juice In the Ganache?
Yes, absolutely! Incorporating fresh orange juice or orange extract into your ganache is a fantastic way to further enhance the citrus flavor throughout your chocolate orange cake. When preparing your chocolate ganache to top the cake, simply whisk in a teaspoon or two of fresh orange juice or a few drops of orange extract as the ganache cools and begins to thicken slightly. Start with a small amount and taste, adding more if desired, to achieve that perfect balance of rich chocolate and bright orange. This creates an even more cohesive and intensely flavored dessert.
We hope you thoroughly enjoy creating and savoring this incredible homemade chocolate orange cake! Its delightful combination of rich chocolate and vibrant citrus makes it a truly memorable dessert. If you love this recipe, we invite you to explore more fantastic cake ideas below. Each link leads to an easy, printable recipe that promises more delicious baking adventures!
Check out this recipe

Check out this recipe
Check out this recipe
Check out this recipe
Check out this recipe

More Irresistible Chocolate Cake Recipes
If your heart beats for chocolate, you’ll undoubtedly love these other decadent chocolate cake recipes. Explore new ways to satisfy your cocoa cravings:
Chocolate Pudding Chocolate Cake
Naked Chocolate Cake
Espresso Chocolate Cake
World’s Best Chocolate Cake
CONNECT WITH YUMMI HAUS!
Be sure to follow me on my social media, so you never miss a post!
Substack, FB, Pinterest, IG, Email Subscription
Rate this Recipe
Chocolate Orange Cake
Course: Dessert
Servings: 12 servings
Chocolate Orange Cake combines decadent cocoa with fresh orange zest, creating a delicious balance of sweet and tangy in every bite.
Pin Recipe
Prep Time: 20 mins
Cook Time: 35 mins
Decorate/Chill: 3 hrs
Total Time: 3 hrs 55 mins
Ingredients
Cake
- 2 cups all-purpose flour
- 1 ½ cups granulated sugar
- 1 cup unsweetened cocoa powder
- 1 teaspoon baking powder
- ½ teaspoon baking soda
- ½ teaspoon salt
- Zest of 2 oranges
- 1 cup orange juice – freshly squeezed
- 1 cup buttermilk
- ¾ cup vegetable oil
- 3 large eggs
- 1 teaspoon vanilla extract
- 1 cup chocolate chips (optional)
Chocolate Orange Buttercream
- 1 cup butter – softened (2 sticks) unsalted
- 4 cups confectioner’s sugar – 3-4 cups, adjust for desired sweetness and consistency
- ¼ cup unsweetened cocoa powder
- Zest of 1 orange
- 2 tablespoons orange juice – 2-3 tbsp, fresh
- 1 teaspoon vanilla extract
- pinch of salt
Garnish
- 1 ½ cups chocolate ganache
- Sliced or candy oranges
Instructions
Cake
- Preheat the oven to 350 degrees.
- Prepare two 9” round cake pans by greasing and then dusting with either flour or cocoa powder. Shake out the excess. Set aside.
- Sift the flour, sugar, cocoa powder, baking powder, baking soda, and salt in a large mixing bowl.
- Stir in the orange zest.
- Whisk the orange juice, buttermilk, oil, eggs, and vanilla together in a large bowl until well mixed.
- Slowly mix the wet ingredients into the dry ingredients, whisking until just incorporated.
- Fold in the chocolate chips if using.
- Evenly divide the batter between the two prepared cake pans. Give them a soft tap on the counter to shake out any air bubbles.
- Bake for 30-35 minutes or until the toothpick test returns clean. You can also gently press the center of the cake with your finger. If it springs back, the cakes are done.
- Remove and allow the cakes to cool in the pans for at least 20 minutes at room temperature.
- Remove from the pans and cool completely on a wire rack before decorating.
Chocolate Orange Buttercream Frosting
- Beat the softened butter in a mixing bowl with the paddle attachment until it is creamy.
- Slowly sift the cocoa powder and salt into the butter as it is mixing.
- Gradually mix in the confectioner’s sugar, working one cup at a time and mixing well after each addition. You can adjust the sweetness during this time, adding more or less sugar.
- Once combined, stir in the orange zest and orange juice. If the frosting is too thick, you can add more orange juice until it reaches your desired consistency. (More sugar will thicken the frosting)
- Increase the speed and beat the frosting for several minutes to give it a good whip and make it lighter in consistency. You can add the vanilla during this time while it is whipping at high speed.
Decorate the cake
- Place one layer of cake on the cake plate. Top it with a dollop of the frosting and spread into an even layer.
- Add the second cake layer on top of the frosting/filling. Add more frosting on top and smooth it out. Add more to smooth out over the sides of the cake. Continue adding more frosting to the sides and the top, smoothing into an even layer until all of the cake is coated in the frosting.
- Garnish with chocolate ganache, fresh orange slices, candied oranges, orange zest, or chocolate curls or shavings.
Nutrition
Calories: 790 kcal |
Carbohydrates: 112 g |
Protein: 7 g |
Fat: 38 g |
Saturated Fat: 6 g |
Cholesterol: 88 mg |
Sodium: 371 mg |
Potassium: 301 mg |
Fiber: 5 g |
Sugar: 77 g |
Vitamin C: 12 mg |
Calcium: 54 mg |
Iron: 2 mg |
Net Carbohydrates: 55 g
Nutritional information for the recipe is provided as a courtesy and is approximate. Please double-check with your own dietary calculator for the best accuracy. We at Yummi Haus cannot guarantee the accuracy of the nutritional information given for any recipe on this site.
Love this recipe?
Follow @KleinworthCo for even more tasty recipes!