
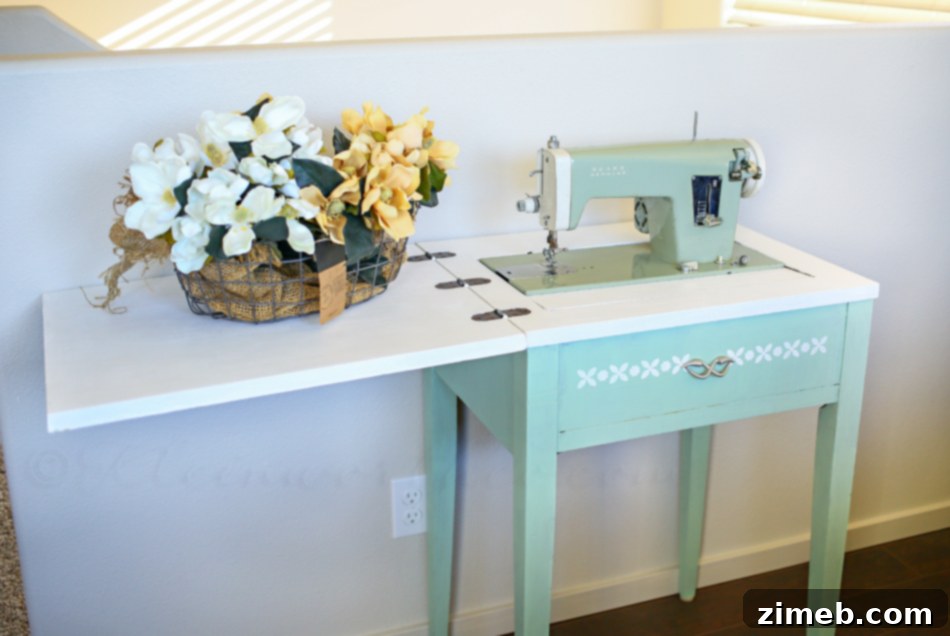
Antique Sewing Table Makeover: A Journey from Neglect to Cherished Heirloom
Every home has those overlooked treasures – pieces of furniture with stories to tell, yet silently gathering dust, yearning for a new lease on life. For years, I had several such items patiently awaiting their turn for attention, including my grandmother’s beloved vintage sewing table. Now, with the luxury of a dedicated, climate-controlled studio space, these long-anticipated DIY home decor projects are finally becoming a reality. The satisfaction of transforming a forgotten item into a functional, beautiful focal point within our home is truly immense, contributing to the unique character and warmth of each room. My latest endeavor, an **Antique Sewing Table Makeover**, perfectly exemplifies this journey. What began as a neglected piece, serving an unconventional purpose in the laundry room, has been lovingly revitalized in just one afternoon, thanks to the remarkable Vintage Decor Paint from Martha Stewart Crafts®. The results are nothing short of enchanting, breathing fresh life into an cherished family heirloom.
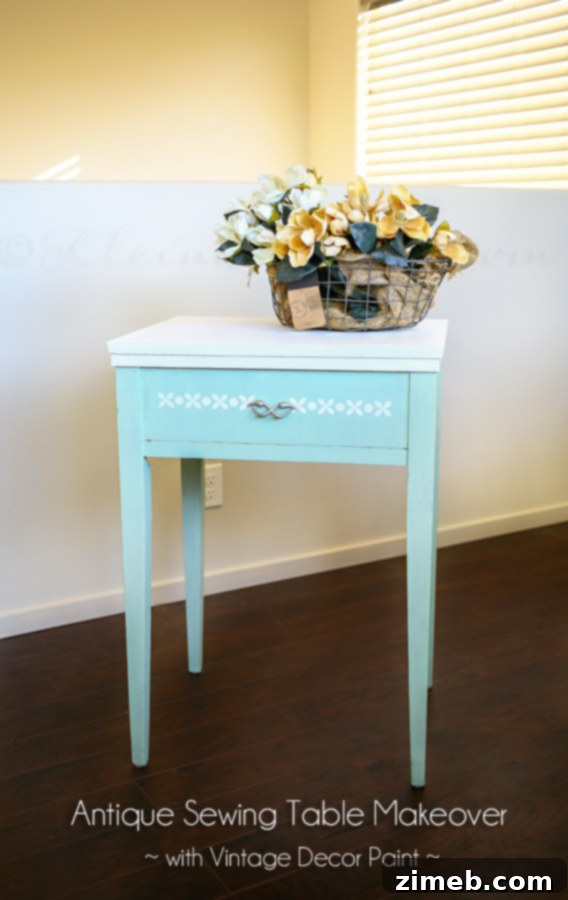
Allow me to guide you through the remarkably simple steps that brought this vintage furniture restoration project to life. You’ll be amazed at how easily you can transform your own dated or worn pieces into stunning accents that reflect your personal style and add a touch of timeless elegance to your living space. This particular project was not just about aesthetics; it was about honoring a family legacy and giving a piece of history the prominence it deserved.
Unveiling the Past: The Sewing Table’s Original State
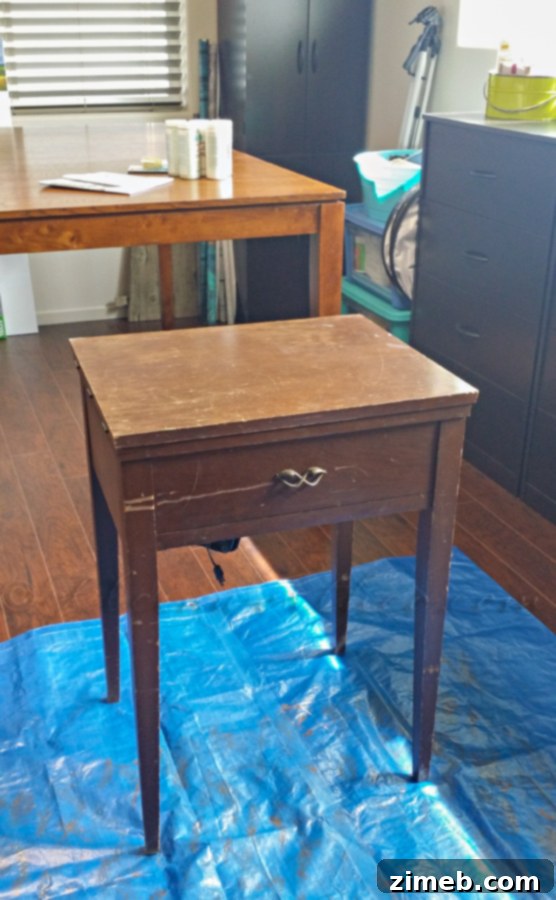
Every great makeover story starts with a “before” picture, and this antique sewing table is no exception. This isn’t just any piece of furniture; it’s my grandmother’s vintage sewing machine and cabinet, a relic from over six decades ago. As you can clearly see from its original state, time had certainly taken its toll. The finish was worn, scratched, and generally “thrashed,” as I like to call it. Years of use, combined with the natural aging process, had left it crying out for some serious tender loving care. For far too long, this beautiful piece of family history had been relegated to a purely utilitarian role in our laundry room, serving as a convenient, albeit rather sad, stand for the cat’s food and water bowls. While functional, it felt like a dishonorable retirement for an item that once facilitated countless creative endeavors and held so many memories. I felt a deep sense of satisfaction knowing that I was finally going to grant it the attention and transformation it so desperately needed and deserved, restoring its dignity and charm.
The Transformation Begins: Preparing for a Fresh Look
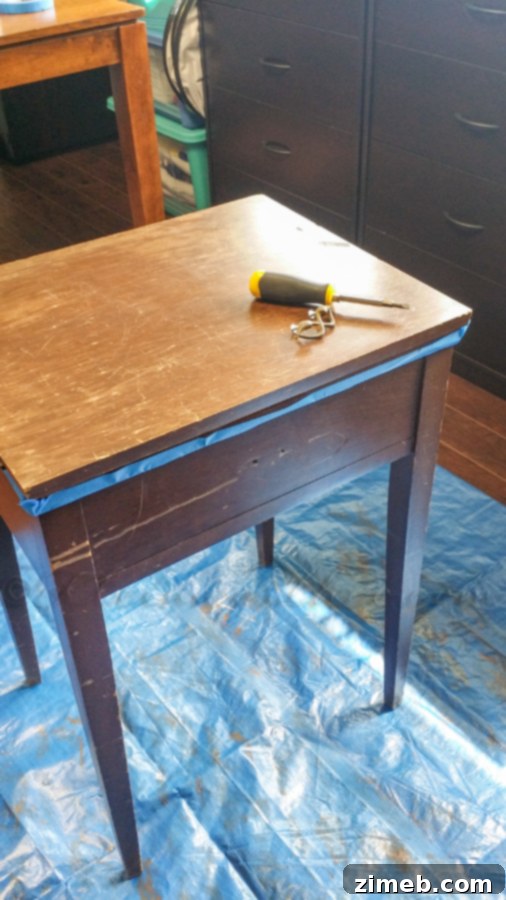
The initial step in any multi-colored furniture painting project is crucial for achieving crisp, professional-looking lines. Since I envisioned a charming two-tone design for this antique sewing table, the very first task was to meticulously tape off the top section from the bottom. High-quality painter’s tape is your best friend here, ensuring that the demarcation between colors is sharp and clean. This simple act prevents accidental spills or bleeds, allowing you to work confidently and achieve a polished finish that truly elevates the piece.
Applying the Base Coat: A Touch of Antique Sky
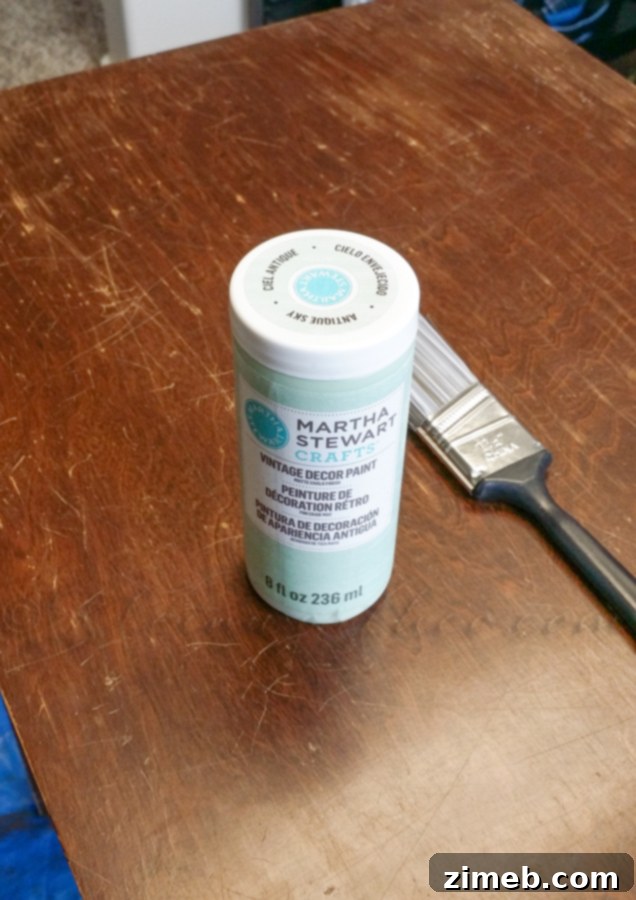
For the lower portion of the table, I selected ‘Antique Sky’ from the Martha Stewart Vintage Decor paint line. This particular shade offers a beautiful matte chalk finish that instantly evokes a sense of timeless elegance, perfectly suited for upcycling antique furniture. I applied two generous, thick coats to ensure complete coverage and a rich, uniform color. One of the most significant advantages of using Martha Stewart’s Vintage Decor paint, and a reason I highly recommend it for DIY enthusiasts, is its incredible ease of use. There’s virtually no elaborate prep work required – no tedious sanding or priming, which are often the most daunting aspects of furniture makeovers. This self-priming paint adheres beautifully to various surfaces, drastically cutting down on project time and effort. It’s truly a game-changer for anyone looking to achieve stunning results without the usual fuss. Saving time while still producing a fabulous, professional-looking finish is always a win in my book!
Antique Sewing Table Makeover: Adding Character and Detail
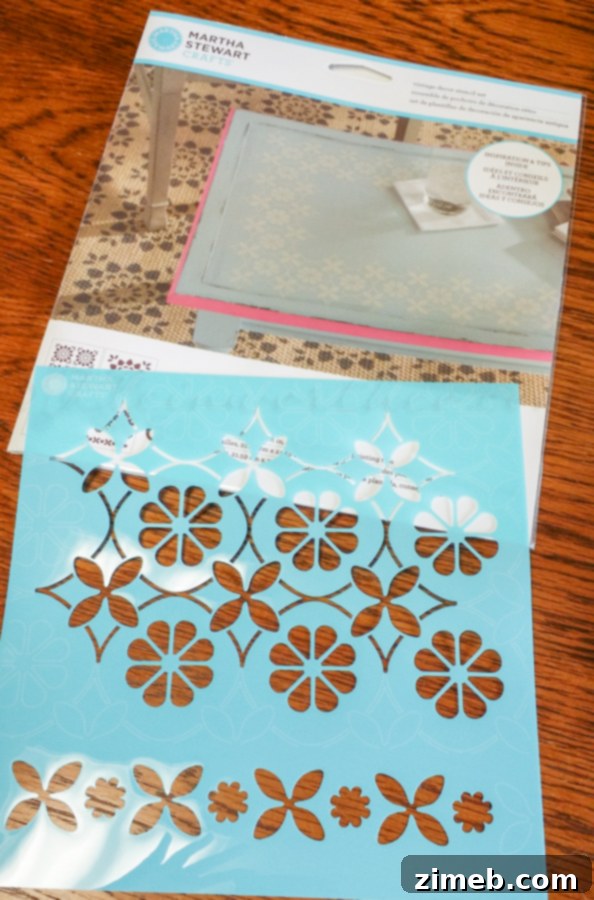
To enhance the vintage appeal and add a unique, decorative flourish, I knew I wanted to incorporate a subtle pattern. A well-chosen stencil can instantly transform a simple painted surface into a piece of art, echoing the craftsmanship of yesteryear. Using a beautiful Martha Stewart Stencil, I carefully applied a delicate flower pattern to the bottom half of the table. This step is where you can truly infuse your personality into a piece. When stenciling, it’s best to use a minimal amount of paint on your brush or sponge and dab it onto the stencil rather than brushing, to prevent any paint from bleeding under the edges. This technique ensures sharp, crisp lines and a professional finish, making the stencil appear as if it’s an inherent part of the furniture’s design. This thoughtful detail truly ties the entire vintage aesthetic together, making the table feel even more special and custom-made.
A Complementary Top: ‘Wedding Cake’ Elegance
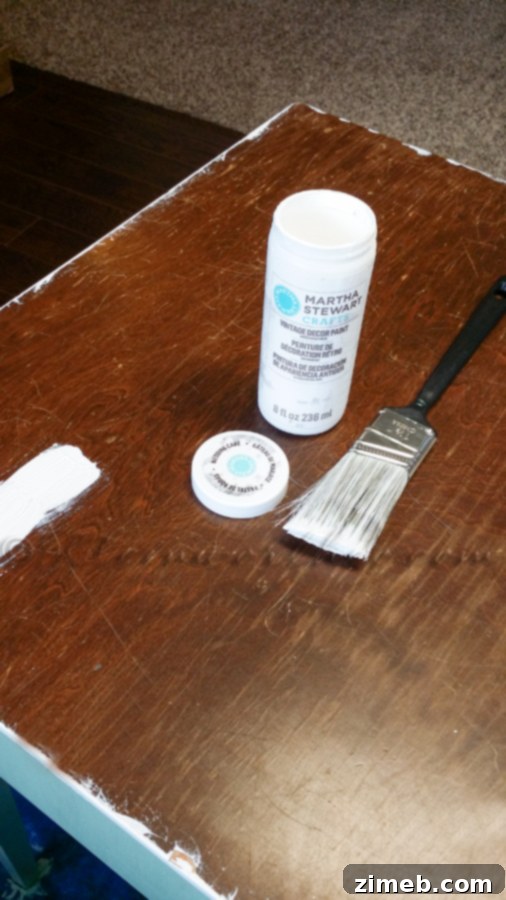
With the ‘Antique Sky’ base and floral stencil in place, it was time to address the tabletop. For this section, I opted for ‘Wedding Cake,’ another exquisite shade from the same Vintage Decor paint line. This soft, elegant color beautifully complements the ‘Antique Sky’ and, more importantly, perfectly matches the hue of the stenciled pattern, creating a cohesive and harmonious look. The interplay of these two colors, combined with the intricate stencil, adds depth and visual interest, turning a formerly drab surface into a charming design statement. Applying the paint evenly to the top required careful strokes, ensuring a smooth, flawless finish that would stand the test of time and everyday use.
Protecting Your Masterpiece: The Essential Clear Wax
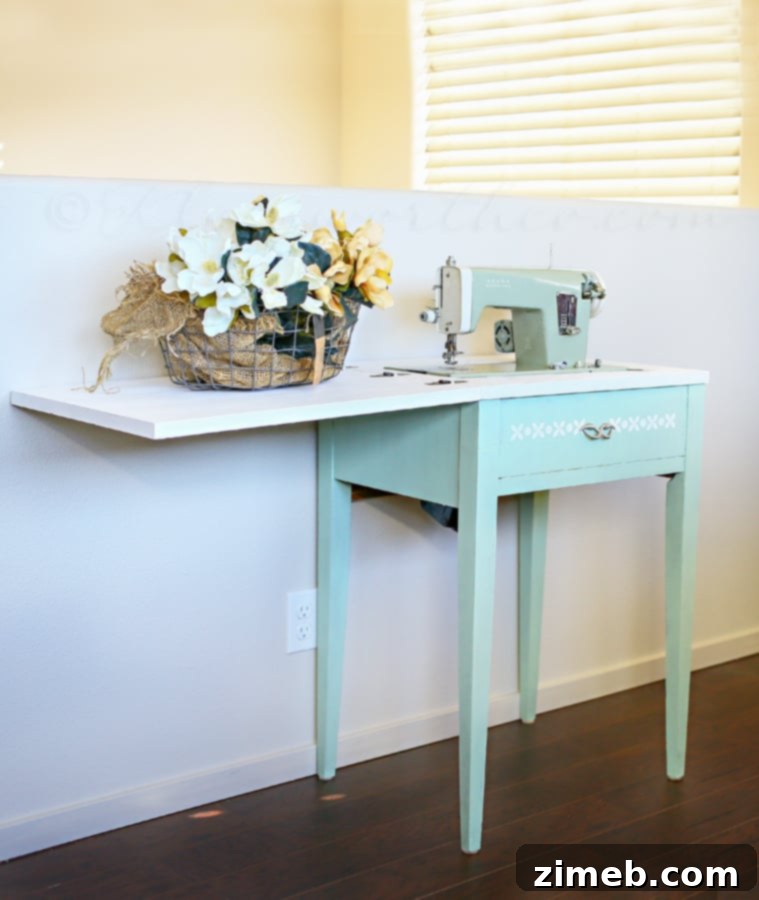
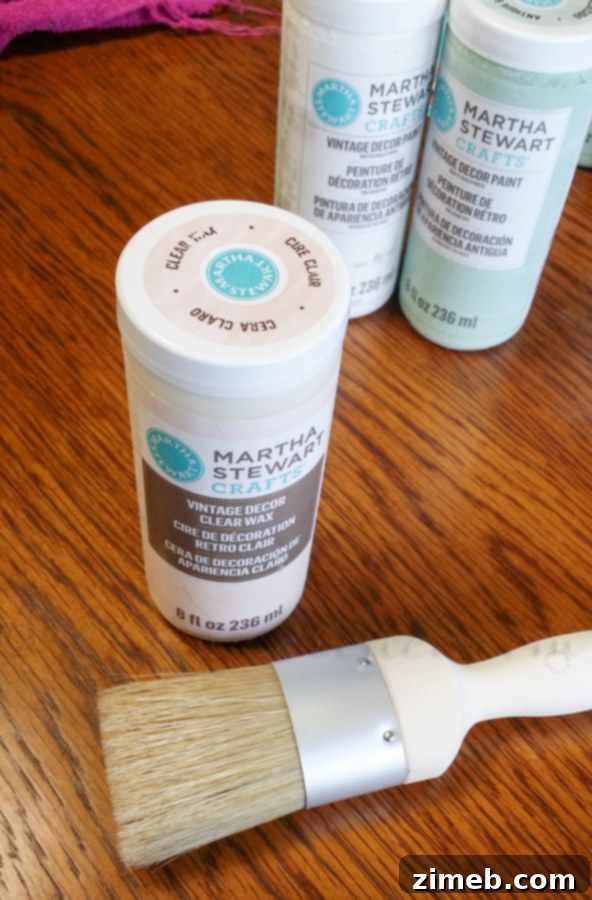
Once all the paint layers were thoroughly dry – a crucial step to ensure proper curing and adhesion – the final protective layer was applied: a clear wax. I used a high-quality clear wax, which I applied with a truly gorgeous brush. As a self-proclaimed paint brush enthusiast, I can attest that having the right tools makes all the difference in achieving a professional finish, and this brush was a joy to work with. The clear wax isn’t just for aesthetics; it’s an absolutely essential step, particularly for chalk-style paints, as it provides an extra tough, durable layer over the painted surface. This protective barrier is vital for guarding against everyday wear and tear, including nicks, scratches, and moisture. Given that this newly refreshed table resides in my laundry room and is a frequent landing spot for my adventurous cats throughout the day, maximum durability was a top priority. Knowing that my hard work is protected ensures that this beautiful piece will remain looking perfect and retain its charm for many years to come, despite the playful antics of my feline friends.
Harmonizing Hues and Final Details
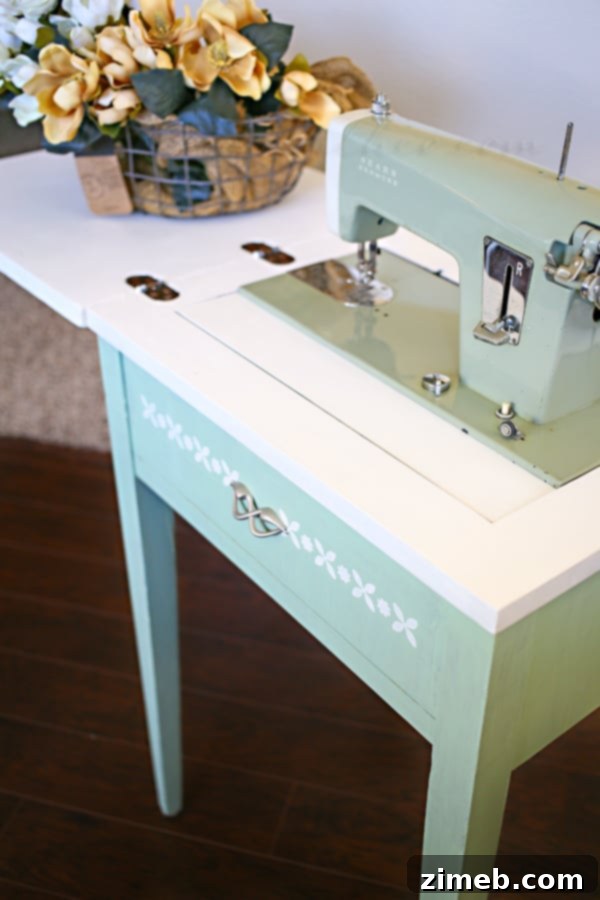
It’s always fascinating how a project evolves. In my excitement to select the perfect paint colors, I admit I completely overlooked the existing hue of the antique sewing machine itself. However, as fate would have it, the ‘Antique Sky’ on the bottom half of the cabinet remarkably complements the machine’s original color. While the warm, abundant natural light flooding the room during photography might make the colors appear slightly different in the images, I assure you, in person, the harmony is quite striking. This serendipitous color coordination adds an unexpected layer of cohesion to the entire piece, making it feel even more authentically restored.
Small Details, Big Impact: Revitalizing Hardware
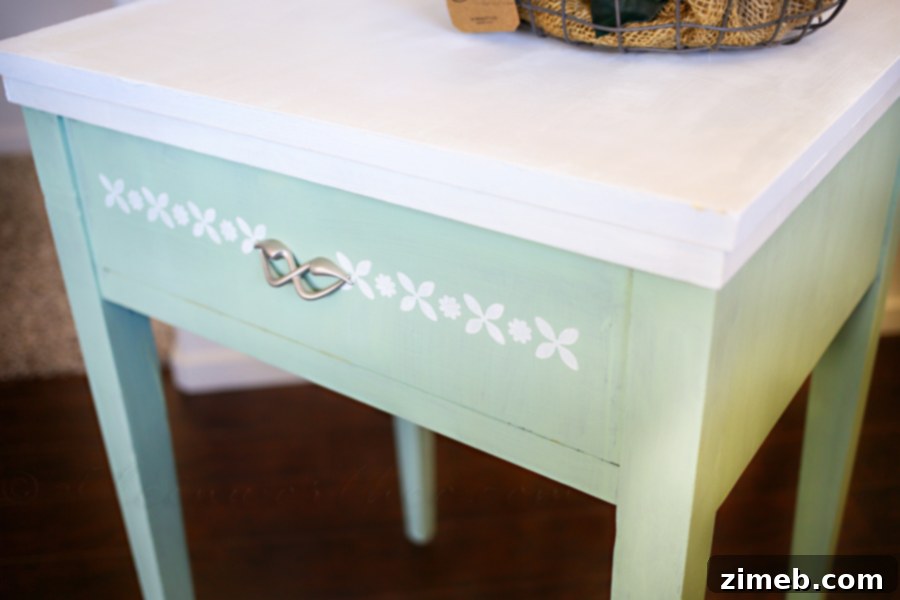
No furniture makeover is complete without addressing the smaller details that truly tie the whole look together. The original hardware, a small but significant piece, also received a much-needed update. A fresh coat of metallic paint in a sleek ‘brushed nickel’ finish instantly modernized it while retaining its vintage charm. This simple step demonstrates how even the tiniest elements can contribute significantly to the overall aesthetic of your upcycled furniture, elevating its appearance and ensuring every aspect of the piece feels thoughtfully renewed. It’s these subtle touches that often make the biggest impact, turning a good makeover into a truly exceptional one.
A Closer Look at the Stencil Design
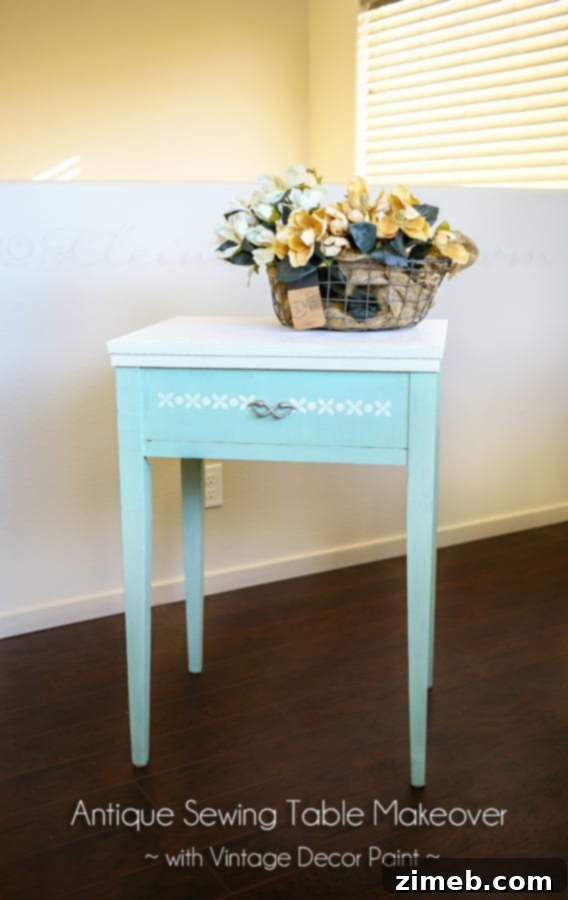
To truly appreciate the intricate detail and delicate artistry of the stencil work, a closer look is warranted. The chosen Martha Stewart floral pattern, rendered in the ‘Wedding Cake’ shade, provides a beautiful contrast against the ‘Antique Sky’ base. This carefully applied design is not merely a decorative element; it’s a testament to the blend of modern techniques and vintage aesthetics, creating a bespoke feel that factory-made furniture simply cannot replicate. The stencil adds texture, visual interest, and a layer of sophisticated charm, embodying the spirit of handcrafted elegance that defines successful vintage furniture makeovers.
The Finished Heirloom: A New Chapter
Most often, this beautifully refurbished antique sewing table is kept in its closed position, presenting a clean, elegant surface that integrates seamlessly into the laundry room decor. While it currently serves as a charming side table, I often dream of the day when the sewing machine itself might be restored to working order. If that day ever comes, this magnificent piece would undoubtedly find its rightful place in my studio, becoming a truly inspiring centerpiece for future creative projects. But for now, I am simply overjoyed to have taken this beloved antique, once an overlooked utility item, and transformed it into a stunning, eye-catching piece that not only looks fantastic but also holds a deep sentimental value. It’s a wonderful reminder that with a little creativity and effort, any piece of furniture can be given a second life, becoming a cherished part of your home’s story. This successful antique restoration project truly underlines the power of DIY and the joy of seeing old things become new again, perfectly fine-tuning another corner of our home.
Ready for More Home Transformation Ideas?
If this antique sewing table makeover has sparked your interest in personalizing your living space and embracing the rewarding world of DIY, you’re in luck! There’s a wealth of inspiration waiting to help you tackle your next home project. From crafting unique decorative elements to building functional pieces, the possibilities for enhancing your home’s aesthetic and functionality are endless. Dive into these exciting ideas and discover how rewarding it can be to create something beautiful with your own hands.
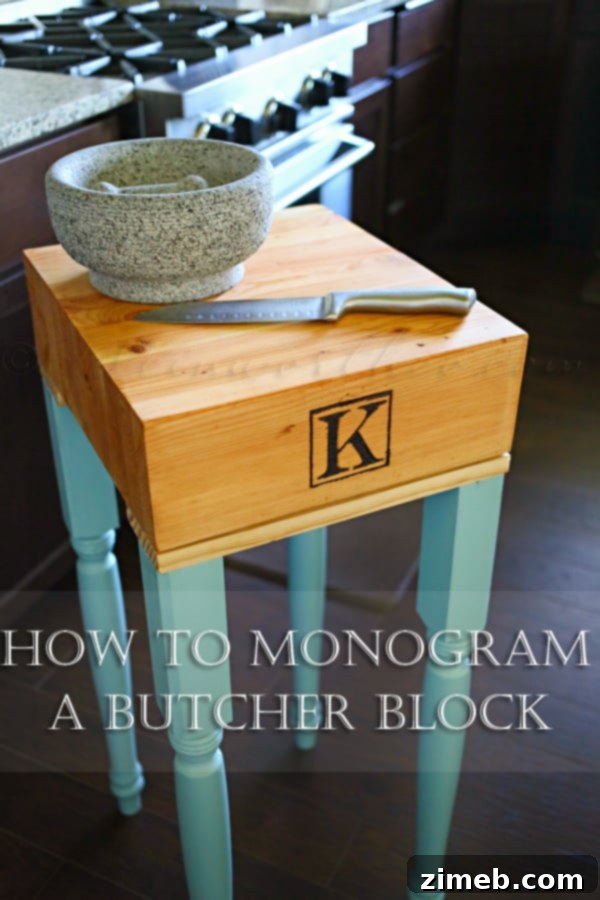
How to Monogram a Butcher Block
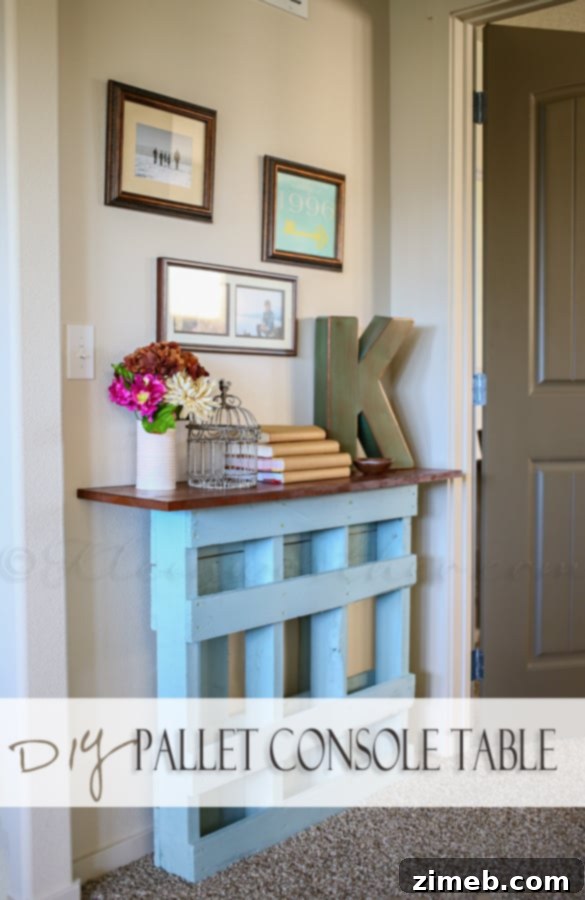
DIY Pallet Console Table
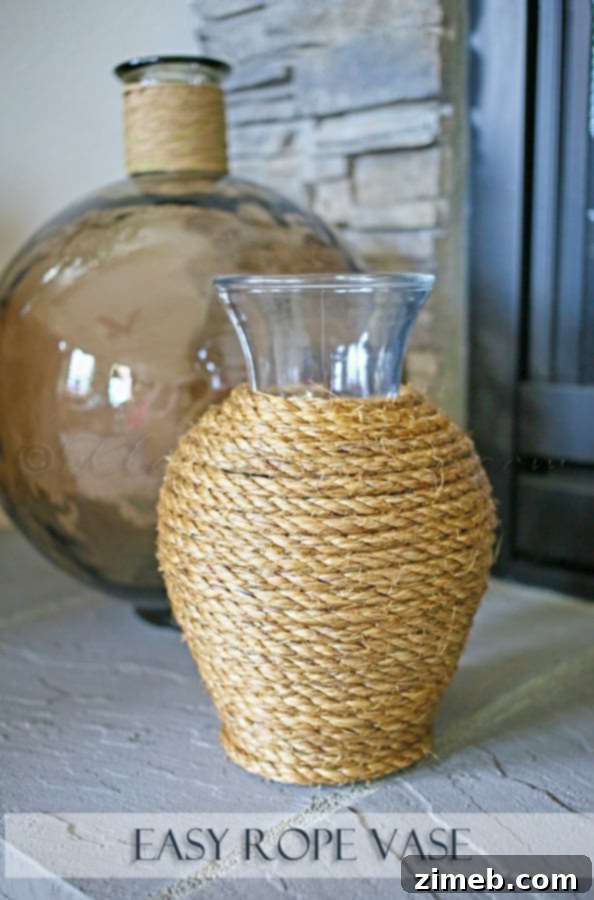
Easy Rope Vase
Disclaimer: This content is a rewritten version of an original article. Any previous compensation or sponsored messages in the original post have been implicitly removed or adapted to fit a general DIY narrative, and opinions expressed are presented as those of the original author.
To explore more of my creative journey and discover additional inspiring projects, visit my blog here.