
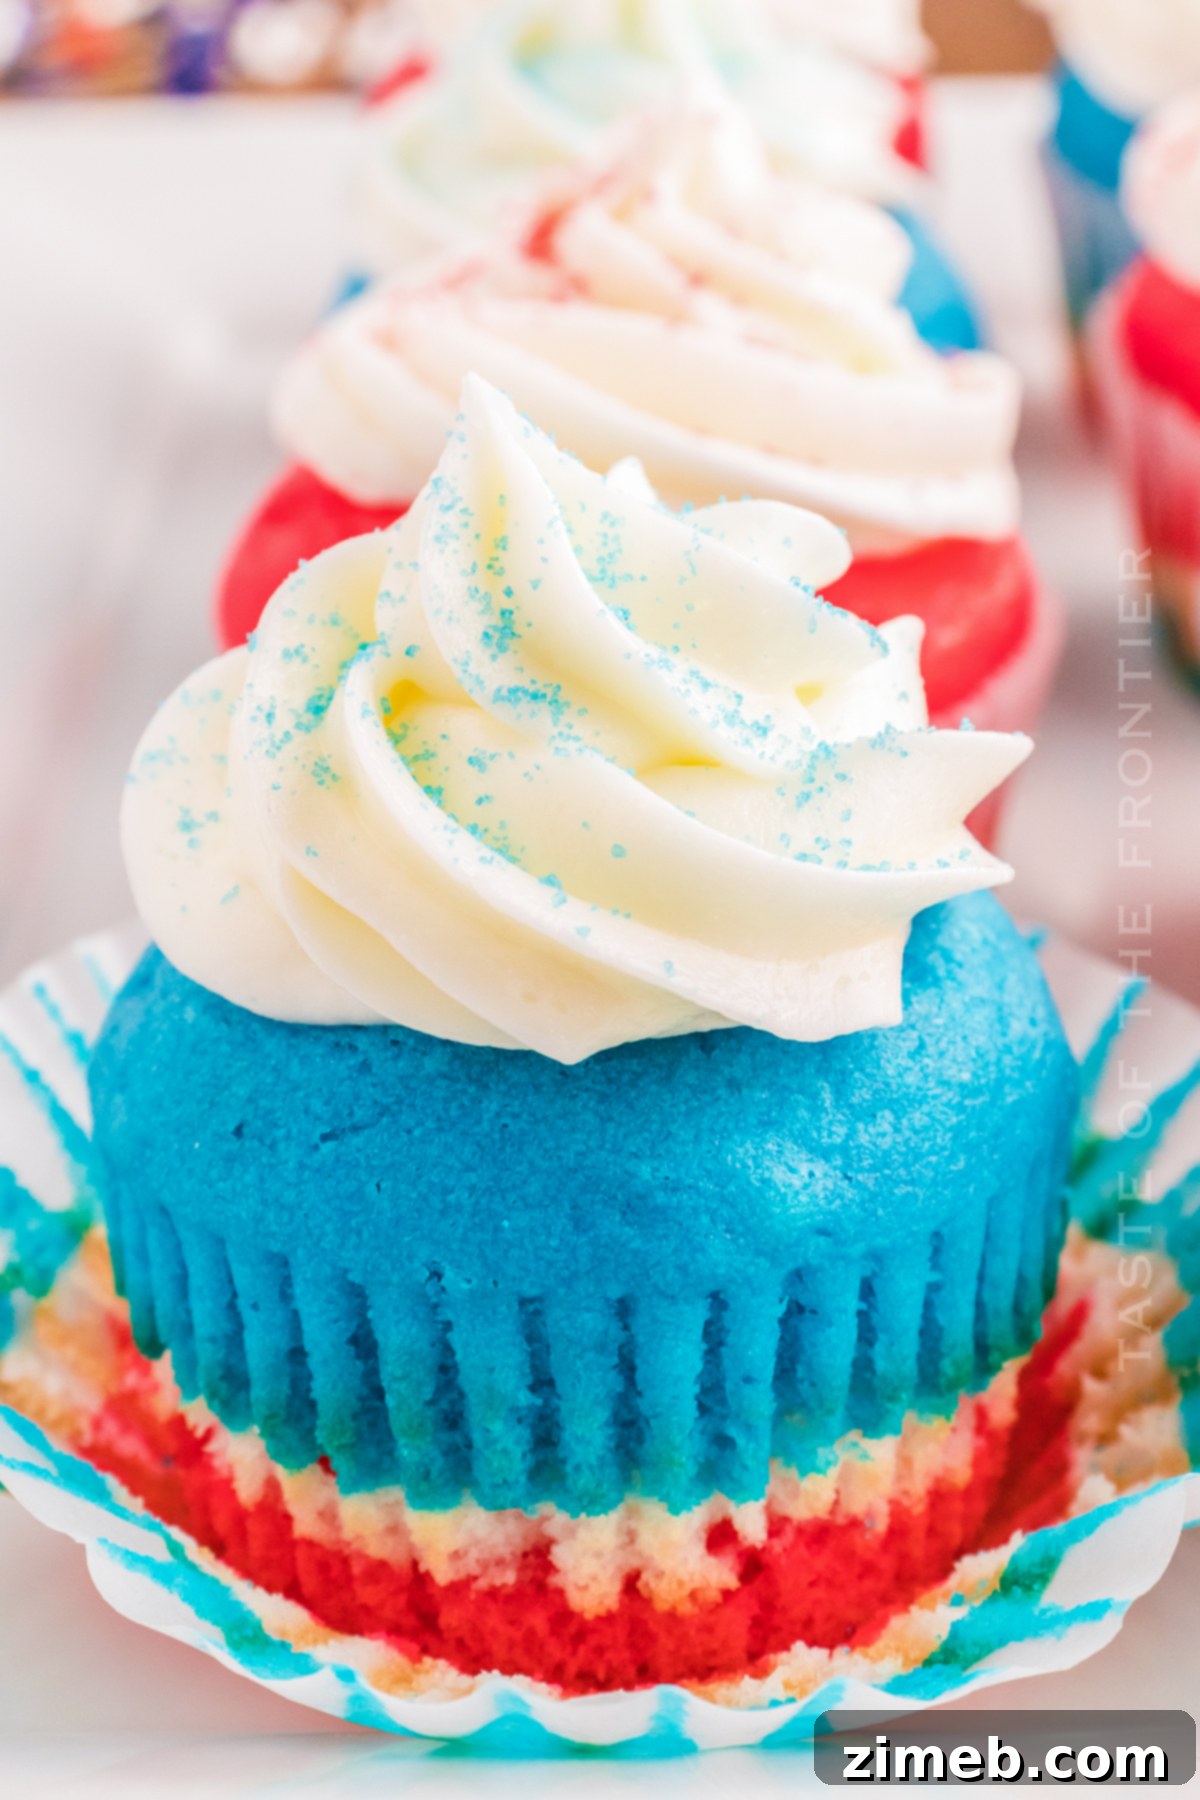
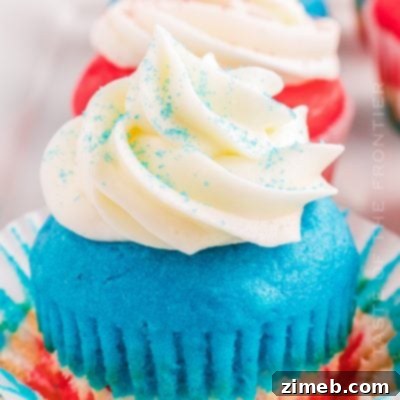
Skip the store-bought, pre-made treats this year and make your own Fourth of July Cupcakes! These red, white, and blue desserts are perfect for celebrating America’s birthday.
There’s truly no better way to celebrate the spirit of Independence Day than with delightful, homemade patriotic treats. These vibrant **Fourth of July Cupcakes** are not just desserts; they’re a festive declaration, bringing smiles and a burst of color to any summer gathering. Imagine layers of red, white, and blue cake, crowned with a cloud of creamy frosting and patriotic sprinkles. They are the quintessential dessert for backyard barbecues, poolside parties, and dazzling firework displays, making them a centerpiece of your **summer celebrations**.
Crafted with a thoughtful blend of ingredients that ensure a moist and fluffy texture, these cupcakes stand out from ordinary desserts. While we’ve streamlined the process by starting with a convenient white cake mix base for ease, we’ve also introduced special ingredients that elevate them to bakery-quality standards. This approach gives you the best of both worlds: the simplicity of a mix with the superior flavor and texture of a homemade creation. The result is a dessert that looks impressive and tastes absolutely incredible, guaranteed to be a hit with everyone, from the youngest revelers to the seasoned patriots. So, gather your ingredients, fire up your oven, and prepare to create some unforgettable memories with these spectacular **red, white, and blue desserts**!
PIN THIS TO SAVE FOR LATER
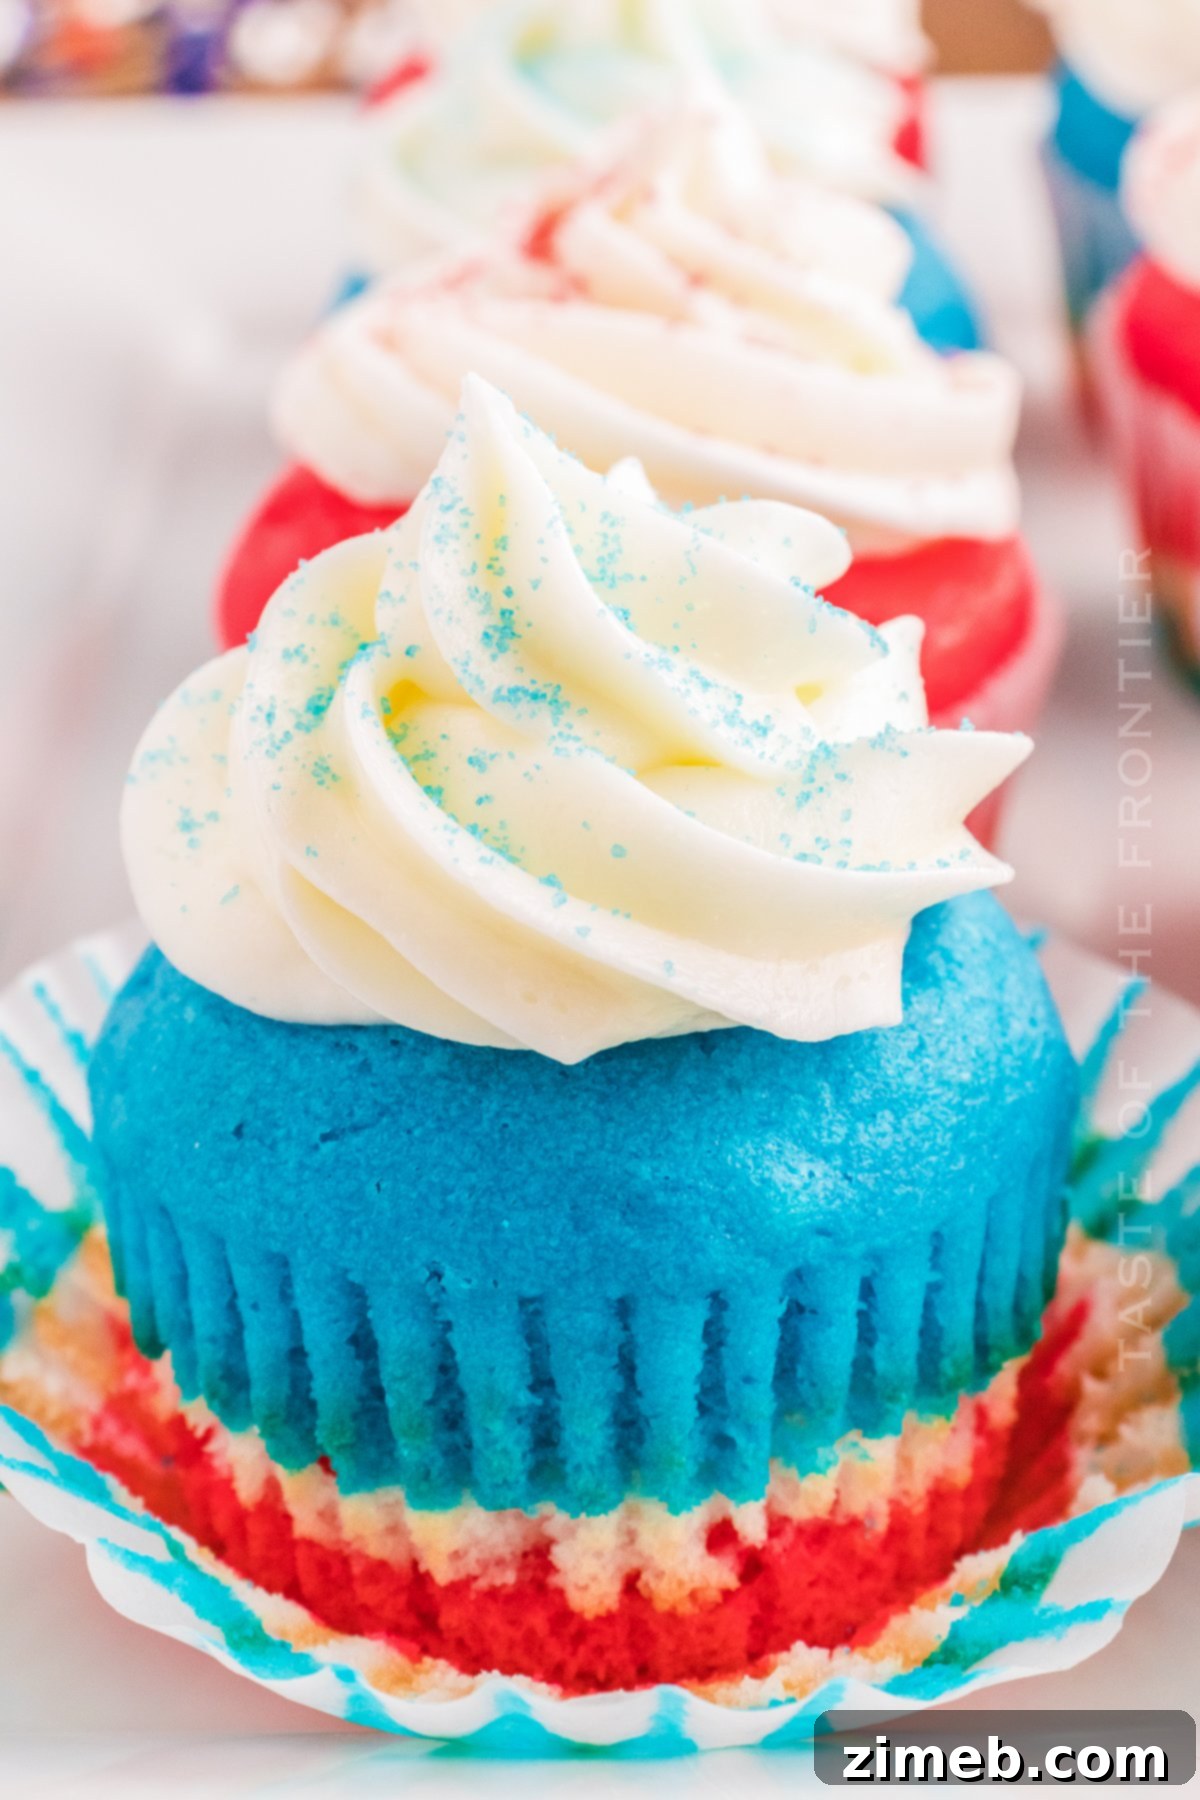
What makes these **homemade cupcakes** truly special is their incredible versatility and delightful taste. While we’ve streamlined the process by starting with a white cake mix, we’ve carefully selected additional ingredients to transform it into something truly extraordinary. This approach offers the best of both worlds: the convenience of a mix with the superior flavor and texture of a homemade creation. This method ensures your patriotic cupcakes are not only simple to prepare but also boast a richer, moister crumb than a basic box mix could deliver on its own.
However, if you prefer baking entirely from scratch, feel free to substitute your favorite homemade vanilla cupcake recipe. For an equally stunning result, you can even try our acclaimed bakery-style vanilla cupcake recipe, which provides a robust and flavorful base. Regardless of your chosen method, these cupcakes are guaranteed to impress. Their moist crumb, fluffy texture, and vibrant patriotic layers make them an instant favorite at any celebration. They’re more than just a dessert; they’re a centerpiece, a conversation starter, and a true testament to festive baking. They always disappear quickly at our patriotic gatherings!
Baking Festive Fourth of July Cupcakes: Frequently Asked Questions
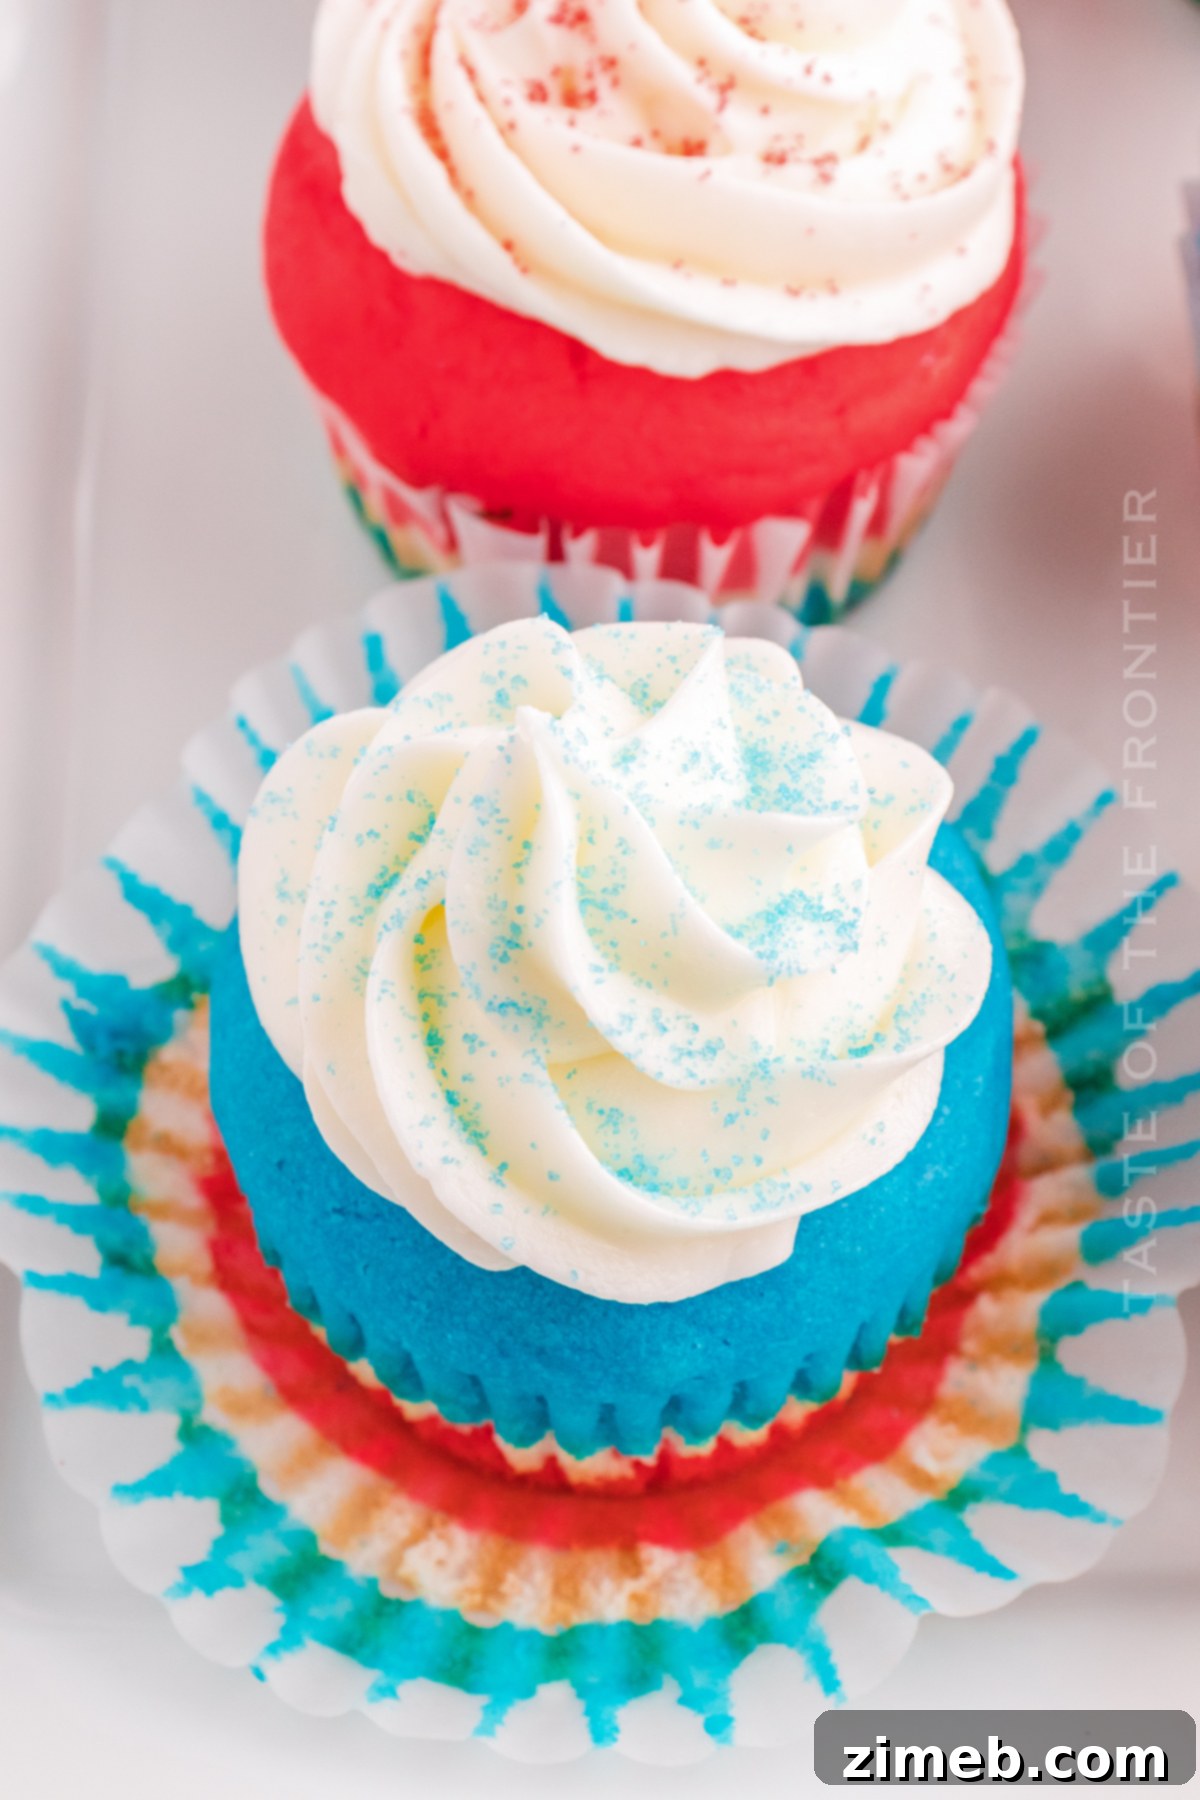
How should I store these patriotic cupcakes to keep them fresh?
Proper storage is crucial for maintaining the deliciousness and visual appeal of your **Fourth of July Cupcakes**. Unfrosted cupcakes can be stored in an airtight container at room temperature for up to four days. This is ideal if you plan to bake them ahead of time and frost them closer to your event. Once frosted, however, refrigeration is highly recommended, primarily because of the butter and dairy content in the homemade buttercream frosting. To prevent them from drying out or absorbing refrigerator odors, place your frosted cupcakes in an airtight container or a specialized cupcake carrier.
It’s also important to consider your choice of sprinkles. Keep in mind that if you are using delicate sanding sugar or nonpareils for your patriotic sprinkles, their colors may tend to “bleed” or run when stored in a moist environment like the fridge. This can subtly alter their crisp appearance. However, sturdier sprinkles like jimmies or star-shaped sugar decorations generally hold up fine to refrigeration without color run. For best results, if vibrant, non-bled sprinkles are a priority, consider adding them just before serving or storing frosted cupcakes in a container with a layer of paper towels on the bottom to absorb any excess humidity.
Why does this recipe include sour cream? Does it make a difference?
Adding sour cream to a cake recipe might seem unconventional, but it offers significant benefits that are entirely worth it and contribute immensely to the overall quality of your cupcakes. Sour cream is a secret ingredient for achieving exceptionally moist, tender, and fine-crumbed cupcakes. The high fat content in sour cream contributes to a rich, velvety texture, while its whey protein encourages moisture retention within the batter throughout the baking process. This prevents your cupcakes from drying out, even a day or two after baking, leaving you with that sought-after moist crumb that elevates a good cupcake to a truly great one.
Furthermore, the acidity of sour cream plays a vital role in leavening. It reacts beautifully with the baking soda present in the cake mix or added separately in homemade recipes, creating carbon dioxide bubbles that help the cupcakes rise faster and more uniformly. This chemical reaction results in a lighter, airier, and fluffier final product. Essentially, sour cream not only boosts moisture and tenderness but also enhances the overall texture and rise, making your patriotic cupcakes irresistibly soft, delicate, and perfectly balanced.
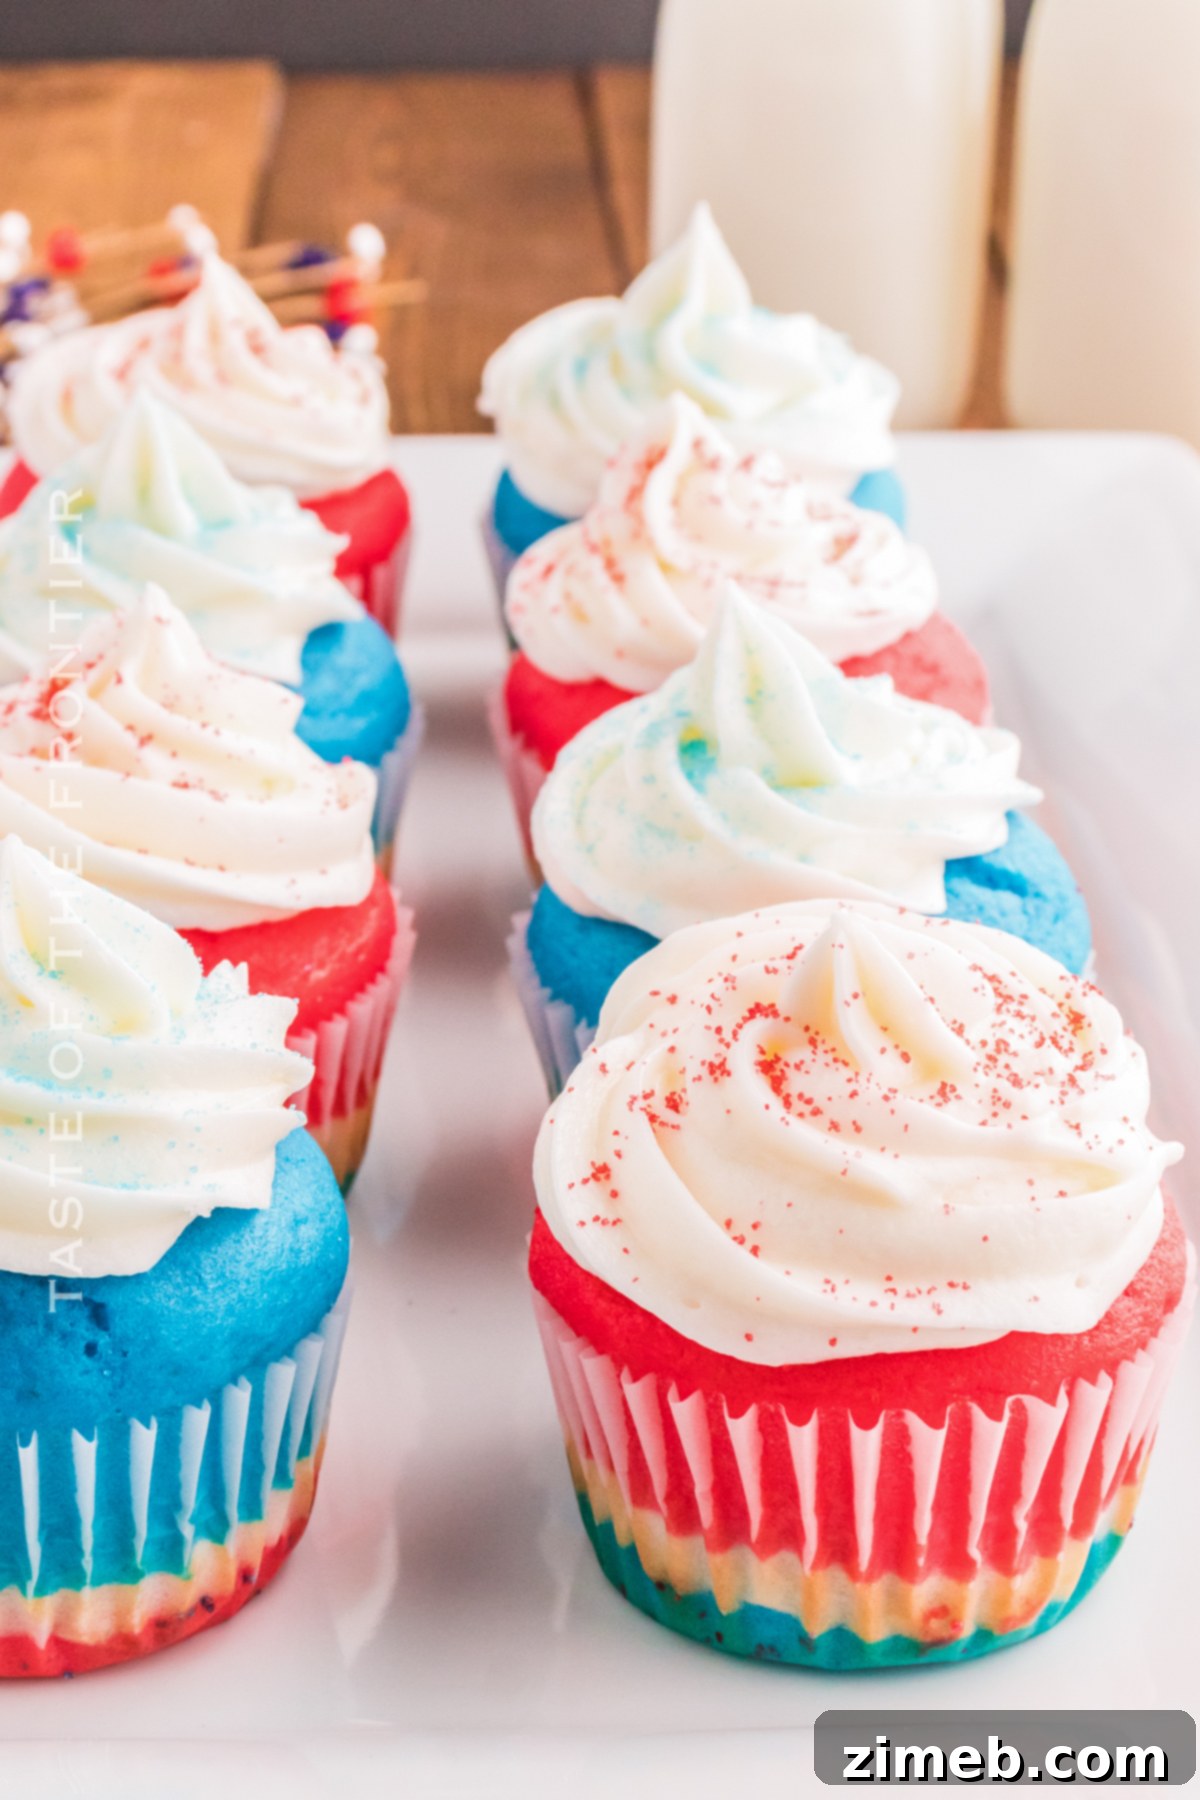
What is the purpose of adding egg whites instead of whole eggs?
The choice to use only egg whites, rather than whole eggs, is a deliberate and crucial one in this recipe, particularly for achieving the quintessential “white” cake base for your red, white, and blue layers. Egg yolks, while contributing to a richer flavor and often a more tender crumb due to their fat content, also impart a distinct yellow hue to the batter. By meticulously omitting the yolks, we ensure that the white layer of your cupcake remains bright and pure, providing a striking and vibrant contrast to the festive red and blue sections.
Moreover, egg whites themselves contain fats and emulsifiers that are crucial for creating a smooth, evenly blended batter. When whipped, they incorporate air into the mixture, which contributes significantly to the light and airy texture of the finished cupcake. This ensures that while you achieve a pristine white color, you don’t sacrifice any of the desired softness, fine crumb, or delicate texture that makes a cupcake truly delightful. This meticulous attention to detail in ingredient selection allows the patriotic colors to truly pop and shine, making these cupcakes as visually appealing as they are delicious.
Is food coloring unhealthy? Are there natural alternatives?
The question of whether food coloring is unhealthy is complex and depends largely on individual sensitivities, consumption levels, and the specific types of dyes used. Food coloring itself isn’t universally deemed unhealthy, but it’s true that some individuals may experience adverse reactions due to existing medical conditions or allergies. Historically, certain artificial food dyes have been linked to hyperactivity in some children, though the scientific correlation remains a topic of ongoing research and debate, with most regulatory bodies concluding that for the general population, occasional consumption within specified limits is safe.
For those who prefer to minimize their intake of artificial dyes or simply wish to explore more natural options, the market now offers a fantastic array of plant-based alternatives. For instance, beet juice or beet powder is a popular and effective natural choice for achieving a beautiful red hue, while spirulina or butterfly pea flower powder can create stunning blue and purple shades. Turmeric or saffron can provide lovely yellows, and spinach powder or matcha can offer natural greens. When choosing natural food colorings, it’s advisable to do some research to find products that best suit your preferences for color intensity, flavor neutrality (as some natural options can impart a subtle taste), and ingredient sourcing. Many brands now specialize in natural colorings, making it easier than ever to achieve vibrant results without synthetic additives. Always read labels and consider your dietary preferences.
What are some common substitutions I can make in this recipe?
Baking should always be adaptable to your needs, pantry staples, and time constraints! To save a significant amount of time and effort, using good quality store-bought frosting is an excellent substitution for the homemade buttercream. This allows you to focus your energy on baking and decorating the vibrant cupcake layers. While our recipe specifically calls for egg whites to ensure a pristine white cake, you can certainly use three whole eggs instead of four egg whites. Be aware, however, that the cake’s white layers will likely have a slightly yellow tint due to the yolks. If an absolute pure white color isn’t critical for your patriotic aesthetic, this is a perfectly acceptable swap that will still yield delicious and moist cupcakes.
Additionally, you could experiment with different flavor extracts. For example, a hint of almond extract alongside the vanilla can add a delightful and subtle nutty dimension to your cake batter. For the liquid component, you could substitute buttermilk for water or milk in the cake mix if you desire an even more tender crumb and a slight tang, which can also react favorably with baking soda for a good rise. Always remember that substitutions can subtly alter the final taste and texture, but often in a delicious and interesting way!
Essential Ingredients for Fourth of July Cupcakes
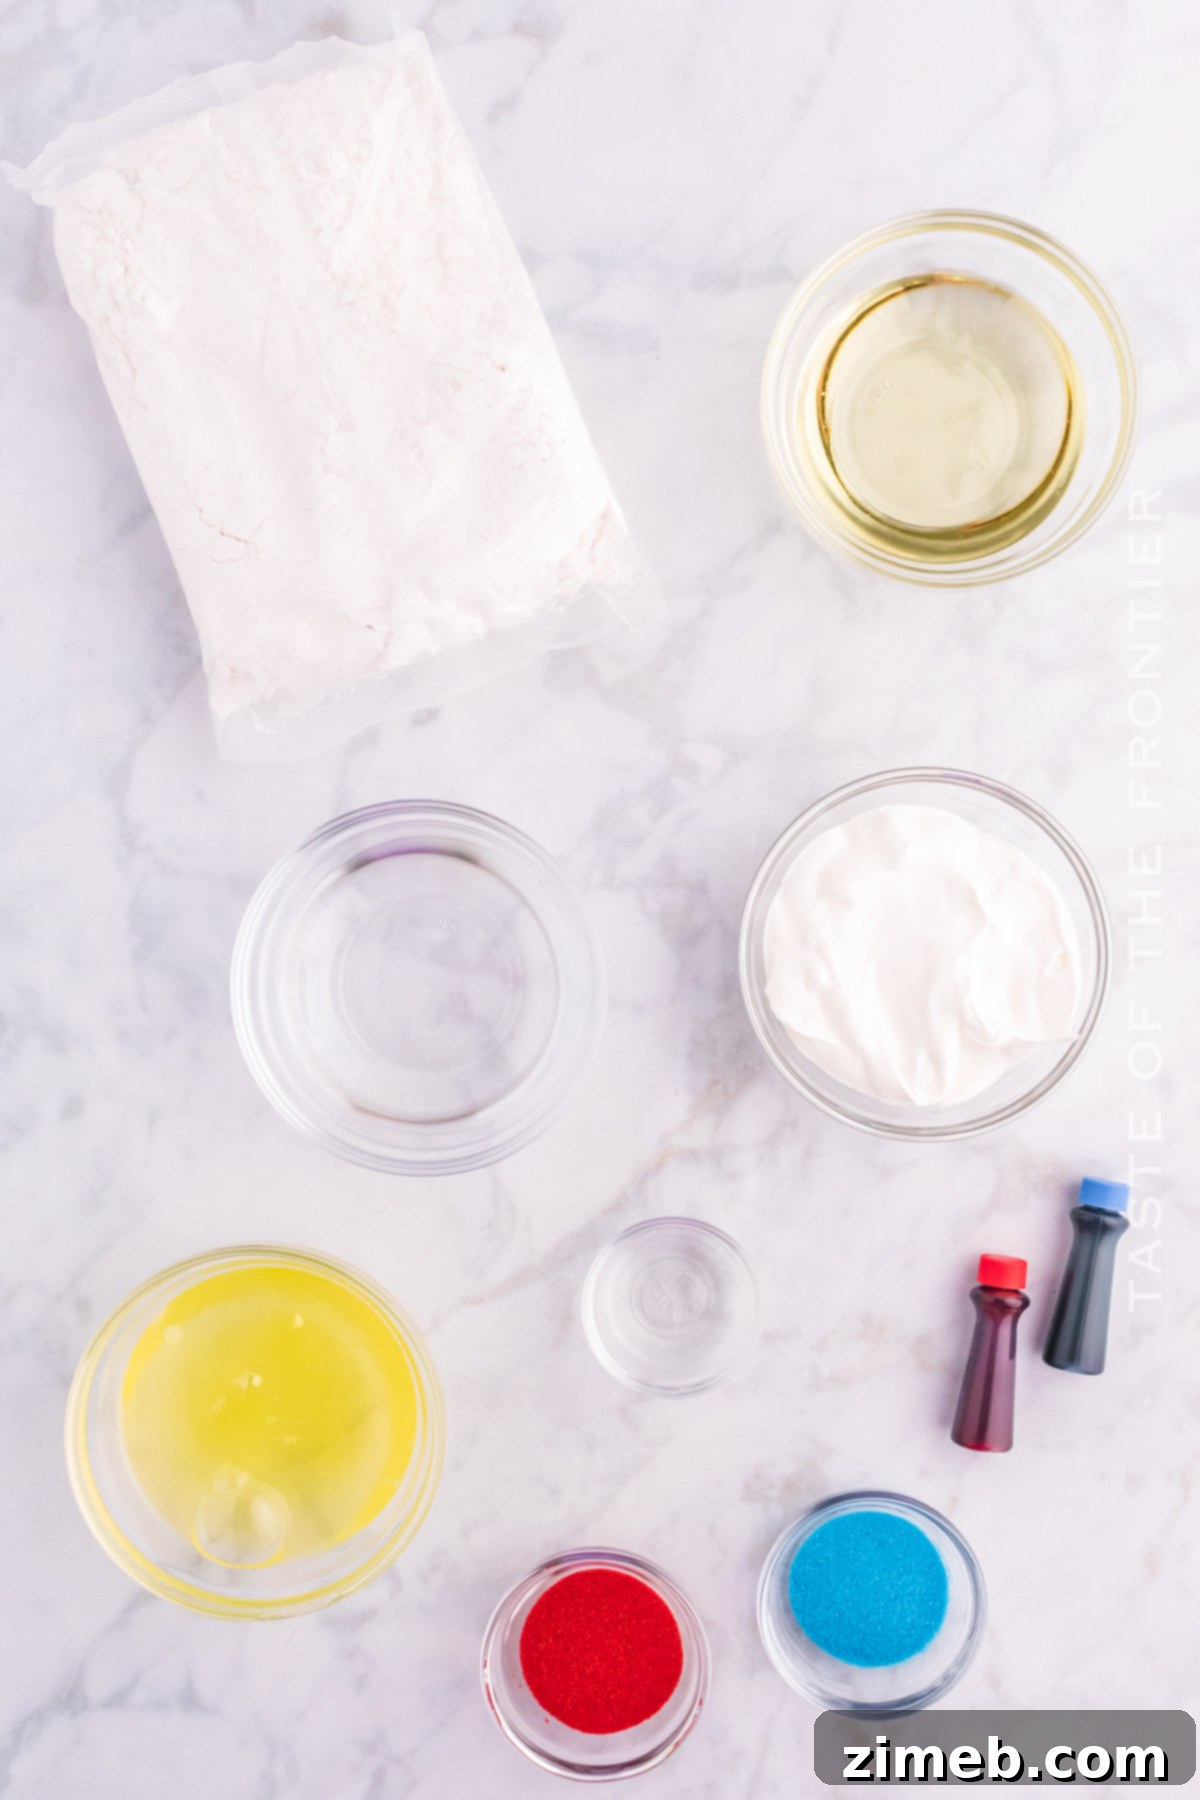
To create these festive and delicious Fourth of July Cupcakes, you’ll need a selection of basic baking ingredients, enhanced with a few special items for flavor and color. Here’s a comprehensive list to guide your shopping:
For the Cupcakes:
- White Cake Mix: One standard box (approximately 15.25 ounces) provides a convenient and consistent base, simplifying the baking process.
- Sour Cream: This crucial ingredient adds significant moisture and tenderizes the cake crumb, ensuring your cupcakes are incredibly soft.
- Vegetable Oil: Contributes to a rich, moist texture and helps keep the cupcakes from drying out.
- Water: To achieve the correct batter consistency, blending all ingredients smoothly.
- Egg Whites: Specifically chosen to maintain a pure white cake color for the middle layer and contribute to a light, fluffy texture.
- Clear Vanilla Extract: An optional but highly recommended ingredient. Unlike regular vanilla extract which has a slight amber tint, clear vanilla ensures your white batter and frosting remain perfectly bright and untainted.
- Red and Blue Liquid Food Coloring (OR Gel): Use liquid drops (approximately 8-9 red drops, 6 blue drops, or adjust to your desired shade) or gel food coloring. Gel colors are often more concentrated and may require fewer drops to achieve vibrant patriotic shades.
For the Homemade Buttercream Frosting:
- Unsalted Butter: Softened to room temperature, this forms the rich, creamy, and flavorful base of your classic buttercream frosting.
- Confectioner’s Sugar (Powdered Sugar): Provides sweetness and structure, ensuring a smooth, lump-free, and pipeable frosting consistency.
- Salt: A small pinch is essential to balance the sweetness of the sugar and enhance the overall flavor profile of the frosting.
- Clear Vanilla Extract: Again, clear vanilla is preferred here to keep your white frosting bright and visually appealing.
- Heavy Cream or Milk: Used to achieve the perfect creamy and spreadable or pipeable consistency for your buttercream. Heavy cream will result in a richer, thicker frosting.
For Decorating:
- Red and Blue Sanding Sugar: These festive sprinkles add a wonderful sparkle, texture, and patriotic touch to your finished cupcakes, making them ready for any Fourth of July celebration.
Can I make variations of these cupcakes for other holidays or themes?
Absolutely! The beauty and versatility of this cupcake recipe lie in its adaptability. While it’s perfectly designed for the Fourth of July with its classic red, white, and blue hues, the innovative technique of tinting batter in distinct layers can be applied to countless other celebrations and themes throughout the year. For example, for Christmas, imagine vibrant red and green layers, perhaps topped with a hint of peppermint-flavored frosting and festive sprinkles. For a charming baby shower, soft pink and blue, or pastel yellow and green cupcakes would be an adorable and delicious treat.
Sports fans would love cupcakes colored in their team’s specific hues, making them perfect for game-day parties. Halloween could feature striking orange and black or purple and green layers, adorned with spooky sprinkles. Even simple birthday parties can be elevated with cupcakes in the birthday person’s favorite colors. To create these variations, simply swap out the red and blue food coloring for any combination of colors that match your party theme, holiday, or personal preference. By doing so, you’ll consistently have a custom-designed dessert that always impresses both visually and on the palate. The possibilities are truly endless, making this a fantastic base recipe to keep in your baking repertoire for any occasion!
How do I store homemade buttercream frosting?
Homemade buttercream frosting is a wonderful component that can often be prepared in advance, saving you time on the day of your event. If you need to store it, buttercream frosting can be kept in an airtight container in the refrigerator for up to two weeks. This makes it an ideal make-ahead element for busy bakers. When you’re ready to use it, simply take the container out of the fridge and allow it to come to room temperature. This process usually takes a few hours, so plan accordingly. Once the frosting has softened sufficiently, you’ll want to give it a good re-whip with an electric mixer for a few minutes. This revitalizes its texture, incorporating air back into it until it regains its light, fluffy, and smooth consistency, making it perfectly spreadable or pipeable, just like freshly made buttercream.
Can I freeze buttercream frosting?
Yes, you can absolutely freeze buttercream frosting, which is a fantastic time-saving tip for busy bakers and helps prevent waste! To freeze, simply place your prepared buttercream in an airtight, freezer-safe container. Ensure the container is tightly sealed to prevent freezer burn and odor absorption. It can be stored in the freezer for up to three months without significant loss of quality or flavor. When you’re ready to use it, transfer the frozen frosting to the refrigerator and allow it to thaw overnight. Once thawed and brought to room temperature (which might take an additional hour or two on the counter), give it a good re-whip with an electric mixer until it’s light and fluffy again. This process revitalizes the texture and makes it ready for decorating your beautiful cupcakes, saving you precious time when preparing for a party or celebration.
Step-by-Step: How to Make Fourth of July Cupcakes
Creating these festive Fourth of July Cupcakes is a fun and rewarding process. Follow these detailed steps to ensure your patriotic treats turn out perfectly vibrant and delicious.
For the Cupcakes:
- Prepare Your Oven and Muffin Tins: Begin by preheating your oven to 350°F (175°C). Line a standard 12-cup muffin tin with festive cupcake liners. Set the prepared tin aside while you mix the batter.
- Combine Wet and Dry Ingredients: In the large bowl of a stand mixer fitted with a paddle attachment (or using a hand mixer with beaters), combine the white cake mix, sour cream, vegetable oil, water, egg whites, and clear vanilla extract (if using).
- Mix the Batter Thoroughly: Start mixing on low speed for about 30 seconds. This helps to gradually incorporate all the ingredients without making a mess. Stop the mixer and use a rubber spatula to scrape down the sides and bottom of the bowl, ensuring no dry spots remain. Increase the speed to medium and beat for another 2 minutes, scraping the edges again as needed, until the batter is smooth, well combined, and slightly airy. It’s important not to overmix at this stage, as excessive mixing can develop too much gluten and lead to tough cupcakes.
- Divide the Batter: Carefully divide the prepared white batter into three separate medium-sized bowls. Aim for approximately 1 cup of batter in each bowl to ensure even layers and consistent cupcake sizes later on.
- Color the Batter:
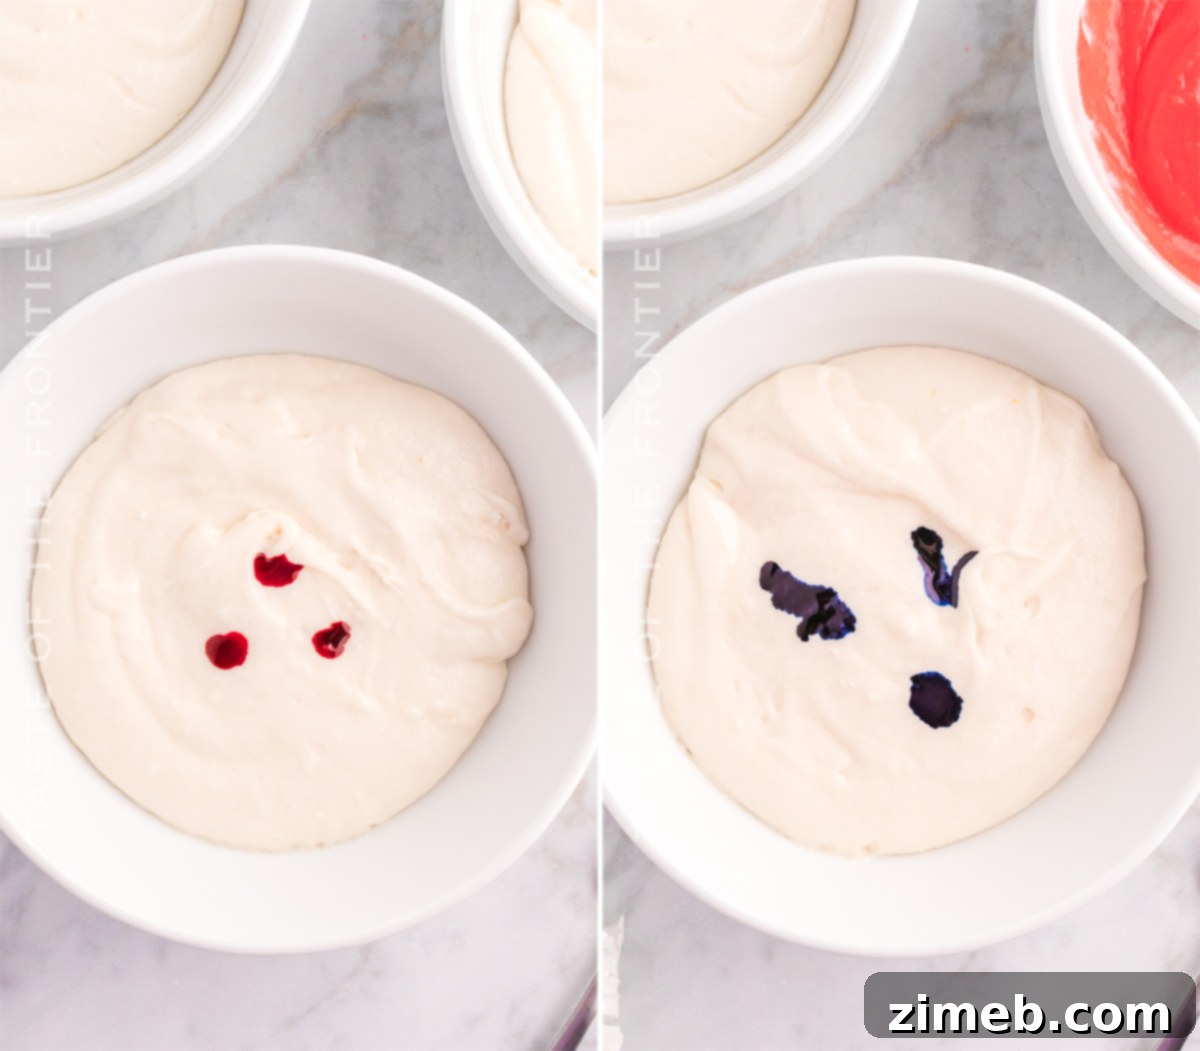
- Add red liquid food coloring (approximately 8-9 drops, or to your desired vibrant shade) to the first bowl. Mix gently but thoroughly after each drop or two until you achieve a uniform, rich red color.
- Repeat this process with the second bowl, adding blue liquid food coloring (approximately 6 drops, or to your desired deep shade) until a distinct blue is achieved.
- Leave the third bowl of batter uncolored to serve as your pure white layer. If you are using concentrated gel food coloring, you will likely need fewer drops to achieve vibrant colors, so add sparingly.
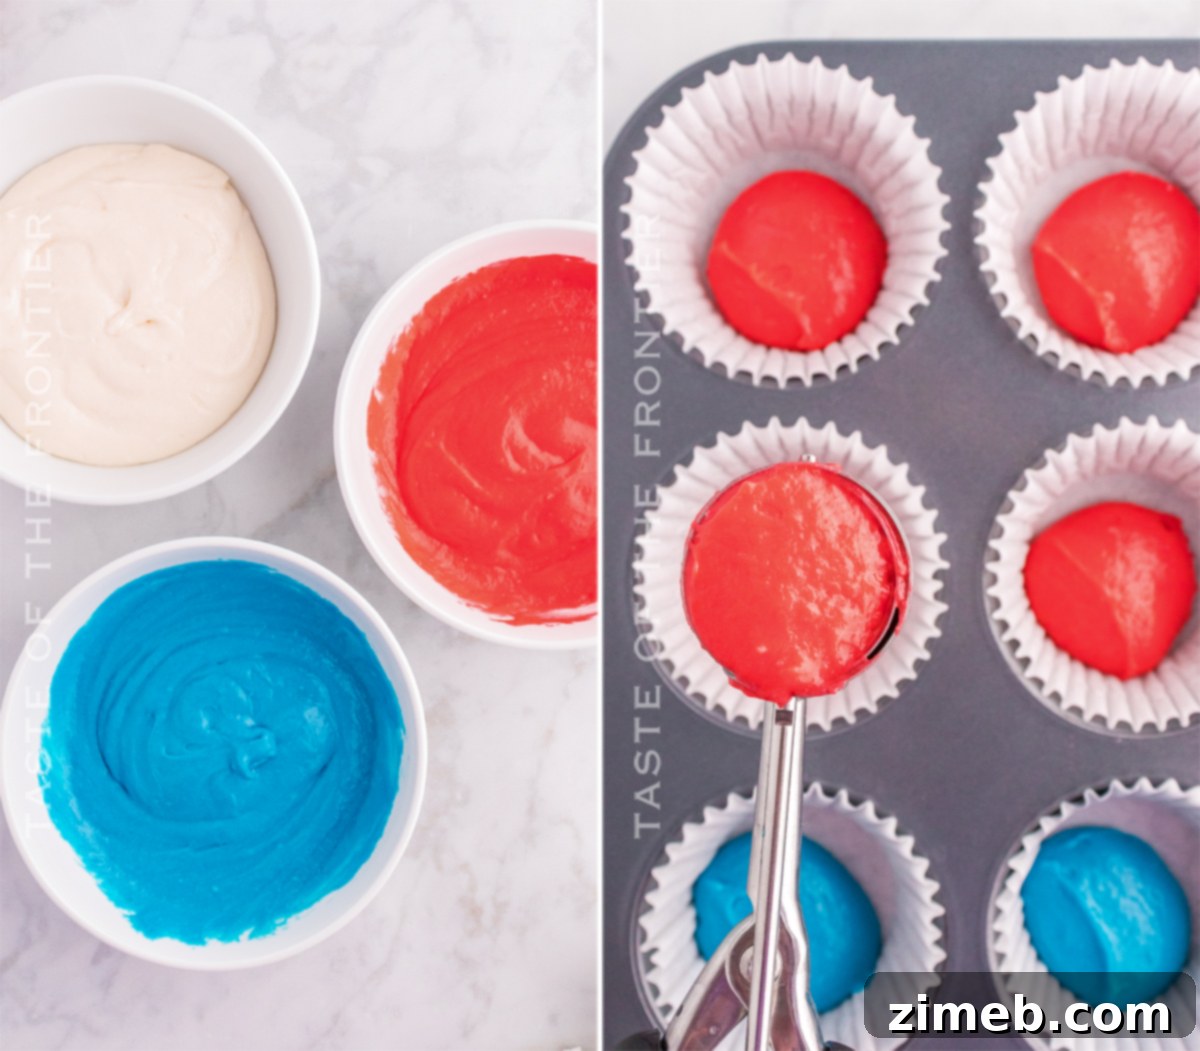
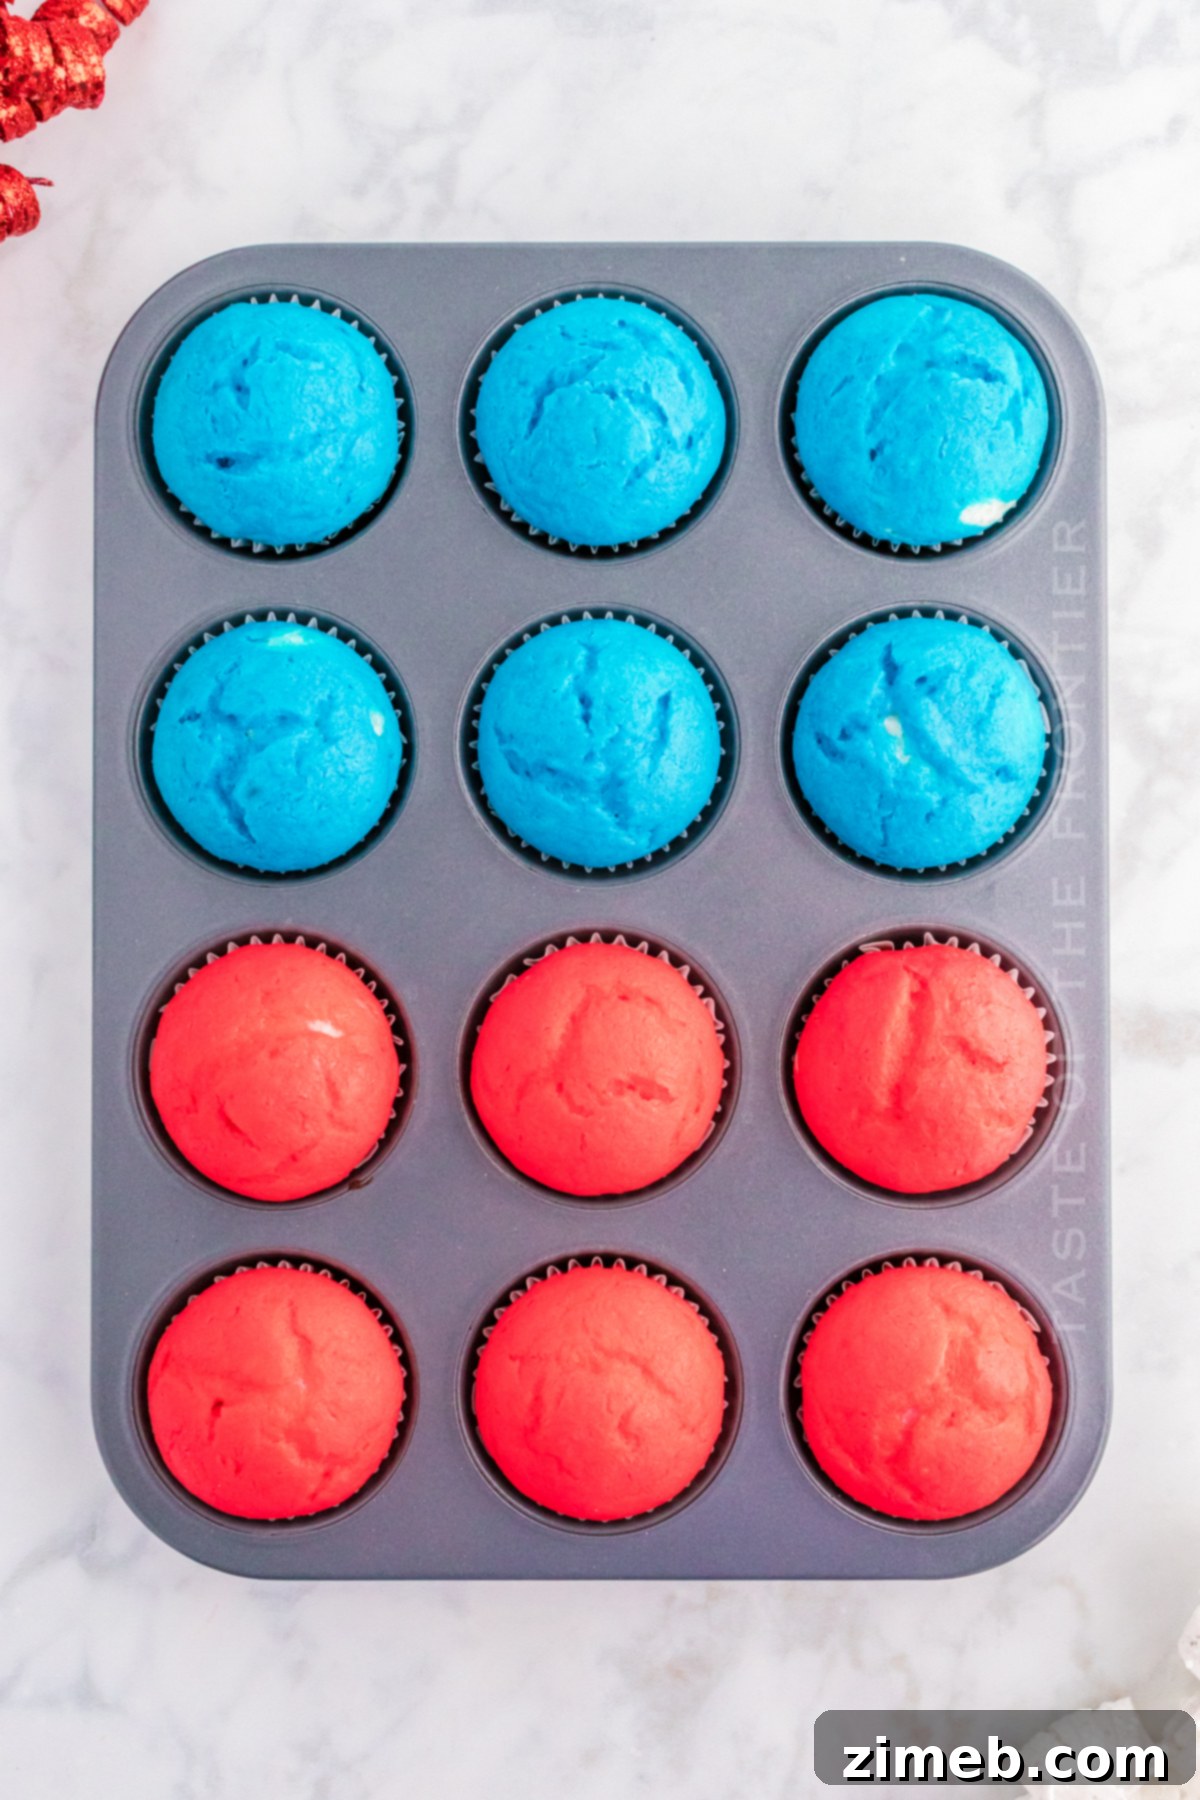
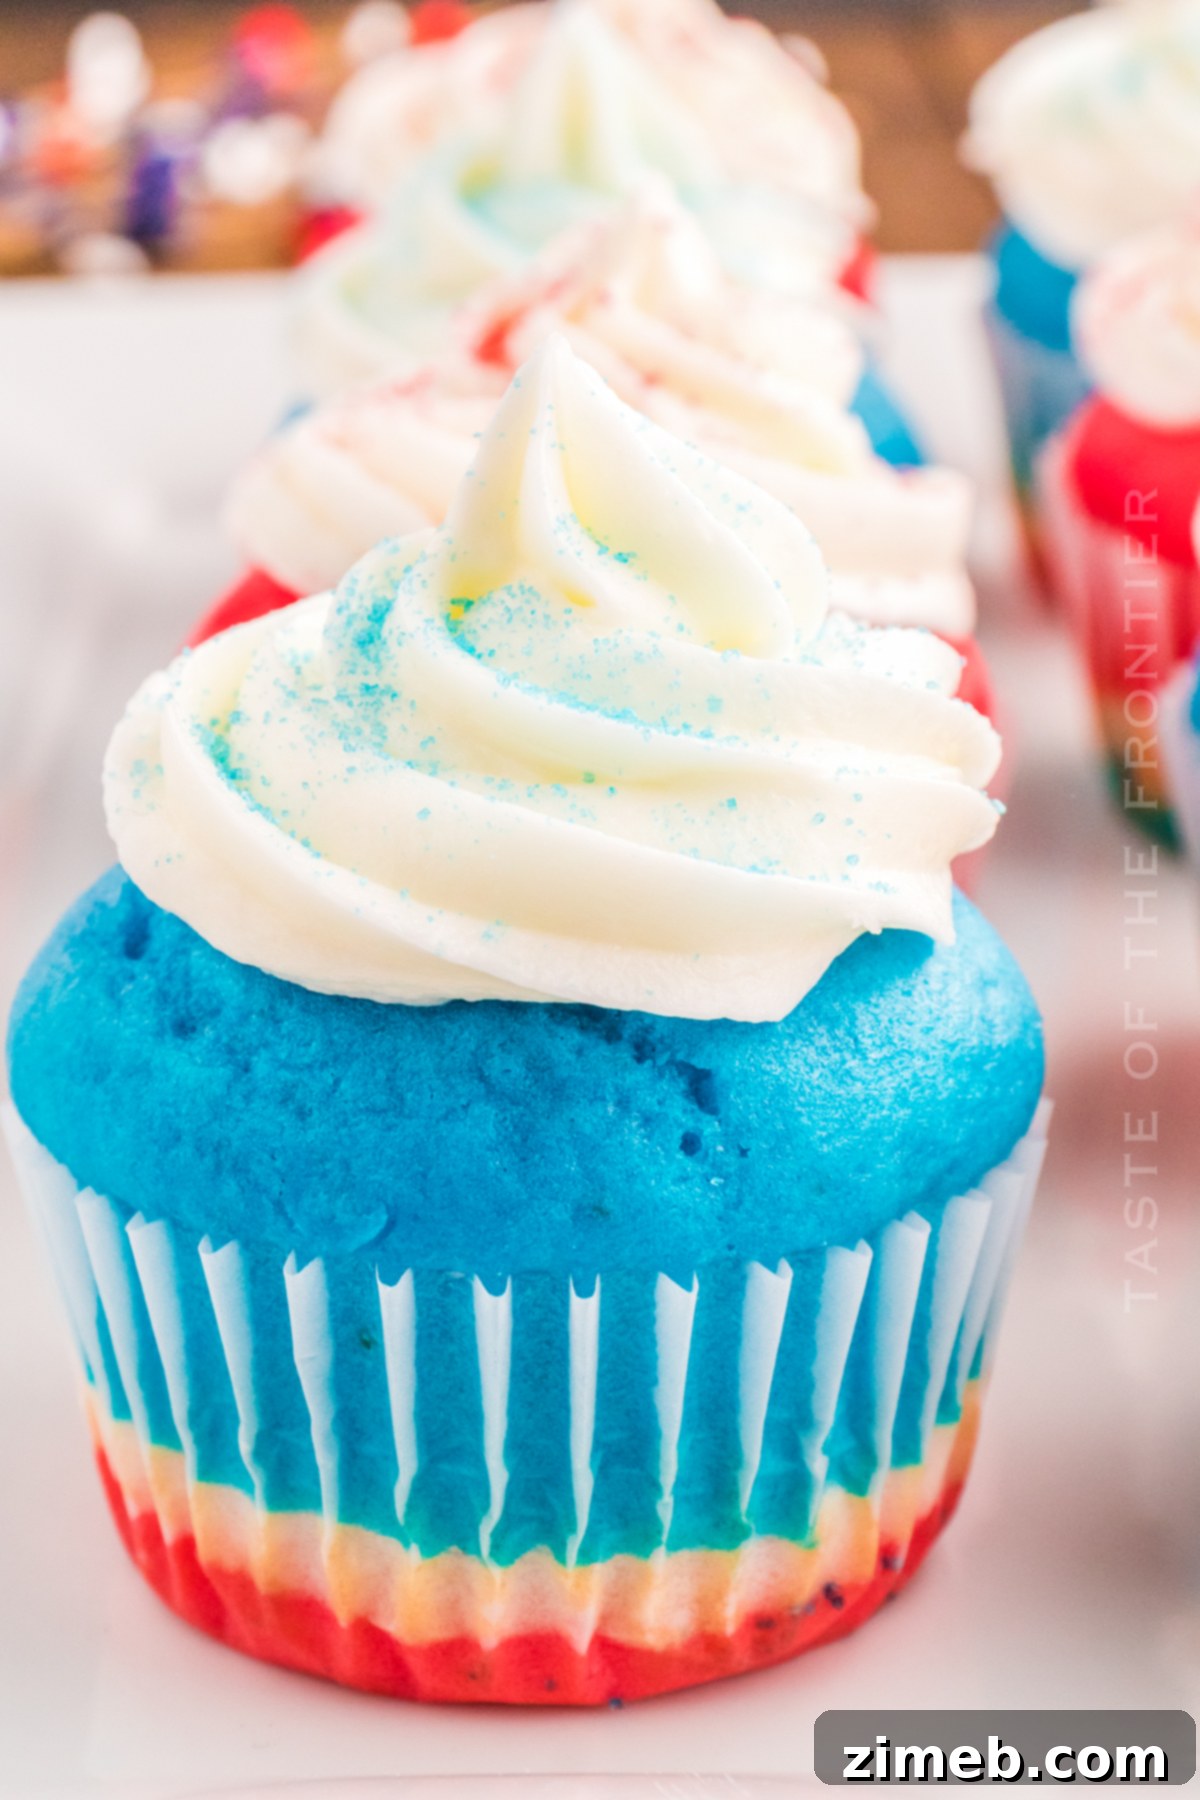
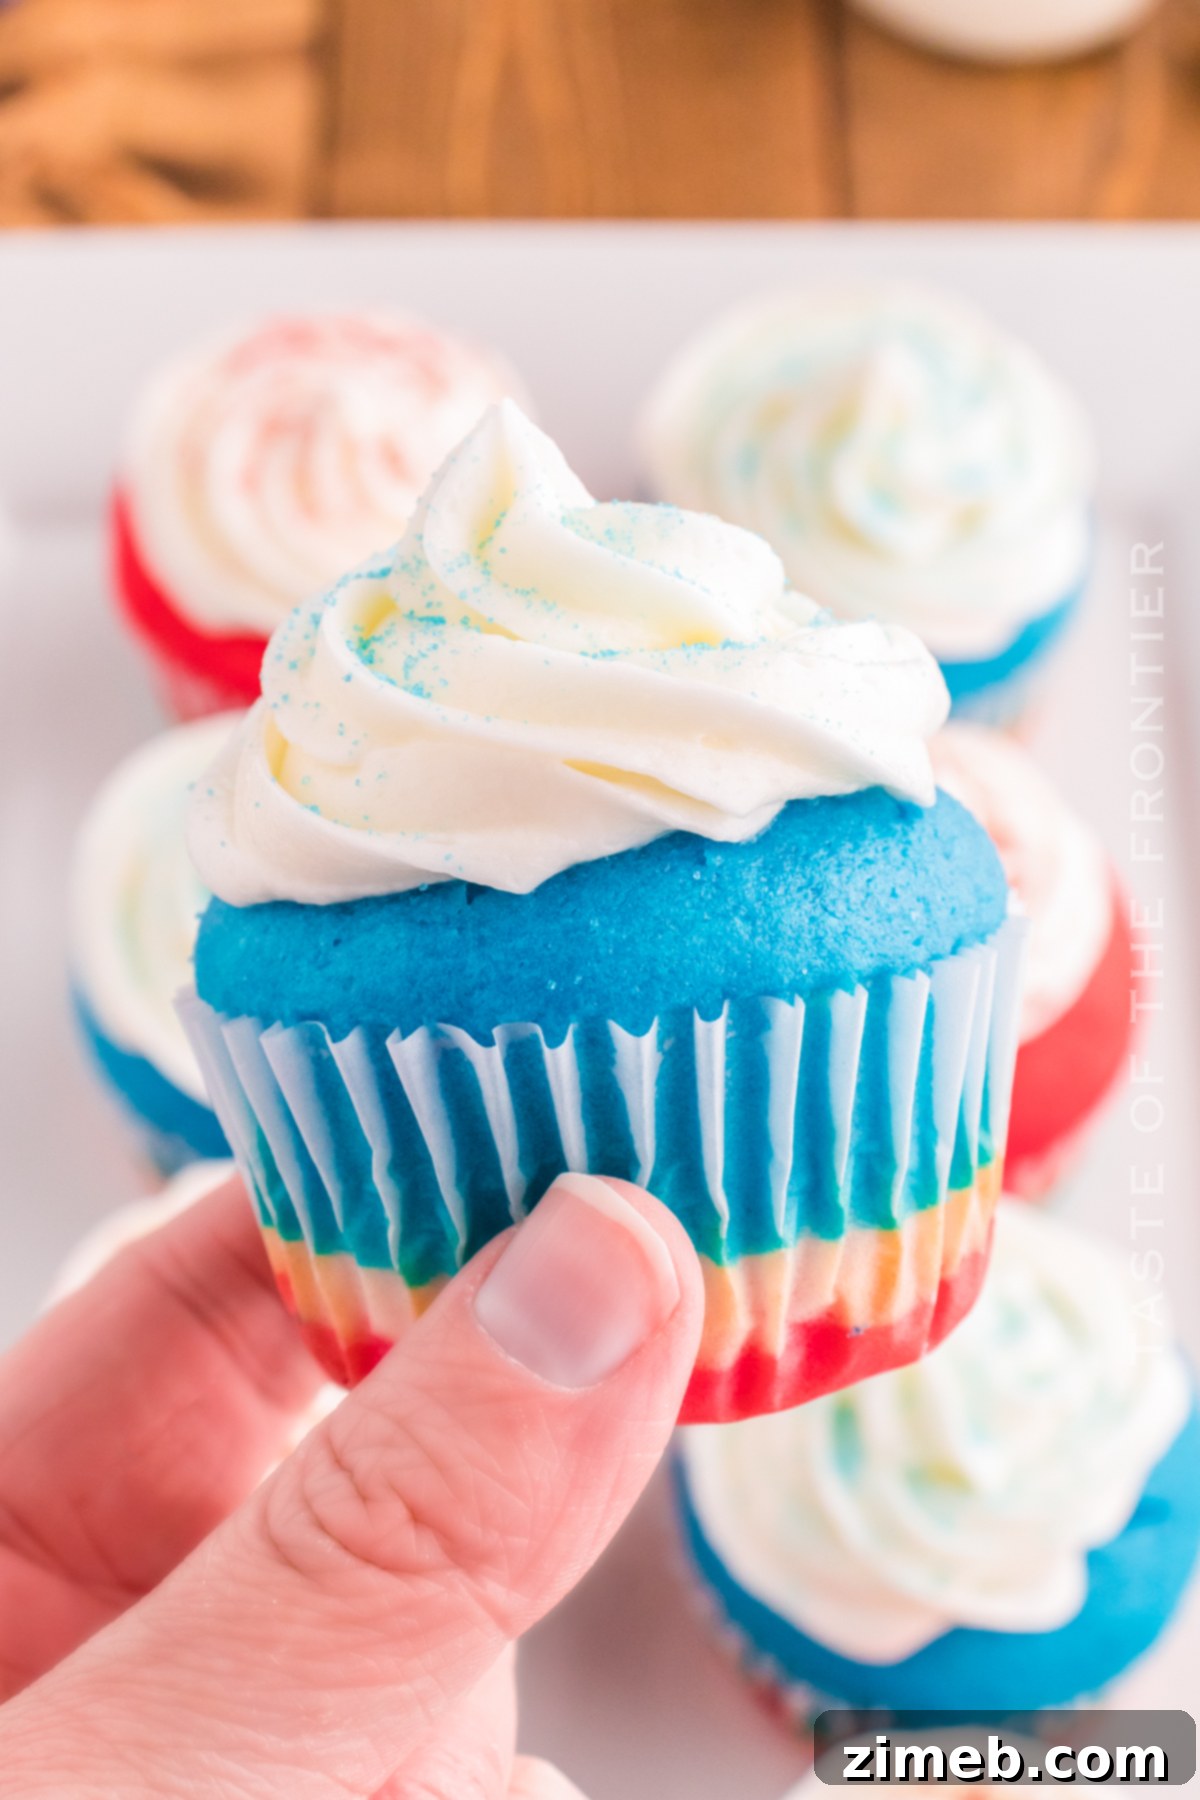
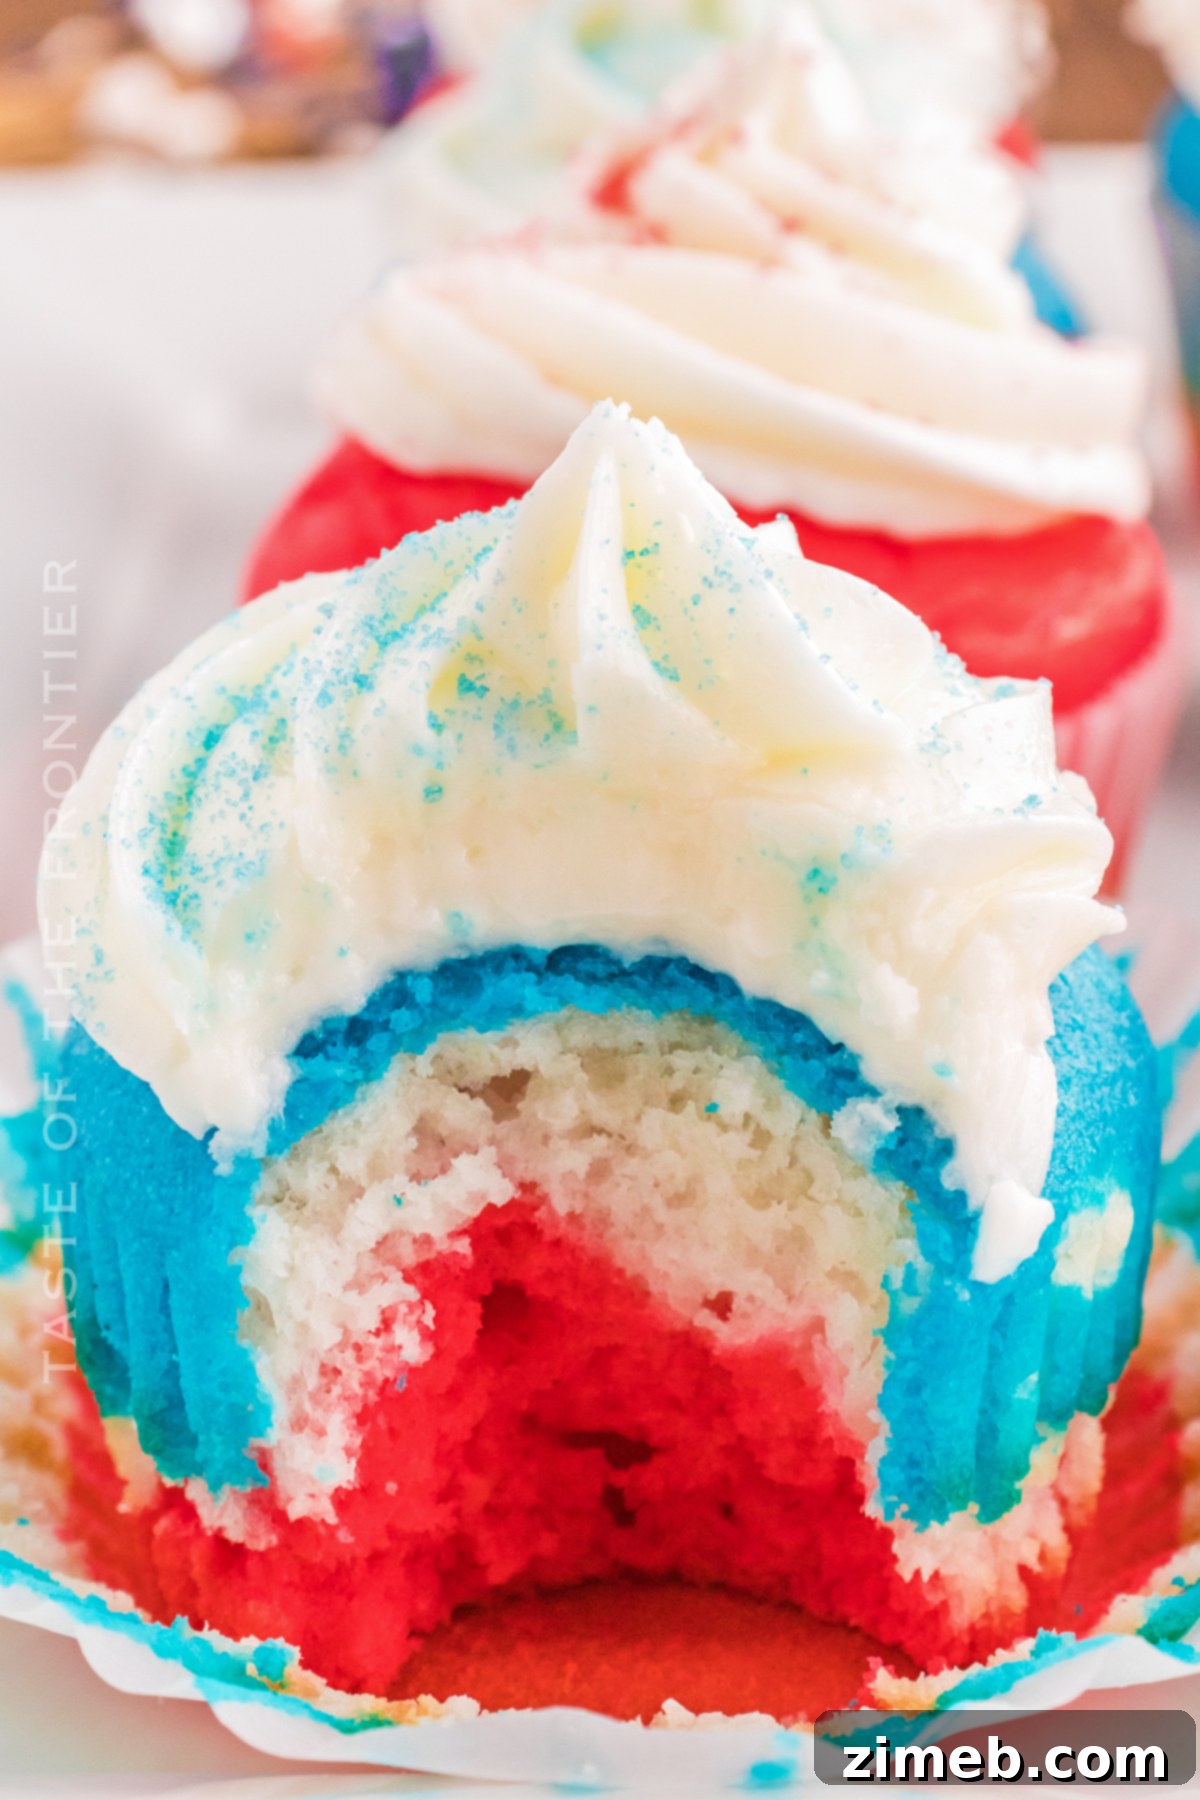
- Layer the Colors in Cupcake Liners: This is where the visual magic happens! To create a cupcake with blue on top (and red on the bottom), start by spooning approximately 1 tablespoon of the red batter into the bottom of each cupcake liner. Gently spread it out evenly with the back of the spoon or a toothpick to form a smooth base. Next, carefully spoon 1 tablespoon of the white batter directly on top of the red layer, spreading it gently to completely cover the red. Lastly, spoon 1 tablespoon of the blue batter over the white, ensuring it spreads evenly and no white batter is visible underneath. Each cupcake liner should be approximately two-thirds full to allow for proper rising during baking without overflowing. If you prefer a red-on-top cupcake, simply reverse the order of the red and blue layers, keeping white in the middle.
- Bake Until Done: Carefully transfer the muffin tin to the preheated oven and bake for 18-20 minutes. The cupcakes are done when an inserted toothpick into the center of a cupcake comes out clean or with a few moist crumbs, but no wet batter.
- Cool Completely: Once baked, remove the cupcakes from the oven and let them cool in the tin for a few minutes before transferring them to a wire rack. It is absolutely essential that the cupcakes are completely cooled to room temperature before you apply any frosting. Attempting to frost warm cupcakes will cause the buttercream to melt, slide off, and create a messy result.
For the Homemade Buttercream Frosting:
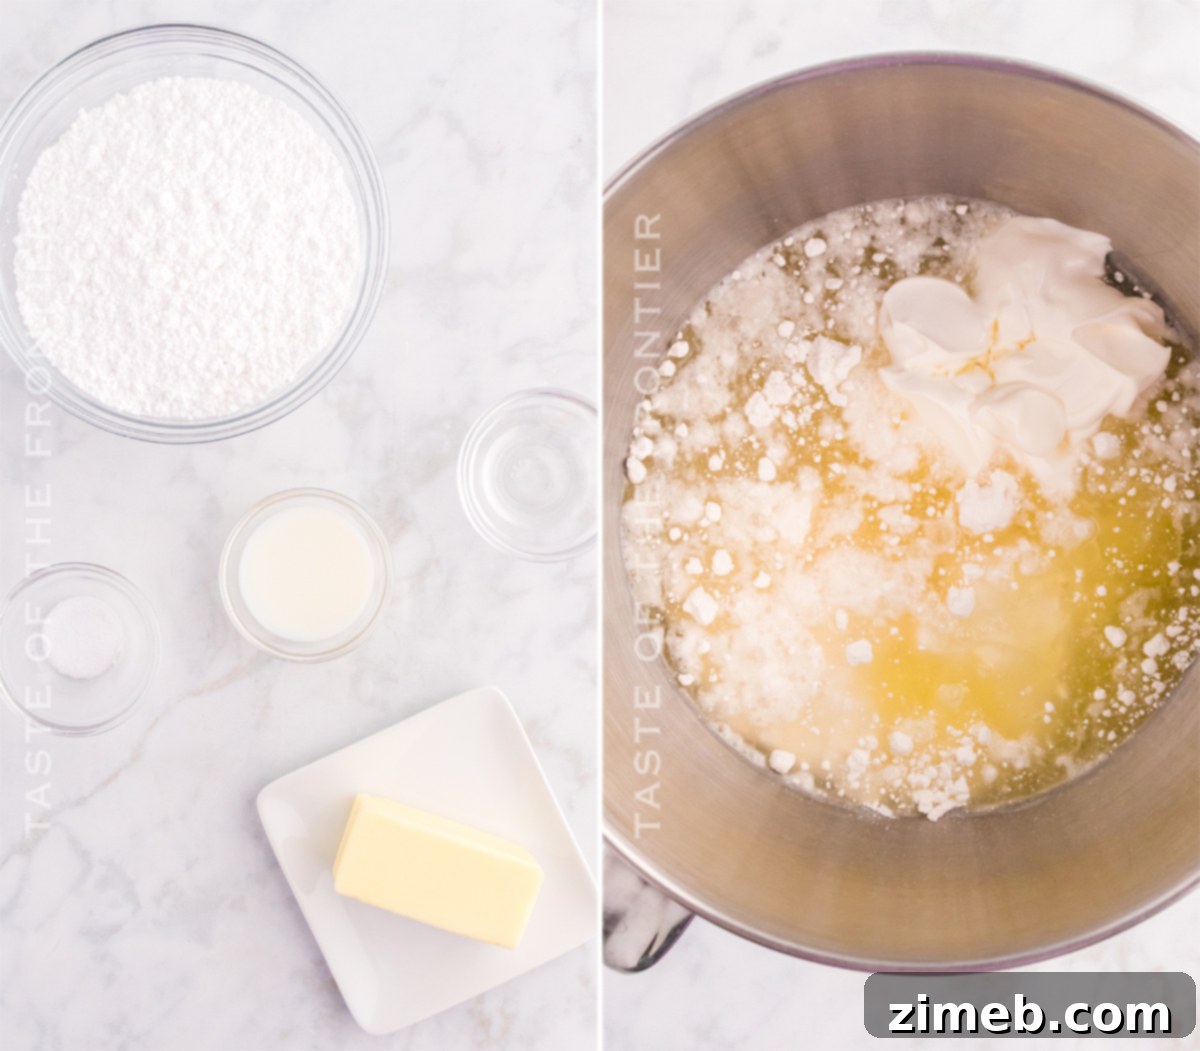
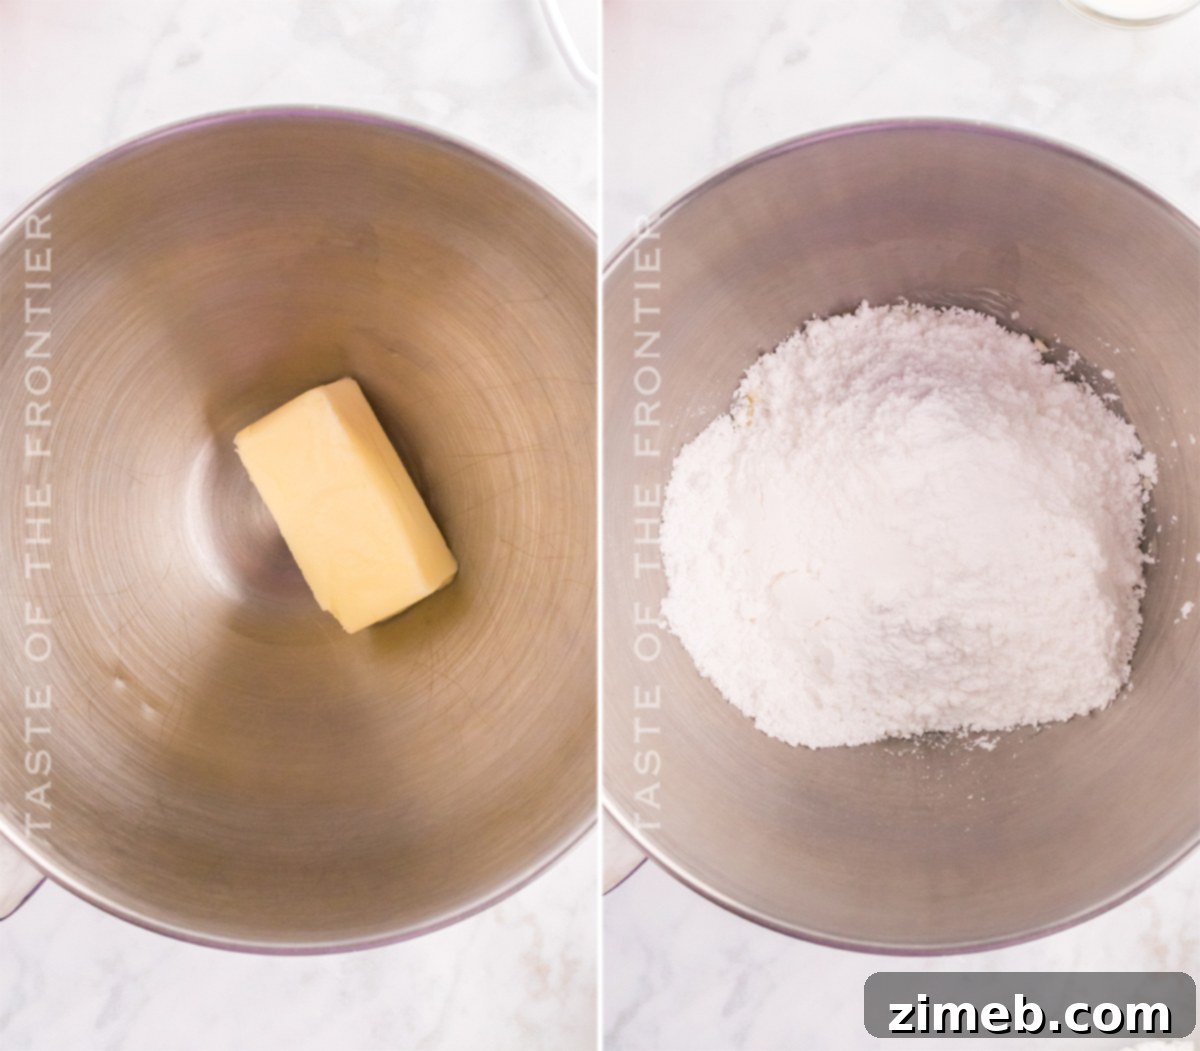
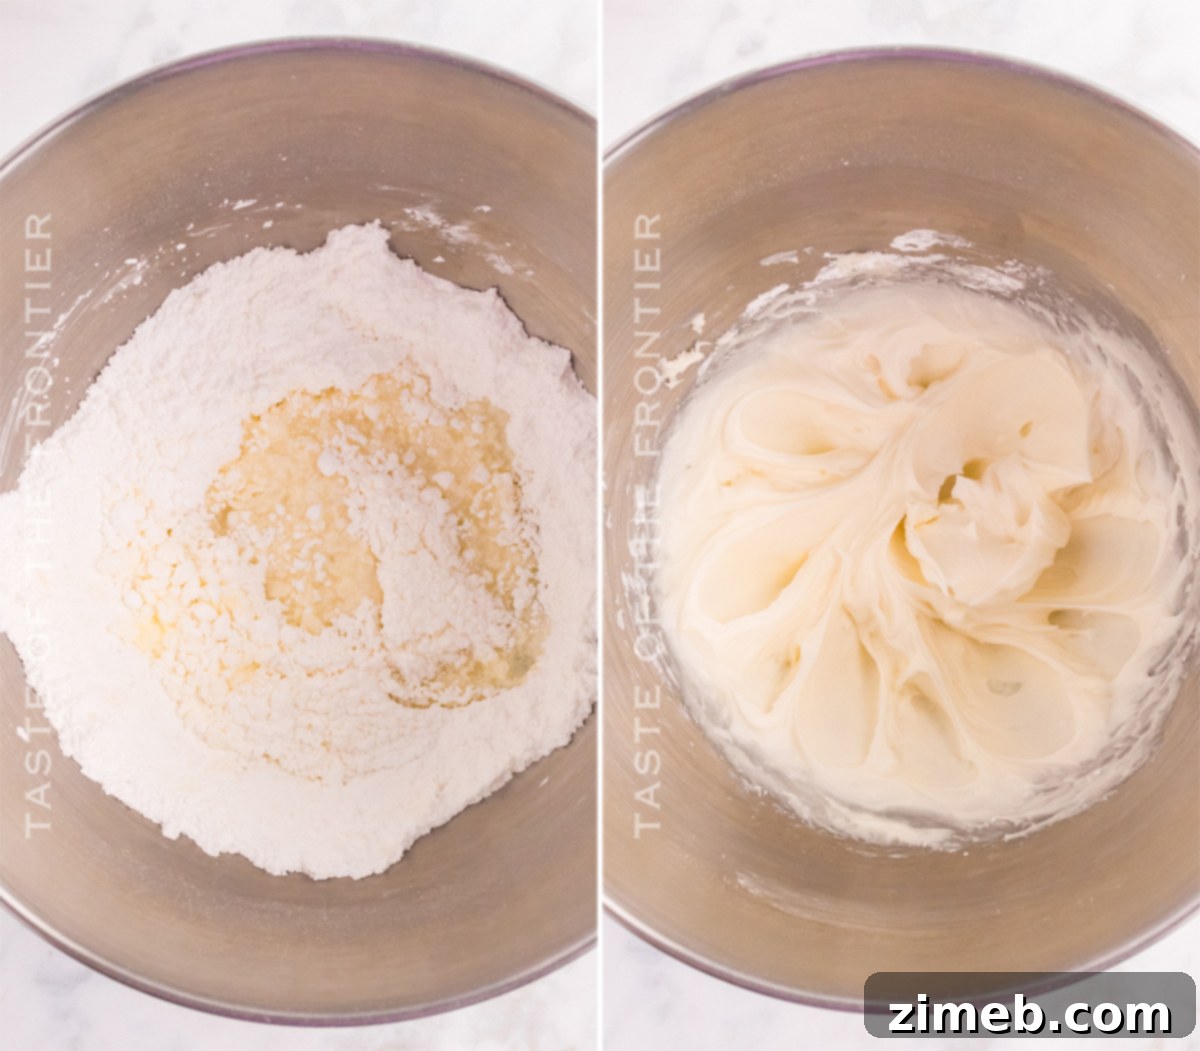
- Whip the Butter: In a clean bowl of a stand mixer fitted with the paddle attachment (or using a powerful hand mixer), whip the softened unsalted butter on medium-high speed for 1-2 minutes. Continue this process until the butter becomes noticeably lighter in color and takes on a fluffy, airy consistency. This step is crucial for achieving light, airy buttercream.
- Incorporate Sugar and Salt: Gradually add the confectioner’s sugar (powdered sugar) and salt to the whipped butter. Start mixing on low speed to prevent a cloud of sugar from escaping the bowl, then increase to medium speed. Beat for 1 minute until well combined, stopping halfway through to scrape down the sides of the bowl with a rubber spatula to ensure all ingredients are thoroughly incorporated and no lumps remain.
- Add Vanilla and Cream: Pour in the clear vanilla extract and start with 3 tablespoons of heavy cream (or milk). Beat on medium speed for another minute. Assess the consistency; if the frosting seems too stiff or not easily spreadable/pipeable, slowly add more cream, one teaspoon at a time, beating after each addition, until you achieve your desired light, fluffy, and smooth consistency. Continue to whip for another minute or so to ensure maximum fluffiness and aeration.
For Decorating:
- Frost and Garnish: Once your cupcakes are completely cool and your homemade frosting is perfectly prepared, you can either spread the buttercream generously onto each cupcake with an offset spatula for a rustic look or pipe it on using a piping bag fitted with your favorite decorator tip (like a #1M star tip) for a more elegant swirl. Finish by generously sprinkling the tops with festive red and blue sanding sugar for that perfect patriotic sparkle and added texture. Serve immediately and enjoy your beautiful and delicious Fourth of July Cupcakes!
What if I don’t have an electric mixer for the frosting? Can I still make it?
Absolutely! While an electric mixer significantly speeds up the process and yields the lightest, fluffiest buttercream, you can certainly make this frosting by hand. Just be prepared for a bit of an arm workout, as it will require considerably more time and effort to achieve the desired consistency. To make frosting by hand, you’ll need a large, sturdy mixing bowl and either a strong wooden spoon or a robust wire whisk. The key to success when mixing by hand is ensuring your butter is extra soft – almost spreadable, but not melted. This makes it much easier to cream the butter smoothly and incorporate the confectioner’s sugar without lumps. Start by vigorously creaming the butter until it is pale and fluffy. Then, gradually add the powdered sugar, mixing tirelessly until it is fully incorporated and smooth. Finally, beat in the vanilla and cream until the frosting is light, airy, and creamy enough to spread or pipe. It will take longer and require more elbow grease, but the delicious homemade result is worth the effort!
When you say “soft butter,” what exactly do you mean?
When a recipe calls for “softened butter” or “room temperature butter,” it means the butter should be pliable enough to leave a slight indentation when gently pressed with your finger, but it should not be greasy, shiny, or melted in any way. This typically occurs when butter has been left at a comfortable room temperature (around 68-72°F or 20-22°C) for approximately 30-60 minutes, depending on the ambient temperature in your kitchen. Properly softened butter is crucial because it creams beautifully with sugar, incorporating tiny air pockets into the mixture. These air pockets are essential; as the batter bakes, these trapped air bubbles expand, resulting in a light, airy, and fluffy texture in your cupcakes and frostings. If your butter is too cold, it won’t cream properly, leading to a dense texture. If it’s too warm or melted, it will separate, resulting in a greasy, runny outcome that won’t hold air or structure well, impacting the final quality of your baked goods.
Should I use liquid or powdered food coloring in this recipe?
For this Fourth of July cupcake recipe, you have flexibility in the type of food coloring you choose, as both liquid and gel options will work effectively to create those vibrant patriotic layers. However, it’s helpful to understand the characteristics of each to achieve your desired results. Traditional liquid food coloring, often found in small dropper bottles at grocery stores, typically has a water or alcohol base. While easy to use, adding too much liquid coloring can slightly thin your batter, potentially altering the consistency, especially in recipes that are very moisture-sensitive. For a standard cupcake batter, this is usually not a major issue unless you’re using an exceptionally large quantity.
Gel food coloring, on the other hand, is highly concentrated and has a thicker, gel-like consistency. It delivers incredibly vibrant colors with only a small amount, making it an excellent choice for recipes where you want intense hues without adding excess liquid. You’ll often find that you need significantly fewer drops of gel coloring to achieve the same vibrancy as many more drops of liquid coloring. Powdered food coloring is also available, and it’s best for extremely moisture-sensitive applications (like macarons or deeply pigmented chocolates), but it’s less commonly used for everyday cake batter. For these cupcakes, feel free to use whichever you are most comfortable with; just adjust the quantity according to the type and desired shade, remembering that a little gel food coloring goes a very long way!
Can I use imitation vanilla extract for this recipe?
Yes, using imitation vanilla extract is perfectly acceptable for this recipe, especially if you’re looking for a more economical option or if real vanilla extract is difficult to find due to market fluctuations. Natural vanilla extract, derived from cured vanilla beans, has seen its price fluctuate due to global supply and demand, making imitation vanilla a budget-friendly and widely available alternative. Imitation vanilla, typically made from vanillin (a synthetic compound), provides a very similar flavor profile and will work wonderfully in these cupcakes, contributing that familiar sweet vanilla aroma and taste.
However, if you’re a baking enthusiast interested in a deeper, more complex vanilla flavor and a fun DIY project, consider making your own vanilla extract at home. It’s surprisingly simple and can be much more cost-effective in the long run. To do this, simply take three to five high-quality vanilla beans (split lengthwise for maximum flavor extraction) and submerge them completely in a glass mason jar filled with a neutral-flavored alcohol like vodka, rum, or bourbon. Store the jar in a cool, dry, and dark place, shaking it gently once a week. Over several months (at least 2-3 months for basic extraction, but ideally 6+ months for deeper flavor), the alcohol will gradually extract the vanillin and other complex flavors from the beans, turning into a rich, dark brown extract. Once it reaches your desired strength, you can use it just as you would store-bought vanilla extract. Homemade vanilla extract doesn’t really go bad; it only gets better with age, provided it remains in a cool, dark place away from direct sunlight.
Achieving Perfectly Softened Butter: Three Easy Methods
Softened butter is a cornerstone of successful baking, especially for creamy frostings and tender cakes. It ensures even blending and optimal texture. Here are a few reliable methods to get your butter to that ideal room temperature state, avoiding common pitfalls:
Method One: The Patient Countertop Approach
The simplest and often best method is to plan ahead. Take your butter, along with any other refrigerated ingredients like eggs or cream cheese, out of the fridge approximately 30-60 minutes before you plan to start baking. Place them on your kitchen counter. This allows them to gradually warm up to a uniform room temperature, which is ideal for creating stable emulsions and light textures. Starting your baking session by pulling out all chilled ingredients ensures they’re ready when you need them, preventing mid-recipe rushes or the frustrating realization that you’re missing something crucial.
However, depending on the ambient temperature in your home (especially in colder months when kitchens can be quite cool) or if you’re simply not that organized (it happens to the best of us!), 30 minutes might not be quite enough to get butter to the perfect consistency. That’s where alternative tricks come in handy when you’re short on time.
Method Two: The Microwave (Use with Extreme Caution!)
The microwave can be a quick fix in a pinch, but it requires extreme care and vigilance. Place the butter, still wrapped in its paper (but *never* in foil, which can cause sparks and damage), into the microwave. Microwave it for a mere 2 seconds, then carefully flip the butter stick over. Repeat for another 2 seconds, flip again, and continue this 2-second interval, flipping each time, until the butter feels soft enough when gently squeezed. The goal is pliable butter that holds its shape, not melted or greasy. **A crucial warning:** Over-softened or melted butter from the microwave WILL negatively alter the final texture of your baked goods and frosting, often making them greasy, dense, or causing separation. Err on the side of caution; if it’s not quite soft enough, use one of the other methods or just continue beating it a little longer in your mixer to warm it up gradually.
Method Three: The Warm Water Bath
This is often my preferred method when time is short and I want to avoid the risks associated with microwaving butter. Place your wrapped butter sticks into a zip-top bag (or simply keep them in their original paper wrappers if they’re well-sealed to prevent water intrusion). Then, submerge the butter in a bowl of warm (not hot!) water. The water should be comfortably warm to the touch, not scalding. You can do the same with eggs to bring them to room temperature quickly. The warm water gently and evenly warms the butter without melting it, making it the perfect way to achieve that ideal room-temperature consistency. This method provides much more control than the microwave and is generally very reliable for ensuring your butter is perfectly softened and ready for baking.
Will using milk instead of heavy cream change the outcome of the frosting?
Yes, substituting milk for heavy cream in your buttercream frosting will indeed result in a noticeable difference in texture, richness, and overall stability. Heavy cream boasts a much higher fat content (typically 36% or more) compared to milk (which ranges from 0.5% for skim milk to 3.5% for whole milk). This higher fat content in heavy cream is precisely what gives buttercream its luxurious, incredibly creamy, thick, and stable consistency, allowing it to hold its shape beautifully whether it’s spread smoothly or piped into intricate designs.
When you use milk, particularly lower-fat varieties, your frosting will naturally be less creamy, less thick, and potentially slightly less stable. While the difference might be subtle depending on the amount used and the fat content of the milk, you might find the frosting to be a bit looser or softer, especially in warmer environments. It’s important to resist the temptation to “balance” this difference in fat content by adding extra butter. Introducing more butter would also add more oils to the mix, which could paradoxically make your frosting even runnier or greasy, rather than thicker, as the fat might separate. If you choose to use milk, simply be prepared for a slightly lighter, less dense frosting. If you desire a thicker consistency with milk, gradually add a bit more confectioner’s sugar until it reaches your desired texture.
My frosting is runny. How can I fix it?
Dealing with runny frosting can be a frustrating development when you’re in the midst of decorating your beautiful cupcakes. The most effective and straightforward way to remedy runny buttercream is to gradually incorporate more confectioner’s sugar into the mix. Confectioner’s sugar, also known as powdered sugar, contains a small amount of cornstarch, which acts as a thickening agent. This cornstarch helps to absorb excess moisture and oils in the frosting, thereby thickening its consistency and providing more structure.
To fix your runny frosting, start by adding a quarter cup of powdered sugar at a time, beating well with your electric mixer after each addition until it’s fully incorporated and you observe the desired thickening. Continue this process, adding sugar gradually, until your frosting reaches a pipeable or spreadable consistency that holds its shape. Ensure you mix on medium speed for a minute or two after each addition to fully dissolve the sugar and prevent a gritty texture. This method allows you to slowly bring the frosting back to a perfect consistency without over-correcting and ending up with a frosting that is too stiff.
Why is it so important for ingredients to be at room temperature when baking?
The “room temperature” directive for ingredients in baking recipes, particularly for dairy products like butter and eggs, is not just a suggestion – it’s a critical step for the success of your baked goods. When ingredients are at room temperature, they emulsify and blend together much more effectively than when they are cold. For instance, properly softened butter can cream beautifully with sugar, creating tiny, evenly distributed air pockets. These air pockets are absolutely essential; as the batter bakes in the oven, these trapped air bubbles expand, resulting in a light, airy, and fluffy texture in your cupcakes. Cold butter, on the other hand, won’t incorporate air as efficiently, leading to a denser, heavier crumb.
Similarly, room temperature eggs create a smoother, more stable emulsion with other ingredients, ensuring that the fats and liquids are evenly dispersed throughout the batter. This even distribution prevents any pockets of unblended butter, oil, or uneven texture, which can lead to a less uniform and less appealing final product. When dairy products are at room temperature, their fats are more easily absorbed by other ingredients, facilitating the creation of a stable emulsion. This emulsion is key because it allows air to get trapped, so the baked goods expand and get wonderfully fluffy as they bake. Ultimately, allowing your ingredients to come to room temperature sets the foundation for a perfectly textured, consistently delicious, and beautifully risen final product, guaranteeing your Fourth of July Cupcakes are as delightful and light as they look.
Can I make these patriotic cupcakes entirely from scratch without a cake mix?
You absolutely can! While this recipe offers the convenience and time-saving benefits of a cake mix base, it’s easily adaptable for a completely homemade approach if you prefer to bake from scratch. If you choose to forgo the box mix, you can use your favorite reliable vanilla cupcake recipe as the foundation for these patriotic treats. We even have a fantastic homemade vanilla cupcake recipe that would work perfectly as your starting point. Once you have your homemade white batter prepared according to your chosen recipe, simply follow the subsequent steps outlined in this recipe for dividing the batter into three bowls and then meticulously tinting them red, white, and blue using food coloring. Then, proceed with the layering technique and baking instructions as written. This way, you get the immense satisfaction of baking from scratch while still achieving the stunning patriotic layers and delicious flavor of these festive cupcakes. You could even explore a multi-colored frosting method, as featured in some of our other patriotic recipes, for an extra festive touch!
Essential Tips for Perfect Patriotic Cupcakes:
- Achieve Even Spreading: When layering the colored batter, use a toothpick or the back of a small spoon to gently spread each colored layer evenly within the cupcake liners. This careful technique ensures crisp, clear, and beautifully defined stripes in your finished cupcakes.
- Avoid Overcooking for Optimal Color: Be especially mindful not to overbake the cupcakes. Overbaking can cause the vibrant blue batter to take on an undesirable greenish or dull tint, detracting from the patriotic aesthetic.
- Scrape the Bowl Thoroughly: When dividing the batter into separate bowls for coloring, make sure to scrape all of it out of the main mixing bowl. This ensures you have enough batter for even layers across all 12 cupcakes, preventing any shorted portions.
- Customize Color Intensity: The listed amount of food coloring (e.g., 8-9 red drops, 6 blue drops) is a suggestion based on our experience. Feel free to add slightly more or less until you achieve your desired depth and vibrancy of red and blue. Remember that gel food coloring often yields more intense colors with less product than liquid dyes.
- Cool Completely Before Frosting: This tip is paramount for any cupcake recipe. Always ensure your baked cupcakes are completely cooled to room temperature before you apply any frosting. Attempting to frost warm cupcakes will cause the buttercream to melt, slide off, and create a very messy, unappealing result. Patience here pays off!
What’s the secret to baking consistently moist and fluffy cupcakes?
The secret to baking consistently moist and fluffy cupcakes lies primarily in two critical techniques: proper mixing and avoiding overbaking. The ultimate goal when mixing your batter is to create and preserve tiny air bubbles that will expand during baking, resulting in a light and airy texture. This means you should always use a low to medium speed on your mixer and, most importantly, stop mixing just as all the ingredients are combined and smooth. Overmixing is the enemy of fluffy cupcakes; it overdevelops the gluten in the flour too much, leading to a tough, dense, and heavy crumb, rather than the delicate, tender texture we crave. Gently folding in the last bits of flour or dry ingredients is often the best approach to prevent gluten overdevelopment.
Secondly, overbaking can quickly and irreversibly dry out cupcakes, making them crumbly, dense, and less enjoyable. Every oven can vary, so keep a close eye on your cupcakes and start checking for doneness a few minutes before the recipe’s minimum bake time. A toothpick inserted into the center should come out with moist crumbs attached, but not wet batter. If the toothpick comes out completely clean, the cupcakes are likely already slightly overdone. By mastering these two techniques—gentle mixing to prevent tough gluten and careful monitoring to avoid overbaking—you’ll consistently produce delicious, moist, and perfectly fluffy cupcakes every single time, ready to be decorated and enjoyed.
Recommended Products and Tools for Making Fourth of July Cupcakes
Crafting these delicious and visually stunning Fourth of July Cupcakes is an enjoyable experience, and having the right tools can make the entire process even smoother and more efficient. Whether you’re a seasoned baker or just starting out on your culinary adventures, these essential items will ensure your patriotic treats turn out perfectly every time. I’ve compiled a list of products that I find indispensable when making this cupcake recipe, helping you achieve professional-looking results with ease and confidence.
- Clear Vanilla Extract: As previously mentioned, this is a key ingredient for maintaining the pristine white color of both your cake batter layers and your luscious buttercream frosting, ensuring your patriotic colors truly pop.
- Cupcake Wrappers / Liners: High-quality, festive cupcake liners not only prevent your cupcakes from sticking to the pan but also add significantly to the overall patriotic presentation and make cleanup a breeze.
- Electric Mixer: An electric mixer, whether it’s a versatile stand mixer or a powerful handheld mixer, is absolutely invaluable for achieving a light, airy batter and a fluffy, perfectly whipped buttercream frosting. It saves time and muscle!
Optional Decorating Tools for Professional Touches:
- Plastic Decorator Bags: These disposable or reusable piping bags are essential for piping beautiful, consistent frosting swirls onto your cupcakes, giving them a professional bakery finish.
- #1M Decorator Tip: This classic open star tip is a favorite among bakers for creating gorgeous, high-volume, and professional-looking frosting swirls. Alternatively, feel free to use your favorite piping tip to achieve a unique look!
More Festive Holiday Treat Ideas!
If you’ve enjoyed making these easy patriotic cupcakes and are looking for more ways to celebrate with delicious, homemade treats, you’ll love exploring our collection of festive recipes. These ideas are perfect for adding a special touch to any holiday gathering or simply enjoying with family and friends. Here are some of our top picks for easy-to-make recipes that will bring joy to your table. Click each link below to discover the full, printable recipe!
July 4th Rice Krispie Treats
Everyone loves these easy-to-make July 4th Rice Krispie Treats. They’re the perfect no-bake dessert to celebrate our nation’s independence with minimal effort!
Get the recipe here
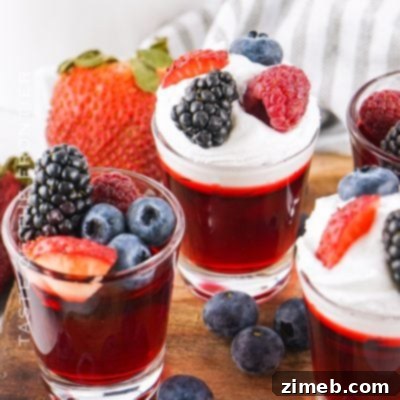
4th of July Jello Shots
These 4th of July Jello Shots are a classic summer party favorite for adults. Made with red wine and blackberry brandy for a unique sangria-inspired taste – they are perfect for any holiday celebration!
Get the recipe here
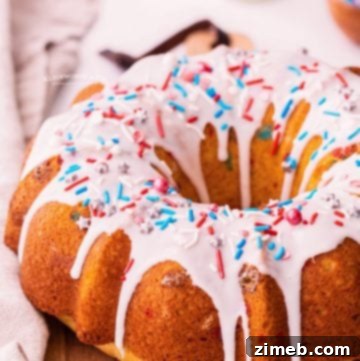
4th of July Cake
This 4th of July Cake is the perfect dessert to enjoy while celebrating Independence Day. This funfetti-style bundt cake is so easy to make and utterly delicious!
Get the recipe here
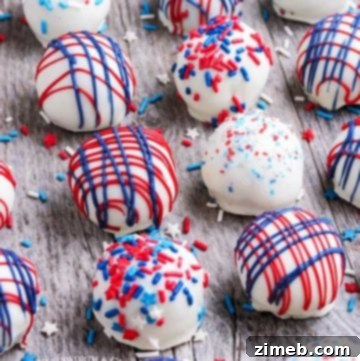
4th of July Truffles
Celebrate with these delicious no-bake 4th of July Truffles. They’re incredibly easy to make with chocolate Oreo truffles and vibrant red, white, and blue chocolate decorations!
Get the recipe here
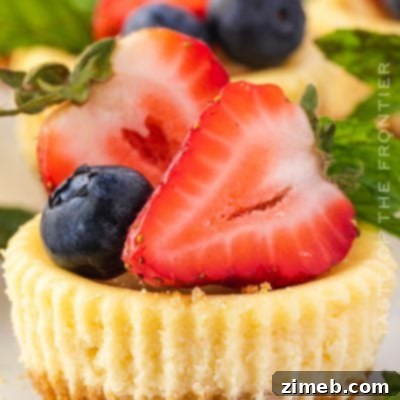
Patriotic Mini-Cheesecakes
These Patriotic Mini-Cheesecakes offer an easy, individual serving dessert topped with macerated strawberries and blueberries. They are the perfect red, white, and blue recipe to help you celebrate Memorial Day or 4th of July!
Get the recipe here
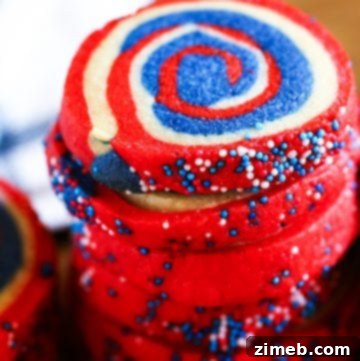
Patriotic Pinwheel Cookies
Patriotic Pinwheel Cookies are a delightful and visually appealing dessert, perfect for the 4th of July, Memorial Day, or any occasion celebrating all things red, white, and blue. They are as fun to make as they are to eat!
Get the recipe here
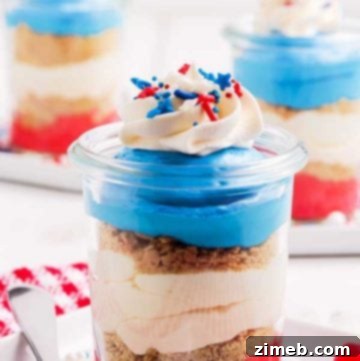
No-Bake Cheesecake Cups
These No-Bake Cheesecake Cups are a quick and easy dessert recipe perfect for any occasion. These particular ones are themed patriotically for the 4th of July! Definitely the BEST cheesecake in a jar—ever!
Get the recipe here
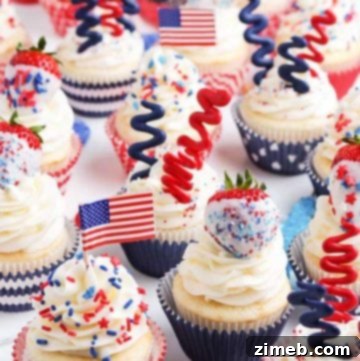
4th of July Cupcakes (Another Version)
This year, celebrate Independence Day with these deliciously adorable 4th of July Cupcakes featuring homemade candy melt sparklers! They are also fantastic for Memorial Day, Flag Day, and Labor Day, adding festive cheer!
Get the recipe here
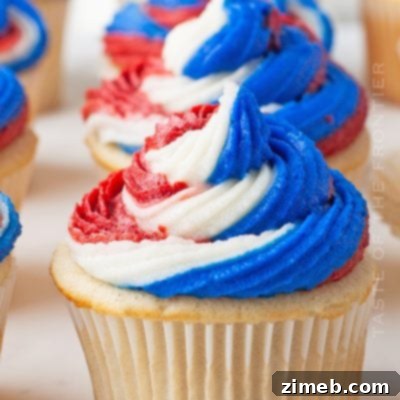
Red White, and Blue Cupcakes (Classic)
Whether you’re hosting a Fourth of July barbecue or a Memorial Day picnic, these Red White, and Blue Cupcakes are sure to be a hit with their classic patriotic appeal and delicious flavors.
Get the recipe here
Jello Jigglers Recipe
This Jello Jigglers Recipe offers an easy, fun, and customizable dessert for all occasions. Prepare it in any color to suit the holiday, like these vibrant ones for the 4th of July, a birthday, or any party!
Get the recipe here
If you’ve loved creating and tasting this incredibly easy **Patriotic Cupcake recipe**, we would be absolutely thrilled if you could take a moment to leave a five-star review below. Your feedback truly helps us and other home bakers discover delicious recipes. We’d also be delighted if you could share your beautiful creations and this recipe with your friends and family on platforms like Facebook and Pinterest – every share helps us grow our community of baking enthusiasts!
CONNECT WITH YUMMI HAUS!
Don’t miss out on future delicious recipes, baking tips, and festive ideas! Be sure to follow us on our social media channels to stay updated:
Substack, Facebook, Pinterest, Instagram, Email Subscription
Fourth of July Cupcakes
Skip the store-bought, pre-made treats this year and make your own Fourth of July Cupcakes! These stunning red, white, and blue desserts are perfect for celebrating America’s birthday with a homemade touch that everyone will adore.
Servings: 12 cupcakes
Pin Recipe
Prep Time: 40 mins | Cook Time: 20 mins | Total Time: 1 hr
Ingredients
For the Cupcakes:
- 15.25 ounces white cake mix (should be 1 box/package)
- ¾ cup sour cream
- ½ cup vegetable oil
- ½ cup water
- 4 egg whites
- 1 teaspoon clear vanilla extract (optional, for pure white color)
- Red and blue liquid food coloring (approx. 8-9 red drops, 6 blue drops, OR gel food coloring)
For the Frosting:
- ½ cup unsalted butter, softened
- 3 cups confectioner’s sugar (powdered sugar)
- ⅛ teaspoon salt
- 1 ½ teaspoons clear vanilla extract
- 3-4 tablespoons heavy cream or milk
For Decorating:
- Red and blue sanding sugar for decorating
Instructions
Cupcakes:
- Preheat the oven to 350°F (175°C). Place 12 cupcake liners into cupcake tins. Set aside.
- In the bowl of a stand or hand mixer, combine the cake mix, sour cream, oil, water, egg whites, and vanilla extract. Mix on low speed for 30 seconds, then scrape the edges of the bowl. Beat on medium speed for 2 minutes longer, scraping the edges when necessary, until well combined and smooth.
- Divide the batter into 3 medium bowls, aiming for about 1 cup in each bowl.
- Add red food coloring to one bowl, mixing well after each drop or two, until the batter is your desired shade of red (we used about 8-9 drops total). Repeat with another bowl and the blue coloring (we used about 6 drops total). Do not put any food coloring into the third bowl of batter (this will be your white layer).
- To layer: If you want cupcakes with blue on top, start by spooning 1 tablespoon of red batter into the bottom of each cupcake liner; spread evenly. Next, spoon 1 tablespoon of white batter on top of the red; spread evenly so that no red batter can be seen underneath. Lastly, spoon 1 tablespoon of blue batter; spread evenly so no white batter can be seen. The cupcake liners should be about ⅔ full. To achieve cupcakes with red on top, simply reverse the order of the red and blue layers, keeping white in the middle.
- Bake the cupcakes for 18-20 minutes or until an inserted toothpick comes out clean or with moist crumbs. Before adding frosting, make sure that the cupcakes are completely cooled to room temperature.
Frosting:
- Whip the softened butter using an electric mixer until it is lighter in color and the consistency is slightly fluffy (about 1-2 minutes on medium-high speed).
- Add the confectioner’s sugar and salt to the whipped butter. Beat on low speed initially, then increase to medium for 1 minute until well combined, scraping the sides of the bowl halfway through mixing to ensure thorough incorporation.
- Add the clear vanilla extract and 3 tablespoons of the heavy cream (or milk) and beat for 1 minute. Slowly add more cream, one teaspoon at a time, if needed, to achieve your desired light, fluffy, and spreadable/pipeable consistency. Whip for another minute or so until light and truly fluffy.
Decorating:
- Spread or pipe the frosting generously onto the completely cooled cupcakes. Sprinkle the tops with red and blue sanding sugar for a festive finish and serve.
Equipment
- 12-cup cupcake pan
- 1 Electric Mixer (either a stand mixer or a powerful handheld mixer)
Nutrition Information (Approximate)
Nutritional information for the recipe is provided as a courtesy and is approximate. Please double-check with your own dietary calculator for the best accuracy. We at Yummi Haus cannot guarantee the accuracy of the nutritional information given for any recipe on this site.
- Serving: 1 cupcake
- Calories: 257kcal
- Carbohydrates: 62g
- Protein: 2g
- Fat: 14g
- Saturated Fat: 4g
- Cholesterol: 11mg
- Sodium: 294mg
- Potassium: 60mg
- Fiber: 0.4g
- Sugar: 16g
- Vitamin C: 0.1mg
- Calcium: 106mg
- Iron: 1mg
- Net Carbohydrates: 61g
Love this recipe?
Follow @KleinworthCo for even more tasty recipes!