
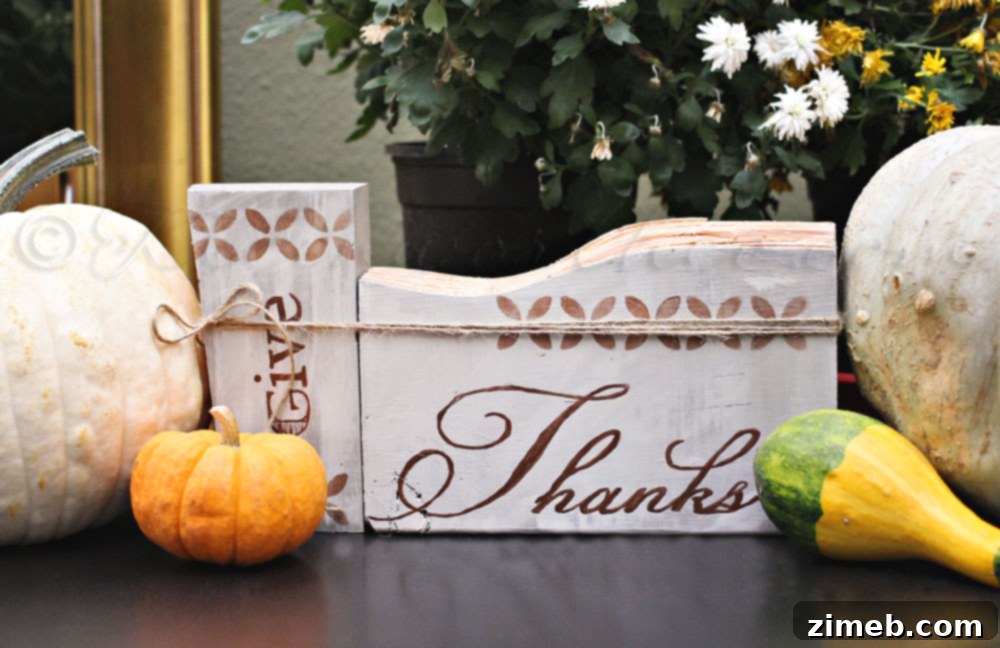
Crafting Cozy Autumn Vibes: Your Guide to DIY “Give Thanks” Painted Signs
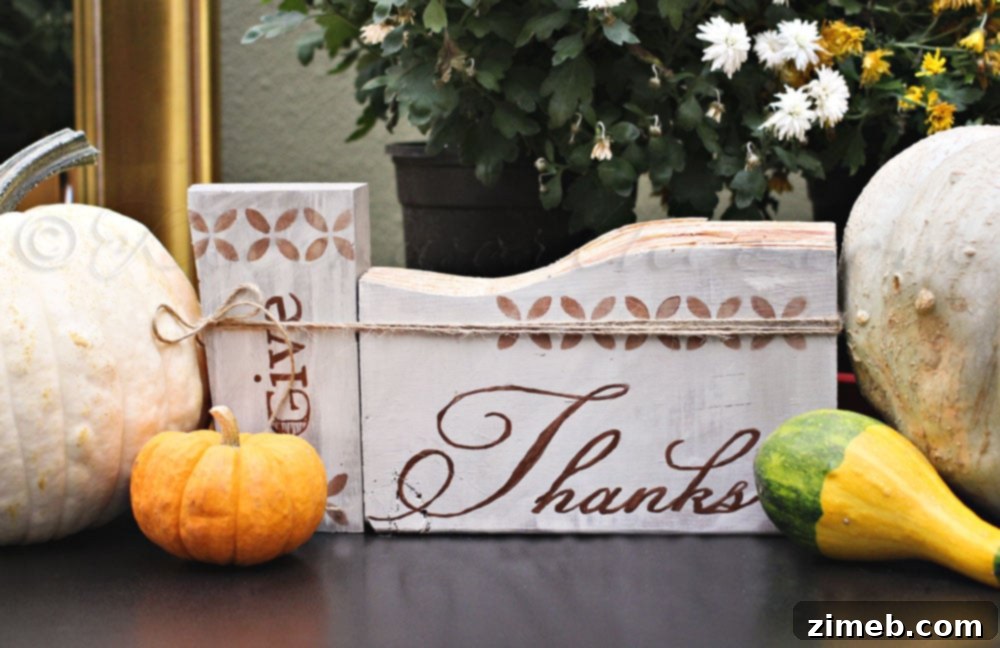
As the crisp autumn air settles in and leaves begin to transform into a riot of warm hues, there’s an undeniable urge to infuse our homes with the comforting spirit of the season. Earlier this week, I offered a glimpse into a Blessed Painted Sign project I completed for Marti at SEWlicious Home Decor. That creative endeavor sparked an exciting idea for another seasonal decoration: a beautifully crafted “Give Thanks” painted sign. This project not only perfectly complements any existing fall decor but also helps to effortlessly spread a cozy, autumnal ambiance throughout your living space. Handcrafted signs like these add a unique, personalized touch that store-bought decorations simply can’t replicate, making your home feel truly special and inviting for the harvest season.
Embracing Gratitude: The “Give Thanks” Painted Sign
The act of creating something with your own hands is incredibly rewarding, and this “Give Thanks” sign is a testament to that sentiment. It’s more than just a decoration; it’s a tangible expression of gratitude, perfectly suited for the fall season and especially Thanksgiving. This guide will walk you through the process, from selecting your materials to applying those final, rustic touches, ensuring you can create your own masterpiece in just a few hours.
Why Choose DIY for Your Fall Decor?
In an age of mass-produced goods, the charm of handmade items holds a special appeal. DIY fall decor offers numerous benefits beyond just aesthetics. Firstly, it allows for unparalleled customization. You get to choose the exact colors, fonts, and finishes that perfectly match your home’s unique style. Secondly, it’s often more budget-friendly than purchasing high-end decorations. You can repurpose materials or use inexpensive craft supplies. Most importantly, there’s immense satisfaction in looking at a piece you’ve created yourself. Each brushstroke tells a story, making your decor truly unique and imbued with personal meaning. It’s a wonderful way to connect with the season and express your creativity.
Gathering Your Materials for the Rustic Sign
Before diving into the creative process, gathering all your materials is crucial. For this project, I specifically chose pieces of wood due to their intriguing shapes, which naturally lend themselves to a rustic aesthetic. However, feel free to select any sturdy wooden blocks, planks, or even reclaimed wood that speaks to you. The beauty of this project lies in its adaptability.
Essential Supplies:
- Wood Pieces: Choose blocks, planks, or shapes that appeal to you. Natural wood grains enhance the rustic look.
- Acrylic Paints: A selection of fall-inspired colors for base coats and dry brushing. Think creams, browns, oranges, deep reds, and forest greens.
- Paint Brushes: Various sizes, including a wider brush for base coats and a finer detail brush for lettering.
- Stencils: A pattern stencil if you wish to add decorative elements.
- Computer and Printer: For designing and printing your “Give Thanks” lettering.
- Paper & Scissors: To cut out your printed letter template.
- Ballpoint Pen: For indenting the wood with your letter design.
- Twine or Jute Rope: To bind multiple pieces together or for hanging.
- Sandpaper (optional): Fine-grit sandpaper for smoothing wood or distressing paint.
- Clear Sealer (optional): Matte or satin finish to protect your sign.
Step-by-Step Guide to Your “Give Thanks” Sign
Creating this beautiful sign is a straightforward process that yields impressive results. Follow these steps to bring your vision to life:
Step 1: Preparing Your Wood Pieces
Start by ensuring your chosen wood pieces are clean and smooth. If necessary, lightly sand them to remove any splinters or rough patches. This creates an ideal surface for paint adhesion. Once sanded, wipe away any dust with a damp cloth and allow to dry completely.
Step 2: Applying Base Coats and Rustic Dry Brushing
The key to achieving a truly worn and rustic look lies in the paint application. Apply several thin base coats of your chosen primary color to each wood piece. Allow each coat to dry thoroughly before applying the next. Once the base is dry, select a contrasting, lighter color for dry brushing. Dip your brush lightly into the paint, then offload most of the paint onto a paper towel. With very little paint remaining on the bristles, lightly drag the brush across the surface of the wood. This technique leaves subtle streaks and highlights, mimicking the natural wear and tear of aged wood. You can layer a couple of different colors using this method for added depth and character. This technique is surprisingly simple but incredibly effective in creating that coveted farmhouse-style finish.
Step 3: Adding Stenciled Patterns (Optional)
If you wish to incorporate a decorative pattern, this is the stage to do it. Place your stencil firmly on the dried, dry-brushed wood. Using a stencil brush or sponge, apply a small amount of paint in your desired color, dabbing straight down to prevent paint from bleeding under the stencil. Remove the stencil carefully while the paint is still slightly wet for crisp lines. Let it dry completely.
Step 4: Designing Your Lettering
This step involves creating the “Give Thanks” lettering. While I utilized Photoshop for its design flexibility, a program like Microsoft Word or even a simple online text editor can work just as well. Experiment with various fonts until you find one that embodies the rustic or elegant style you envision for your sign. Consider both serif and sans-serif fonts, and think about how they will look when hand-painted. Once you’ve selected your font and adjusted the size to fit your wood pieces perfectly, print your design onto standard paper. Ensure the letters are large enough to be easily traced and painted.
Step 5: Transferring the Design to Wood
Carefully cut out your printed letters or the entire phrase from the paper. Position the paper template onto your painted wood block where you want the lettering to appear. Secure it with a bit of painter’s tape if needed to prevent shifting. Then, using a regular ballpoint pen, firmly trace over the outlines of each letter. The pressure from the pen will create a slight indentation in the soft wood beneath, leaving a faint but discernible guide for your paint. This method is surprisingly effective and doesn’t require any special transfer paper.
Step 6: Painting the Letters
With your letter outlines now visible as indentations, it’s time to bring them to life with paint. Choose a contrasting color for your lettering, ensuring it stands out against your base coats. Using a small, fine-tipped detail brush, carefully paint within the indented lines. Take your time, applying thin, even coats to avoid clumping. You may need two or three coats to achieve full opacity. Don’t worry if your lines aren’t perfectly straight; a slight imperfection often adds to the handmade, rustic charm. Once satisfied, allow the paint to dry completely.
Step 7: Adding the Final Touches and Assembly
Once all the paint is completely dry, it’s time for the finishing touches. If you’ve created multiple pieces that you want to hang together, as I did, simply thread twine through pre-drilled holes or securely wrap it around the top and bottom edges to hold the pieces together. You can tie decorative bows or add small embellishments like faux fall leaves or berries to the twine. For added durability and protection, especially if the sign will be displayed in an area prone to moisture or wear, consider applying a clear matte or satin sealer. This will protect the paint and preserve the rustic finish for years to come. The entire process, from start to dry, can typically be completed within a few hours, making it a perfect weekend craft project.
Displaying Your Handmade “Give Thanks” Sign
Your newly crafted “Give Thanks” sign is a versatile piece that can enhance various areas of your home. Place it prominently on your fireplace mantel, amidst a garland of autumn leaves and candles. It can serve as a welcoming message in your entryway, setting a warm tone for guests. For your Thanksgiving feast, incorporate it into your dining table centerpiece, surrounded by pumpkins and cornucopias. Even a cozy nook or a bookshelf can be transformed with this heartfelt addition. Its rustic charm makes it a perfect complement to both traditional and modern farmhouse decor.
More Inspiring Fall Projects to Explore
The autumn season is brimming with opportunities for creative expression. If you’ve enjoyed crafting your “Give Thanks” sign, you might be interested in delving into other delightful fall-themed DIYs that can further enhance your home’s seasonal appeal. These projects are designed to add warmth, aroma, and a touch of handcrafted charm to your spaces, making them perfect companions to your painted sign.
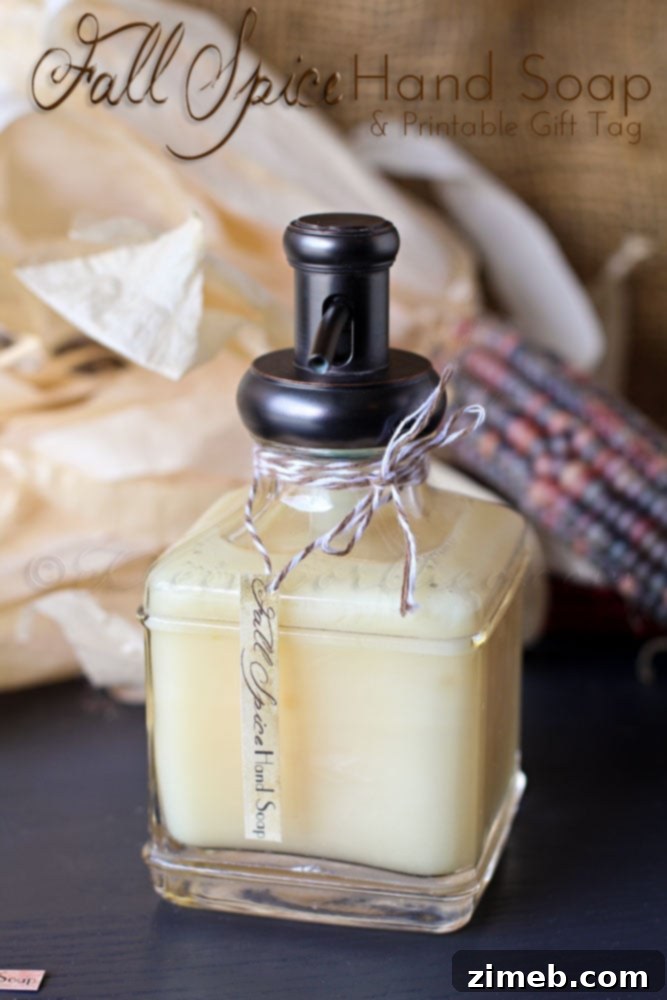
Fall Spice Scented Hand Soap & Free Printable Tag
Imagine walking into your bathroom or kitchen and being greeted by the comforting aroma of fall spices. This project not only teaches you how to create your own fragrant hand soap but also provides a free printable tag to elevate its presentation. It’s a thoughtful touch that brings the essence of autumn into everyday routines, making handwashing a more pleasant and seasonal experience. These make excellent small gifts as well!
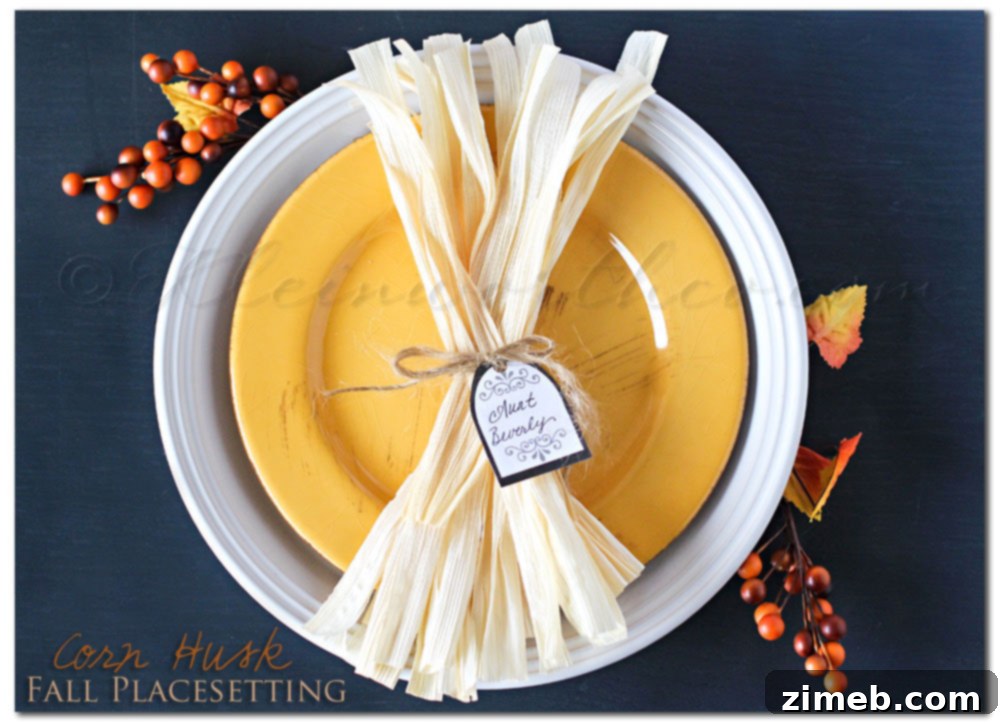
Corn Husk Fall Place-setting w/ Free Printable Tags
When hosting your holiday meals, particularly Thanksgiving, attention to detail at the dining table can significantly enhance the guest experience. This corn husk place-setting project offers a unique and natural way to decorate your table. Coupled with free printable tags, you can create personalized place cards or small messages of gratitude for each guest. It’s an elegant yet rustic addition that ties into the harvest theme beautifully, demonstrating a thoughtful approach to entertaining. These elements work together to create a cohesive and inviting atmosphere for your autumn gatherings.
Join Our Creative Community!
Don’t forget to return and join me every Monday for Project 52, where we explore a new creative endeavor each week. It’s a fantastic opportunity to stay inspired, learn new skills, and connect with fellow crafting enthusiasts. For insights into where I’m sharing my latest projects and ideas today, be sure to visit HERE. We love sharing our passions and encouraging others to embrace their creative spirit, especially during such a beautifully inspiring season.
Crafting your own “Give Thanks” painted sign is more than just a DIY project; it’s an act of mindfulness and a way to deeply connect with the spirit of the fall season. The satisfaction of creating something beautiful with your own hands, something that reflects your personal style and gratitude, is truly unparalleled. We hope this detailed guide inspires you to pick up your brushes and bring a touch of rustic charm and heartfelt appreciation into your home this autumn.