
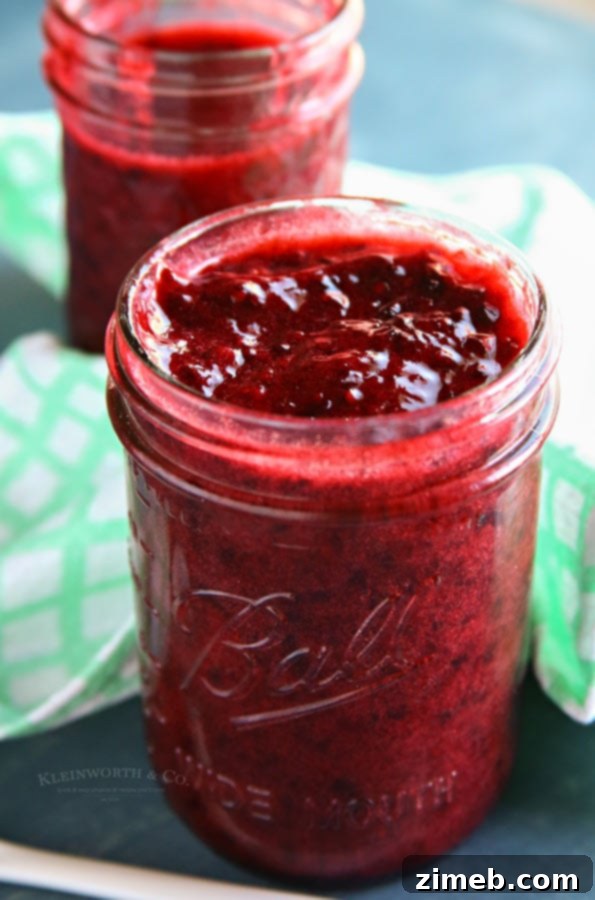
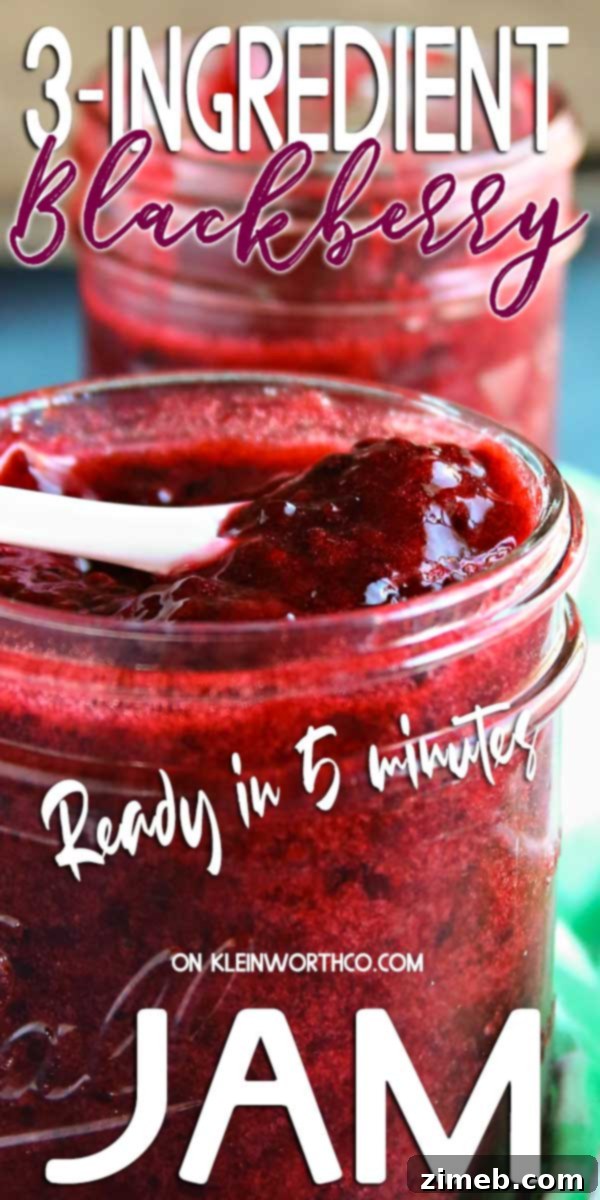
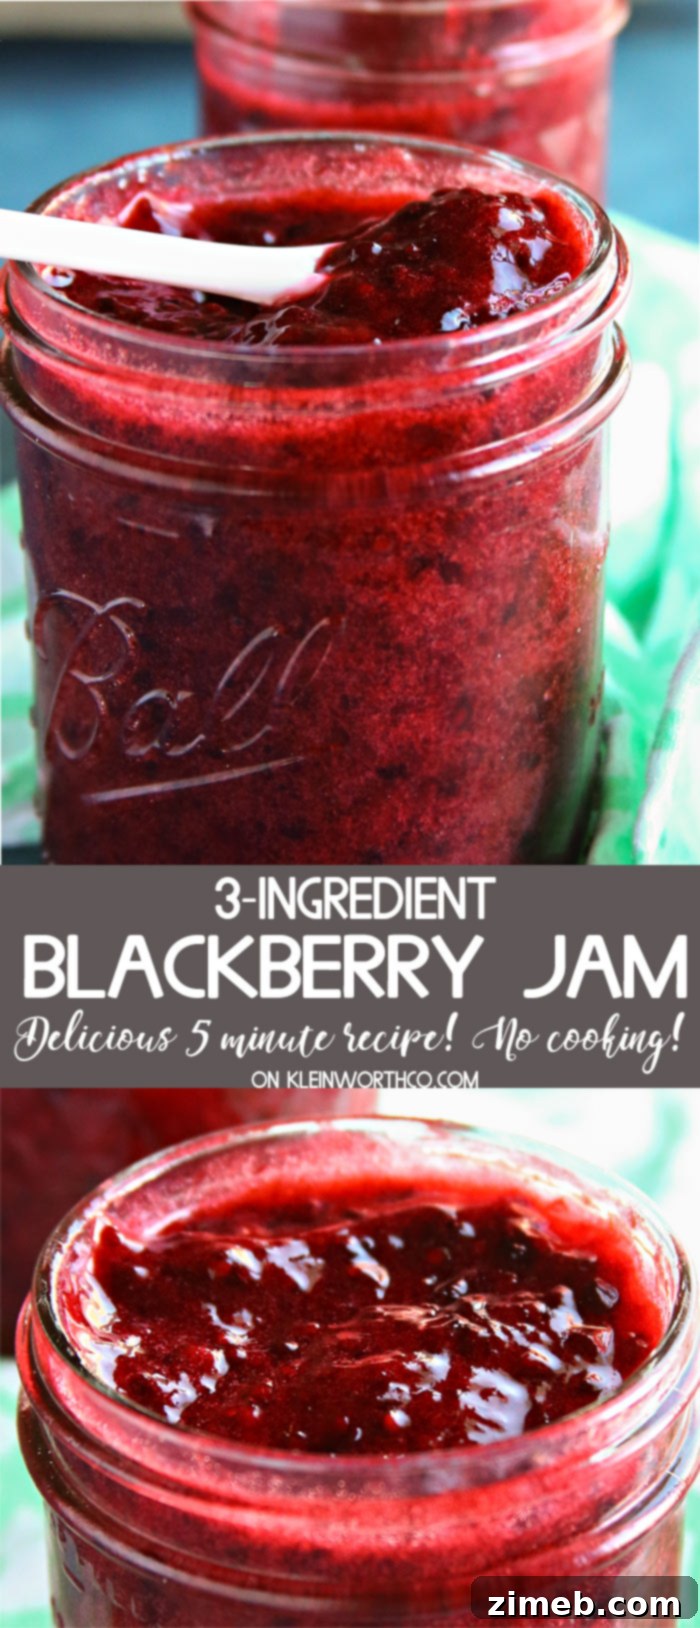
Welcome to the easiest and most delicious homemade jam recipe you’ll ever encounter! This 3-Ingredient Blackberry Jam is remarkably simple to prepare, requiring no cooking and just about 5 minutes of active prep time. It’s the ultimate solution for anyone looking to enjoy fresh blackberry flavor without the fuss of traditional canning. Perfect for fruit lovers and a super quick addition to your breakfast table or snack time.
Are your gardens overflowing with luscious blackberries this season? Or perhaps you’ve just returned from a fruitful trip to the farmer’s market, basket brimming with these juicy gems? We certainly have a bounty of them, and I’m absolutely thrilled! My kids are particularly crazy for blackberries, and I find myself reaching for all my favorite blackberry recipes to make the most of this seasonal abundance. Among them, this effortless freezer jam stands out as a true superstar.
It’s unbelievably simple to whip up and tastes divine on just about anything – toast, pancakes, yogurt, or even as a filling for pastries. We always have a jar of this homemade goodness stashed in the fridge or freezer. When it comes to quick and delightful preserves, my absolute go-to is this phenomenal 3-ingredient blackberry jam recipe.
Scroll to the bottom for the Printable Recipe Card!
This post contains some affiliate links. Click here to read my full disclosure policy.
The Evolution of Homemade Jam: From Stovetop to No-Cook Perfection
When I first ventured into the world of homemade jam, my method was rather traditional – marmalade style. This involved a lengthy cooking process, often taking nearly an hour, with me standing vigilantly by the stove, stirring and monitoring the temperature. Achieving the perfect set was a delicate dance; overcook it, and you’d end up with an unappetizing, solid mass of sugary goo once it cooled. That was definitely not “bueno” in my kitchen!
Over the years, fueled by a desire for a simpler approach and inspired by grandma’s timeless cookbooks, I experimented with countless recipes. I refined and reworked at least half a dozen variations, constantly seeking an easier way to capture that fresh blackberry flavor. My quest ultimately led me to this revolutionary no-cook 3-ingredient blackberry jam. The best part? It requires absolutely ZERO time on the stove. This truly transformed my jam-making experience, making it accessible and enjoyable for even the busiest days.
Effortless 3-Ingredient Blackberry Jam: Quick and Delicious
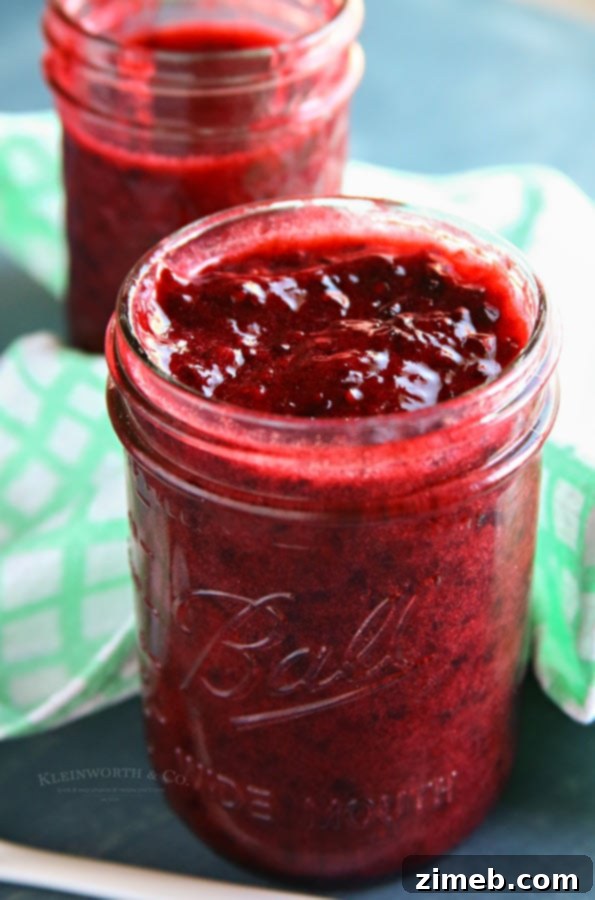
That’s right – no arduous cooking, no need for special thermometers, and no endless stirring over a hot stove. All you truly need is a bowl and a whisk. Sounds pretty fantastic, doesn’t it? This incredible simplicity is precisely why this recipe has become my absolute favorite, allowing me to effortlessly keep a supply of delicious homemade blackberry freezer jam readily available in the fridge or freezer at all times.
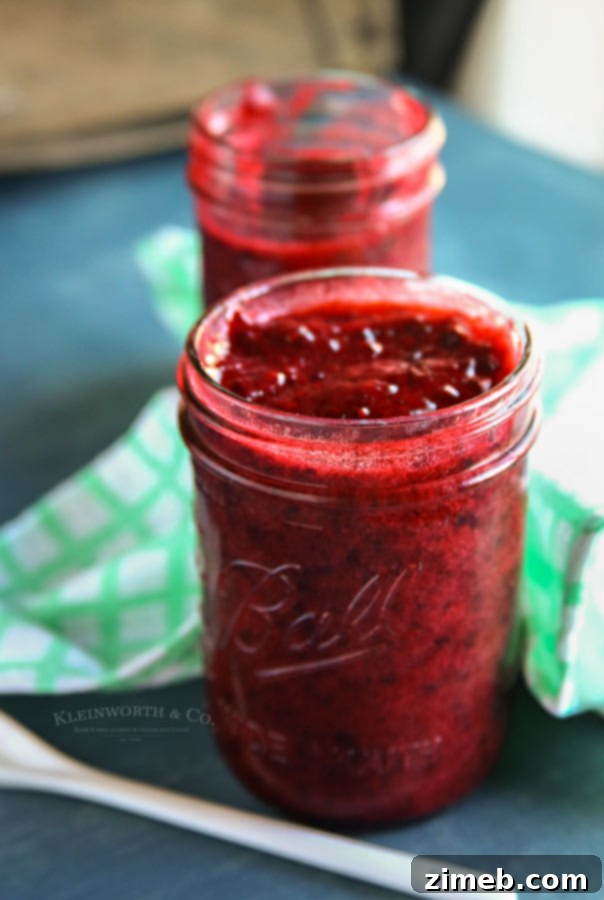
The magic truly happens with the simple mashing technique. My secret for perfectly crushed berries? Pop them into a sturdy zip-top bag and unleash your inner chef with a delightful “squish, squish, squish.” This method is not only effective but also incredibly fun, especially if you have little helpers in the kitchen! Once your berries are beautifully mashed, simply transfer them to your mixing bowl, add the other two essential ingredients, and whisk, whisk, whisk until everything is thoroughly combined. That’s genuinely all there is to it. You can even make this wonderful jam with frozen berries, making it a year-round treat!
Frequently Asked Questions About 3-Ingredient Blackberry Jam
To help you master this delightful easy blackberry jam, here are answers to some common questions:
Can I use frozen blackberries for this no-cook jam?
Yes, absolutely! Using frozen blackberries works perfectly for this recipe. Just be sure to thaw them completely before you begin. This ensures they are soft enough to be easily crushed in the zip-top bag, giving you that ideal jam consistency. Thawing also helps release their natural juices, contributing to the jam’s rich flavor and vibrant color.
What about using a sugar substitute in this blackberry jam recipe?
While I haven’t personally experimented with sugar substitutes in this specific recipe, I understand the desire for alternative sweeteners. If you choose to try one, I highly recommend opting for a product that offers a 1:1 sugar replacement ratio. Please note that the texture and overall consistency might vary, as sugar plays a crucial role in the jam’s body, sweetness, and preservation. If you do give it a try, I’d love to hear about your results!
Is this 3-ingredient jam freezer-friendly?
Indeed, this blackberry freezer jam is absolutely ideal for freezing! In fact, I highly encourage you to store it in the freezer unless you plan to use it immediately. This method helps maintain its fresh taste and vibrant color, and significantly extends its shelf life. My personal strategy is to only thaw the amount I anticipate consuming within a week, ensuring every spoonful tastes as fresh as the day it was made. Properly stored, this jam can last in the freezer for up to a year!
Yield and Serving Suggestions for Homemade Blackberry Jam
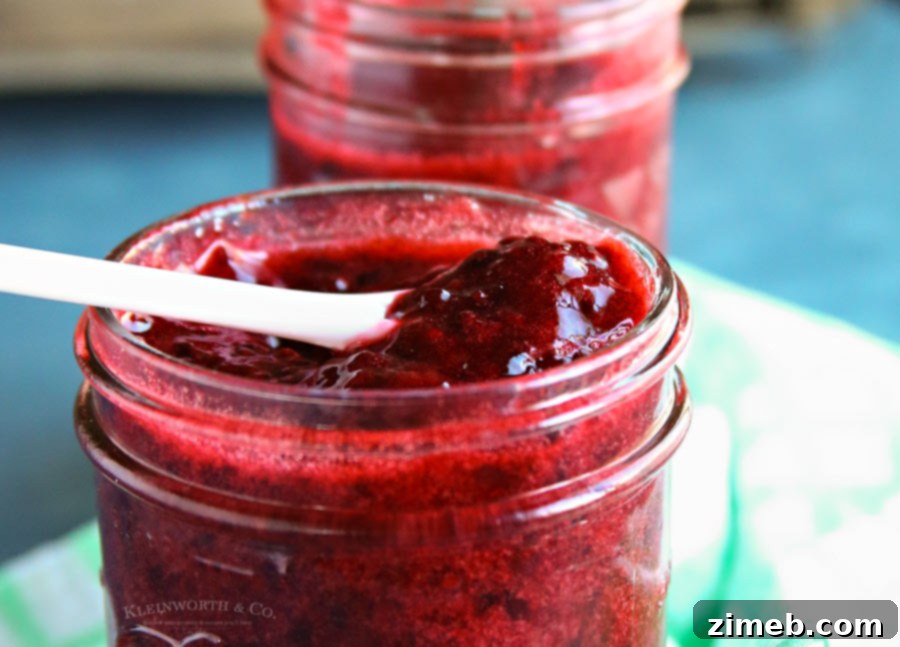
How much does this recipe yield, and what are the best serving and storage tips?
This recipe typically yields about 12-16 ounces of delicious blackberry jam. I find it incredibly practical to portion it into smaller 2-4 ounce jars. This way, I can thaw only what we need, minimizing waste and ensuring freshness. These adorable small jars also make fantastic, thoughtful gifts for neighbors, friends, or family – a taste of homemade goodness that’s always appreciated! Just tie a pretty ribbon around them for a charming, edible present.
What is Ultra-Gel and why is it used in this easy blackberry jam?
Ultra-Gel, sometimes known as Instant ClearJel or E-Z Gel, is a modified food starch specifically designed as a thickener, similar in function to pectin but with distinct advantages for no-cook recipes. Unlike traditional cornstarch or pectin (which often requires heat to activate), Ultra-Gel instantly thickens cold or hot liquids without forming lumps, maintaining clarity, and preventing syneresis (weeping, where liquid separates from the jam). It’s the secret ingredient that gives our no-cook blackberry jam its perfectly spreadable, gelled consistency without the need for cooking or a prolonged setting period. There’s a link to the exact one I recommend for this recipe further below in the “Products I Love” section.
Can I double this simple blackberry jam recipe?
Absolutely, you can easily double this recipe – and we often do! Simply double all the ingredients and mix them together as instructed. Making a larger batch means you’ll have an ample supply of this delightful homemade blackberry jam to last you through several months, or even an entire year, especially when properly stored in the freezer. It’s a great way to preserve a large harvest of fresh berries!
Can I use pectin instead of Ultra-Gel for this no-cook recipe?
Unfortunately, for this specific no-cook blackberry jam recipe, pectin is not a suitable substitute for Ultra-Gel. While both are thickeners used in jams and jellies, they function very differently. Pectin is a water-soluble fiber that typically requires heat and often a precise sugar-acid balance to bond and create a stable gel. It’s usually employed in traditional cooked jam recipes. Clear Jel (a form of modified cornstarch like Ultra-Gel), on the other hand, is specifically recommended for canning and no-cook applications because it retains its thickening power even without extended heating and performs well with acidic ingredients, which conventional cornstarch struggles with. For the instant, no-cook setting we’re aiming for, Ultra-Gel is essential.
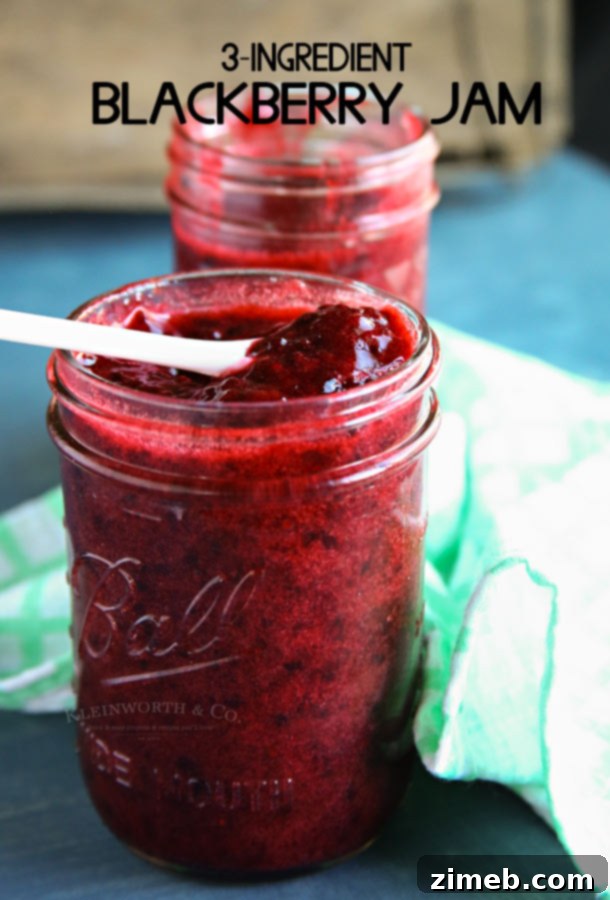
Seriously, this really is the easiest & most delicious 3-ingredient blackberry jam you’ll ever make! Its vibrant flavor and effortless preparation make it an instant favorite.
How to Make This 3-Ingredient Blackberry Jam: Step-by-Step Guide
Making this delightful no-cook blackberry jam is incredibly straightforward. Just follow these simple steps to enjoy fresh, homemade goodness:
- Place your fresh or thawed blackberries into a strong, gallon-sized zip-top bag. Seal the bag securely, ensuring no air escapes.
- Using your hands, gently but firmly squish and mash the berries inside the bag until no large chunks remain and you have a mostly uniform pulp. This method is incredibly efficient and mess-free!
- Carefully transfer the mashed berries to a medium-sized mixing bowl.
- Add the granulated sugar, Ultra-Gel (or E-Z Gel Instant Food Thickener), and the optional lemon juice to the bowl with the berries.
- Whisk all ingredients briskly and continuously for approximately 3 minutes. This vigorous whisking helps the Ultra-Gel activate and ensures the sugar dissolves evenly, leading to a smooth jam.
- Once whisked, let the mixture sit undisturbed for about 2 minutes. This brief resting period allows the jam to thicken further. After resting, transfer your freshly made homemade blackberry jam into clean, sterile jars. Keep refrigerated for immediate use or proceed to freeze for longer storage. Allow at least 4 hours in the refrigerator or freezer for the jam to fully set before serving.
Optimal Storage for Your Homemade Blackberry Jam
Proper storage is key to enjoying your fresh, homemade jam for as long as possible. For immediate consumption, I keep our jars refrigerated in small, airtight containers for up to 10 days. Remember, this jam doesn’t contain the artificial preservatives found in store-bought varieties, so its shelf life in the fridge is shorter. Anything you don’t anticipate using within that 10-day window should be safely stored in the freezer. Freezing preserves its fresh taste and vibrant color beautifully, allowing you to enjoy summer’s bounty even in the colder months.
Can This 3-Ingredient Blackberry Jam Be Canned for Shelf Stability?
While this recipe is primarily designed for refrigeration or freezing as a no-cook freezer jam, some people inquire about canning it for shelf stability. I have not personally tested this recipe using traditional water bath or pressure canning methods, and therefore cannot definitively recommend it for long-term shelf storage due to potential variations in acidity and thickening properties under prolonged heat. The unique properties of Ultra-Gel are optimized for cold setting. However, if you are an experienced canner and wish to attempt it, you would typically fill sterilized canning jars with the jam mixture, leaving approximately 1/2 inch of headspace. Wipe the jar rims clean, adjust the lids and bands, and process them according to established canning guidelines for your specific elevation and jar size. Always consult reliable, up-to-date canning resources to ensure food safety when preserving.
Essential Ingredients for Your Easy Blackberry Jam
To create this delightful homemade blackberry jam with just three (or four, if you count the optional lemon juice) simple ingredients, you will need:
- Fresh or Frozen Blackberries: The star of our jam! Choose ripe, flavorful berries for the best taste. If using frozen, ensure they are fully thawed.
- Granulated Sugar: Not only provides the essential sweetness but also plays a role in the jam’s texture and acts as a natural preservative.
- Ultra-Gel (or E-Z Gel Instant Food Thickener): This is the crucial “magic” ingredient that allows our jam to thicken beautifully without any cooking.
- Lemon Juice (optional): A splash of lemon juice can brighten the jam’s flavor profile, enhancing the natural tartness of the blackberries and balancing the sweetness. It’s a fantastic addition if your berries are particularly sweet.
Recommended Products for Making This Blackberry Jam
This easy blackberry jam recipe is incredibly simple and delicious. If you’re like me, you might already have most of these items on hand. If you’re new to making homemade jam, you might feel a little nervous, but rest assured, you’re going to love how straightforward it is! I’ve curated a list of essential tools and ingredients that I absolutely rely on when preparing this fantastic jam. Having the right equipment can make all the difference in ensuring a smooth and enjoyable experience, making your jam-making process even more effortless.
- E-Z Gel Instant Food Thickener: This is your number one tool for achieving that perfect no-cook consistency without any lumps.
- Balloon Whisk: Essential for briskly mixing the ingredients and ensuring everything is well combined and lump-free, activating the thickener effectively.
- Granulated Sugar: Your standard sugar for achieving the desired sweetness and aiding in the jam’s structure and preservation.
- Small Jars with Lids: Perfect for portioning your homemade jam into individual servings or for creating lovely gifts. Sterilized jars are a must for safe storage.
- Bottled Lemon Juice: Always good to have on hand for that optional bright, zesty flavor boost in your jam.
- Sturdy Zip-Top Bags (Gallon-sized): These are fantastic for the mess-free berry mashing technique, saving you cleanup time.
- Rubber Spatulas: Invaluable for efficiently scraping down mixing bowls and ensuring every last bit of delicious jam is transferred.
- Large Mixing Bowl: Essential for comfortably combining all your ingredients without spills or mess.
More Delicious Blackberry Recipes You’ll Love!
If you’re a true fan of blackberries and find yourself loving this incredibly easy 3-Ingredient Blackberry Jam recipe, then you’re in for a treat! These other fantastic blackberry creations are sure to delight your taste buds. Each link below leads to another easy, printable recipe that showcases the versatility and deliciousness of blackberries. Expand your culinary repertoire with these vibrant, fruit-filled dishes, perfect for any occasion.
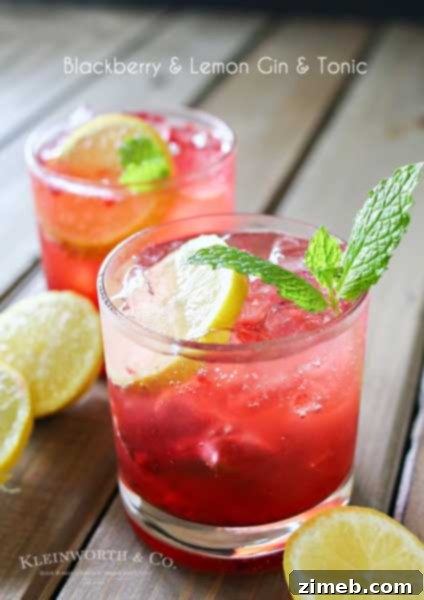
Blackberry Lemon Gin & Tonic
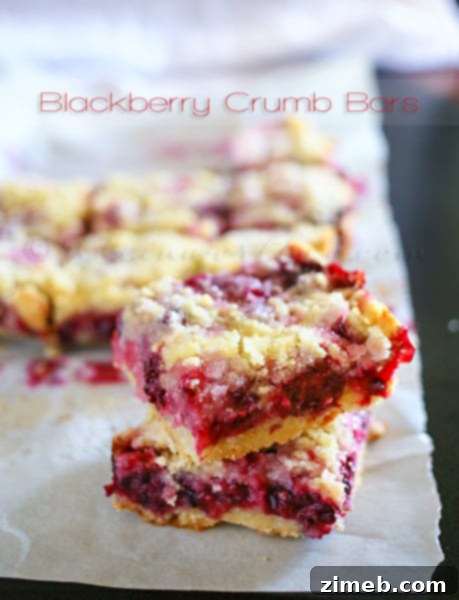
Buttery Blackberry Crumb Bars
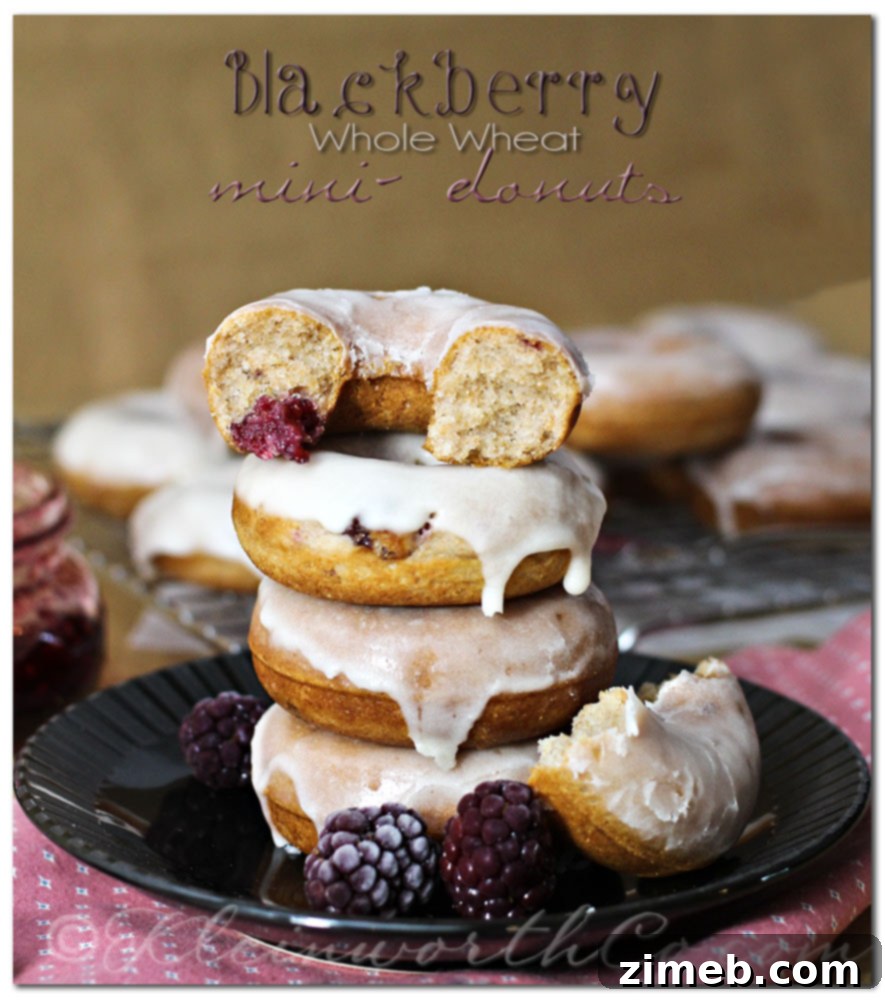
Blackberry Whole Wheat Mini-Donuts
If you truly adore this recipe for 3-Ingredient Blackberry Jam as much as I do, please take a moment to leave a five-star review below. Your feedback helps others discover this fantastic recipe, and I’d be incredibly grateful if you could help me share it on Facebook and Pinterest! Let’s spread the word about how simple and rewarding making homemade jam can be.
CONNECT WITH KLEINWORTH & CO!
Be sure to follow me on my social media channels, so you never miss a post or another delightful recipe!
Facebook, Pinterest, Instagram, Email Subscription
Rate this Recipe
3-Ingredient Blackberry Freezer Jam
Ingredients
- 2 cups blackberries
- 1 cup granulated sugar
- ⅓ cup E-Z Gel Instant Food Thickener
- 1 tbsp lemon juice (optional, for brighter flavor)
Instructions
-
Place the berries in a strong, gallon-sized zip-top bag. Seal the bag securely.
-
Using your hands, squish and mash the berries inside the bag until no large chunks remain and you achieve a mostly uniform pulp.
-
Transfer the mashed berries to a medium-sized mixing bowl.
-
Add the granulated sugar, E-Z Gel (or Ultra-Gel), and the optional lemon juice to the bowl.
-
Whisk briskly and continuously for approximately 3 minutes until all ingredients are well combined and the mixture begins to thicken.
-
Let the jam sit for 2 minutes, then transfer it into clean, sterile jars. Refrigerate for up to 10 days, or freeze for longer storage. Allow at least 4 hours in the refrigerator or freezer for the jam to fully set before serving.
Nutrition
Nutritional information for the recipe is provided as a courtesy and is approximate. Please double-check with your own dietary calculator for the best accuracy. We at Yummi Haus cannot guarantee the accuracy of the nutritional information given for any recipe on this site.