
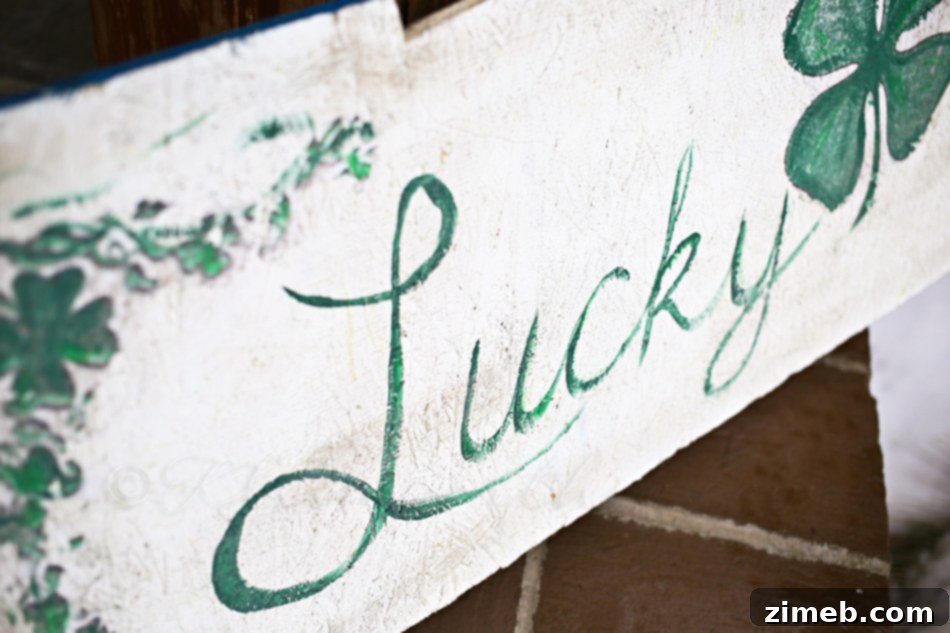
Are you searching for a unique and eco-friendly way to infuse some festive spirit into your home this St. Patrick’s Day? There’s an undeniable charm in crafting something beautiful from discarded materials, and few things are as satisfying as turning humble scrap wood into a captivating piece of home decor. This guide will walk you through creating your very own eye-catching “Lucky St. Patrick’s Day Sign” using a simple yet effective image transfer technique. Not only is this project budget-friendly, but it also allows you to add a deeply personal touch to your seasonal decorations, proving that one person’s refuse can indeed become another’s treasure.
I recently embarked on another delightful adventure in upcycling, transforming a forgotten piece of wood into a charming accent for the upcoming St. Patrick’s Day celebrations. The secret? A generous supply of scrap wood, readily available from a local builder who graciously leaves it for community repurposers, combined with a fantastic image transfer method I discovered online. While the core technique is inspired by wonderful tutorials like Meredith’s insightful guide on UnOriginal Mom (a highly recommended resource for anyone delving into image transfer to wood), I’ve added a personal twist to achieve that coveted, perfectly aged and distressed aesthetic. My unique approach involves letting the colored image set on the wood for a specific duration, then gently lifting it to allow just enough of the image to peel away, creating an authentically worn-off appearance that truly elevates the sign’s character. The result is a bespoke piece of art that feels as though it has a story to tell, bringing a touch of vintage charm to your porch or entryway.
Embracing the Charm of Upcycled Crafting: Your DIY St. Patrick’s Day Sign
The allure of crafting with scrap wood extends far beyond mere cost savings; it’s an act of sustainability and a testament to creative resourcefulness. Imagine discovering a treasure trove of forgotten timber, each piece holding the potential for a new life. For me, this journey often begins with a visit to a local builder’s parking lot, where large bins brimming with discarded wood scraps await their second act. This generous provision from a community-minded builder is truly a re-purposer’s paradise, offering an endless supply of unique shapes and sizes perfect for custom craft projects. This particular piece, a delightfully mis-shapen section of plywood, was destined to become the canvas for my latest creation: a rustic yet festive St. Patrick’s Day sign that exudes character and warmth. Utilizing such materials not only reduces waste but also infuses each project with an inherent sense of history and individuality that mass-produced decorations simply can’t replicate.
Gathering Your Materials for This Charming Project
Before diving into the creative process, gathering all your materials will ensure a smooth and enjoyable crafting experience. Here’s what you’ll need to bring your “Lucky St. Patrick’s Day Sign” to life, blending artistry with practicality:
- Scrap Wood Piece: Look for a piece of plywood or any solid wood that has a smooth enough surface for image transfer. The beauty of scrap wood is its unique imperfections, so don’t shy away from interesting shapes.
- Acrylic Craft Paint (Base Color): Choose a light, opaque color that will make your transferred image pop. White, cream, or a pale green are excellent choices for a St. Patrick’s Day theme.
- Mod Podge (Matte Finish): This versatile craft essential acts as both an adhesive and a sealant. The matte finish helps maintain a natural, un-glossy look, crucial for a distressed aesthetic.
- Laser-Printed Image/Clip Art: A high-quality laser print is essential for successful image transfer. Inkjet prints tend to smudge. For a clover or shamrock design, search for “St. Patrick’s Day clover clip art” or “shamrock vector” online. Remember to mirror the image if it contains text.
- Sponge Brush or Regular Paintbrush: For applying paint and Mod Podge evenly.
- Hard-Edged Tool: A credit card, brayer, or even your fingers work well for pressing the image onto the wood and smoothing out bubbles.
- Fine Grit Sandpaper (Optional): For smoothing the wood surface before painting, or for further distressing after the project is complete.
- Pencil (Optional): For lightly sketching out your “Lucky” lettering.
- Small Craft Brush: For hand-painting details and lettering.
- Acrylic Craft Paint (Distressing Colors): A grayish-green, brown, or even a darker shade of your base color will be perfect for dry brushing and creating an aged effect.
- Clear Matte Sealer (Optional, but recommended for outdoor use): To protect your finished sign from the elements. Mod Podge also acts as a sealant, but an additional coat of spray sealer can add extra durability.
Crafting Your “Lucky” Masterpiece: A Step-by-Step Guide
Step 1: Preparing Your Wood Canvas
The first crucial step in any successful DIY project is preparation. Begin by ensuring your chosen piece of scrap wood is clean and free of any debris. While the inherent imperfections of salvaged wood add character, a light sanding with fine-grit sandpaper can create a smoother surface for your base coat and image transfer, especially if the wood is rough. Once prepared, apply an even coat of your chosen base acrylic craft paint. I opted for a light, solid color to allow the vibrant green of the clover to truly stand out. Allow this coat to dry completely, which typically takes about 20-30 minutes, or longer depending on humidity and paint thickness. You might apply a second coat if your first is too thin or uneven.
Step 2: The Art of Image Transfer with Mod Podge
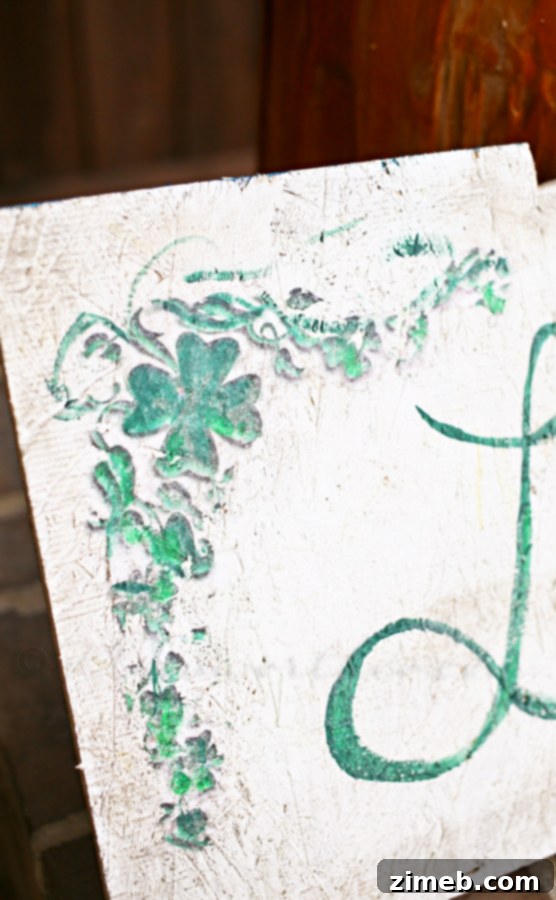
Now comes the magic of image transfer. Select your desired clover clip art or St. Patrick’s Day graphic. It’s imperative that your image is laser-printed; inkjet prints often bleed and don’t transfer effectively. If your design includes text, remember to print it as a mirrored image so it reads correctly once transferred. Once your print is ready, apply a generous, even layer of Mod Podge matte finish directly onto the colored side of your printed image. Ensure the entire image area is thoroughly coated. Carefully position the Mod Podge-coated side of the print onto your painted wood board, making sure it’s exactly where you want it. Using a credit card, a brayer, or even your fingers, firmly rub across the entire surface of the image, working from the center outwards to eliminate any air bubbles and ensure excellent adhesion. This firm pressure is key to a crisp transfer.
This is where my technique slightly diverges from some standard tutorials, allowing for that beautifully distressed finish. Instead of waiting for hours for the Mod Podge to dry completely before rubbing off the paper, I allowed my image to set for approximately 5 to 7 minutes – perhaps a little longer for a more solid transfer, but not so long that it fully adheres. The exact timing can vary based on humidity and Mod Podge thickness, so a little experimentation might be needed. After this brief setting period, I began to gently lift the paper off. The goal was for the image to adhere to the wood, but with strategic areas of the paper – and thus some of the image – to come off, creating a naturally aged and worn look. This partial transfer is what gives the sign its authentic vintage appeal. If you find too much is coming off, simply press the paper back down and let it sit for another minute before trying again.
Step 3: Hand-Painting “Lucky” with Rustic Flair
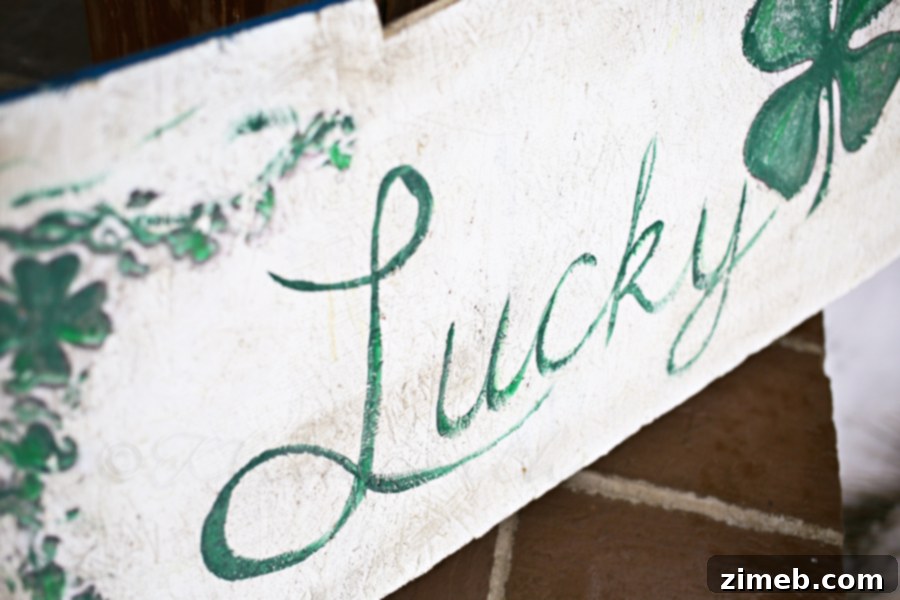
With your clover image beautifully transferred and distressed, it’s time to add the focal word: “Lucky.” While you could use stencils, I chose to freehand the word to give it an intentionally imperfect and handmade feel, contributing to the sign’s rustic charm. Using a small craft brush and a contrasting paint color (perhaps white if your base is green, or a darker green if your base is white), carefully paint “Lucky” onto your sign. Don’t strive for absolute perfection; embracing slight variations in stroke and coverage enhances the distressed aesthetic, making it look as though the word has naturally worn over time. Allow this paint to dry completely.
Step 4: Achieving an Authentically Aged Look Through Dry Brushing
To further enhance the vintage, time-worn appearance, I employed a dry brushing technique. Take a small amount of a grayish-green or light brown acrylic paint on a dry brush (wipe off most of the paint on a paper towel until the brush feels almost dry). Lightly brush around the edges of your sign and sparingly over other areas. The key to dry brushing is to apply very little paint, allowing it to subtly catch on the textures of the wood and the edges, creating shadows and highlights that mimic natural aging and wear. This technique adds depth and character, making your sign look like a treasured antique rather than a brand-new craft. Experiment with different angles and pressures until you achieve your desired level of distress.
Step 5: Sealing Your Masterpiece for Lasting Beauty
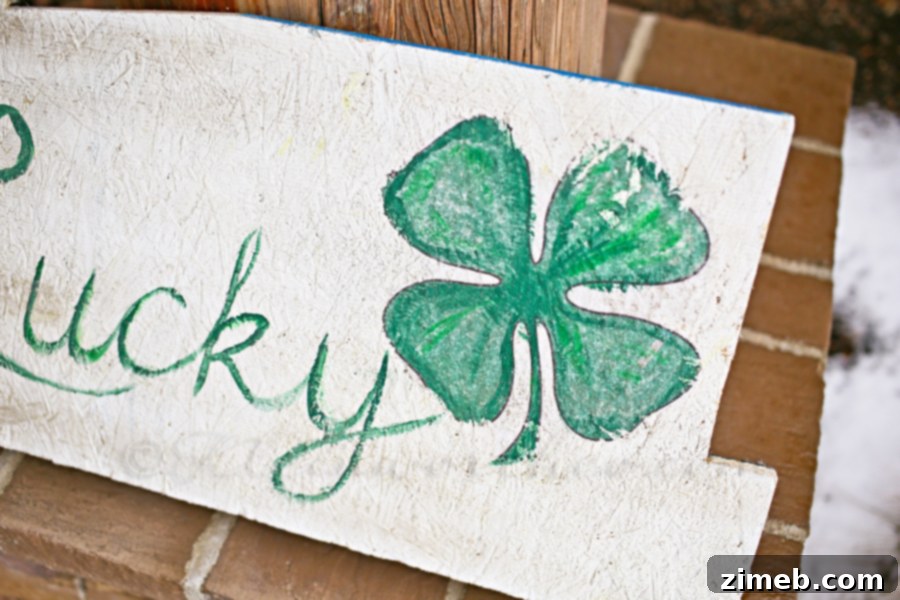
Once all your painted elements are thoroughly dry, the final step is to seal your “Lucky St. Patrick’s Day Sign” to protect your hard work and ensure its longevity. Apply a generous, even coat of Mod Podge matte finish over the entire surface. This not only seals the paint and image transfer but also unifies the distressed elements, giving the sign a cohesive, finished look. If you plan to display your sign outdoors, consider adding an extra layer of outdoor-safe clear matte sealer spray for enhanced weather resistance. Allow the sealant to dry completely, following the product’s instructions. Your beautifully upcycled, distressed “Lucky St. Patrick’s Day Sign” is now ready to adorn your home, bringing a touch of Irish charm and handmade artistry to your celebrations!
The Joy of Creation and Future Decor Dreams
Reflecting on the entire process, it’s almost humorous to realize that selecting the perfect clip art image probably consumed more time than the actual crafting of the sign itself! This project truly embodies the spirit of creative recycling. There’s an immense satisfaction that comes from transforming something destined for the landfill into a beautiful, decorative piece for your home, especially a porch or entryway. Each upcycled item tells a unique story, and this “Lucky St. Patrick’s Day Sign” is no exception. It stands as a testament to the fact that stunning decor doesn’t require expensive materials; often, the most cherished pieces are those made with a little ingenuity and a lot of heart from readily available scraps. Now that the sign is complete, my mind is already wandering to the next festive project – perhaps a coordinating St. Patrick’s Day wreath to truly complete the seasonal display. The possibilities are endless when you embrace the world of DIY and upcycling!
I hope this detailed guide inspires you to dig through your own pile of scraps or visit a local builder for some treasures. Crafting your own seasonal decor is not just about saving money; it’s about infusing your living space with personality, celebrating sustainability, and enjoying the rewarding process of creation. Happy crafting, and may your St. Patrick’s Day be filled with luck and beautiful handmade decor!
To see where I am linking today- visit HERE
[include id=”1″ title=”Footer Ad”]