
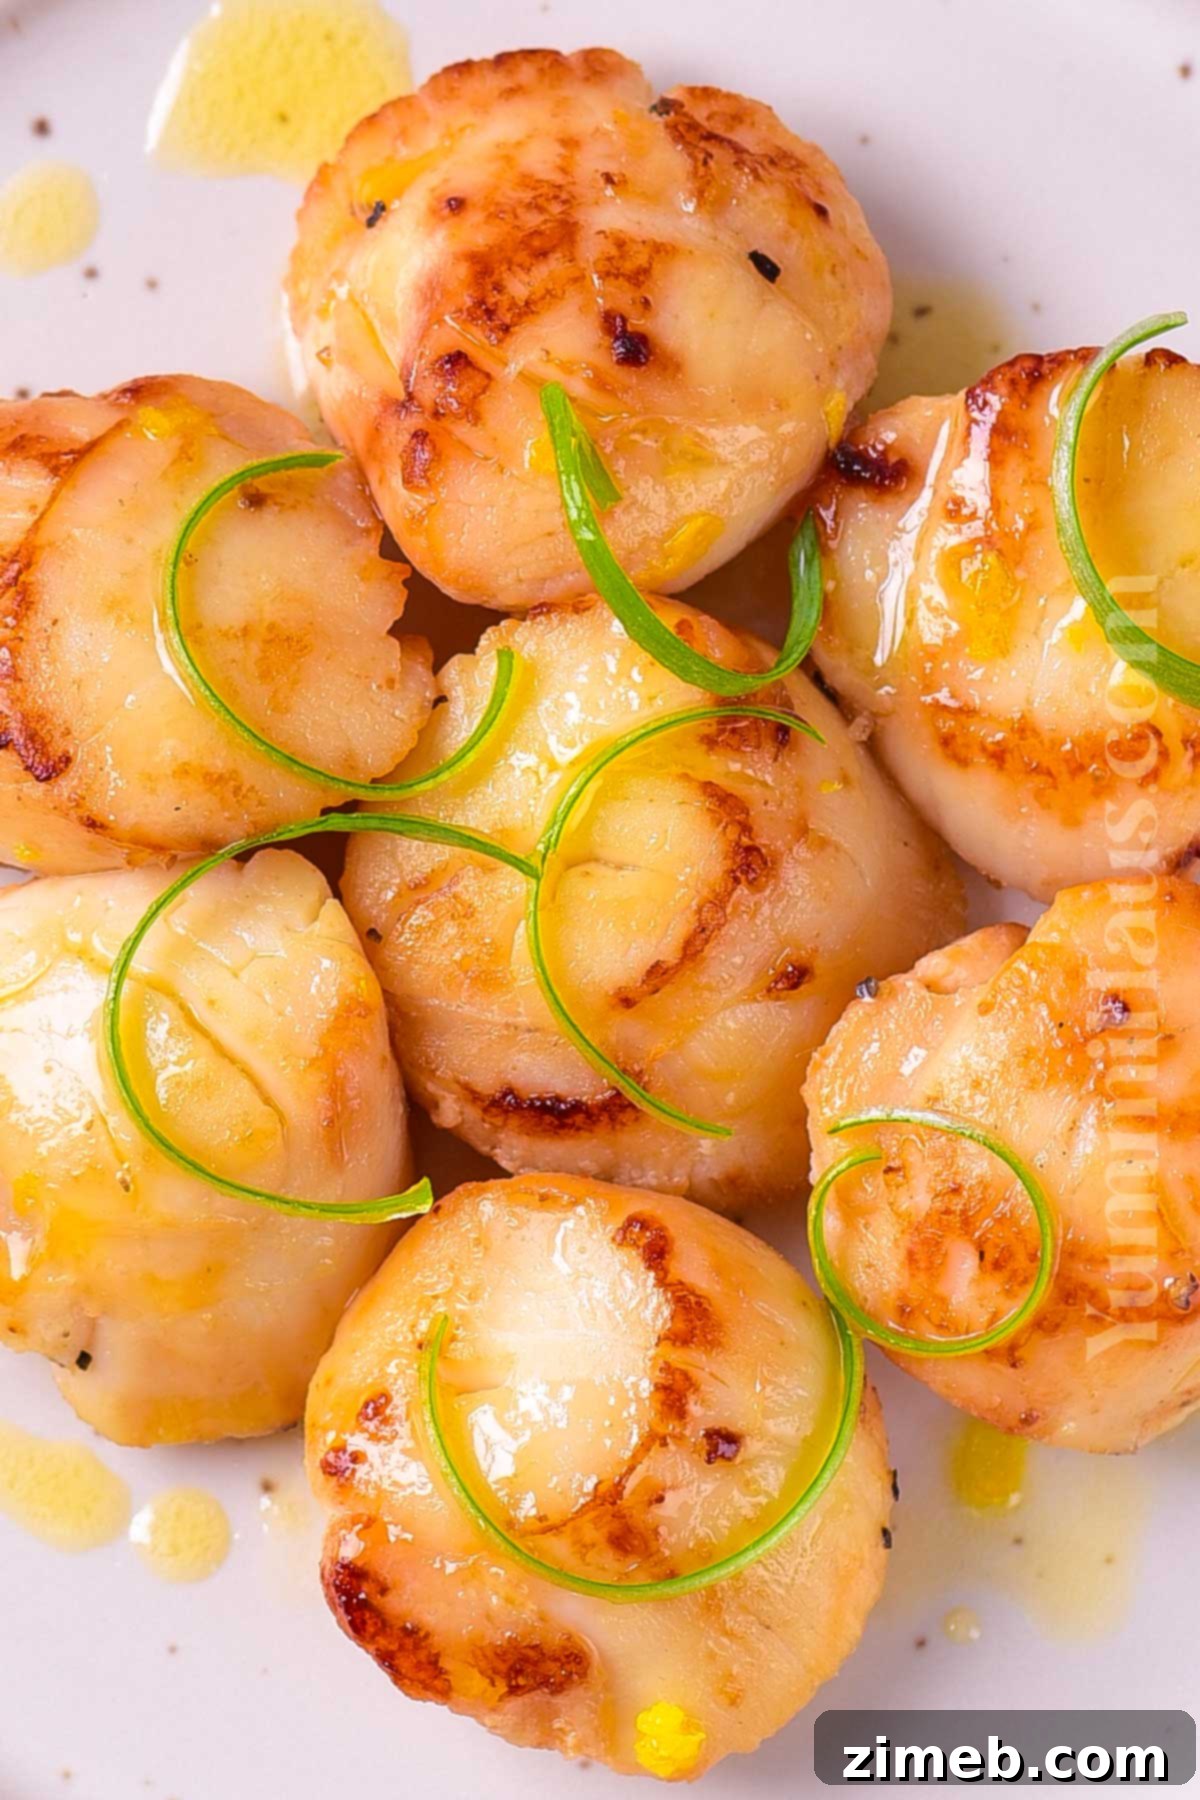
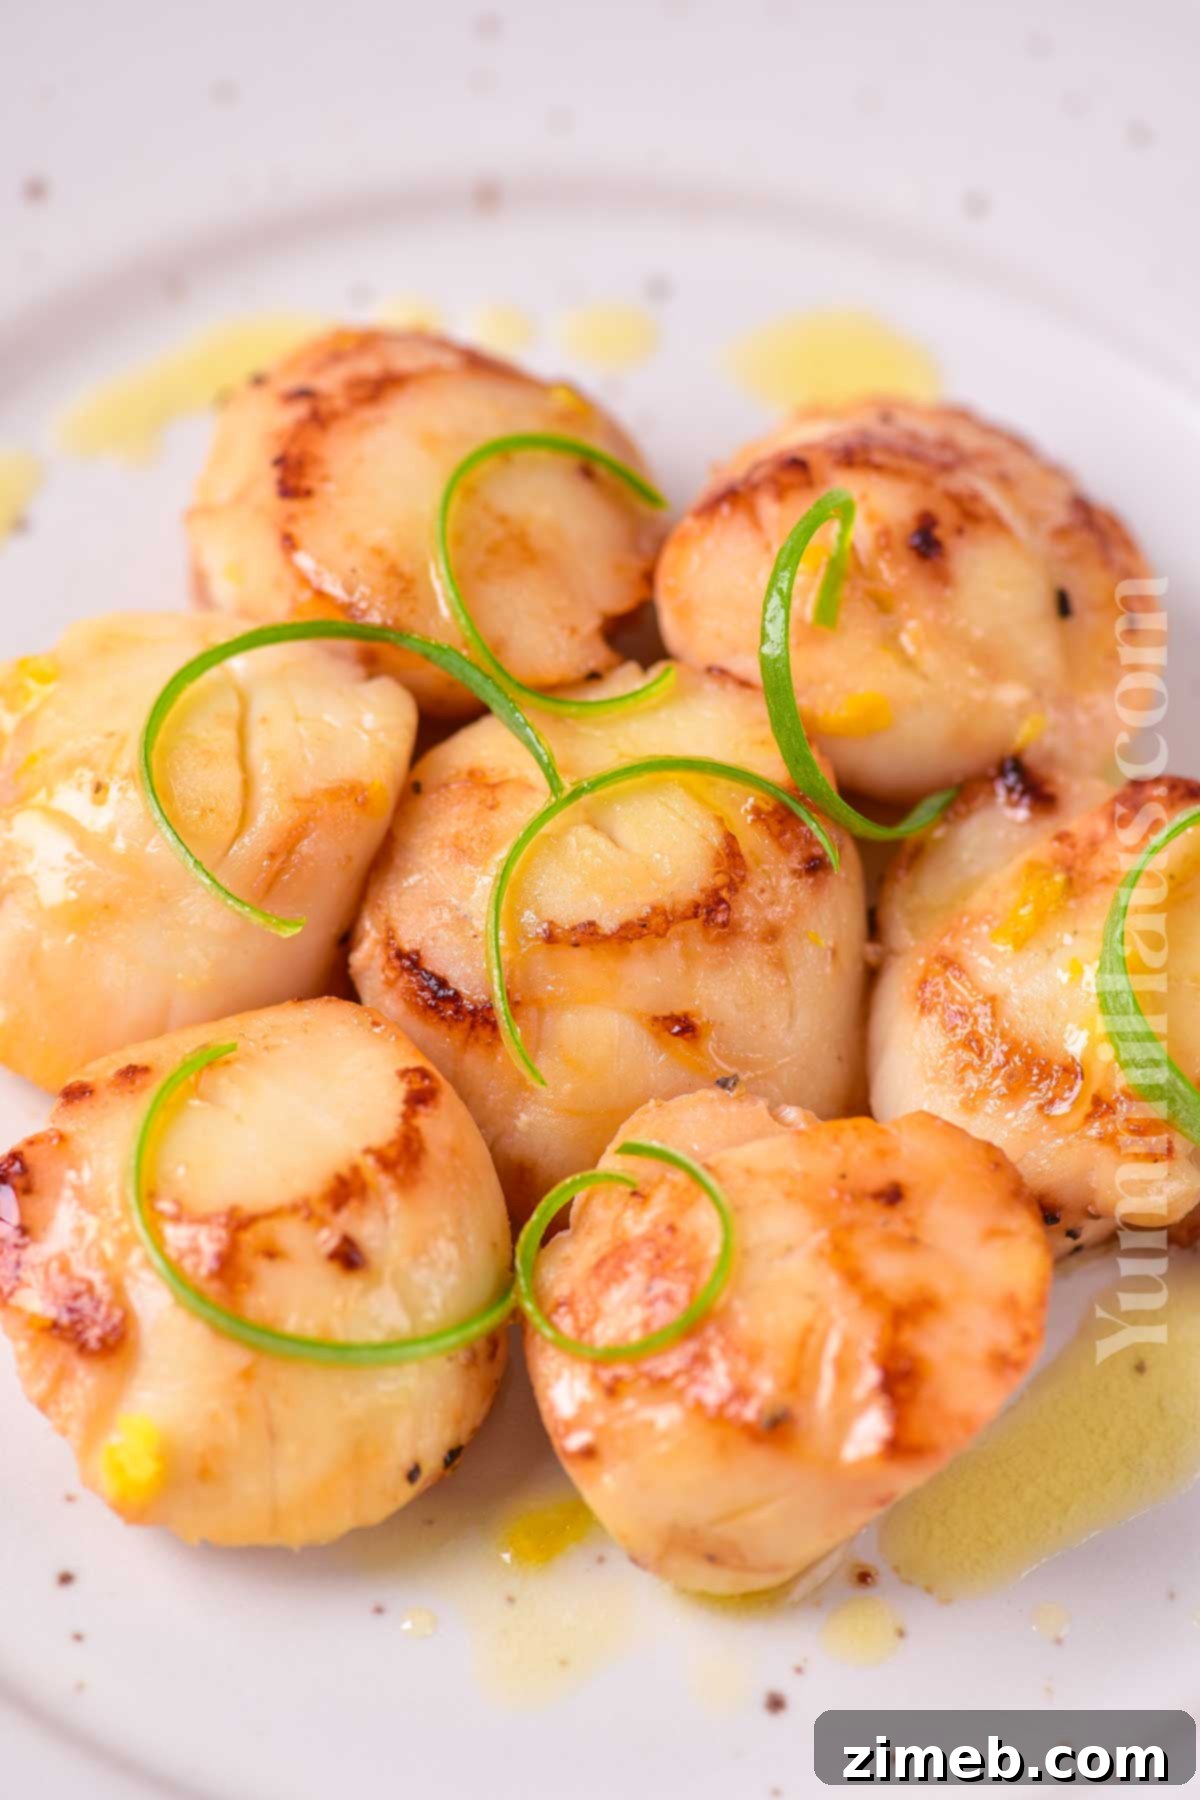
Unlock the secret to restaurant-quality seared scallops in your own kitchen. Imagine perfectly cooked scallops, boasting a delicate, golden-brown crust on the outside, giving way to a tender, juicy, and buttery interior. Each bite delivers a harmonious blend of savory sweetness, a hint of sea salt, and a bright finish from a touch of citrus. This dish isn’t just a meal; it’s an experience, transforming any occasion into something truly special.
Scallops are often celebrated as a prime seafood choice for celebratory dinners, revered for their exquisite flavor and luxurious texture. Any enthusiast of culinary shows like Hell’s Kitchen knows the pressure young chefs face to perfectly execute this seemingly simple dish. While the idea of cooking scallops might feel intimidating, especially under such scrutiny, the good news is you don’t need to be a Michelin-star chef to master them. This comprehensive guide will demystify the process, helping you achieve flawless results every time, free from Gordon Ramsay’s piercing gaze!
Recipe Highlights:
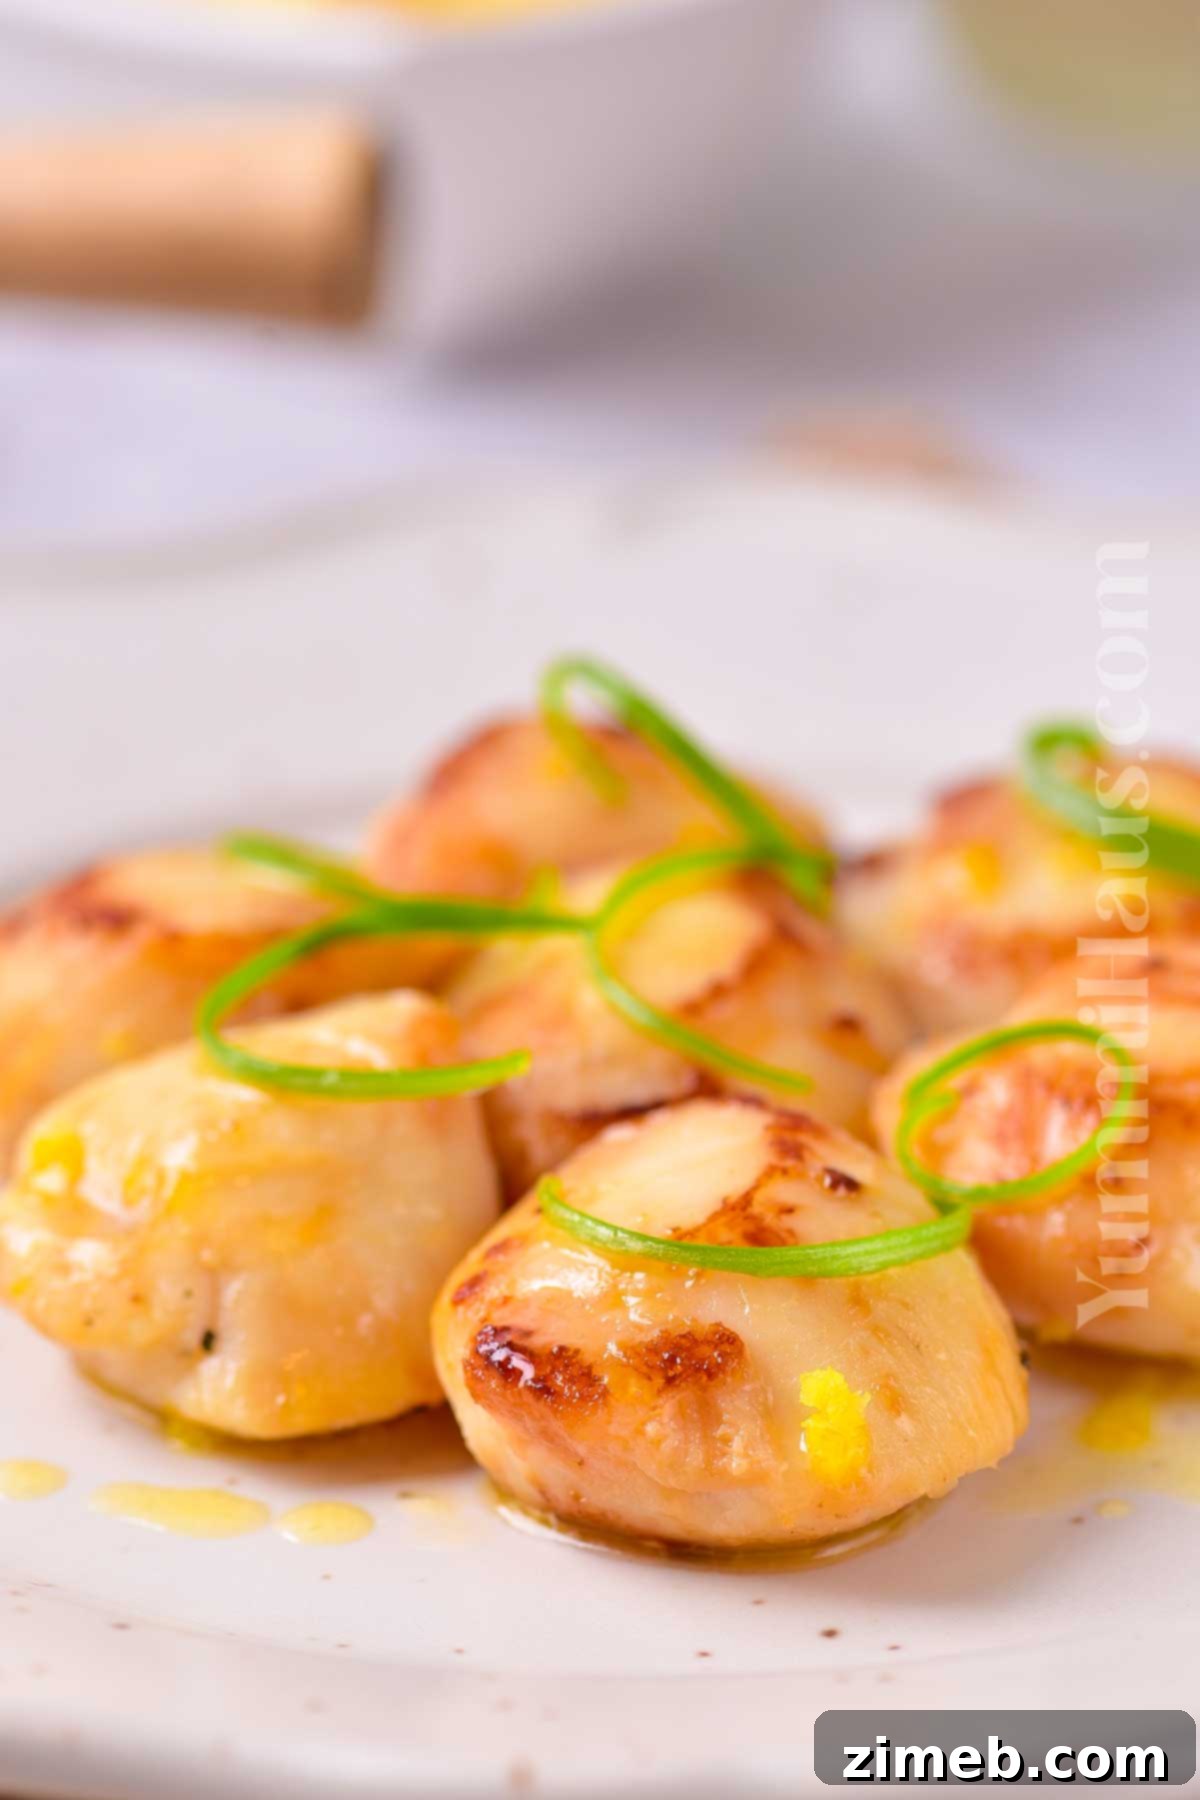
Texture: Expect a truly delightful contrast: a beautifully crisp, golden-brown crust formed from the searing process, giving way to an incredibly delicate, tender, and buttery texture within. When perfectly cooked, the scallop should feel slightly firm yet yielding to the touch, never rubbery or mushy.
Taste: These pan-seared scallops offer a rich, savory depth, naturally complemented by a subtle sweetness inherent to the scallop meat. The golden sear introduces a delightful, almost nutty undertone, while the infusion of garlic butter (if used) adds an irresistible aromatic warmth that elevates every morsel.
Ease: This recipe is surprisingly straightforward to prepare, even for novice cooks. The key lies in precise timing for a quick sear and avoiding overcooking. Once you grasp these fundamental techniques, you’ll find it to be a remarkably fast, foolproof, and consistently impressive meal that belies its simple preparation.
Why It’s a Favorite: Seared scallops possess an undeniable elegance, making them feel like a truly special indulgence. Yet, their rapid cooking time and minimal effort required make them equally suitable for a romantic date night or an elevated weeknight dinner. They consistently deliver an impressive culinary experience.
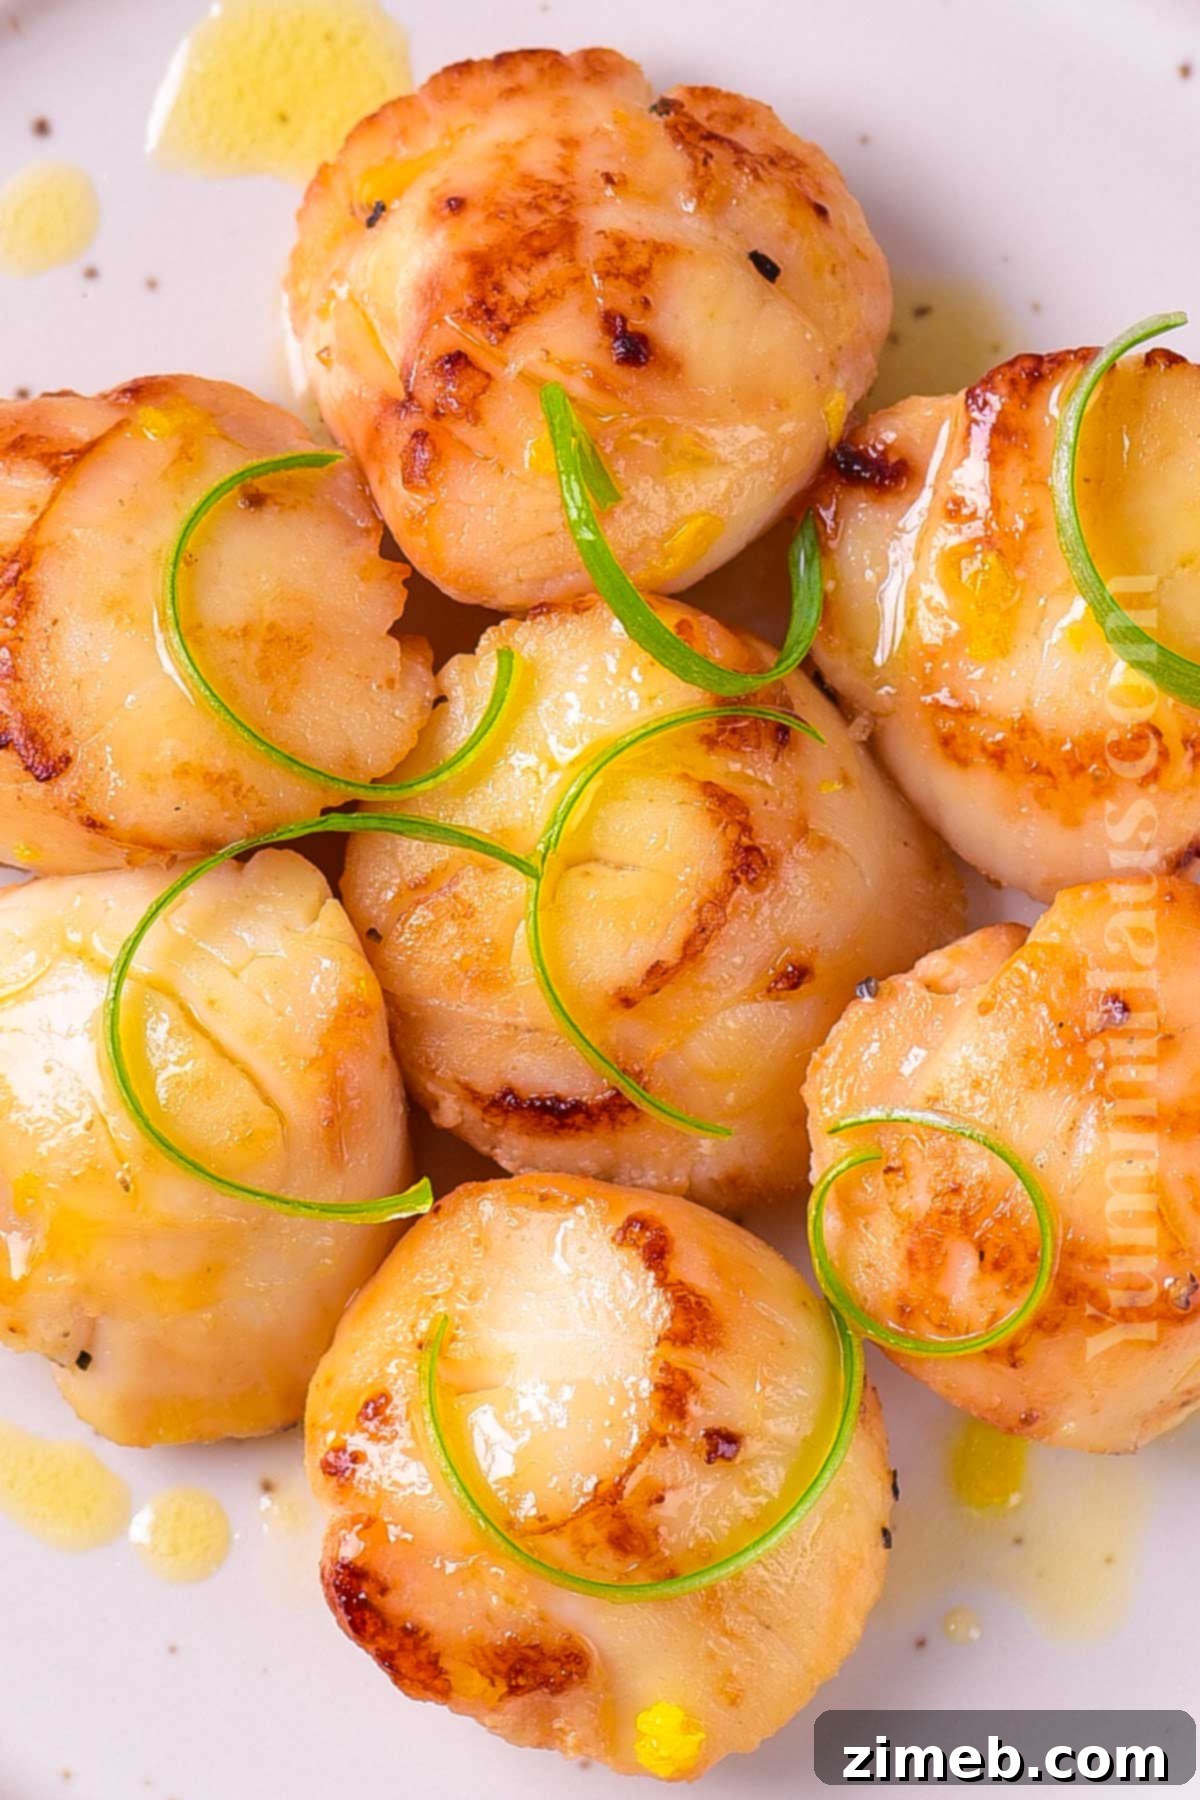
Forget the stress of competitive cooking. This easy-to-follow recipe will empower you to perfect this delicate and utterly delicious seafood marvel. Many home cooks are intimidated by scallops, often equating them with other complex seafood preparations like crab or lobster. However, scallops are, in fact, one of the most forgiving and quickest items from the ocean to cook perfectly, once you know a few fundamental tricks.
- Why You’ll Love This Seared Scallops Recipe
- Essential Ingredients for Perfect Scallops
- Kitchen Equipment for Searing Scallops
- How To Buy Scallops: Sea Scallops VS Bay Scallops
- How To Make Pan-Seared Scallops Step-by-Step
- What To Serve With Seared Scallops
- Storage and Reheating Recommendations
- Substitutions & Flavorful Variations
- Expert Tips To Achieve The Best Seared Scallops
- Popular Questions About Searing Scallops
Why You’ll Love This Seared Scallops Recipe
- Irresistibly Delicious: With their sweet, delicate flavor and perfect textural contrast, these scallops are utterly captivating and sure to impress even the most discerning palates.
- Lightning Fast Preparation: From start to finish, this seared scallops recipe can be on your table in under 15 minutes. Our simple, step-by-step instructions ensure that even a home cook can achieve a professional-level sear with ease, making it ideal for busy evenings or impromptu special meals.
- Perfect for Romantic Dinners: Scallops make an exquisite entree for an intimate dinner for two, whether it’s an anniversary, Valentine’s Day, or simply a desire for something elegant. While a large dinner party might find scallops cost-prohibitive, they are a wonderfully indulgent option for smaller gatherings.
- Healthy and Naturally Gluten-Free: Scallops are an excellent source of lean protein, low in fat, and packed with essential minerals like selenium and zinc. Naturally gluten-free, they cater to various dietary needs without compromising on flavor or luxury.
- Incredibly Versatile: Whether served as a sophisticated appetizer with a simple garnish or as the star of a main course alongside your favorite sides, these scallops adapt beautifully. Their rich flavor profile allows for numerous culinary pairings.
Essential Ingredients for Perfect Scallops
- High-Quality Scallops: For the best results, opt for large sea scallops, often referred to as “King scallops.” While fresh scallops are always preferred for their superior texture and flavor, high-quality frozen scallops can also be used. If using frozen, remember to thaw them thoroughly in the refrigerator overnight to ensure even cooking and prevent excess moisture from hindering a good sear. It might take a little effort to find top-tier dry-packed scallops, but the difference in taste and texture is absolutely worth it.
- Unsalted Butter and Olive Oil: The age-old debate of oil versus butter for searing scallops finds its best answer in a combination of both. Olive oil, or another high-smoke-point oil like canola or avocado oil, provides the necessary heat tolerance to achieve a dark, crispy crust without burning. Butter, on the other hand, contributes an unparalleled rich, nutty flavor and promotes that beautiful golden-brown color. Using unsalted butter allows you to control the overall seasoning more precisely.
For Seasoning
- Kosher Salt and Freshly Ground Black Pepper: These fundamental seasonings enhance the natural sweetness and savory notes of the scallops. Freshly ground black pepper offers a superior aroma and flavor compared to pre-ground varieties.
- Fresh Lemon Juice: A squeeze of fresh lemon juice at the end brightens the flavor profile, cutting through the richness of the butter and complementing the delicate taste of the scallops.
- Lemon Zest: Finely grated lemon zest adds an aromatic burst of citrus oils, providing an additional layer of vibrant flavor and a visually appealing touch.
Kitchen Equipment for Searing Scallops
- Heavy-Bottomed Frying Pan or Cast Iron Skillet: The most critical piece of equipment for a perfect sear. A heavy-bottomed pan, particularly a cast iron skillet, maintains consistent high heat, which is essential for developing that coveted crispy crust. Avoid non-stick pans, as they typically don’t get hot enough to achieve an optimal sear; stainless steel or cast iron are far superior choices.
- Paper Towels: Absolutely indispensable for thoroughly drying the scallops before searing. Excess moisture is the enemy of a good sear, so make sure to have plenty on hand.
How To Buy Scallops: Sea Scallops VS Bay Scallops
Understanding the different types of scallops available is crucial for selecting the right ones for your pan-searing endeavors. For this specific recipe, we primarily recommend “King scallops,” which are simply a larger variety of sea scallops. But what’s the difference between sea scallops and bay scallops?
The distinction primarily lies in their origin and, consequently, their characteristics.
Scallops are bivalve mollusks that thrive in cold, salty waters. They are capable of surprisingly swift movement and are prized globally for their sweet, delectable meat.
Sea Scallops: As their name suggests, sea scallops are harvested from the deeper, colder waters of the ocean. They are generally much larger than bay scallops, possessing a firmer texture, a more pronounced sweetness, and typically command a higher price. Their substantial size and robust structure make them ideal for searing, as they hold up well to high heat and develop a beautiful, thick crust. For restaurant-quality seared scallops, sea scallops are undoubtedly the best choice.
A premium subset of sea scallops are Diver Scallops. These are hand-harvested by divers from the ocean floor, ensuring minimal impact and often resulting in perfectly intact, high-quality scallops. They are usually among the largest, sweetest, and most expensive options due to their sustainable harvesting method and superior condition.
Bay Scallops: These smaller scallops are found in shallower coastal waters, such as bays and estuaries. They are significantly smaller, much more tender, and have a milder sweetness compared to their sea-dwelling counterparts. Bay scallops are also typically more affordable. Due to their delicate nature and quick cooking time, they are better suited for dishes like quick sautéed scallops, pasta sauces, or ceviche, where a deep sear isn’t the primary goal. Similarly, Dayboat Scallops refer to scallops commercially caught within a single day’s trip, often small in size and available in larger quantities.
The Critical Difference: “Dry” vs. “Wet” Scallops
No matter which type you ultimately choose, the single most important factor when buying scallops for searing is to ensure they are dry-packed. You absolutely want to avoid “wet” scallops.
Dry Scallops: These scallops are packed fresh from the harvest, without any added water or solutions. They have a natural, slightly off-white or light tan color and a firm, slightly sticky texture. Dry scallops are essential for achieving a perfect sear because their low moisture content allows them to brown quickly and evenly in a hot pan, creating that beautiful crust.
Wet Scallops: These scallops have been soaked in a solution, typically sodium tripolyphosphate (STP). This chemical treatment makes the scallops absorb water, artificially plumping them up to increase their weight (and thus, their price per pound). While it can extend shelf life and brighten their appearance, wet scallops are detrimental to searing. The excess moisture leeches out into the pan, steaming the scallops instead of searing them. This prevents a golden crust from forming and often results in a rubbery texture and, unfortunately, can even impart a slightly soapy or chemical taste. Always ask your fishmonger for “dry-packed” or “dayboat” scallops to ensure the best quality.
When purchasing, always check for freshness: scallops should have a mild, sweet, briny smell (like the ocean, not overly fishy) and feel firm and springy to the touch. Avoid any that appear slimy, excessively wet, or have a strong, unpleasant odor.
How To Make Pan-Seared Scallops Step-by-Step
1: Prepare Your Scallops for Searing
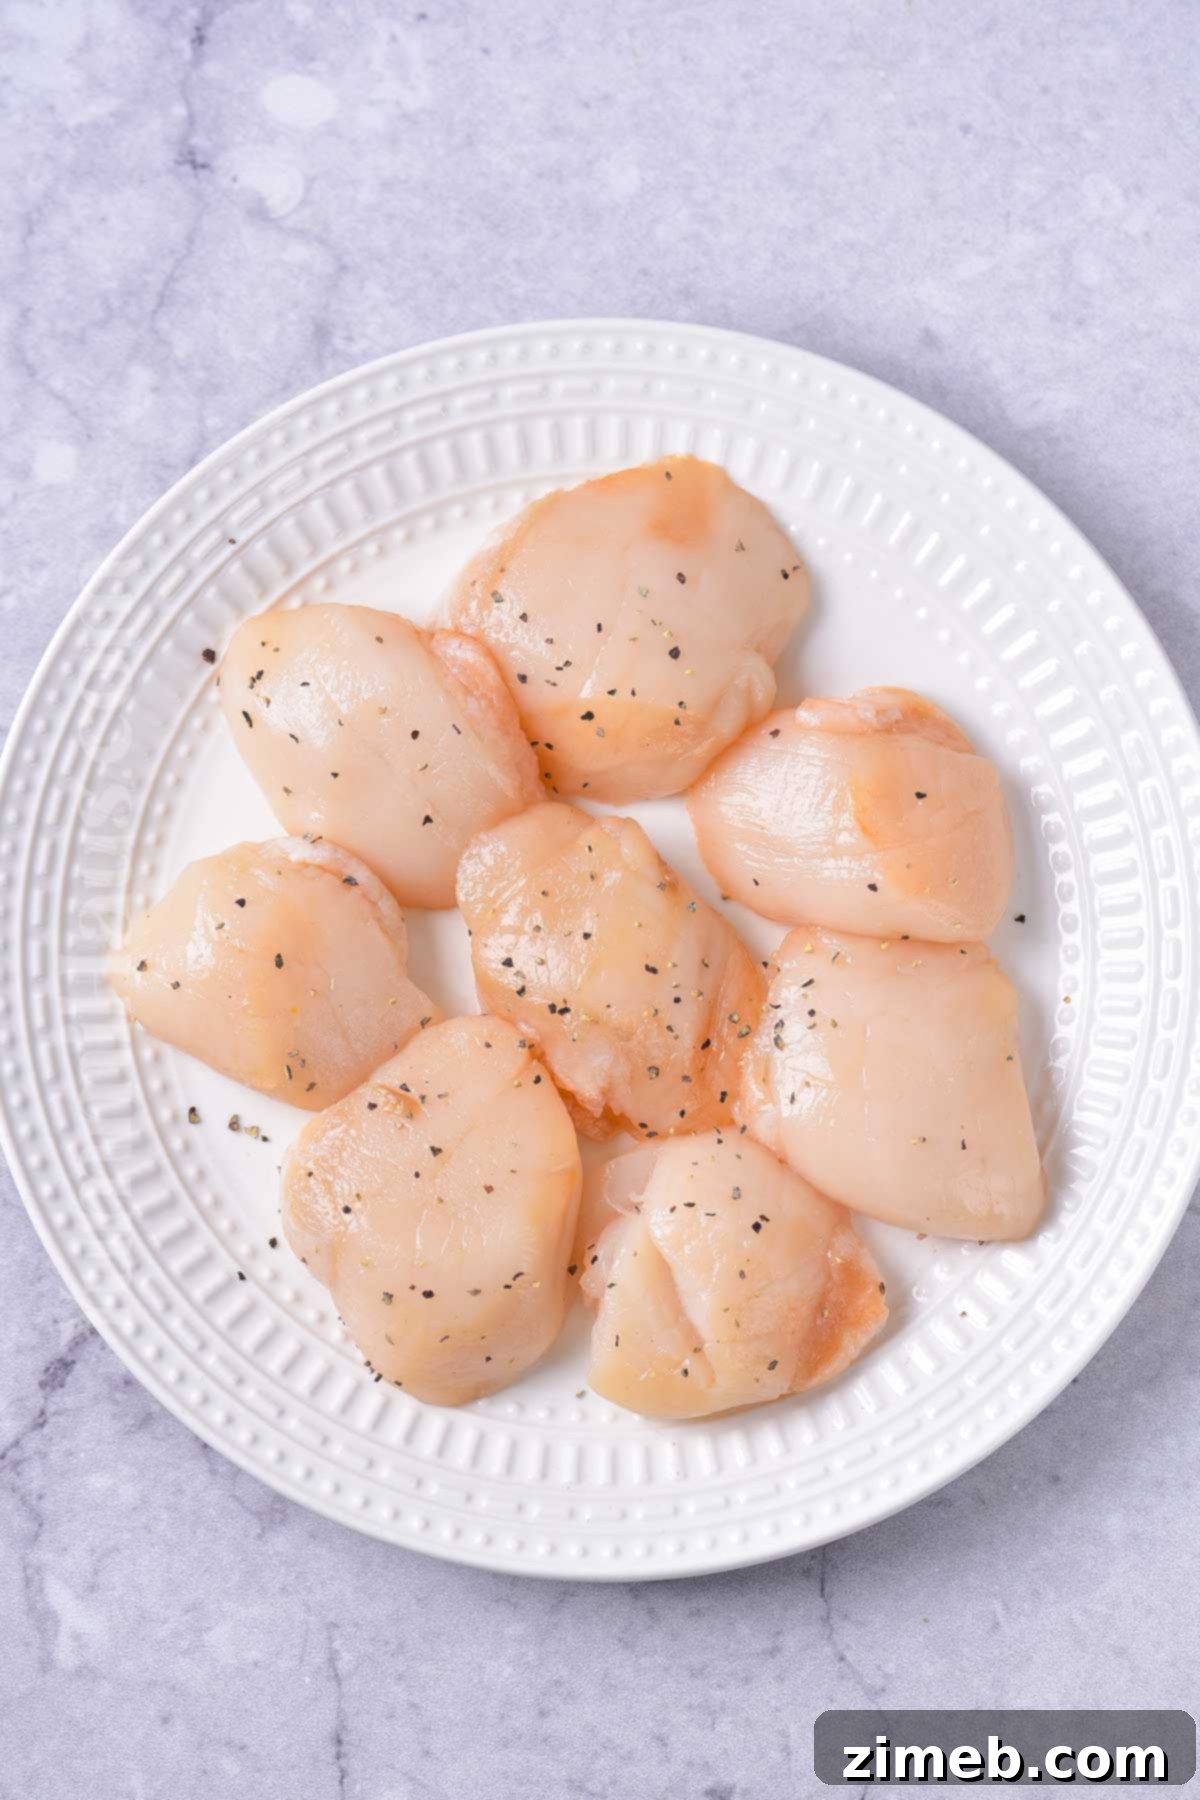
- Wash and Thoroughly Pat Dry: Rinse your scallops under cold water to remove any grit or shell fragments. The absolute most crucial step for achieving a perfect sear is to pat the scallops incredibly dry. Use several layers of paper towels to gently but firmly absorb all surface moisture from each scallop. Excess water will steam the scallops instead of searing them, preventing that beautiful golden crust.
- Remove the Side Muscle: On the side of each scallop, you’ll find a small, tough, crescent-shaped muscle (known as the adductor muscle). This muscle is responsible for opening and closing the scallop’s shell, making it fibrous and tough once cooked. Gently pinch and peel it off; it should come away easily. Discard these muscles.
- Season Generously: Lightly sprinkle both sides of the prepared scallops with kosher salt and freshly ground black pepper. Seasoning before cooking allows the flavors to penetrate the meat, enhancing its natural taste.
2: Execute the Perfect Pan Sear
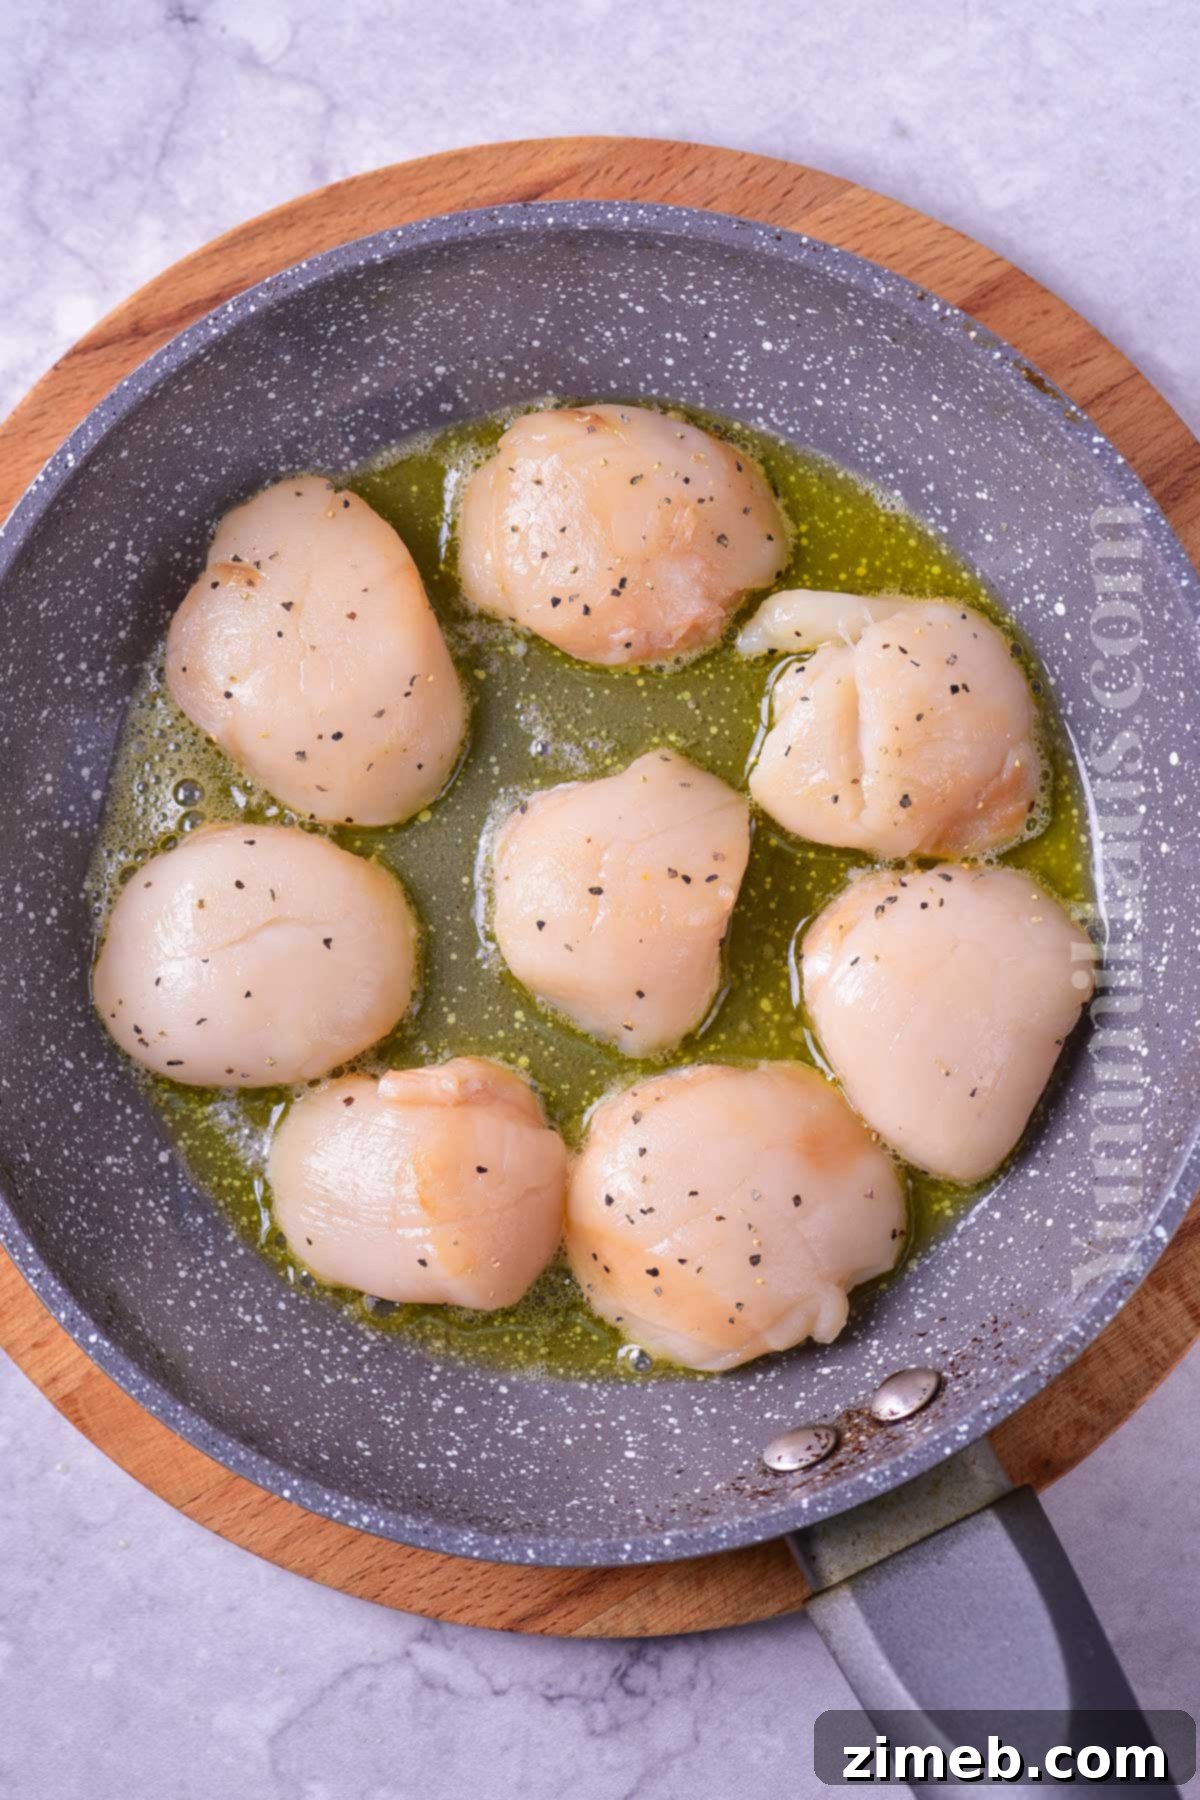
- Heat the Pan: Place your heavy-bottomed frying pan or cast iron skillet over medium-high heat. Add the olive oil and butter. Allow the butter to melt and the mixture to become very hot, just to the point where the butter begins to foam and turn a light golden brown, and the oil shimmers. This indicates the pan is ready for searing.
- Add Scallops in a Single Layer: Carefully place the seasoned scallops into the very hot pan in a single layer, ensuring they are not touching each other. Crowding the pan will lower the temperature and cause the scallops to steam rather than sear. If you have many scallops, work in batches.
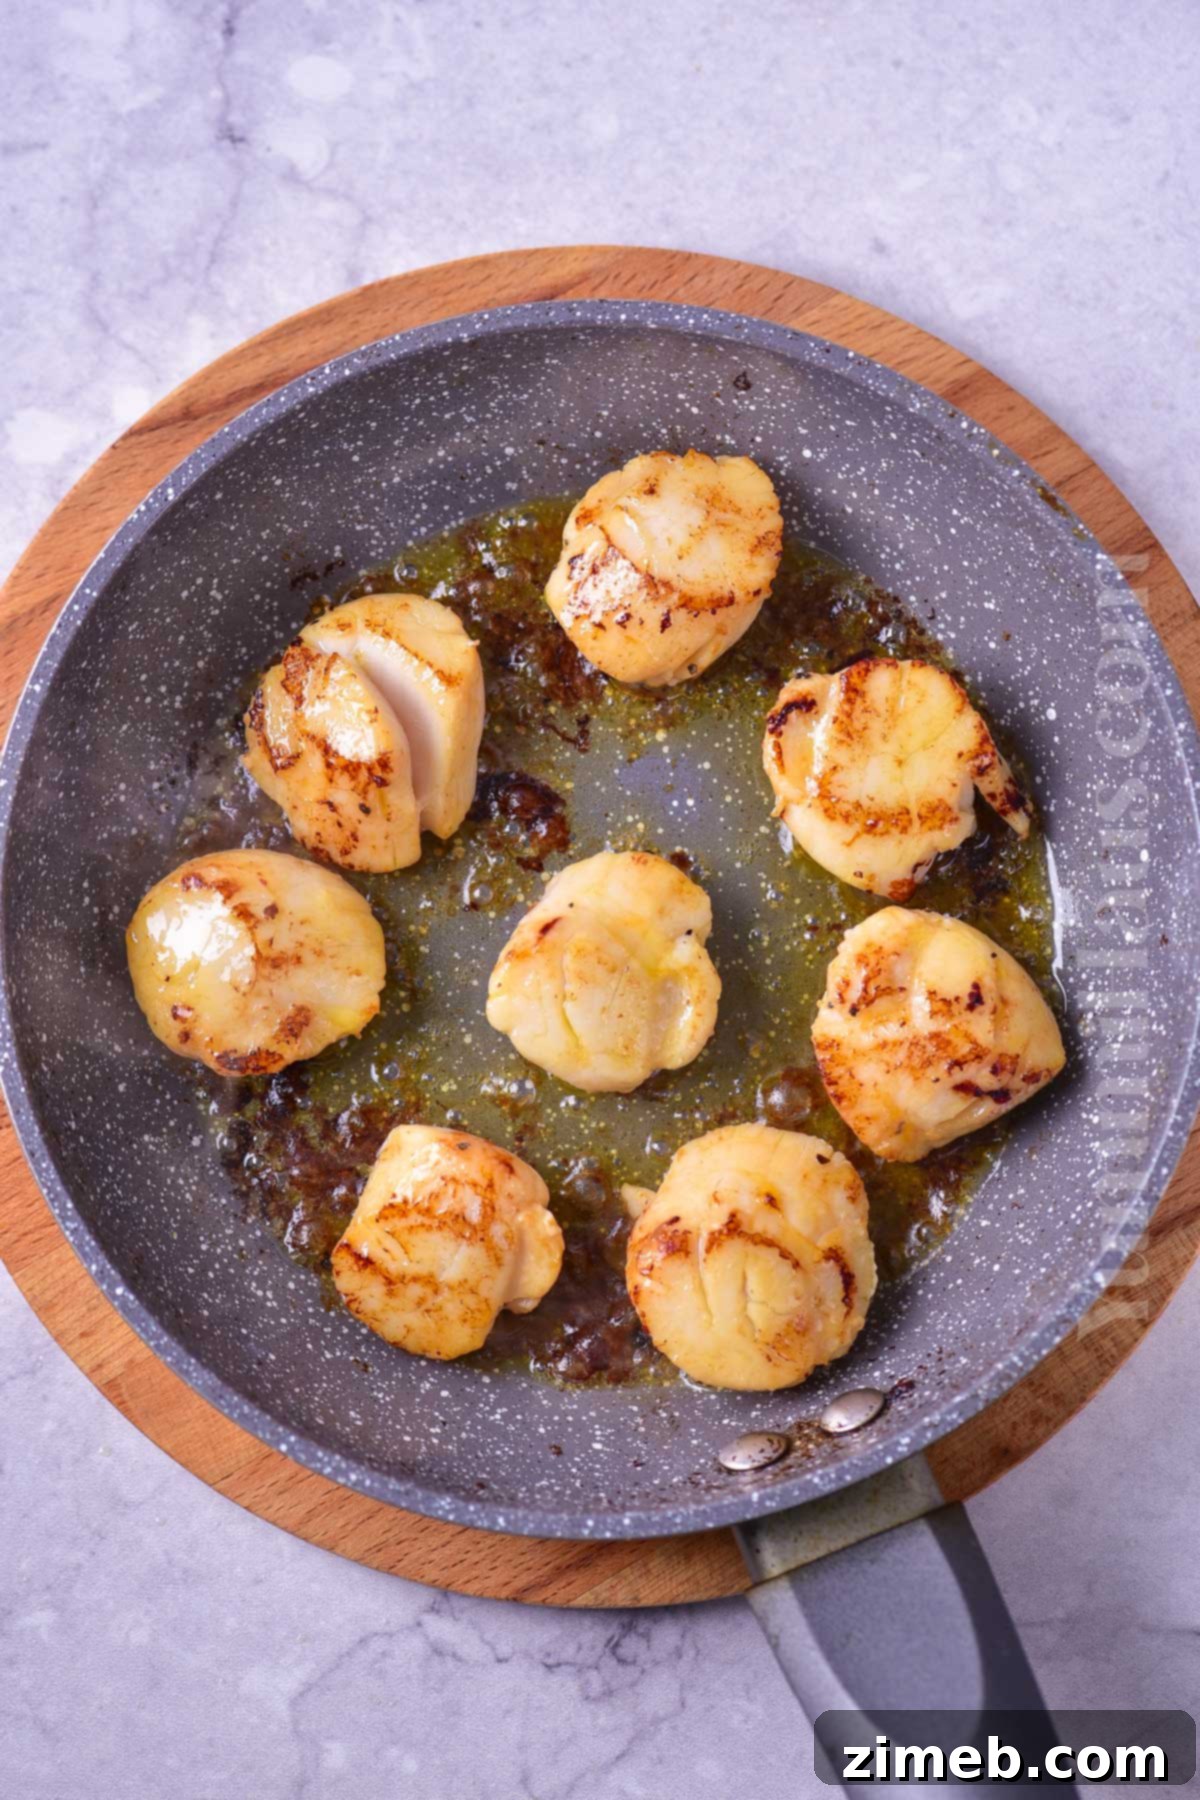
- Sear Undisturbed for a Golden Crust: Cook the first side for approximately 3-4 minutes, without moving or touching the scallops. This uninterrupted contact with the hot pan is essential for developing a deep, beautiful golden-brown crust, a result of the Maillard reaction. You should hear a consistent sizzle.
- Flip and Finish: Using tongs, carefully flip each scallop to the other side. Cook for another 3-4 minutes, again without moving them. The scallops are done when they are opaque throughout, feel firm to the touch, and have developed a signature golden-brown sear on both sides. If you’re experienced, you can baste the scallops with the hot butter-oil liquid during this second sear for added richness.
- Avoid Overcooking: Be mindful of the cooking time; scallops cook very quickly. Overcooked scallops will become rubbery and lose their delicate sweetness. Adjust cooking time slightly based on the size of your scallops and the heat of your pan. Some prefer scallops “medium-rare” with a slightly translucent center, while others prefer them fully opaque (“well-done”). Both are delicious, so cook to your preference.
3: Garnish and Serve Immediately
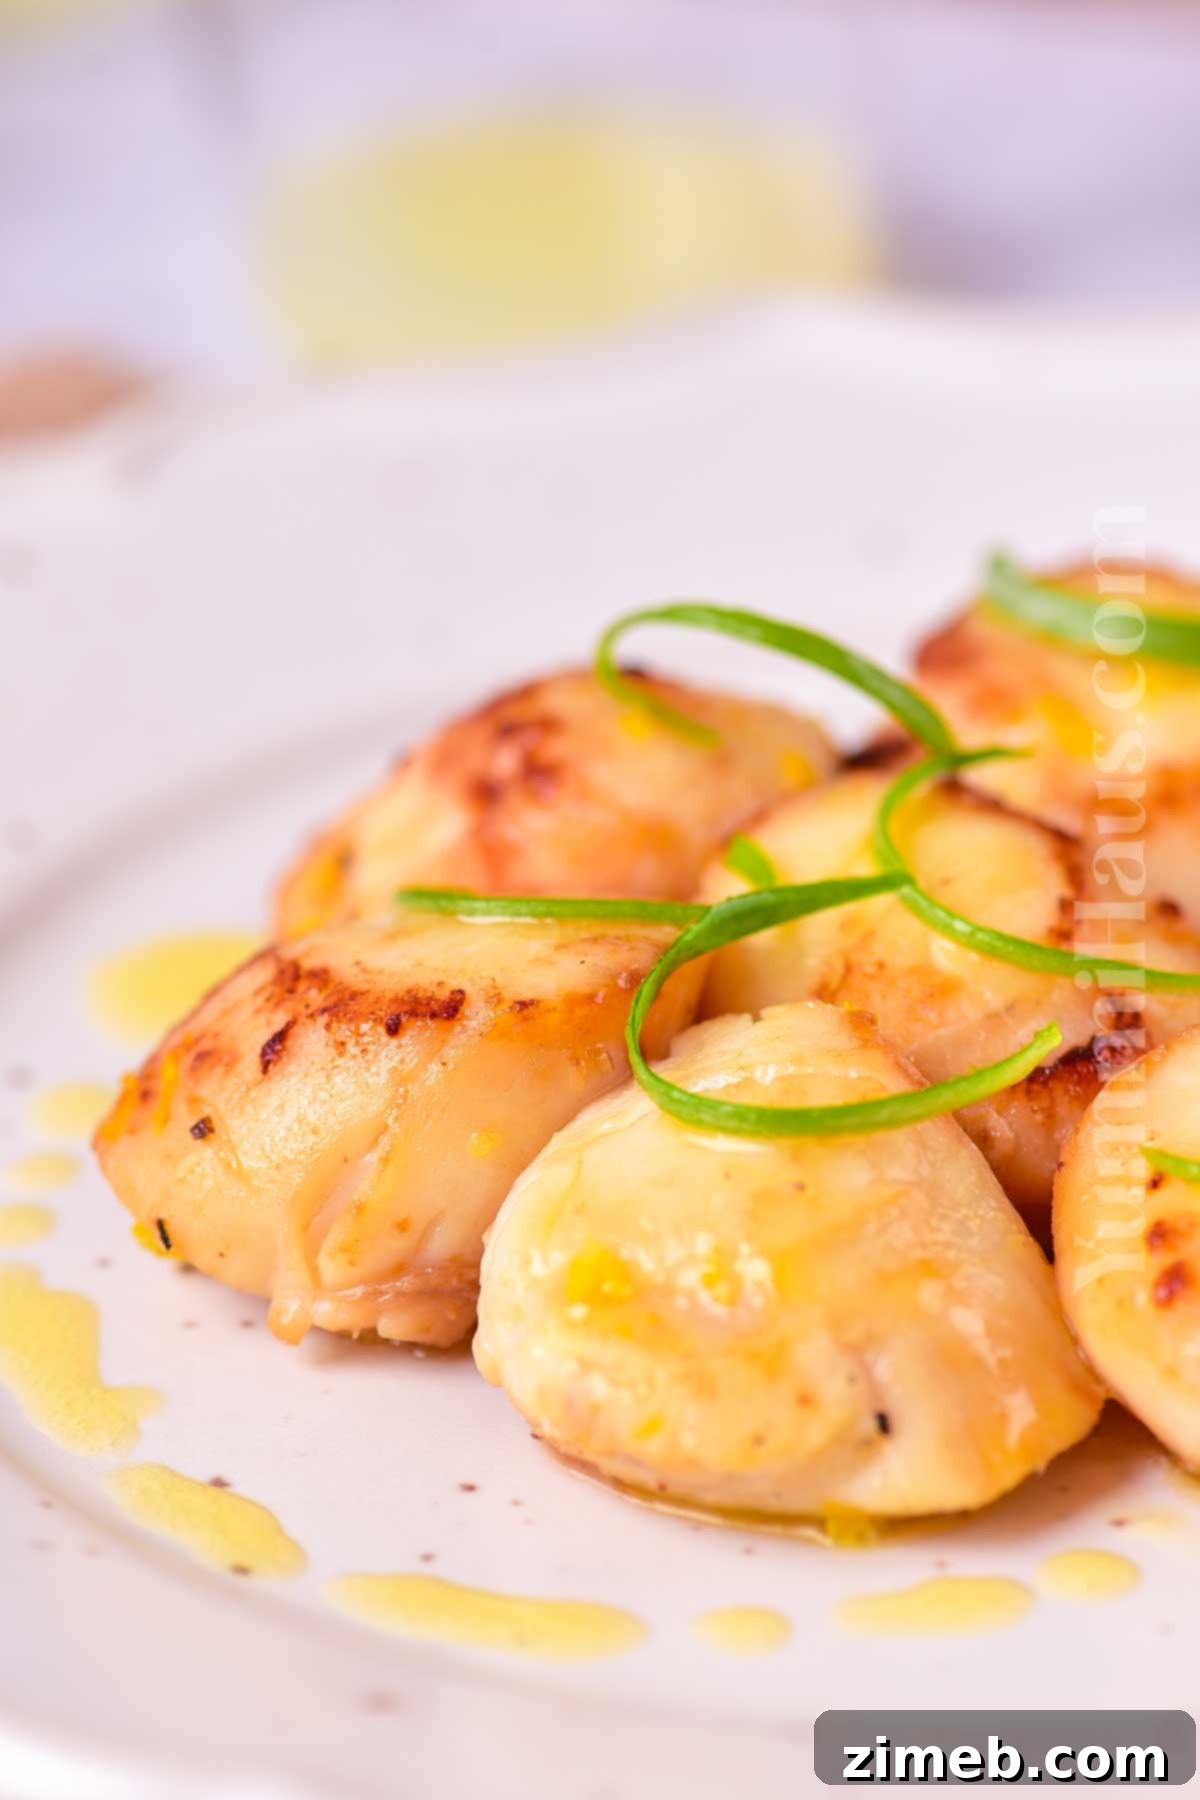
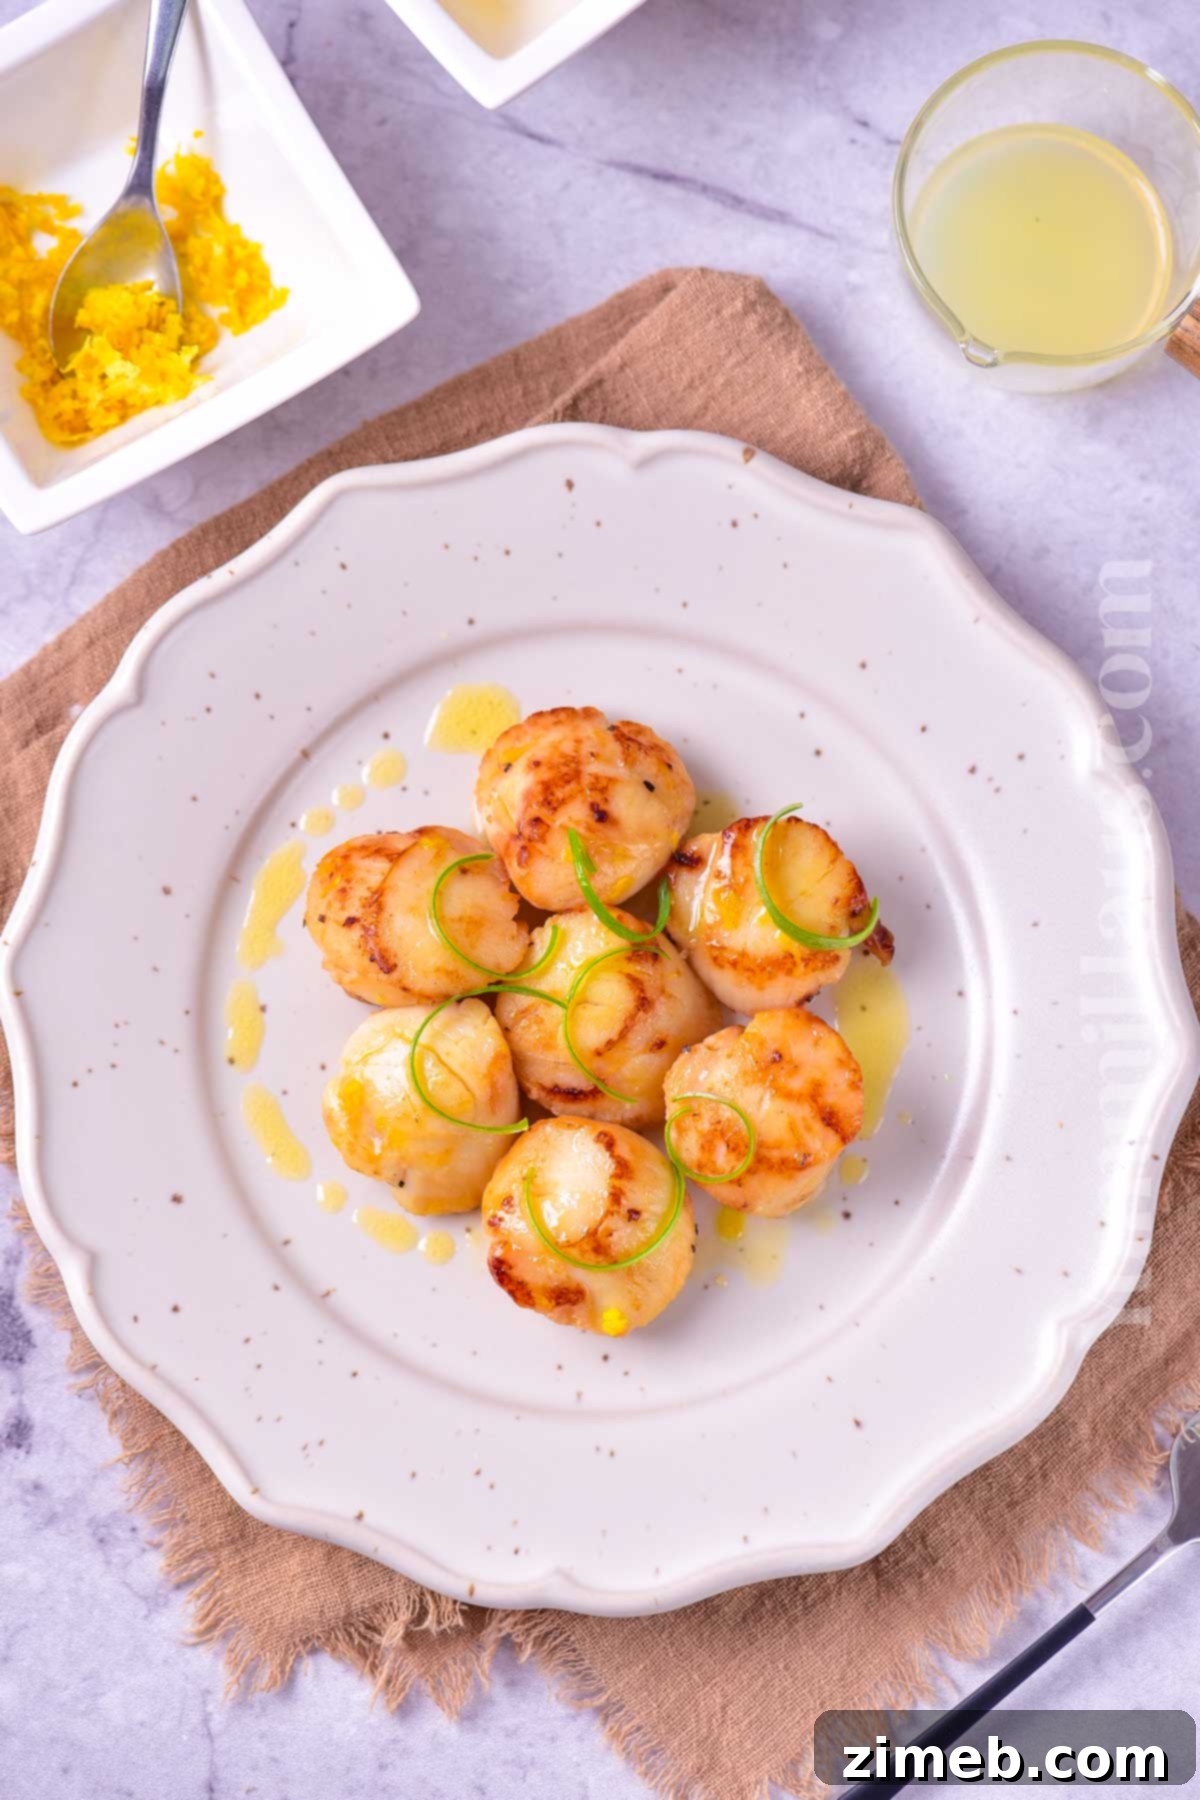
- Remove and Garnish: Once cooked, immediately remove the scallops from the pan. Squeeze fresh lemon juice over them and sprinkle with lemon zest.
- Serve Promptly: Scallops are best enjoyed fresh from the pan to preserve their exquisite texture and warmth.
- Optional Enhancement: For an extra decadent touch, drizzle the scallops with additional melted butter before serving.
What To Serve With Seared Scallops
The delicate, sweet flavor of seared scallops pairs beautifully with a variety of side dishes, allowing you to create a complete and satisfying meal. Here are some fantastic suggestions:
- Light Vegetable Sides: Complement the richness of the scallops with fresh, vibrant vegetables. Consider roasted asparagus, green beans almandine, a medley of roasted seasonal vegetables, or a creamy cauliflower mash. For a low-carb option, zucchini noodles or spiralized cucumber salads work wonderfully.
- Pasta and Risotto: Scallops are an excellent addition to pasta dishes or creamy risottos. Toss them with a light lemon-garlic pasta, a creamy mushroom risotto, or a simple butter sauce. Their sweetness shines through.
- Classic Potato Preparations: Good old mashed potatoes, perhaps with some garlic and chives or even crispy bacon bits, offer a comforting and hearty accompaniment. Roasted potato wedges or a light potato salad can also work.
- Grains and Polenta: For a more robust side, consider serving scallops alongside creamy grits, fluffy jasmine rice, or a rich, cheesy polenta. These grains absorb the delicious pan juices, making for a truly satisfying dish.
- Fresh Salads: A crisp, light green salad with a vinaigrette dressing provides a refreshing counterpoint to the buttery scallops. Think mixed greens with cherry tomatoes, cucumber, and a lemon-herb dressing.
Storage and Reheating Recommendations
Seared scallops are truly best enjoyed immediately after cooking to fully appreciate their tender texture and crispy crust. However, if you do find yourself with leftovers, proper storage and reheating are key to maintaining their quality.
Storage: Leftover seared scallops do not store exceptionally well, as their delicate texture can change. They should be consumed within 1 to 2 days maximum. Store any uneaten scallops in an airtight container in the refrigerator to prevent them from absorbing other odors and to maintain freshness.
Reheating: To reheat, gently re-sear the scallops in a hot pan with a small amount of butter and olive oil for about 1 minute per side. The goal is to warm them through and revive some of the crust without overcooking them, which would make them rubbery. Avoid reheating in a microwave, as this will almost certainly result in a tough, unappetizing texture.
Freezing: I strongly advise against freezing pan-seared scallops, especially if you initially used frozen scallops for the recipe. The freezing and thawing process significantly degrades their delicate texture, making them mushy and rubbery upon reheating. It’s best to cook only the amount you plan to eat fresh.
Substitutions & Flavorful Variations
While a classic seared scallop recipe is perfection on its own, don’t hesitate to get creative with flavor enhancements and variations. Scallops are incredibly versatile and can adapt to many culinary profiles.
- Elevate with Aromatics and Herbs: An all-time favorite is infusing the searing butter with finely minced garlic, creating a delectable garlic butter sauce. Fresh herbs like chopped parsley, cilantro, tarragon, or fresh basil can be added towards the end of cooking or as a garnish for a burst of freshness. Sautéed chopped shallots can also add a subtle, sweet onion flavor to the pan. Experiment with other citrus fruits beyond lemon, such as lime or orange, for a different acidic kick.
- Pan-Infused Citrus: For a more intense citrus aroma and flavor, you can add whole lemon wedges or thick lemon slices directly to the pan during the searing process. The heat will release their essential oils, subtly perfuming the scallops.
- “Boozed Up” Scallops: Deglaze the pan with about ¼ cup of dry white wine (like Sauvignon Blanc or Pinot Grigio) after removing the scallops. Let it simmer briefly to reduce, then pour this flavorful sauce over your scallops. The wine perfectly complements the sweetness of the scallops and adds a layer of sophistication.
- Country-Themed Variations:
- Mexican Style: Add a touch of heat by searing with a pinch of smoked paprika, chili powder, or finely diced jalapeños. Serve with a squeeze of lime and fresh cilantro.
- Mediterranean (Greek/Italian) Style: Incorporate ingredients like chopped Kalamata olives, cherry tomatoes, a splash of white wine, and fresh oregano or basil for a vibrant, herbaceous profile.
- Spanish Style: Infuse the butter and oil with sweet Spanish paprika and a hint of saffron. Serve with a drizzle of sherry vinegar.
Expert Tips To Achieve The Best Seared Scallops
- The Golden Rule: Dry, Dry, Dry: Even if you purchase “dry-packed” scallops, it is absolutely paramount to pat each and every scallop thoroughly dry with paper towels before seasoning and searing. Any residual moisture will prevent the Maillard reaction, leading to steamed, not seared, scallops. This is the single most important tip for a deep, golden-brown crust.
- Use the Right Tools: A heavy-bottomed pan (cast iron is ideal) and a pair of sturdy tongs or a wooden spoon are your best friends. Tongs allow for precise placement and flipping without damaging the delicate scallop meat.
- Test the Heat: Before committing your entire batch of scallops, perform a test sear with one scallop. The pan should be hot enough that the scallop sizzles immediately upon contact. If it smokes excessively or doesn’t sizzle, adjust the heat accordingly. While some chefs prefer very high heat for a quicker sear (e.g., 2 minutes per side), I often find medium-high heat for 3-4 minutes per side allows for better control and a more even crust without burning.
- Consider a Light Flour Dredge: If you consistently struggle to achieve that perfect golden-brown crust, a very light dusting of flour on each dry scallop can help. The flour absorbs any remaining surface moisture and contributes to browning, but ensure it’s a light coating to avoid a gummy texture.
- Do Not Crowd the Pan: This tip cannot be stressed enough. Scallops release moisture as they cook. If the pan is overcrowded, the temperature will drop significantly, and the released moisture will steam the scallops instead of searing them. Cook in batches, allowing at least ½ inch of space between each scallop.
- Resist the Urge to Move Them: Once the scallops are in the hot pan, do not touch, poke, or shuffle them around. Let them sit undisturbed for the entire searing time on each side. This constant contact with the hot surface is what creates that beautiful, deep crust. Only flip when it’s time to cook the second side, and then remove them from the pan immediately once done. High, consistent heat does the work – your intervention will hinder it.
Popular Questions About Searing Scallops
What Is The Secret To Perfectly Seared Scallops?
The foremost secret to achieving a perfect sear on scallops lies in using large, high-quality “dry” sea scallops and ensuring they are exceptionally dry before they hit the pan. After patting them dry, sear them for approximately 3-4 minutes per side in a mixture of hot butter and olive oil. For an even more consistent golden-brown color, a very light dusting of flour can be applied to each scallop before searing.
How Long Does It Take To Sear Scallops?
Large “King” scallops typically take about 3-4 minutes to sear properly on each side in a hot skillet over medium-high heat. If using medium-low heat as in some recipes, it might take closer to 4 minutes per side. Smaller bay scallops will cook much faster, often in just 1-2 minutes per side. Always start by testing with one scallop to gauge your pan’s heat and ideal cooking time for your specific batch.
How Many Scallops Per Person?
The quantity of scallops per person depends on their size and whether they are served as an appetizer or a main course. For a main course featuring large sea scallops, plan for 4 to 6 scallops per person. If serving as an appetizer, 2-3 large scallops per person should be sufficient.
What Is The Best Oil For Searing Scallops?
A combination of olive oil and butter is often considered the best for searing scallops. The olive oil (or another high smoke point oil like grapeseed or canola oil) provides the necessary high heat tolerance to prevent burning, while the butter adds incredible flavor and promotes a rich golden-brown crust. This dynamic duo ensures both a beautiful sear and exceptional taste.
Do You Season Scallops Before Searing?
Yes, it is recommended to season scallops with salt and freshly ground black pepper immediately before searing. This allows the seasoning to penetrate the meat and enhance its natural flavors. If you plan to serve your scallops with a sauce, it’s generally best to add the sauce after the scallops are fully cooked to maintain the integrity of their crust.
What Is The Best Cooking Method For Scallops?
Pan-searing scallops in a hot, heavy-bottomed skillet is widely regarded as the best cooking method. This technique creates a delicious crunchy, caramelized crust while leaving the center incredibly juicy and tender. While scallops can also be sautéed (often used for smaller bay scallops or in mixed dishes) or baked (less common for individual scallops, more for casseroles or gratins), searing delivers the most impressive textural contrast and flavor development.
If you love this easy seafood recipe, you’re going to love these other delicious and simple seafood creations too. Explore these fantastic recipes by clicking the links below!
Crab Cakes
Crab Cakes are a beloved coastal delicacy, celebrated for their savory flavor and delightful texture. They can be enjoyed on their own or paired with a creamy dipping sauce for an extra burst of flavor.
Check out this recipe

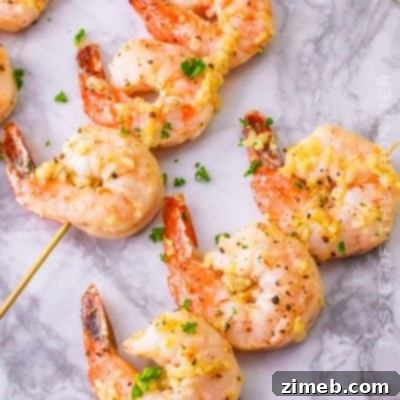
Shrimp Skewers in Oven
This recipe for oven-baked shrimp skewers is not only incredibly delicious but also designed to make dinnertime simple, quick, and effortless, perfect for a busy weeknight.
Check out this recipe
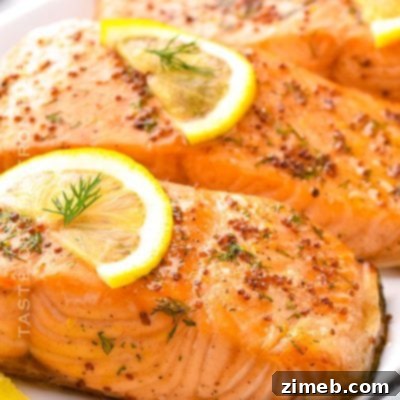
Maple Glazed Salmon
This simple maple-glazed salmon recipe is easy to follow and consistently yields perfectly cooked salmon, coated in an irresistible sweet and savory glaze that everyone will adore.
Check out this recipe
Easy Bacon Crab Roll
This easy bacon crab roll recipe, featuring succulent Dungeness crab and a delightful Sriracha Aioli sauce, is a guaranteed family favorite. It’s a simple-to-make dinner everyone will love.
Check out this recipe

More Great Seafood Recipes
Smoked Oysters
Air Fryer Lobster Tails
Sheet Pan Shrimp Fajitas
CONNECT WITH US!
Be sure to follow us on our social media, so you never miss a post!
Substack, Facebook, Pinterest, Instagram, Email Subscription
Rate this Recipe
Seared Scallops Recipe
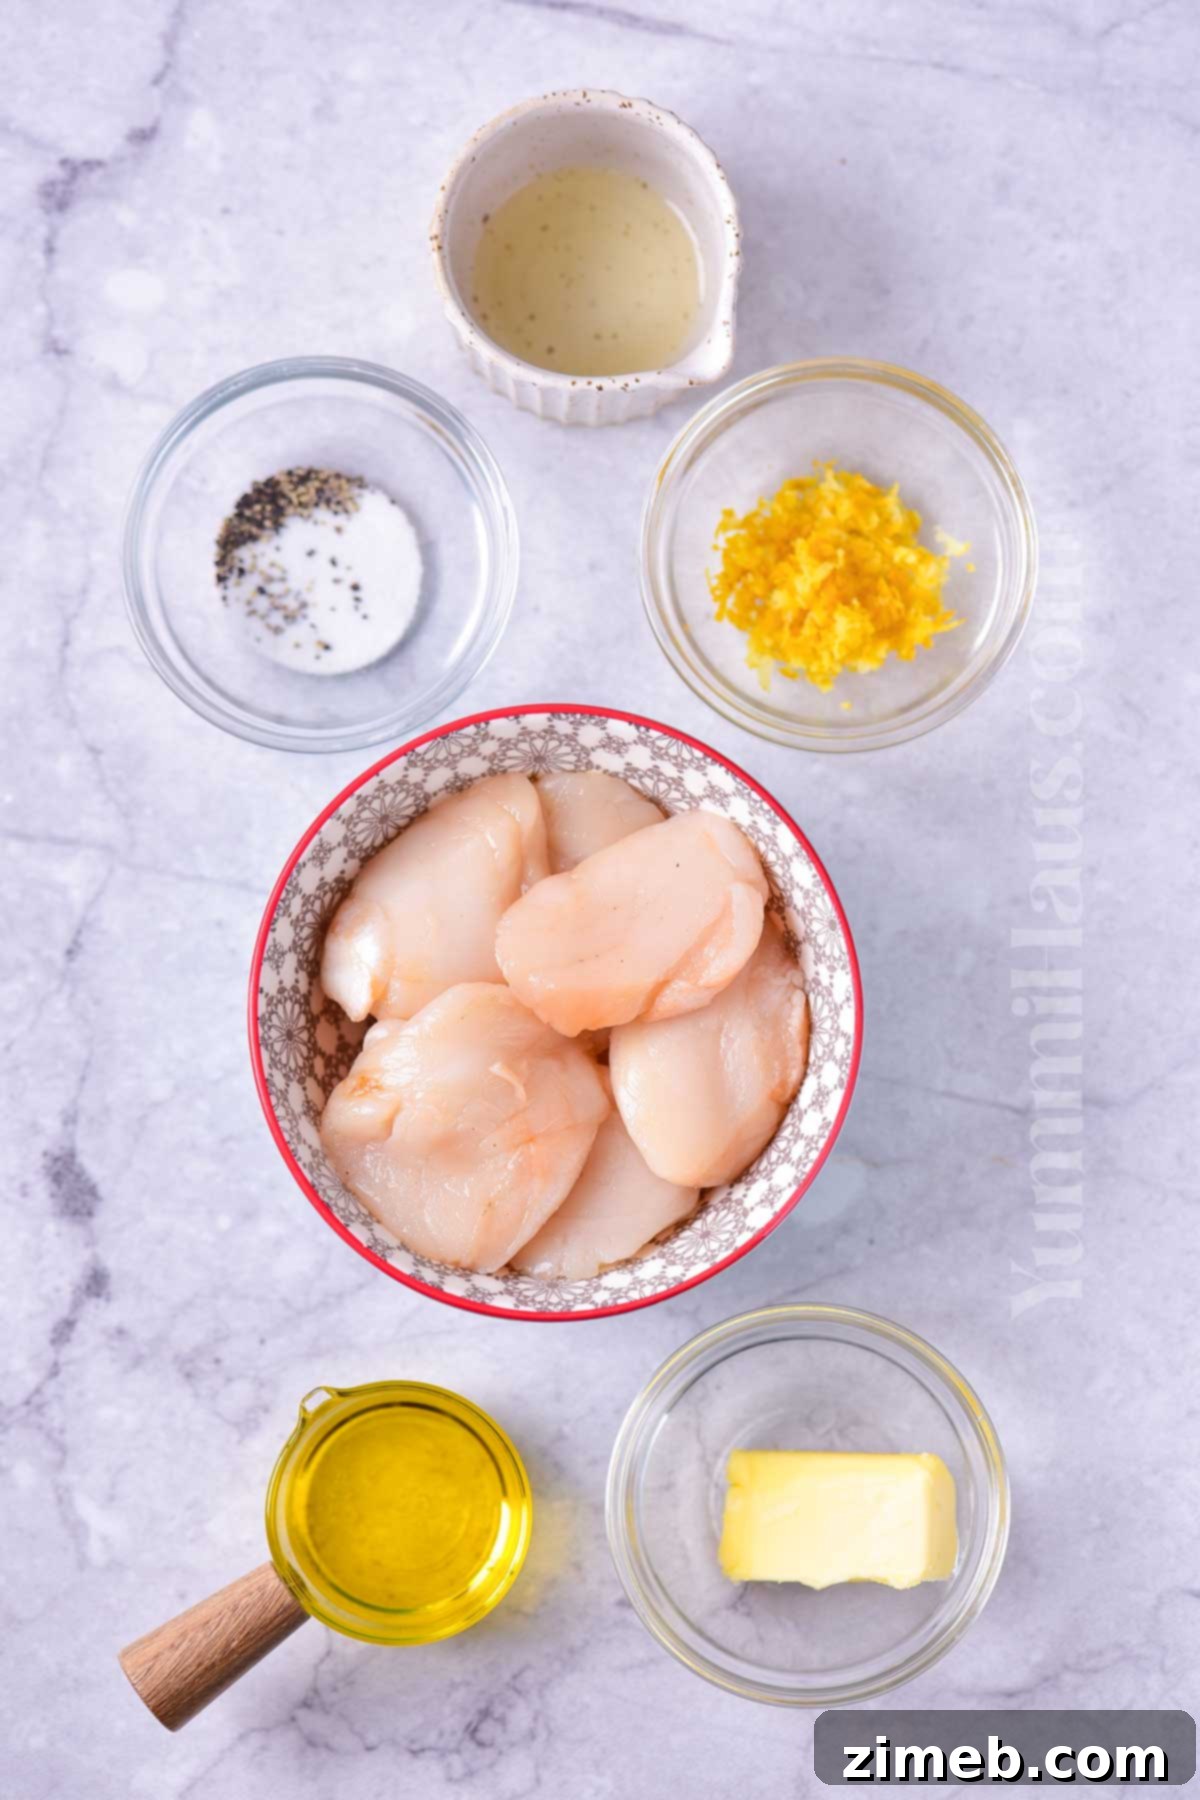
Ingredients
- ½ lb king scallops
- ¼ tsp salt
- ¼ tsp pepper
- 1 tbsp olive oil
- 1 tbsp butter
- 1 tsp lemon juice
- 1 tsp lemon zest
Instructions
-
Wash the scallops and gently pat them dry.
-
Sprinkle with salt and pepper.
-
Combine the olive oil and butter in a medium fry pan. Heat over medium-low until melted.
-
Add the scallops to the pan and cook for 4 minutes.
-
Flip and cook the other side for another 4 minutes.
-
Remove. Season with lemon juice and lemon zest when serving.
Optional – serve with additional melted butter drizzled on top.
Nutrition
Nutritional information for the recipe is provided as a courtesy and is approximate. Please double-check with your own dietary calculator for the best accuracy. We cannot guarantee the accuracy of the nutritional information given for any recipe on this site.