
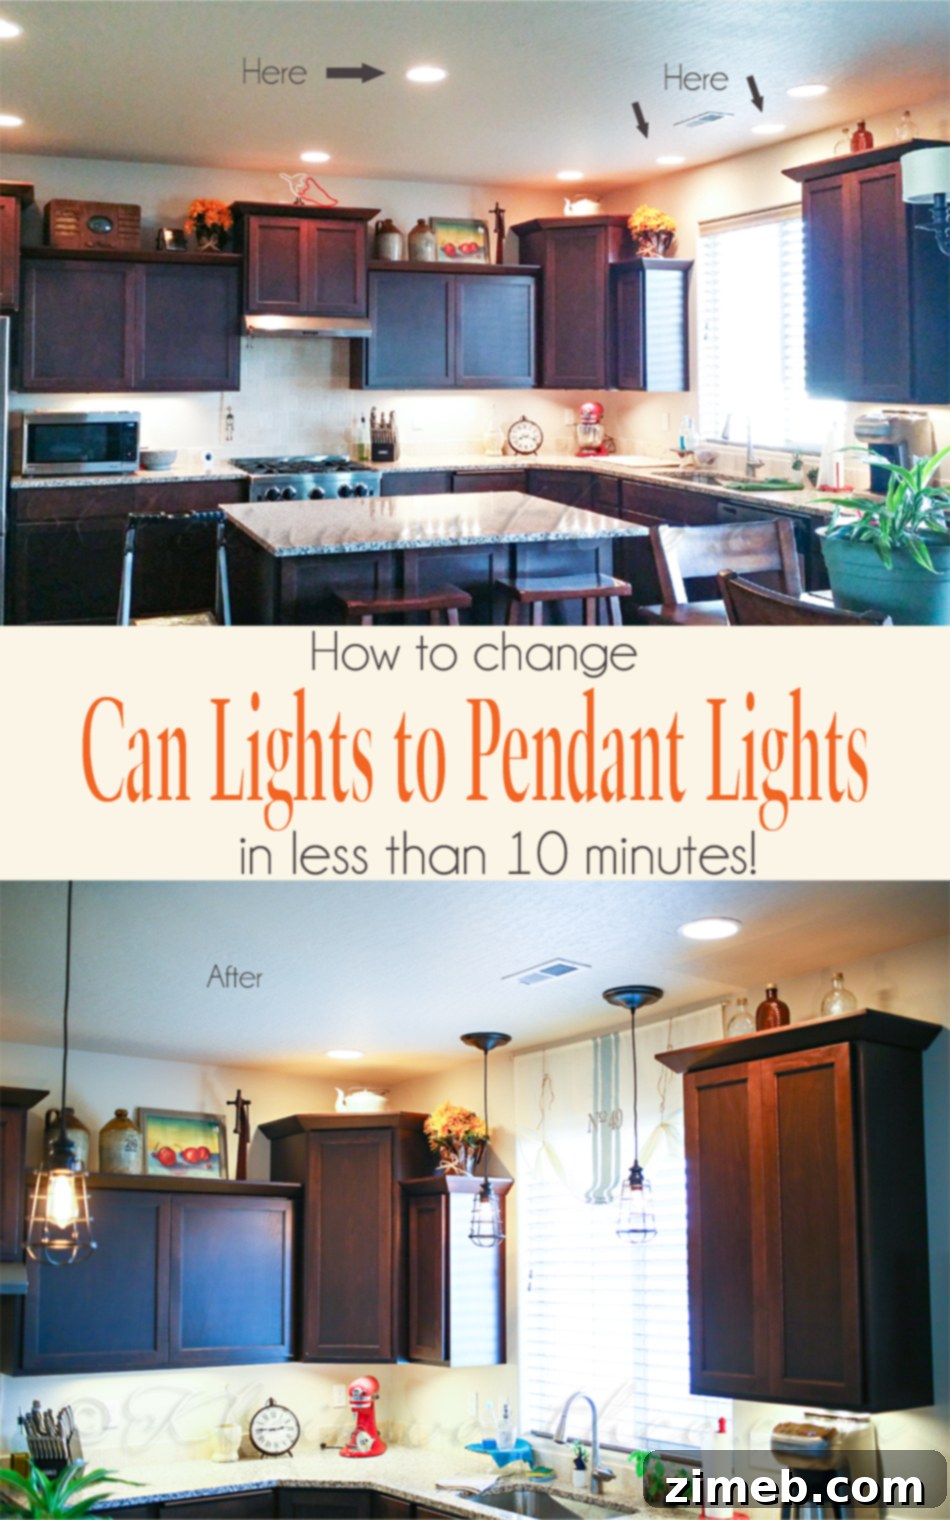
Transforming your home’s ambiance doesn’t always require a major renovation. Sometimes, the most impactful changes are the simplest ones, like upgrading your lighting. Today, we’re diving into an incredibly straightforward yet stunning home improvement project: converting outdated **can lights to stylish pendant lights**. While the holidays kept us busy behind the scenes with various house projects, this particular DIY gem, born from a spontaneous idea back in September, has been eagerly awaiting its spotlight. We’re thrilled to finally share the super quick and undeniably easy process, along with the beautiful final result. If you’ve been dreaming of a refreshed look for your kitchen or any space with recessed lighting, get ready to discover how you can achieve a sophisticated update in less than 10 minutes – because it truly is that simple!
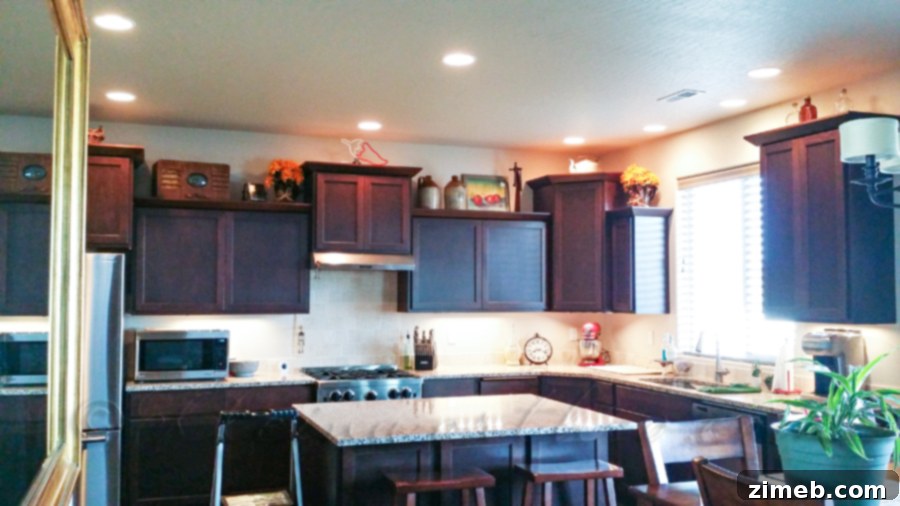
Take a moment to see what our kitchen looked like before we embarked on this lighting transformation.
Why Choose Pendant Lights Over Can Lights?
Recessed can lights have long been a staple in modern homes, offering discreet, ambient lighting. However, their flush design, while minimal, can sometimes feel a bit impersonal or dated. Pendant lights, on the other hand, bring a unique blend of style, functionality, and personality to a room. They serve as aesthetic focal points, drawing the eye and adding a layer of decorative charm that recessed lights simply can’t. Beyond their visual appeal, pendants often provide more directed, task-specific illumination, perfect for areas like kitchen islands, breakfast nooks, or over sinks where focused light is beneficial for cooking, reading, or simply enhancing the atmosphere. Upgrading to pendant lights can instantly elevate your kitchen’s design, making it feel more bespoke, contemporary, and inviting.
Our Journey: Learning from a DIY Misstep
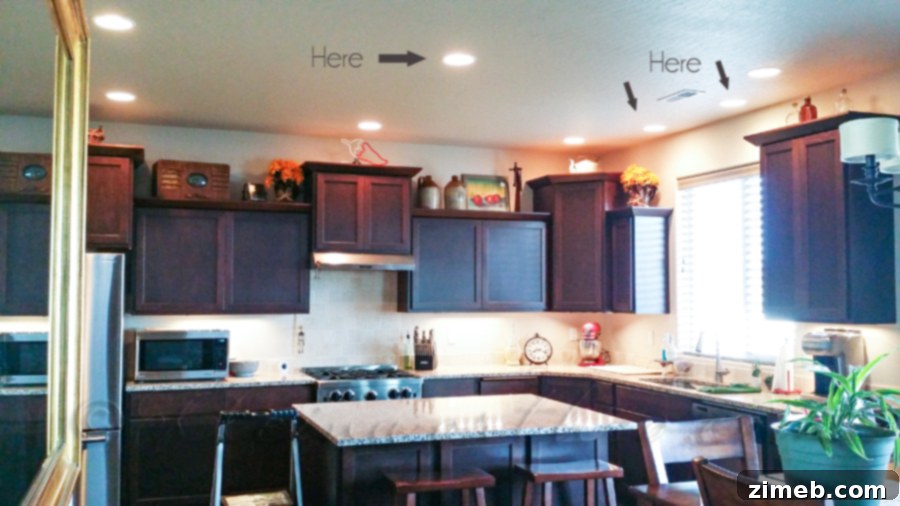
Our initial foray into this project began one weekend with grand plans to replace the can lights above our kitchen island and the two above the sink. We started by meticulously pulling out the existing can lights and attempting a complete rewire with a kit that required assembling various pieces. We even documented the entire, more complex process, intending to share a comprehensive guide. However, as often happens with DIY, we encountered an unexpected hurdle: the lights we selected, once installed, hung haphazardly and refused to straighten perfectly. In a household where precision and symmetry are highly valued (let’s just say we have a touch of OCD!), bent cords and uneven lights were simply unacceptable. Our vision of a perfectly aligned, elegant lighting scheme was shattered. So, with a sigh, we carefully de-installed them, put the old can lights back in, and waited for new, more user-friendly options to arrive. This taught us a valuable lesson: sometimes, investing a little more in a purpose-built solution can save a lot of frustration and deliver a superior result.
Choosing the Right Conversion Kit: Simplicity is Key
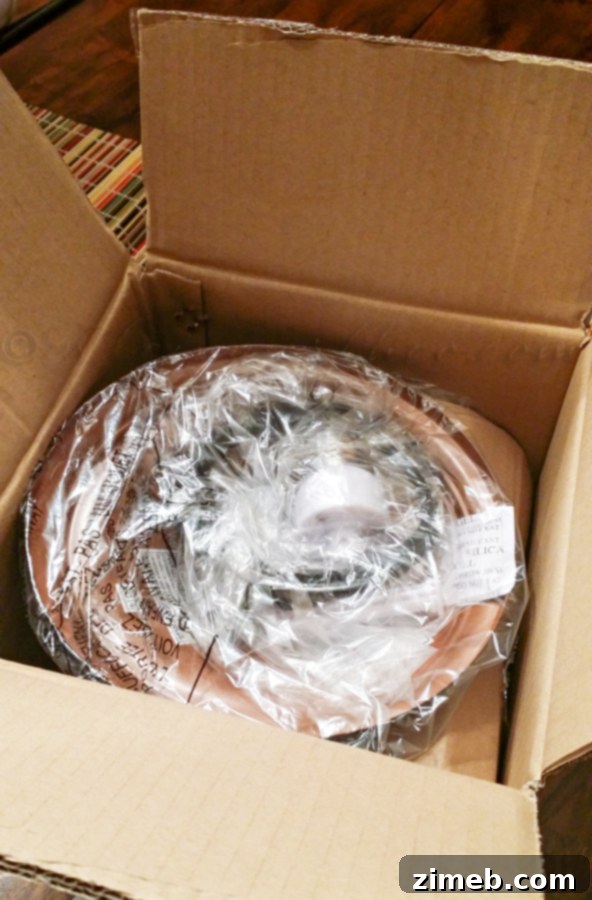
After our first attempt, we decided to pivot towards a much simpler approach. We gave in and opted to spend a bit more on a “screw-in a light bulb easy” conversion kit – a decision we absolutely do not regret! This type of kit is specifically designed to convert existing recessed light fixtures into pendant light sources without requiring any complex wiring or electrical knowledge. It eliminates the need to remove the entire recessed housing, making the process incredibly fast and mess-free. About ten days later, returning home from the gym one evening, we were delighted to find our new lighting kits waiting patiently on the front porch. The anticipation was palpable; we couldn’t even wait to make dinner. The boxes were opened immediately, and the transformation began.
We chose a style similar to these Bronze Pendant, CONVERSION KIT, which perfectly matched our desired aesthetic. When selecting your conversion kit, consider the style of your home, the finish of other fixtures, and the overall look you’re trying to achieve. Many kits offer adjustable cord lengths, which is crucial for customizing the pendant’s hang height to suit your ceiling height and design preferences. Always ensure the kit is compatible with your existing recessed light size (usually 5 or 6 inches, though other sizes exist).
Step-by-Step: Installing Pendant Lights in Under 10 Minutes
The beauty of these conversion kits lies in their simplicity. Here’s how you can achieve a stunning lighting upgrade with minimal effort:
Step 1: Safety First – Turn Off the Power!
Before touching any electrical fixture, always head to your circuit breaker and turn off the power to the specific light you’ll be working on. This crucial step ensures your safety and prevents electrical shocks. A little caution goes a long way in DIY projects.
Step 2: Prepare Your Pendant Light
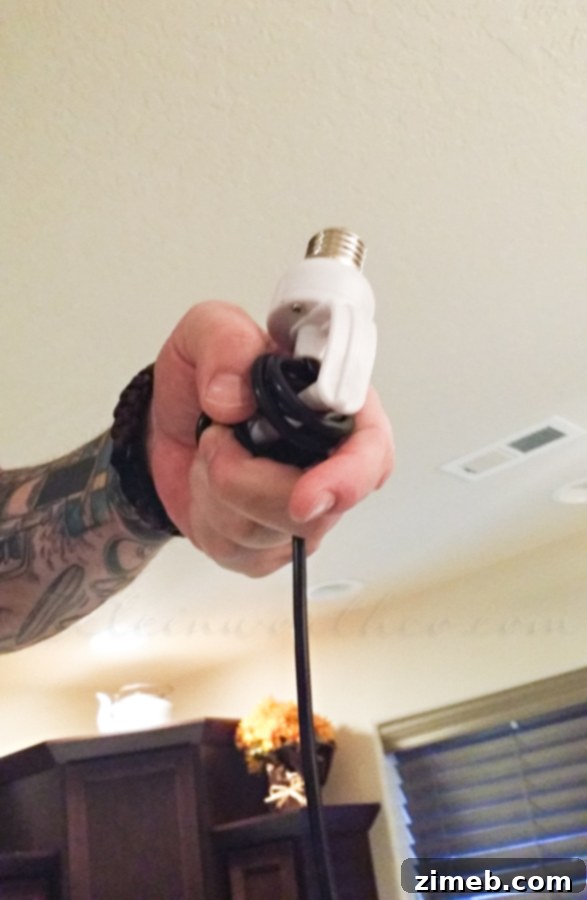
Remove the pendant light conversion kit from its packaging. The first crucial step is to determine the desired hanging length of your pendant. For multiple pendants, like those over an island or sink, precision is key. We meticulously measured all three of our pendants to ensure they hung at exactly the same length, creating a balanced and professional look. Once the length is set, carefully wrap any excess cord around the designated hook or mechanism at the base of the socket screw. This keeps the cord tidy and secures the pendant at your chosen height.
Step 3: Replace the Existing Light Bulb with the New Fixture
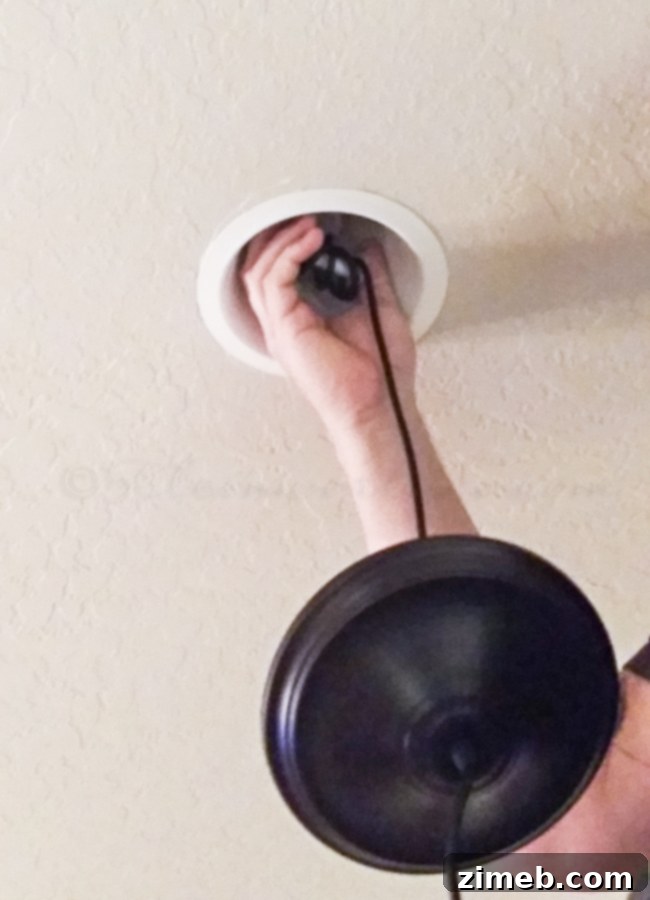
Now, with the power safely off, remove the existing light bulb from your recessed can light. Next, take your prepared pendant light fixture and simply screw its base into the existing socket of the recessed light. This is where the magic of the conversion kit truly shines – it’s as easy as changing a light bulb!
Step 4: Secure the Mounting Cover
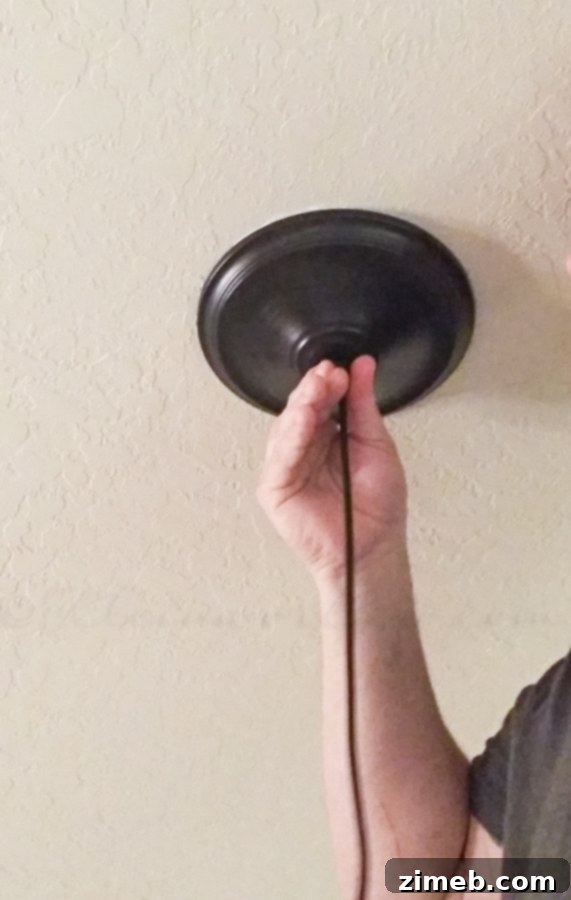
Once the pendant is screwed into place, gently push the decorative mount cover up the cord until it sits flush against the ceiling. This cover conceals the recessed light’s opening and provides a clean, finished look. Most kits have a mechanism to tighten this piece, securing it firmly against the ceiling. Ensure it’s snug and leaves no gaps for a seamless transition from the ceiling to your new pendant light.
Step 5: Add Your Light Bulb and Test
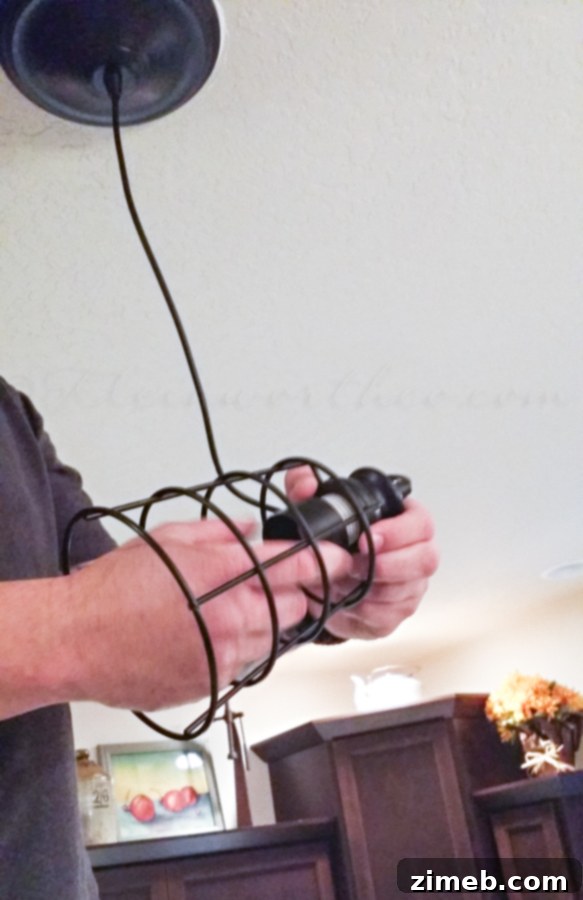
Finally, screw in your desired light bulb. We opted for cool vintage-style Edison bulbs because they perfectly complement the open cage design of our pendants, adding a warm, inviting glow. Once the bulb is in, head back to your circuit breaker and turn the power back on. Flip the light switch, and admire your newly installed pendant lights!
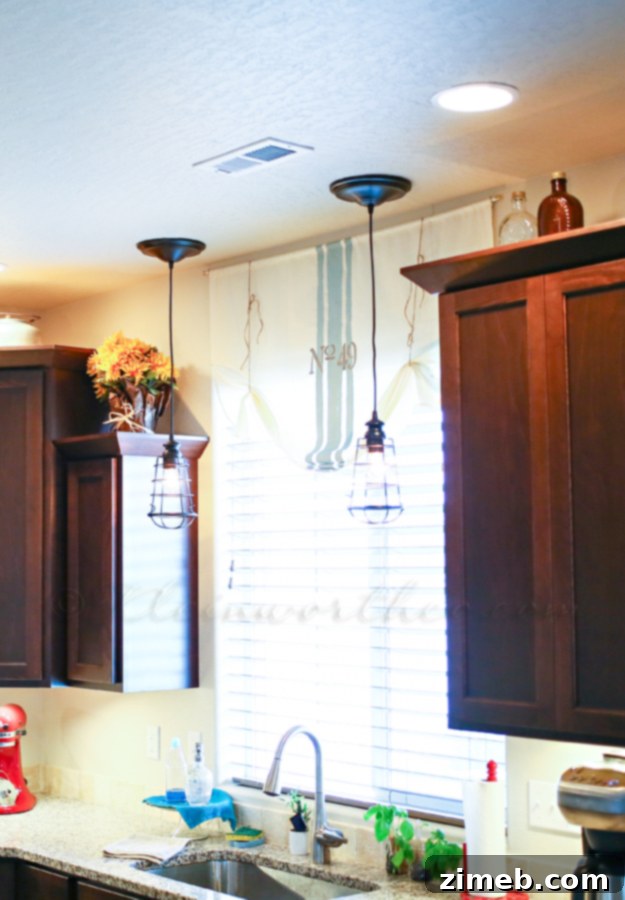
We then repeated this incredibly simple process for the other two lights above the sink. The entire installation, from unboxing to shining, took just a few minutes per fixture. It truly was that simple! The immediate impact on our kitchen’s aesthetic was undeniable. The pendants transformed the space, making it feel so much more personal and stylish than the generic can lights ever did.
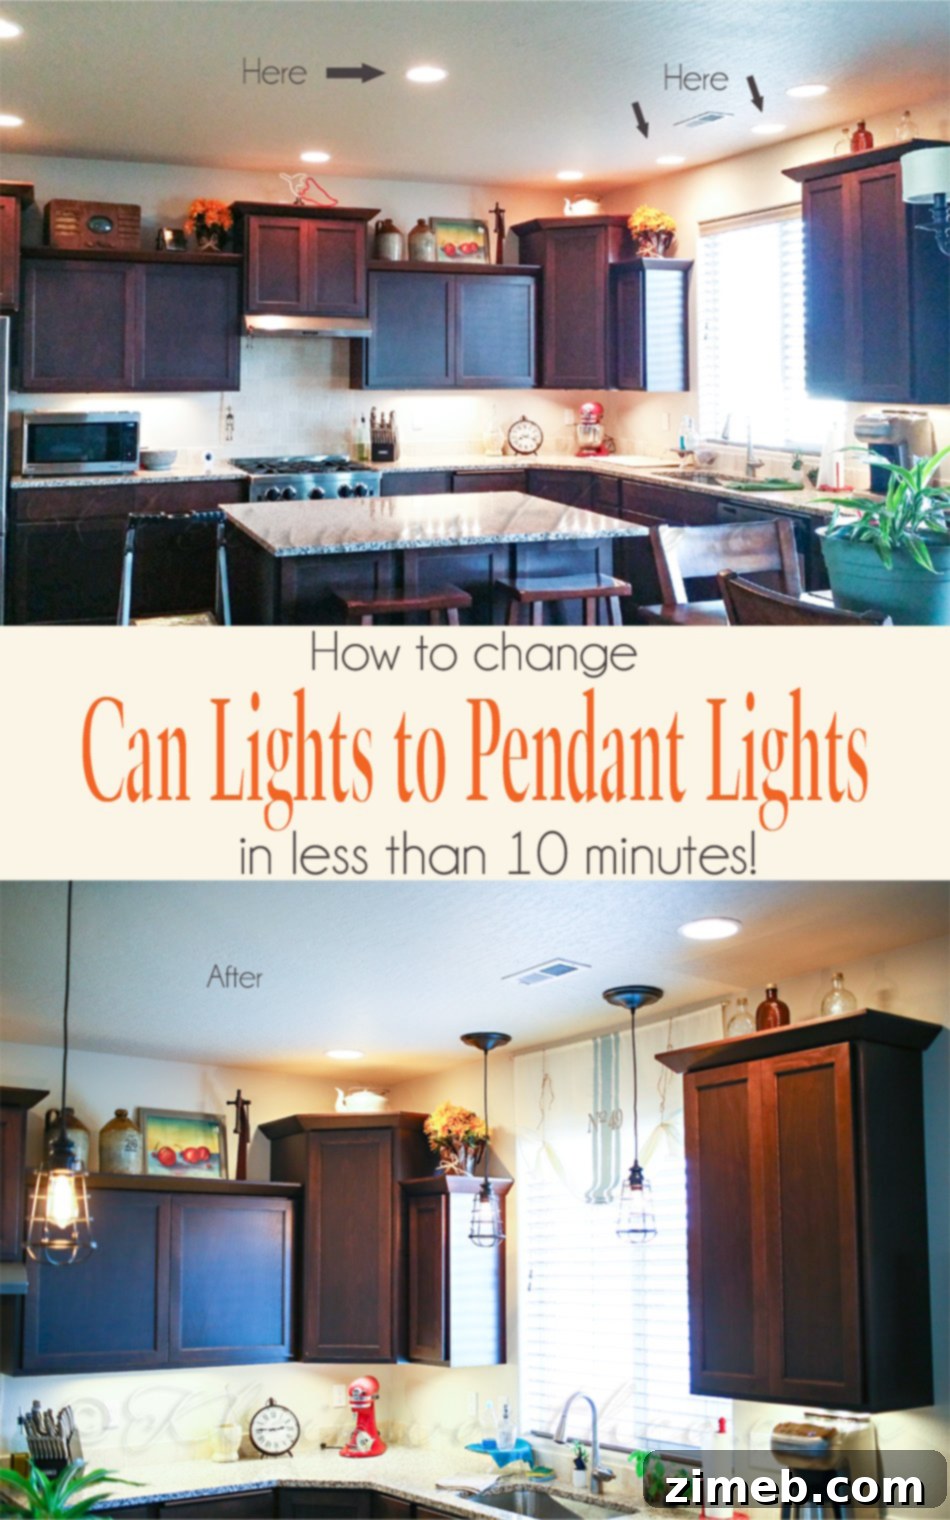
Design Considerations: Elevating Your Space
Beyond the ease of installation, pendant lights offer a fantastic opportunity to inject personality and design flair into your kitchen. When choosing your pendants, consider the scale of your space, the height of your ceilings, and the overall style of your decor. For kitchen islands, a series of three pendants often works best, providing ample light and a balanced visual. Above a sink, a single pendant or a pair can add a functional and decorative touch. Don’t be afraid to experiment with different bulb types – from clear glass globes to exposed filament Edison bulbs or even smart LED bulbs – to create the perfect ambiance. The right lighting can dramatically alter the mood and perceived size of a room, turning a purely functional area into a warm and welcoming hub.
The Transformative Power of Simple Upgrades
This project is a perfect example of how small, seemingly minor changes can yield massive aesthetic returns. Converting **can lights to pendant lights** is an accessible DIY task that not only updates your home’s lighting but also significantly enhances its overall design and functionality. It’s a cost-effective way to achieve a custom look without the expense or hassle of a full remodel. The satisfaction of completing such a noticeable upgrade yourself is an added bonus, proving that sophisticated home improvements are well within reach for any DIY enthusiast.
Looking Ahead: More Home Improvement Inspiration!
We have many more exciting projects planned and already completed that we can’t wait to share with you! From quick weekend transformations to more involved builds, our home is a constant canvas for creativity. My husband and I often joke that I need a second blog dedicated solely to projects, as they could easily take over this space if I shared every single one! For now, I’ll keep them sporadic, ensuring a good mix of content until I figure out a better way to organize and present all our home improvement adventures. Stay tuned for more inspiration to make your home uniquely yours!
Want more simple home projects to elevate your living space?
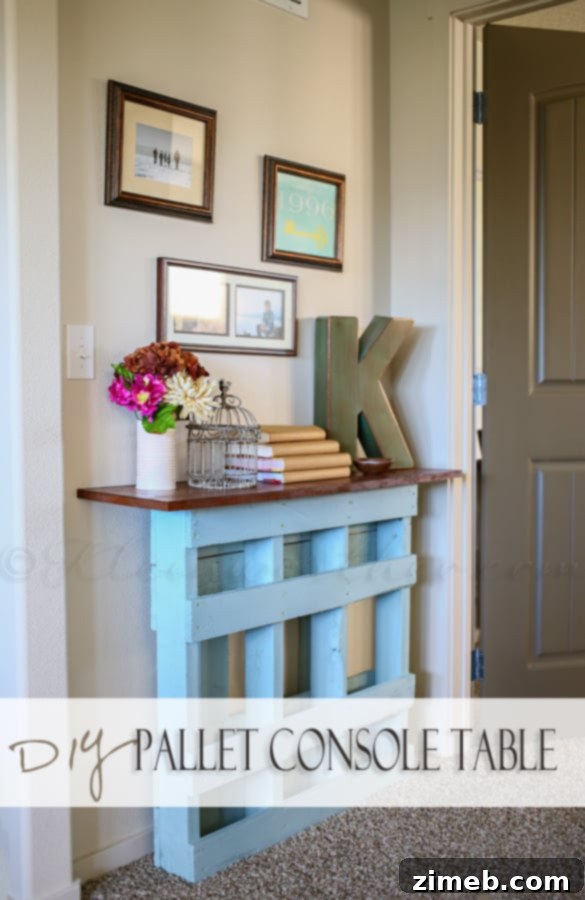
Pallet Console Table
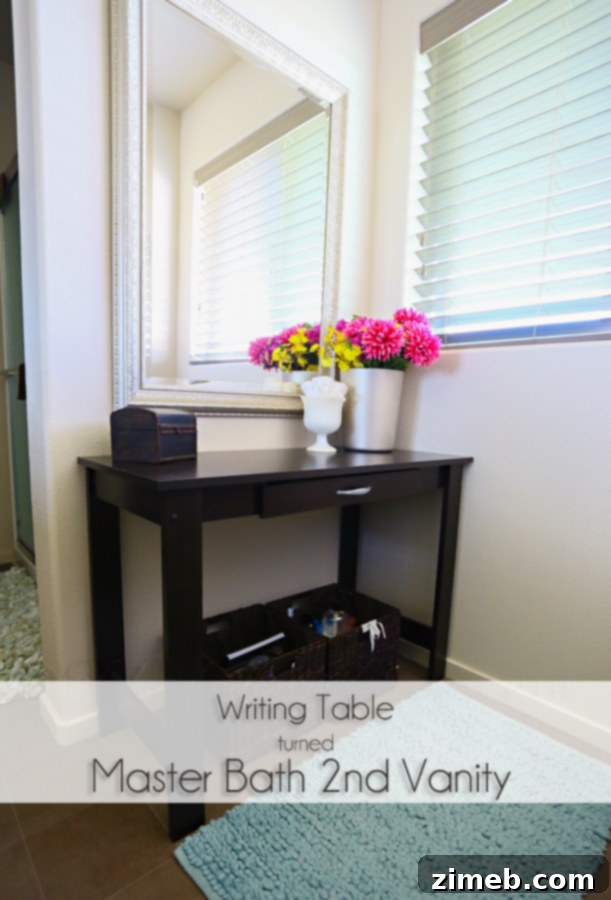
2nd Master Bath Vanity
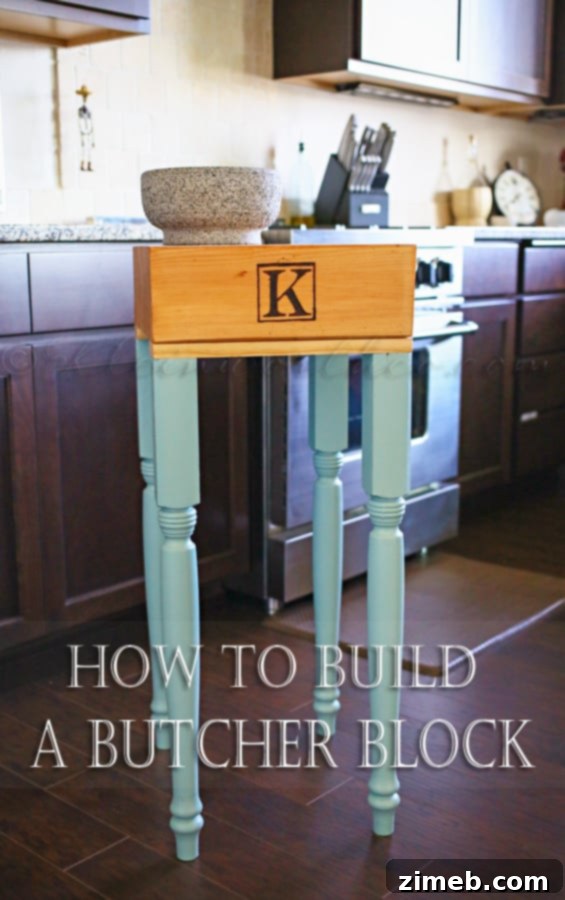
How to Build a Butcher Block
For a deeper dive into more DIY inspiration and where I find my project ideas, visit HERE.