
This post is part of a social shopper marketing insight campaign with Pollinate Media Group® and Sharpie, but all my opinions are entirely my own. #pmedia #SharpieBTS
Maximize Productivity: Create Your Own DIY Sharpie White Board Organizer for a Clutter-Free Home Office
Life often feels like a whirlwind, especially when juggling multiple significant responsibilities. For me, that includes dedicating full-time hours to managing my blog, homeschooling three active children, running a product photography business, and navigating the endless stream of daily family activities. My mind is constantly working overtime, attempting to keep track of every detail and deadline. This relentless pace underscores the critical need for a highly organized and efficient workspace—a sanctuary where I can truly thrive and maintain functionality.
As I meticulously set up each room in our home, my office/studio space has become a central focus. During the planning phase, I intentionally prioritized incorporating as many windows as possible to flood the area with abundant natural light. This design choice is absolutely invaluable for product photography, creating the perfect environment for capturing crisp, vibrant images. However, this aesthetic decision also presented a unique organizational challenge: where to hang all my essential office organizers that were indispensable in my previous setup? With ample windows dominating the walls, traditional hanging solutions were no longer viable. I needed to devise an innovative, large-scale system that would not only be practical but also visually engaging enough to consistently capture my attention. My solution had to be bold, colorful, and utterly effective. With “back-to-school” season in full swing, offering fantastic deals, I knew exactly where to begin my quest for the perfect organizational tools: Staples. And the cornerstone of my new system? Sharpie markers, which were pivotal in creating this incredibly effective Simple White Board Organizer.
The Indispensable Charm of Sharpie Markers in My Creative Workspace
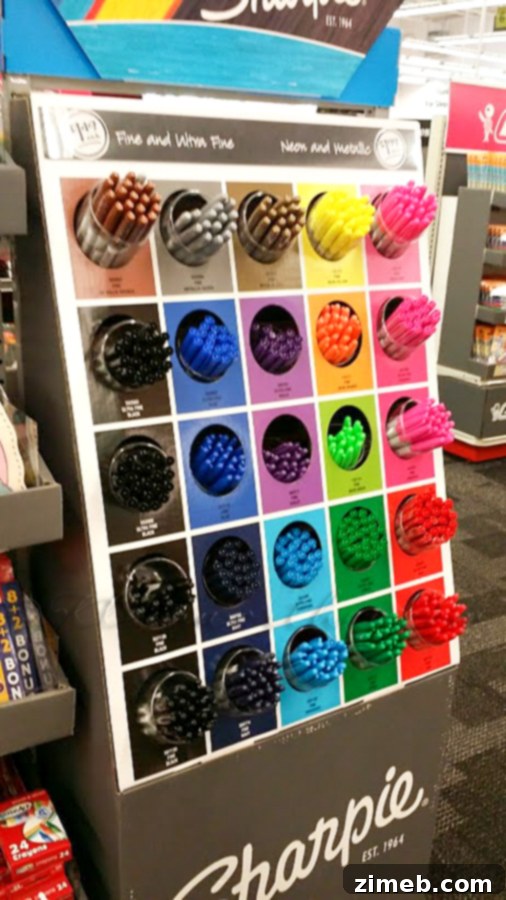
There’s something uniquely compelling about Sharpie markers that makes them an absolute favorite in my creative arsenal. I genuinely can’t seem to get enough of them! My desk features an entire drawer meticulously dedicated to Sharpies—every conceivable size, shape, and color they produce. It feels like I instinctively acquire them whenever new varieties become available. Just look at the vibrant collection I amassed for this project! I admit, I was practically squealing with delight as I discovered more and more Sharpie displays throughout the store. It’s worth noting that right now, Staples is running an incredible sale on all Sharpie Fine and Ultra Fine markers, as well as highlighters, while supplies last. Naturally, I made sure to pick up my fair share of these fantastic tools, knowing they would be essential for bringing my organizational vision to life.
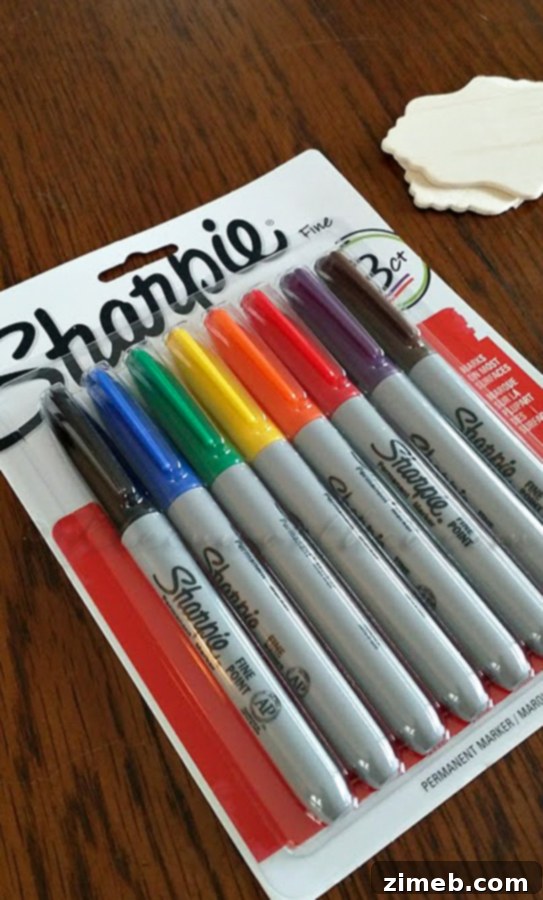
My journey to create the ultimate home office organizer began with this diverse assortment of Sharpie markers. For this particular project, I opted to utilize both the classic permanent markers and the incredibly versatile new Sharpie paint markers. This combination allowed for a dynamic approach to design and labeling, ensuring both durability and eye-catching aesthetics. The permanent markers would be perfect for crisp, defined lettering, while the paint markers offered a brilliant way to add bold, opaque color to various elements of my new system.
Crafting Your Custom Productivity Hub: A Step-by-Step Guide
Creating a functional and visually appealing white board organizer is simpler than you might think, especially with the right tools. Here’s how I transformed a plain white board into a dynamic hub for managing my busy schedule.
Gathering Your Essential Supplies:
- A large white board (the bigger, the better for comprehensive task management)
- Sharpie Permanent Markers (various colors for clear labeling)
- Sharpie Paint Markers (for vibrant, opaque coloring of elements)
- Washi tape (for dividing sections and adding decorative flair)
- Small wooden shapes or similar small, flat items (these will become your movable task tabs)
- Magnetic tape (adhesive-backed, for making your tabs movable)
- Dry-erase magnetic strips (for writing temporary notes and tasks directly on the board)
Step 1: Infusing Color with Sharpie Paint Markers
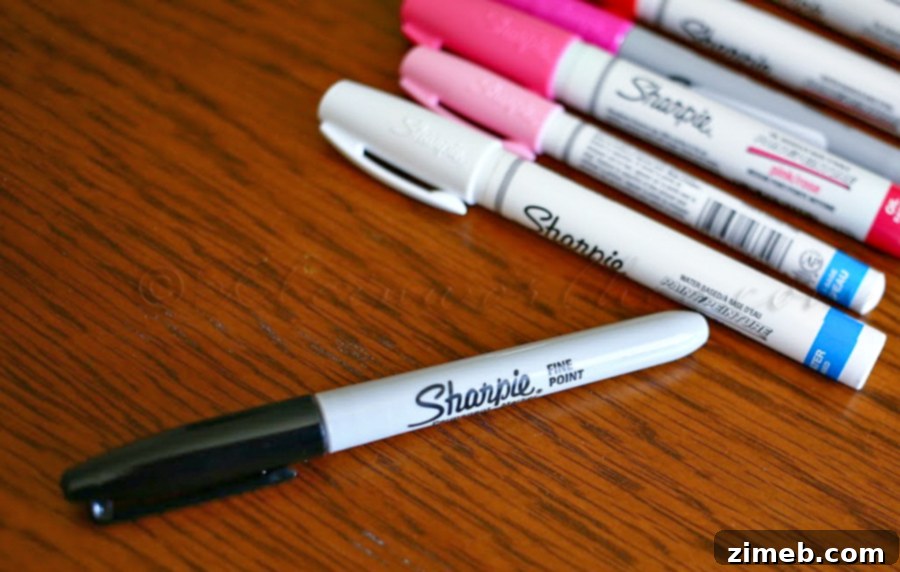
I began by taking a collection of small wooden shapes—these would serve as my movable task tabs. Using my vibrant Sharpie paint markers, I meticulously colored each of these shapes. The paint markers are fantastic for this step, providing rich, opaque colors that truly pop. This personalization makes each tab distinct and visually appealing, immediately drawing my eye to different categories and tasks. Don’t be afraid to experiment with your favorite hues to make your organizer truly reflect your style.
Step 2: Labeling for Clarity with Permanent Sharpies
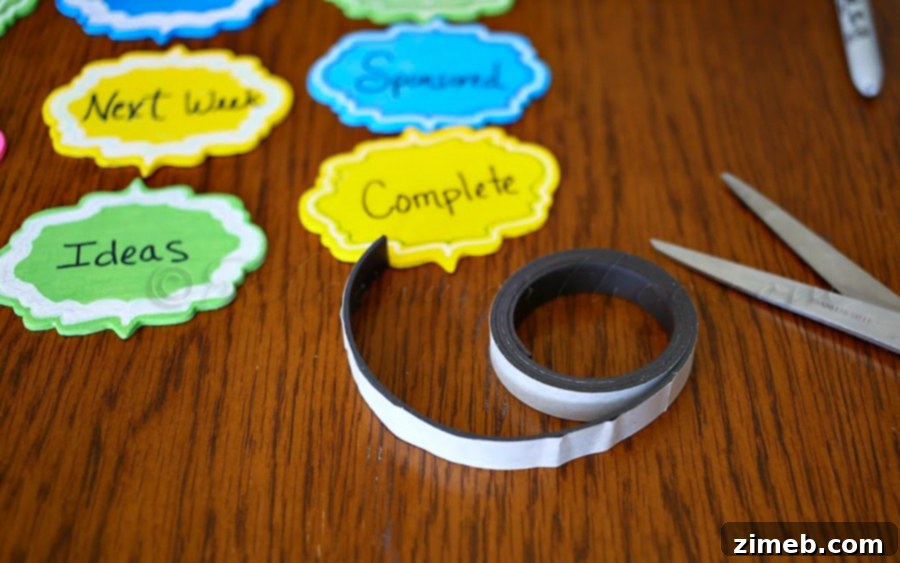
Once the paint on the wooden shapes was dry, I used standard Sharpie permanent markers to clearly write the subject name or category on each one. The fine tips of these markers allow for neat, legible writing, ensuring that each tab is easily identifiable at a glance. After labeling, I applied a small strip of adhesive magnetic tape to the back of each colored wooden shape. This simple addition transforms them into versatile magnetic tabs, ready to stick securely to the whiteboard and be moved around as needed.
Step 3: Creating Movable Categories with Washi Tape
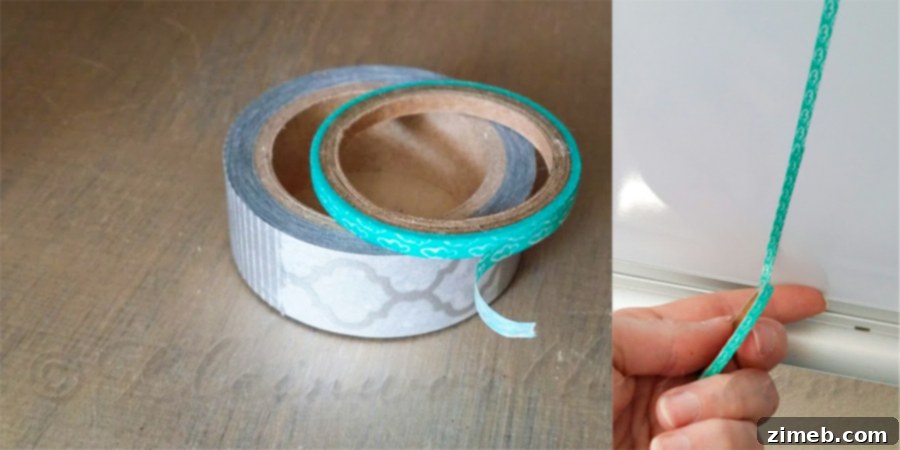
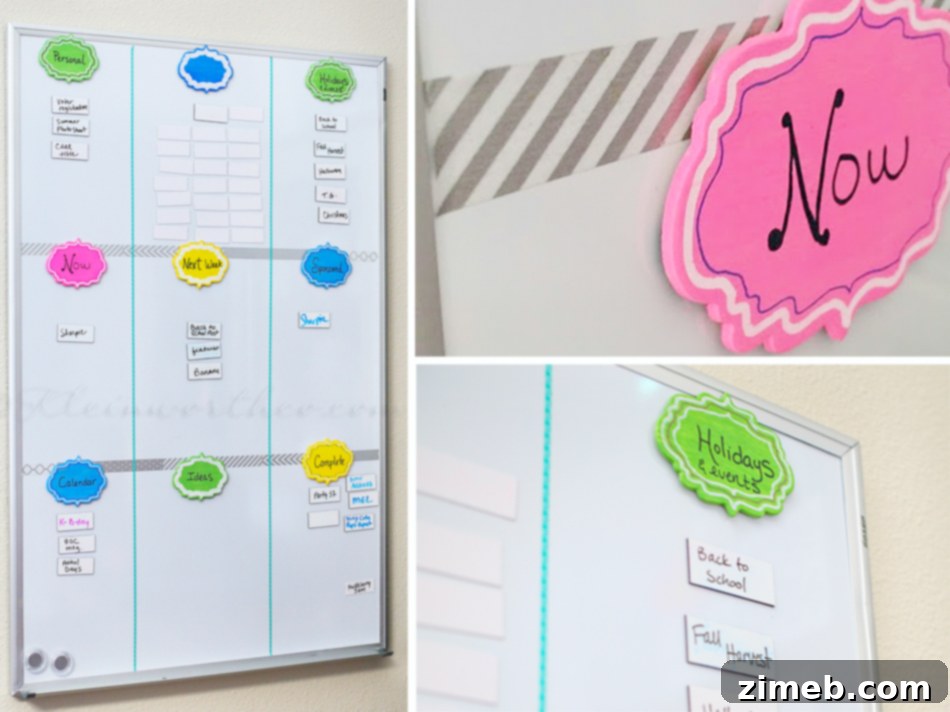
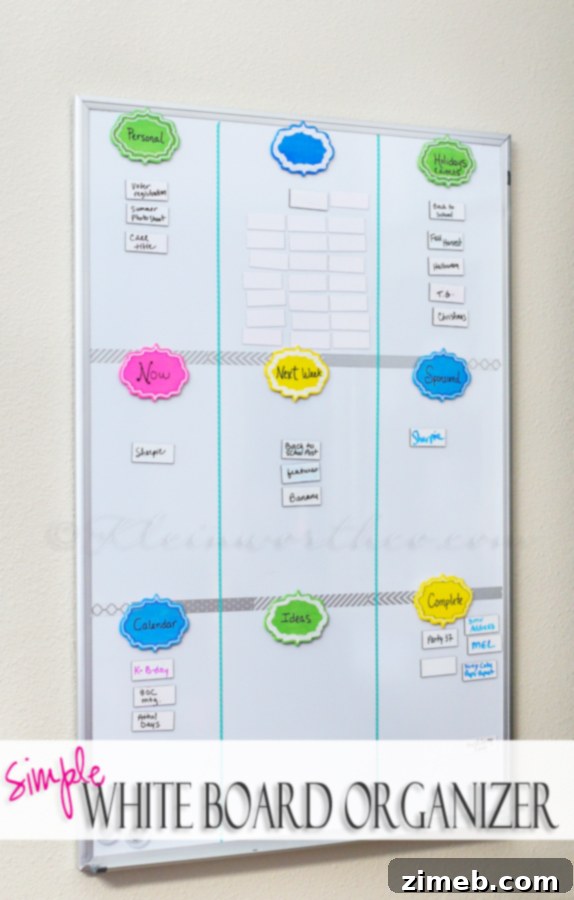
Next, I utilized the decorative yet functional aspect of washi tape to delineate my sections and categories directly on the large white board. Washi tape is ideal because it’s colorful, easy to apply, and can be removed or repositioned without damaging the board. For my specific needs, I decided to create nine distinct sections, carefully laying out the tape to form a grid. This clear division of space is crucial for visual task management, allowing me to compartmentalize my various responsibilities effectively.
Step 4: Enhancing Functionality with Magnetic Strips
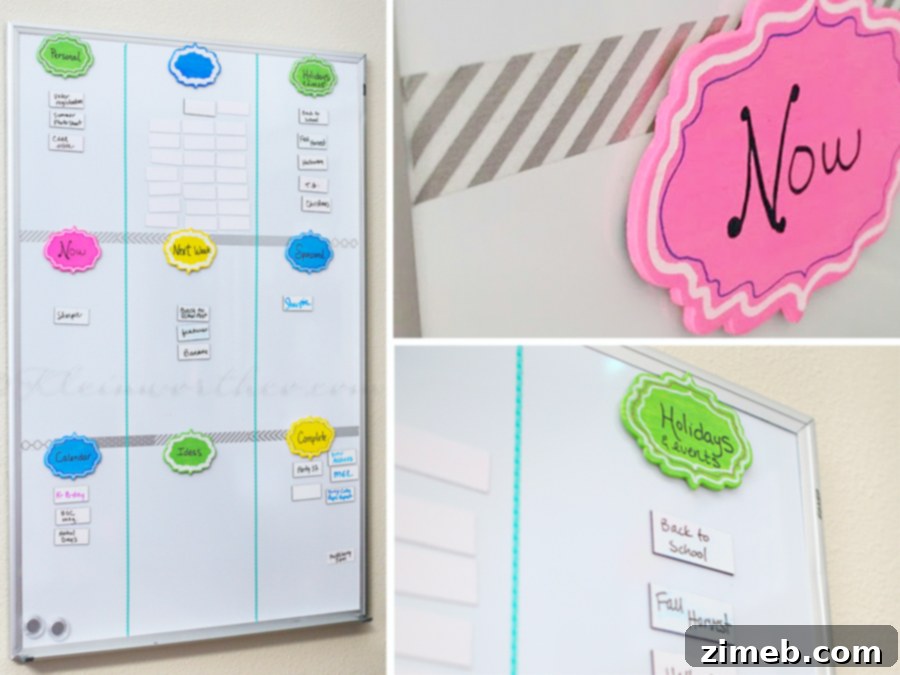
To further enhance the dynamic nature of my organizer, I also picked up several dry-erase magnetic strips. These strips are incredibly handy because I can write temporary notes, specific tasks, or smaller details on them with a dry-erase marker, and then easily move them between categories as projects evolve. This adds an extra layer of flexibility, ensuring my white board remains a living, breathing document of my daily and weekly workflow, adaptable to constant changes and new priorities.
My Personalized White Board: A System for Success
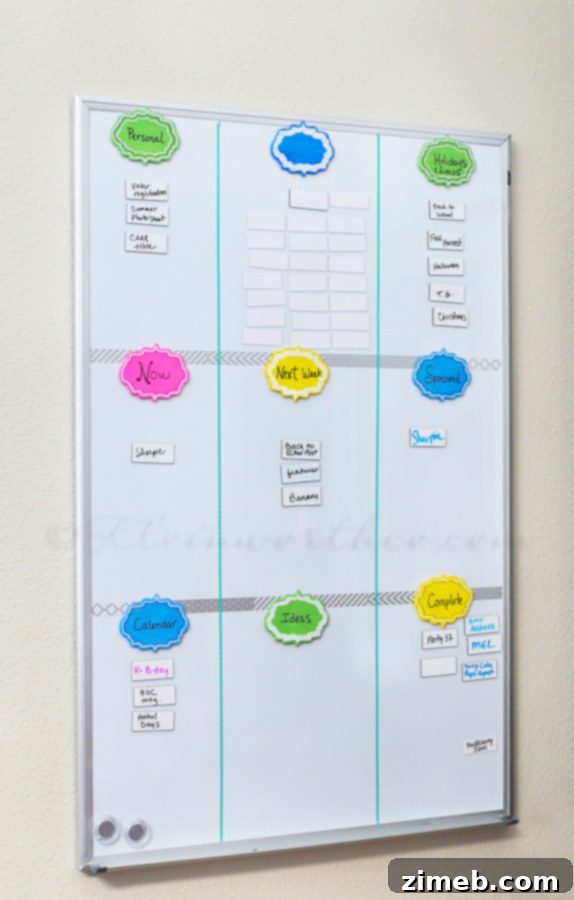
As you can see, I’ve segmented my white board into highly functional categories, each designed to address a specific aspect of my multifaceted life. These include “Things I am working on now” for immediate priorities, “What’s coming up next week” for forward planning, “Personal tasks I need to remember” to ensure personal well-being isn’t overlooked, “Things on the calendar” for appointments and events, “Sponsored posts that I have coming up” for critical blog projects, “Ideas for upcoming posts” for creative brainstorming, and “Upcoming holidays” to plan seasonal content. Finally, and perhaps most satisfyingly, there’s the “Completed” area. There’s an undeniable mental cleansing that comes from taking a task tab and moving it from an active category over to the completed box – it signifies accomplishment and progress, boosting motivation for the next challenge.
Transforming Your Workflow: The Immediate Impact of This Organizer
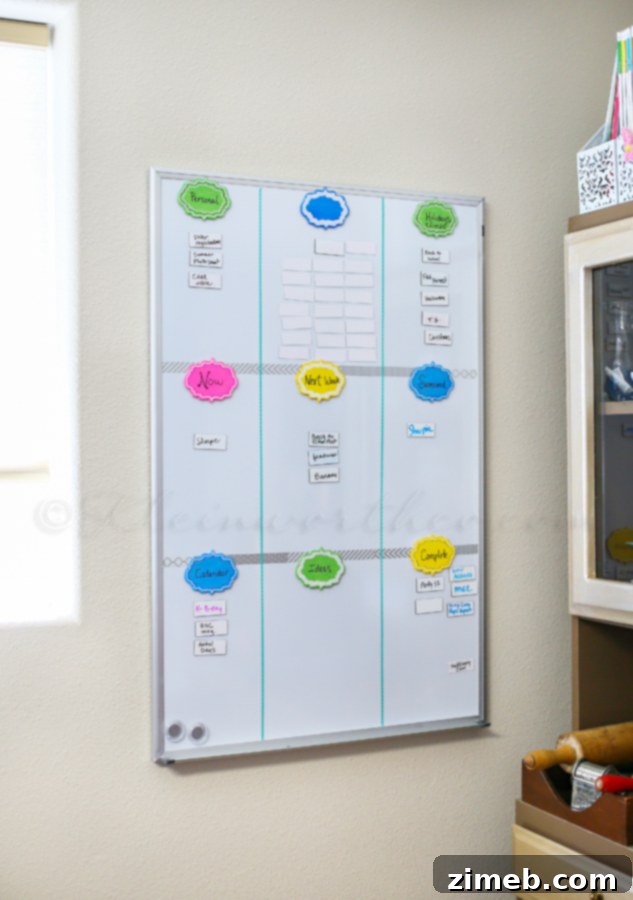
The beauty of this white board organizer lies in its simplicity and effectiveness. It truly didn’t take long to put together, yet the impact on my daily productivity has been enormous. I use it constantly! The ability to glance up from my desk and immediately grasp everything I have going on – from immediate tasks to upcoming projects and personal reminders – is invaluable. This visual overview significantly reduces mental clutter and the stress of trying to recall every detail. I honestly can’t believe I managed to live this long without such a crucial tool. This board has become an indispensable part of my workflow, providing clarity and direction amidst the daily hustle.
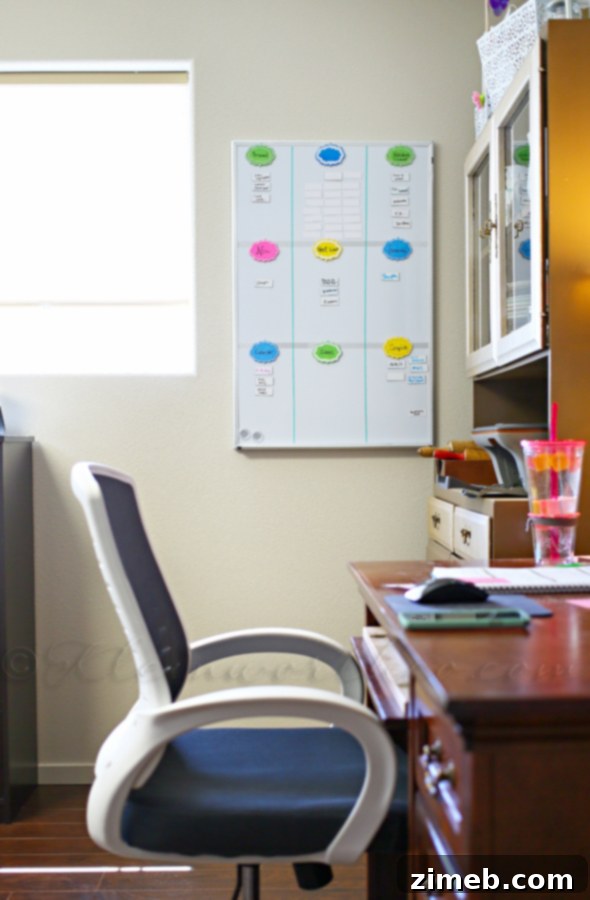
As you can see, this simple yet powerful DIY project has utterly transformed how I manage my time and tasks. My office feels more organized, my mind feels clearer, and my productivity has soared. Now, the final step is to meticulously complete all the other small touches in my workspace to make it a fully cohesive and inspiring environment.
Connect with Sharpie for More Inspiration!
Ready to dive into the vibrant world of Sharpie products? Visit their official website to explore their full range of markers, pens, and creative tools. You can also connect with them on social media for endless inspiration, project ideas, and updates:
Twitter | Facebook | Instagram
Explore More Home Organization & Craft Projects:
If you enjoyed creating this functional organizer, you’ll love these other DIY projects designed to bring beauty and order to your home:

Simple Coffee Filter Flowers
Hair Accessories Organizer
Recipe Request Board
Start your journey to a more organized and productive life today!