
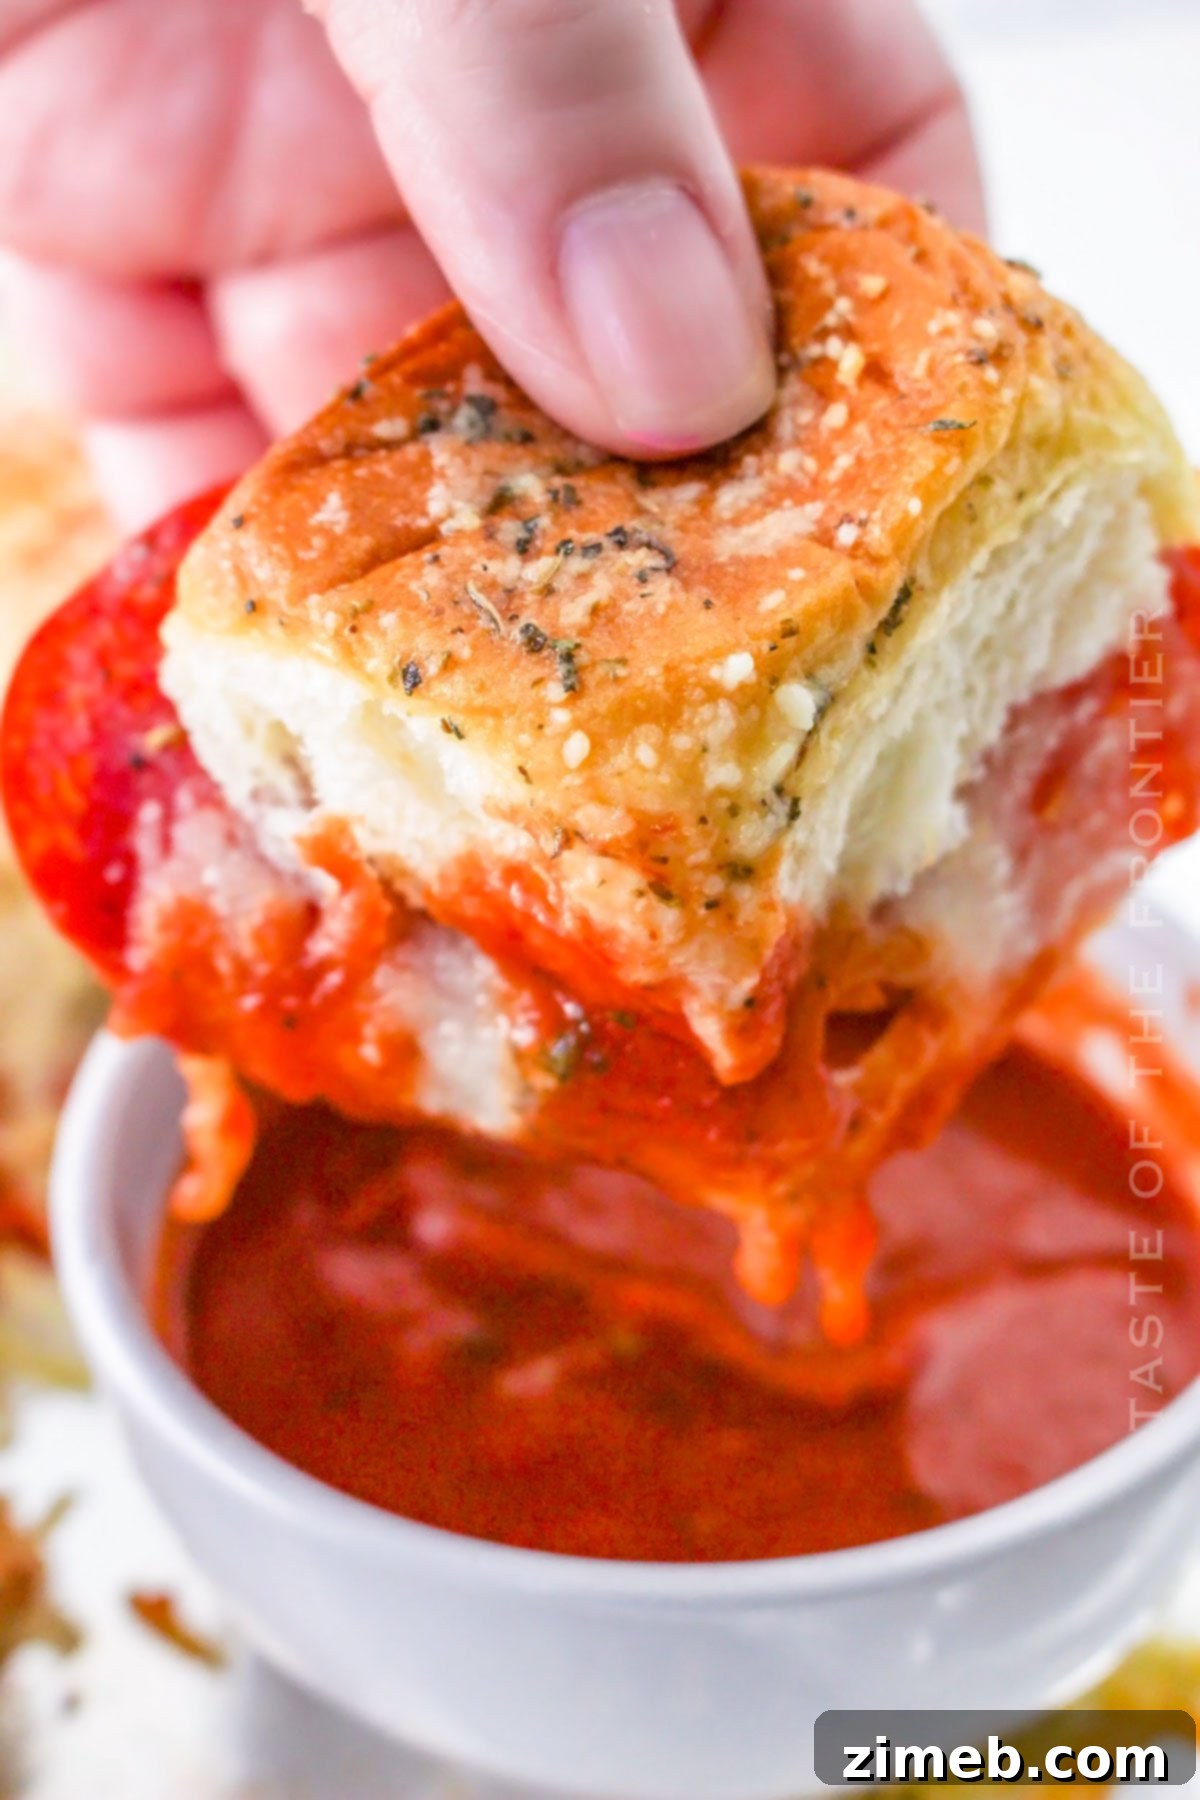
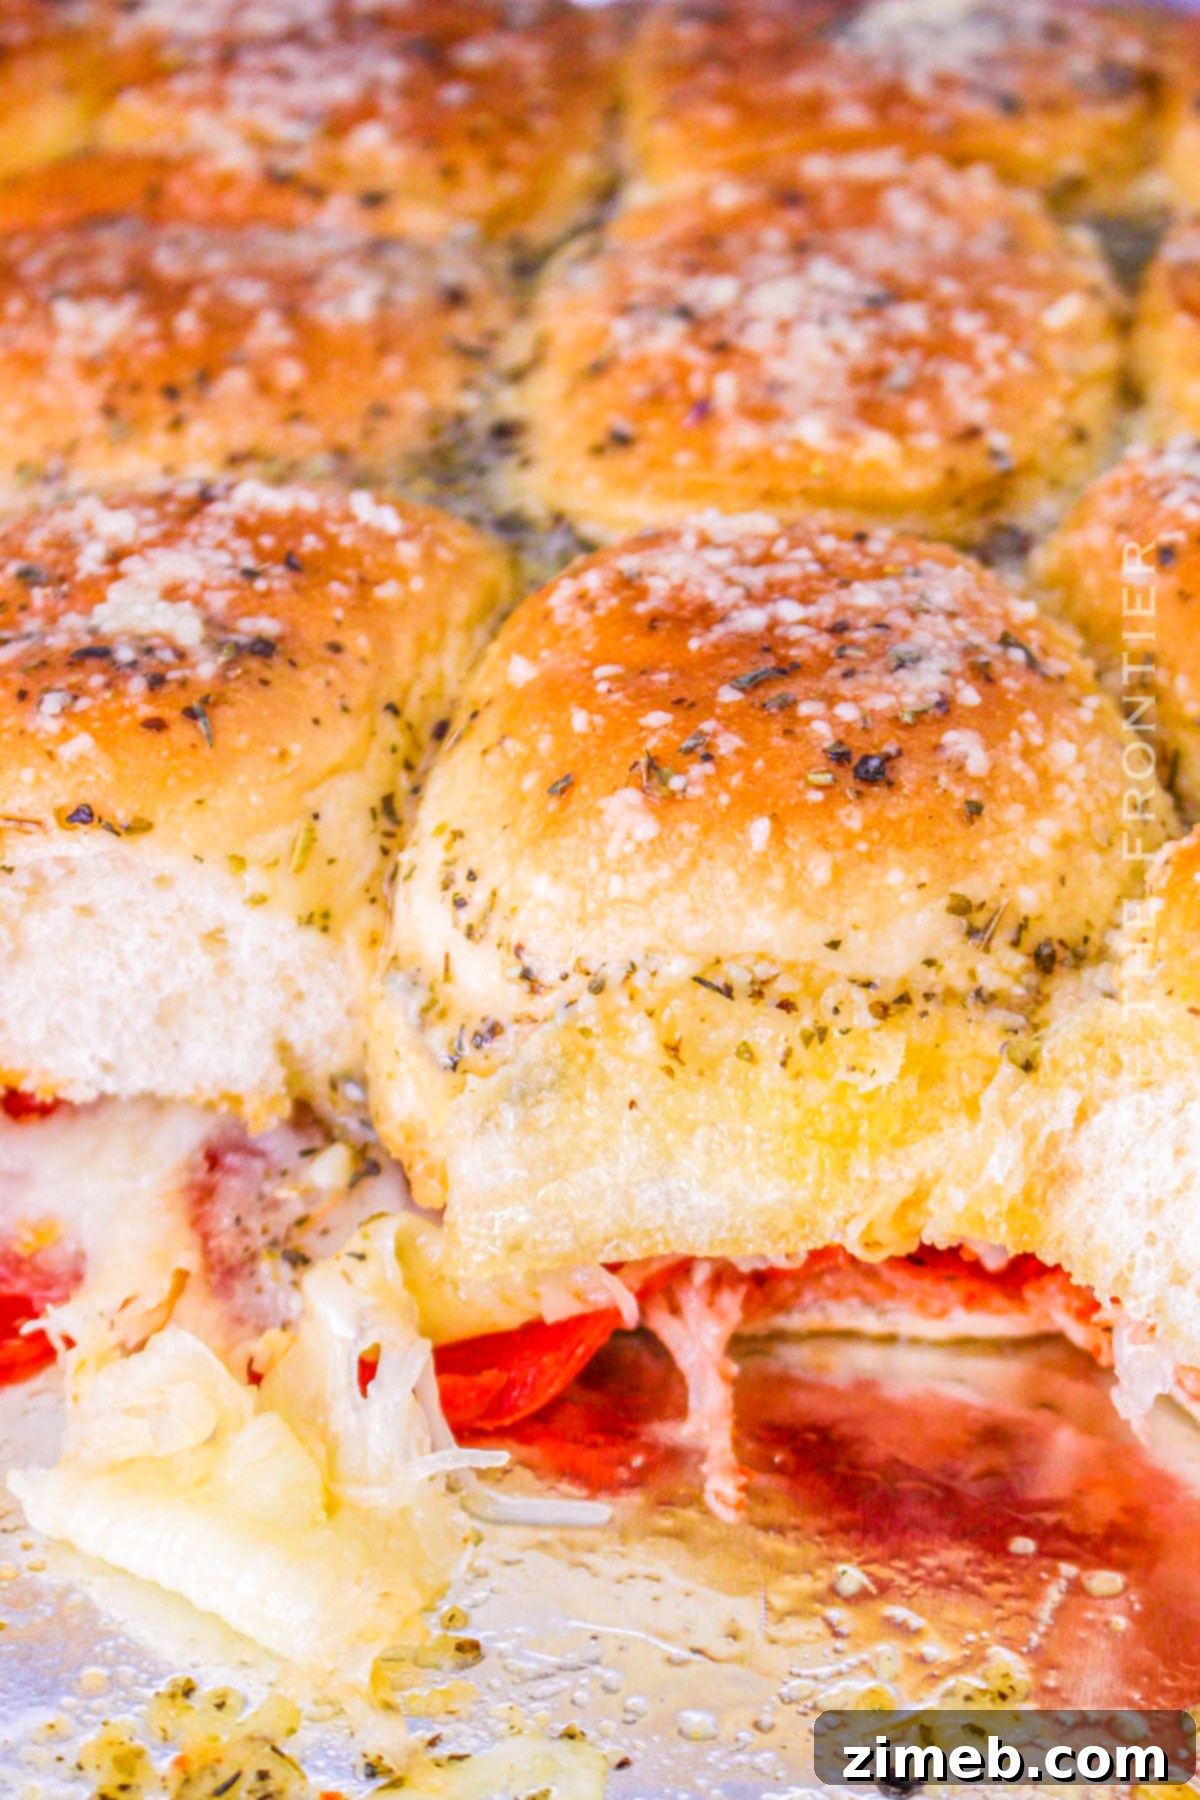
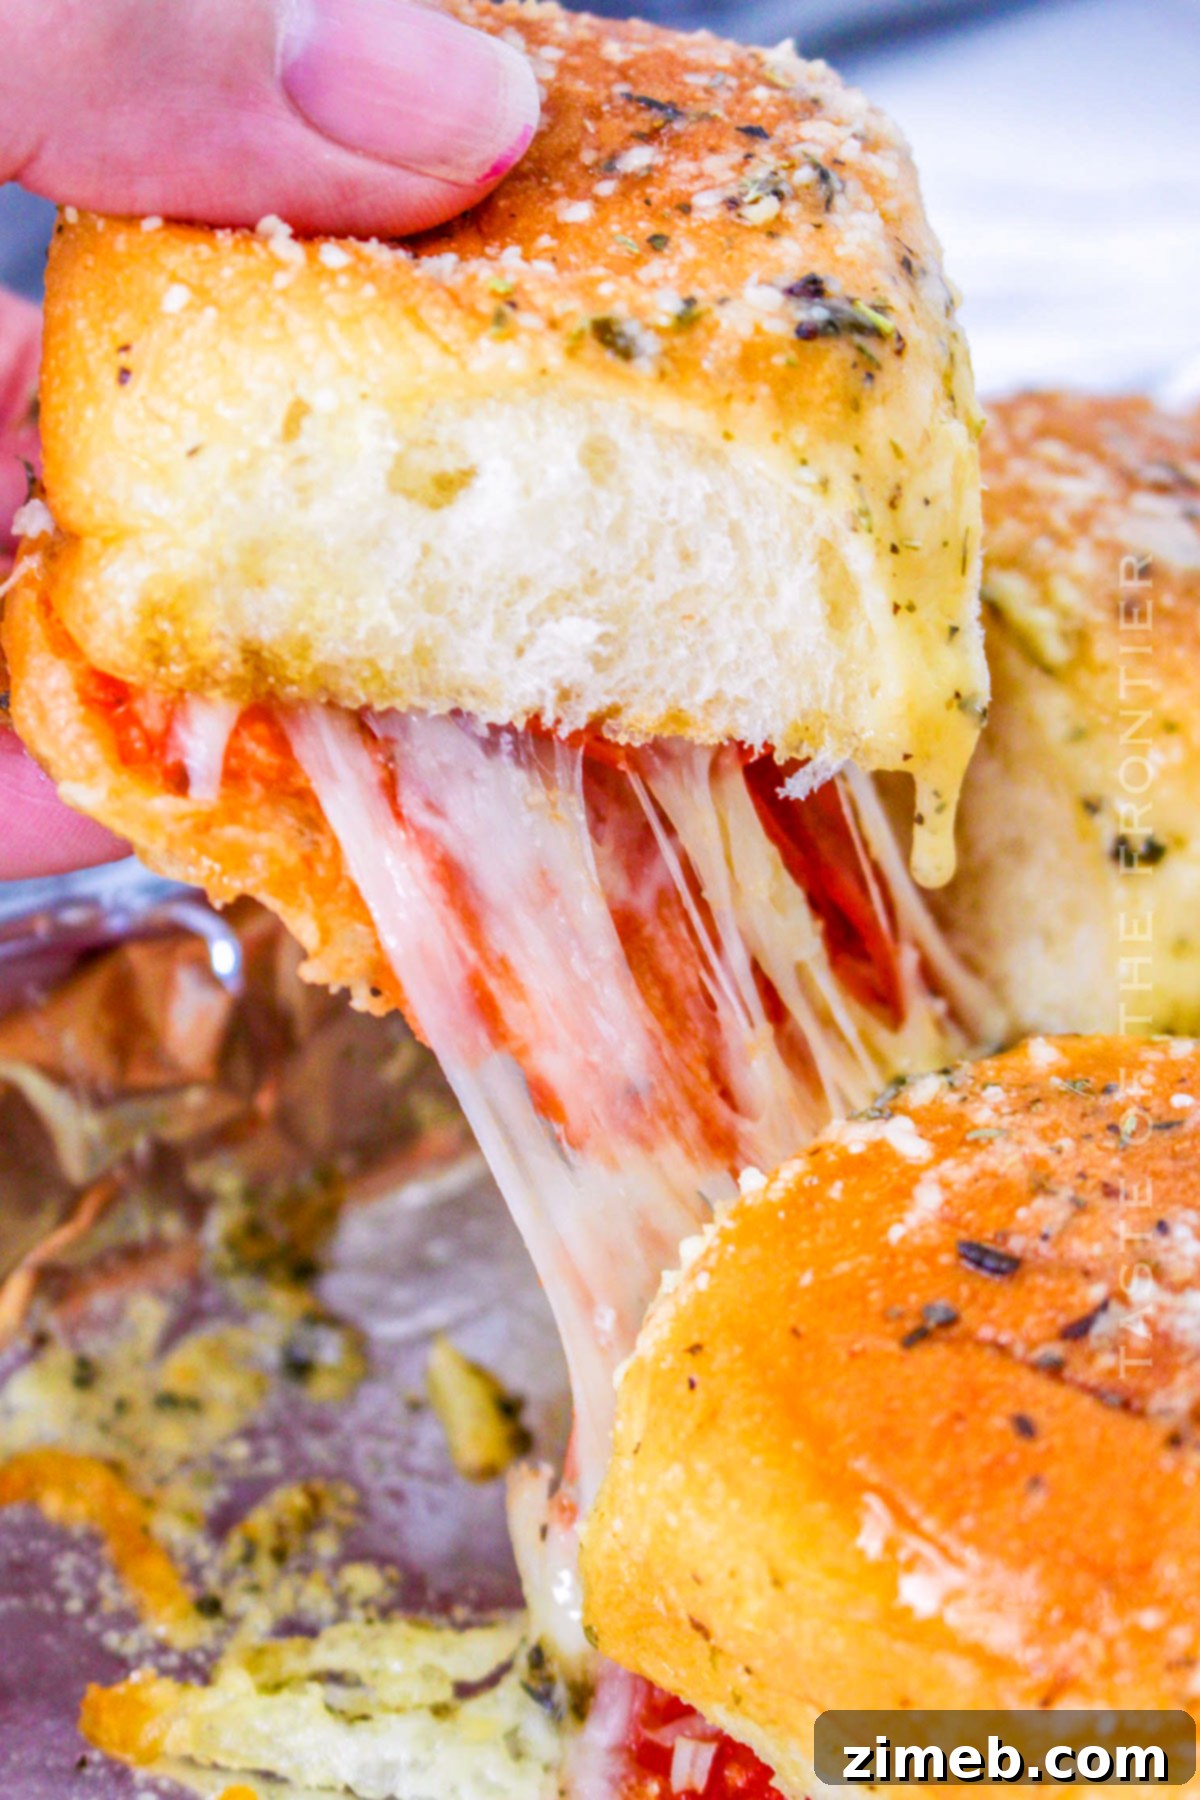
Delight in the ultimate crowd-pleaser: mouthwatering Pizza Sliders! These bite-sized culinary gems feature rich, savory marinara sauce, an abundance of gooey, melted cheese, and all your favorite pizza toppings, perfectly nestled within soft, sweet slider buns. They’re an irresistible fusion of classic pizza flavors and the convenience of a handheld sandwich, making them an instant hit for any occasion.
Are you gearing up for an epic game night, planning a lively family party, or simply looking for an easy yet incredibly satisfying weeknight meal? Prepare to have your culinary expectations exceeded with this phenomenal recipe for Pizza Sliders! Imagine the irresistible aroma filling your kitchen as these delightful mini sandwiches bake to golden perfection, promising a burst of flavor in every single bite.
These aren’t just any sandwiches; they are a celebration of everything we love about pizza, reinvented in a convenient, shareable format. Each slider combines the zesty punch of tomato sauce, the savory goodness of pepperoni, and the glorious melt of mozzarella, all wrapped in a tender Hawaiian roll. To top it all off, a garlic buttery glaze ensures a beautiful golden crust and an extra layer of savory richness that makes them truly addictive. Get ready to impress your family and friends with a dish that’s as fun to make as it is to devour!
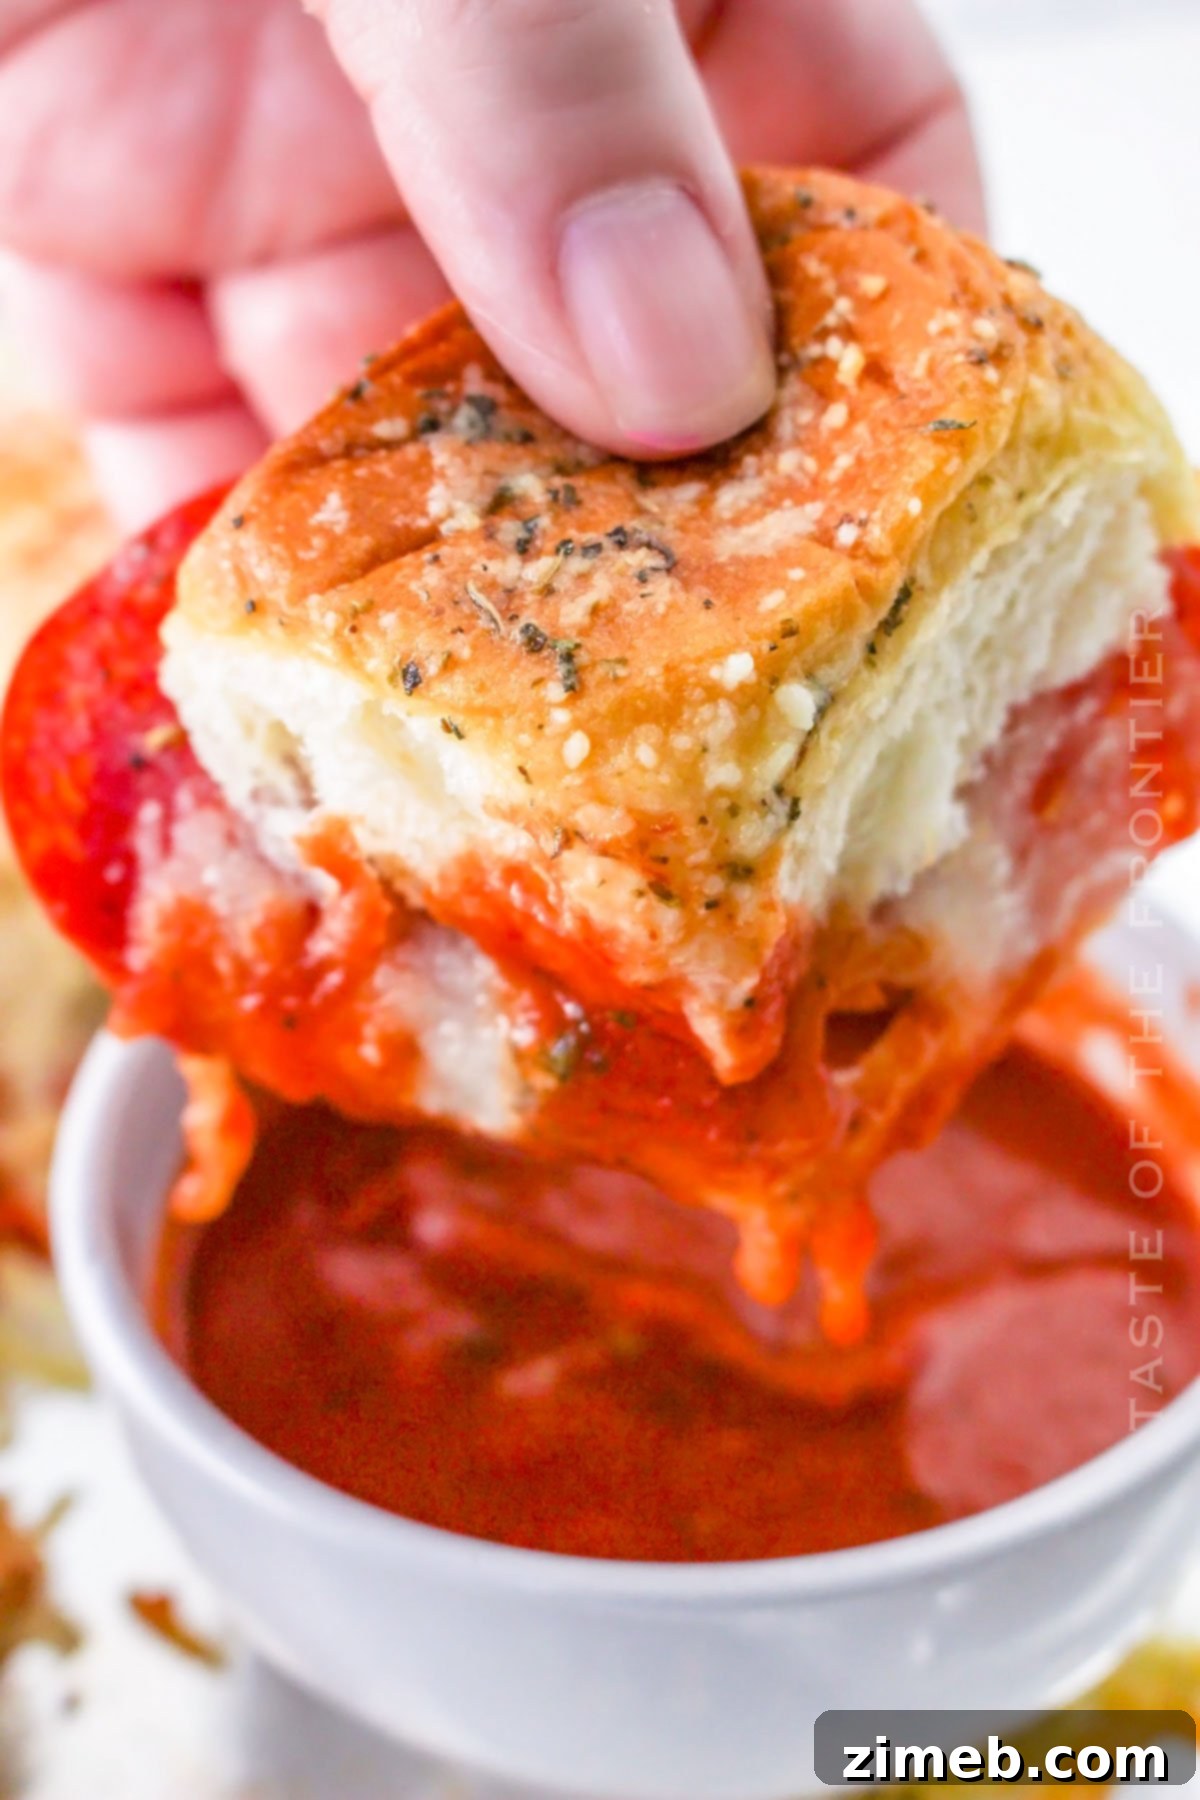
Each individual pizza slider is a masterpiece of flavor and texture. You’ll experience the delightful stretch of gooey mozzarella, the tangy zest of a perfectly seasoned tomato sauce, and the satisfying bite of classic pepperoni, all enhanced by a fragrant garlic butter finish. They’re not only incredibly simple to assemble but are also the quintessential party food, guaranteed to disappear rapidly and leave everyone asking for more!
Pizza Sliders truly represent pizza in one of its most versatile and enjoyable forms. Whether you’re hosting a dedicated pizza night, searching for a speedy and satisfying weeknight dinner solution, or preparing a special treat for the big game, these sliders are sure to win over every palate and effortlessly satisfy even the strongest cravings. Their charm lies in their miniature size, making them perfect for snacking, entertaining, or simply enjoying a fun meal with loved ones.
They stand as a delicious testament to the age-old saying that the best things often come in small packages. So, gather your baking dish, prepare your ingredients, and let’s embark on the delightful journey of making these absolutely delicious Homemade Pizza Sliders that your family will eagerly request again and again. Their ease of preparation and universal appeal make them a must-have in your recipe repertoire!
Common Questions About Pizza Sliders
Dive deeper into the world of Easy Pizza Sliders with answers to some of the most frequently asked questions. From customizing ingredients to smart preparation tips, these insights will help you master this incredible dish and make it your own.
Can I Use Different Types of Cheese in Pizza Sliders?
Absolutely! One of the fantastic aspects of pizza recipes, including these sliders, is the freedom to customize the cheese. While gooey mozzarella is a classic choice, feel free to get creative. Incorporating a sprinkle of sharp Parmesan cheese will add a wonderful depth of flavor, enhancing the savory notes. For those who enjoy a little heat, a layer of spicy pepper jack cheese can provide a delightful kick. You could even experiment with a blend of cheeses, perhaps layering pepperoni between different types for a complex and incredibly tasty flavor profile. The best way to discover your ultimate favorite combination is to experiment with various cheeses and see which one your family and guests adore the most!
Can I Make Pizza Sliders Ahead of Time?
Yes, prepping your Pizza Sliders in advance is a brilliant strategy, especially when anticipating a busy event or a quick family dinner! Assembling these delicious Hawaiian roll sliders ahead of time can be a real game-changer for your schedule. Simply follow the preparation steps: slice your rolls, spread the sauce, layer your desired fillings – think generous amounts of savory pepperoni and perhaps some sliced black olives for an extra pop of flavor – and then cap them with the top half of the buns. Once assembled, tightly cover your baking dish with plastic wrap or aluminum foil and refrigerate. When you’re ready to serve, simply remove them from the fridge, allow them to come to room temperature for about 15-20 minutes (or bake a little longer if baking straight from cold), and then bake as directed. You’ll still achieve those perfectly warm, golden, and gooey sliders that taste freshly made!
Are Pizza Sliders Good For Large Gatherings?
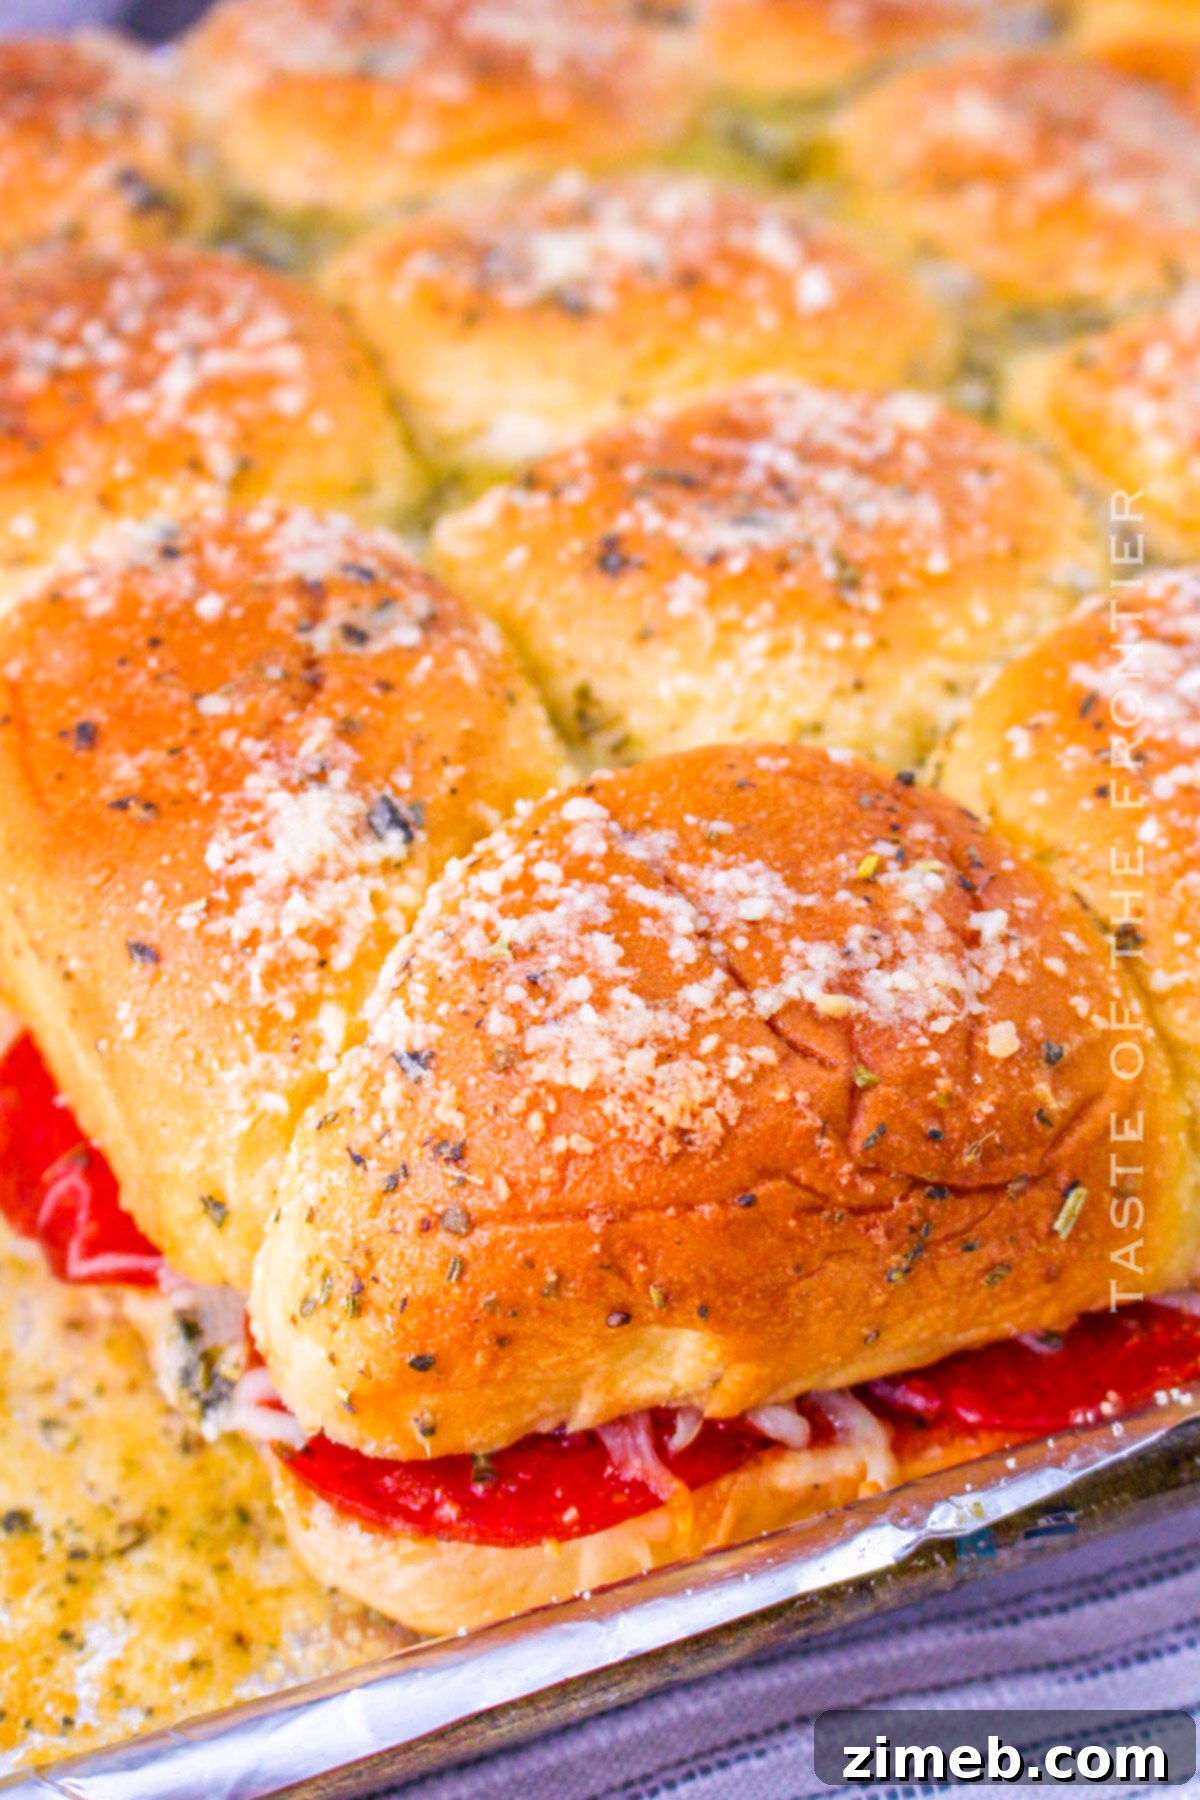
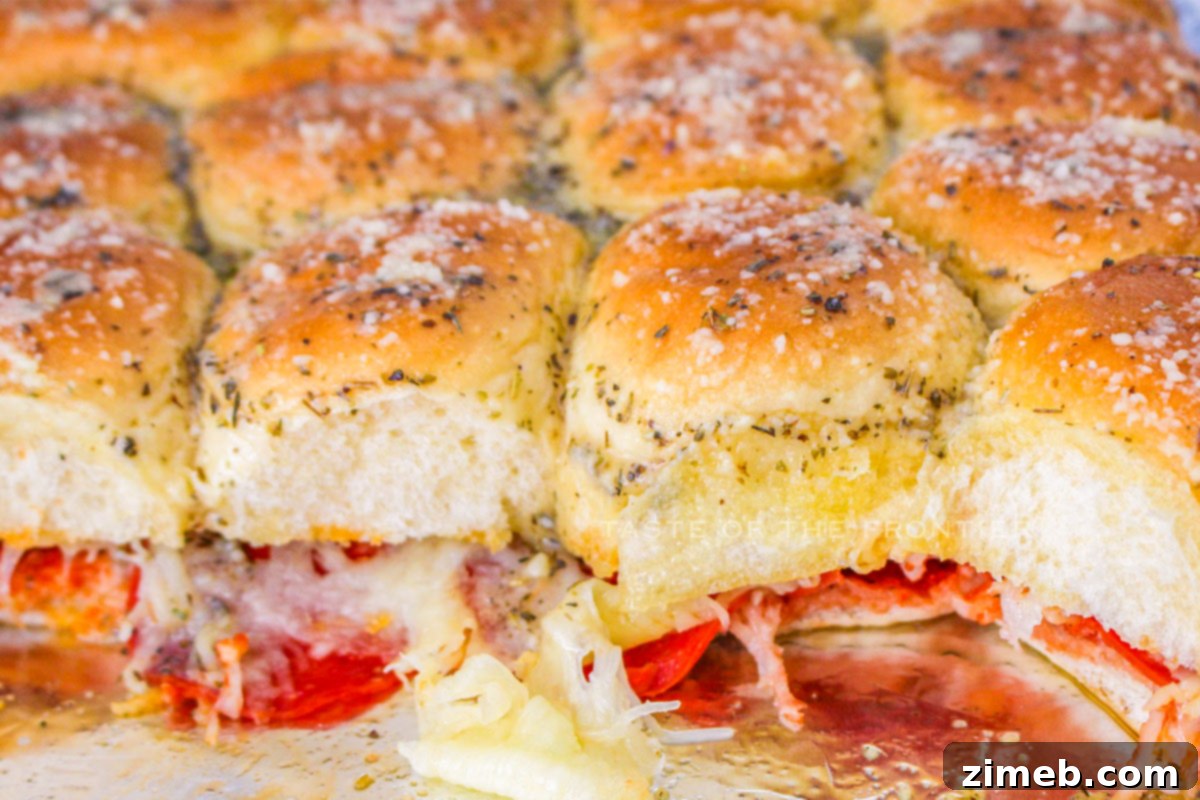
Pizza Sliders are an absolutely amazing choice for large gatherings, making them a consistently popular highlight for game days, family reunions, birthday parties, or any sizable event. Their individual, handheld size is a major advantage, allowing guests to easily grab and enjoy them while mingling, watching the game, or simply moving around. The baking process ensures that the tops of the sliders achieve a beautifully toasted, slightly crispy finish, creating a delightful contrast with the soft, sweet bottom rolls and the warm, juicy fillings inside. This combination of convenience, incredible flavor, and satisfying textures makes these homemade pizza sliders a truly outstanding option for feeding a crowd without fuss.
Storage & Reheating Tips
These savory sliders are not only fantastic when fresh out of the oven but also reheat wonderfully, making them excellent as leftovers! While chances are high they’ll be devoured before you even think about storing them, here’s how to keep them fresh:
Refrigerator: To maintain their deliciousness, store any leftover Pizza Sliders in an airtight container or wrap them snugly in aluminum foil. They will stay fresh and tasty in the refrigerator for up to 3 days.
Freezer: For longer storage, you can freeze assembled (but unbaked) or baked sliders. If freezing baked sliders, allow them to cool completely. Arrange them in a single layer on a baking sheet, freeze until solid, then transfer to a freezer-safe bag or container, wrapped tightly to prevent freezer burn. They can be stored for up to 1-2 months. Reheat them in the oven or air fryer for best results, ensuring the cheese is melted and the rolls are warmed through.
Reheating: For best results, reheat refrigerated sliders in a preheated oven at 300-325°F (150-160°C) for 10-15 minutes, or in an air fryer at 275-300°F (135-150°C) for 5-8 minutes, until cheese is melted and they are heated through. If reheating from frozen, increase baking time and cover loosely with foil to prevent over-browning until thawed and hot.
Top Tips for Perfect Pizza Sliders
These Pizza Sliders have officially earned a spot on my list of favorite party foods and delicious recipes. Their incredible flavor makes them truly standout! To ensure your sliders turn out perfectly every time, keep these expert tips in mind:
- Embrace Hawaiian Sweet Rolls: The slightly sweet and incredibly soft texture of Hawaiian rolls provides a unique and perfectly balanced base that complements the savory and tangy pizza toppings beautifully. Don’t underestimate their role in the overall flavor profile!
- Ensure Even Layers: For a harmonious blend of flavors and textures in every single bite, it’s crucial to create even layers of pizza sauce, cheese, and pepperoni. This prevents any one ingredient from overpowering another and ensures consistent deliciousness.
- The Essential Garlic Butter Topping: Seriously, do not skip this step! The savory garlic butter brushed over the top of the buns before baking adds an unparalleled richness, a beautiful golden-brown finish, and a delightful aromatic flavor that elevates these sliders from great to extraordinary.
- Monitor Baking Closely: Ovens can vary, so keep a watchful eye on your sliders, especially during the final few minutes of baking. You want them to be golden brown and the cheese perfectly melted, but not over-browned or dry.
- Serve Warm for Peak Gooeyness: While they are still tasty cooled, these sliders are truly at their best when served warm. The heat ensures the cheese is gloriously gooey and stretchy, and all the flavors are vibrant and melded together.
- Pre-Slice Your Rolls: Before layering, carefully slice the entire block of Hawaiian rolls horizontally through the middle using a serrated bread knife. This makes assembly much quicker and ensures even layers.
- Consider Parchment Paper: Lining your baking dish with parchment paper not only prevents sticking but also makes cleanup a breeze, allowing you more time to enjoy your delicious creation!
Simple Ingredients for Irresistible Pizza Sliders
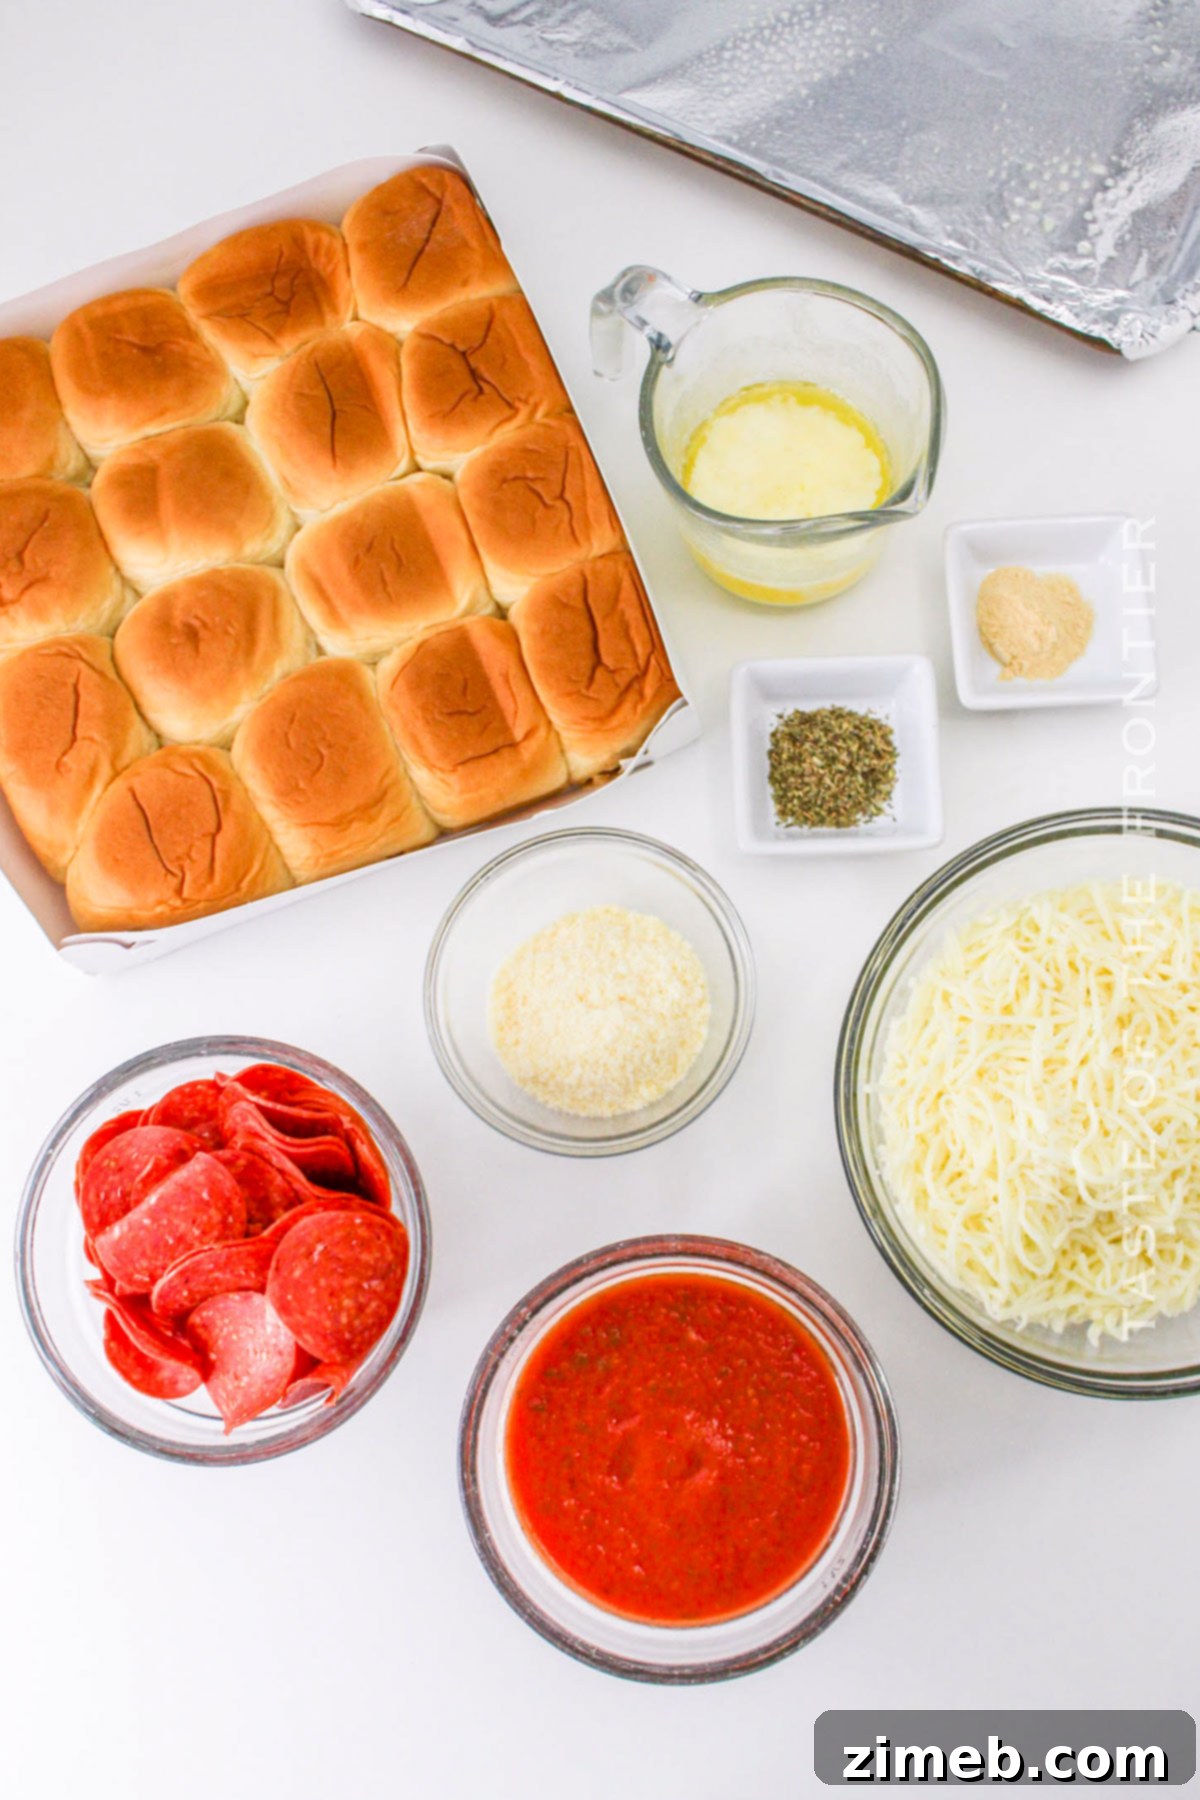
The magic of these pizza sliders lies in their simplicity and the harmonious blend of classic flavors. That irresistible, gooey mozzarella cheese truly acts as the binding agent, bringing all the other savory components together into a sandwich that everyone will adore. Each ingredient plays a crucial role in creating this beloved party favorite.
- Hawaiian dinner rolls: Provides a soft, slightly sweet base that perfectly complements the savory fillings.
- Pizza sauce: The essential tangy and flavorful foundation for that authentic pizza taste. Choose your favorite marinara for the best results.
- Sliced pepperoni: A classic pizza topping that adds a savory, slightly spicy, and meaty depth of flavor.
- Shredded mozzarella cheese: The star for its meltability and classic gooey, stretchy texture.
- Butter: Melts down to create a rich, golden, and flavorful topping.
- Garlic powder: Infuses the butter topping with an aromatic, savory kick.
- Italian seasoning: A blend of herbs that enhances the overall “pizza” flavor of the sliders.
How to Make Pizza Sliders: Step-by-Step Guide
Making these delicious Pizza Sliders couldn’t be easier! The genius of using Hawaiian rolls, sliced in half as a single unit, simplifies the layering process immensely. Once assembled, it’s just a matter of tossing them into the oven or air fryer until they’re golden, cheesy, and utterly irresistible. Follow these straightforward steps for a perfect batch every time!
Oven Instructions:
- Preheat your oven to 350 degrees F (175 degrees C). Prepare a baking sheet by lining it with parchment paper, or use a 9×13 inch baking dish coated with nonstick cooking spray. This will prevent sticking and make cleanup easier.
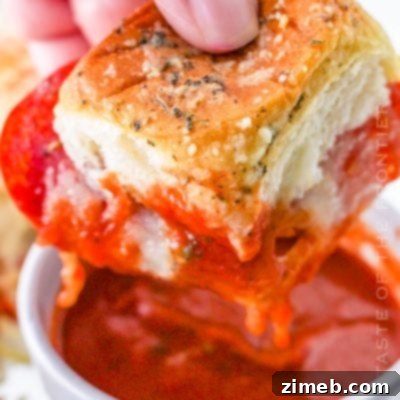
- Carefully slice the entire block of dinner rolls horizontally through the middle, separating the tops from the bottoms. Place the bottom halves of the rolls onto your prepared baking sheet or into the baking dish. Evenly brush about ¼ cup of the pizza sauce over the bottom halves. Set aside the remaining pizza sauce to serve as a delicious dipping sauce later.
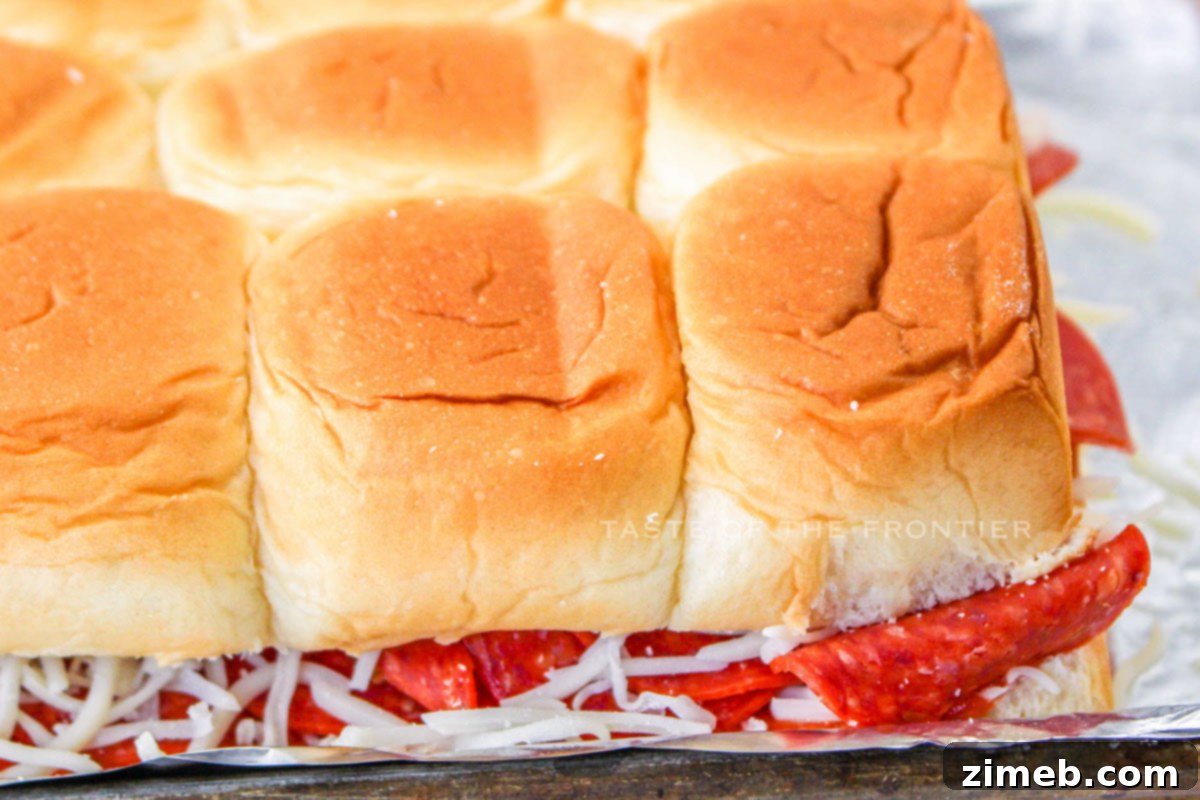
- On top of the sauce-brushed roll bottoms, begin building your layers. Start with a layer of shredded mozzarella cheese, then add a layer of sliced pepperoni. Repeat these layers, ensuring you end with a generous layer of mozzarella cheese on top. Finally, carefully place the top halves of the dinner rolls back on top of the cheese layer.
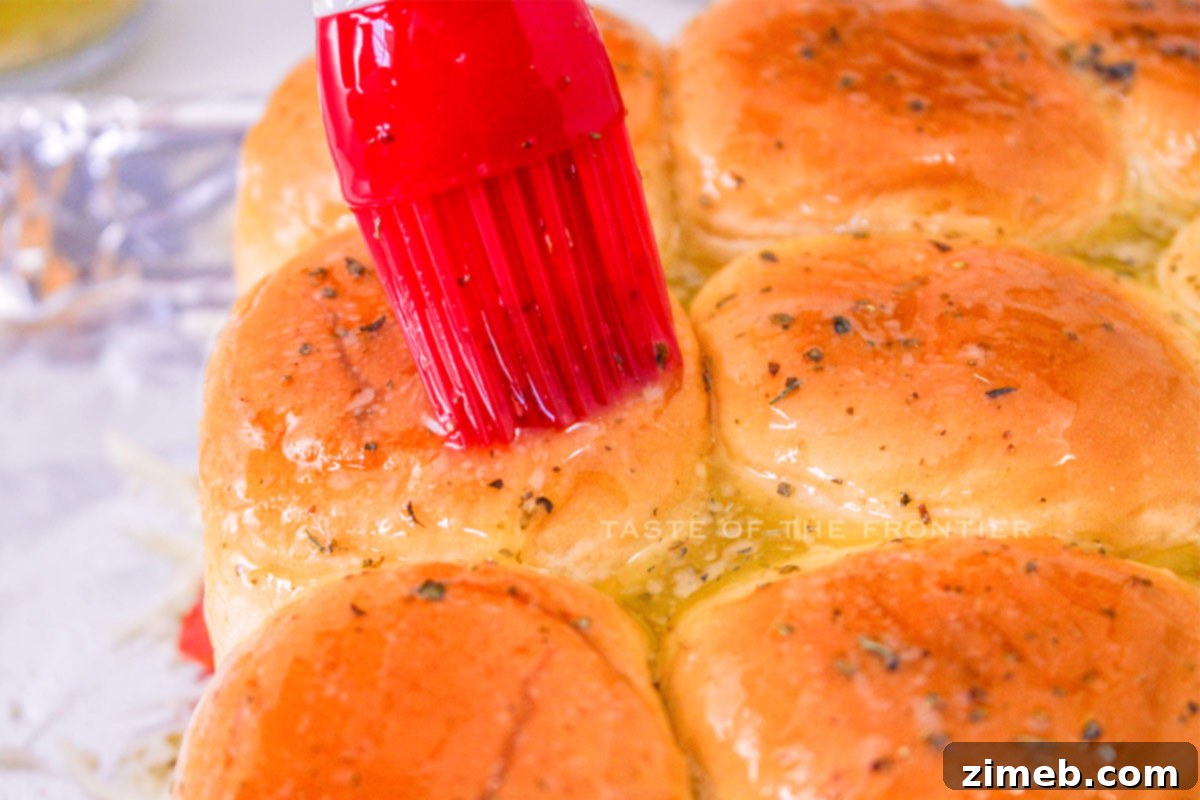
- In a small bowl, combine the melted butter with the garlic powder and Italian seasoning. Whisk briefly to ensure the seasonings are well distributed. Using a pastry brush, generously brush this seasoned butter mixture over the entire top surface of the sliders.
- Cover the baking dish or sheet tightly with aluminum foil. Bake in the preheated oven for 20 minutes. This initial covered baking time allows the cheese to melt thoroughly and the rolls to warm through without browning too quickly.
- After 20 minutes, carefully remove the foil. Return the sliders to the oven and continue baking for an additional 10 minutes, or until the tops are beautifully golden brown and the cheese is bubbly and fully melted.
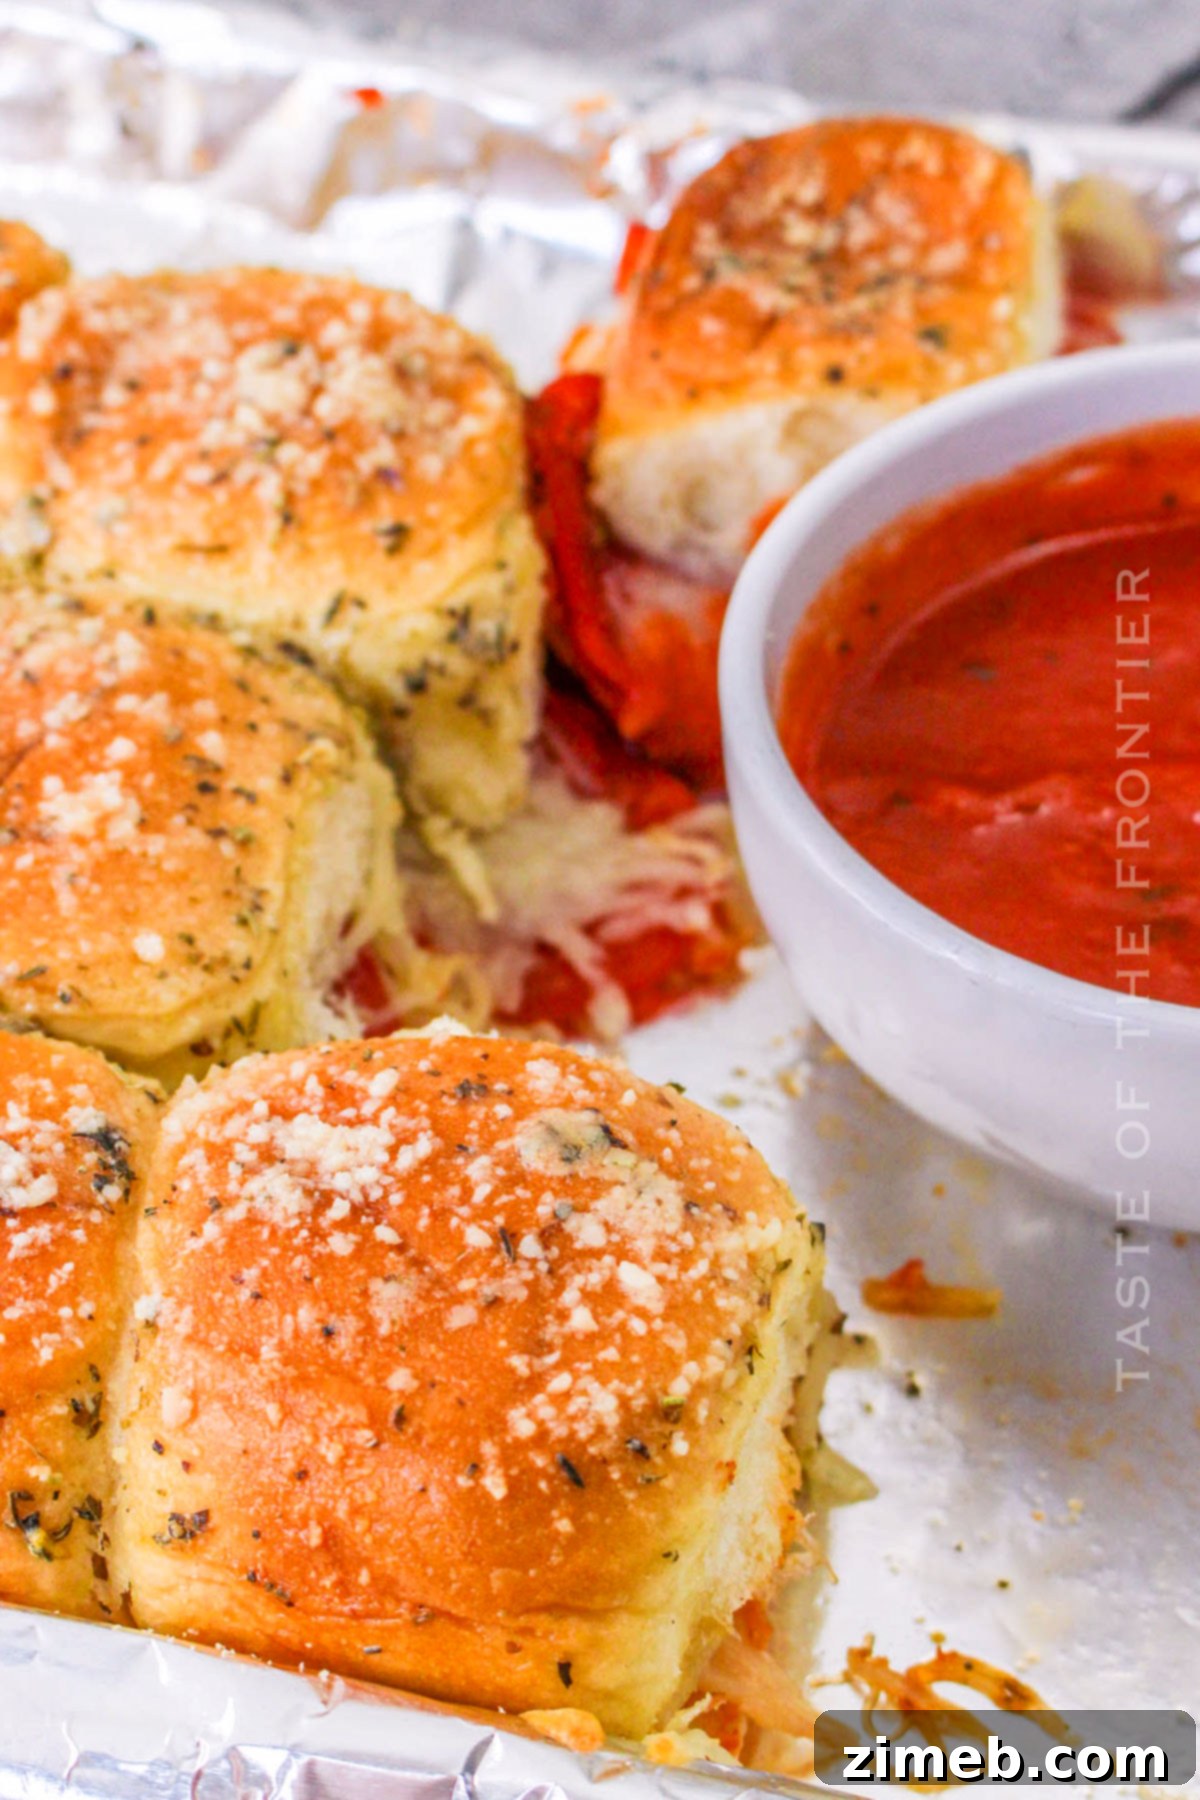
- Once baked to perfection, remove the sliders from the oven. Allow them to cool for just a few minutes before cutting them apart along the natural creases of the rolls. Serve warm with the reserved pizza sauce for dipping and enjoy!
For the Air Fryer:
For a quicker method or smaller batches, the air fryer works wonders for these pizza sliders, yielding a beautifully crispy exterior and a gooey interior.
- Preheat your air fryer to 300 degrees F (150 degrees C).
- If you’ve assembled a full batch in a baking dish, you’ll need to carefully cut the individual sandwiches apart first.
- Place the sliders into the air fryer basket in a single layer. Ensure there’s a small space between each slider to allow the hot air to circulate effectively, ensuring even cooking and crispiness. You may need to cook in batches.
- Air fry the sliders for 5 to 8 minutes. Check them periodically; they are ready when the cheese has fully melted and the tops of the sandwiches are lightly browned and slightly crispy.
- Serve immediately and enjoy the perfectly air-fried pizza sliders!
Essential Kitchen Supplies You’ll Need
Having the right tools can make all the difference in the kitchen, turning cooking into a smooth and enjoyable process. For these easy pizza sliders, ensure you have a good, sharp bread knife to neatly slice those delicate rolls down the middle. Quality kitchen tools always simplify the job and enhance the cooking experience!
- Baking Sheetor 9×13 Baking Dish: Essential for baking the sliders in the oven. Choose one that fits your quantity of rolls.
- Small Bowl: For mixing together the melted butter and seasonings for the topping.
- Sharp Serrated Knife: Crucial for cleanly slicing the Hawaiian rolls in half without tearing them.
- Pastry Brush: Ideal for evenly applying the garlic butter mixture over the tops of the slider buns, ensuring a beautiful, golden finish.
- Aluminum Foil: For covering the sliders during part of the baking process, helping the cheese melt thoroughly.
What to Serve With Pizza Sliders
Pizza sliders are incredibly versatile; they can shine as a standout appetizer or form the core of a fun, casual meal. To elevate your dining experience even further, here are some fantastic companions you can serve alongside to complement their cheesy, savory goodness:
- A crisp, fresh green salad tossed with a zesty Italian dressing provides a refreshing contrast to the rich sliders.
- Extra marinara sauce or a creamy pepperoni pizza dip makes for an excellent additional dipping experience, perfect for those who love extra flavor.
- Healthy and crunchy veggie sticks like carrots, celery, and cucumber offer a refreshing crunch and a nutritious balance.
- A chilled, fizzy soda or a pitcher of homemade lemonade makes for the perfect refreshing beverage pairing.
- For a more substantial meal, consider serving them with a side of crispy Air Fryer French Fries or garlic knots.
Why You’ll Love This Pizza Slider Recipe
There’s a reason my family consistently asks for these sliders whenever we gather – knowing that people genuinely love the food you prepare is always incredibly satisfying! This recipe isn’t just about making food; it’s about creating happy memories and delivering undeniable deliciousness. Here’s why these Pizza Sliders are bound to become a staple in your kitchen:
- Kid-Friendly Perfection: Their small size and familiar pizza flavors make them an absolute hit with children. They’re easy for little hands to hold, and even picky eaters can’t resist the cheesy, saucy goodness.
- Effortless Weeknight Dinner: When time is short, but you still want a hearty and satisfying meal, these sliders come to the rescue. They are quick to prepare, require minimal effort, and are guaranteed to be a hit with the entire family.
- Infinitely Customizable: The beauty of this recipe lies in its adaptability. You can easily swap out pepperoni for other meats like sausage or ham, or load them with your favorite vegetables. Experiment with different cheeses to create a unique flavor profile every time.
- Fantastic Leftovers: Unlike many dishes that lose their appeal the next day, these pizza sliders reheat wonderfully in the oven or air fryer, maintaining their delicious flavor and gooey texture. They’re perfect for lunchboxes or a quick snack.
- Ultimate Party Appetizer: Their individual portions and widespread appeal make them ideal for entertaining. They’re easy to serve, require no plates or cutlery (mostly!), and are sure to be a conversation starter and a crowd-pleaser.
- Minimal Cleanup: With most of the magic happening in one baking dish, cleanup is refreshingly simple, allowing you more time to relax and enjoy the company.
Creative Variations and Delicious Add-Ins
While the classic pepperoni pizza slider is a masterpiece on its own, this recipe is a fantastic canvas for culinary creativity! Don’t hesitate to personalize your sliders with various toppings and flavor combinations. I’d love to hear your innovative ideas in the comments below – it’s always wonderful to get new inspiration from fellow food lovers!
- Meat Lover’s Delight: Elevate the savory factor by adding extra meats such as cooked sausage crumbles, diced cooked ham, or crispy bacon bits alongside the pepperoni.
- Vegetarian Pizza Sliders: Easily transform this into a vegetarian-friendly option by swapping out the pepperoni for a colorful array of finely diced veggies like bell peppers, mushrooms, onions, black olives, or even spinach.
- Extra Cheesy Extravaganza: For the ultimate cheese lovers, layer in different types of cheese! Beyond mozzarella, consider adding sharp cheddar, provolone, or a blend of Italian cheeses for a more complex and rich flavor profile.
- Spicy Kick: If you crave a little heat, sprinkle a pinch of red pepper flakes over the pizza sauce, or add a few drops of your favorite hot sauce to the butter mixture before brushing.
- Hawaiian Style: Add diced pineapple and ham for a sweet and savory Hawaiian pizza twist.
- Supreme Sliders: Mimic a supreme pizza by adding bell peppers, onions, mushrooms, and olives along with your choice of meat.
- White Pizza Sliders: Skip the red sauce and use a garlic-infused olive oil or a creamy Alfredo sauce as your base, then top with mozzarella, ricotta, and fresh herbs.
If you love this easy slider recipe, you’re going to love these other fantastic game-day snacks and party appetizers too. Click each link below to discover more easy and delicious printable recipes!
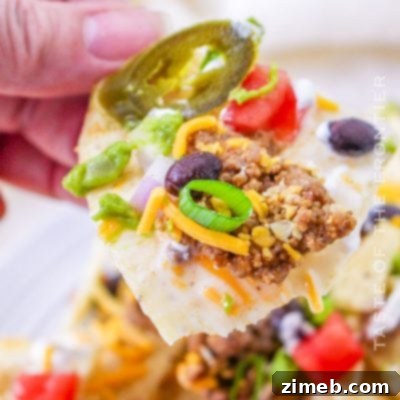
Trash Can Nachos
Dive into a mountain of deliciousness that’s not just a meal, but a celebration of flavors and creative presentation with Trash Can Nachos.
Check out this recipe
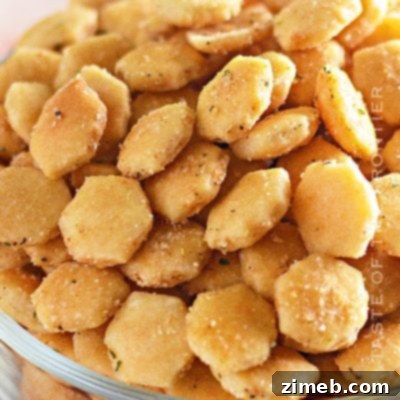
Ranch Oyster Crackers
Elevate your snacking experience with these bite-sized, flavor-infused Ranch Oyster Crackers that are sure to become a new favorite.
Check out this recipe
Charcuterie Cups
Change up the traditional charcuterie board and make these individual Charcuterie Cups for your next party. Simple, easy, and great for ANY occasion!
Check out this recipe

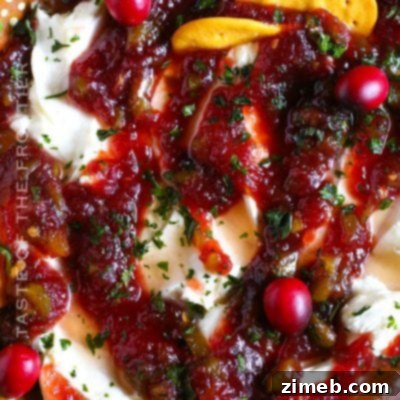
Cranberry Jalapeno Dip
This Cranberry Jalapeno Dip is so simple to make and is the perfect appetizer for any season or holiday gathering, parties, and so much more.
Check out this recipe
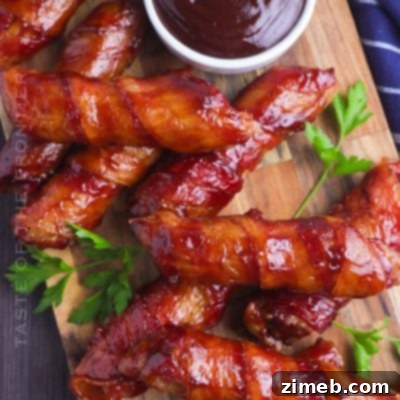
Smoked Shotgun Shells
These Smoked Shotgun Shells are the perfect appetizer for summer parties and game day gatherings in the fall. So fun and tasty too!
Check out this recipe
More Irresistible Slider Recipes to Try
If you’ve fallen in love with the ease and deliciousness of these Pizza Sliders, you’re in for a treat! The world of sliders is vast and wonderful, offering endless possibilities for quick meals, party appetizers, and satisfying snacks. Here are a few more fantastic slider recipes you absolutely must try:
- French Dip Sliders: Savory roast beef and melted cheese on sweet rolls, served with a rich au jus for dipping. A mini version of a classic favorite!
- Air Fryer Ham and Cheese Sliders: Quick, crispy, and cheesy – perfect for a fast lunch or snack with that signature air-fried texture.
- Poppy Seed Ham and Cheese Sliders: A delightful blend of sweet and savory with a tangy poppy seed dressing that makes them truly unique.
- Buffalo Chicken Sliders: Spicy, creamy buffalo chicken packed into slider buns, offering a zesty kick that’s perfect for game day.
CONNECT WITH YUMMI HAUS!
Be sure to follow me on my social media, so you never miss a post!
Substack, FB, Pinterest, IG, Email Subscription
Pizza Sliders
Bite-sized Pizza Sliders feature savory marinara, gooey melted cheese, and your favorite pizza toppings, all nestled in soft slider buns. They are perfect for parties, game nights, or an easy weeknight dinner!
Course: Appetizer, Snack
Servings: 12 servings
Prep Time: 15 minutes
Cook Time: 20 minutes
Total Time: 35 minutes
Ingredients
- 12 Hawaiian dinner rolls
- 1 cup pizza sauce (divided)
- 5 ounces pepperoni, sliced
- 2 ½ cups mozzarella cheese, shredded
- ½ cup butter, melted
- 1 teaspoon garlic powder
- 1 teaspoon Italian seasoning
Instructions
Oven Method:
- Preheat the oven to 350°F (175°C). Prepare a baking sheet with parchment paper or a 9×13 inch baking dish with nonstick cooking spray.
- Slice the entire block of dinner rolls horizontally through the middle. Place the bottom halves on the prepared baking sheet. Brush the bottoms with about ¼ cup of the pizza sauce. Reserve the remaining pizza sauce for dipping.
- On top of the roll bottoms, create layers of pepperoni and cheese, starting and ending with cheese for best results. Add the top halves of the dinner rolls back on.
- In a small bowl, mix the melted butter, garlic powder, and Italian seasoning. Brush this seasoned butter generously over the top of the sliders.
- Cover the sliders tightly with aluminum foil and bake for 20 minutes.
- Uncover and continue baking for an additional 10 minutes, or until the sliders are golden brown and the cheese is bubbly and melted.
- Cut the sandwiches apart along the natural perforations of the rolls and serve warm.
Air Fryer Method:
- Preheat the air fryer to 300°F (150°C).
- Carefully cut the assembled sandwiches apart into individual sliders.
- Place the sliders into the air fryer basket in a single layer, ensuring a small space between each sandwich to allow for proper air circulation. You may need to cook in batches.
- Air fry the sliders for 5 to 8 minutes, or until the cheese has melted and the sandwiches are browned and heated through.
Nutrition (Approximate per serving)
Serving: 1 slider | Calories: 294kcal | Carbohydrates: 18g | Protein: 11g | Fat: 21g | Saturated Fat: 10g | Cholesterol: 51mg | Sodium: 571mg | Potassium: 118mg | Fiber: 0.4g | Sugar: 6g | Vitamin C: 1mg | Calcium: 126mg | Iron: 1mg | Net Carbohydrates: 2g
Nutritional information for the recipe is provided as a courtesy and is approximate. Please double-check with your own dietary calculator for the best accuracy. We at Yummi Haus cannot guarantee the accuracy of the nutritional information given for any recipe on this site.
Love this recipe?
Follow @KleinworthCo for even more tasty recipes!