
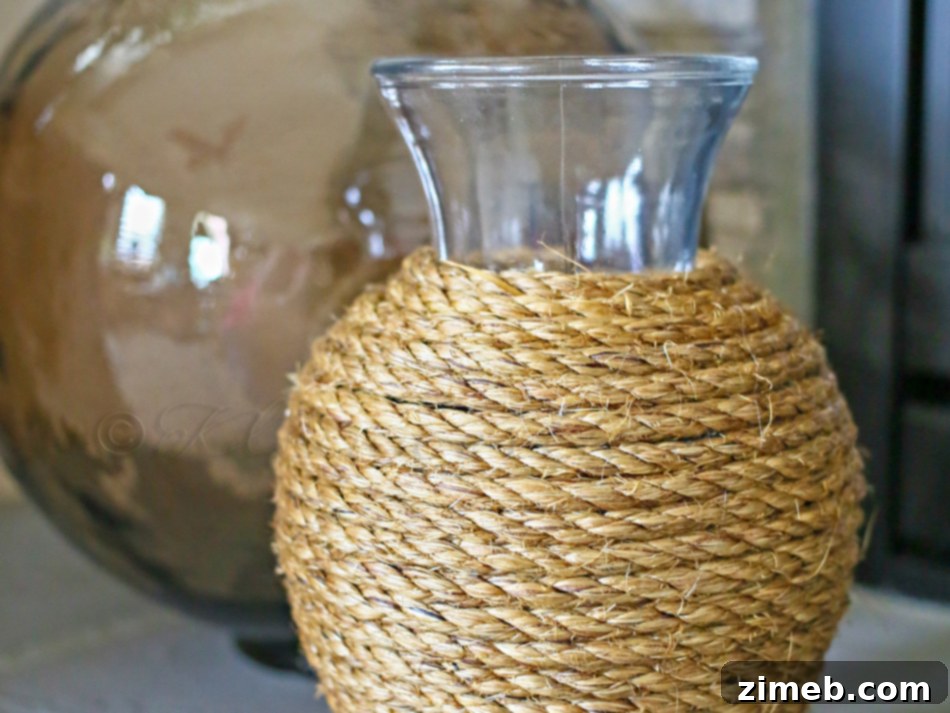
Transform Your Space: Crafting Your Own Stunning DIY Rope Vase
There’s an undeniable magic in transforming a house into a home, and often, it’s the little details that make the biggest difference. As we settle into our new abode, the journey of revamping and personalizing each corner continues. Today, I’m thrilled to share one of the simplest yet most impactful projects I’ve tackled: an absolutely beautiful and **easy DIY rope vase**. This wasn’t just about adding a decorative piece; it was about breathing new life into an overlooked item and infusing our hearth with a touch of coastal charm and rustic elegance. If you have an old, unloved vase lying around, get ready to see its incredible potential!
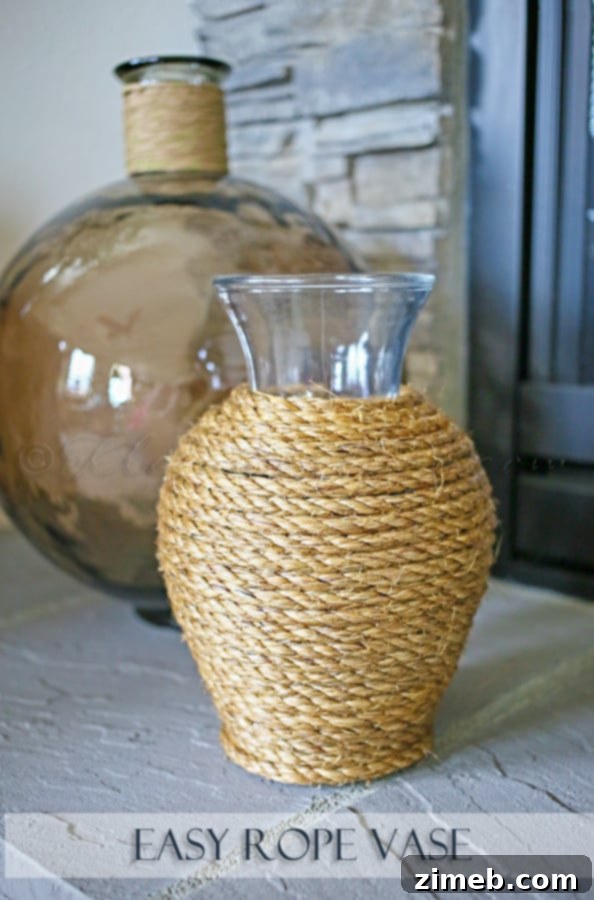
For what felt like an eternity, a plain, unassuming glass vase sat neglected in a “still deciding” box from our move. It had served its purpose for flowers on a coffee table in our old house, but its lack of character had long since grown tiresome. I found myself pondering various ways to give it a facelift: painting the exterior, tinting the interior, or perhaps even staining it. Each idea felt like a temporary fix, lacking the unique texture and personality I envisioned for our new space. Then, a spark of inspiration ignited. Why not embrace natural textures? A simple coil of sisal rope, a trusty hot glue gun, and a mere 20 minutes were all it took to transform that forgotten vase into a captivating piece that perfectly aligns with our home’s evolving aesthetic. Let me guide you through just how effortlessly you can achieve this stunning transformation.
Why Choose a DIY Rope Vase? The Allure of Handmade Decor
In an age of mass-produced goods, the appeal of handmade decor has never been stronger. A DIY rope vase isn’t just a craft project; it’s a statement. It speaks to individuality, resourcefulness, and a conscious effort to create a living space that feels genuinely yours. One of the primary drivers for embarking on projects like this is the incredible cost savings. High-end home decor stores often feature rope-wrapped vases with hefty price tags, sometimes soaring well over $100. By choosing to DIY, you sidestep these exorbitant costs, often achieving a similar or even superior look for a fraction of the price. Furthermore, crafting your own decor allows for unparalleled customization. You dictate the type of rope, the thickness, the pattern, and the finish, ensuring the final piece perfectly complements your existing interior design. It’s an eco-friendly choice too, as it encourages repurposing items you already own, reducing waste and giving new life to forgotten objects. Beyond the tangible benefits, there’s immense satisfaction in creating something beautiful with your own hands – a sense of accomplishment that a store-bought item simply cannot replicate.
Gathering Your Simple Supplies: Everything You Need
The beauty of this project lies in its simplicity. You won’t need a sprawling workshop or a long list of specialized tools. In fact, you likely have most of what you need already. Just three core items form the foundation of this stylish decor piece, with a couple of optional additions that can make the process even smoother.
The Humble Vase: Your Canvas for Transformation
The type of vase you choose is entirely up to you. I opted for a plain glass vase I already owned, but almost any smooth-surfaced container can work. Consider ceramic, plastic, or even old tin cans for a more rustic aesthetic. The key is to select a vase with a clean, relatively smooth exterior to ensure the rope adheres properly. Different shapes will offer varied results: a tall, slender vase will create a sleek, modern look, while a rounder, more squat vase might lean towards a bohemian or farmhouse feel. Don’t be afraid to experiment with sizes; smaller vases make charming accents, while larger ones can become focal points. Before you begin, ensure your vase is thoroughly clean and dry. Any dust, grime, or residue can prevent the hot glue from forming a strong bond.
The Star of the Show: Sisal Rope (or Other Natural Fibers)
Sisal rope was my choice for this project, offering a beautiful natural texture and a fantastic coastal vibe. It’s readily available at hardware stores, craft shops, or online, and a 50-foot coil typically costs less than $10. However, the world of natural fibers is vast, and you’re not limited to sisal! Jute rope offers a slightly softer texture and a warmer tone, while cotton rope provides a cleaner, more contemporary look. For a nautical theme, consider thicker marine-grade ropes. You can also experiment with varying rope thicknesses – a thicker rope will create a bolder, more pronounced texture, while a thinner rope allows for more intricate wrapping patterns and a refined finish. Decide on the aesthetic you’re aiming for before making your selection.
The Essential Tool: Hot Glue Gun and Sticks
This is your primary adhesive for the project. A standard hot glue gun, whether high-temp or dual-temp, will work perfectly. Ensure you have an ample supply of hot glue sticks – it’s better to have too many than to run out mid-project. Hot glue provides a fast, strong bond that dries quickly, making this project incredibly efficient. Always exercise caution when using a hot glue gun, as the tip and the glue itself can get very hot. Work on a protected surface, and keep your fingers clear of the hot glue stream.
Optional but Handy Tools: For Precision and Protection
While not strictly necessary, these items can enhance your crafting experience:
- **Scissors or a Craft Knife:** For neatly cutting the rope.
- **A Protective Mat or Old Newspaper:** To protect your work surface from glue drips.
- **Thimble or Finger Protectors:** If you’re particularly sensitive to heat or want extra protection while pressing the rope.
- **Ruler or Measuring Tape:** For ensuring consistent rope length if you plan to cut sections, though continuous wrapping is often easier.
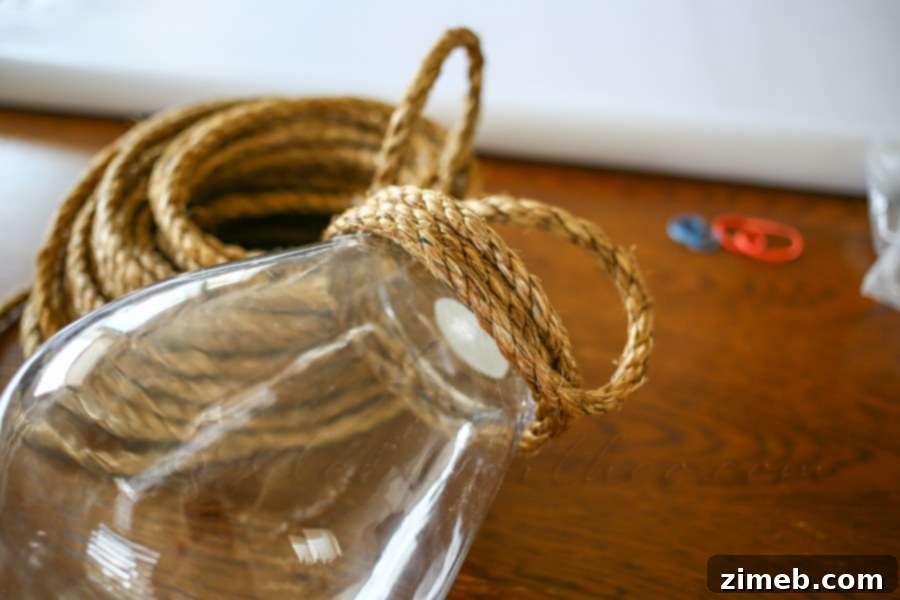
Literally – just the hot glue gun, sisal rope & this vase – 20 minutes max.
Step-by-Step Guide: Crafting Your Rope Vase
The process is wonderfully straightforward, embodying the “dab and wrap” mantra. Even a novice crafter can achieve professional-looking results with a little patience.
Step 1: Prepare Your Workspace and Vase
Before you begin, ensure your work area is clean, well-lit, and protected. Lay down an old newspaper, a craft mat, or a silicone mat to catch any glue drips. Plug in your hot glue gun and allow it to fully heat up. While it’s heating, give your vase a final wipe-down to ensure it’s free of dust or oils. A clean surface is crucial for optimal glue adhesion.
Step 2: Anchor Your Rope
Start at the bottom of your vase. Apply a small, pea-sized dab of hot glue near the base, typically on the underside edge or just above it. Press the end of your sisal rope firmly into this glue, holding it in place for a few seconds until it sets. This initial anchor point is vital for a clean, secure start. For a truly seamless look, you might want to start on the back or least visible side of the vase.
Step 3: The Art of Wrapping
Now, the fun begins! Apply another small line or dab of hot glue a few inches away from your anchor point. Carefully wrap the rope tightly around the vase, pressing it firmly into the glue. The goal is to keep the rope taut and each subsequent row snug against the one below it, leaving no gaps. Continue this “dab and wrap” motion, working your way up the vase. For larger vases, you might apply a longer line of glue, while smaller or curved sections will benefit from shorter, more frequent glue applications. Don’t use too much glue at once, as it can cool before you get the rope wrapped, or squeeze out unsightly from between the ropes. Consistency is key here – try to maintain even tension on the rope as you wrap. Take your time, adjusting the rope as needed to ensure a smooth, uniform appearance. If you encounter any curves or indentations in your vase, apply glue strategically to ensure the rope follows the contours closely.
Step 4: Finishing Strong
Once you reach the top edge of your vase (or your desired height), it’s time to finish off the rope. Apply a final dab of hot glue, wrap the rope around, and then carefully trim the rope, leaving a small tail. Press this tail firmly into the glue, ensuring it’s secure and lies flat. You can hide the cut end by tucking it under the previous rope coil if desired. Allow the glue to cool and fully set for a few minutes. Inspect your vase for any loose ends or visible glue strings; these can usually be gently pulled off or trimmed with scissors. And just like that, your plain vase has been completely transformed!
Design & Styling Your New Masterpiece
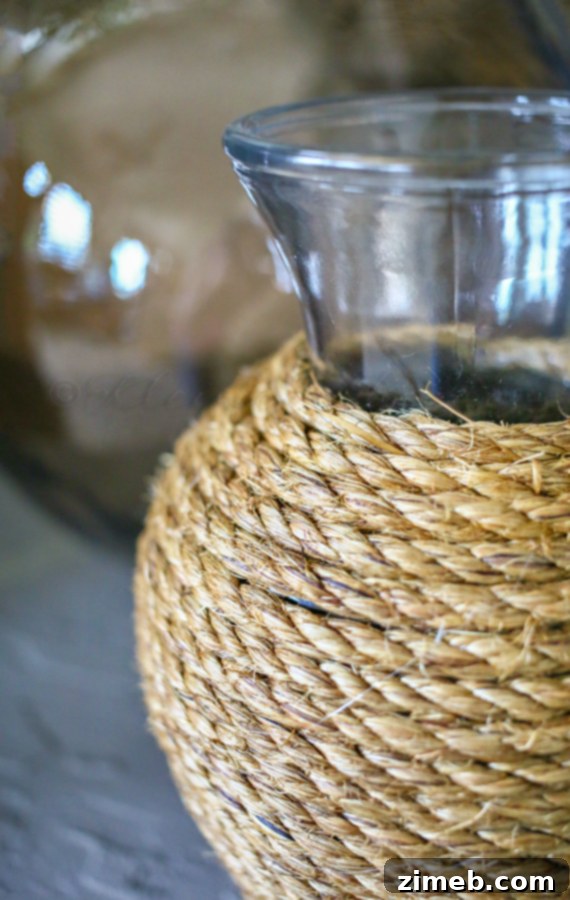
Now that your rope vase is complete, it’s time to integrate it into your home decor. The beauty of a natural fiber vase is its versatility. It effortlessly blends with a variety of styles, from the rustic charm of farmhouse aesthetics to the breezy elegance of coastal designs. In my home, it perfectly complements the coastal vibe of our space, adding texture and warmth to the hearth. But don’t limit its potential!
Complementing Your Home’s Aesthetic
Consider placing your new rope vase in an entryway, on a coffee table, a bookshelf, or even as a centerpiece on your dining table. Its natural texture can act as a grounding element in a brightly colored room or add an organic touch to a minimalist setting. For a farmhouse look, pair it with distressed wood and metal accents. In a bohemian interior, combine it with macrame, woven textiles, and lush greenery. The simple elegance of a sisal vase makes it a versatile addition to almost any decor scheme, bringing a handcrafted, bespoke feel to your surroundings.
What to Display in Your Rope Vase
The possibilities for filling your rope vase are endless, and sometimes, it can even stand beautifully on its own as a sculptural piece. For a classic touch, fresh flowers are always a winner, especially those with an airy, natural feel like hydrangeas or wildflowers. To enhance the rustic or coastal theme, consider dried botanicals, pampas grass, or even a collection of interesting branches. In autumn, it could hold fall foliage, and during the holidays, some simple evergreen sprigs. For a soft glow, you could even place battery-operated LED fairy lights inside, creating a warm ambiance. The goal is to choose contents that further amplify the vase’s natural charm and fit the mood of your room.
The Unbeatable Value of Handmade Decor
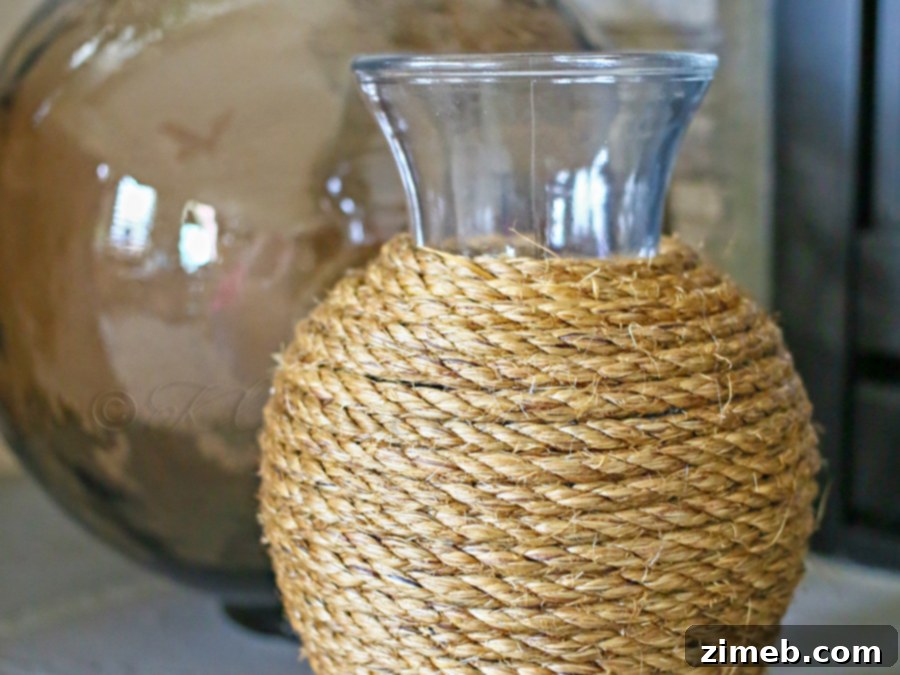
The rising popularity of natural textured decor has led to an explosion of stylish rope vases in boutiques and online stores. However, the price tags can often be shocking. I’ve personally seen similar rope-wrapped vases retailing for as much as $140! That’s a significant investment for a decorative item. My version, on the other hand, cost me under $10 for the coil of sisal rope and a few cents for the hot glue sticks, considering I already had the vase and glue gun. The disparity is astonishing. This project serves as a perfect example of how strategic DIY efforts can empower you to achieve a high-end look without the high-end cost. It’s not just about saving money; it’s about making smart choices that bring both style and satisfaction into your home. The thrill of knowing you created something so beautiful and stylish for such a bargain price is truly unparalleled.
Beyond the Vase: The Joy of DIY and Personal Accomplishment
There’s a unique joy that comes with seeing a beautiful piece of home decor and confidently declaring, “I can totally make that!” It’s a moment of creative awakening, a challenge accepted. And then, the true satisfaction comes when you actually go home, gather your supplies, and bring that vision to life. My “hubs” is always impressed, and honestly, so am I! The feeling of accomplishment, coupled with the pride of having created something beautiful and saved a substantial amount of money, is incredibly rewarding. This DIY rope vase project is more than just about a new decorative item; it’s about cultivating a mindset of creativity, resourcefulness, and personal empowerment in your home improvement journey. It reminds us that often, the most cherished items in our homes are not those bought at the highest price, but those crafted with care, creativity, and a touch of our own personality.
Explore More Inspiring Home Projects!
If this easy rope vase project has sparked your DIY spirit, you’re in luck! There are countless ways to infuse your home with handmade charm and budget-friendly style. From simple decor updates to functional pieces, the satisfaction of creating something unique is truly addictive. Don’t hesitate to dive into more exciting projects that will transform your living space and express your personal style.
Want more projects for the home? Discover these inspiring ideas:
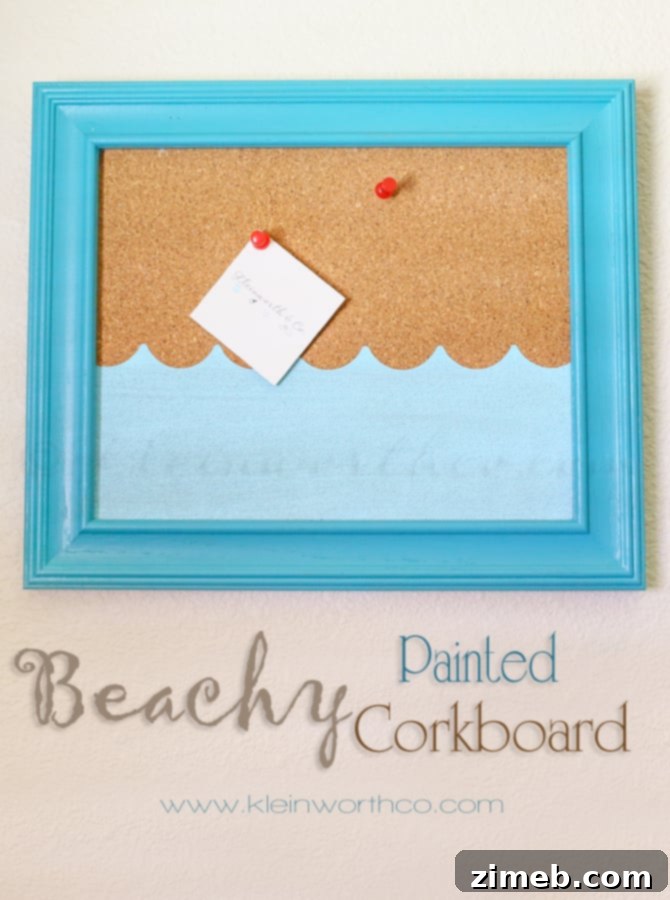
Beachy Painted Corkboard
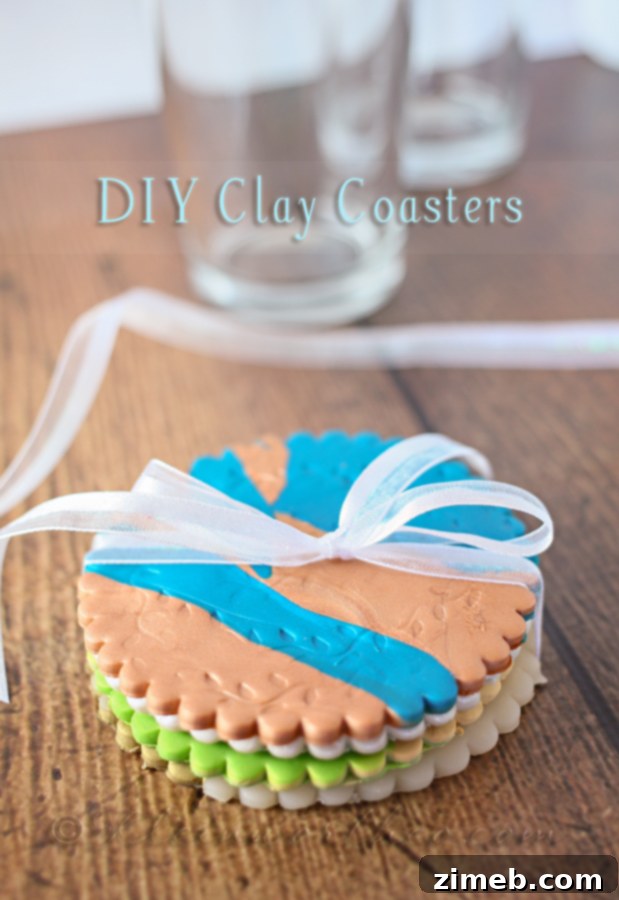
DIY Clay Coasters
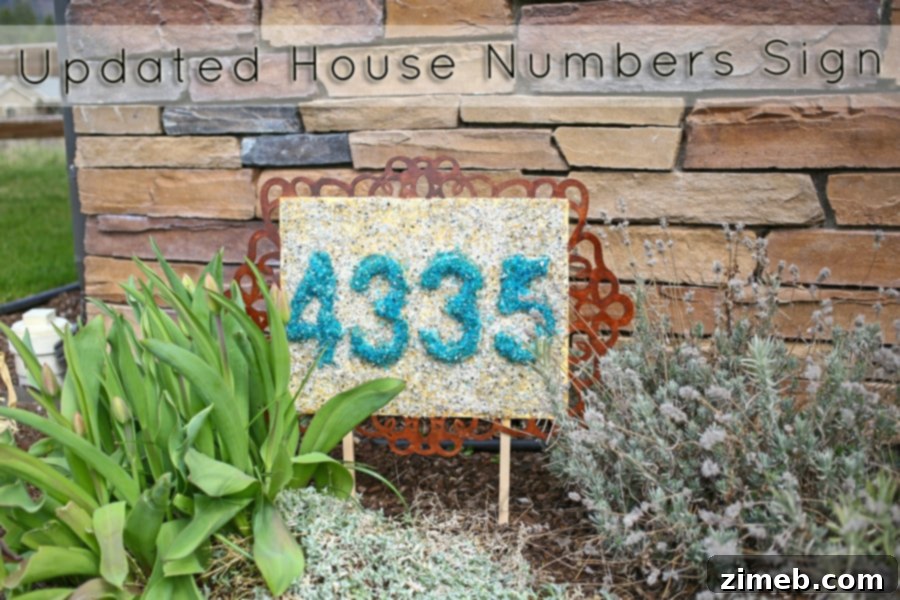
Updated House Numbers Sign
For more inspiration and where I find my favorite linking parties, visit HERE.