
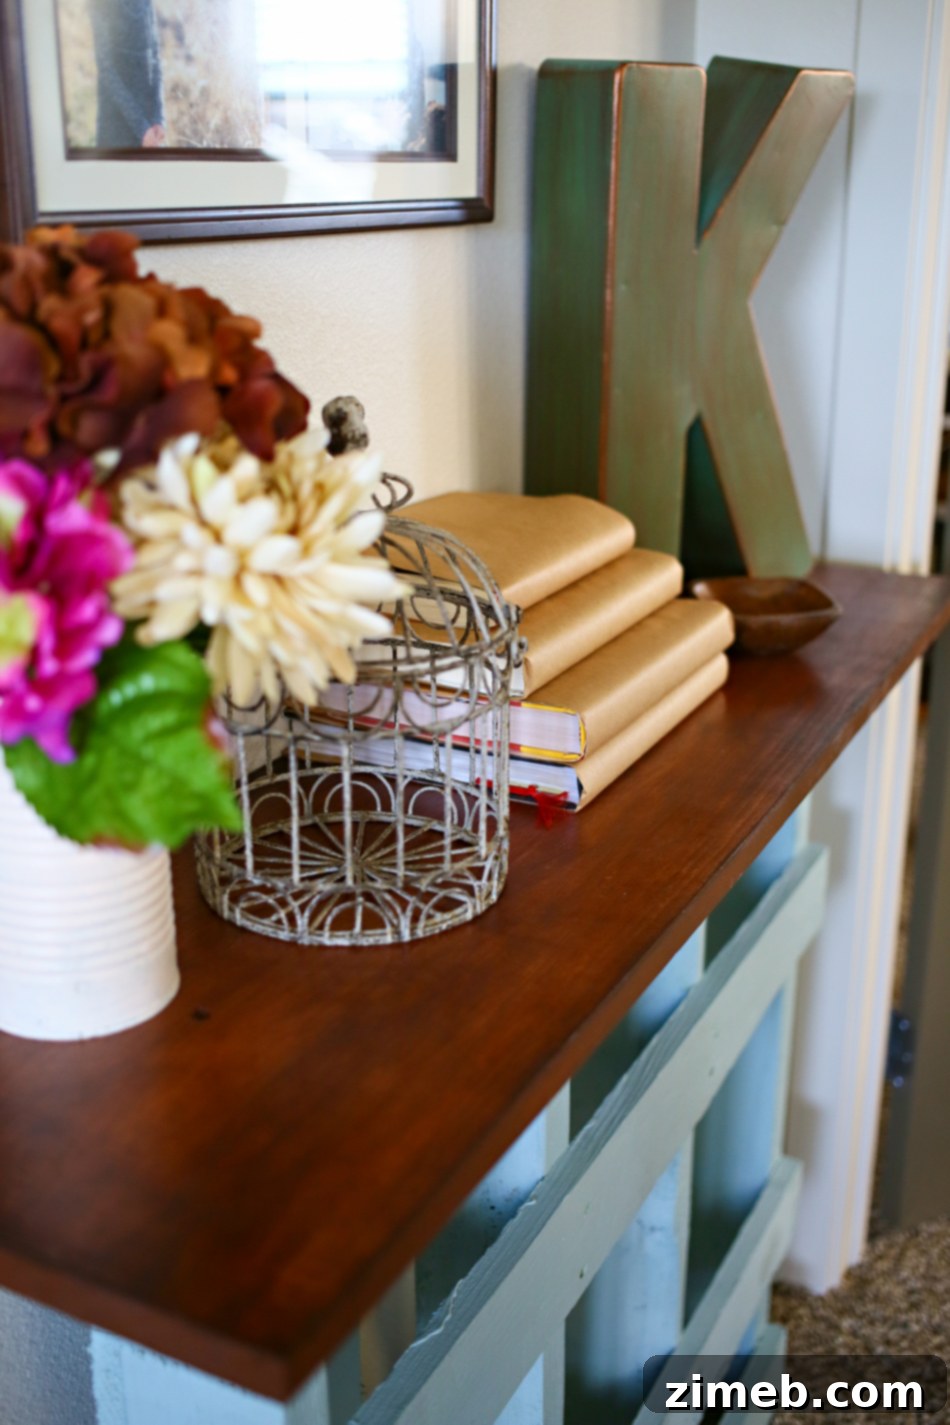
Transform Your Space with a DIY Pallet Console Table: Quick, Easy, and Eco-Friendly
Are you looking for a creative, budget-friendly way to enhance your home decor, especially in those awkward, narrow spaces? This comprehensive guide will show you how to construct a beautiful and functional DIY Pallet Console Table. Not only is this project incredibly quick and easy to complete—often in just a few hours—but it also champions the art of repurposing, giving new life to discarded materials. Perfect for an entryway, a hallway, or any tight corner that craves a touch of charm and practicality, this custom-built console table is more than just furniture; it’s a statement of style and sustainability.
The appeal of a console table lies in its versatility and slim profile. Unlike bulkier furniture, it provides a surface for decor, keys, mail, or a small lamp without overwhelming a room. For homes with limited square footage or specific architectural quirks, finding the right piece can be a challenge. That’s where the magic of DIY comes in. Imagine crafting a piece that perfectly fits your space, reflects your personal style, and saves you money. This pallet console table project offers exactly that: a bespoke solution that’s both rewarding to build and delightful to behold.
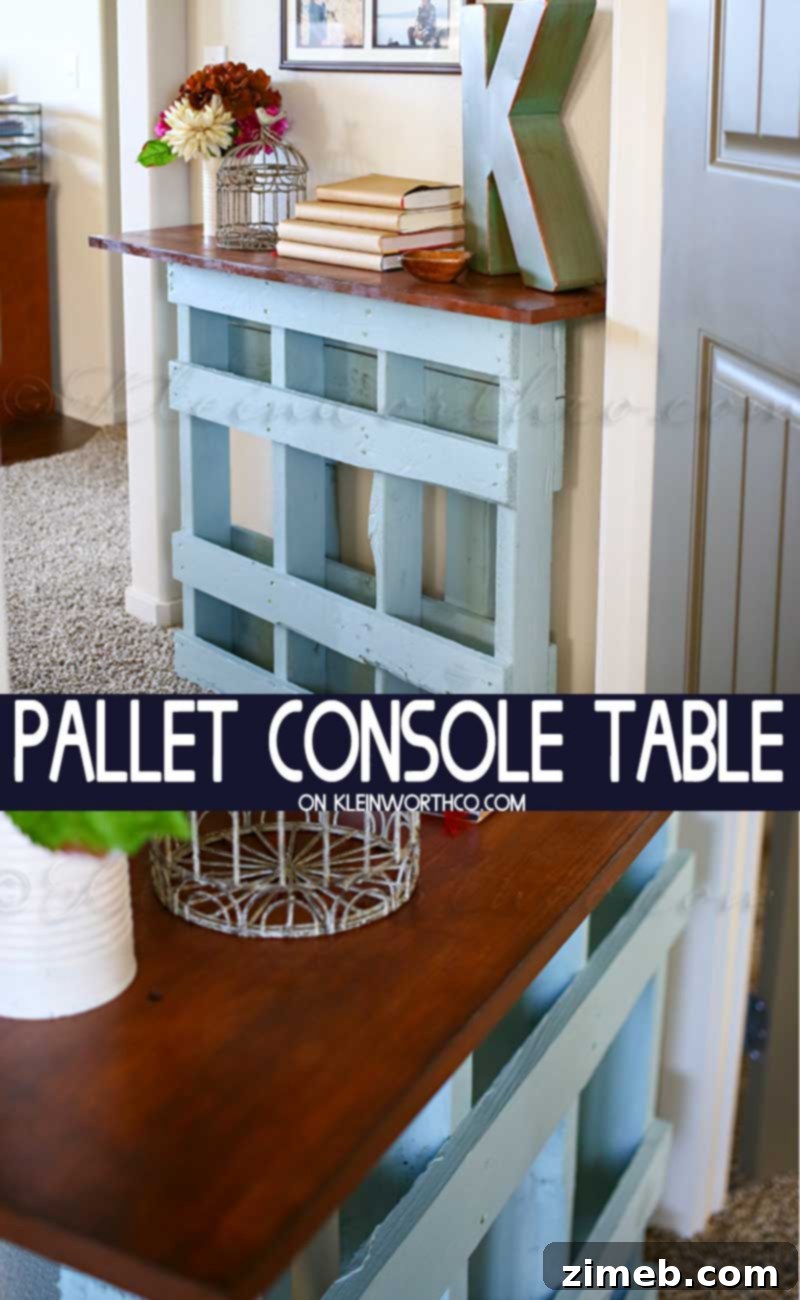
The Inspiration Behind Our Custom Pallet Console Table
Our journey to creating this unique console table began during the exciting phase of designing and building our new home. As the various elements came together, I started noticing specific areas that would require a custom touch. These weren’t vast, empty rooms but rather small, often overlooked spots that were just a little too narrow for standard furniture yet felt incomplete when left bare. One such area was the cozy entryway leading into our master bedroom—a space that called for something special, something functional, yet compact.
I knew a console table would be the ideal solution. It needed to be slim enough to allow for easy passage but substantial enough to define the space and provide a decorative anchor. My mind buzzed with ideas, brainstorming designs and considering various materials. However, nothing quite sparked the “aha!” moment until an unexpected delivery presented the perfect raw material for our project. It wasn’t until our new kitchen range arrived, the day after we received our keys, that the vision for our DIY Pallet Console Table truly solidified. The solution, quite literally, landed on our doorstep.
Crafting Your Own Pallet Table: A Beginner-Friendly Project
This post contains some affiliate links. Click here to read my full disclosure policy.
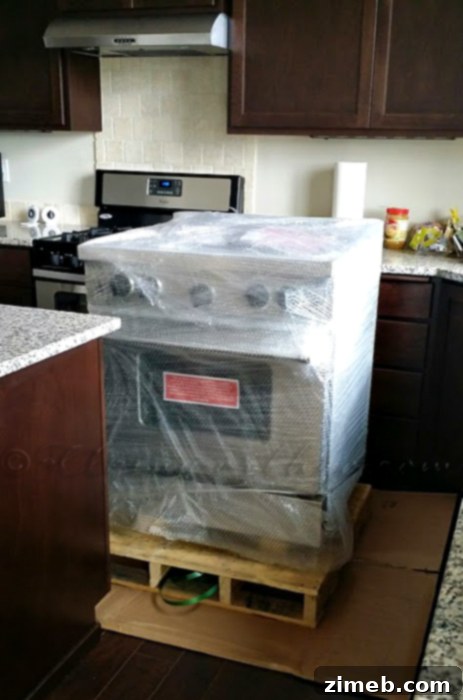
The moment the delivery truck pulled away, leaving behind a sturdy wooden pallet, my husband looked at me with a questioning glance. “Why didn’t the delivery guys take the pallet with them?” he asked, anticipating a bulky item needing storage. I simply smiled, already envisioning the transformation. “Because I asked them to leave it,” I replied with a hint of mischievous excitement. We had opted to install the new range ourselves, which meant the builder-grade appliance had to be removed, and its packaging, including the pallet, became an unexpected treasure. I assured him not to worry about storage; I definitely had a plan—a plan to repurpose that pallet into a stunning piece of furniture.
Preparing Your Pallet for a Fresh Start
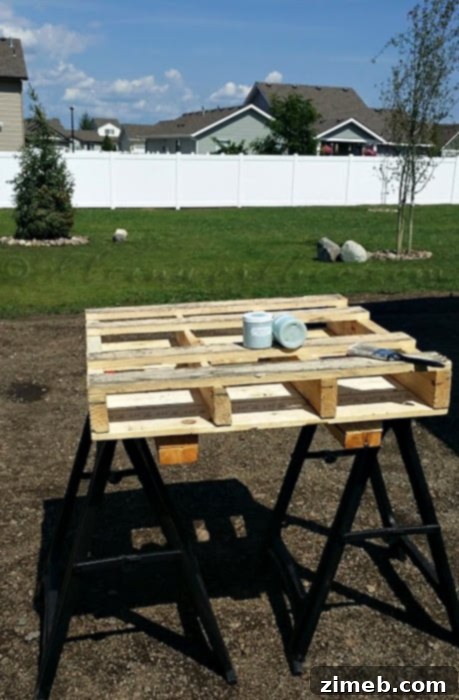
With the raw material secured, the next step was to gather the necessary finishing supplies. I reached out to my wonderful friends at DecoArt, sharing my vision for a repurposed pallet console table. They were incredibly supportive, graciously sending a comprehensive kit that included chalk paint, creme wax, gel stain, and a high-quality brush—everything needed to bring this project to life. Eager to begin, I set up my makeshift workshop in the backyard, ready to transform the rough pallet into an elegant piece.
The painting process began with two 8oz tubs of Americana Decor Chalky Finish paint. This was my very first experience with chalk paint and wax, and I must admit, I was immediately impressed. The paint applied smoothly and evenly in just one coat, completely eliminating the need for time-consuming priming. This saved so much effort and made the project feel incredibly approachable, even for a beginner DIYer like myself. Covering the entire pallet, including all the intricate nooks and crannies, required approximately 12 ounces of paint. This efficiency left me wishing I had a gallon of it for future projects!
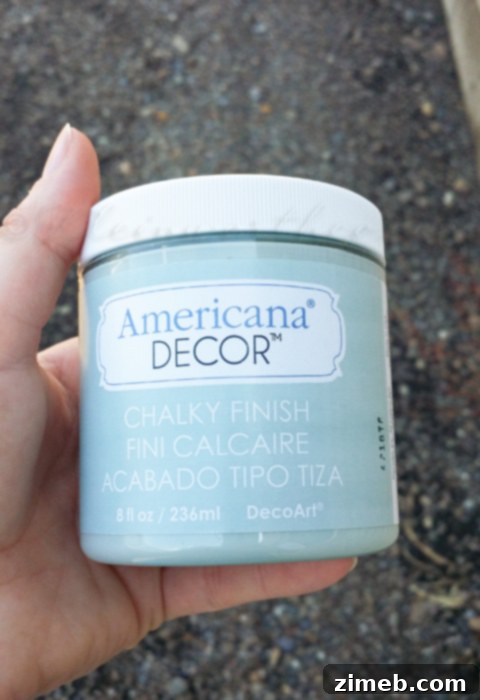
The color I meticulously selected for this project was “Vintage”—a captivating shade that beautifully blends light grey, subtle green, and a hint of blue. It’s a hue that instantly caught my eye and perfectly complemented the aesthetic I was aiming for, quickly becoming one of my personal favorites.
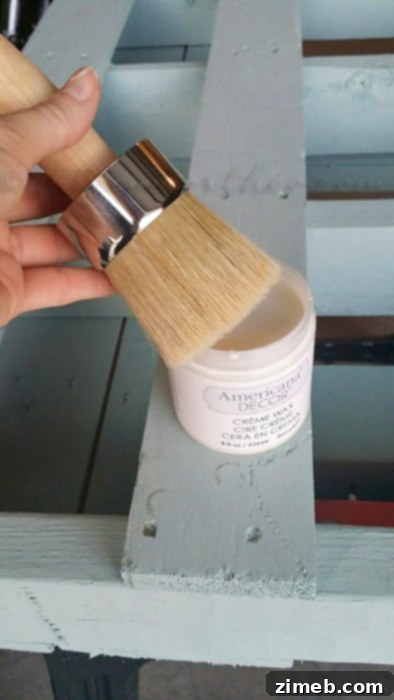
Once the chalk paint had thoroughly dried, I moved on to sealing the pallet with Americana Decor Creme Wax. This step is crucial for protecting the painted surface and giving it a durable, smooth finish. The wax glided on effortlessly, further solidifying my appreciation for these products. The ease of application, combined with the quick-drying nature of chalk paint, truly makes this a rewarding project for anyone, regardless of their DIY experience level. The transformation from a rough, utilitarian pallet to a piece with a refined, custom finish was truly remarkable.
How to Build Your Pallet Console Table: The Top and Assembly
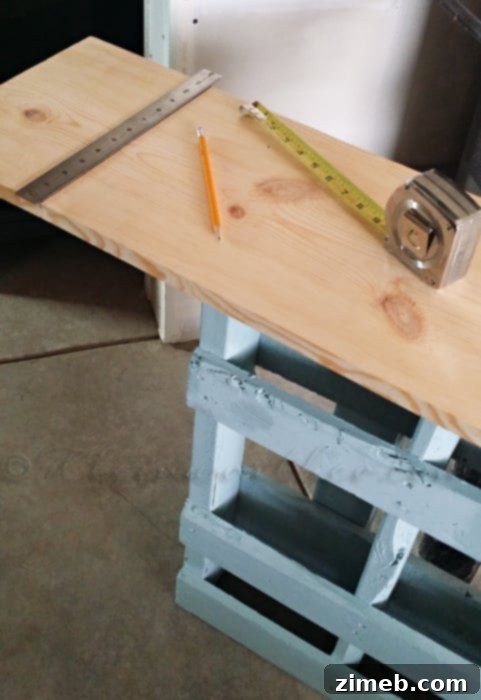
With the pallet painted and waxed, the next critical component was the tabletop. We visited our local hardware store and selected a suitable wooden plank. The key here is to choose a board that is perfectly straight and free of significant warping or damage. Careful measurement is paramount to ensure the top fits the pallet base precisely. We meticulously measured the dimensions of the pallet, marked the plank accordingly, and then made the precise cuts.
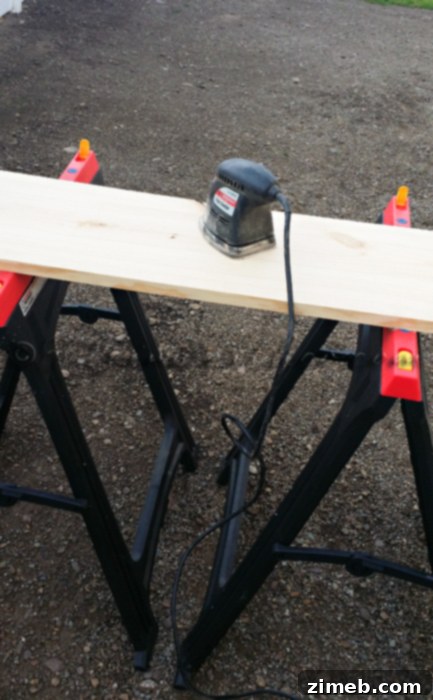
After cutting the plank to the correct size, the edges needed a little attention. We used sandpaper to smooth out any rough spots or splinters, ensuring a clean and safe finish. This step is important not only for aesthetics but also for practical use, as it prevents snags and provides a comfortable surface.
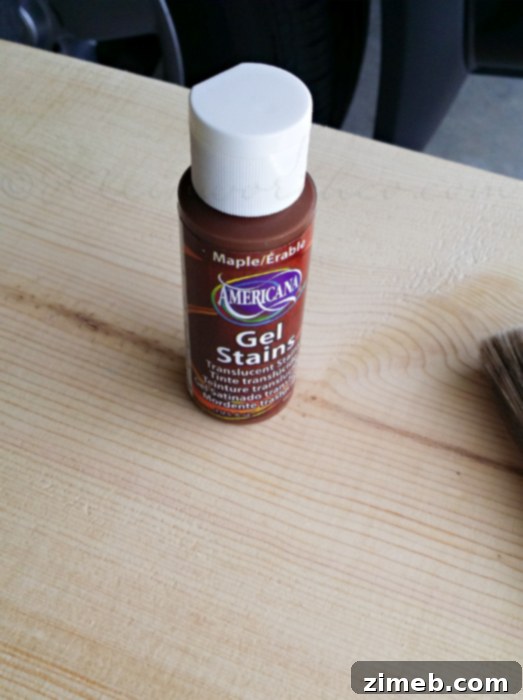
For the tabletop, I chose Americana gel stain in a rich maple shade. Gel stain offers excellent control and a beautiful, even finish, especially on various wood types. After applying the stain, I allowed it to dry overnight to ensure proper curing. The following day, I sprayed it with a clear sealant to provide added protection against spills and wear, ensuring the tabletop would be durable and long-lasting. With all components prepared, the final assembly was straightforward. We securely attached the stained and sealed tabletop to the painted pallet base using wood screws, ensuring a strong and stable connection. Finally, for enhanced stability and safety, especially in a busy entryway, we used metal brackets to firmly attach the completed console table to the wall. This step prevents any accidental tipping and ensures peace of mind.
Our Homemade Pallet Table: A Perfect Fit
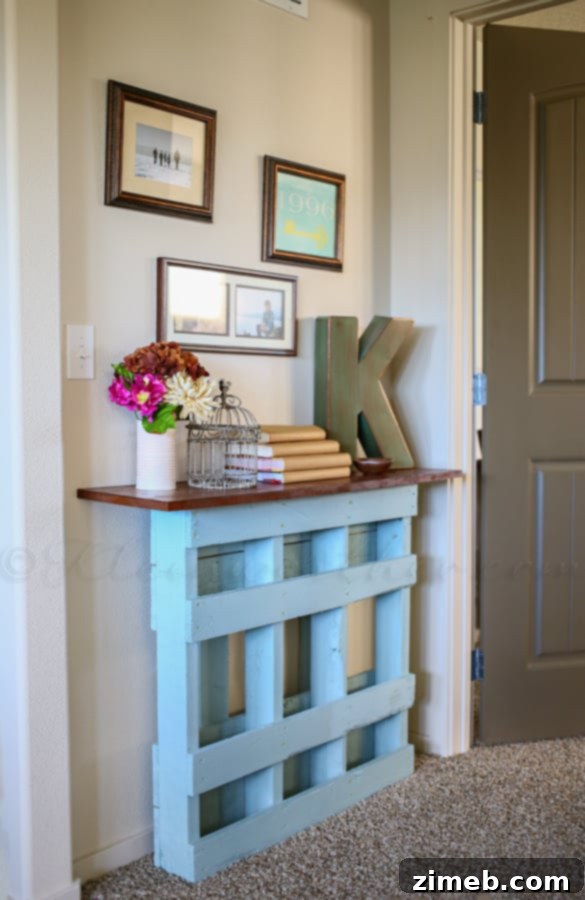
And there it is—our magnificent DIY Pallet Console Table! The finished piece is precisely as I had envisioned, fitting the space perfectly and adding that missing element of charm and functionality. This outcome is particularly satisfying because, I’ll be the first to admit, my husband and I consider ourselves very much beginner-level DIYers. To successfully execute my vision and see it all come together so beautifully was a truly rewarding experience. If we, with our limited experience, can achieve such a great result, then you most certainly can too!
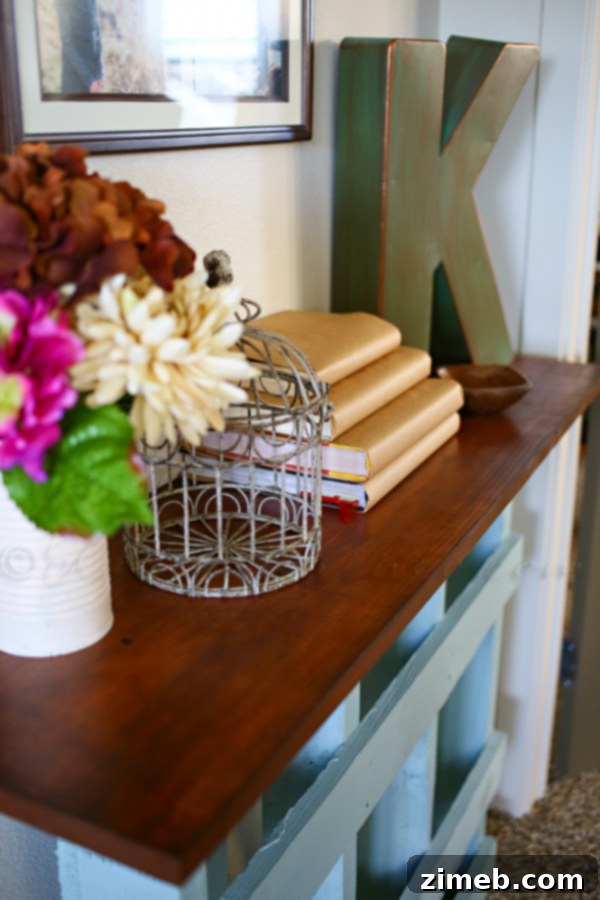
The entryway finally feels complete, transformed from an empty, somewhat awkward space into a welcoming area that brings a smile to my face every time I walk through. It’s amazing how a simple, custom-built piece of furniture can profoundly impact the feel of a home.
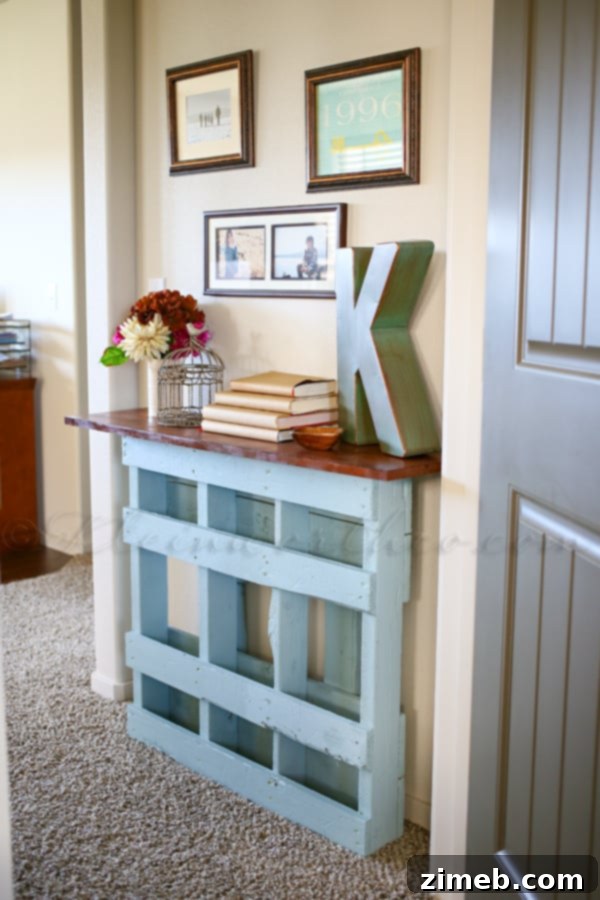
Adding to the joy, my studio is situated just off this area, meaning I get to enjoy the beauty and charm of our new console table all day long while I work. It serves as a constant reminder of what can be achieved with a little creativity, determination, and the willingness to tackle a DIY project. This small, repurposed pallet table has made a big difference in how this part of our home functions and feels.
DIY Console Table Tutorial: Get Started Today!
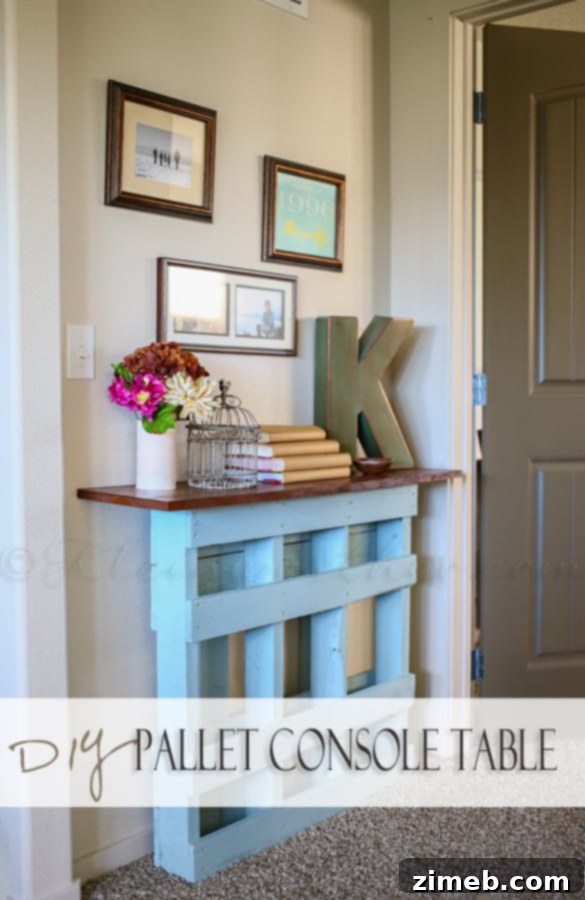
*Disclosure: I was given some of the products shown here in order to facilitate this post as part of the DecoArt Blogger Outreach Program. All opinions are truthful & my own.
You Will Need: Essential Tools and Materials for Your Pallet Project
Embarking on this pallet console table project is straightforward, requiring a few basic tools and materials that are readily available. Here’s a detailed list to help you prepare:
- **Pallet:** The star of the show! Look for heat-treated (HT) pallets, as they are less likely to contain chemicals. Ensure it’s in good condition with minimal damage.
- Chalk Paint: Opt for a high-quality chalk paint that offers excellent coverage without the need for priming. This significantly speeds up the painting process.
- Paintbrush: A good quality brush will ensure smooth and even application of the chalk paint.
- Sealing Wax: Essential for protecting your chalk-painted surface, adding durability, and providing a beautiful finish.
- Sealing Wax Brush or Cloth: A specialized wax brush or a soft, lint-free cloth will help you apply the wax evenly and buff it to a desired sheen.
- **Board for the Table Top:** A solid piece of wood, such as a pine plank or common board, cut to your desired dimensions.
- Gel Stain: For coloring and enhancing the natural beauty of your tabletop. Gel stain is easy to work with and provides a rich, consistent finish.
- Wood Screws: For securely attaching the tabletop to the pallet base. Choose screws appropriate for wood and of sufficient length.
- Wall Brackets for Mounting: Crucial for securing the console table to the wall, especially important for stability and safety in entryways or homes with children and pets.
- **Measuring Tape & Pencil:** For accurate measurements and markings.
- **Saw:** A hand saw or power saw for cutting the tabletop plank to size.
- **Sander or Sandpaper:** For smoothing the edges of the tabletop and preparing it for staining.
- **Clear Sealant Spray:** An optional but recommended step for added protection on the stained tabletop.
With these items in hand, you’re ready to embark on a fulfilling DIY project that results in a unique, functional, and stylish addition to your home. Enjoy the process of creating something beautiful with your own hands!
Looking for more inspiring DIY projects to transform your home?
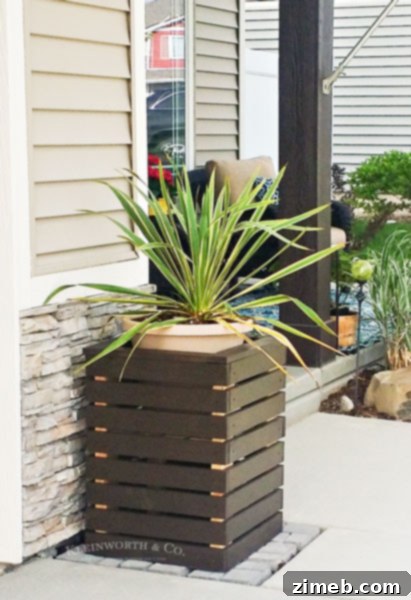
DIY Modern Planter Boxes
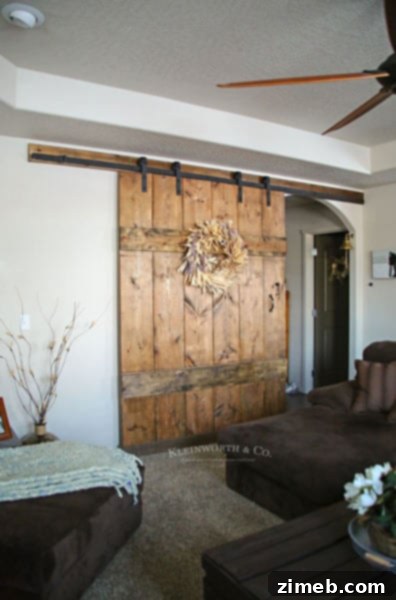
Wide Rustic Barn Door
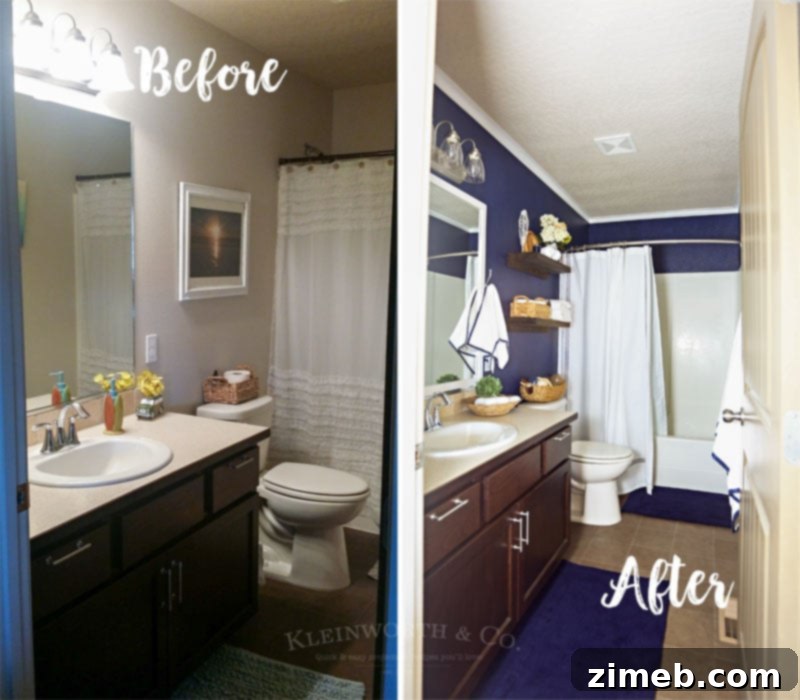
Nautical Navy & White Bathroom Makeover
Don’t miss these other fantastic ideas from fellow bloggers, perfect for enhancing your home with a personal touch:
DIY menu board | The Sway
DIY Air Freshener Decoration | Eighteen25