
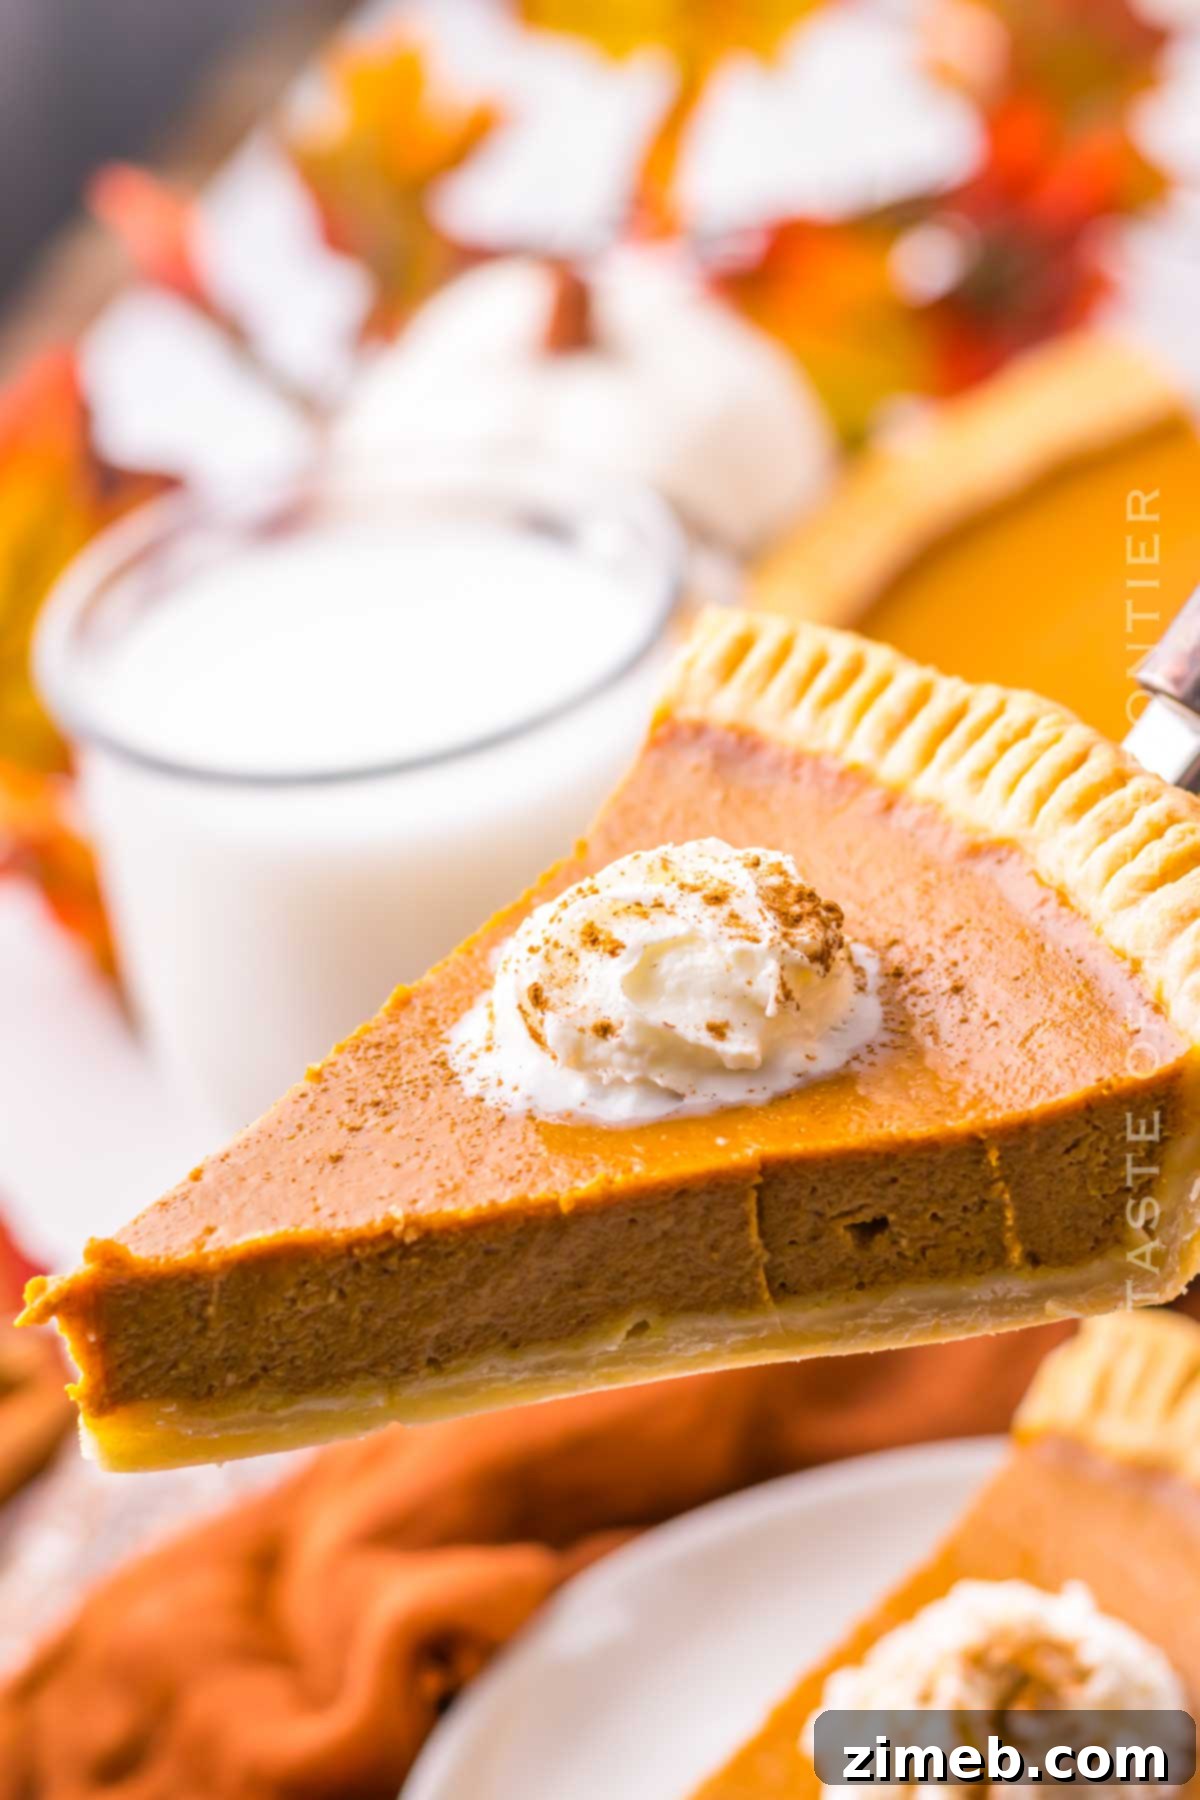
Unlock the secret to the legendary **Costco pumpkin pie** with this meticulously crafted copycat recipe. Imagine a pie with an unbelievably creamy texture, an ultra-rich filling, and a symphony of fall-themed spices perfectly balanced with the deep, comforting flavor of pumpkin. Now, imagine bringing that favorite taste right into your own kitchen, any time of year.
Costco is renowned, especially during the autumn season, for its colossal and irresistibly delicious pumpkin pies that virtually fly off the shelves. There’s a certain magic to their pies – a consistent quality and flavor that has captivated countless enthusiasts for decades. But what if you could replicate that magic, ensuring a fresh, homemade pie whenever the craving strikes?
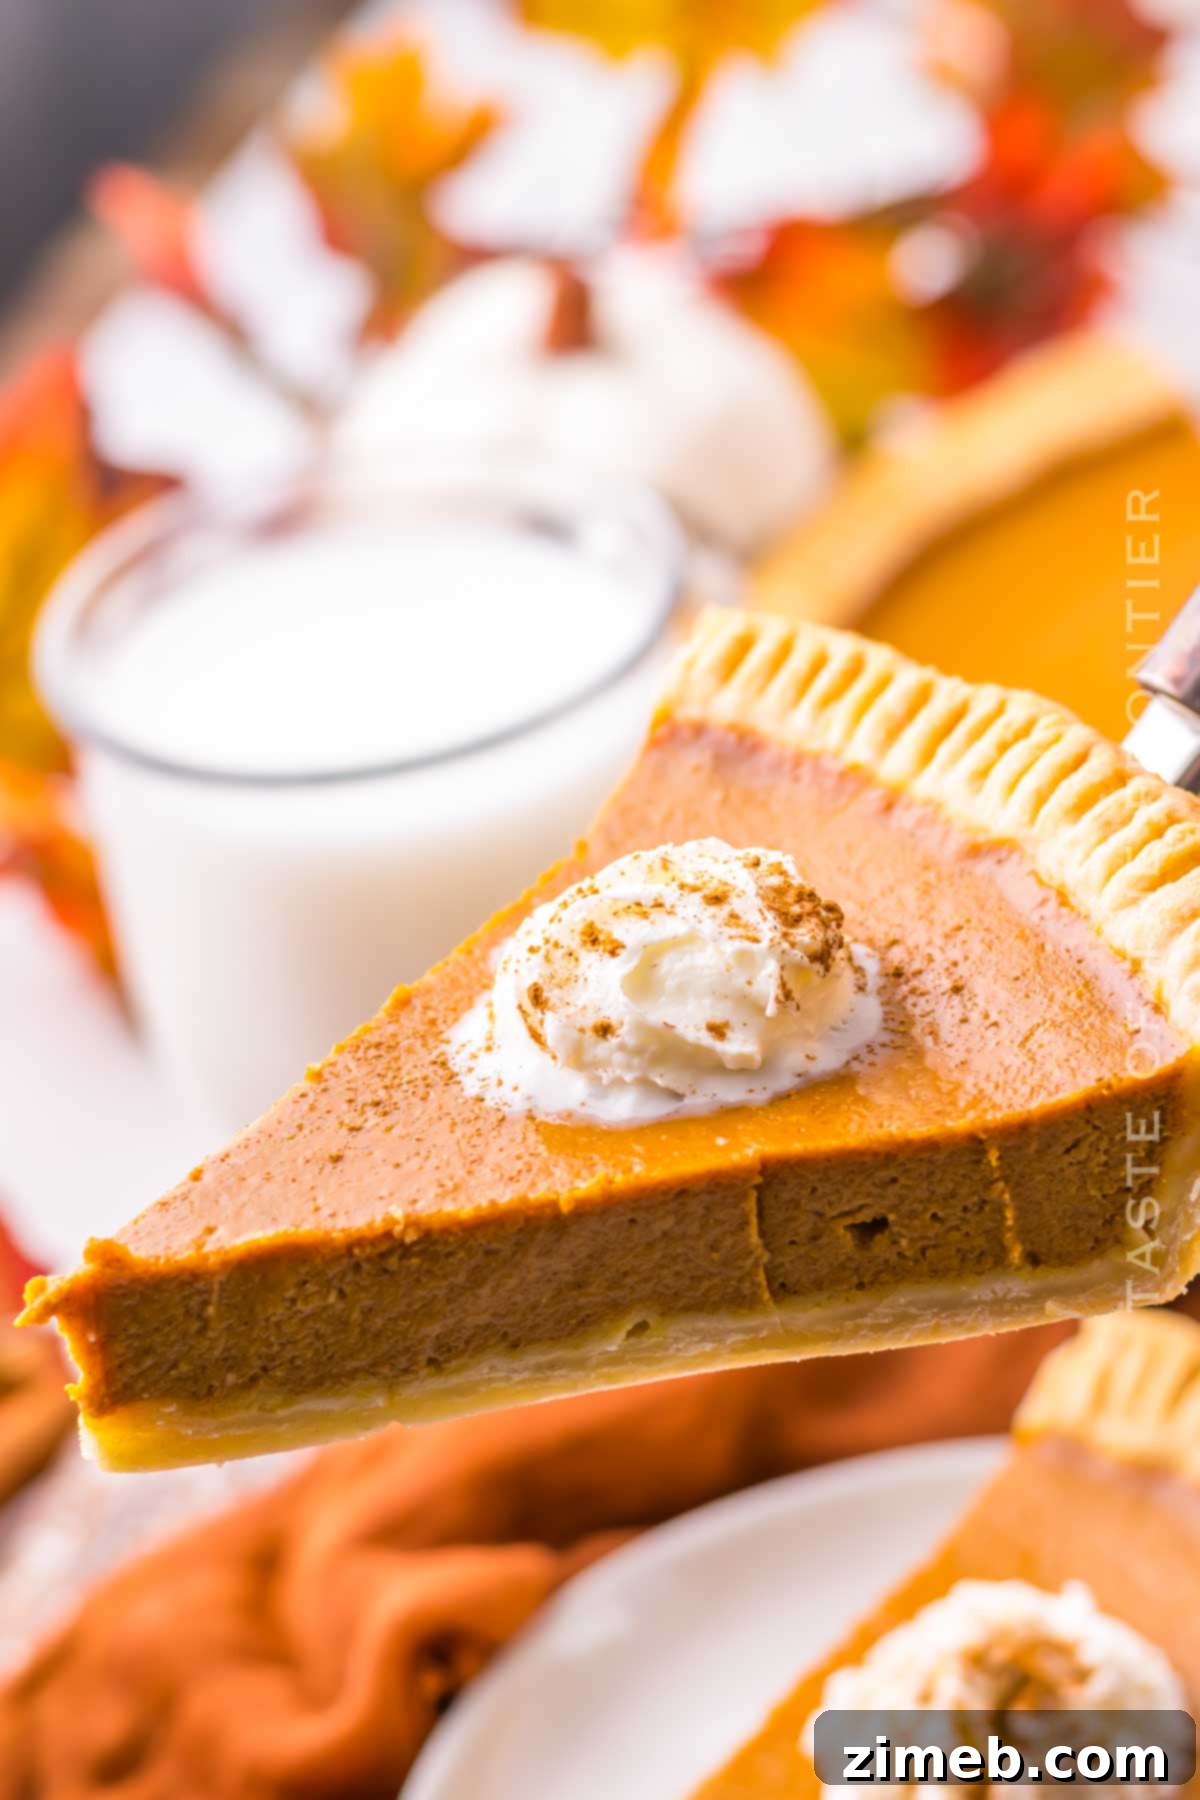
This **Copycat Costco Pumpkin Pie recipe** empowers you to create your very own perfectly creamy pumpkin pie at home. One of the distinguishing features of Costco’s pies is their generous 12-inch diameter, making them ideal for holiday gatherings or simply satisfying a large family’s sweet tooth. This recipe is specifically designed to yield a magnificent 12-inch pumpkin pie, mirroring the size and grandeur of the original. No more settling for smaller, less impressive pies when you can bake a true showstopper.
Many consider the Costco version to be the gold standard of pumpkin pies, and this recipe aims to deliver that same “best pumpkin pie” experience. Learning how to bake this classic dessert means you can enjoy it year-round, right in the comfort of your home. It also opens up a world of culinary exploration, allowing you to experiment with nuances and personal touches. Who knows, with a little practice and your own flair, your homemade creation might even surpass the original inspiration!
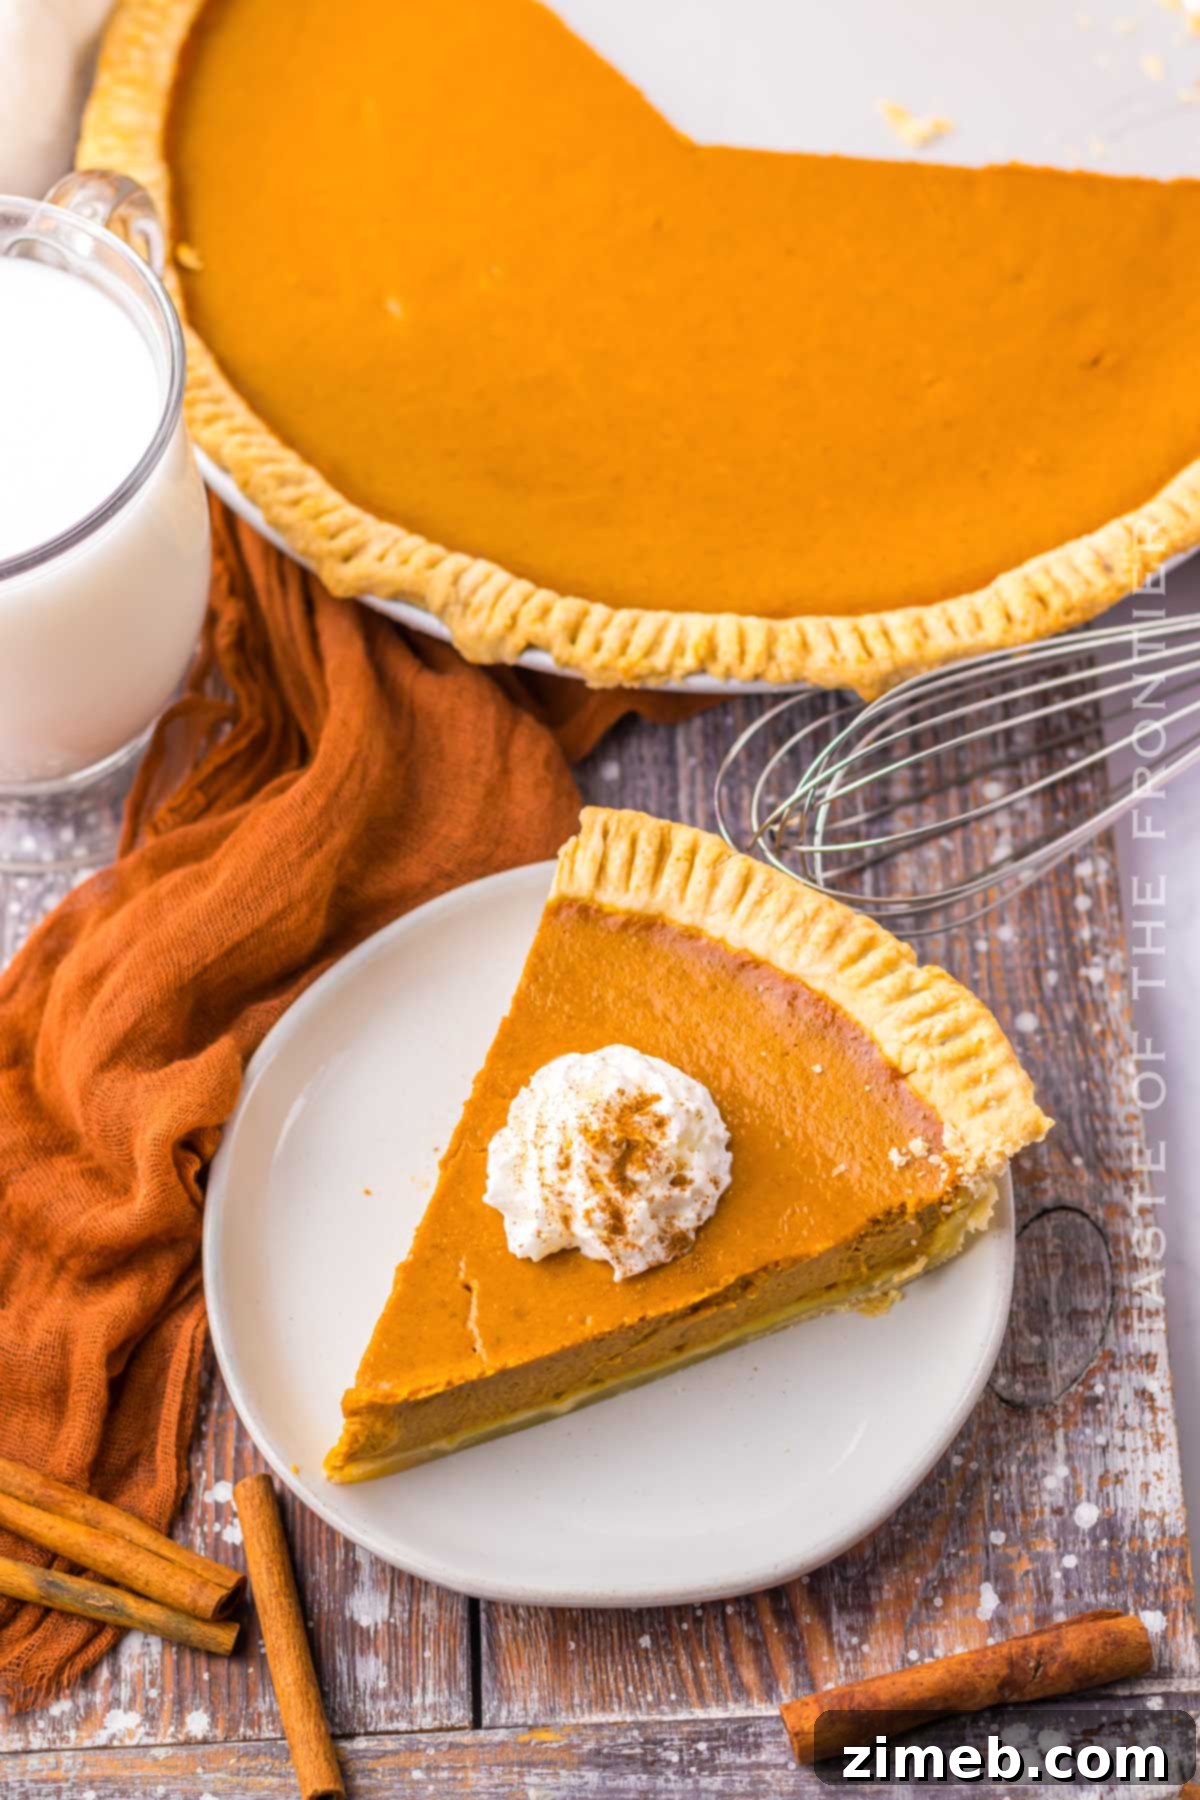
Why This Copycat Costco Pumpkin Pie Recipe Will Be Your New Favorite
There are countless reasons why this **homemade pumpkin pie** will quickly become a cherished part of your recipe collection, especially during the fall and holiday seasons:
- An Authentic Costco Pie Experience: This isn’t just any pumpkin pie; it’s a perfect copycat recipe designed to capture the distinctive taste and texture of your favorite Costco pie. Using simple, accessible ingredients and straightforward steps, you can craft this incredibly tasty pie entirely from scratch. We even use the same type of pumpkin Costco favors, ensuring an authentic flavor profile.
- Effortless Holiday Dessert: Forget last-minute stress. This **creamy pumpkin pie** is a quick and easy dessert, making it ideal for a memorable Thanksgiving dinner or any festive occasion. Its classic appeal guarantees it will be a crowd-pleaser.
- Silky Smooth Texture: The secret to that signature smoothness lies in the high-quality canned pumpkin puree we recommend, combined with the precise ratio of dairy. This results in an ultra-rich filling that melts in your mouth with every bite.
- Minimal Active Prep Time: Who wants to spend hours in the kitchen? This recipe boasts a surprisingly short prep time, barely 20 minutes. Most of the cooking is handled by your oven, leaving you free to focus on other tasks or simply relax.
- Nut-Free Assurance: Unlike many commercial pies, including the original, this recipe is guaranteed to be safe for individuals with nut allergies. You can serve it with confidence, knowing everyone can enjoy a slice.
- Perfect for Planning Ahead: Planning is key for holiday baking, and this pie excels in make-ahead convenience. It’s easy to prepare in advance and freezes beautifully, allowing you to spread out your baking tasks and reduce stress on the big day.
Essential Ingredients for Your Homemade Costco Pumpkin Pie
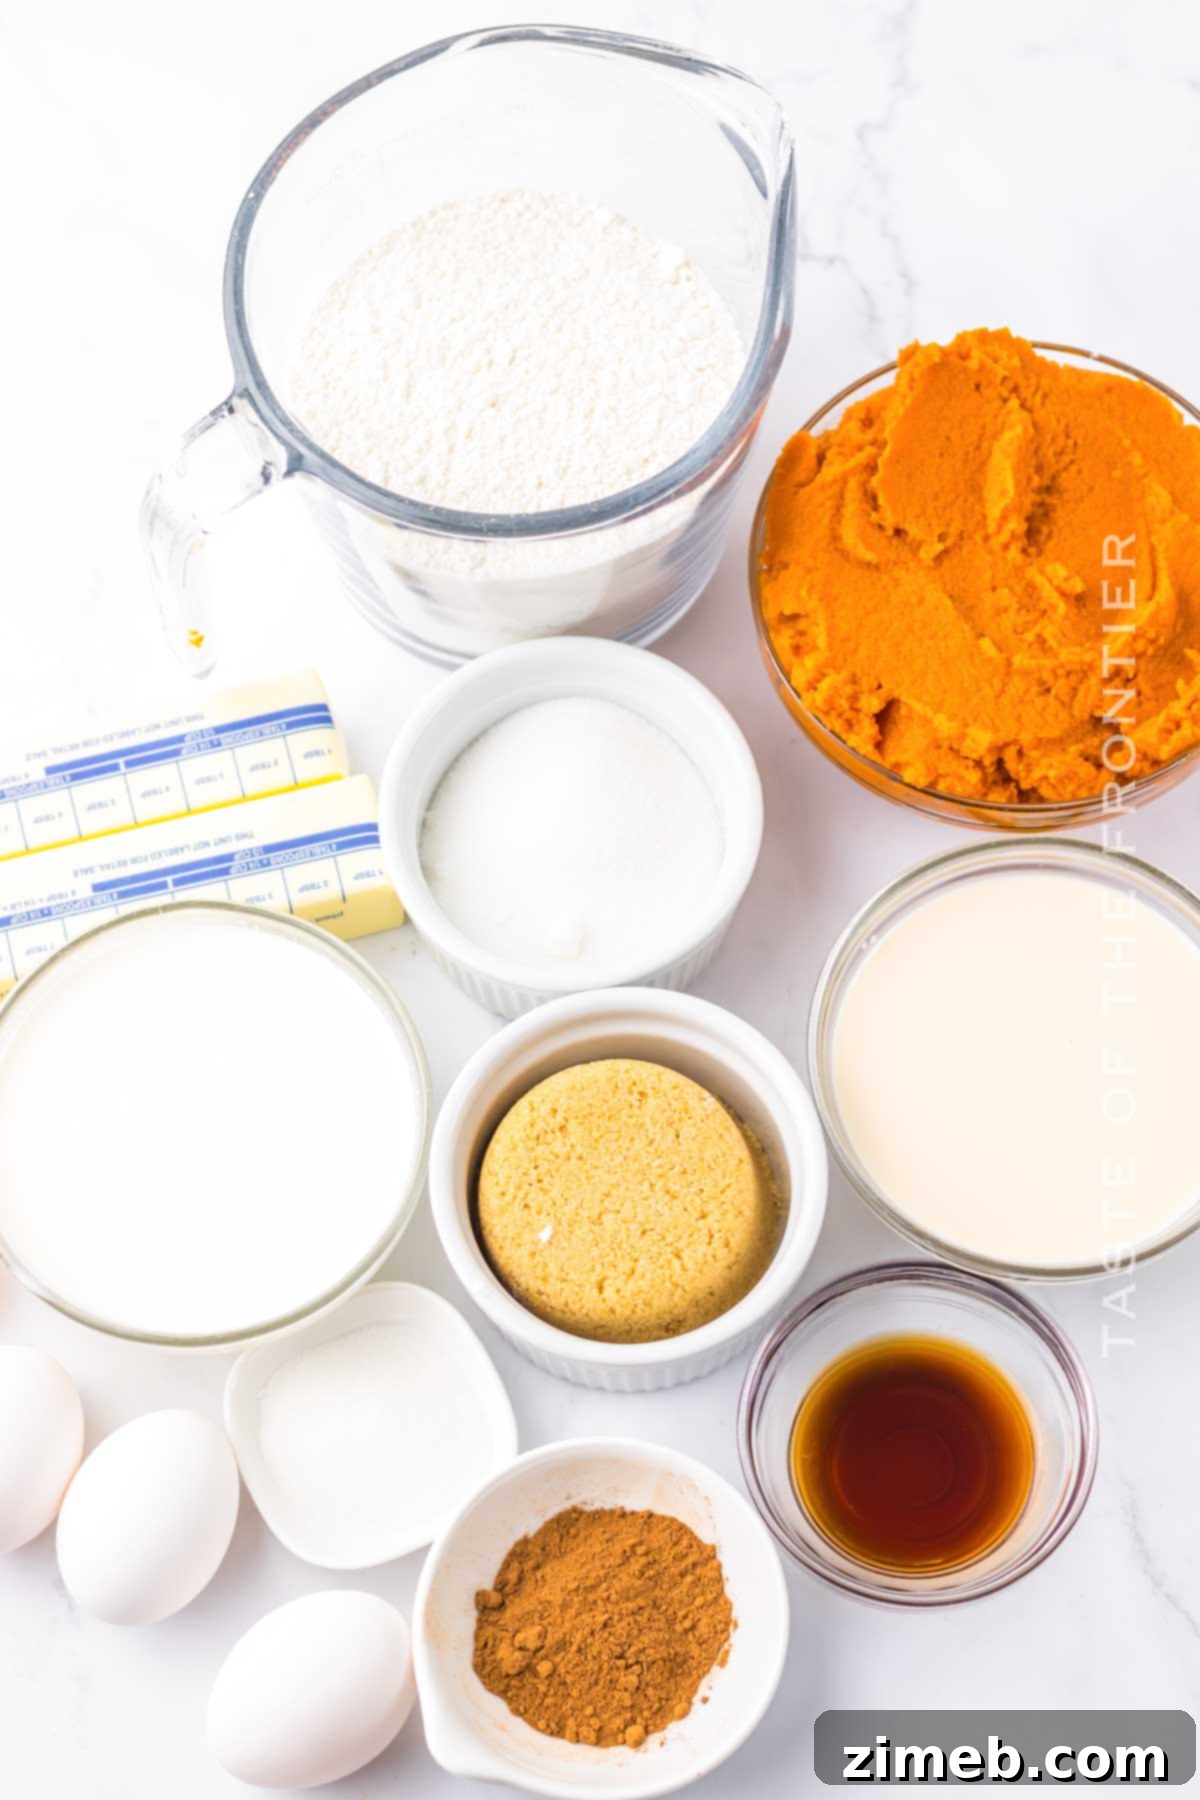
Crafting the perfect **12-inch pumpkin pie** starts with understanding each ingredient and its role in achieving that coveted Costco taste and texture. Our ingredient list is designed for both ease and authenticity.
For the Flaky Pie Crust
A truly great pumpkin pie is built upon a foundation of a delicious, flaky crust. Our recipe calls for basic, pantry-staple ingredients that are likely already in your kitchen:
- All-Purpose Flour: The primary structural component, providing the base for our tender crust.
- Granulated Sugar: Adds a touch of sweetness and helps with browning and tenderness.
- Salted Butter (cold): Crucial for flakiness. The cold butter creates steam pockets during baking, resulting in a light, airy texture. Using salted butter adds depth of flavor, but unsalted can be used if you adjust the added salt slightly.
- Ice Water: Essential for bringing the dough together without overworking the gluten, ensuring a tender crust. The cold temperature also keeps the butter from melting prematurely.
For the Ultra-Rich Pumpkin Pie Filling
The heart of our **copycat Costco pumpkin pie** is its velvety, spiced filling. Each ingredient is carefully selected to replicate the original’s depth of flavor and smooth consistency:
- Pumpkin Puree (Canned): We use 1.5 cans of Libby’s Pure Pumpkin, which is approximately 22.5 ounces. It is critical to use pure pumpkin puree, NOT pumpkin pie filling, which already contains spices and sugar that would alter the recipe’s balance.
- Eggs (Full Eggs and Egg Yolks): Eggs provide structure and richness to the custard-like filling. The combination of whole eggs and extra yolks helps achieve that desired thick, smooth, and decadent texture.
- Full-Fat Heavy Cream and Evaporated Milk: This dynamic duo is key to creating an incredibly smooth, silky, and rich pie filling. Heavy cream contributes luxurious fat content, while evaporated milk adds a subtle caramelized depth and creamy body without excessive liquid.
- Vanilla Extract: More than just flavor, vanilla extract enhances the overall aroma of the pie, making it even more inviting and comforting.
- Store-Bought or Homemade Pumpkin Pie Spice: This blend is the essence of fall flavor. It typically includes a harmonious mix of cinnamon, nutmeg, ground ginger, ground cloves, and allspice. Using a good quality spice blend is vital for the authentic taste.
*A special note on pumpkin puree: Libby’s uses a specific variety of pumpkin called Dickinson pumpkin. This is exactly the variety used in Costco’s famous pumpkin pies, making it the ideal choice for achieving the most authentic flavor!
Essential Kitchen Equipment for Baking Success
Having the right tools makes all the difference when baking, especially when you’re aiming for perfection like this **homemade pumpkin pie**:
- Cheese Grater: Invaluable for grating cold butter into the flour mixture, ensuring even distribution and those coveted pea-sized crumbs crucial for a flaky crust.
- 12-inch Pie Pan: This is a non-negotiable item to achieve the signature large size of the Costco pumpkin pie. A good quality, heavy-gauge pie pan will ensure even baking.
- Pie Weights: These are essential for blind baking the crust, preventing it from puffing up or shrinking during pre-baking. Dried beans or rice (about 2 cups) can serve as excellent substitutes if you don’t have dedicated pie weights.
- Hand Mixer: A hand mixer ensures your pumpkin filling is perfectly smooth and lump-free, creating that dreamy creamy texture.
- Mixing Bowls: You’ll need at least two – one large bowl for preparing the pie crust mixture and another for blending the luxurious pumpkin filling.
How to Make the Perfect Copycat Costco Pumpkin Pie
Follow these step-by-step instructions carefully to recreate the iconic taste and texture of Costco’s legendary pumpkin pie. Precision is key for this **best pumpkin pie recipe**.
1 – Crafting the Flaky Pie Crust from Scratch
The foundation of your pie is a tender, flaky crust. Taking a little extra care here will yield delicious results.
- Begin by preheating your oven to 350 degrees Fahrenheit (175°C). This ensures your oven is at the correct temperature for immediate baking once the crust is ready.
- In a large mixing bowl, whisk together the all-purpose flour and granulated sugar until they are thoroughly combined. This even distribution of sugar contributes to the crust’s flavor and browning.
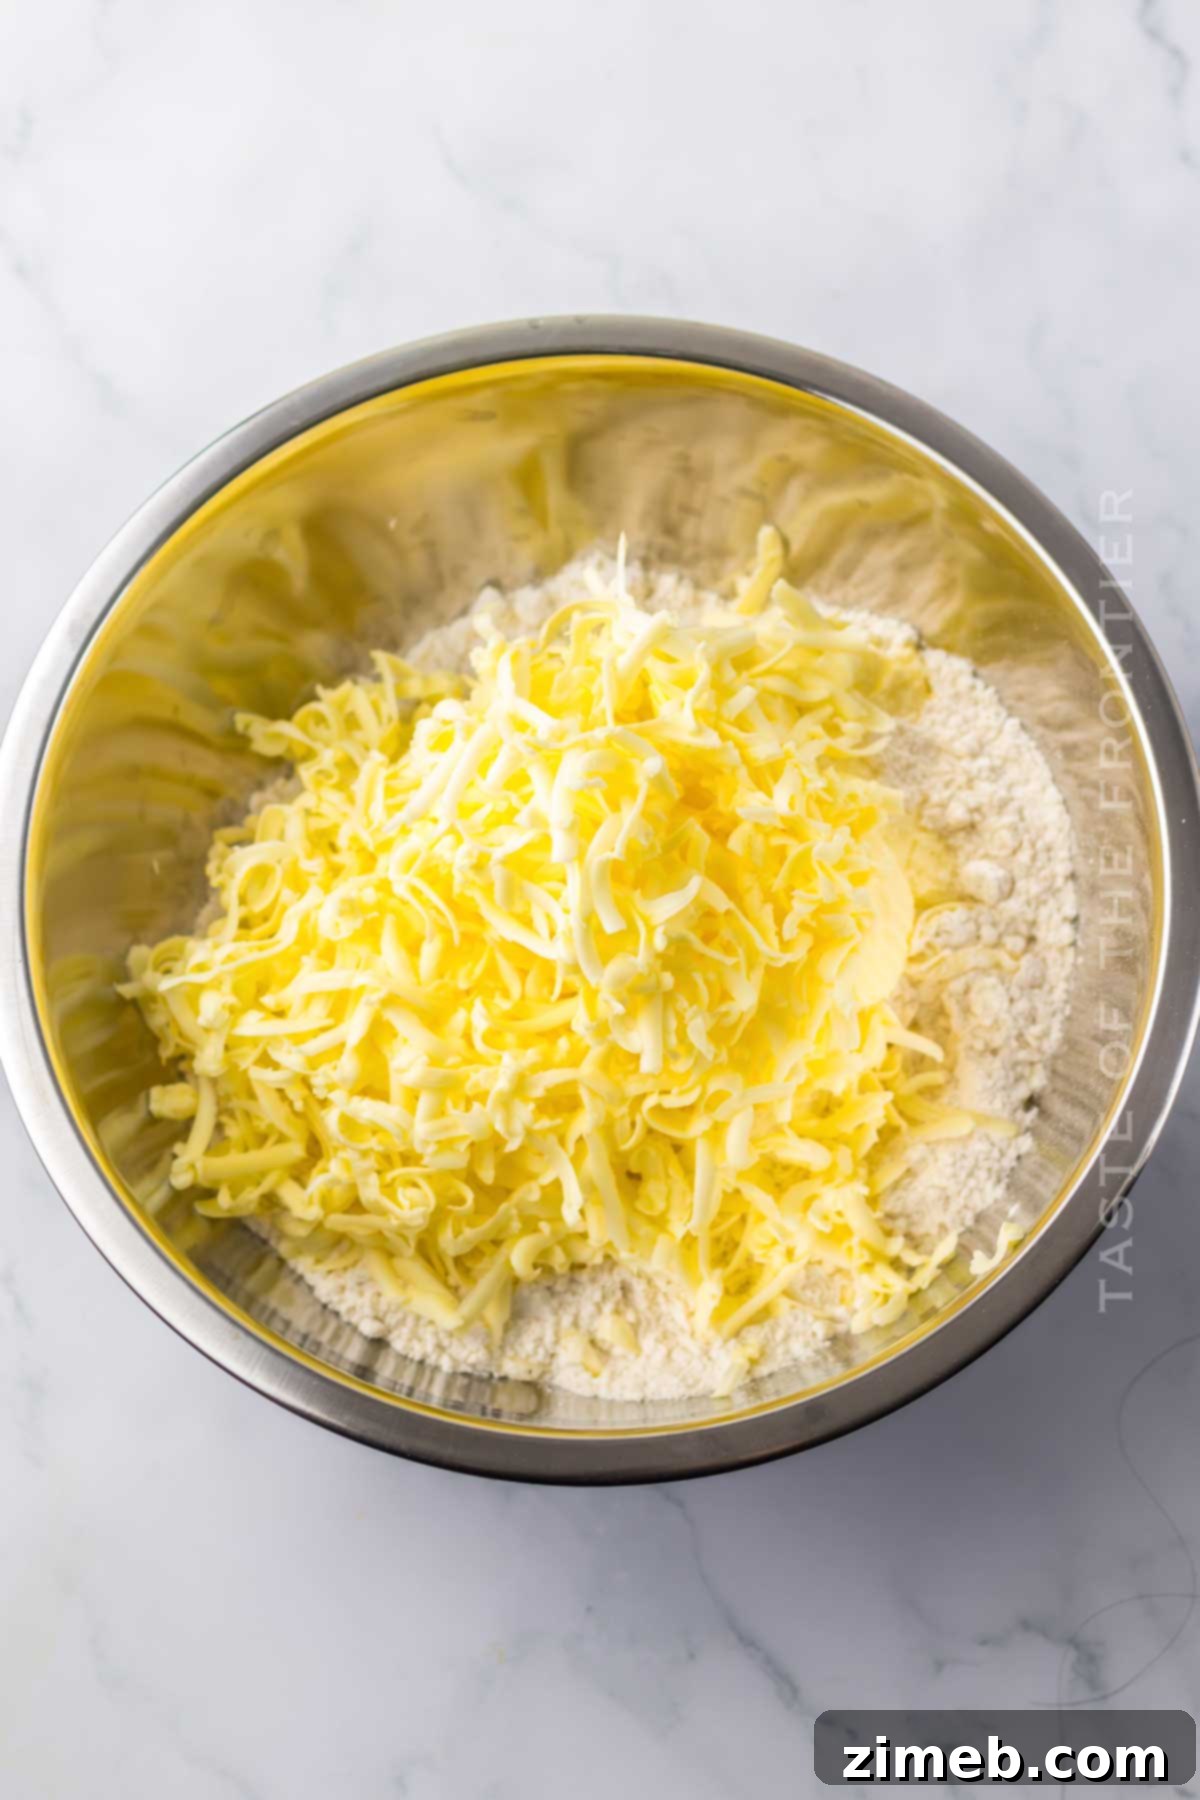
- Using a cheese grater, grate the very cold, salted butter directly into your dry ingredients. Cold butter is paramount for a flaky crust. Work the grated butter into the flour using a fork or a pastry blender, until the mixture resembles coarse meal with pea-sized crumbs. Avoid overworking the butter into the flour, as this can develop the gluten too much.
- Gradually add the ice water, bit by bit, as you begin to knead the dough gently with your hands. Add just enough water for the dough to come together into a cohesive ball. Over-hydrating will make the dough sticky, and too little will make it crumbly.
- Optional Chilling Step: For an even flakier and easier-to-handle crust, once the dough is kneaded, form it into a flattened disk, wrap it tightly with plastic wrap, and let it chill in the refrigerator for 30 to 60 minutes, or in the freezer for about 15 minutes. While this step can be skipped, chilling helps relax the gluten, making the dough easier to roll and less prone to shrinking. Even if skipped, the crust will still be delicious!
2 – The Art of Blind Baking Your Pie Crust
Blind baking is a crucial step to prevent a soggy bottom and ensure a perfectly crisp crust for your **homemade pumpkin pie**.
- On a lightly floured flat surface, roll out your pie dough. Aim for a circle that is large enough to cover your 12-inch pie pan with a slight overhang of about 2-3 inches. Gently transfer the rolled-out dough into the pie plate, pressing it carefully into the bottom and sides.
- Trim off any excess dough, leaving about a 1-inch overhang. Fold this overhang under itself and use a fork or your fingers to crimp the edges, creating a decorative and functional border.
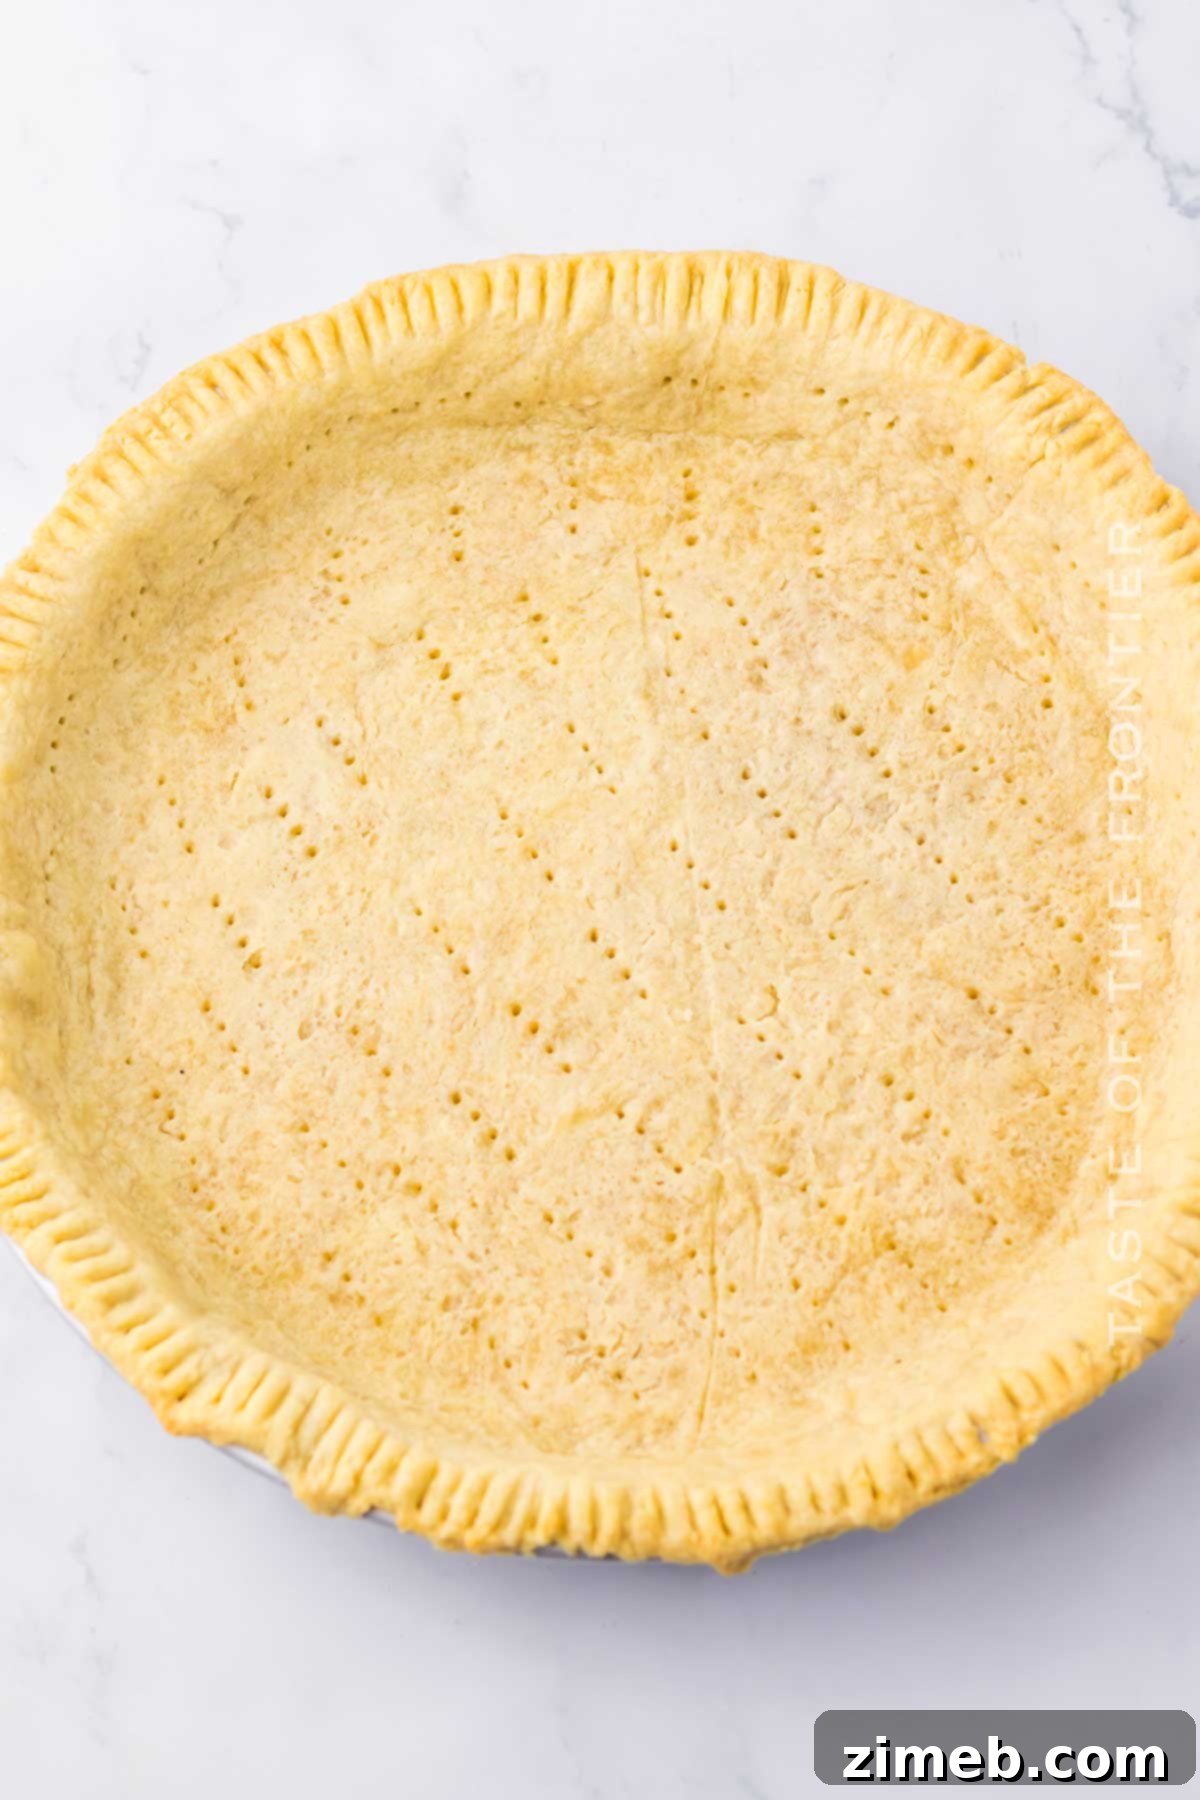
- Now, it’s time to blind bake the crust. Line the unbaked crust with parchment paper or aluminum foil, making sure it covers the sides. Fill the lined crust with pie weights, dried beans, or uncooked rice (you’ll need around 2 cups). These weights prevent the crust from bubbling up and shrinking. Bake for 15 minutes.
- Carefully remove the parchment paper (or foil) and the weights. Return the crust to the oven and bake for another 5 minutes, allowing the bottom to dry out and lightly brown. This ensures a fully cooked and crisp crust.
- Once baked, remove the crust from the oven and transfer it to a wire rack to cool down completely. This cooling step is important before adding the filling.
*Blind baking, also known as pre-baking, means baking the pie crust without any filling. This technique is essential for pies with wet fillings, like pumpkin pie, to ensure the bottom crust is firm and fully cooked, not soggy.
3 – Preparing the Luscious Pumpkin Filling
This is where the magic of the **creamy pumpkin pie filling** comes alive, echoing Costco’s signature taste.
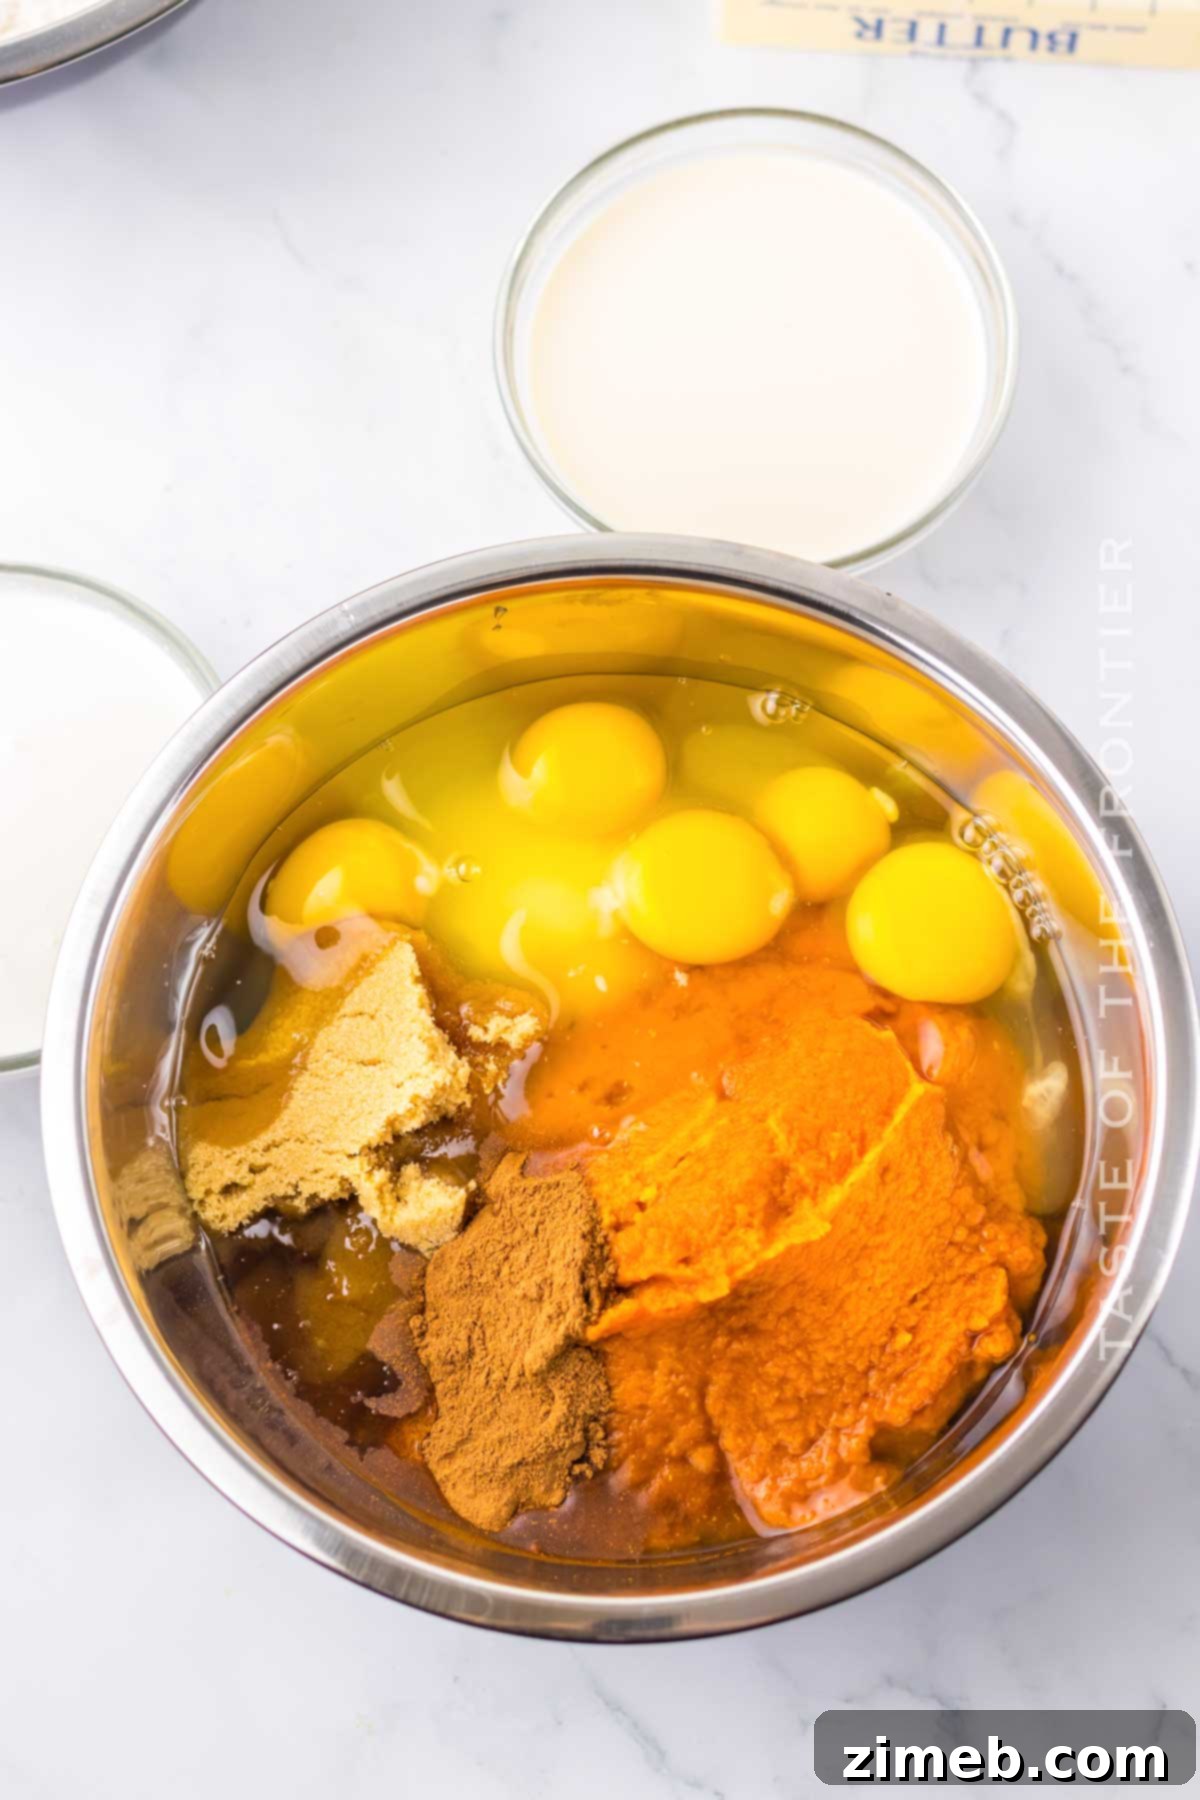
- In a large mixing bowl, combine the pumpkin puree (remember, pure pumpkin, not pie filling), the eggs, full-fat heavy cream, brown sugar, evaporated milk, granulated sugar, vanilla extract, and the pumpkin pie spice.
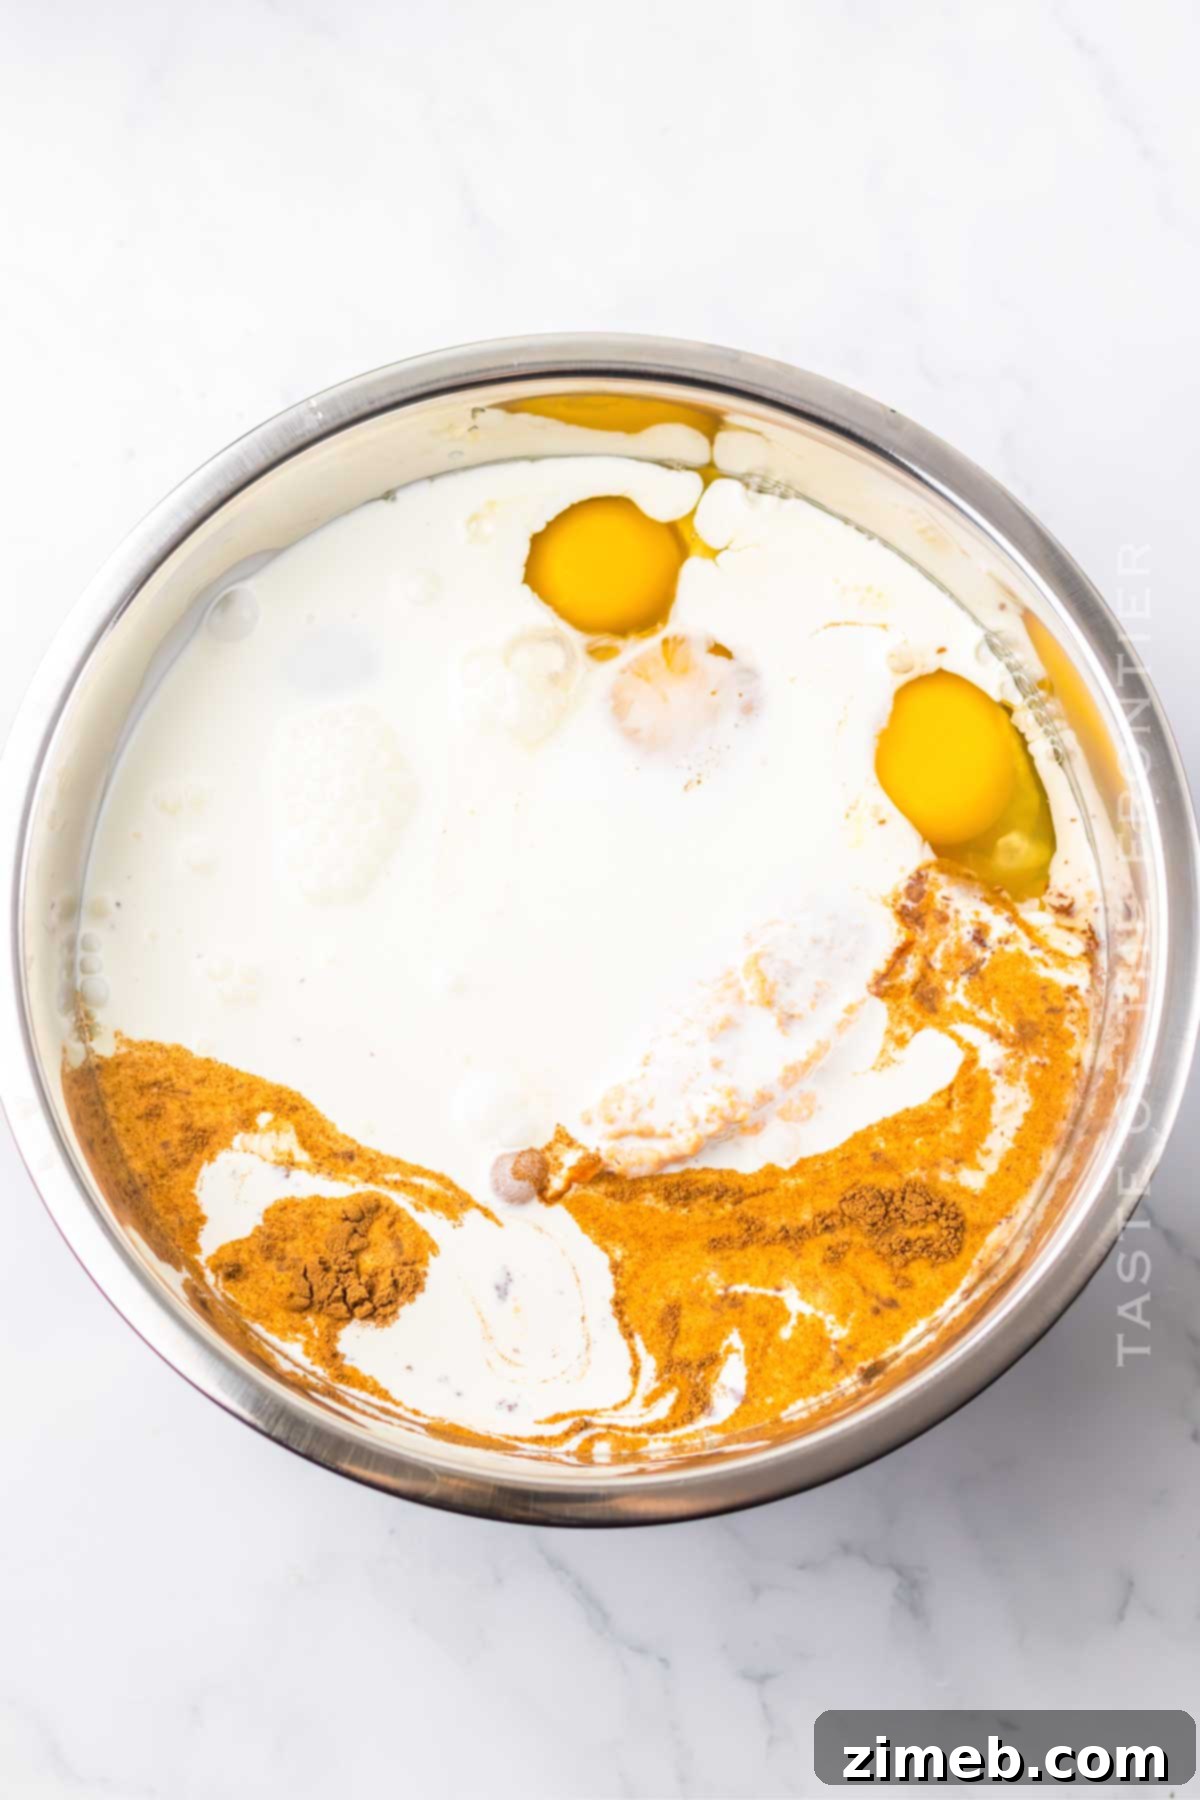
- Using a hand mixer, blend all the ingredients together until the mixture is perfectly smooth and well-combined. Be careful not to over-mix, as this can incorporate too much air, which might lead to cracking during baking. The goal is a uniform, silky consistency.
4 – Baking Your Masterpiece: The Full Pumpkin Pie
The final stage brings all the elements together into a harmonious **fall dessert**.
- Carefully pour the smooth pumpkin filling mixture into your pre-baked and cooled pie crust. Ensure the filling is evenly distributed.
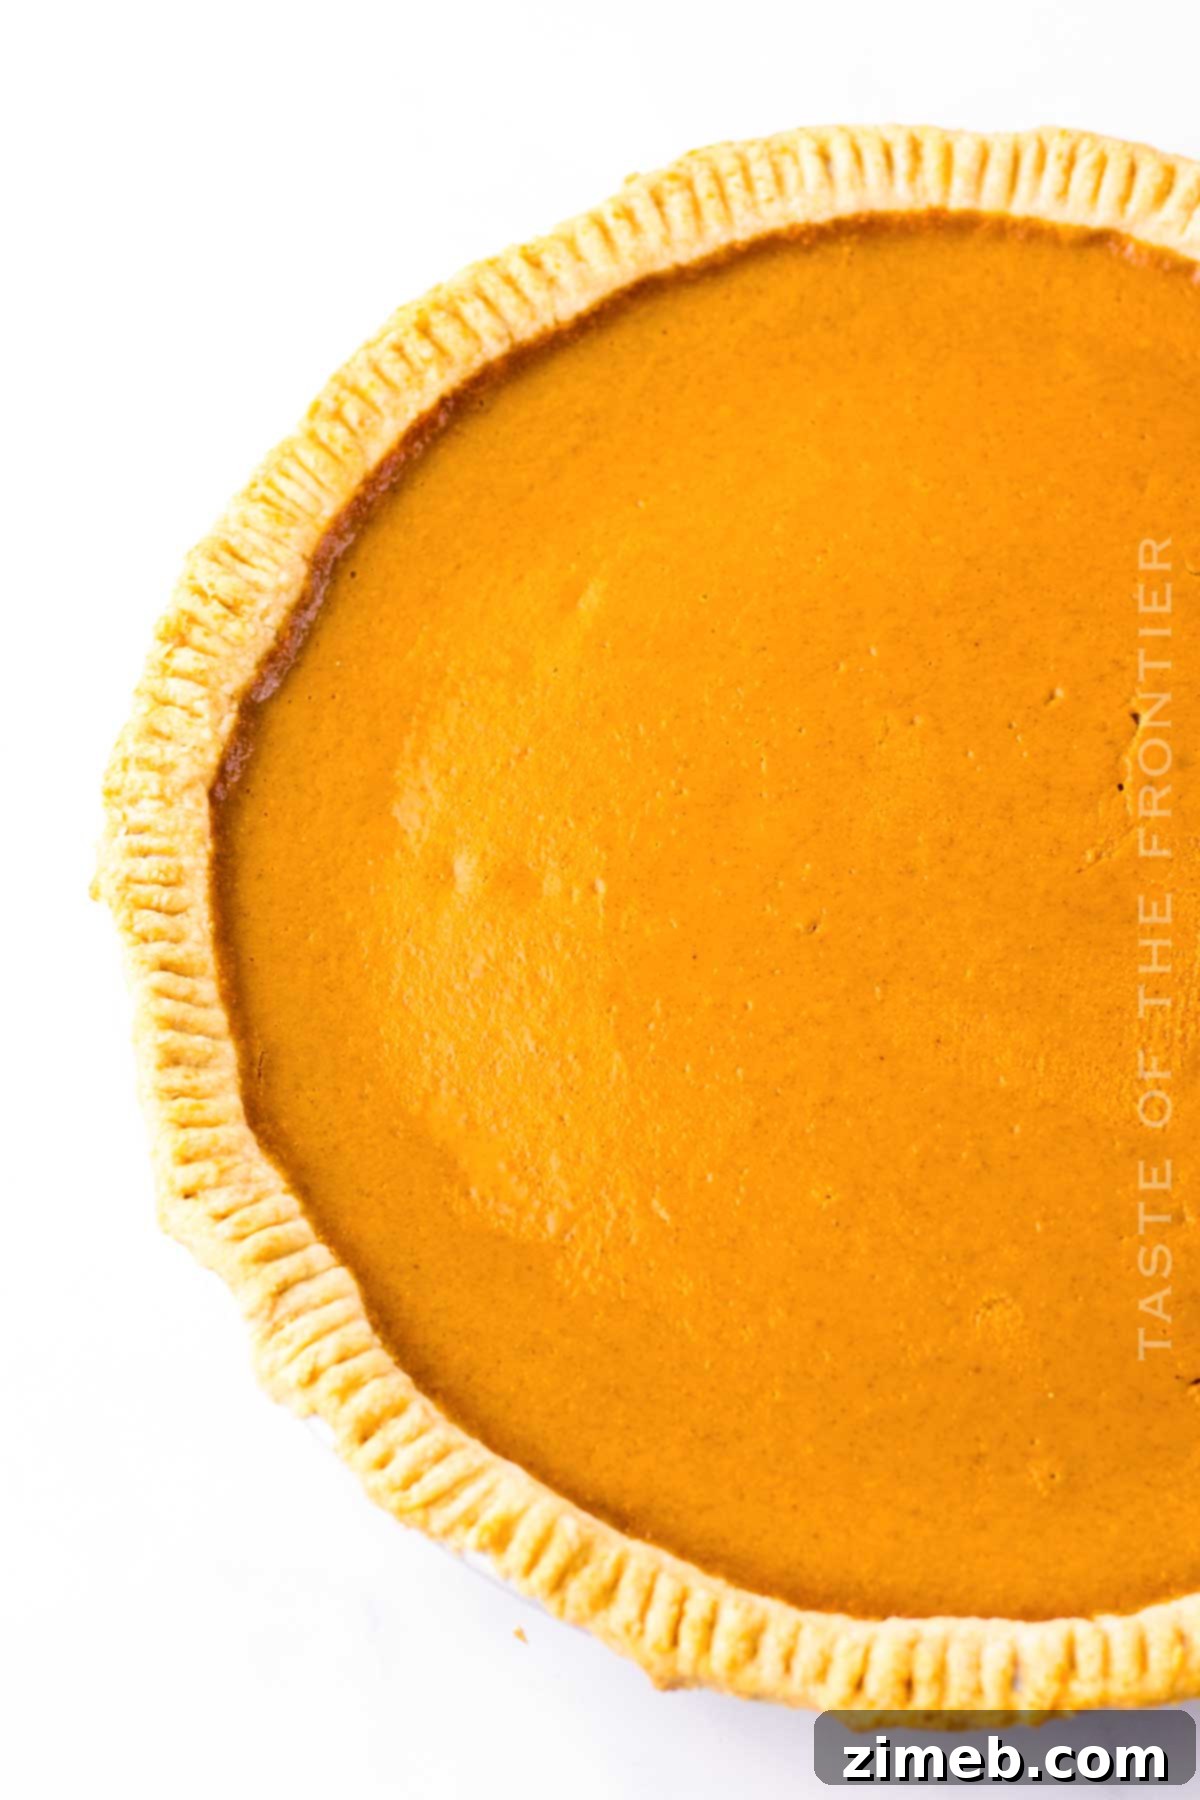
- Bake the pie in your preheated 350°F (175°C) oven for approximately 55-60 minutes. The pie is done when the edges are set, and the middle is just slightly soft and jiggly when gently shaken. An instant-read thermometer inserted into the center (about an inch from the edge) should register 175-180°F (79-82°C). Overbaking can lead to a dry, cracked filling.
- Once baked, remove the pie from the oven and let it cool completely to room temperature on a wire rack. This slow cooling helps the filling set properly.
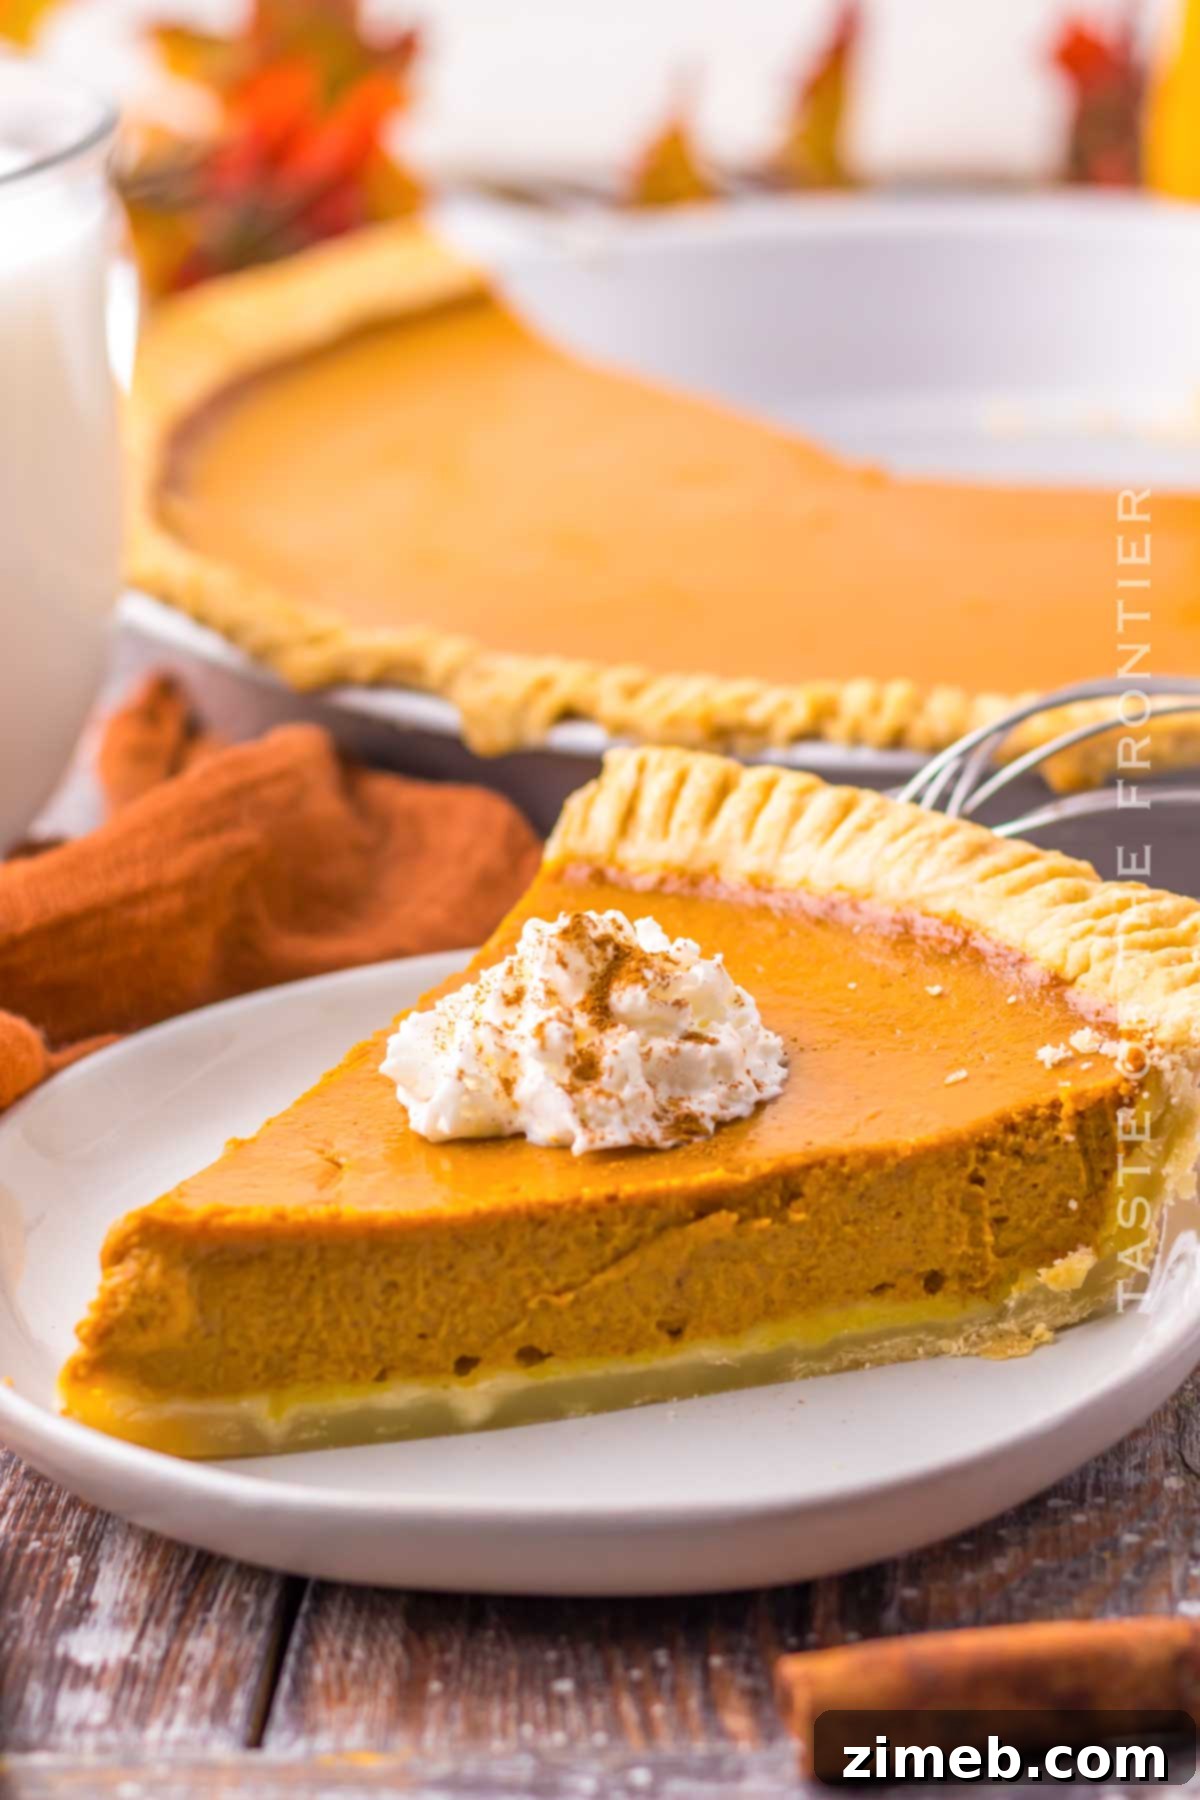
- Crucial Chilling Step: Once the pie has cooled to room temperature, transfer it to the refrigerator and chill for at least 2 hours, or ideally overnight. Trust us, this chilling period is vital for the pie’s texture and consistency. It allows the custard to fully set, resulting in that perfectly creamy, sliceable filling you expect from the original Costco pie.
- Before serving, top your magnificent pie with a generous dollop of whipped cream. Whether you prefer store-bought from a can or tub, or your own homemade whipped cream, it’s the perfect finishing touch.
Easy Substitutes & Serving Suggestions to Customize Your Pie
While this recipe aims for a classic Costco experience, don’t hesitate to personalize your **homemade pumpkin pie** with these simple adjustments and delightful serving ideas:
- Homemade Pumpkin Puree: If you’re feeling ambitious and can find the right pumpkin variety (like Dickinson, which is often labeled as “sugar pumpkin” or “pie pumpkin”), you can certainly make your own pumpkin puree. Just be sure to drain it well to avoid excess moisture in the filling.
- Sweet Potato Pie Variation: For another beloved autumn classic, swap the pumpkin puree for sweet potato puree. This creates a delicious sweet potato pie, a comforting fall staple with a similar creamy texture.
- 100% Vegan Option: To make this pie entirely plant-based, simply substitute the dairy products. Use a high-quality vegan heavy cream alternative and plant-based milk such as almond milk, oat milk, or full-fat coconut milk (for extra richness) in place of the evaporated milk. You’ll also need to use an egg replacer suitable for baking.
- Beyond Whipped Cream: While whipped cream is the traditional topping, get creative with your serving! A slice of warm pumpkin pie pairs beautifully with a scoop of vanilla bean ice cream, a drizzle of rich caramel sauce, a dollop of apricot jam for a fruity tang, a spoonful of tart cranberry sauce, or even a fancy meringue topping. Maple leaf cookies crumbled on top can add a charming seasonal touch.
Proper Storage for Maximum Freshness and Flavor
Knowing how to properly store your **Costco pumpkin pie** ensures its deliciousness lasts as long as possible.
Just like the original, leftover slices or a whole **homemade pumpkin pie** should be stored in an airtight container in the refrigerator. It will maintain its best quality for up to 3 days. Beyond that, the crust might start to soften, and the flavors could dull.
The pie crust is incredibly versatile for make-ahead convenience. You can prepare it 1-2 days in advance and keep it refrigerated overnight, or even freeze it for 1-3 months. Just wrap it tightly to prevent freezer burn.
The entire **copycat Costco pumpkin pie** can also be frozen for up to 3 months. To freeze, ensure it’s completely cooled, then wrap it tightly in several layers of plastic wrap and then aluminum foil. Thaw in the refrigerator overnight before serving.
How to Perfectly Heat Your Homemade Costco Pumpkin Pie
While delicious cold, sometimes a warm slice of **pumpkin pie** is exactly what hits the spot. Here’s how to reheat your homemade Costco pumpkin pie without drying it out:
- Oven Method: For a whole pie or multiple slices, preheat your oven to a moderate 325-350°F (160-175°C). Cover the pie loosely with aluminum foil to prevent the crust from over-browning. Heat individual slices for 5-10 minutes, or a whole pie for up to 20 minutes, until just warmed through.
- Microwave Method: For a quick single slice, place it on a microwave-safe plate and cover it with a paper towel or microwave-safe lid. Heat for 30-60 seconds, depending on your microwave’s power, until it reaches your desired warmth. Be careful not to overheat, as this can make the filling rubbery.
Expert Tips and Tricks to Recreate the Best Costco Pumpkin Pie
Achieving that iconic Costco flavor and texture in your **homemade pumpkin pie** is easier with these insider tips:
- Pumpkin Puree vs. Pumpkin Pie Filling: This is a crucial distinction! **Pumpkin pie filling does NOT work for this recipe.** Pumpkin pie filling is already sweetened and spiced, and using it will throw off the carefully balanced flavors in this copycat recipe. Always opt for pure canned pumpkin puree.
- The Right Pumpkin: While you can use any pure pumpkin puree you like, Costco famously uses a puree derived from the Dickinson pumpkin variety, which is what Libby’s Pure Pumpkin is made from. Using this specific type of canned pumpkin will get you closest to the original taste. Using fresh pumpkin may not yield the same specific flavor profile.
- Decorative Edges: Don’t let leftover dough go to waste! Use any scraps from your pie crust to cut out fun shapes with cookie cutters – think autumn leaves or small pumpkins. Place these decorative elements on top of the pie filling before baking for a charming touch. If they start to brown too quickly, gently tent the edges (or just the decorative pieces) with foil to prevent burning.
- Store-Bought Crust Shortcut: If you’re short on time, this recipe works wonderfully with store-bought refrigerated pie crusts. Since Costco pies are 12 inches, you will likely need to work two standard store-bought crusts together to form a single large enough dough disk to fit your 12-inch pie plate.
- Spice Profile Adjustment: While pumpkin pie spice is the classic choice, you can customize it. If you only have cinnamon on hand, you can use that, but consider adding a tiny pinch of black pepper to the filling. This unexpected ingredient can actually make the other spices “pop” and enhance the overall warmth when you bite in, a subtle trick used by some professional bakers.
- Warming Homemade Spice Mix: If you’re making your own pumpkin pie spice blend from individual ground spices, you can deepen their flavor by gently incorporating them into the pumpkin puree in a saucepan over low heat, stirring constantly until warmed through. Then, let the mixture cool completely before proceeding with the rest of the filling steps. This blooming of spices releases their full aromatic potential.
- Vanilla for Aroma: In this recipe, vanilla extract contributes significantly more to the pie’s inviting aroma than its direct taste. It provides a warm, comforting fragrance that enhances the overall sensory experience.
- Achieving Smoother Texture: For an exceptionally smooth, custard-like texture, prioritize using a higher ratio of egg yolks to whole eggs (as called for in the recipe). Egg yolks act as emulsifiers and thickeners, contributing to a richer, silkier filling.
- Sugar Flexibility: Both brown sugar and white granulated sugar are called for, contributing different notes. However, they are largely interchangeable in this recipe without significantly altering the overall taste, offering some flexibility based on what you have available.
- The Power of Pre-Baking: As mentioned, pre-baking (blind baking) the pie crust is absolutely critical. It’s the key to preventing a soggy bottom and achieving the best, crispest pie crust ever.
- Temperature Matters: Always ensure the right temperature of your ingredients, especially the cold butter for the crust and room-temperature eggs for the filling. This ensures proper emulsification and baking results.
- Watch the Baking Time: Do not overbake your pie! The center needs to have a slight jiggle when the pie is done; if nothing moves, it is likely overdone, which can lead to cracks and a dry texture. If using a cake thermometer, aim for an internal temperature of 175-180°F (79-82°C) in the center of the filling.
Popular Questions About Pumpkin Pie
Here are some frequently asked questions to help you master your **homemade pumpkin pie**.
How to Make Homemade Pumpkin Puree?
If you’re lucky enough to find fresh Dickinson pumpkins or other suitable pie pumpkins, making your own puree is a rewarding process:
- Preheat your oven to 350°F (175°C).
- Wash the pumpkin thoroughly, then carefully cut it in half. Scoop out all the seeds and fibrous strands. You can save the seeds for roasting!
- Place the pumpkin halves, cut-side down, on a baking sheet. Bake for approximately 1 hour, or until the flesh is very tender when pierced with a fork.
- Once cooled enough to handle, scoop out all the cooked pumpkin flesh.
- Blend the cooked pumpkin flesh in a food processor or with an immersion blender until completely smooth. If the puree seems too wet, you can drain it through a cheesecloth-lined sieve for an hour or two to remove excess moisture. Your fresh pumpkin puree is now ready to use!
Is Pumpkin Pie Mix The Same as Canned Pumpkin?
No, **pumpkin pie mix is not the same as canned pumpkin**, and understanding this distinction is vital for successful baking. Canned pumpkin, or pumpkin puree, is typically just 100% cooked, mashed pumpkin. It contains no added sugars, spices, or other ingredients.
Pumpkin pie mix, on the other hand, is a ready-to-use product that usually includes cooked pumpkin puree pre-mixed with a blend of classic pumpkin pie spices (such as cinnamon, ginger, cloves) and often sugar. Sometimes it might even contain other ingredients like evaporated milk.
This is precisely why our **copycat Costco pumpkin pie recipe** specifically calls for pure canned pumpkin puree. By using plain puree, we maintain complete control over the precise ratio of all ingredients – from the sweetness level to the intensity of the spice blend – ensuring we can perfectly match the flavor profile of the original Costco pie.
What is Costco Pumpkin Pie Made Of?
Costco’s legendary pumpkin pie has maintained its beloved flavor profile by using the same foundational recipe since 1987. Understanding their ingredient list can help appreciate the careful balance we aim to replicate in our **copycat Costco pumpkin pie**.
The main ingredients typically listed on Costco pumpkin pie labels include: pumpkin, sugar, water, eggs, enriched wheat flour (which is wheat flour fortified with ferrous sulfate, niacin, thiamine mononitrate, riboflavin, and folic acid), canola and/or soybean oil, nonfat milk, and corn syrup.
Beyond these primary components, Costco pies also contain smaller amounts (2% or less) of salt, a proprietary blend of spices, corn sugar, mono & diglycerides (emulsifiers that contribute to smoothness and texture), and modified food starch (a thickener). It’s also important to note that their products may contain traces of peanuts and tree nuts, a crucial point for allergy sufferers.
Regarding the pumpkin itself, Costco does not use fresh pumpkins directly. Instead, they receive large quantities of canned pumpkin puree, specifically from the Dickinson pumpkin variety. This particular pumpkin is known for its sweet, earthy flavor, often described as having notes reminiscent of butternut squash, which contributes significantly to the unique taste of their famous pies.
DON’T MISS THESE HOLIDAY E-BOOKS!



If you love this amazing pumpkin pie recipe, you’re going to adore these other tasty pie creations too. Click each link below to discover easy, printable recipes that are perfect for any occasion!
Check out this recipe
Check out this recipe
Check out this recipe
Check out this recipe

Check out this recipe
More Great Pumpkin Desserts to Enjoy
If you’re a true pumpkin enthusiast, these other delightful pumpkin desserts are sure to please your palate:
Pumpkin Dump Cake
Pumpkin Bundt Cake with Cheesecake Filling
Soft Pumpkin Cookies with Cream Cheese Frosting
Pumpkin Roll Cake with Bourbon Caramel Sauce
CONNECT WITH YUMMI HAUS!
Be sure to follow me on my social media, so you never miss a post!
Substack, FB, Pinterest, IG, Email Subscription
Rate this Recipe
Costco Pumpkin Pie
Ingredients
Crust
- 2 ½ cups all-purpose flour
- 1 tablespoon granulated sugar
- 1 cup butter – cold – salted – 2 sticks
- ½ cup cold water
Filling
- 22.5 ounces pumpkin puree Libby Pure Pumpkin – this is one and a half 15-ounce cans (not pie filling)
- 5 eggs
- 1 ½ cups heavy cream
- 1 cup brown sugar
- ¾ cup evaporated milk
- 6 tablespoons granulated sugar
- 3 teaspoons vanilla extract
- 3 teaspoons pumpkin pie spice
Instructions
-
Preheat the oven to 350 degrees.
Crust
-
Combine the flour and sugar in a large bowl.
-
Grate in the cold butter with a cheese grater into the dry ingredients. Work it into the flour with a fork until pea-size crumbs form.
-
Add the water and then knead the dough with your hands until it pulls together into a ball.
-
Roll out the dough on a lightly floured flat surface and gently place it into a 12-inch pie pan.
-
Trim off any extra dough and crimp the edges with a fork.
-
Blind bake the crust by placing parchment paper on the crust, and fill it with dried beans or pie weights. Bake for 20 minutes.
-
Remove and set aside to cool.
Filling
-
Combine the pumpkin, eggs, heavy cream, brown sugar, evaporated milk, granulated sugar, vanilla, and pumpkin pie spice in a large mixing bowl.
-
Use a hand mixer to combine all the ingredients until smooth.
-
Pour the filling mixture into the baked crust and bake for 55-60 minutes or until the middle is just slightly jiggly.
-
Remove from the oven to cool to room temperature.
-
Once the pie is cool, refrigerate for at least 2 hours.
-
Serve with whipped cream.
Notes
● Store leftovers in an airtight container in the refrigerator for up to 3 days.
●You can use any pure pumpkin you like but Costco does use a puree that uses the same kind of pumpkin Libby uses.
●Cinnamon can be used instead of the pumpkin pie spice.
●Leftover pie dough can be cut out into shapes with cookie cutters and placed on top before baking to decorate the top of the pie.
●You can also use store-bought pie crust but you will need to use 2 crusts pieced together to fit into the 12-inch pan.
Nutrition
Nutritional information for the recipe is provided as a courtesy and is approximate. Please double-check with your own dietary calculator for the best accuracy. We at Yummi Haus cannot guarantee the accuracy of the nutritional information given for any recipe on this site.