
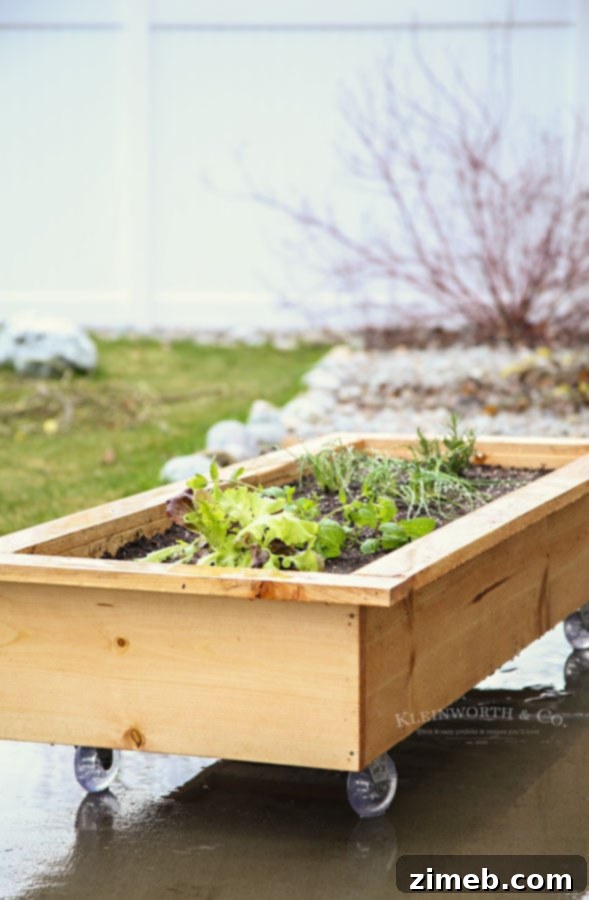
This comprehensive guide to building a DIY Rolling Planter Box is proudly sponsored by Miracle-Gro & Bonnie Plants. While their support makes projects like this possible, all insights, ideas, and opinions expressed are genuinely my own!
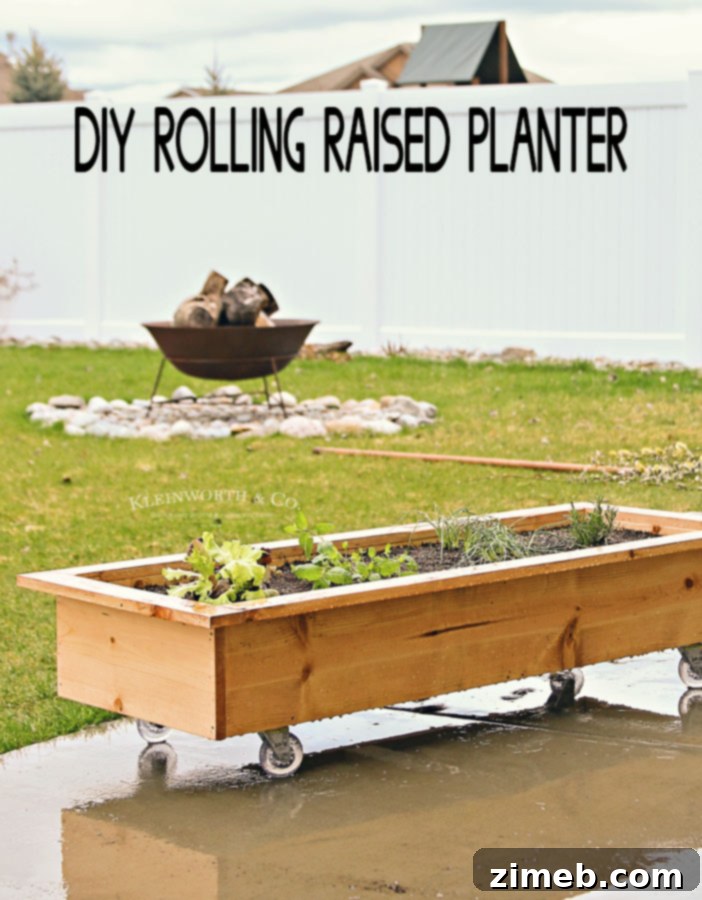
Craft Your Own DIY Rolling Planter Box: The Ultimate Portable Garden Solution
Even as the last vestiges of winter cling stubbornly to North Idaho, reminding us that spring isn’t always a gentle arrival, our minds are firmly set on garden preparations. Last summer, I shared with my husband my dream of establishing raised garden beds. However, with several other backyard projects on our horizon and the ever-present possibility of plans shifting, I emphasized the need for these new planters to be easily movable. Imagine my delight when, after a short ballet outing with my daughter, we returned home to find he had already created this absolutely brilliant **DIY Rolling Planter Box**! Its ingenuity and practicality were simply too good not to share.
Why a DIY Rolling Planter Box is Your Garden’s Best Friend
This post contains some affiliate links, which means I may earn a small commission if you make a purchase through them, at no extra cost to you. Click here to read my full disclosure policy.
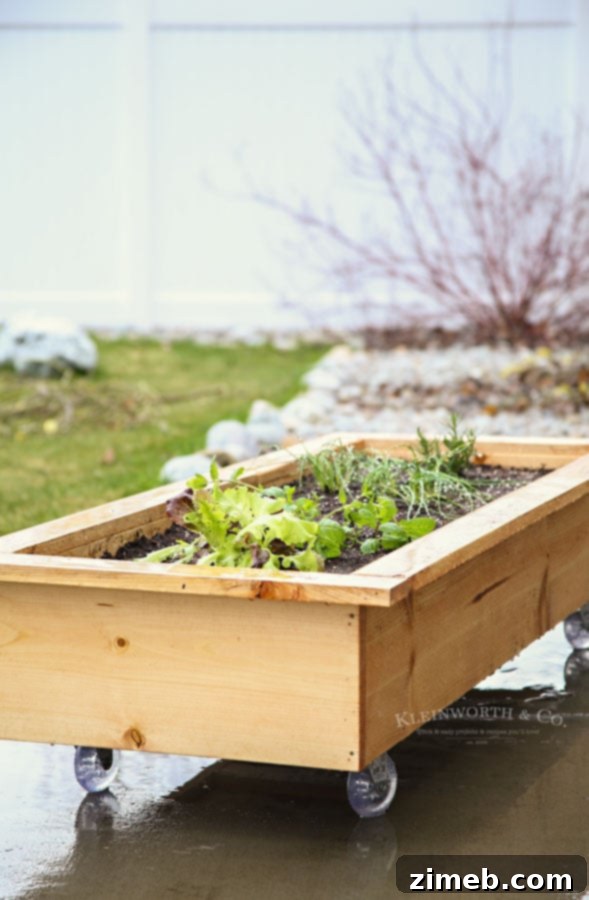
The concept of a mobile garden is truly revolutionary, especially for those of us who experience diverse climates or have dynamic outdoor spaces. Given that our North Idaho weather isn’t ideal for year-round outdoor growing, I envisioned at least one planter small enough to effortlessly roll indoors for the colder months. This isn’t a new concept for us; we already bring our cherished dwarf lemon tree inside during winter, as our region isn’t known for its hospitality to citrus. A rolling planter extends this convenience to other herbs and vegetables.

After all, not many plants thrive in sub-zero temperatures. Yet, the desire for fresh ingredients, especially for styling recipes before photography, remains constant. Imagine having fresh mint or fragrant rosemary readily available, even when snow blankets the ground outside. These touches elevate presentation significantly, as you can see with the fresh mint in this delightful Blackberry Lemon Gin & Tonic. Having an indoor planter filled with my favorite herbs through the cold months is a dream come true, providing both culinary benefits and a touch of vibrant green. Beyond its winter utility, this mobile raised planter is also a fantastic addition to any backyard, offering flexibility and aesthetic appeal. Let’s delve into how my husband skillfully brought this project to life.
Crafting Your Portable Raised Garden: A Step-by-Step Tutorial
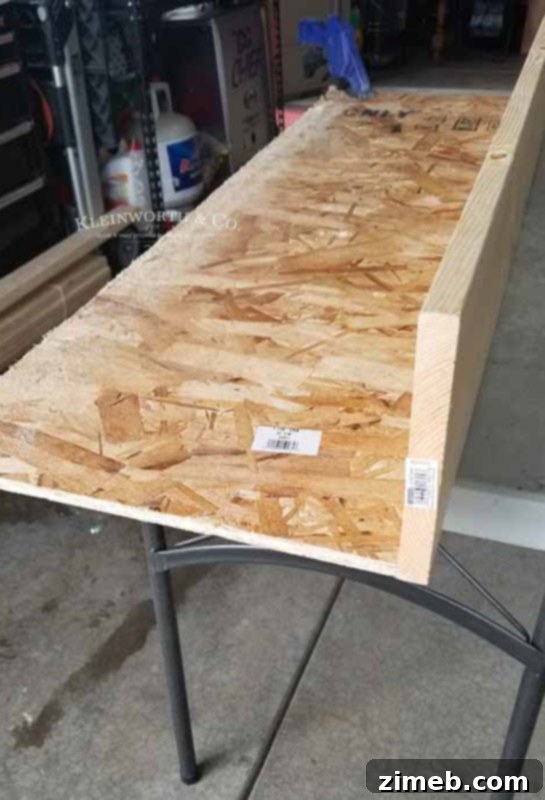
Step 1: Preparing Your Materials and Base
The foundation of any great project lies in precise measurements and cuts. Begin by deciding on the desired size of your planter box. Once determined, cut a piece of sturdy plywood to serve as the bottom. Next, you’ll need four 1×6 boards for the sides. Cut two of these boards to the exact length of your plywood’s long sides. For the shorter sides, cut two more 1×6 boards, ensuring they are long enough to span the short side of the plywood PLUS the thickness of the two long side pieces, allowing them to butt up against the ends of the long boards for a clean, secure fit. This precision ensures a perfect rectangular shape for your planter.
Step 2: Assembling the Planter Frame
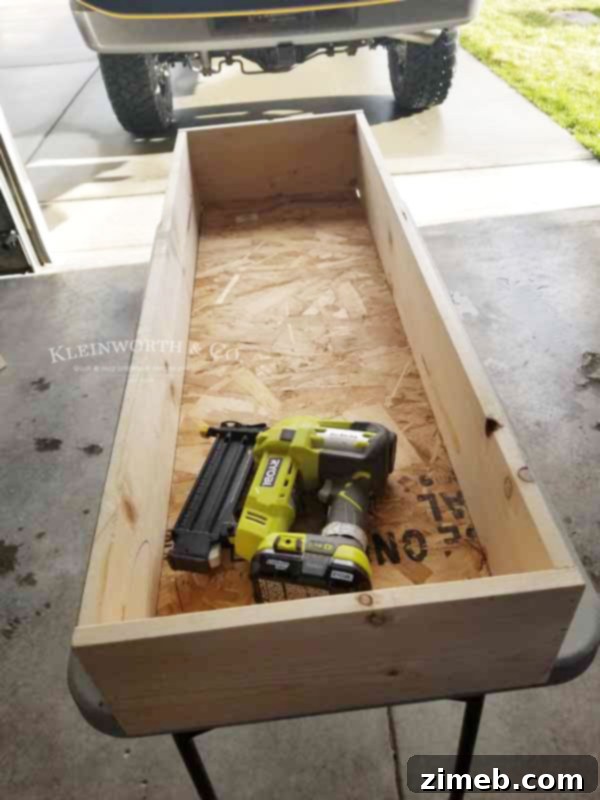
With your boards cut, it’s time to construct the robust outer frame. The most effective way to ensure a snug fit is to build the sides *around* the plywood bottom. This technique guarantees the pieces align perfectly. We found an 18-gauge finishing nail gun to be incredibly useful for temporarily securing the pieces together, allowing for quick adjustments. Once the sides were tacked into place, we reinforced every joint with wood screws. This two-step process—nailing first, then screwing—provides exceptional strength and durability, crucial for a planter that will hold heavy soil and plants.
Step 3: Reinforcing the Bottom for Strength
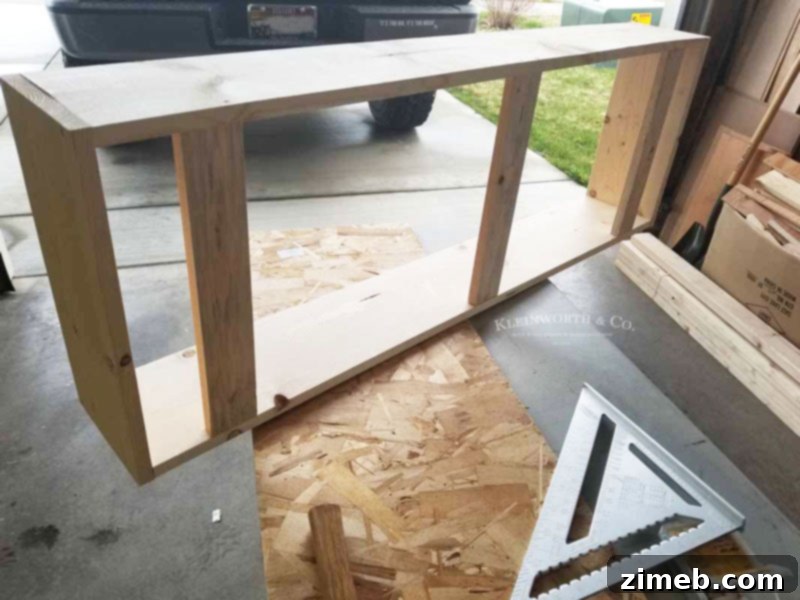
As you can observe, the basic frame of our rolling planter box is now complete. The next critical step is to add several 1×2 pieces between the long sides. These serve as vital support beams for the plywood bottom, preventing it from bowing under the weight of wet soil and plants. Use the same efficient method: tack the 1x2s into position with finishing nails, then securely screw them into place for a rock-solid foundation. This reinforcement is often overlooked but is absolutely essential for the longevity and structural integrity of your planter.
Step 4: Attaching the Casters for Mobility
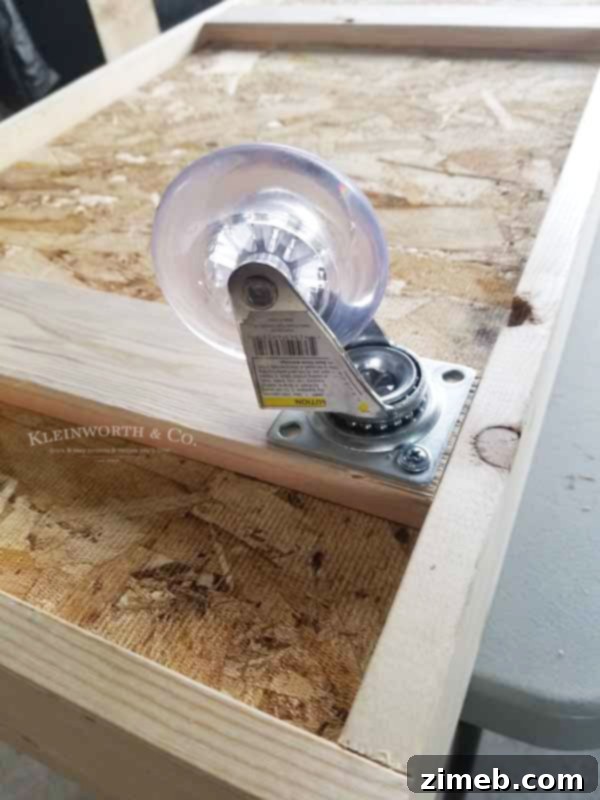
Now for the feature that makes this planter truly special: its mobility! Carefully attach your casters of choice to the underside of the planter. We were fortunate to have a set of these handy wheels already on hand, repurposed from when I upgraded the casters on my craft table. When selecting casters, consider their weight capacity – they need to support the planter, soil, and plants – and whether you prefer locking casters for added stability when the planter is in its desired position. Ensure they are robust and securely screwed into the reinforced base of the planter for smooth, effortless movement.
Step 5: Securing the Plywood Bottom
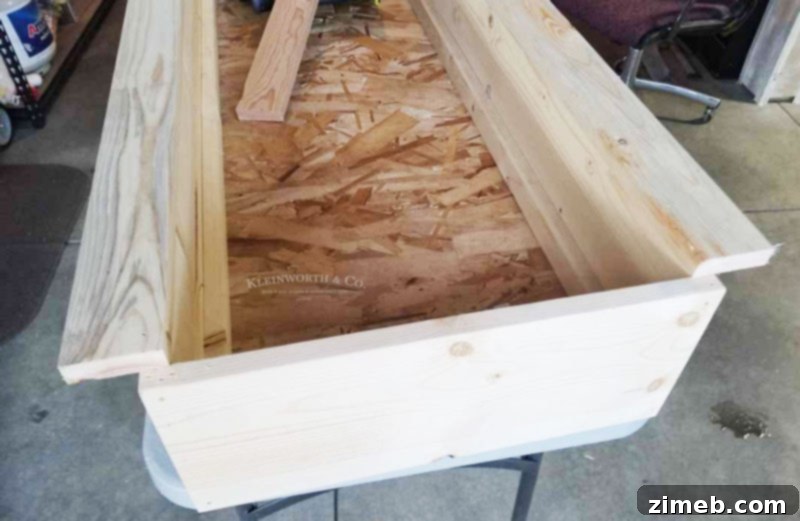
With the frame and supports in place, it’s time to firmly secure the plywood bottom. Place the pre-cut plywood into the base of your planter, resting it on the 1×2 supports you installed earlier. To guarantee its stability, nail in two 1×1 pieces, cut to the same length as the long sides, directly above the plywood and against the 1×6 side boards. This traps the plywood firmly in place, preventing any shifting. At this stage, your planter is structurally complete. You could choose to apply a simple stain and sealant and be ready to plant, but we decided to add a little extra flair.
Step 6: Adding a Decorative Trim (Optional but Recommended)
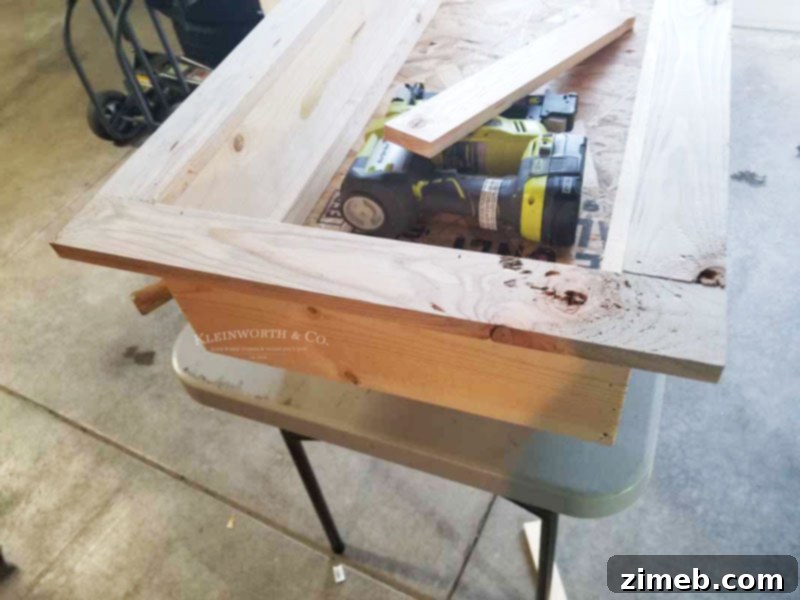
For that extra touch of craftsmanship and aesthetic appeal, we opted to add a decorative trim. Nail 1×2 pieces of trim around the top edge of the box. Align these pieces so that the majority of the board hangs slightly off the outer sides, while the inside edge remains flush with the inner wall of the planter. This creates a subtle yet sophisticated overhang, giving the rolling planter a more finished and substantial look. It’s a small detail that makes a big difference in the overall appearance of your DIY garden box.
The Finishing Touch: Staining and Sealing for Longevity
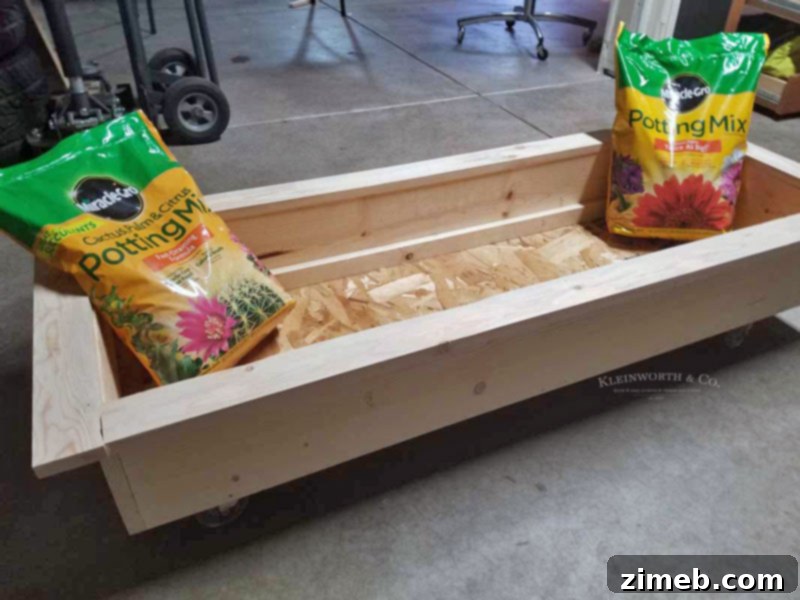
It was truly amazing to see the box take shape in less than two hours while I was out. Upon my return, the raw, natural beauty of the wood was so appealing that we genuinely debated whether to stain it at all. I seriously considered just applying a clear polyurethane coat to preserve its pristine look. My eagerness to fill it with Miracle-Gro Potting Mix and get my plants settled was almost overwhelming!
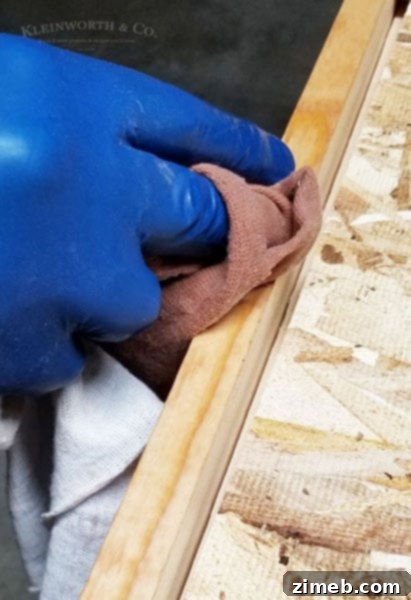
However, after several days of contemplation, waiting for the persistent rain and snow to subside, I decided on a specific shade of stain. This particular hue added just the right amount of depth and definition to the wood grain, truly enhancing its character. I absolutely adore the result. Critically, we made sure to apply a couple of coats of clear polyurethane over the stain. This step is paramount for any outdoor wooden structure, as it provides essential protection against the elements – rain, sun, and even the moisture from regular watering. To maintain its beautiful appearance and integrity for years to come, it’s an excellent practice to give your planter a fresh coat of sealant annually.
Planting Your Mobile Oasis with Miracle-Gro & Bonnie Plants
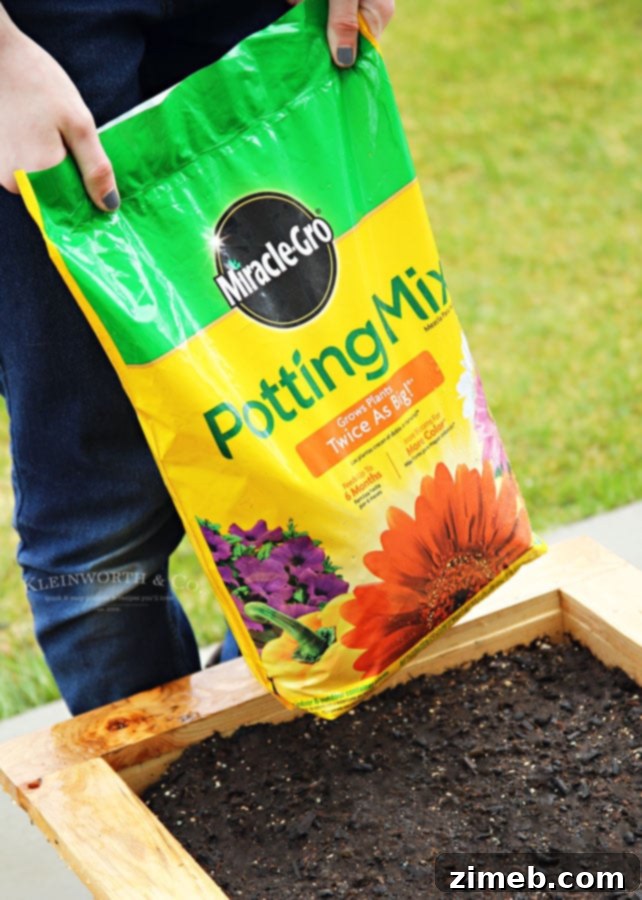
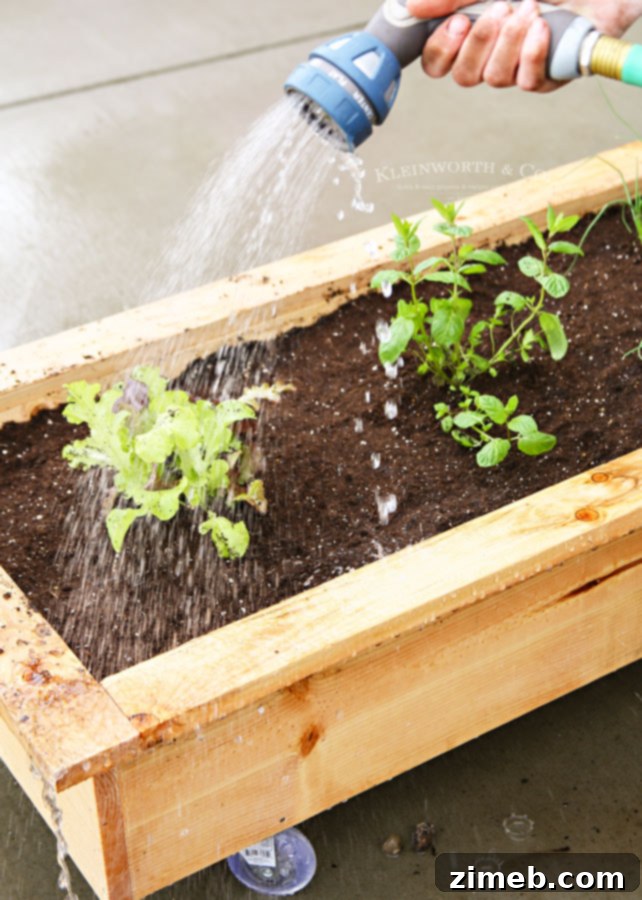
Once the stain and sealant were completely dry, it was time for the most exciting part: bringing the planter to life! We carefully filled the box with Scotts Miracle-Gro Potting Mix. When it comes to quality and results, Miracle-Gro is a brand I implicitly trust. The integrated plant food in Miracle-Gro potting soil genuinely helps plants grow twice as large as those left unfed. I’ve personally put it to the test, and the consistent, impressive results always reaffirm my confidence in their products. Following this, we meticulously planted our selected Bonnie Plants, which we conveniently picked up during a recent trip to Walmart.
Your Harvest from a Planter Box DIY
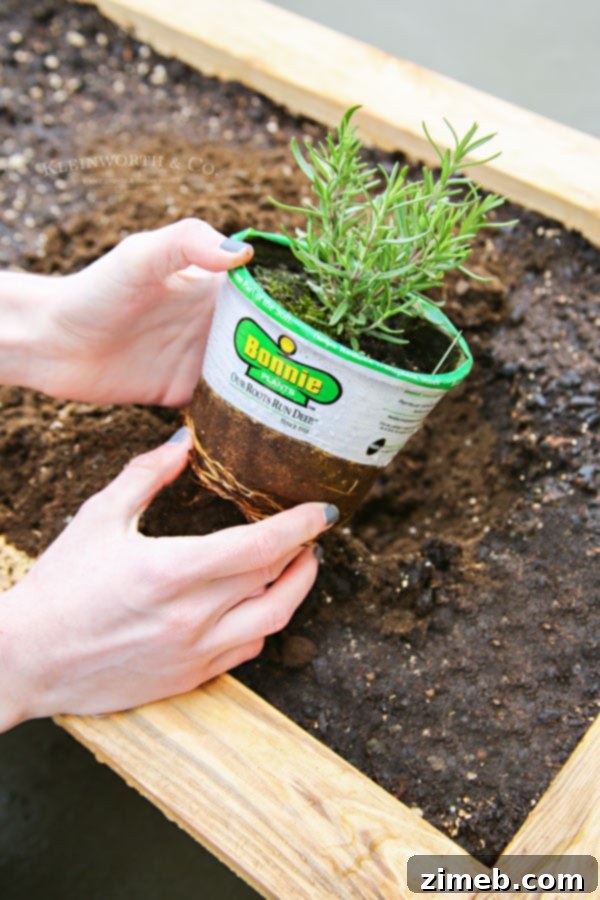
For this particular planter, I chose a delightful mix of lettuce, sweet onions, fragrant rosemary, and invigorating mint from Bonnie Plants. This diverse selection provides a fantastic variety, perfect for garnishing dishes before they head to the studio for their photoshoot. Beyond aesthetics, these fresh ingredients complement so many of our family’s favorite recipes, making it incredibly convenient to have them on hand and fresh at a moment’s notice. Imagine the difference fresh-picked herbs make compared to dried alternatives or store-bought produce that might have traveled hundreds of miles.
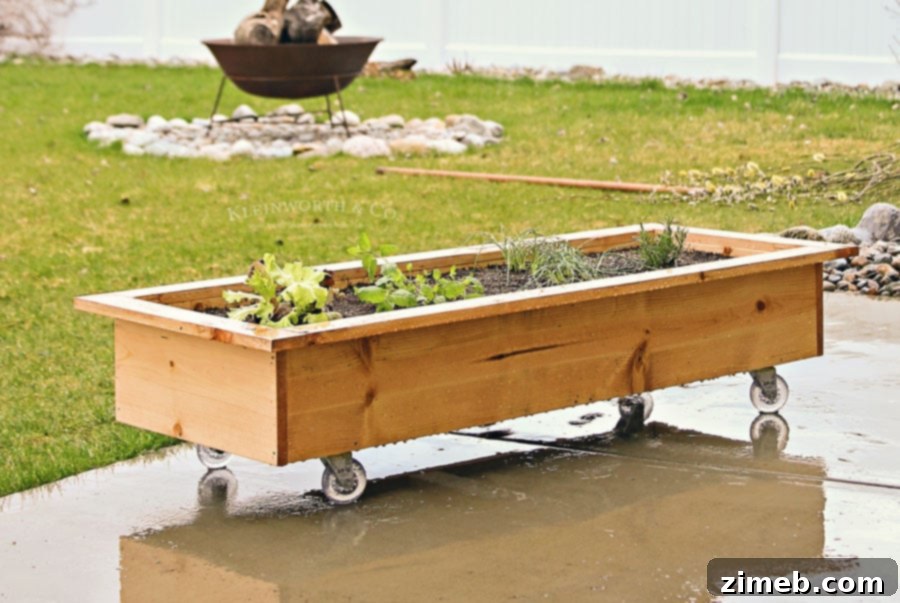
The best part is that both Miracle-Gro potting soil and Bonnie Plants are readily available at Walmart. This means you can easily pick them up during your regular grocery shopping trips, streamlining your gardening efforts. The convenience is truly unmatched! I’m already dreaming up plans to build a few more of these versatile rolling planter boxes, eager to fill them with other favorites like succulent strawberries, juicy tomatoes, and vibrant parsley. The possibilities for portable container gardening are endless, offering flexibility and fresh produce right at your fingertips.
Isn’t this DIY Rolling Planter Box a fantastic addition to any home or garden? It’s a project that combines practicality, versatility, and aesthetic appeal. I sincerely hope this detailed tutorial inspires you to create one for yourself! Once you’ve built your own portable raised garden, the only question that remains is: What delightful plants will you choose to grow first?
Looking for more inspiring backyard projects and DIY ideas?
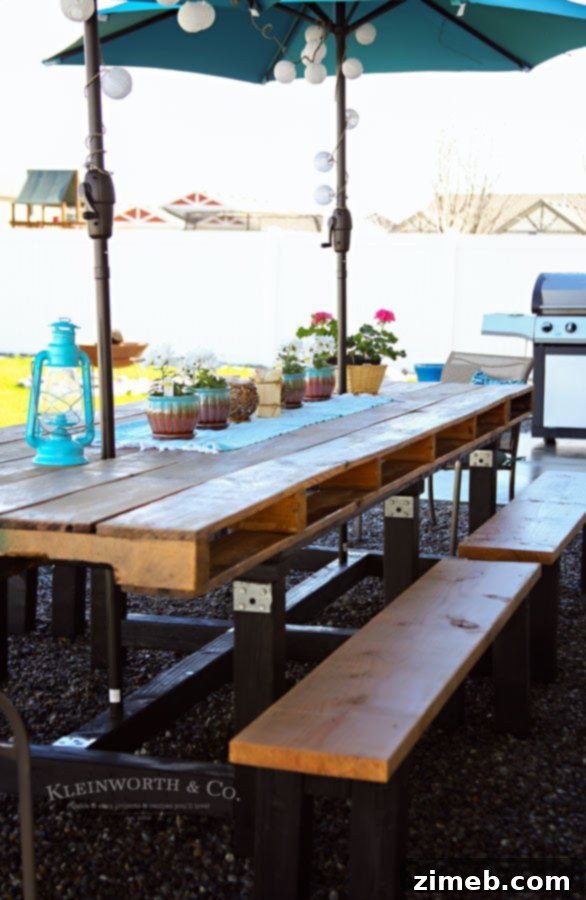
DIY Pallet Outdoor Dining Table

Colorful Summer Wreath
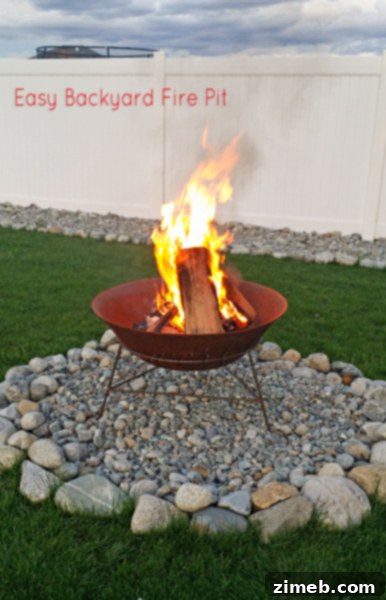
Easy Backyard Fire Pit
And don’t miss these fantastic ideas from fellow bloggers:
DIY Vertical Plant Hanger | I Heart Naptime
Address Planter Box | Tidy Mom