
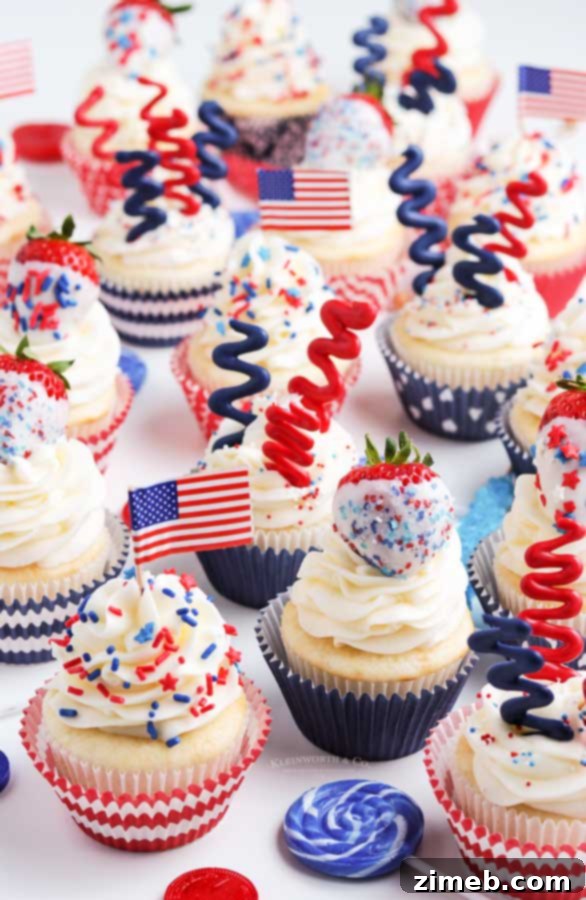
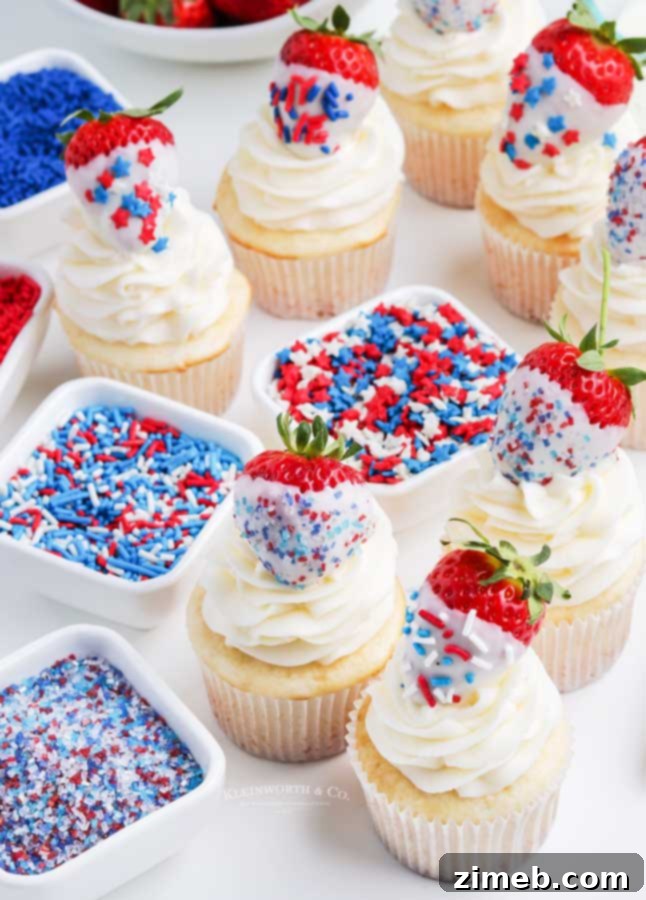
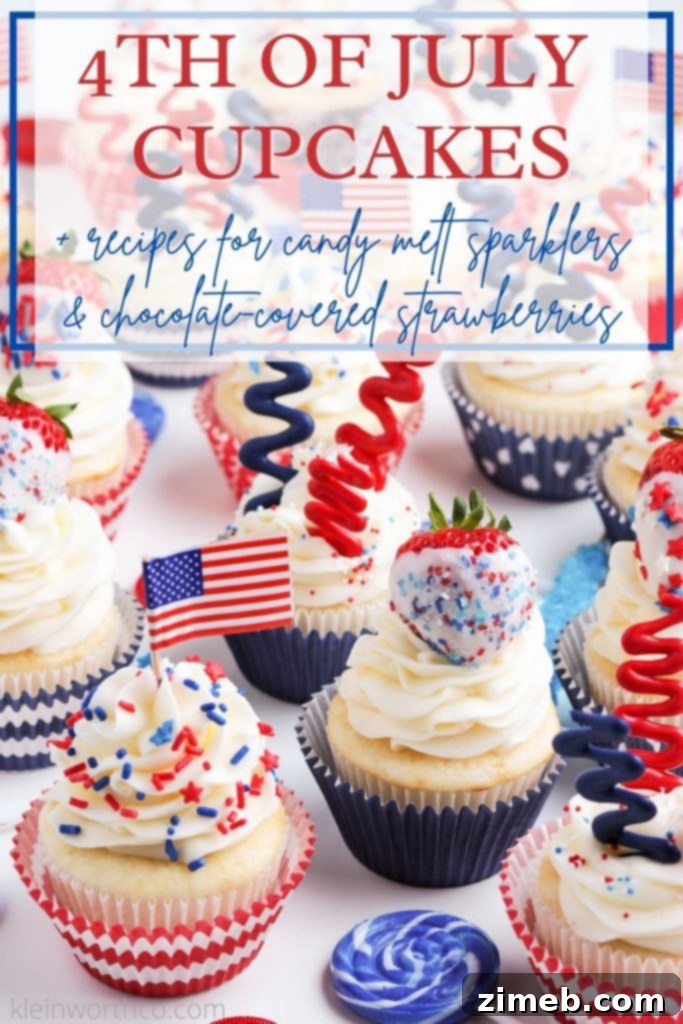
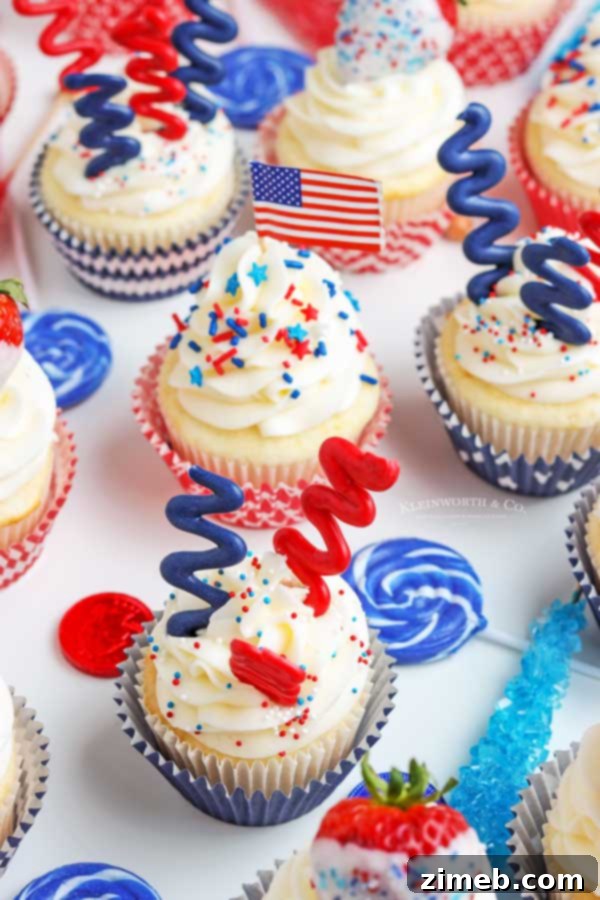
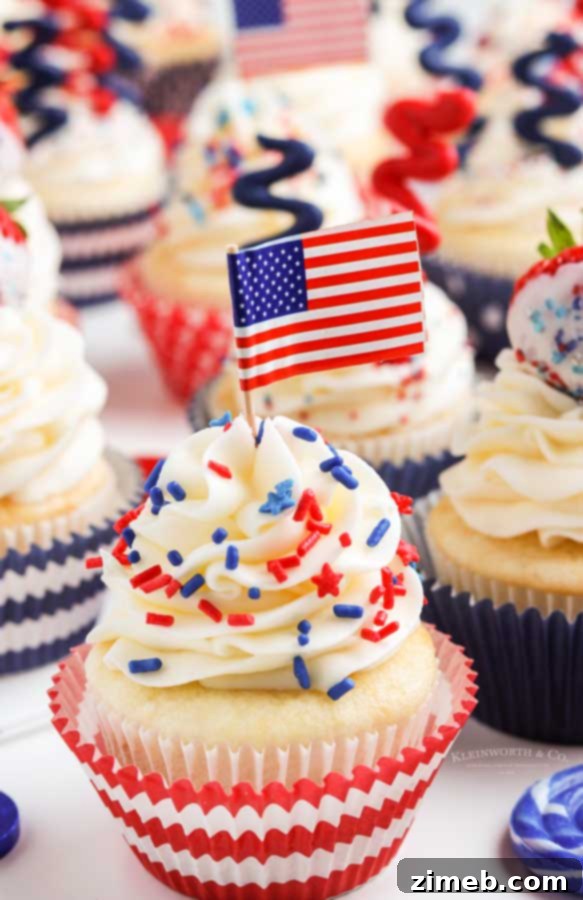
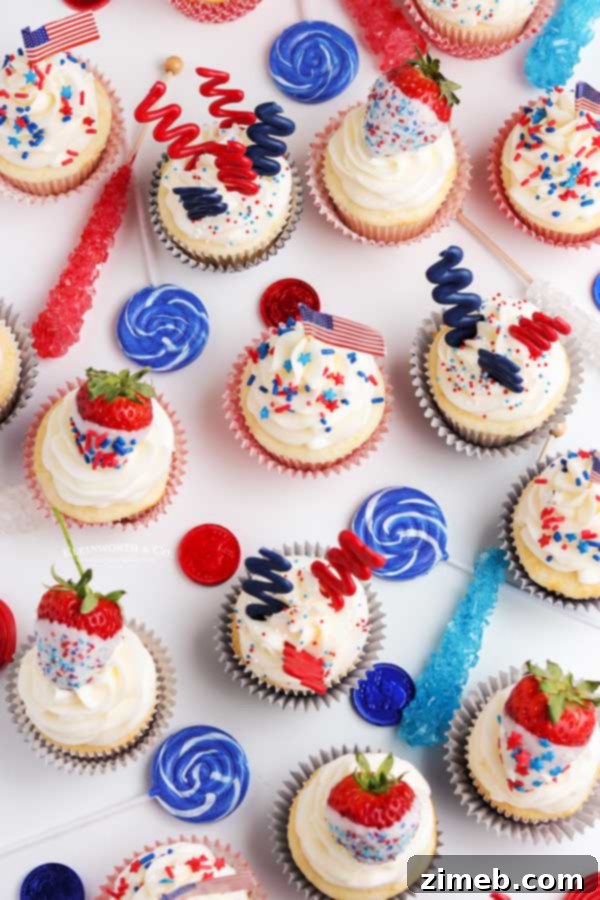
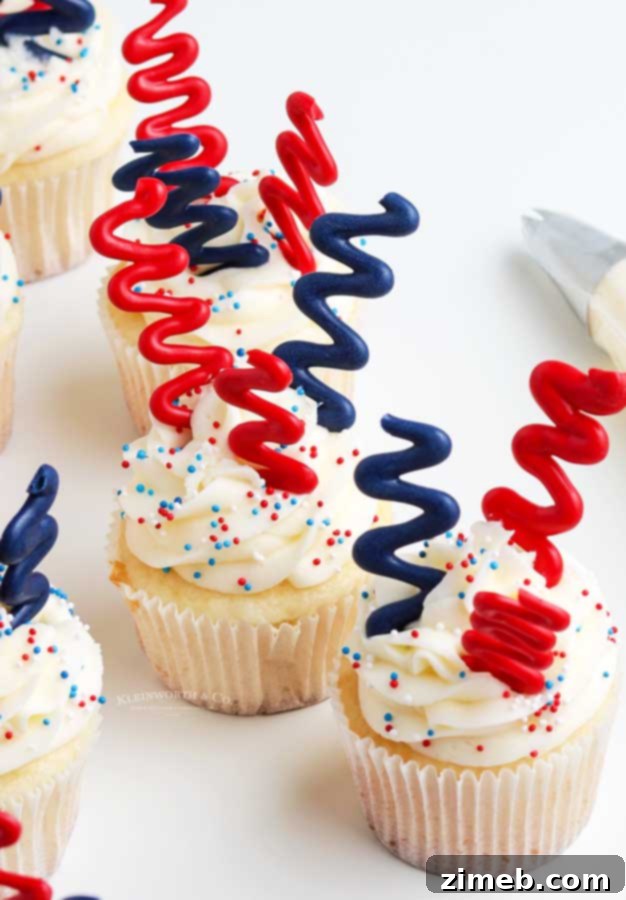
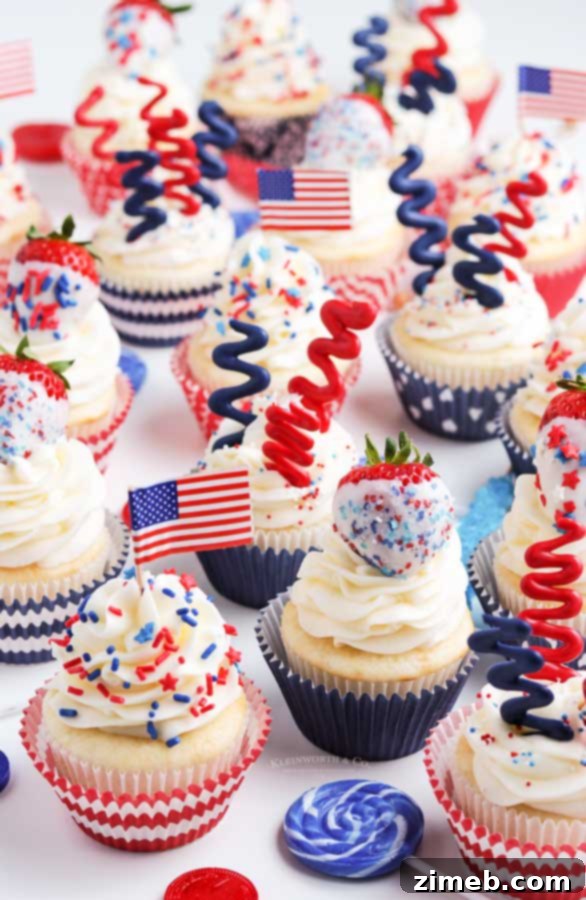
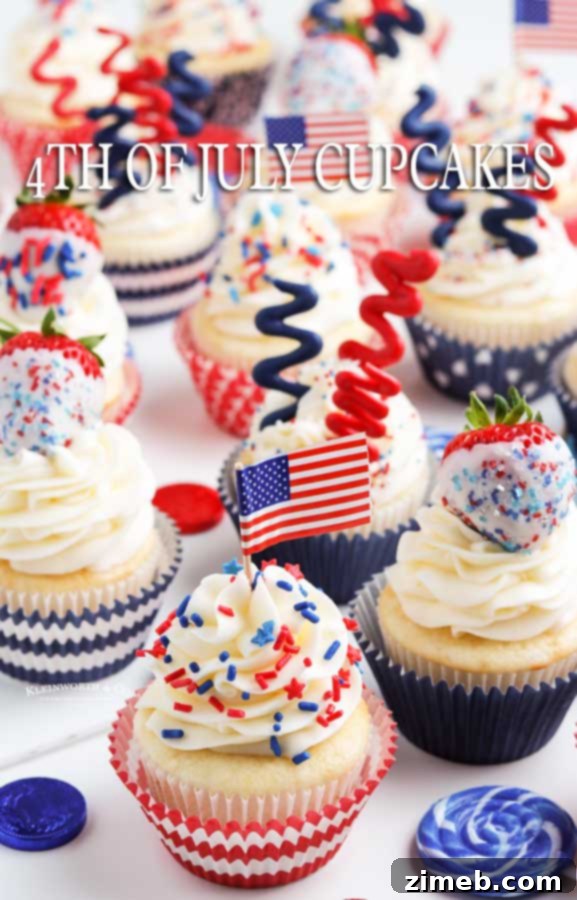
This year, elevate your Independence Day celebrations with these absolutely delicious and charming 4th of July Cupcakes, uniquely topped with whimsical, homemade candy melt sparklers! Beyond the Fourth of July, these festive treats are also perfect for honoring Memorial Day, celebrating Flag Day, or adding a patriotic touch to your Labor Day gatherings. Their vibrant red, white, and blue hues make them a delightful addition to any American holiday spread.
The Fourth of July truly holds a special place in my heart; it’s undeniably my favorite time of year. The glorious summer weather, the wonderfully long days, and the profound significance of the holiday itself combine to create an atmosphere I eagerly anticipate all year long. There’s an undeniable magic in gathering with loved ones, enjoying outdoor festivities, and celebrating the spirit of independence.
Given my deep affection for this holiday, it’s no surprise that I find immense joy in crafting treats adorned in the iconic red, white, and blue. These 4th of July Cupcakes are not just visually stunning; they are a true delight for the taste buds. I adore them, and I’m confident you will too! They embody everything festive and celebratory about summer’s patriotic occasions.
Experience the joy of baking with our vibrant colorful red, white and blue Fourth of July cupcake recipe – a guaranteed crowd-pleaser for any patriotic event!
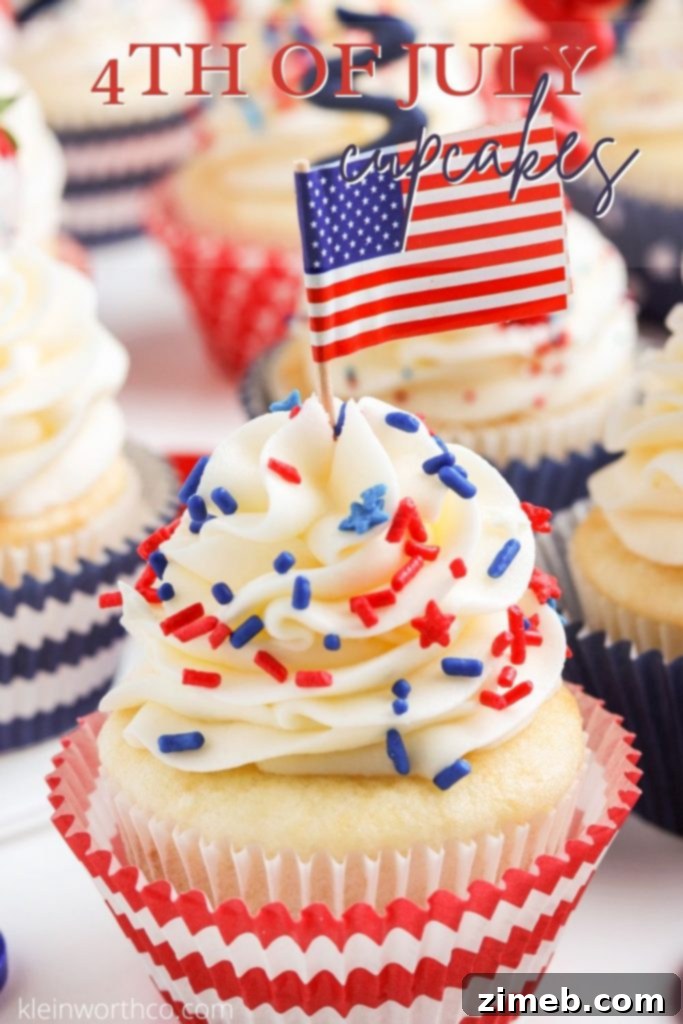
What makes this particular recipe stand out is its clever foundation: we start with a convenient cake mix. However, the true magic unfolds as we thoughtfully adapt the ingredients, transforming a simple mix into something that tastes remarkably like a premium, bakery-style vanilla cupcake. This ingenious approach ensures a consistently delicious result without the fuss of baking from scratch.
This method not only simplifies the baking process but also leaves you ample time and energy for the most enjoyable part – the decorating! Because this recipe yields a versatile vanilla cupcake base and a classic buttercream frosting, you can easily customize the colors and decorations to suit any holiday, special event, or personal preference. Imagine pastel shades for Easter, vibrant hues for a birthday, or, of course, the stunning red, white, and blue for our national holidays.
Let’s dive into how you can create these show-stopping patriotic cupcakes, perfect for your 4th of July celebrations and beyond!
Crafting the Perfect Fourth of July Cupcakes
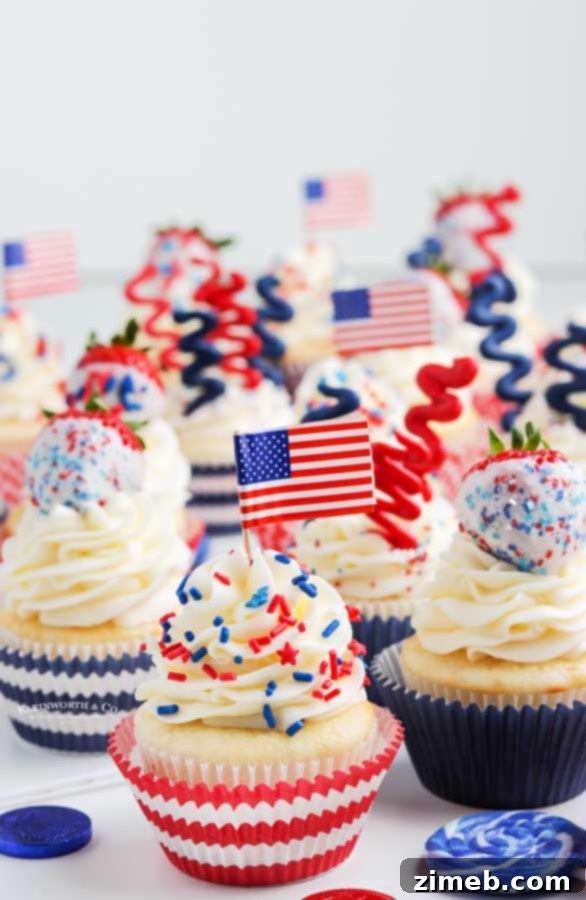
Frequently Asked Questions for Patriotic Baking
What is the optimal way to store 4th of July Cupcakes to maintain freshness?
Proper storage is key to keeping your festive cupcakes delicious. Unfrosted cupcakes can be stored in an airtight container at room temperature for up to four days. This helps them retain their moisture and fluffy texture. However, once frosted, especially with our delectable buttercream, refrigeration becomes necessary due to the butter and dairy content, which can spoil at room temperature. For best results, place frosted cupcakes in an airtight container before refrigerating.
An important note on decorations: if you’re using sanding sugar or nonpareils for your sprinkles, be aware that their colors tend to bleed when stored in a moist environment, such as a refrigerator. The moisture causes the sugar dye to dissolve and spread, potentially marring your beautiful designs. Stick to jimmies and star sprinkles, as these varieties are typically more stable and hold up wonderfully to refrigeration without any color transfer.
4th of July Cakes and Cupcakes: A Festive Duo
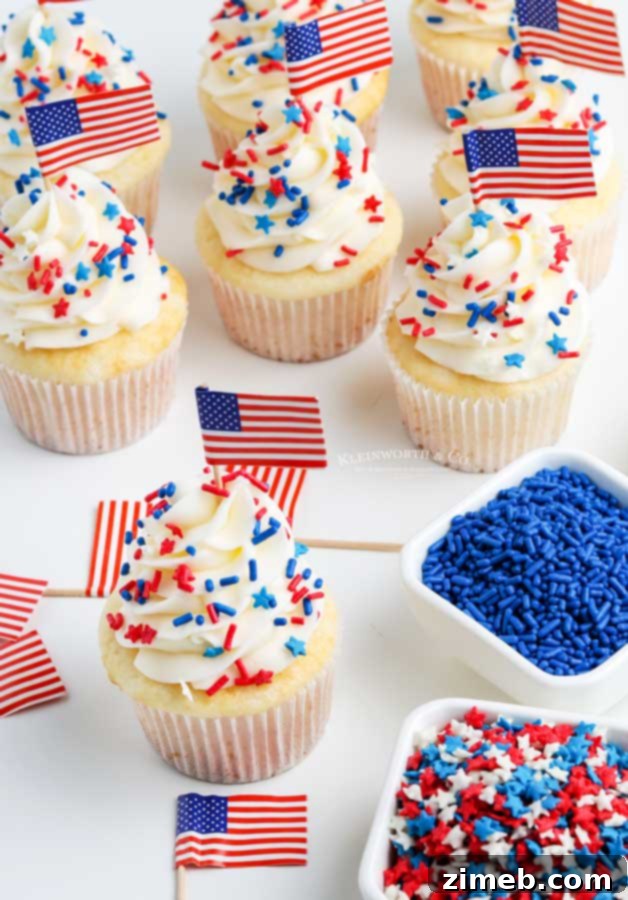
Achieving Perfect Room Temperature Butter: Essential Baking Tips
Method One: The Patient Approach
Getting butter to the ideal room temperature is a crucial step for creamy frosting and perfectly textured cupcakes. The simplest method is to plan ahead: take your butter (and any other chilled ingredients like eggs or dairy) out of the refrigerator and leave it on the kitchen counter for approximately 30 minutes before you begin your baking preparations. This allows the butter to soften evenly throughout, becoming pliable but still cool to the touch. I typically gather all my ingredients at the start, pulling everything that needs to warm up onto the counter, ensuring I have everything on hand before I’m mid-recipe.
However, sometimes life happens, and planning isn’t always perfect. Perhaps it’s winter, and 30 minutes isn’t quite enough for ingredients to warm up sufficiently, or you simply didn’t have the foresight to prepare. Don’t worry, these situations are common! That’s why I have a couple of alternative tricks to achieve that perfect room temperature butter.
Method Two: The Microwave Maneuver
For a quicker solution, you can use the microwave, but proceed with extreme caution to avoid melting the butter. Place the butter, still wrapped in its paper (but *never* in foil, which is a fire hazard!), in the microwave. Heat it for precisely 2 seconds. Then, flip the stick of butter over, microwave for another 2 seconds, flip it again, and continue this 2-second interval on each side. This gentle, incremental heating usually does the trick, making the butter perfectly soft without melting it into a greasy liquid. You might even stop before the full rotation if it feels soft enough. Remember, overly softened or melted butter from the microwave will negatively alter the final result of your recipe, often leading to greasy or dense baked goods. Precision is key with this method – do not overdo it.
Method Three: The Warm Water Bath
My third tried-and-true method involves a warm water bath. Place the wrapped butter sticks into a zip-top bag to protect them from direct water contact. Then, submerge the bag in a bowl of warm (not hot!) water. I often use this trick for eggs too, placing them gently into the same warm water. If the water is kept at a moderate temperature, this becomes an impeccably controlled way to bring your ingredients to the ideal “room temperature” quickly and safely, without the risk of accidentally melting or cooking them.
Easy and Festive 4th of July Desserts
Essential Ingredients for Our 4th of July Cupcakes
Gathering your ingredients is the first step to creating these delightful patriotic treats. We’ve chosen components that ensure both convenience and a superior “bakery-style” flavor and texture for your cupcakes and frosting.
For the Elevated Cupcakes
- Vanilla or White Cake Mix: This provides a fantastic shortcut, allowing us to focus on enhancing the flavor and texture.
- Buttermilk or Milk **see notes: Using buttermilk adds incredible moisture and a tender crumb, far superior to plain water. If buttermilk isn’t readily available, regular milk works well too, and we’ll show you how to easily make your own buttermilk substitute!
- Canola Oil: This neutral-flavored oil contributes to a wonderfully moist and tender cupcake texture.
- Egg Whites or Eggs (room temperature): Using egg whites will give you a lighter, whiter crumb, ideal for vibrant patriotic colors. If you prefer a richer cupcake, whole eggs work just as well, but always ensure they are at room temperature for optimal mixing.
For the Rich Buttercream Frosting
- Unsalted Butter (softened): Unsalted butter allows you to control the salt content in your frosting, ensuring a perfectly balanced sweetness. Softened butter is critical for a smooth, fluffy frosting.
- Confectioner’s Sugar: Also known as powdered sugar, this fine sugar dissolves easily to create a silky-smooth buttercream texture.
- Heavy Whipping Cream or Milk: Adds richness and helps achieve the desired consistency for your frosting.
- Clear Vanilla Extract **see notes: Opting for clear vanilla extract is a secret weapon for maintaining a brilliant white frosting, which is essential for pure, vibrant red and blue coloring. Regular vanilla extract can slightly tint the frosting beige.
For the Festive Decorations (optional but highly recommended!)
- Dark Blue Candy Melts: These will form the striking blue elements of our homemade candy sparklers.
- Red Candy Melts: Complementing the blue, these will create the vibrant red components of your edible sparklers.
For the Decadent Chocolate Covered Strawberries
- Fresh Strawberries: Choose ripe, firm strawberries for the best results.
- White Almond Bark: A convenient and easy-to-melt option that creates a smooth, delicious coating.
- Patriotic Sprinkles: Red, white, and blue sprinkles add an extra layer of festive flair to your berries.
For Adding a Classic Touch: Paper Flags
- Plastic Decorator Bag: Essential for precise piping of frosting.
- #1M Decorator Tip or Your Favorite: This large star tip creates beautiful swirls, but feel free to use any tip you prefer for your signature frosting style.
- Small Paper American Flags: These are the perfect finishing touch, adding an iconic patriotic detail to each cupcake.
Creating Dazzling Red, White, and Blue Desserts
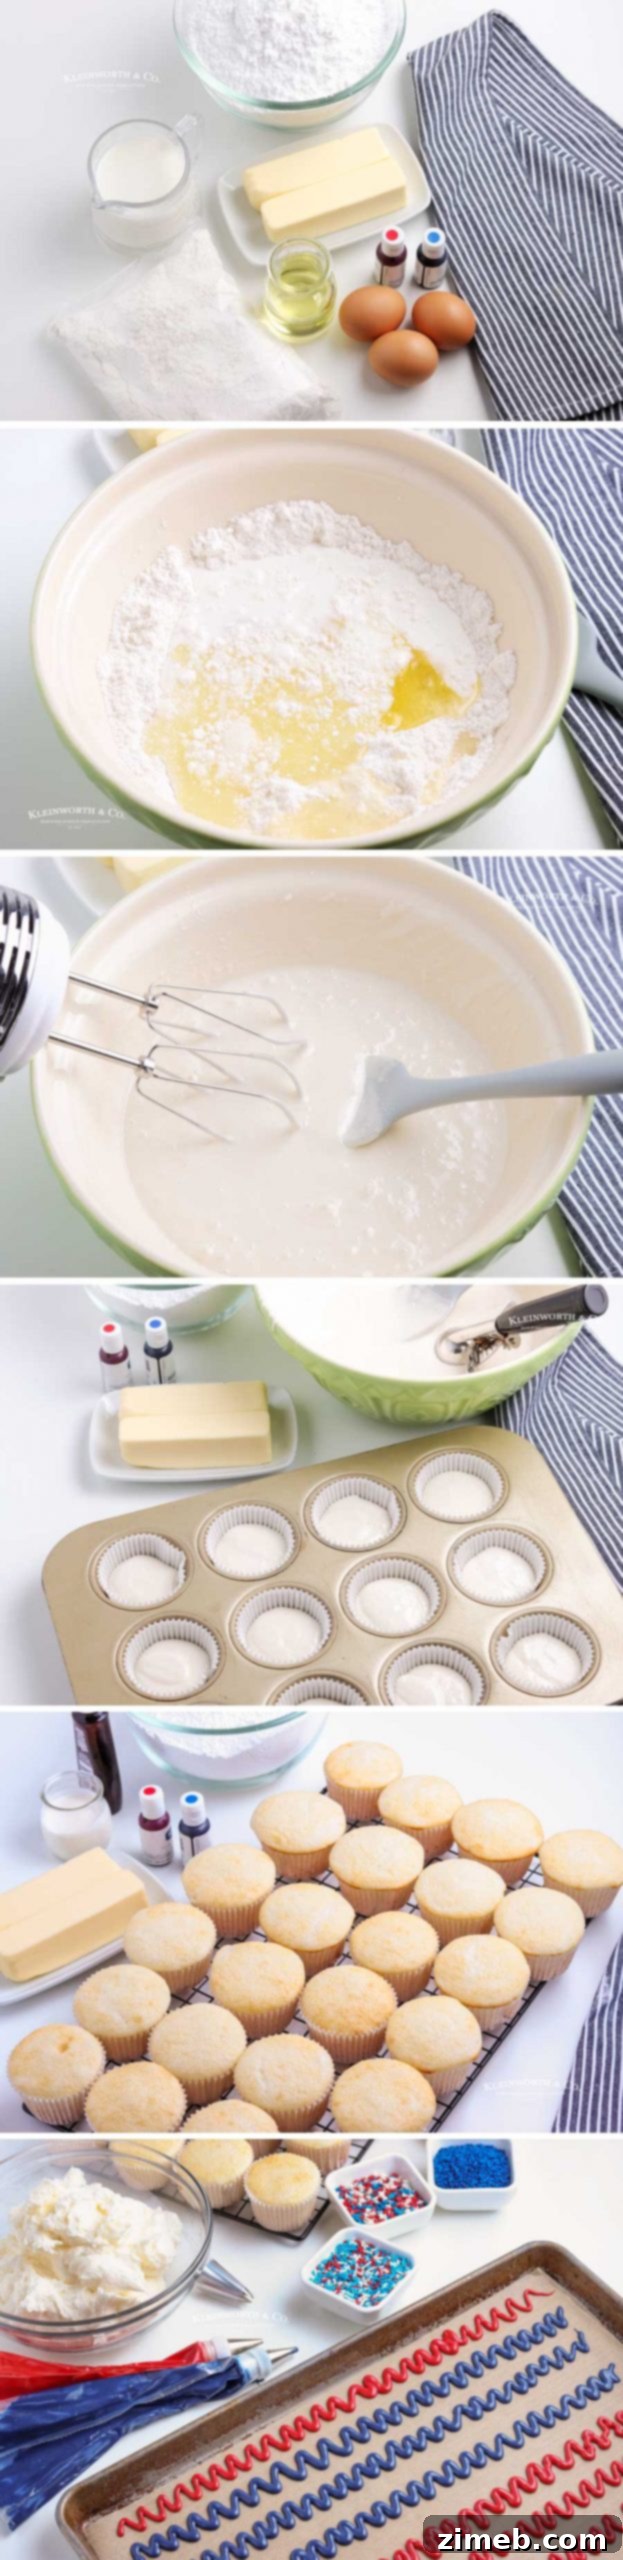
Step-by-Step: How to Make 4th of July Cupcakes
Follow these simple instructions to bake moist, flavorful cupcakes that will form the perfect base for your patriotic decorations.
- Preheat and Prepare: Begin by preheating your oven to 350 degrees F (175 degrees C). Line a standard 12-cup cupcake pan with paper liners, ensuring they are evenly placed. Set the prepared pan aside.
- Combine Wet and Dry Ingredients: In a large mixing bowl, combine the vanilla or white cake mix, buttermilk (or milk), room temperature egg whites (or whole eggs), and canola oil. This combination is key to achieving that desirable “bakery-style” texture and richness.
- Mix to Perfection: Using an electric mixer, start mixing on low speed for 2-3 minutes to gently combine the ingredients. Gradually increase the speed to medium-high and continue mixing until the batter is thoroughly blended and smooth, typically about 5 minutes. Scrape down the sides of the bowl as needed to ensure all ingredients are incorporated.
- Portion the Batter: Evenly divide the prepared cupcake batter among the paper-lined cups in your cupcake pan. Fill each liner about two-thirds full to allow for proper rising without overflowing.
- Bake Until Golden: Place the cupcake pan in the preheated oven and bake for 12-15 minutes. Baking times can vary, so keep an eye on them. The cupcakes are perfectly baked when a toothpick inserted into the center of a cupcake comes out clean, indicating no wet batter remains.
- Cool Completely: Once baked, carefully remove the cupcakes from the oven. Transfer them from the pan to a wire rack immediately to cool completely. This prevents the bottoms from becoming soggy and allows for even cooling, essential before frosting.
Delightful Summer Holiday Treats
Mastering the Art of Homemade Buttercream Frosting
A fluffy, smooth buttercream frosting is the crowning glory of any cupcake. Here’s how to achieve bakery-quality frosting at home.
- Cream the Butter: In a large mixing bowl, using an electric mixer, cream the softened unsalted butter on medium-high speed until it becomes light, fluffy, and visibly smooth. This process incorporates air into the butter, which is crucial for a light and airy frosting.
- Sift Confectioner’s Sugar (Optional but Recommended): For the smoothest possible frosting, sift your confectioner’s sugar into a separate medium bowl. While optional, this step removes any lumps, making the frosting easier to mix and ensuring a truly velvety texture.
- Gradually Add Sugar and Cream: With the mixer on low speed, gradually add the sifted confectioner’s sugar to the creamed butter, alternating with small splashes of heavy whipping cream (or milk). Begin and end with sugar. This method helps prevent a cloud of sugar dust and allows the ingredients to combine smoothly.
- Beat for Fluffiness: Once all the sugar and cream are added, incorporate the clear vanilla extract. Increase the mixer speed to medium-high and beat well for several minutes until the frosting is light, fluffy, and spreadable. Adjust consistency as needed (see notes below).
- Use or Store: Your luscious buttercream is now ready to use! If you’re not frosting immediately, store it in an airtight container in the refrigerator. When ready to use, allow it to come back to room temperature and give it a quick whip with your mixer to restore its creamy consistency.
Memorial Day Cupcakes: A Tribute in Sweetness
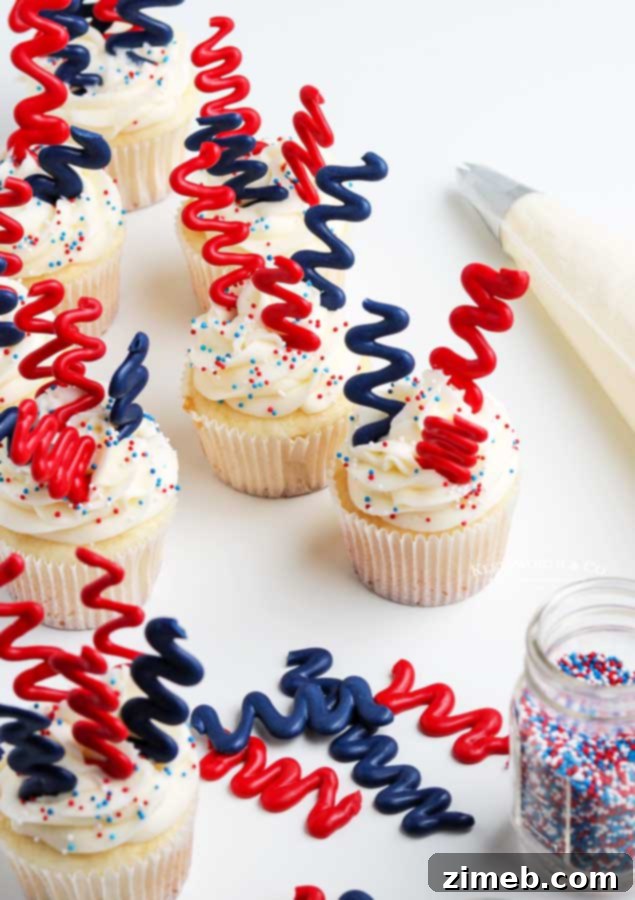
Creating Festive Homemade Candy Melt Sparklers
These edible candy melt sparklers are a simple yet impressive way to add a celebratory touch to your patriotic cupcakes, mimicking the fun of real fireworks!
- Prepare Your Surface: Line a baking sheet with parchment paper. This non-stick surface is essential for easy removal of your hardened candy sparklers.
- Melt the Blue Candy Melts: Place the dark blue candy melts in a microwave-safe bowl. Heat for 30 seconds. Remove and stir. Continue heating in 10-second intervals, stirring after each, until the candy is almost completely melted. The residual heat will melt the remaining pieces as you stir until it’s perfectly smooth and free of lumps. Avoid overheating, as this can cause the candy to seize.
- Melt the Red Candy Melts: Repeat the melting process with the red candy melts in a separate microwave-safe bowl, following the same 30-second initial heat, then 10-second intervals with stirring, until smooth.
- Prepare Piping Bags: Fit two decorator bags with a small round tip (I recommend using a #5 tip for fine lines). Carefully spoon the melted blue candy into one bag and the melted red candy into the other. Be cautious as the warm candy can sometimes leak from the tip if not properly sealed.
- Pipe Your Sparklers: On the prepared parchment-lined baking sheet, pipe zigzag lines or small, intricate firework shapes using both the red and blue melted candy. Experiment with different patterns to create unique “sparklers.” Don’t worry about perfection; rustic charm is part of the appeal!
- Allow to Harden: Let the piped candy melts sit at room temperature for about 10 minutes, or until they are completely hardened and firm to the touch. You can also place them in the refrigerator for a few minutes to speed up this process, but ensure no condensation forms.
- Break and Reserve: Once hardened, gently break the candy sparklers into smaller, individual pieces that are suitable for cupcake toppers. Set them aside until your cupcakes are frosted and ready for their dazzling decoration.
Vibrant Red, White, and Blue Cupcakes
Techniques for Flawlessly Frosting Cupcakes
Transform your plain cupcakes into festive works of art with these simple frosting steps.
- Prepare Your Piping Bag: Fit a plastic decorator bag with your chosen tip. The #1M tip is fantastic for creating beautiful swirls and rosettes, but any large star or round tip will work wonderfully. Snip off the very end of the bag to allow the tip to fit snugly.
- Fill with Frosting: Carefully fill the decorator bag with your prepared buttercream frosting. To minimize air bubbles and mess, twist the top of the bag securely, pushing the frosting down towards the tip.
- Pipe with Style: Hold the piping bag perpendicular to the center of your cooled cupcake. Apply steady, even pressure and pipe the frosting onto the cupcake. You can start from the outer edge and work your way in for a swirled effect, or create a mound in the center. Practice on a piece of parchment paper first if you’re new to piping!
- Add Sprinkles: Immediately after piping, if desired, add your patriotic sprinkles. This ensures they adhere beautifully to the fresh frosting before it sets. Gently press them into the frosting for better adherence.
Creative 4th of July Cupcakes Ideas for Every Celebration
Why Did My Chocolate Wafers Seize and Become Chunky?
It’s a common and frustrating baking mishap: your chocolate wafers, instead of melting into a smooth, creamy liquid, turn into a thick, gritty, unworkable mess. This phenomenon is known as “chocolate seizing.” Understanding why it happens is the first step to preventing it.
Chocolate seizing typically occurs due to one of two main reasons: **overheating** or **contact with even a tiny amount of water or steam.**
In the first case, when chocolate is overheated, the cocoa solids can burn, causing the chocolate to become grainy and stiff. This is why gentle, indirect heat or short bursts in the microwave with frequent stirring are essential when melting chocolate.
The second, and perhaps more common, cause is water. Chocolate is inherently waxy and contains many oils that are hydrophobic, meaning “water-fearing.” When water or steam comes into contact with melted chocolate, it causes a negative reaction. The sugar and cocoa solids in the chocolate bind together, separating from the fats and oils. This results in the chocolate clumping up and becoming an unusable, chunky paste.
To prevent chocolate from seizing, always ensure your melting bowls and utensils are perfectly dry. When using a double boiler, be careful not to let the bottom of the bowl touch the simmering water, and prevent any steam from condensing and dripping into the chocolate. When microwaving, use short intervals and stir diligently. Always refer to the specific package directions for your candy melts or chocolate wafers, as they often provide optimal melting temperatures and times to help you avoid this common pitfall and ensure a smooth, flawless finish for your decorations.
Patriotic Cupcakes: A Taste of American Pride
Crafting Festive Chocolate Covered Strawberries
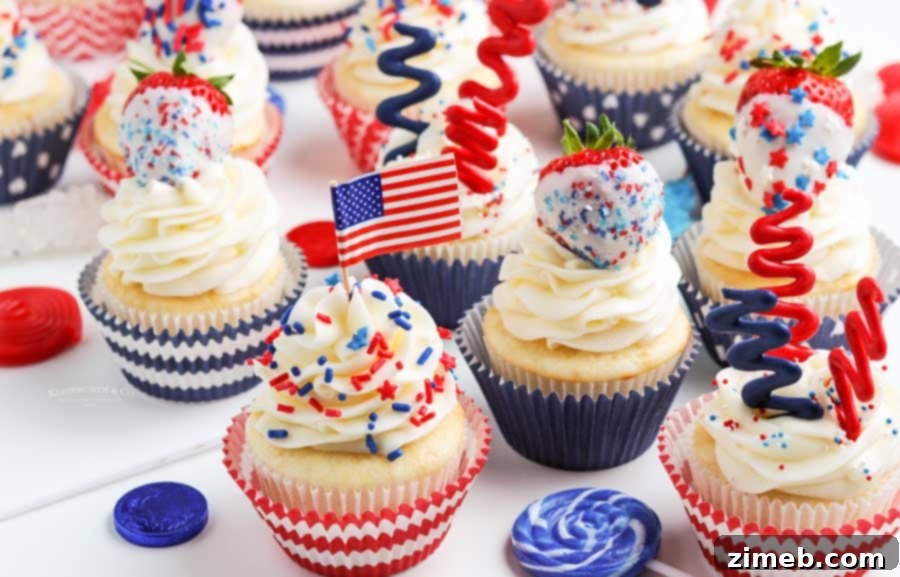
These elegant yet simple chocolate-covered strawberries add a touch of sophistication and fresh fruit goodness to your patriotic dessert spread. They’re a perfect complement to the cupcakes!
- Prepare Strawberries: Begin by thoroughly washing your fresh strawberries under cool running water. It is absolutely crucial to let them dry completely before dipping; any water will cause your chocolate to seize. Gently pat them dry with paper towels and allow them to air dry on a rack for an additional 10-15 minutes if needed.
- Line Baking Sheet: While the strawberries dry, line a baking sheet with parchment paper. This provides a non-stick surface for the dipped strawberries to harden without sticking. Set aside.
- Melt White Almond Bark: Place 4 blocks of white almond bark into a microwave-safe bowl. Heat in the microwave for 30 seconds. Remove and stir well. Continue heating in 10-second increments, stirring thoroughly after each, until the almond bark is almost entirely melted. Stir until it’s perfectly smooth and creamy, with no lumps remaining.
- Prepare Sprinkles: Pour your festive patriotic sprinkles into small, shallow bowls. Having them ready ensures you can decorate the strawberries immediately after dipping, before the chocolate sets.
- Dip Strawberries: Hold a clean, dry strawberry by its stem. Dip the strawberry into the melted white almond bark, rotating it gently to coat it evenly. Lift the strawberry and allow any excess chocolate to drip off back into the bowl.
- Add Sprinkles Immediately: While the chocolate is still wet, immediately hold the dipped strawberry over one of your sprinkle bowls and generously add patriotic sprinkles. You can roll it slightly or just sprinkle them over.
- Set and Harden: Place the decorated strawberry onto your prepared parchment-lined baking sheet. Repeat the dipping and sprinkling process with the remaining strawberries. Let them sit at room temperature for about 10-15 minutes, or until the chocolate has fully hardened. You can also refrigerate them briefly to speed up hardening.
Creative Candy Melt Cupcake Decorations
Using milk or buttermilk instead of water in a cake mix is a fantastic trick to make your cupcakes taste significantly more homemade, adding richness and moisture. However, it’s true that commercially available buttermilk can sometimes be surprisingly thick, which might alter your batter’s consistency. This variation in thickness can make the batter denser than desired. Thankfully, there’s an easy solution to ensure perfect consistency every time by making your own buttermilk substitute with readily available ingredients!
To effortlessly make your own buttermilk substitute: Measure out 1 tablespoon of white vinegar (or lemon juice) into a liquid measuring cup. Then, fill the remainder of the cup with regular milk (any fat percentage works, but whole milk yields a richer flavor) until it reaches the 1-cup mark. Give it a gentle stir and let it sit undisturbed for 2-3 minutes. During this time, the acid in the vinegar will curdle the milk, creating a perfect, slightly thickened buttermilk substitute that will lend exceptional moisture and tenderness to your baked goods.
Explore More Patriotic Ideas for Your Holiday Festivities
If you’re planning a full spread of patriotic treats and crafts, we’ve got you covered! Discover more delightful ways to celebrate with these fantastic ideas:
- Patriotic Mini Cheesecakes: These individual cheesecakes are creamy, delicious, and perfectly portioned for any gathering, adorned with festive red and blue toppings.
- Free Printable Patriotic Temporary Tattoos: Add a fun, temporary flair to your celebration with these easy-to-apply designs, perfect for kids and adults alike.
- 1776 Patriotic T-Shirt Tutorial: Get crafty and create your own custom patriotic apparel with this simple and stylish DIY t-shirt project, ideal for showing off your American pride.
- Patriotic Cake Mix Cookies: Another fantastic shortcut recipe! These soft and chewy cookies utilize a cake mix base for ultimate ease and are loaded with red, white, and blue M&Ms or sprinkles.
- Patriotic Chocolate Chip Skillet Cookie: A giant, warm, and gooey chocolate chip cookie baked in a skillet, bursting with patriotic colors – perfect for sharing (or not!).
Irresistible 4th of July Chocolate Covered Strawberries
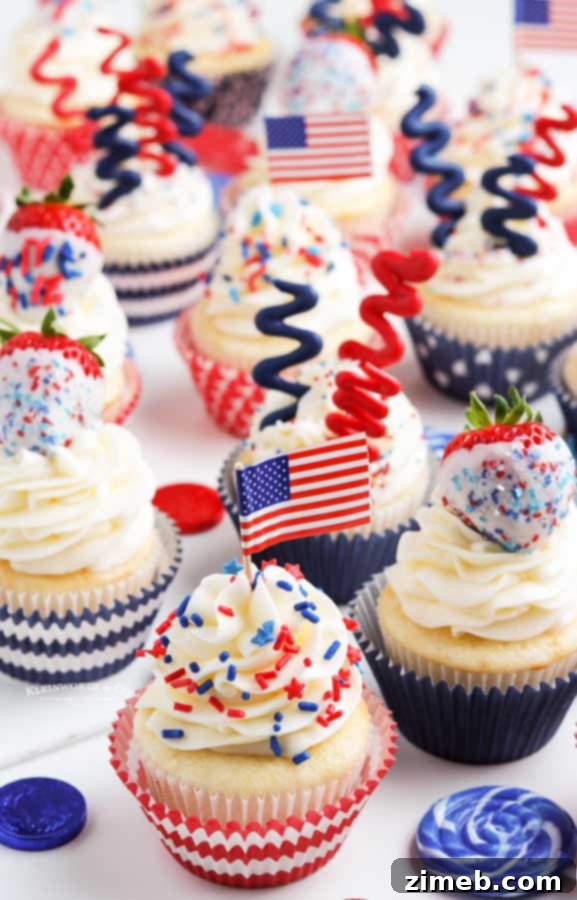
- Frosting Tip for Bright White: When preparing your buttercream, using clear vanilla extract is highly recommended. This subtle change will ensure your buttercream remains impeccably white, providing the perfect canvas for vivid red and blue food colorings. While regular vanilla extract will work, it can impart a slight beige tint to your frosting.
- Adjusting Frosting Consistency: Achieving the perfect consistency for piping is crucial. If your buttercream is too thick, gradually add a little more heavy whipping cream (or milk) until it reaches your desired smoothness. If it’s too thin, sift in additional confectioner’s sugar, a tablespoon at a time, until it stiffens up. Always make small adjustments and mix well after each addition.
Choosing the Best Sprinkles for Your Patriotic Masterpiece
The world of sprinkles can be surprisingly complex, and selecting the right kind is crucial for ensuring your beautiful 4th of July Cupcakes stay picture-perfect. This is an important detail many bakers overlook!
Just because a package proudly proclaims “sprinkles” doesn’t always mean it contains the ideal type for every application. A common misconception is that all colored sugar decorations are the same.
Often, what people mistakenly use as sprinkles is actually colored sanding sugar. While lovely for dry applications, sanding sugar will not perform well on moist baked goods or when exposed to humidity. When this fine sugar comes into contact with a moist dough, creamy frosting, or is placed in a humid environment like a refrigerator, it will absorb moisture. This causes the colors to “sweat” and bleed out, creating unsightly streaks and dissolving your vibrant designs. You’ll end up with murky, faded colors instead of crisp, distinct patriotic hues.
For this recipe and any frosted treats, always opt for true sprinkles, such as jimmies (the rod-shaped ones) or nonpareils (tiny round balls), and especially the various shaped sprinkles like stars. These varieties are coated to be more resistant to moisture, holding their color and shape much better on frosted items, even after refrigeration. This attention to detail will ensure your red, white, and blue cupcakes remain dazzling until the very last bite!
Celebrating with 4th of July Strawberries
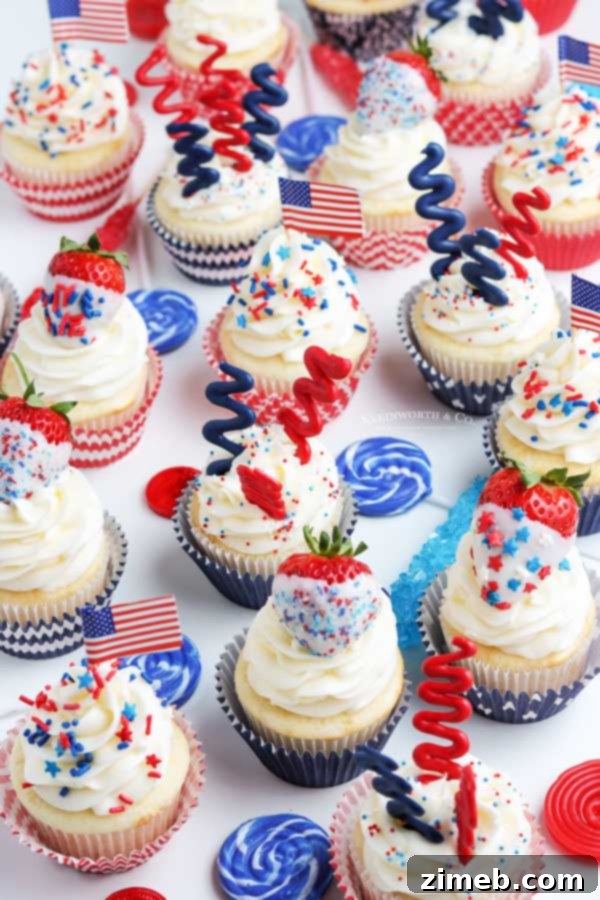
My Favorite Products for Making 4th of July Cupcakes…
This cupcake recipe is not only incredibly easy to follow but also consistently delivers deliciously satisfying results. If you’re anything like me, especially around this festive time of year, you might already have several of these essential baking items on hand, ready for your next patriotic project. However, if you’re new to the wonderful world of homemade cupcakes and feeling a little nervous, please don’t be! You are going to absolutely adore these. To help you along, I’ve curated a list of the exact products I rely on and simply can’t bake without when creating this fantastic 4th of July Cupcake recipe. These are the tools and ingredients that make the process smooth and the outcome perfect every time.
Cupcake Essentials
- Vanilla or white cake mix: The perfect base for our elevated patriotic treats.
- Buttermilk: For that extra touch of moisture and a tender crumb.
- Canola oil: Contributes to the moist texture of our cupcakes.
- Cupcake wrappers: Essential for baking and presentation.
Buttercream Frosting Essentials
- Confectioner’s sugar: For a smooth, lump-free buttercream.
- Clear vanilla extract **see notes: To ensure a brilliantly white frosting base.
Decoration Must-Haves (optional)
- Dark blue candy melts: For vibrant homemade sparklers.
- Red candy melts: To complete your patriotic candy sparklers.
Chocolate Covered Strawberries Supplies
- White almond bark: For a perfectly smooth, dippable coating.
- Patriotic sprinkles: To add a festive burst of color to your berries.
Tools for Festive Cupcake Flags
- Plastic decorator bag: For precise and beautiful frosting application.
- #1M decorator tip or your favorite: The classic choice for gorgeous frosting swirls.
- Paper flags: The perfect patriotic topper for your cupcakes.
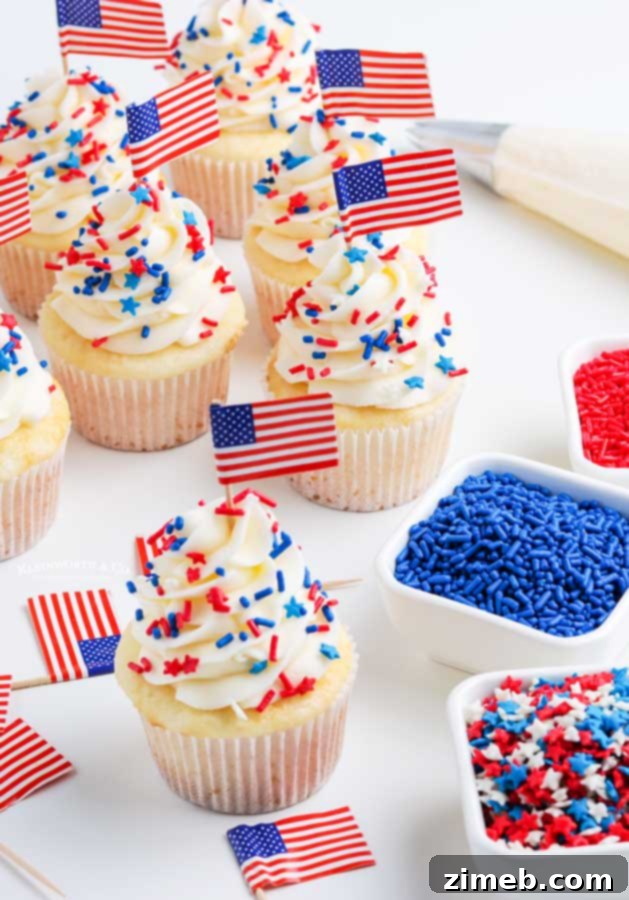
If you adore this festive 4th of July Cupcake recipe, you’ll be thrilled to discover these other fantastic patriotic treats too. Click on each link below to find the easy, printable recipes and complete your holiday spread with more deliciousness!
Check out this recipe
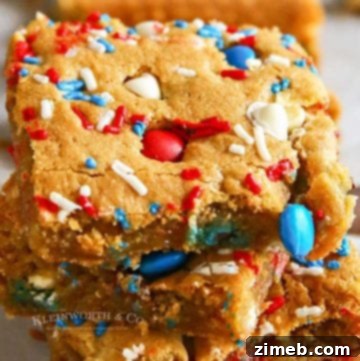
Check out this recipe
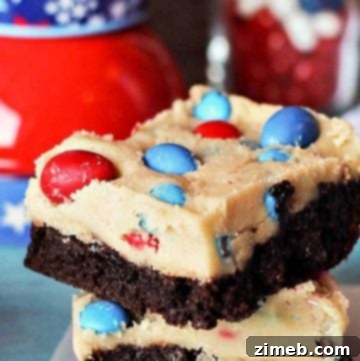
Check out this recipe
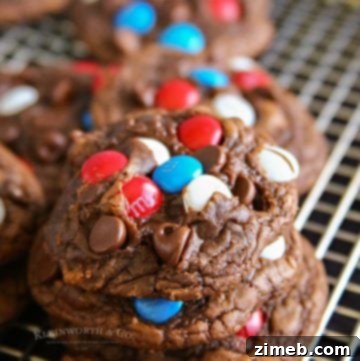
Check out this recipe
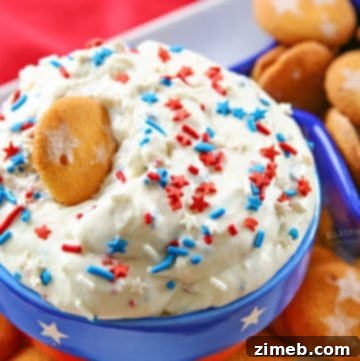
Check out this recipe
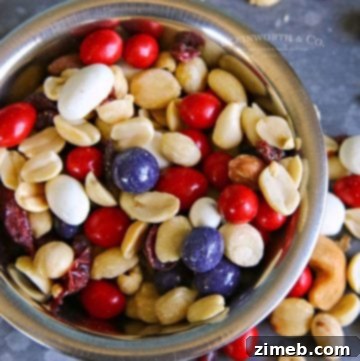
If you absolutely adore this recipe for 4th of July Cupcakes as much as I do, please take a moment to leave a five-star review – it truly helps! And don’t forget to help me share the festive joy on Facebook and Pinterest so more people can discover these delightful treats!
CONNECT WITH YUMMI HAUS!
Be sure to follow me on my social media channels, so you never miss out on a new recipe, baking tip, or festive idea!
Substack, Facebook, Pinterest, Instagram, Email Subscription
Rate this Recipe
4th of July Cupcakes
Ingredients
Cupcakes
- 1 box vanilla or white cake mix
- 1 cup buttermilk or milk **see notes
- ⅓ cup canola oil
- 4 large egg whites or 3 large eggs room temperature
Buttercream Frosting
- 1 cup unsalted butter softened (2 sticks)
- 4 cups confectioner’s sugar
- 1-2 tbsp heavy whipping cream or milk
- 1 tsp clear vanilla extract **see notes
Decorations, optional
- ¼ cup dark blue candy melts
- ¼ cup red candy melts
Chocolate Covered Strawberries
- Strawberries
- ½ pound white almond bark
- Sprinkles
Paper flags
- Plastic decorator bag
- #1M decorator tip or your favorite
Instructions
Cupcakes
-
Preheat the oven to 350 degrees F.
-
Fill the cupcake pan with paper liners. Set aside.
-
In a large mixing bowl, add the cake mix, buttermilk, egg whites, and oil.
-
Mix on low for 2-3 minutes, increase the speed and mix until well blended, about 5 minutes.
-
Divide the batter into the prepared cupcake pan.
-
Bake for 12-15 minutes or until a toothpick inserted in the center comes out clean.
-
Remove from the oven to a wire rack to cool completely.
Frosting
-
In a mixing bowl, cream the butter until fluffy and smooth.
-
Sift the confectioner’s sugar into a medium bowl – this step is optional, although it makes the frosting smooth and easier to mix.
-
Gradually add the confectioner’s sugar, alternating with the heavy cream.
-
Add the vanilla extract and beat well.
-
Use immediately or store in the refrigerator until ready to serve. Let come to room temperature before using.
Decorating
Frosting
-
Fit a plastic decorator bag with a #1M tip or your favorite tip.
-
Fill the bag with frosting.
-
Pipe the frosting onto the cupcakes.
-
Add sprinkles if desired.
Candy Melt Sparklers
-
Line a baking sheet with parchment paper.
-
Add blue candy melts to a microwave-safe bowl and heat for 30 seconds.
-
Stir and continue heating for 10 seconds at a time until chocolate is almost melted, stir until smooth.
-
Repeat with the red candy melts
-
Fit 2 decorator bags with a small round tip (I used #5)
-
Add the melted chocolate to the bag, being careful as it may leak out.
-
Pipe zigzag lines of the chocolate to create the sparklers.
-
Let sit for about 10 minutes to harden.
-
Break apart into pieces and set aside until ready to frost the cupcakes.
Strawberries
-
Start by washing the strawberries and letting them dry completely.
-
Line a baking sheet with parchment paper. Set aside.
-
Add 4 blocks of the white almond bark to a microwave-safe bowl and heat for 30 seconds.
-
Stir and continue heating for 10 seconds at a time until chocolate is almost melted, stir until smooth.
-
Add the sprinkles to bowls so they are ready to use.
-
Dip the strawberries in the melted chocolate and allow any excess to drip off.
-
Immediately add sprinkles.
-
Place on the prepared baking sheet to dry.
-
Let set about 10 minutes to harden.
Flags
-
Add sprinkles to frosted cupcakes.
-
Add a paper flag.
Notes
- Milk – using milk or buttermilk instead of water in the cake mix, makes the cupcakes taste more homemade. I have found though that store-bought buttermilk is sometimes a bit too thick.
- To make your own buttermilk – Add 1 tbsp of white vinegar to a measuring cup and then fill the remaining with milk. Let sit for 2-3 minutes.
- Frosting – Using clear vanilla extract will keep the buttercream super white. You can also use regular vanilla extract.
- Depending on the consistency, add more confectioner’s sugar or more heavy whipping cream.
Nutritional information for the recipe is provided as a courtesy and is approximate. Please double-check with your own dietary calculator for the best accuracy. We at Yummi Haus cannot guarantee the accuracy of the nutritional information given for any recipe on this site.