
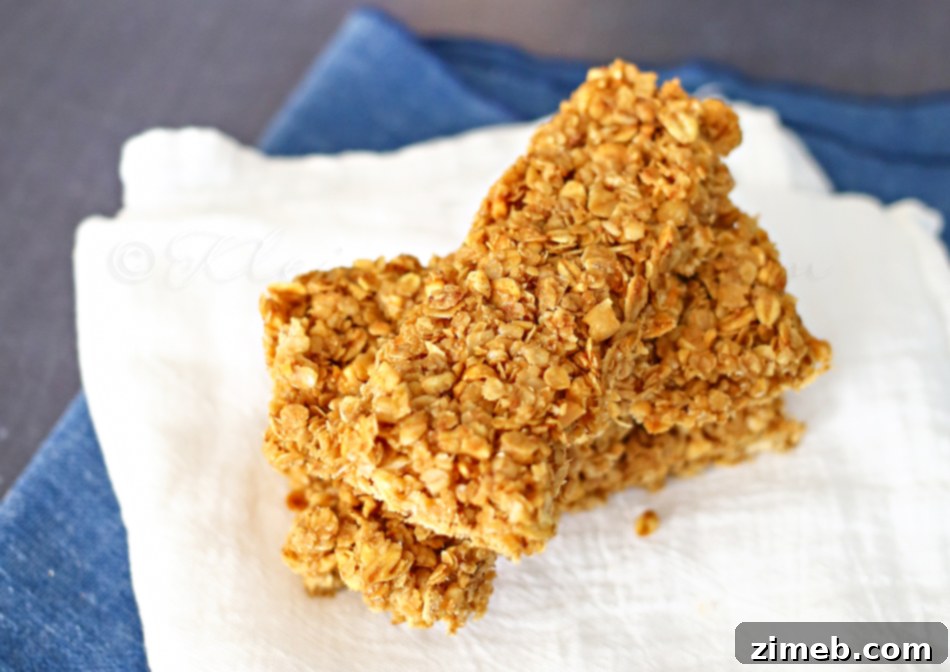
Every relationship is a unique tapestry woven with shared joys, common interests, and often, delightful differences. From grand life decisions to the smallest everyday preferences, couples frequently find themselves on opposite ends of the spectrum. Sometimes these disparities are significant, sometimes they’re minor, and sometimes they’re simply charming quirks that add flavor to life. For my husband and me, one such divergence lies in our granola bar preferences. He is an absolute enthusiast for those classic, crunchy granola bars, often found in convenient two-packs, bursting with a sweet, unmistakable honey flavor. They are his go-to snack, a nostalgic treat he cherishes.
On the other hand, my palate leans towards a different granola bar experience. I’m the type who prefers a bar that’s soft, delightfully chewy, and generously studded with chocolate chips. For me, a granola bar is an indulgence, a comforting bite of sweetness. The crunchy, honey-laden variety simply doesn’t quite hit the spot in the same way. However, being married often means finding joy in catering to the preferences of your loved ones, and for a while, making homemade granola bars for my husband had been high on my list of thoughtful gestures. My mission was clear: replicate his beloved crunchy bars first, and then, armed with that experience, experiment to craft my ideal chewy, chocolate-chip-filled version later. This past week, I finally embarked on that culinary adventure, and the results were nothing short of spectacular. He was, to put it mildly, beyond thrilled.
The Magic of Homemade: Why Make Your Own Granola Bars?
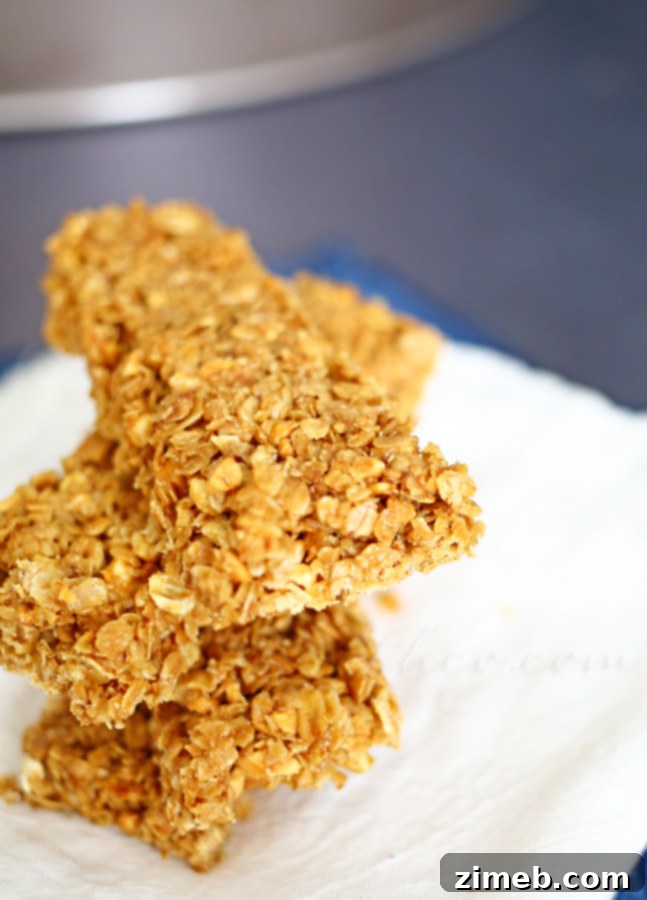
There’s a special kind of satisfaction that comes from creating something from scratch in your own kitchen, especially when it surpasses store-bought alternatives. Occasionally, I stumble upon a recipe that completely transforms my husband’s opinion on a product he once thought unbeatable from the supermarket shelf. These homemade granola bars are a prime example. He was genuinely astonished that I managed to recreate his favorite snack, and in his own words, “make them even better than the store-bought ones” he adores. This sentiment highlights one of the greatest advantages of going homemade: the ability to elevate familiar flavors and textures to new heights.
Beyond pleasing picky palates, homemade granola bars offer a myriad of benefits. Firstly, you gain complete control over the ingredients. This means you can choose high-quality, fresh components, avoid artificial preservatives, undesirable additives, and excessive sugars often found in mass-produced snacks. For health-conscious individuals or those with dietary restrictions, this level of control is invaluable. You can customize sweeteners, fats, and mix-ins to align with your lifestyle. Secondly, homemade versions are often more cost-effective in the long run. Buying ingredients in bulk and preparing a batch at home usually proves more economical than purchasing individual snack packs regularly. Lastly, there’s the undeniable freshness and superior taste that simply cannot be matched by factory-made products. The aroma of oats toasting and honey caramelizing fills your kitchen, promising a wholesome and delicious treat.
A Family Favorite: Quality Control and Future Creations
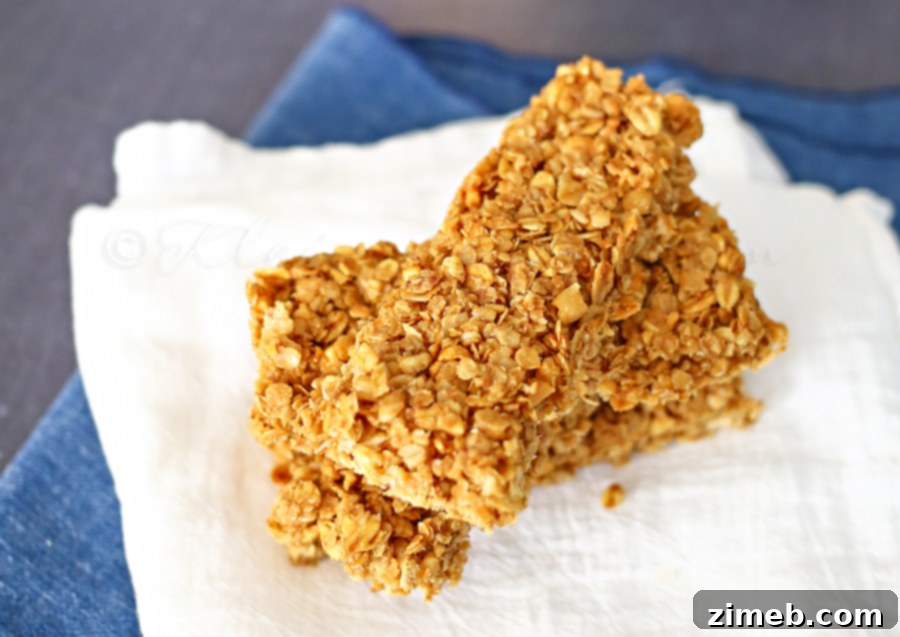
It wasn’t just my husband who fell head over heels for these delightful bars. The kids were equally smitten, making them a certified family favorite. Of course, I had to indulge in one myself – purely for “quality control,” you understand. And while my personal quest for the ultimate soft and chewy granola bar with copious chocolate chips continues, I must confess: these crunchy, honey-infused bars were incredibly tasty. Don’t tell my husband, but I was pretty impressed myself and fully intend to enjoy a few more before they mysteriously vanish. This recipe has proven to be a resounding success, bridging the gap between our differing snack preferences and providing a wholesome, delicious option for everyone.
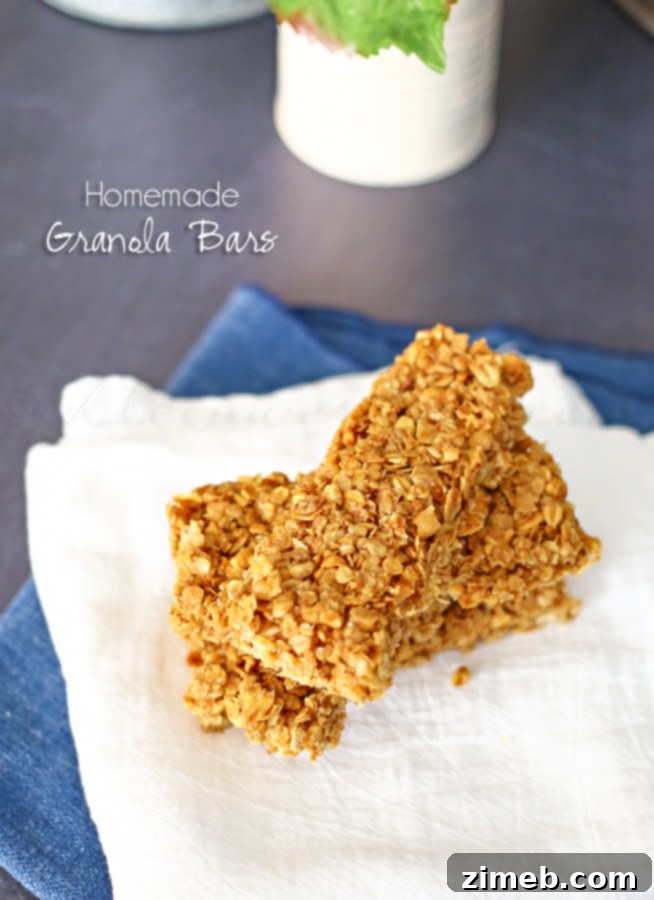
Homemade Granola Bars
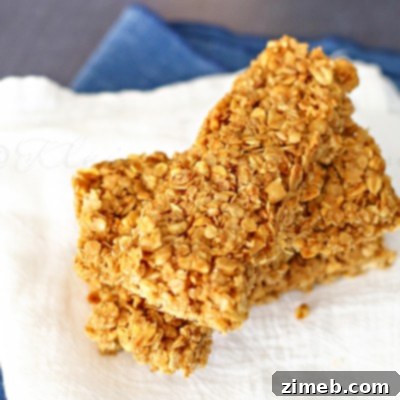
Ingredients
- 3-1/2 cups old-fashioned rolled oats
- 1/4 cup coconut oil
- 1/2 tsp salt
- 3/4 cups peanuts – rough chopped
- 1/2 cup raw honey
- 1/2 cup packed brown sugar
- 1/2 tbsp vanilla extract
- 1 tsp ground cinnamon
Instructions
-
1. Preheat oven to 375 degrees Fahrenheit (190 degrees Celsius).
-
2. Line a large baking sheet with parchment paper. (A 3/4 sheet pan works well).
-
3. In a large bowl, combine the oats, coconut oil, and salt. Mix thoroughly until the oats are evenly coated.
-
4. Transfer the oat mixture to the prepared baking sheet and spread it into an even layer.
-
5. Bake for 20-25 minutes, stirring the oats every 10 minutes to ensure even toasting.
-
6. Remove the toasted oats from the oven and immediately lower the oven temperature to 300 degrees Fahrenheit (150 degrees Celsius).
-
7. Place the rough chopped peanuts in a large bowl with the toasted oats.
-
8. In a saucepan, combine the honey and brown sugar. Cook over medium heat for about 5 minutes, stirring constantly, until the sugar is completely dissolved.
-
9. Remove the saucepan from the heat and stir in the vanilla extract and ground cinnamon.
-
10. Pour the warm honey mixture over the oats and nuts. Stir well with a large rubber spatula until everything is thoroughly coated.
-
11. Line a 9×13 inch baking sheet with foil and lightly spray it with cooking spray.
-
12. Transfer the granola mixture to the prepared baking sheet and press it firmly into an even, compact layer. Use another piece of parchment paper or the back of a spatula to press down firmly.
-
13. Bake until golden brown, approximately 30-35 minutes.
-
14. Allow the granola to cool in the baking sheet, on a wire rack, for 10-15 minutes before attempting to cut into bars.
-
15. Cut the bars to your desired size and then let them cool completely on the baking sheet. It is crucial not to wait longer than 15 minutes before cutting, as the bars will become too hard and crumbly.
Nutritional information for this recipe is provided as a courtesy and is approximate. Please verify with your own dietary calculator for the best accuracy. We cannot guarantee the accuracy of the nutritional information given for any recipe on this site.
Love this recipe? Follow @KleinworthCo on Pinterest for even more tasty recipes and food inspiration!
Tips for Granola Bar Perfection
Achieving the perfect homemade granola bar involves a few key techniques. The initial toasting of the oats at a higher temperature ensures a deep, nutty flavor and contributes significantly to the desired crunch. Stirring every ten minutes prevents burning and promotes even golden-brown results. Lowering the oven temperature for the final bake is crucial for setting the bars without over-browning the honey and brown sugar, which can burn quickly. The firm pressing of the mixture into the baking sheet is arguably the most critical step for cohesive bars. This compression helps the ingredients bind together, preventing crumbling once cooled. Using a second piece of parchment paper or a flat bottom of a glass to press down can help achieve a dense, uniform layer. And remember that timing for cutting: waiting too long will result in a brittle slab, while cutting too early might lead to a sticky mess. The sweet spot of 10-15 minutes of cooling allows them to firm up enough to hold their shape during slicing but remain pliable enough to cut cleanly.
Customizing Your Homemade Granola Bars
While this recipe perfectly captures the essence of a crunchy, honey-flavored granola bar, the beauty of homemade lies in its adaptability. Once you’ve mastered this base, the possibilities for customization are endless. For those who, like me, prefer a chewy texture, consider slightly reducing the baking time in the second phase, or adding a tablespoon more of honey or a touch of applesauce to the wet ingredients. You can easily swap peanuts for other nuts like almonds, walnuts, or pecans, or even a mix of seeds such as pumpkin seeds, sunflower seeds, or chia seeds for added nutrition and texture. Dried fruits like raisins, cranberries, chopped apricots, or blueberries can be folded in with the oats and nuts for bursts of natural sweetness and chewiness. If you’re looking to introduce more protein, a scoop of protein powder can be incorporated into the dry ingredients. For a richer flavor, a sprinkle of cocoa powder or mini chocolate chips can transform these into a more decadent treat, appealing to chocolate lovers.
Experiment with different spices beyond cinnamon – a pinch of nutmeg, cardamom, or even a touch of ginger can add complex layers of flavor. Citrus zest, like orange or lemon, can provide a bright counterpoint to the sweetness. Remember to adjust the amount of wet ingredients slightly if adding a significant quantity of dry additions like extra nuts or seeds, to ensure the mixture remains cohesive. Homemade granola bars are not just a snack; they’re a canvas for your culinary creativity, allowing you to tailor them precisely to your family’s tastes and dietary needs.
Storage and Serving Suggestions
Once your homemade granola bars are completely cooled and cut, proper storage is key to maintaining their freshness and crunch. Store them in an airtight container at room temperature for up to a week. If you live in a particularly humid climate, or if you want to extend their shelf life, you can store them in the refrigerator for up to two weeks. For longer storage, these granola bars freeze beautifully. Wrap individual bars tightly in plastic wrap, then place them in a freezer-safe bag or container. They can be frozen for up to three months and thawed at room temperature for a quick and convenient snack.
These versatile bars are perfect for any occasion. They make an excellent grab-and-go breakfast, a satisfying mid-morning snack, or a much-needed energy boost after a workout. Pack them in lunchboxes for kids or adults, take them on hikes, or simply enjoy them with a cup of coffee or tea. Their robust flavor and satisfying crunch make them a superior alternative to many pre-packaged options, ensuring you always have a wholesome and delicious treat on hand.
Want more great snack ideas?
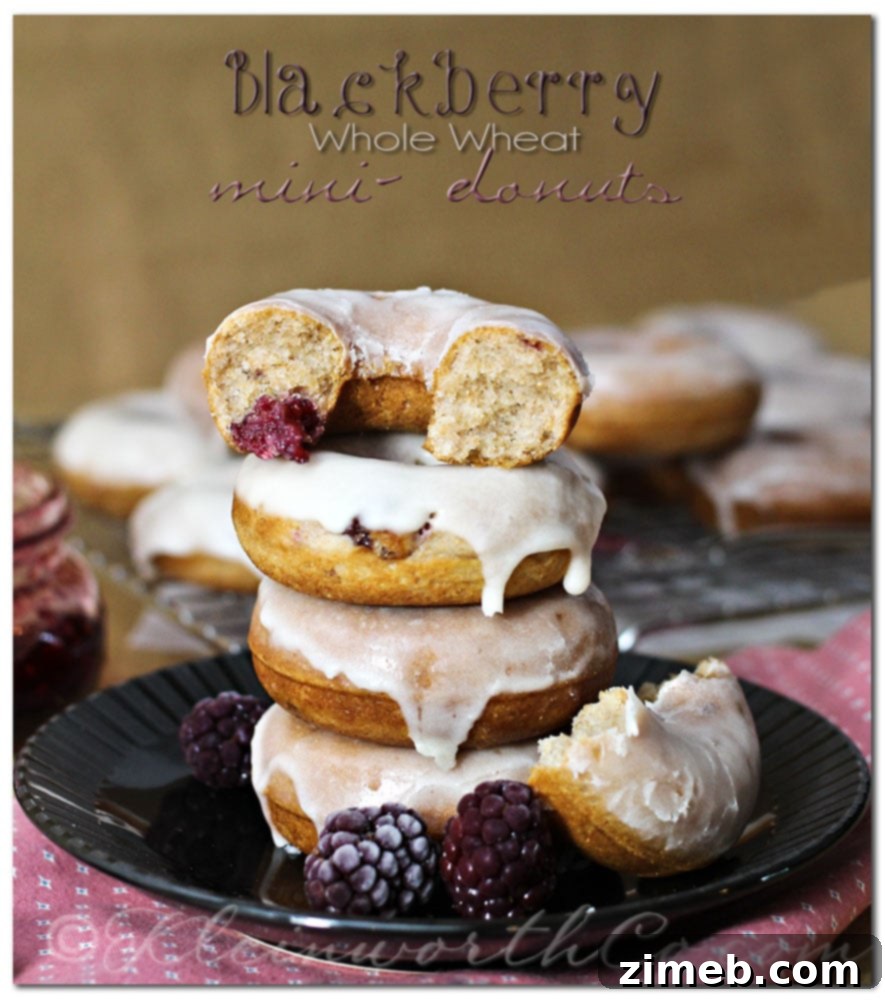
Blackberry Whole Wheat Mini-Donuts
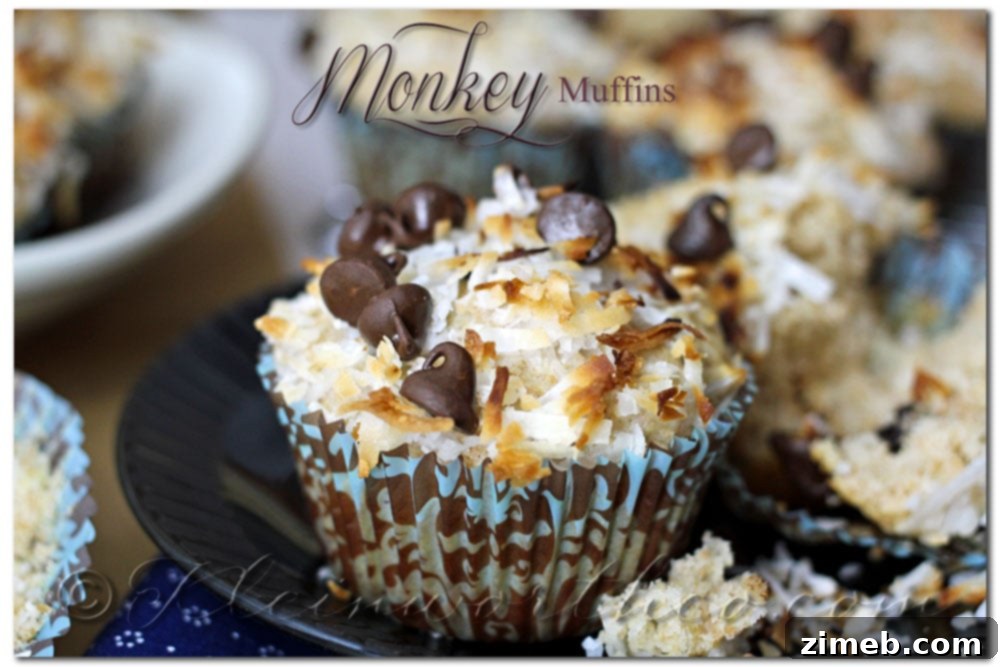
Monkey Muffins
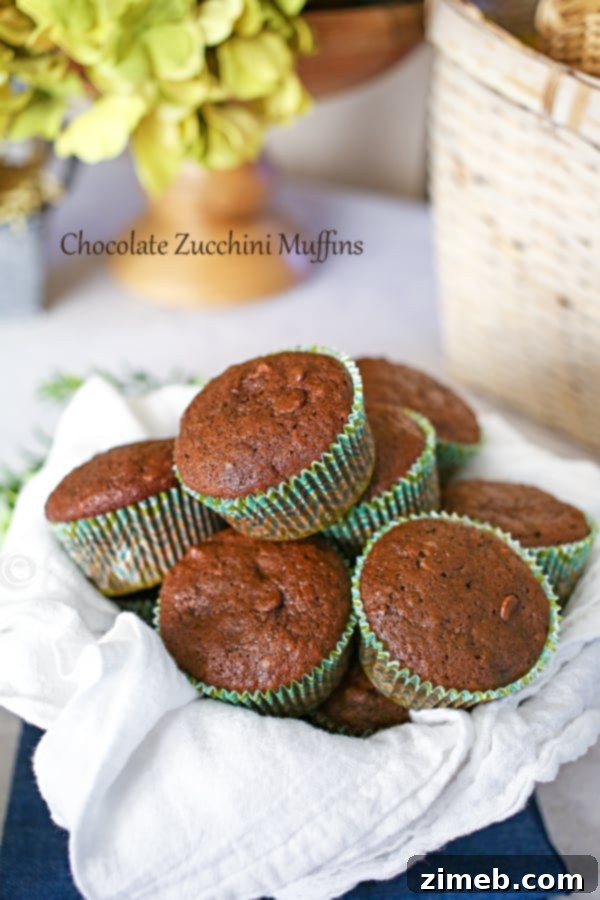
Chocolate Zucchini Muffins
For more culinary inspiration and recipe insights, be sure to explore our latest updates and linked content.