
Creating a Timeless First Impression: Your Guide to a DIY Boxwood Wreath
I am absolutely thrilled to share a project that truly embodies classic elegance and personal charm: my very own handcrafted boxwood wreath. While I offered a sneak peek a while back, today I’m diving into the complete process, detailing how you can create this stunning piece for your home. The front door, adorned with a beautiful wreath, serves as the initial introduction to your home’s interior and reflects your personal style. For this reason, I believe a wreath should be more than just a decoration; it should be a statement of classic, timeless, and elegant design.
Our home’s holiday decor has evolved towards a sophisticated palette of neutrals, accented with subtle touches of green and metallics. This boxwood wreath seamlessly integrates with that theme, bringing a fresh, natural element that complements the serene cream and white accents I adore. It truly sets an inviting tone even before guests step inside. And the best part? Creating this elegant piece was far easier than you might imagine. Let me walk you through the simple steps to craft your own beautiful boxwood wreath!
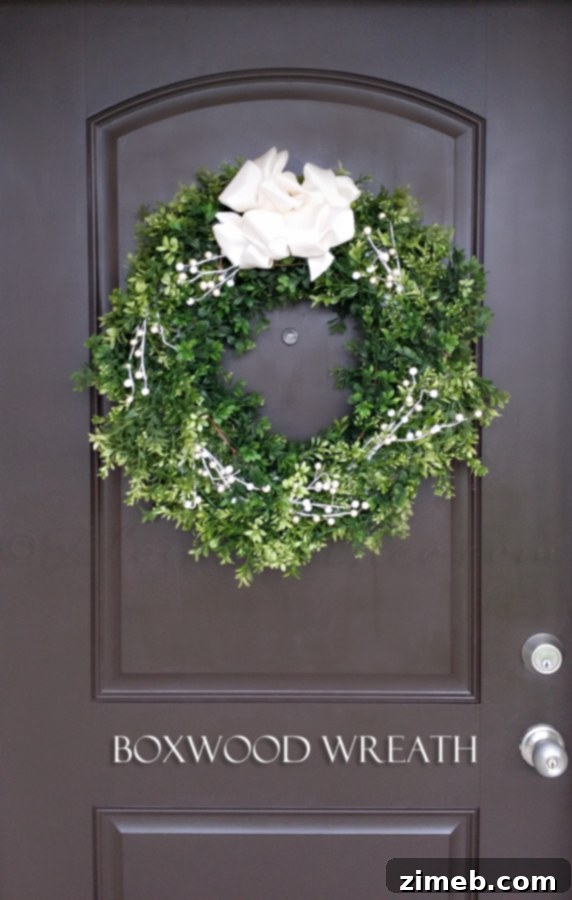
Choosing the right colors and textures for outdoor decorations can be quite a meticulous process, especially when working with distinct elements like a chocolate brown front door paired with a sleek silver kick plate. Not every color scheme pops as vibrantly as one might hope, and some combinations simply don’t harmonize. Fortunately, the rich green of the boxwood and the crisp white accents created a beautiful contrast against my dark door, truly standing out with understated grace. This combination also beautifully echoes the neutral and green color scheme I’ve incorporated inside my home, creating a cohesive flow from exterior to interior. The beauty of a boxwood wreath lies in its versatility; it’s a design element that transcends seasons, bringing a touch of nature’s enduring charm to your doorstep year-round, or specifically for the festive season.
Why Choose a DIY Boxwood Wreath for Your Home?
A boxwood wreath isn’t just a holiday staple; it’s a versatile design element that brings natural elegance to any space, any time of year. Its dense, vibrant green foliage offers a sophisticated backdrop for various embellishments, allowing you to customize it for different seasons and celebrations. For the front door, a boxwood wreath instantly elevates curb appeal, signaling warmth and hospitality. Its classic look means it never goes out of style, making it a wise investment of your time and effort. Opting for a DIY approach not only saves money but also injects a unique, personal touch that mass-produced wreaths simply can’t replicate. The satisfaction of creating something beautiful with your own hands, something that welcomes friends and family, is immeasurable. Plus, boxwood is known for its durability, especially when using high-quality faux varieties, ensuring your creation will last for many seasons to come with minimal care.
Gather Your Materials: What You’ll Need
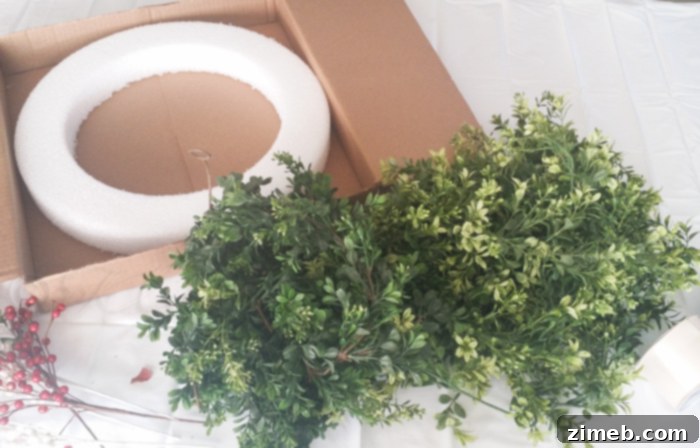
Before embarking on any creative project, ensuring you have all your supplies at hand is crucial for a smooth and enjoyable crafting experience. For this elegant boxwood wreath, the materials are straightforward and readily available at most craft stores. Here’s a detailed list of what I started with, along with some considerations for your own choices:
- Foam Wreath Form: These come in various sizes. I recommend choosing a size that will complement your door without overwhelming it. Consider the thickness as well; a thicker form will give your wreath more dimension.
- White Cotton Strips of Fabric: Approximately 1-2 inches wide and long enough to fully cover your wreath form. Old white t-shirts, sheets, or fabric scraps work wonderfully for this. The cotton provides an excellent surface for hot glue adhesion, which foam often struggles with directly.
- Boxwood Garland: The star of our show! Opt for a high-quality faux boxwood garland that looks realistic. You’ll likely need several feet, depending on the thickness of your garland and the size of your wreath form. Fuller garlands will create a more luxurious look.
- Sprigs of White Berries: These add a beautiful, delicate highlight. While I used white, you could also consider frosted berries, or even clear crystal-look berries for a touch of shimmer. I initially had red berries as an option, highlighting the flexibility of this design to suit various seasonal themes.
- Cream Satin Ribbon: A beautiful, soft cream ribbon adds a touch of sophistication and creates a luxurious bow. Choose a width that feels substantial for your wreath size – I prefer a wider ribbon for a grander bow. You might also consider velvet or grosgrain for different textures.
- Plenty of Hot Glue Sticks and a Hot Glue Gun: A high-temperature glue gun will be your best friend for securely attaching the boxwood and embellishments. Make sure you have extra glue sticks; you’ll use more than you think!
Having these materials laid out and ready to go will make the crafting process incredibly efficient and enjoyable. Now, let’s get to the fun part: assembling your wreath!
Step-by-Step Guide to Crafting Your Boxwood Wreath
Crafting your own boxwood wreath is a deeply satisfying process, transforming simple materials into a beautiful piece of decor. Follow these steps to bring your vision to life:
Step 1: Preparing Your Wreath Form
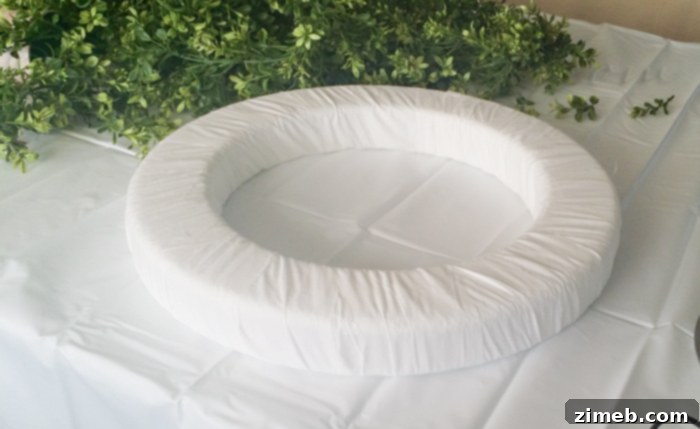
The foundation of any great wreath is a well-prepared form. I began by wrapping the foam wreath form with the white cotton fabric strips. This step is more critical than it might seem! Foam itself doesn’t offer a strong adhesive surface for hot glue, which can result in elements detaching over time. The cotton fabric, however, provides a porous and textured surface that hot glue adheres to beautifully, creating a much more durable bond for your boxwood garland. To do this, secure one end of your cotton strip to the foam with a dab of hot glue, then begin tightly wrapping the fabric around the entire foam form, overlapping slightly as you go. Ensure the foam is completely covered, creating a smooth, consistent base. Secure the end of the fabric strip with another dab of hot glue. This not only provides a better gluing surface but also offers a subtle white background that can peek through the boxwood, adding a soft contrast.
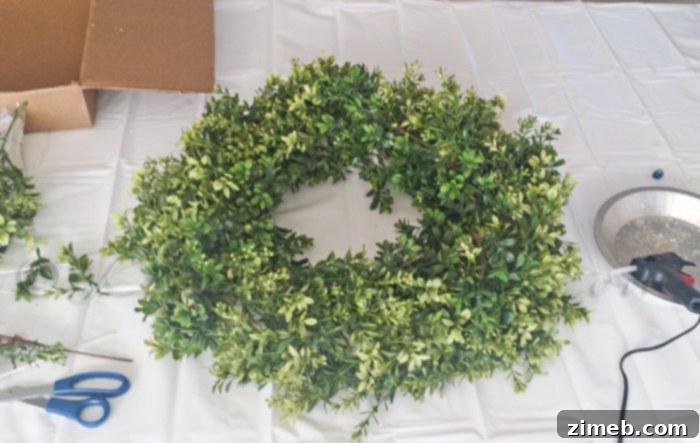
Step 2: Attaching the Boxwood Garland
With your wreath form prepared, it’s time to add the lush greenery. This is where the wreath truly starts to take shape. I started gluing the boxwood garland around the wrapped wreath form. Begin by securing one end of the garland firmly to the back of the wreath form with a generous amount of hot glue. Then, carefully wrap the garland around the form, making sure to overlap the previous layer enough so that no fabric or foam peeks through. You want a dense, full look. Apply hot glue every few inches, or more frequently if your garland is particularly stiff or heavy, to ensure it’s securely attached. Take your time with this step, rotating the wreath as you work to ensure even coverage and a consistent appearance. You might need to gently manipulate the individual boxwood sprigs to achieve the desired fullness and hide any gaps. Continue this process until the entire wreath form is completely covered with the beautiful boxwood, creating a rich, green foundation.
Step 3: Adding Elegant Berry Sprigs
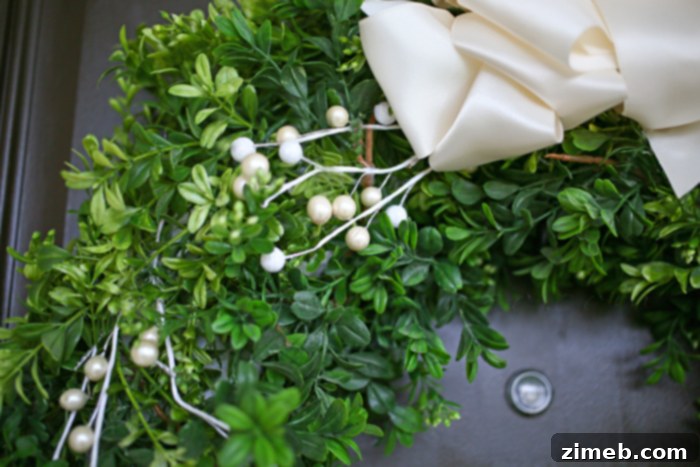
Once your boxwood base is complete, it’s time to add those delightful highlights. I strategically added the white berry sprigs to bring in a touch of contrast and elegance. Before gluing, arrange your berry sprigs on the wreath to get a sense of placement. Do you want them evenly spaced, clustered in groups, or concentrated in a particular area? For a classic look, I distributed them somewhat evenly, pushing the stems into the boxwood and securing them with hot glue. The white berries offer a crisp, clean counterpoint to the deep green boxwood, enhancing its visual appeal. If you prefer a more rustic or natural look, you might incorporate small pinecones or dried oranges. The beauty of DIY is the freedom to customize!
Step 4: Crafting the Ribbon Bow
A beautiful bow is often the crowning glory of a wreath. To achieve a luxurious and full appearance, I created two large bows with the cream satin ribbon. Rather than making one giant bow, which can sometimes look bulky, creating two separate bows and then gluing them close together creates the illusion of one larger, more opulent bow with greater depth and dimension. This technique allows for more loops and tails, enhancing the overall elegance. Once your bows are shaped and secured, attach them firmly to the bottom center (or top, depending on your preference) of the wreath using hot glue. Ensure they are positioned symmetrically and beautifully cascade down.
The Beauty of Simplicity: A Timeless Design
What I particularly cherish about this boxwood wreath is its inherent simplicity and profound elegance. It doesn’t rely on overly intricate details or a multitude of colors to make a statement. Instead, it leverages the natural beauty of the boxwood, the subtle sheen of the satin ribbon, and the delicate pop of the white berries to create a harmonious and sophisticated aesthetic. This understated approach ensures the wreath remains timeless, complementing any home style from traditional to contemporary. Its classic design allows it to transition effortlessly between seasons, serving as a beautiful piece of decor long after the holidays have passed.
Showcasing Your Masterpiece: My Wreath on the Door
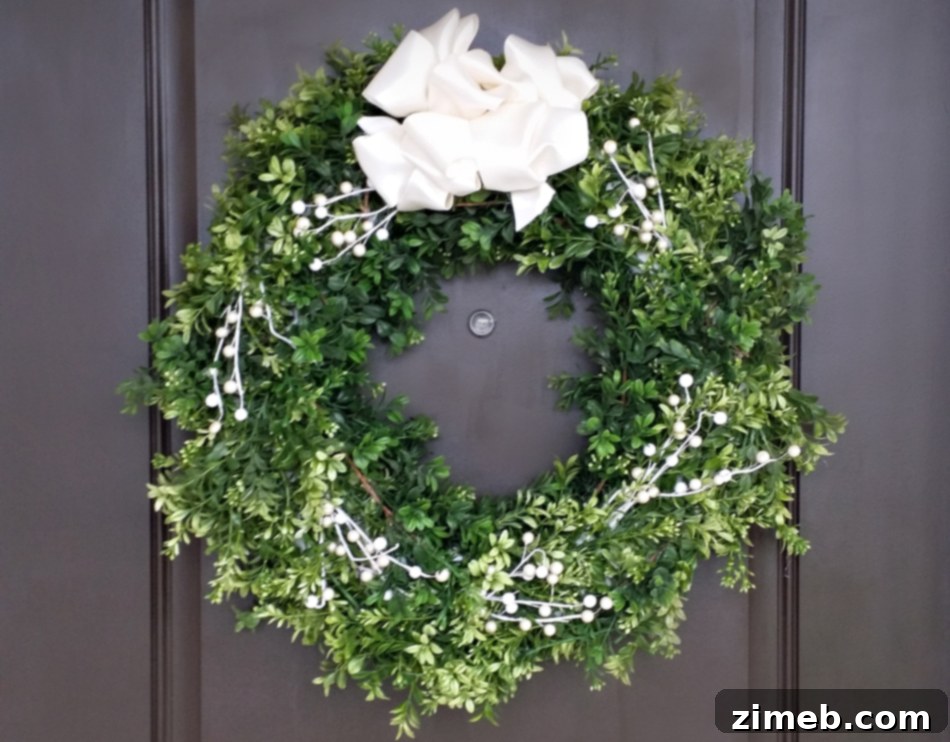
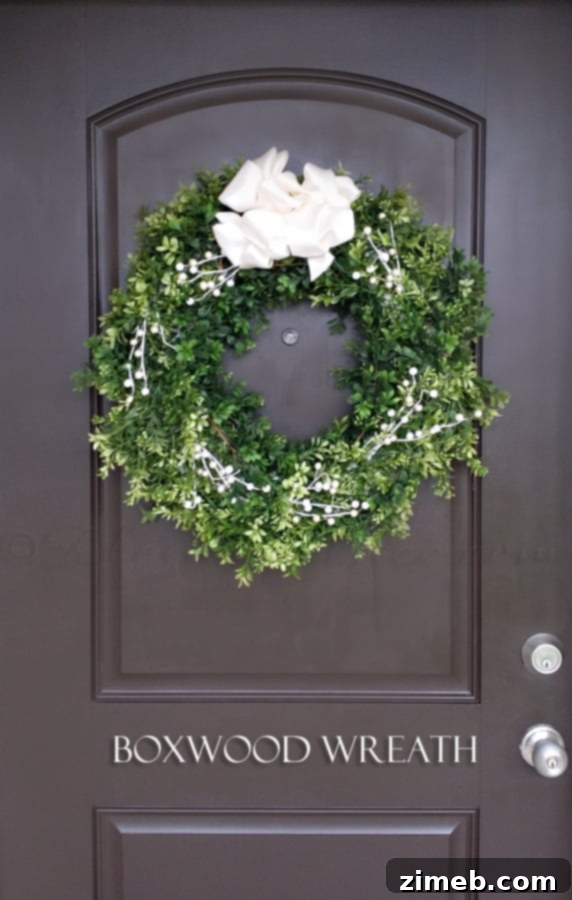
And here it is! The finished boxwood wreath, proudly adorning my front door. I absolutely love how it looks, bringing a fresh, inviting, and sophisticated touch to our home’s entrance. The vibrant green of the boxwood truly stands out against the chocolate brown door, and the soft cream ribbon and white berries add just the right amount of festive charm without being overwhelming. It perfectly encapsulates the classic, timeless, and elegant vibe I was aiming for, and it feels wonderful knowing I created this beautiful piece with my own hands. Every time I approach the door, I’m greeted by this lovely creation, and it truly makes a house feel more like a home. This project has truly been a joy, and I hope it inspires you to create your own personalized front door decor.
Beyond the Front Door: Versatility and Care
While this boxwood wreath is a stunning addition to any front door, its versatility allows it to grace various other spaces within your home. Imagine it hanging gracefully above a fireplace mantel, serving as a serene backdrop for cherished family photos, or even acting as a centerpiece on a dining table with a flickering candle nestled in its center. It can also be a charming accent piece hung on an interior wall or mirror, bringing a touch of nature’s tranquility indoors. For maintenance, especially if you’ve used high-quality faux boxwood, care is incredibly simple. A light dusting with a soft cloth or a quick gentle pass with a hairdryer on a cool setting is usually all that’s needed to keep it looking fresh and vibrant. Store it carefully in a box or wreath bag when not in use to protect its shape and embellishments, ensuring it remains a beautiful part of your decor for many seasons to come.
Crafting this Boxwood Wreath has been a delightful journey, and I genuinely believe that everyone can achieve similar beautiful results. It’s more than just a decoration; it’s an expression of your personal style and a warm welcome to all who enter your home. Enjoy the process, and cherish the enduring beauty of your handmade creation!
Want More Inspiring Holiday Decor Ideas?
If you’re looking for more ways to infuse your home with festive cheer and elegant touches, be sure to explore these other wonderful holiday decorating projects. From outdoor charm to unique indoor accents, these ideas will help you create a cohesive and beautiful holiday ambiance.
Easy Christmas Porch Decorations
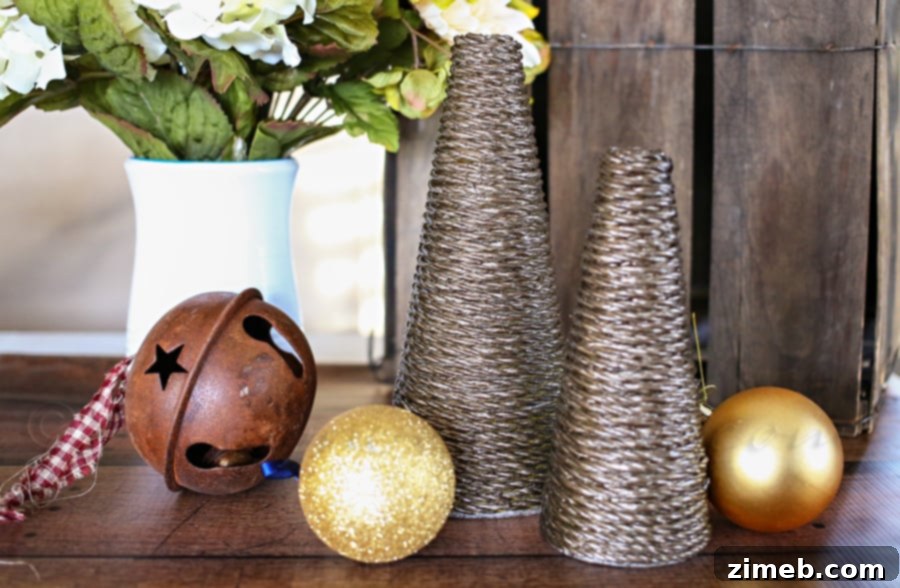
Metallic Rope Trees
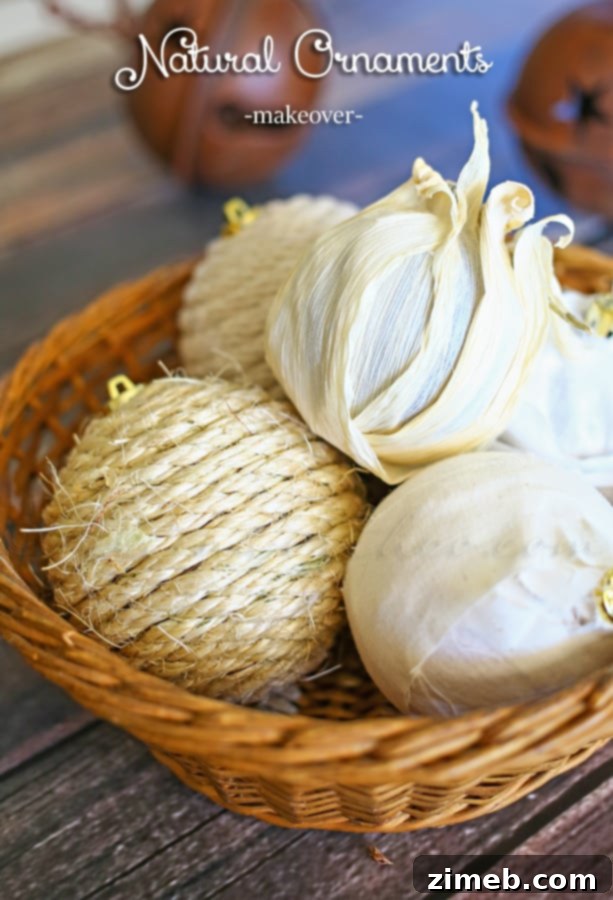
Natural Ornaments
To see where I am linking today – visit HERE