
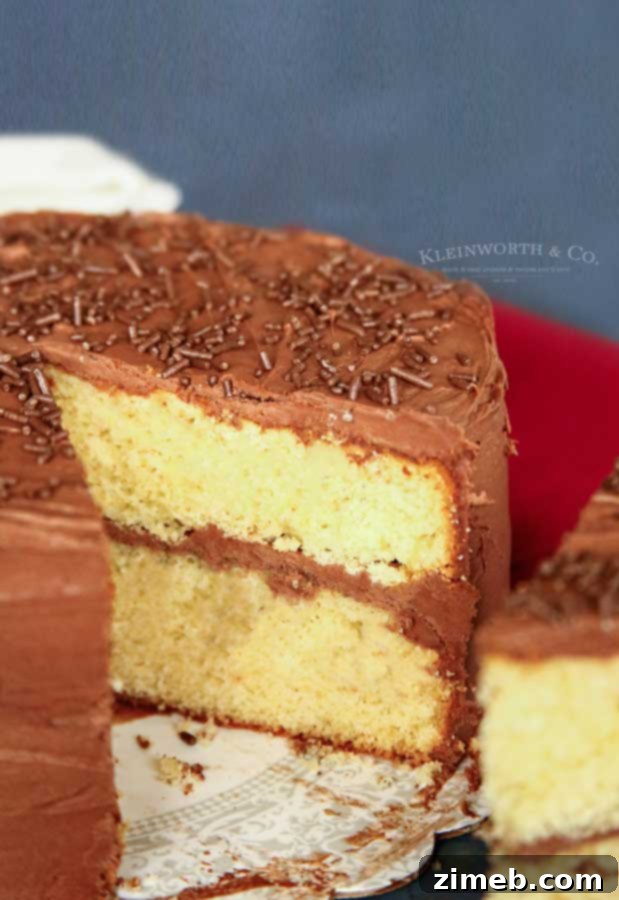
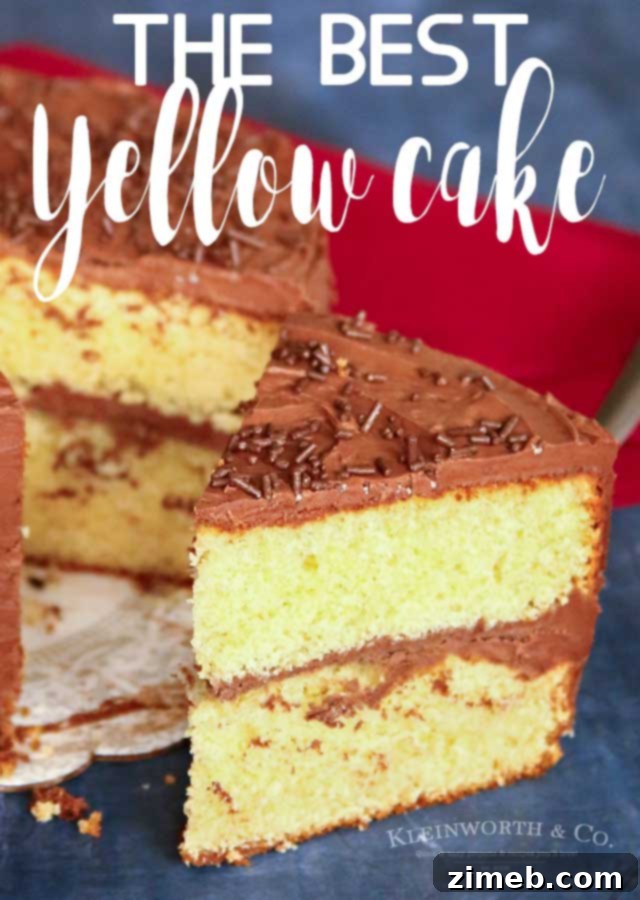
Welcome to the ultimate guide for crafting the **Best Yellow Cake Recipe** – a truly moist, flavorful, and deeply satisfying dessert that evokes cherished memories of grandma’s kitchen. This classic yellow cake, often the centerpiece of birthdays, holidays, and joyous gatherings, promises a rich, buttery taste and a tender crumb that far surpasses any box mix. Prepare to bake a legacy that will be requested time and again!
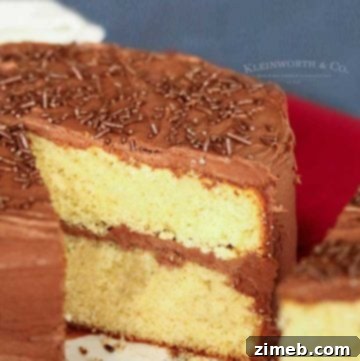
Forget the shortcuts and artificial flavors. This is the only yellow cake recipe you’ll ever need. Its exceptional richness and perfect moisture shine even brighter when generously slathered with a homemade **classic chocolate buttercream frosting**. I guarantee this combination will earn a permanent spot in your recipe collection and become a family favorite!
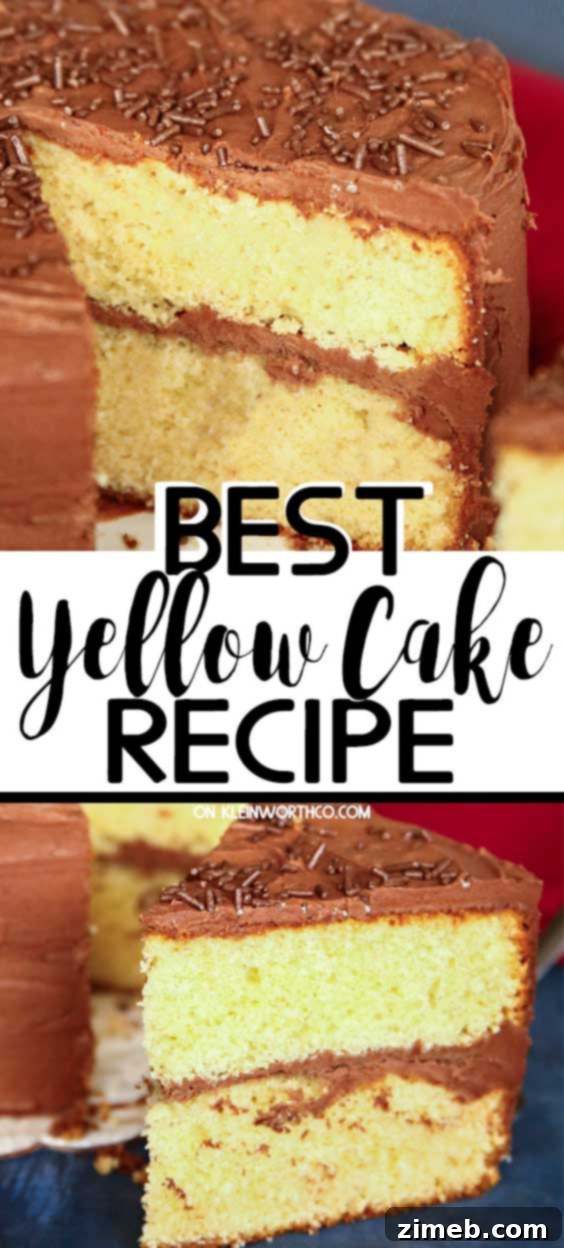
Every summer, our family calendar fills with birthdays, and a beloved tradition dictates that everyone gets to choose their preferred cake flavor. The goal is always variety and innovation, steering clear of last year’s choice or anyone else’s current pick. One year, the timeless request came for a classic yellow cake, and I knew just where to turn.
You see, my mother was a professional cake decorator when I was a child. Her passion for baking led her to create magnificent, multi-tiered, bakery-quality cakes that captivated everyone who saw (and tasted) them. Even after she shifted careers, she continued to bake for friends and family, honing her craft and perfecting every recipe. She was, quite simply, amazing.
The Ultimate Homemade Yellow Cake Recipe
This post contains some affiliate links. Click here to read my full disclosure policy.
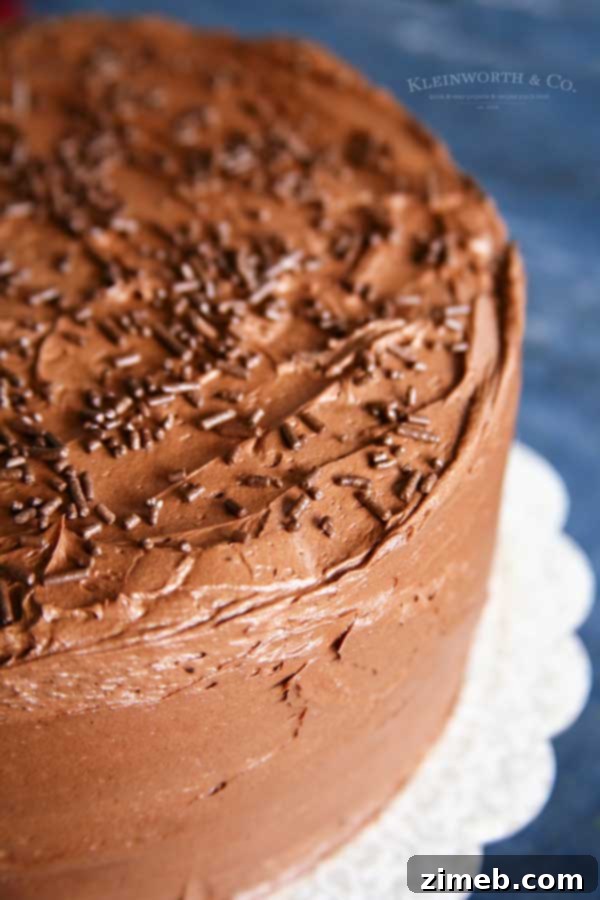
When that special yellow cake request came in, I eagerly retrieved my mother’s handwritten recipe book. I was confident I’d find the perfect formula for a genuinely moist and flavorful yellow cake. To honor tradition and complement its rich taste, we decided to frost it with a decadent chocolate buttercream frosting. This recipe is a testament to her culinary wisdom and a delicious piece of our family history.
How do you enjoy your yellow cake? Are you a purist who loves it with classic chocolate frosting, or do you have another favorite flavor pairing that you find irresistible?
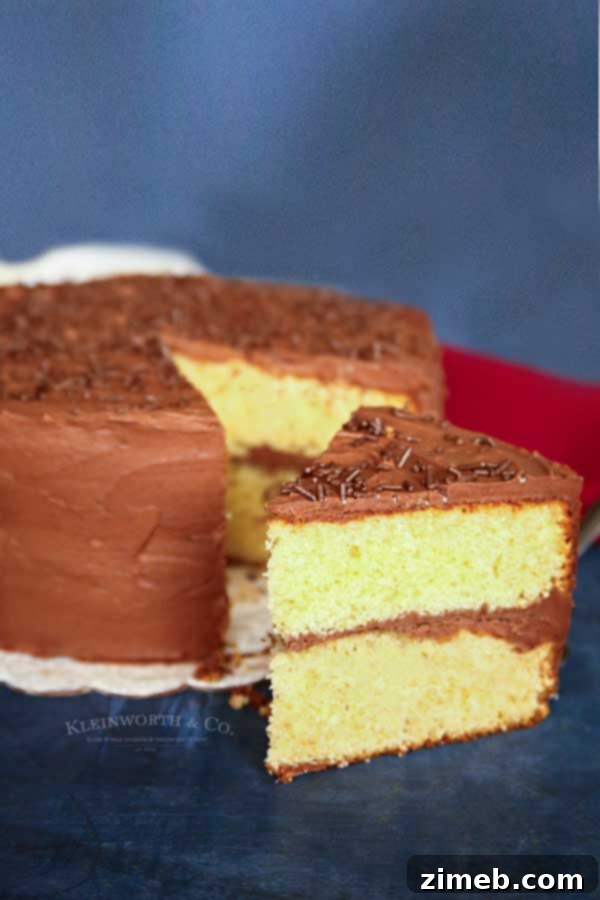
The Allure of Homemade Yellow Cake
There’s an undeniable magic in a homemade yellow cake. It’s more than just a dessert; it’s a symbol of celebration, comfort, and the joy of simple pleasures. While box mixes offer convenience, they simply cannot replicate the depth of flavor, the rich aroma, or the exquisitely moist texture of a cake made from scratch. This recipe focuses on fresh, quality ingredients and a straightforward method to ensure your homemade yellow cake is nothing short of perfection.
Making yellow cake from scratch allows you to control the quality of every component, resulting in a superior flavor profile. The careful combination of butter, sugar, eggs, and dairy creates a distinct richness that forms the foundation of this beloved classic. The process itself is therapeutic, transforming basic ingredients into a masterpiece of baking. From the moment the aroma fills your kitchen to the first delightful bite, you’ll appreciate the difference homemade makes.
Frequently Asked Questions About Yellow Cake
What does yellow cake taste like?
Yellow cake distinguishes itself by using whole eggs, giving it a richer, more buttery, and “old-fashioned” flavor profile, much like a traditional pound cake. This recipe, specifically, leans into that classic, nostalgic taste. The inclusion of egg yolks imparts a characteristic golden hue and a tender, melt-in-your-mouth texture.
Unlike lighter cakes, yellow cake typically possesses a denser crumb, making it an excellent choice for tiered or layered cakes. This density also contributes to its traditional bakery-style texture, holding up beautifully under the weight of frosting and decorations while remaining incredibly moist and satisfying.
What’s the difference between White, Yellow, and Vanilla Cake?
The primary distinctions among these three popular cake varieties lie in their egg content, fat sources, and the emphasis on vanilla flavor.
- **White Cake:** Traditionally made with **egg whites only**, resulting in a pure white color, lighter texture, and delicate flavor. It often uses a neutral oil or a combination of butter and oil.
- **Yellow Cake:** As discussed, this cake incorporates **whole eggs**, giving it its characteristic yellow tint, richer taste, and denser texture. Butter is typically the primary fat, contributing significantly to its classic flavor.
- **Vanilla Cake:** This category is more flexible. A vanilla cake’s defining characteristic is a prominent vanilla flavor. It can be made with various combinations of eggs (whole eggs, egg whites, or both) and fats (butter, oil, or a mix), as long as the vanilla extract is abundant and shines through as the dominant flavor.
What ice cream do you recommend pairing with this recipe?
For an extra layer of indulgence, we absolutely adore pairing this rich yellow cake with a decadent chocolate fudge ice cream. The intensity of the chocolate ice cream perfectly complements the chocolate buttercream frosting, creating a harmonious chocolate experience without overpowering the delightful, buttery flavor of the yellow cake itself. It’s a match made in dessert heaven!
Why is my yellow cake dry?
A dry or crumbly cake is a common baking challenge, but thankfully, it’s often preventable. One of the most frequent culprits is the addition of too much flour. Over-measuring flour can absorb too much moisture, leading to a dense, dry result. To avoid this, always spoon flour gently into your measuring cup and level it off with a straight edge, rather than scooping directly from the bag.
Additionally, an imbalance in the ratio of wet to dry ingredients, such as too little shortening, butter, or liquid (like buttermilk), can contribute to dryness. Over-baking is another significant factor; even a few extra minutes in the oven can strip a cake of its precious moisture. Always keep a close eye on your baking time and use the toothpick test.
How to Make The Best Yellow Cake From Scratch
Creating this delicious yellow cake from scratch is a rewarding experience. Follow these detailed steps for a perfectly moist and tender cake:
- Preheat your oven to 350 degrees Fahrenheit (175 degrees Celsius).
- Generously coat two 9-inch round baking pans with a non-stick baking spray (like Baker’s Joy) that includes flour. Set them aside.
- In a large mixing bowl, whisk together the all-purpose flour, cake flour, baking powder, baking soda, and table salt to ensure they are well-combined and sifted. Set this dry mixture aside.
- In the bowl of an electric stand mixer fitted with the paddle attachment, cream together the softened butter and granulated sugar on medium speed until the mixture is light, fluffy, and pale in color, about 3-5 minutes. This step is crucial for incorporating air and achieving a tender crumb.
- In a separate measuring cup, combine the whole eggs and egg yolks. Lightly whisk them together.
- With the mixer on low speed, gradually pour the egg mixture, vegetable oil, and vanilla extract into the butter-sugar mixture. Continue to beat until just combined, scraping down the sides of the bowl as needed. Be careful not to overmix at this stage.
- Add 1/3 of the prepared flour mixture to the wet ingredients and mix on low speed until just incorporated.
- Pour in 1/2 of the buttermilk and mix until just combined.
- Repeat the process: add another 1/3 of the flour mixture, mix, then add the remaining buttermilk, and mix. Finally, add the last 1/3 of the flour mixture and mix until just combined, being sure to scrape down the sides of the bowl between additions to ensure an even batter. Do not overmix the batter once the flour is added.
- Divide the cake batter evenly between your two prepared 9-inch round cake pans.
- Bake for 25-30 minutes, or until a wooden toothpick inserted into the center of the cakes comes out clean.
- Allow the cakes to cool in their pans for at least 10 minutes before attempting to remove them.
- Carefully run a thin knife around the edges of each pan to loosen the cakes.
- Invert the cakes onto a wire rack and allow them to cool completely.
- For maximum moisture retention, especially if you live in a dry climate, wrap each cooled cake layer tightly in plastic wrap after about 20 minutes of cooling.
- For easier frosting application, chill the wrapped cake layers in the refrigerator for at least 30 minutes, or even in the freezer for 15-20 minutes, before decorating.
- Once chilled, frost your beautiful yellow cake with a rich chocolate buttercream frosting or your preferred icing.
- Store any leftover cake in an airtight container at room temperature for up to 3 days, or refrigerate for longer freshness.
Tips for a Perfectly Moist Yellow Cake
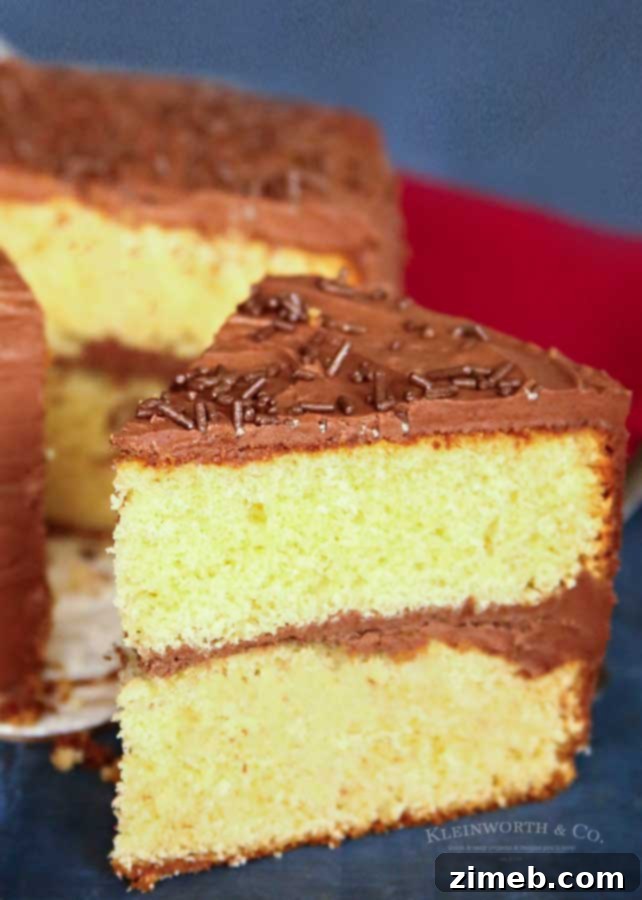
Achieving that coveted moist and tender crumb in your yellow cake is all about technique and understanding your ingredients. Here are some pro tips:
- **Room Temperature Ingredients:** Ensure your butter, eggs, and buttermilk are at room temperature. This allows them to emulsify properly, creating a smooth, airy batter that traps moisture.
- **Accurate Measuring:** As mentioned, spoon and level your flour. Also, use liquid measuring cups for wet ingredients and dry measuring cups for dry ingredients. Precision is key in baking.
- **Don’t Overmix:** Overmixing develops the gluten in the flour, leading to a tough, dry cake. Mix just until ingredients are combined, especially after adding the flour.
- **Quality Vanilla Extract:** Vanilla is a prominent flavor in yellow cake. Invest in good quality pure vanilla extract for the best taste.
- **Proper Cooling:** Cooling cakes in their pans for the recommended time helps them firm up without drying out. Wrapping them in plastic wrap while still slightly warm (but not hot) locks in moisture.
Can I freeze yellow cake?
Absolutely! Freezing is an excellent way to prepare cake layers in advance or to preserve leftovers. To freeze unfrosted cake layers, ensure each layer is completely cool. Then, wrap it tightly in plastic wrap, followed by a layer of aluminum foil. Label each cake with the date and place it in the freezer. Properly stored, these layers will remain fresh for 2-3 months.
If you plan on storing cakes in a deep freezer for an extended period, add an additional layer of protection. After wrapping in plastic and foil, place the cake layers into a large zip-top freezer bag. This extra barrier helps prevent freezer burn, extending their shelf life to approximately 6 months.
How long can you freeze a cake?
The duration a cake can be frozen depends on your freezer type and how well it’s wrapped. Freezing helps significantly in retaining the cake’s moisture after baking. However, for optimal taste and texture, unfrosted cakes are best consumed within two months of freezing. Beyond this, cakes may begin to dry out, and you might notice a subtle change in flavor after about four months.
With meticulous wrapping and proper storage techniques (like the double-layer mentioned above), you can often extend this freshness by a few weeks. When you’re ready to enjoy your frozen cake, simply remove it from the freezer and let it thaw at room temperature for about 40 minutes before unwrapping and frosting.
Can you freeze cake with icing?
Yes, you can freeze a frosted cake, but there’s a specific technique to ensure your beautiful icing remains intact. First, place the fully frosted cake (without any wrapping) into the freezer for several hours until the frosting is completely frozen and hard to the touch. This crucial step prevents the wrapping from sticking to or damaging the delicate frosting.
Once the frosting is firm, remove the cake from the freezer and quickly wrap it tightly in plastic wrap, followed by a layer of aluminum foil. When wrapping, try to do so loosely around any decorative elements to prevent them from being crushed. Even frozen frosting can still be damaged if too much pressure is applied. Return the securely wrapped cake to the freezer.
What frosting is best with yellow cake?
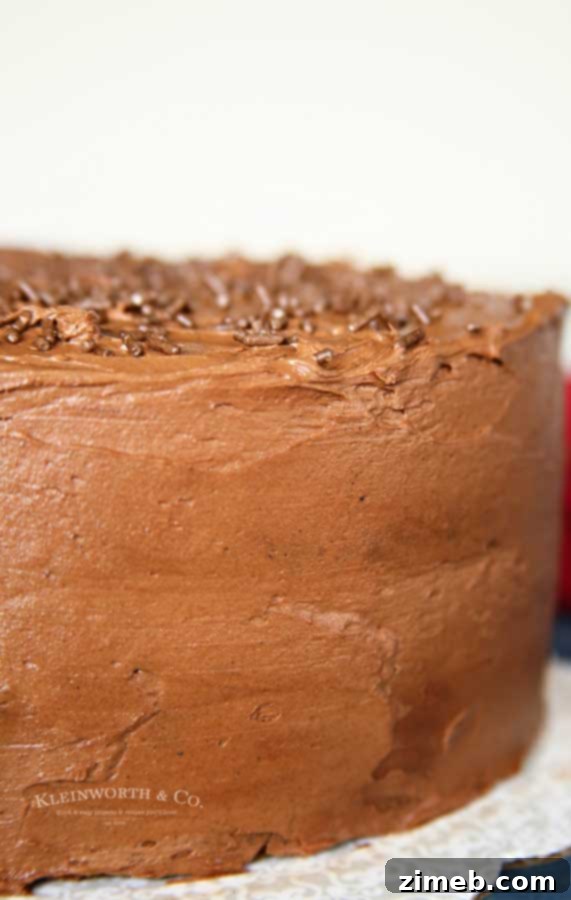
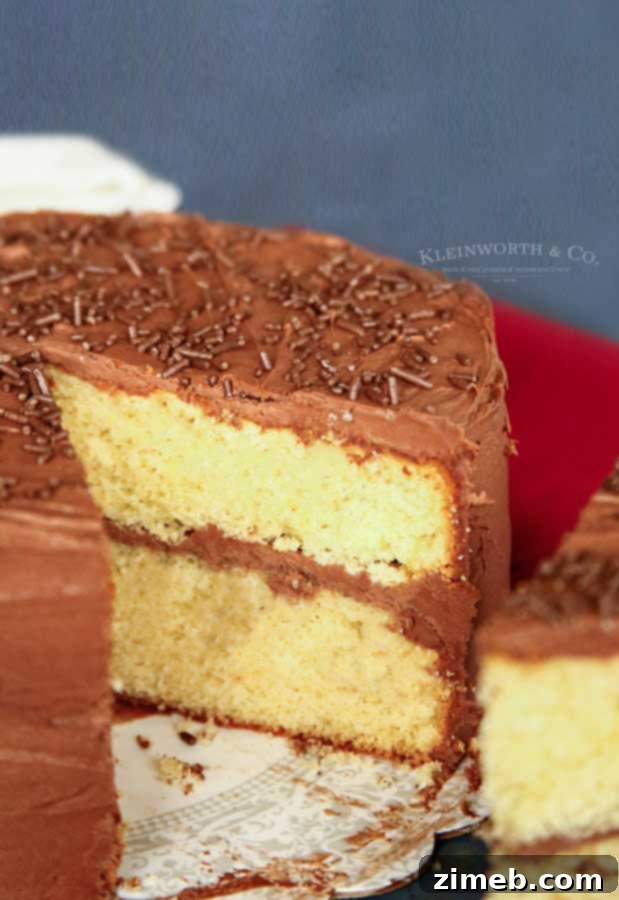
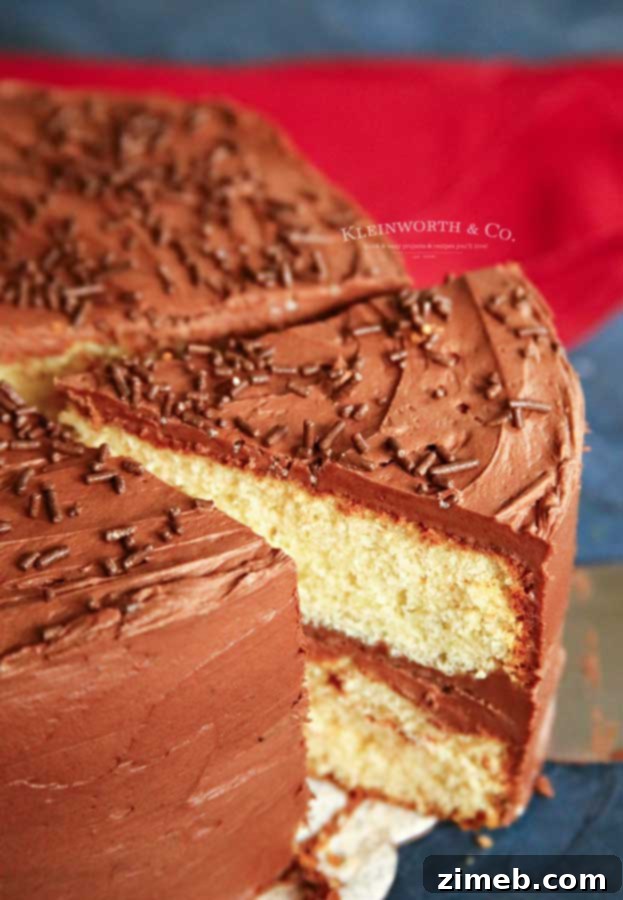
While personal preference plays a huge role, a classic pairing for yellow cake is undoubtedly chocolate frosting. It’s a traditional choice that offers a perfect balance of rich chocolate flavor against the buttery sweetness of the cake. My absolute favorite is a smooth, creamy chocolate buttercream, which I highly recommend!
However, if you’re feeling adventurous, this versatile yellow cake also pairs wonderfully with other frostings. You might love a rich chocolate espresso frosting for a sophisticated twist, or a tangy chocolate cream cheese frosting. For something truly celebratory, consider a delicate **champagne frosting** or a fun, nostalgic homemade cake batter frosting.
Can I freeze leftover cake?
Absolutely! Freezing individual slices or leftover pieces of cake from special occasions is a fantastic way to extend their enjoyment. While whole cakes are often frozen, individual portions are equally easy to preserve. To freeze single slices, wrap each piece tightly in plastic wrap, ensuring no cake is exposed to air. Follow this with a layer of aluminum foil to create a double barrier against freezer burn and to protect the cake’s delicate texture and flavor. Stored this way, individual slices can last for several weeks to a couple of months.
Is golden butter cake the same as yellow cake?
This is where cake classifications can get a bit interesting, as many cakes fall into broader categories based on their ingredients or preparation methods. Generally, any cake recipe that begins with the instruction “cream butter and sugar” is fundamentally a butter cake. In this context, a yellow cake is indeed a type of butter cake, and it could certainly be described as a “golden butter cake” due to its rich color and buttery flavor profile.
After creaming the butter and sugar, eggs are typically added to aerate the batter and provide structure, followed by flour and sometimes other liquids. The butter cake family includes a wide range of flavors, such as chocolate, white, yellow, and marble cakes. As we’ve discussed, the distinct coloring of white and yellow cakes primarily depends on whether they use whole eggs (yellow cake) or only egg whites (white cake).
What if I don’t have buttermilk?
Buttermilk is a key ingredient in this recipe, contributing to the cake’s moistness and tender crumb through its acidity, which reacts with the baking soda. Please do not omit it or substitute it with regular milk directly, as this will significantly impact the cake’s texture and rise. If you don’t have buttermilk on hand, you can easily make a homemade substitute:
Place 1 tablespoon of white vinegar (or lemon juice) in a liquid measuring cup. Then, fill the remaining portion (up to the 1-cup mark) with regular milk. Stir gently and let it sit at room temperature for about 5 minutes until it slightly curdles. This “soured milk” will function similarly to store-bought buttermilk. Because I don’t use fresh buttermilk very often, I find it incredibly convenient to keep **powered buttermilk** in my pantry. It’s shelf-stable, easy to mix whenever needed, and provides excellent results.
Why do I have to use cake flour?
The combination of both all-purpose flour and cake flour is essential for achieving the perfect texture and density in this yellow cake. Cake flour has a lower protein content than all-purpose flour, resulting in a lighter, more tender, and airier crumb. All-purpose flour, on the other hand, contributes a bit more structure and density. By using both, we strike a harmonious balance: a cake that is wonderfully moist and tender, yet sturdy enough for layers and frosting. If you were to use only all-purpose flour, the cake might turn out too dense and less delicate than intended.
Homemade Yellow Cake Ingredients
- All-purpose flour
- Cake flour
- Baking powder
- Baking soda
- Table salt
- Granulated sugar
- Butter – softened
- Vegetable oil
- Large eggs
- Large egg yolks
- Vanilla extract
- Buttermilk
Other Homemade Cake Recipes to Try
If you loved creating this classic yellow cake, you’ll certainly enjoy exploring more of our favorite homemade cake recipes:
- World’s Best Chocolate Cake
- Vanilla Bundt Cake
- Strawberry Cake
- Homemade Funfetti Cake
- Best White Cake Recipe
- Chocolate Raspberry Cake
- Best Chocolate Cupcake Recipe
- Zebra Cake
Recommended Baking Tools for This Homemade Yellow Cake Recipe
Making this Best Yellow Cake Recipe is not just easy, it’s a pure delight – especially when you have the right tools. Chances are, you already own most of these essential items. However, if you’re new to the world of homemade baking, or simply looking to upgrade your kitchen arsenal, I’ve compiled a list of my absolute must-haves that make baking this cake a breeze. These tools will ensure your baking mornings are smooth, efficient, and ultimately, delicious.
- Electric Stand Mixer
- Rubber Spatulas
- **9-inch Round Cake Pans**
- **Wire Cooling Racks**
- **Measuring Cups & Spoons**
If you adore this homemade Yellow Cake Recipe, you’re going to love these other dessert recipes too. Click each link below to find the easy, printable recipe!
Lemon Poppy Seed Mini Loaf Cakes
Lemon Poppy Seed Mini Loaf Cakes, topped with a thin lemon glaze, are the perfect snack cake to serve for Easter brunch or for baby and bridal showers.
Check out this recipe
Peach Pineapple Upside Down Cake
Peach Pineapple Upside Down Cake offers a delicious twist on the classic pineapple dessert. This moist cake with a sweet, caramelized outer layer is a truly delightful favorite.
Check out this recipe
Best White Cake Recipe
This is the Best White Cake Recipe, perfect for weddings, birthdays, and any other celebration. This easy, classic, 2-layer cake truly is the best homemade dessert!
Check out this recipe
Slow Cooker Carrot Cake
Slow Cooker Carrot Cake is the perfect dessert recipe for spring. Just whisk the ingredients and let your crockpot do the rest. Simply add cream cheese frosting for a delightful finish.
Check out this recipe
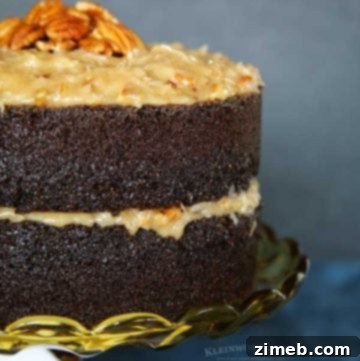
Best German Chocolate Cake
Want the Best German Chocolate Cake recipe? This homemade chocolate cake, with its traditional frosting made with coconut and pecans, layers up to create a true delight.
Check out this recipe
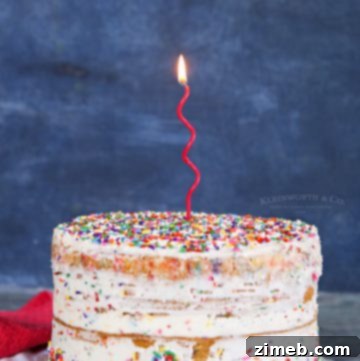
Homemade Funfetti Cake
If you adore the bright colors of Funfetti, then you will love this adorable Homemade Funfetti Cake. No need for a box mix, this recipe is quick and easy!
Check out this recipe
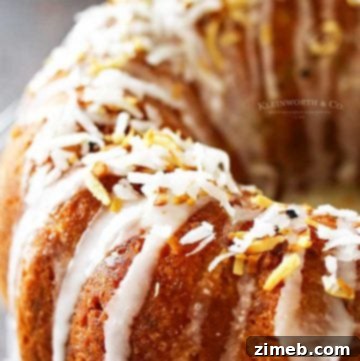
Banana Coconut Bundt Cake
Banana and coconut lovers rejoice! This AMAZING Banana Coconut Bundt Cake is a banana cake loaded with coconut and topped with a scrumptious sugar glaze. Perfect for any occasion! You will LOVE this cake!
Check out this recipe
CONNECT WITH YUMMI HAUS!
Be sure to follow me on my social media, so you never miss a post!
Substack, FB, Pinterest, IG, Email Subscription
Best Yellow Cake Recipe
Course: Dessert
Servings: 12 slices
The absolute Best Yellow Cake Recipe that’s so moist & delicious. Just like the classic yellow cake grandma made. Perfect for birthdays, parties & more.
Prep Time: 15 mins
Cook Time: 30 mins
Chill Time: 2 hrs
Total Time: 45 mins (plus chill time)
Ingredients
- 1-1/4 cups all-purpose flour
- 1-1/4 cups cake flour
- 1 tsp baking powder
- 1/2 tsp baking soda
- 1/2 tsp table salt
- 1-2/3 cups granulated sugar
- 3/4 cup butter – softened
- 1/4 cup vegetable oil
- 3 large eggs
- 2 large egg yolks
- 2 tsp vanilla extract
- 1 cup buttermilk
Instructions
- Preheat oven to 350 degrees.
- Heavily coat two 9″ round baking pans with a non-stick spray like Baker’s Joy. Set aside.
- Combine flour, cake flour, baking powder, baking soda & salt in a mixing bowl & whisk to sift. Set aside.
- In the bowl of an electric mixer, whip together butter & granulated sugar using the paddle attachment.
- Combine eggs & yolks into a measuring cup.
- Pour in eggs, oil & vanilla into butter mixture & continue to beat.
- Add in 1/3 of the flour mixture & mix until just combined.
- Pour in 1/2 the buttermilk, mix.
- Repeat the process again with the remaining flour & buttermilk, scraping down the sides of the bowl between mixing.
- Divide the batter between the prepared cake pans.
- Bake 25-30 minutes or until toothpick test is clean.
- Cool in pans at least 10 minutes.
- Run a knife around the edges to loosen from the pan.
- Invert the cakes onto a wire rack & continue to cool.
- After about 20 minutes of cooling, wrap each cake layer in plastic wrap to help the cakes retain their moisture. (especially if you live in a dry climate)
- Chill the cakes in the refrigerator or freezer prior to decorating to make spreading the frosting easier.
- Frost with chocolate buttercream frosting.
- Store in an airtight container.
Nutritional information for the recipe is provided as a courtesy and is approximate. Please double-check with your own dietary calculator for the best accuracy. We at Yummi Haus cannot guarantee the accuracy of the nutritional information given for any recipe on this site.
Love this recipe?
Follow @KleinworthCo for even more tasty recipes!