
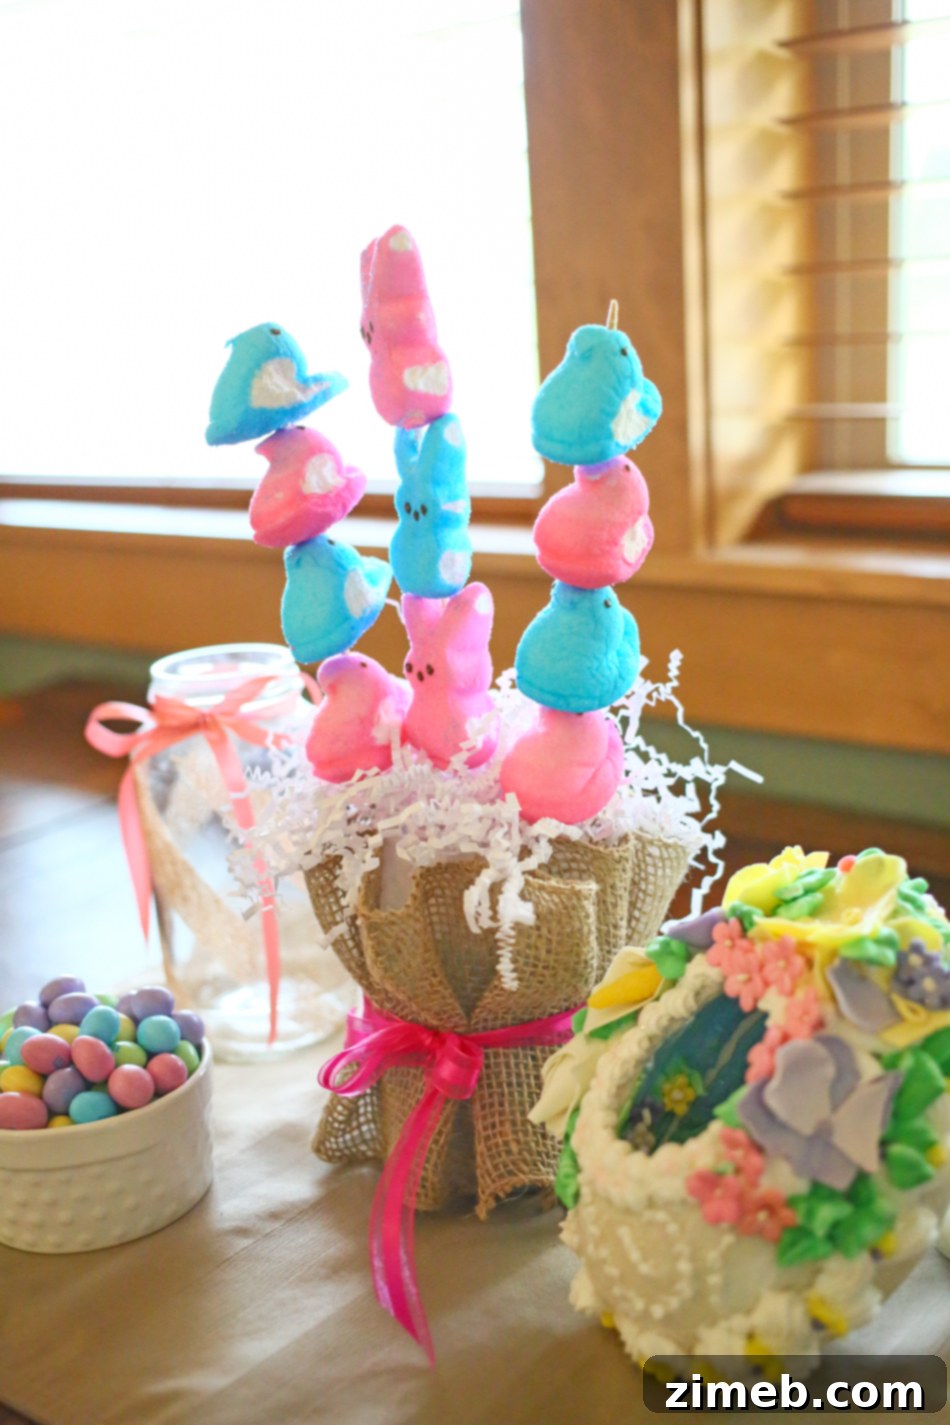
The festive spirit of Easter is almost upon us, and with it comes the delightful anticipation of gathering loved ones, sharing special meals, and adorning our homes with cheerful spring decorations. As the excitement builds, I find myself eagerly preparing every nook and cranny of my house, ensuring it looks its absolute best for Easter Sunday. A truly essential element for any holiday spread is a captivating centerpiece for the dining table – something charming and unique to elevate the presentation of all that amazing food. This year, I embarked on a creative journey through my craft cabinet, brainstorming ideas for a budget-friendly yet adorable Easter centerpiece. What I discovered was pure magic: with just a few readily available supplies and approximately 20 minutes of crafting time, a truly enchanting **DIY Easter Centerpiece** came to life. This project is not only incredibly simple but also offers a wonderful opportunity to infuse your celebration with a personal touch. Join me as I guide you through the process of creating your very own charming Easter table decoration.
Why Craft Your Own Easter Centerpiece?
Opting for a homemade Easter centerpiece brings a multitude of benefits beyond mere aesthetics. Firstly, it allows for unparalleled personalization. You can tailor every detail – from colors to materials – to perfectly match your existing decor and personal style, creating a cohesive and inviting atmosphere. Secondly, it’s an incredibly cost-effective solution. Instead of spending a small fortune on pre-made decorations, this project utilizes items you likely already have or can acquire very cheaply, such as a repurposed creamer bottle and affordable craft supplies. Thirdly, it champions sustainability by transforming an everyday item into something beautiful and new, reducing waste. Lastly, the act of crafting itself is a joyful and rewarding experience, whether you undertake it solo as a relaxing creative outlet or involve family members, making it a wonderful activity to share with children (with appropriate supervision, of course!). A DIY centerpiece becomes a conversation starter, a testament to your creativity, and a cherished element of your Easter celebration.
Gather Your Materials: Everything You Need for a Charming Easter Display
One of the most appealing aspects of this project is its reliance on simple, accessible materials. Before we dive into the creative process, let’s ensure you have everything laid out and ready to go. You’ll be amazed at how easily these everyday items transform into a stunning holiday decoration.
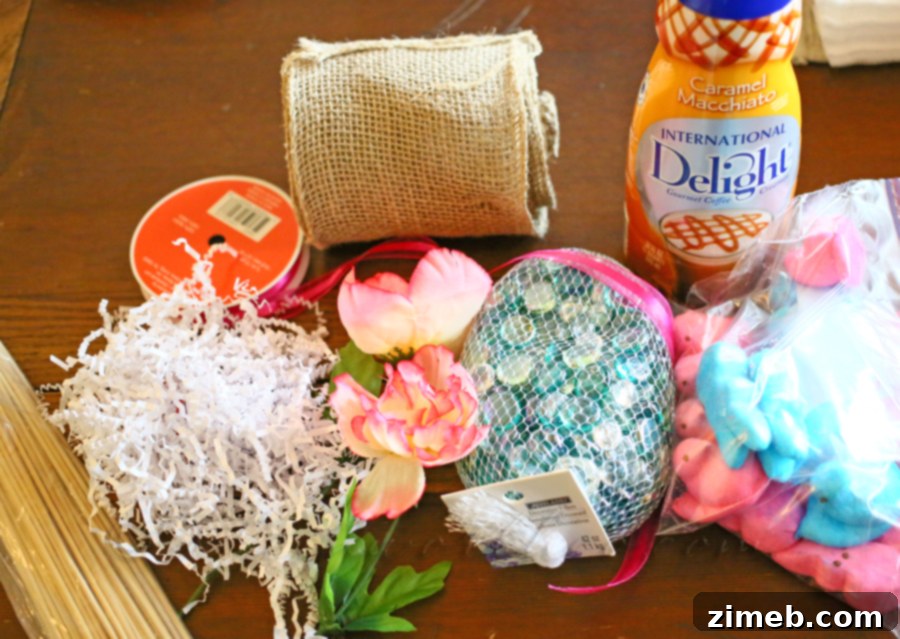
What You’ll Need:
- Empty International Delight Creamer Bottle: This serves as the sturdy base for our centerpiece. Its unique shape and size make it ideal for crafting a vase-like container. Ensure it’s thoroughly cleaned and dry before starting. If you don’t have this specific bottle, any similar plastic bottle with a stable base can work, though you might need to adjust the cutting and wrapping steps slightly.
- Hot Glue Gun and Glue Sticks: Your indispensable tool for quickly and securely attaching the burlap and ribbon. Always exercise caution when using a hot glue gun.
- Burlap Fabric: A rustic and versatile material that adds texture and a natural touch to your centerpiece. You’ll need enough to wrap around your bottle, allowing for some ruffling. Consider different weaves or colors of burlap to match your theme.
- Ribbon: Choose a bright, festive ribbon that complements your Easter color scheme. This will be used to cinch the burlap and add a pop of color. Satin, grosgrain, or even patterned ribbons can work beautifully.
- Decorative Stones or Pebbles: These aren’t just for decoration; they add crucial weight to the base of your centerpiece, preventing it from tipping over. They also help anchor the skewers securely. Glass beads or small marbles can be good alternatives.
- Peeps (Marshmallow Chicks or Bunnies): The quintessential Easter candy! These adorable treats will be skewered and arranged like flowers, providing a whimsical and colorful element. You can choose a variety of colors for a vibrant display or stick to a single hue for a more coordinated look.
- Wooden Skewers: Essential for holding your Peeps upright within the centerpiece. Various lengths might be useful to create different heights in your arrangement.
- Paper Easter Grass: This classic Easter filler will be used at the top of the container to hide the skewers and stones, giving a finished and festive appearance.
Initially, I considered using some faux flowers, but ultimately decided against them, realizing the Peeps alone would provide all the charm and color needed for this particular design. Having all these items at hand will make the crafting process smooth and enjoyable.
Step-by-Step Guide: Crafting Your Adorable Easter Centerpiece
Now that you have all your materials ready, let’s dive into the fun part: assembling your beautiful Easter centerpiece. Follow these simple steps to transform your recycled bottle into a festive focal point.
Step 1: Prepare Your Bottle Base
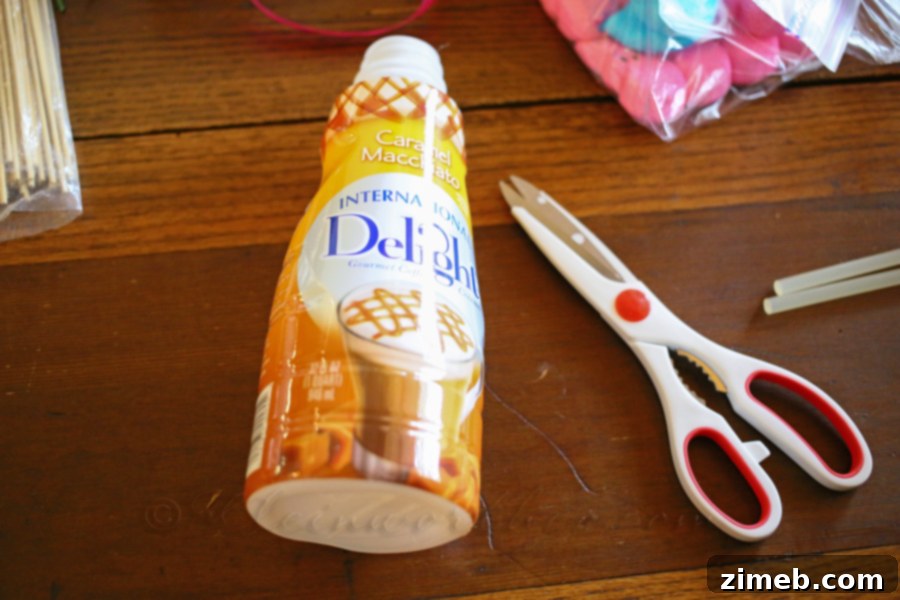
Begin by thoroughly cleaning your empty International Delight creamer bottle. Make sure it’s free of any residue and completely dry. Once clean, carefully remove the original wrapper. Next, using sharp scissors or a utility knife (with extreme caution, and adult supervision if children are involved), cut off the top portion of the bottle where it begins to narrow. Your goal is to create a straight, even opening, transforming the bottle into a vase-like container. The smooth edges are important for a neat finish and for safely placing the contents later. A steady hand is key here to ensure an appealing, uniform shape for your base.
Step 2: Adorn with Burlap for a Ruffled Effect
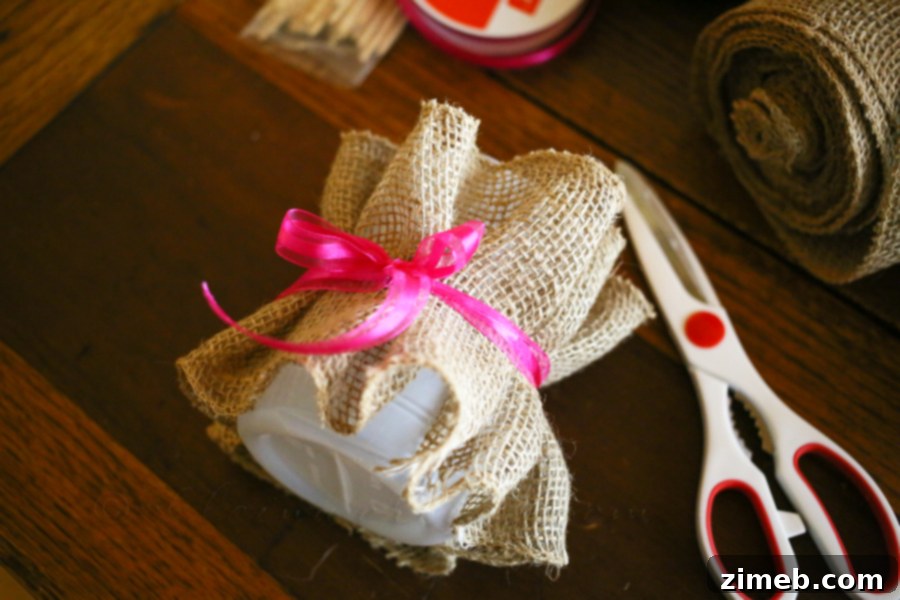
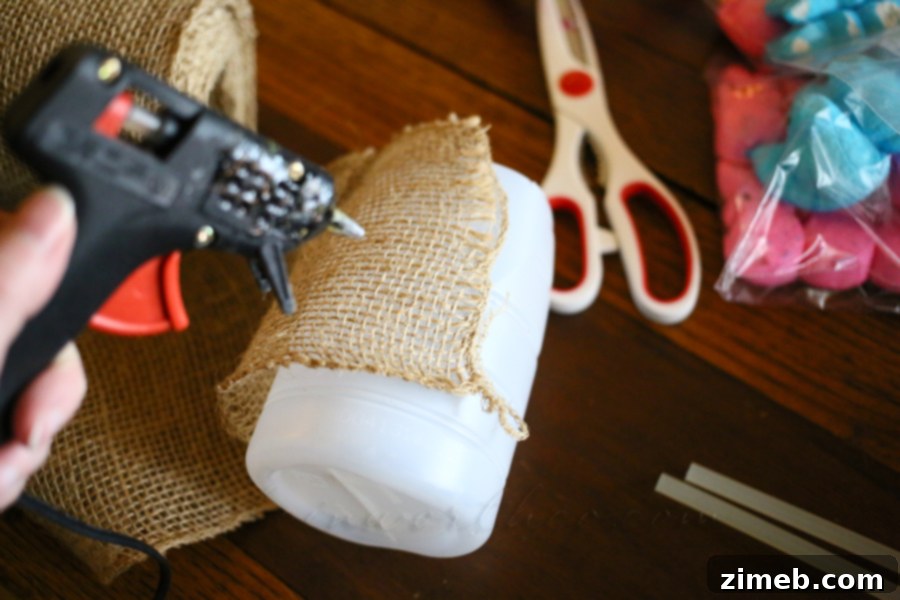
With your bottle prepped, it’s time to add some texture with burlap. Cut a strip of burlap wide enough to cover the height of your bottle, and long enough to wrap around with some overlap. Starting from one side, apply a small dot of hot glue to the bottle and press the burlap firmly. As you wrap the burlap around the bottle, don’t pull it taut. Instead, create slight gathers and pleats, leaving small gaps in the fabric to achieve a charming ruffled look. To keep these ruffles in place, apply a thin strip of hot glue approximately every ¾ inch or so around the bottle, gently pressing the burlap down. This method ensures the ruffles are secure but still maintain their soft, natural drape. Continue this process until the entire bottle is covered, overlapping the ends slightly and securing the final edge with hot glue.
Step 3: Cinch with a Festive Ribbon
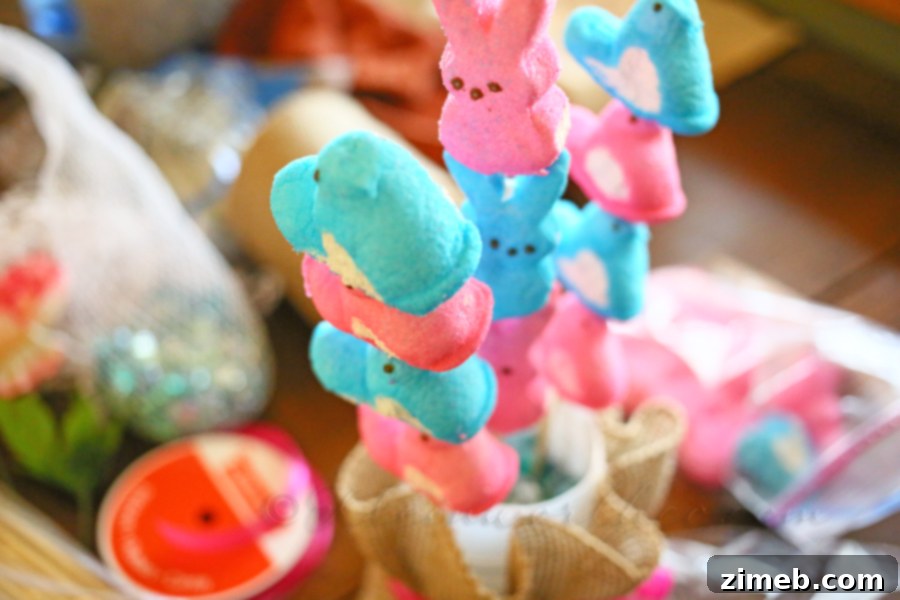
To enhance the ruffled burlap and add a delightful pop of color, select your chosen ribbon. Wrap this bright, decorative ribbon around the center of the burlap-covered bottle. This not only helps to cinch in the waist of the ruffled burlap, creating a more defined shape, but also introduces an eye-catching contrast. You can tie it into a simple knot at the front or back, leaving the ends dangling, or secure it with a small dab of hot glue for a cleaner finish. The ribbon acts as a vibrant accent, drawing the eye and adding to the festive Easter aesthetic. Choose a color that stands out against the burlap but also complements the overall theme you’re going for.
Step 4: Provide Weight and Structure with Decorative Stones
Next, carefully pour your decorative stones or pebbles into the bottom of the prepared bottle. While these stones won’t be visible in the final display, their role is incredibly important. They add substantial weight to the base of your centerpiece, effectively preventing it from toppling over, especially once the Peeps are added. Furthermore, these stones serve as an excellent anchor for the wooden skewers. Once the stones are in place, begin skewering your Peeps (chicks or bunnies). Gently push a skewer through the base of each Peep, being careful not to split them. Then, arrange these skewered Peeps within the bottle, positioning them like a bouquet of cheerful flowers. Varying the heights of the skewers can create a more dynamic and visually interesting arrangement, ensuring each Peep is displayed prominently.
Step 5: Add the Finishing Touch with Easter Grass
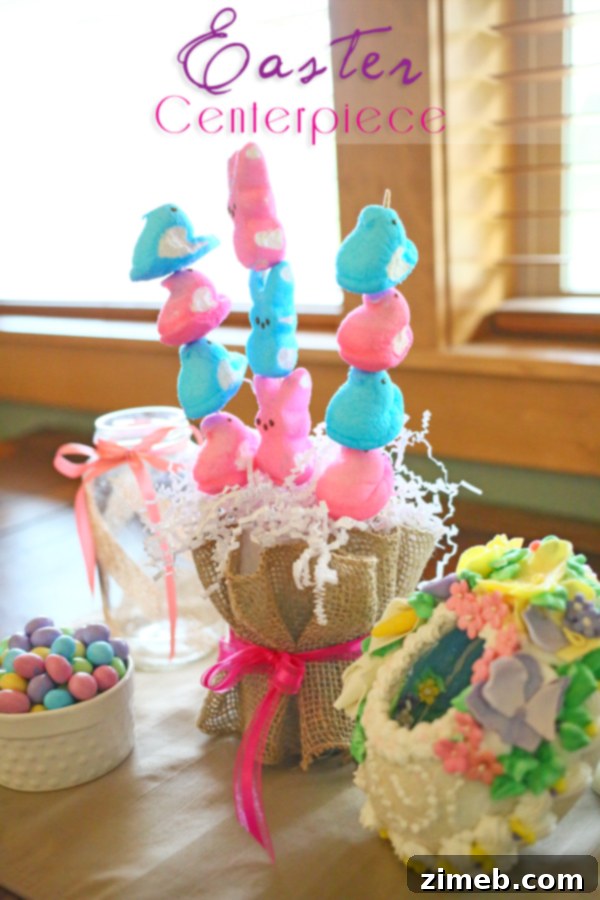
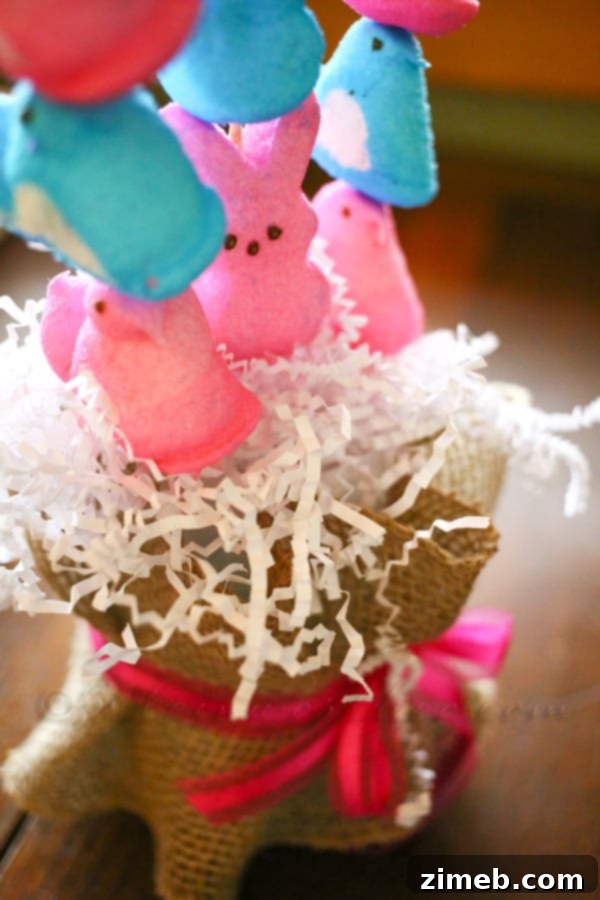
To complete your charming Easter centerpiece, take a handful of paper Easter grass and gently tuck it around the base of the skewered Peeps. This serves a dual purpose: it conceals the decorative stones and the exposed ends of the skewers, creating a neat and polished look. More importantly, the vibrant Easter grass fills any remaining gaps, making the entire arrangement appear full, lush, and undeniably festive. Choose a color of Easter grass that complements your Peeps and ribbon – traditional green, pastel pinks, blues, or yellows all work wonderfully. Fluff the grass slightly to give it volume and ensure it sits nicely amongst your marshmallow creations. This final touch brings everything together, enhancing the overall Easter charm.
And there you have it – a wonderfully simple, yet absolutely adorable **DIY Easter Centerpiece**! I told you it was easy, and the best part is that you can create this delightful decoration using items you might already have around the house or can easily procure. It’s a fantastic way to add a personal and festive flair to your Easter table without breaking the bank.
Customization Ideas for Your Unique Centerpiece
While the basic design is charming on its own, this DIY Easter centerpiece offers endless possibilities for customization. Don’t be afraid to let your creativity shine! Instead of traditional Peeps, consider using small chocolate eggs, jelly beans, or even faux flowers for a non-edible version. If burlap isn’t your style, wrap the bottle with patterned fabric, colorful yarn, or even paint it with acrylic craft paint. The ribbon can be swapped for twine for a rustic look, or a delicate lace for a touch of elegance. You could also hot glue mini plastic eggs or small craft butterflies onto the burlap for extra embellishment. For an even more whimsical feel, add a string of small LED fairy lights inside the bottle before adding the grass and Peeps, creating a magical glow. By experimenting with different materials, colors, and textures, you can easily adapt this project to suit any Easter theme or personal preference, making your centerpiece truly one-of-a-kind.
Tips for a Perfect Easter Centerpiece
To ensure your DIY Easter centerpiece looks its absolute best and lasts throughout your celebration, here are a few handy tips: First, always work in a well-ventilated area, especially when using a hot glue gun. Second, when selecting your Peeps, try to pick ones that are fresh and firm, as they will hold up better on the skewers. Third, consider the size of your dining table; if it’s smaller, a single centerpiece works beautifully, but for longer tables, you might want to create two or three smaller versions to spread along the length. Fourth, if you have young children or pets, ensure the centerpiece is placed safely out of reach, as the Peeps can be a tempting treat. Finally, if you’re making this ahead of time and using edible Peeps, cover the top of the centerpiece loosely with plastic wrap to keep them fresh until display time. For longer-lasting decor, use artificial marshmallow chicks or bunnies instead of the edible ones.
Frequently Asked Questions About Your DIY Easter Centerpiece
Here are answers to some common questions you might have about this delightful Easter craft project:
- Q: Can I use a different type of bottle?
A: Absolutely! While the International Delight creamer bottle offers a great shape, any sturdy plastic or glass bottle can work. Just adjust the amount of burlap and ribbon accordingly. Glass bottles might be heavier and require less internal weighting. - Q: What if I don’t have a hot glue gun?
A: You can try using a strong craft adhesive, fabric glue, or even double-sided tape for the burlap and ribbon. However, hot glue provides the quickest and most secure bond. - Q: How long will the Peeps last?
A: Edible Peeps can become stale or hard if left exposed for too long. If you want your centerpiece to last for several days or weeks, consider using artificial marshmallow chicks or bunnies, which are available at craft stores. - Q: Can children help with this project?
A: Yes! This is a fantastic family-friendly craft. Children can help with wrapping the burlap (with pre-applied glue), tying the ribbon, selecting Peeps, and arranging the Easter grass. Adult supervision is essential for cutting the bottle and using the hot glue gun. - Q: How can I make this centerpiece more elegant?
A: For an elegant touch, use satin or velvet ribbon, choose burlap with a finer weave, and consider sophisticated color palettes like gold and cream, or soft pastels. You could also add delicate pearl beads or small faux flowers alongside the Peeps.
More Easter Inspiration Awaits!
This simple yet impactful **DIY Easter Centerpiece** is just one of many ways to bring the joy of spring into your home. If you’re eager for more creative ideas to make your Easter celebration truly unforgettable, I highly recommend exploring additional resources. There’s a world of inspiration out there to help you decorate, cook, and celebrate. For even more fantastic Easter ideas, be sure to visit the Easter IDeas Pinterest Board – you will absolutely LOVE the wealth of creative projects and festive decor options available there!
Connect with International Delight
Discover more delightful inspiration and stay updated by connecting with International Delight on their social media channels:
Facebook | Pinterest | Twitter @indelight | Instagram @indelight | YouTube
Craving More Easter Decor Ideas?
If you enjoyed crafting this centerpiece and are looking for other ways to adorn your home for the holiday, here’s another wonderful project to spark your creativity:
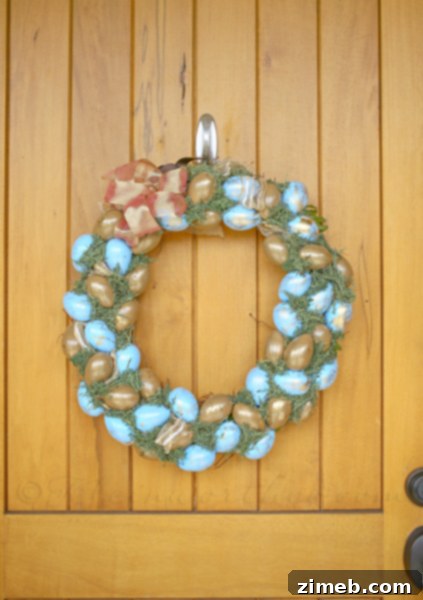
Blue & Gold Easter Wreath
To see where I am linking today, visit HERE.
This is a sponsored conversation written by me on behalf of International Delight. The opinions and text are all mine.