
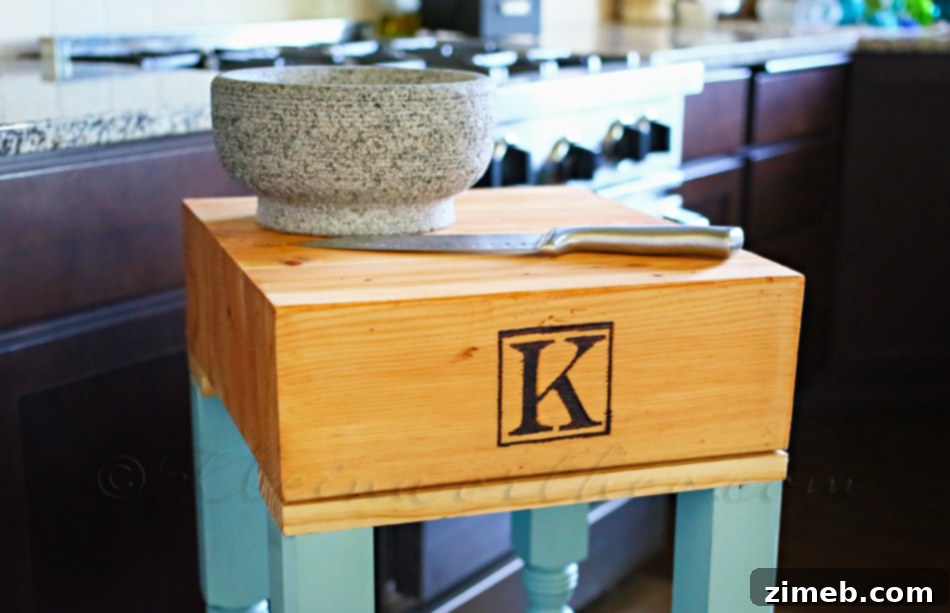
Creating functional and beautiful pieces for your home doesn’t always require expensive materials or advanced woodworking skills. Sometimes, the most cherished items are born from a spark of inspiration and a piece of salvaged history. Today, I’m thrilled to finally share the complete guide on how I transformed a forgotten scrap of wood into a stunning, personalized butcher block – a project that not only enhanced my kitchen but also proved to be a deeply rewarding endeavor. You might recall when I shared the details on how I monogrammed this very block; well, the promise to reveal the full construction process ends here. This project began with a humble, salvaged piece of a header, discovered amongst a pile of construction debris outside our home. The moment my eyes landed on it, I knew its destiny was to become a butcher block. My husband, initially, didn’t quite share my ambitious vision. However, after several months of persistent discussion, I finally garnered his support, and with his help, we embarked on this exciting journey. I am incredibly proud to say that not only did I prove my vision was valid, but he now absolutely loves the finished piece. His initial skepticism gave way to a profound sense of accomplishment as we completed this project together. So, let me walk you through every step of this creative process and show you how to build your very own butcher block.
Transforming a Scrap: Preparing Your Butcher Block Top
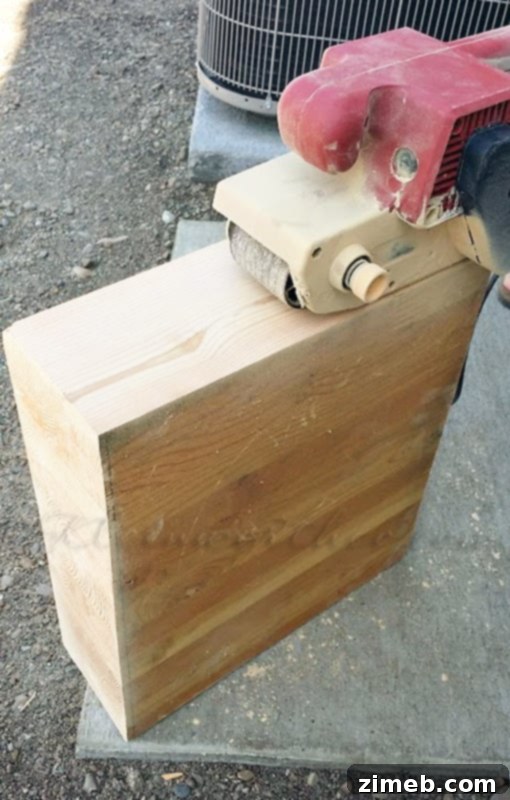
Every great project starts with its foundation, and for our butcher block, that was this magnificent piece of salvaged wood. It’s truly amazing what treasures you can find just waiting to be repurposed. I believe this particular piece was even part of our old mantle, carrying a piece of our home’s history into its new life. Working with salvaged wood not only provides a unique character that new lumber simply cannot replicate but also offers a sustainable approach to home decor. When sourcing salvaged wood, look for pieces that are solid, relatively free of rot, and ideally, a dense hardwood that can withstand the rigors of kitchen use. The rough-cut nature of salvaged pieces means they often come with their share of imperfections, but these can be sanded away or embraced as part of their charm.
Step 1: Achieving a Silky Smooth Surface Through Sanding
The first crucial step in preparing our salvaged wood for its new role was extensive sanding. A butcher block needs to be impeccably smooth, not just for aesthetics but also for practical reasons like food safety and ease of cleaning. My husband started this process with a powerful belt sander. This tool is excellent for quickly removing large amounts of material, leveling uneven surfaces, and eliminating deep imperfections. He meticulously worked over the entire surface, ensuring it was as flat and smooth as possible. After the initial heavy lifting with the belt sander, I took over with a mouse sander, also known as a detail sander. This smaller, more maneuverable tool was perfect for fine-tuning the surface, reaching into corners, and achieving that ultimately buttery-smooth finish. We progressed through various grits of sandpaper, starting coarse and moving to finer grits (e.g., 80-grit, 120-grit, 180-grit, 220-grit, and even 320-grit for a truly polished feel). Each successive grit refines the wood’s surface, removing scratches from the previous, coarser grit, until the wood is incredibly soft to the touch and ready for finishing. This stage is paramount for creating a surface that is pleasant to work on and easy to maintain.
Personalizing Your Butcher Block: The Monogramming Touch
If you envision your butcher block carrying a unique personal touch, such as a monogram, now is the ideal moment to undertake that step. Personalization truly transforms a utilitarian object into a cherished family heirloom. Customizing your butcher block before attaching the legs offers significant advantages in terms of maneuverability. With the block unencumbered, you can easily rotate, tilt, and position it to ensure precise and comfortable application of your design, whether you’re carving, painting, or using a burning tool.
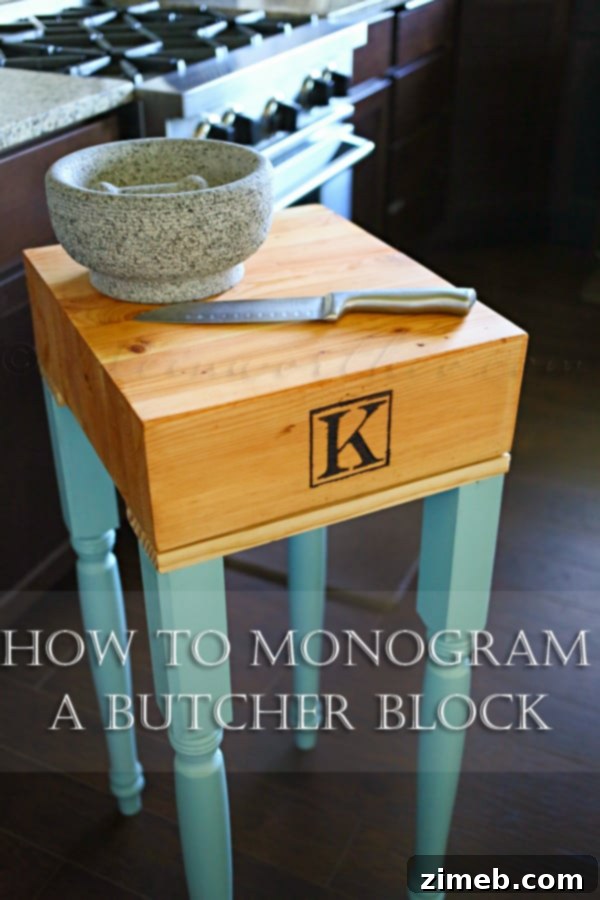
For a comprehensive, step-by-step guide on adding a beautiful monogram to your butcher block, please refer to our detailed tutorial:
How to Monogram a Butcher Block
Selecting and Preparing the Legs for Your Butcher Block
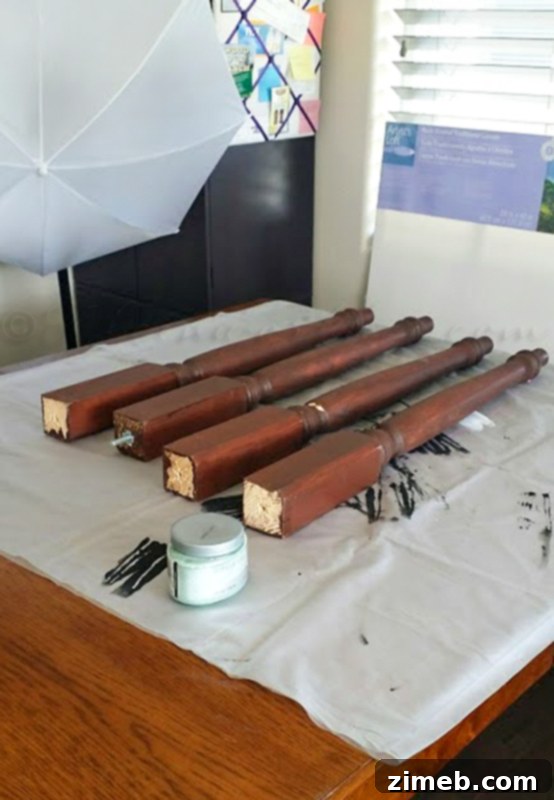
The legs are not just structural components; they contribute significantly to the overall aesthetic and functionality of your butcher block. For this project, we actually repurposed a set of table legs that we had originally purchased for another venture. They didn’t quite work out for that initial project, so they patiently sat, pre-stained and ready, for several months until this butcher block idea came to fruition. While their original stained finish was appealing, I ultimately decided it wasn’t the right complement for the butcher block’s top and my kitchen’s aesthetic. So, I chose my favorite color paint – a simple flat house paint – and applied a couple of generous coats. The beauty of using flat paint is its matte finish, which can offer a sophisticated, understated look. However, for a piece of furniture destined for the busy kitchen environment, durability is key. Therefore, once the paint was completely dry, I applied a sealing wax, typically used over chalk paint, over the flat paint. This sealing wax creates a remarkably durable, protective layer, safeguarding the paint from chips, scuffs, and moisture, ensuring the legs remain beautiful for years to come. This step is essential for creating a finish that can withstand the daily demands of a bustling kitchen and general wear and tear.
Assembling Your Butcher Block: Attaching the Legs Securely
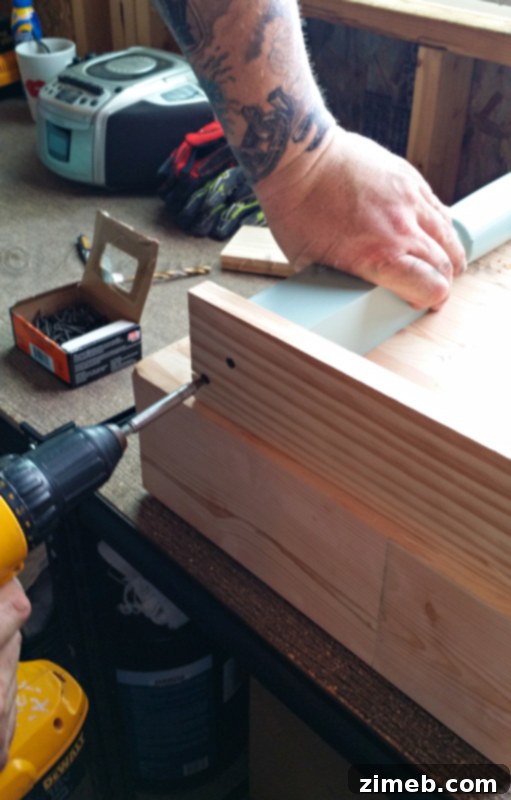
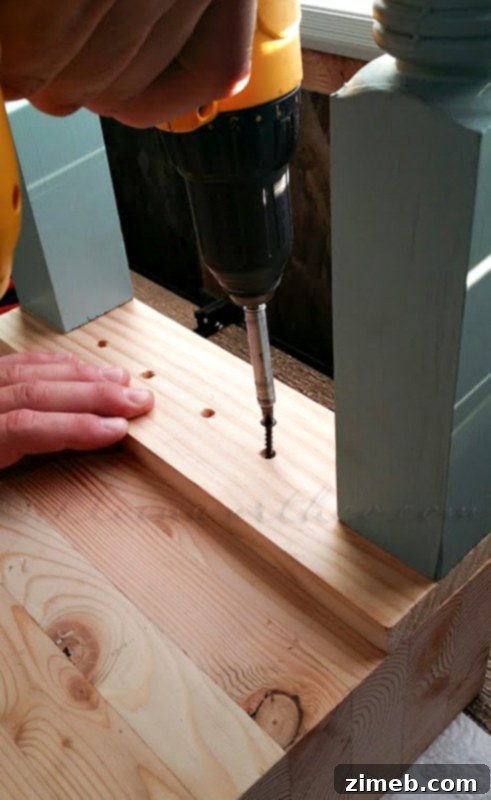
This stage of the build brought an interesting divergence of ideas between my husband and me, showcasing how collaboration often leads to creative solutions. My initial thought was to attach the legs to a single large board and then secure that entire assembly to the underside of the butcher block. However, my husband returned from the hardware store with a different plan: a single long plank, which we cut precisely to the width of the butcher block. This approach proved to be incredibly effective and provided exceptional stability. As you can see in the images, we used long wood screws to firmly attach the individual legs to this supporting plank, driving them from the top of the plank down into the leg tops. A crucial tip here, one that cannot be overstated, is to always drill pilot holes before inserting screws. Wood, especially dense hardwood, can split easily under the pressure of a screw, potentially ruining your work. Pilot holes, slightly smaller than the screw’s diameter, guide the screw and prevent splitting, ensuring a clean and secure attachment. While this method wasn’t my original blueprint, it works out perfectly. An added benefit of incorporating this extra plank is that it elevates the butcher block’s overall height, making it ideal for my 6’6″ husband to use comfortably, transforming it into a versatile workstation for anyone, regardless of height.
Step 2: Securing the Leg Assembly to the Butcher Block Top
With the legs firmly attached to the supporting plank, the next step was to connect this entire assembly to the butcher block top itself. Following the same critical principle, we first measured and marked our attachment points, then carefully drilled pilot holes through the supporting plank and into the underside of the butcher block. This meticulous preparation prevents wood splitting and ensures a strong, lasting connection. Once the pilot holes were ready, we secured the leg assembly to the butcher block using sturdy wood screws. This two-part attachment method – legs to plank, then plank to block – creates an exceptionally robust and stable foundation for your butcher block, capable of withstanding heavy use in the kitchen. The result is a solid, immovable workstation that feels professionally built.
The Essential Finishing Touch: Oiling Your Butcher Block
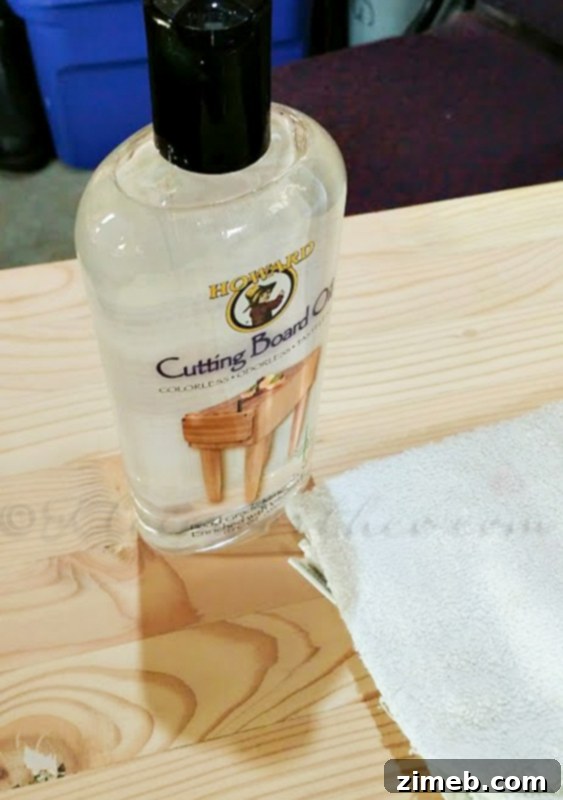
Now for a critically important step that transforms your raw wooden block into a food-safe, durable, and beautiful kitchen essential: oiling, oiling, oiling! This isn’t just a cosmetic step; it’s vital for the longevity and hygiene of your butcher block. Wood is a natural material, and like all natural materials, it needs nourishment. The wood is thirsty, and without proper oiling, it can dry out, crack, warp, and become susceptible to stains and bacteria. We used a food-grade mineral oil, which is readily available and safe for surfaces that will come into contact with food. Avoid vegetable oils as they can turn rancid over time.
The process involves applying generous amounts of oil to all surfaces of the butcher block – top, sides, and even the underside. Allow the oil to soak in for several hours, or even overnight. You’ll notice the wood absorbing the oil, especially during the initial applications. After each soaking period, wipe off any excess oil with a clean cloth. Repeat this process multiple times. We liberally oiled ours at least 4-5 times before it was ready to be brought into the house for regular use. Each application penetrates deeper into the wood fibers, conditioning them, enhancing the natural grain, and creating a protective barrier against moisture. This barrier is crucial for preventing water from seeping into the wood, which can cause swelling and cracking over time. Furthermore, a well-oiled surface is less likely to harbor bacteria and is easier to clean. To maintain its pristine condition, you’ll need to re-oil your butcher block once every few weeks, or whenever the wood starts to look dry or dull. Consistent oiling is the secret to a long-lasting, beautiful, and hygienic butcher block.
Your New Homemade Butcher Block: A Testament to DIY Success
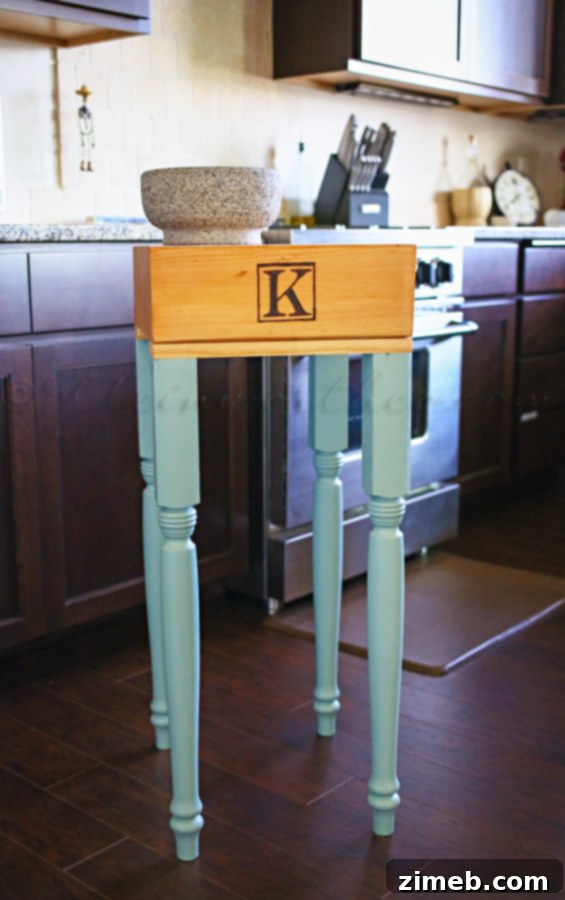
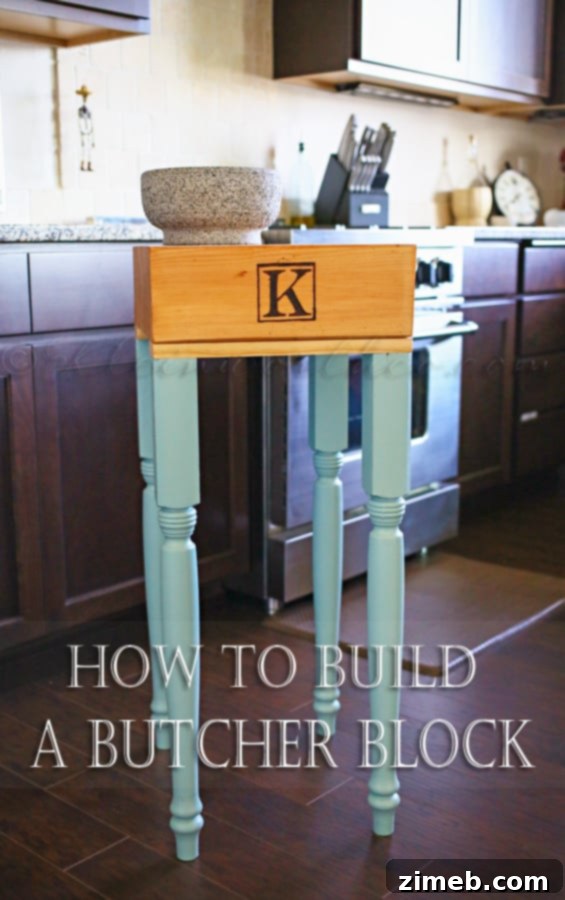
And here it is – the magnificent finished piece! Witnessing the transformation from a discarded piece of wood to this functional and aesthetically pleasing kitchen centerpiece is incredibly satisfying. I am absolutely thrilled with how it turned out, and the added personal touch of the monogram truly makes it one-of-a-kind. This butcher block isn’t just a cutting surface; it’s a testament to the power of DIY, a conversation starter, and a focal point in our kitchen. It serves as an extra workspace, a sturdy prep area, and even a charming serving station for gatherings.
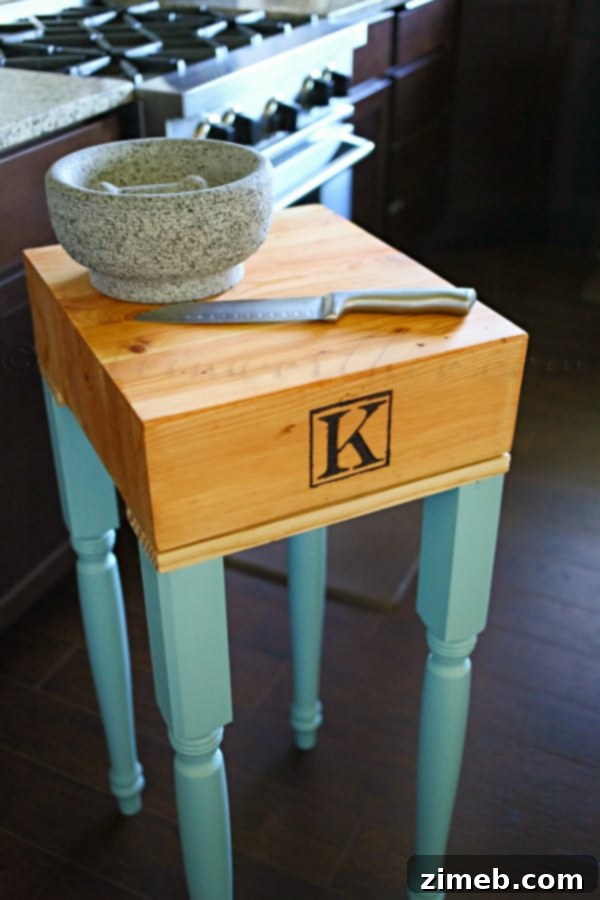
The blend of the natural wood top with the freshly painted and sealed legs creates a farmhouse-chic look that complements various kitchen decors. Its robust construction ensures it will stand up to years of daily use, making it not just a project but a lasting investment in our home’s functionality and charm. The journey from a skeptical vision to a beloved reality was a rewarding one, demonstrating that with a little creativity and effort, salvaged materials can be reborn into something truly spectacular.
Discover More Inspiring Home Projects
Inspired to tackle more DIY projects for your home? Explore these other creative transformations and find your next weekend endeavor!
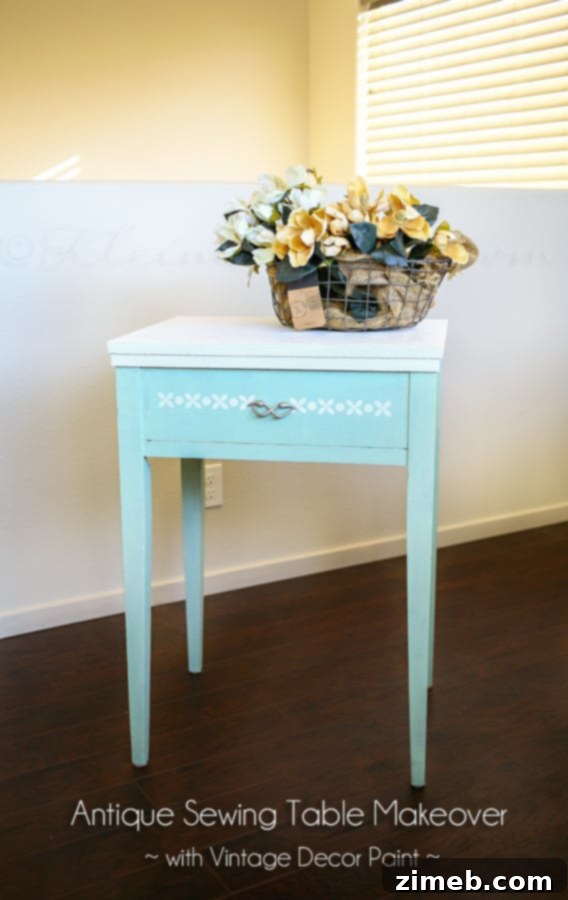
Antique Sewing Table Makeover
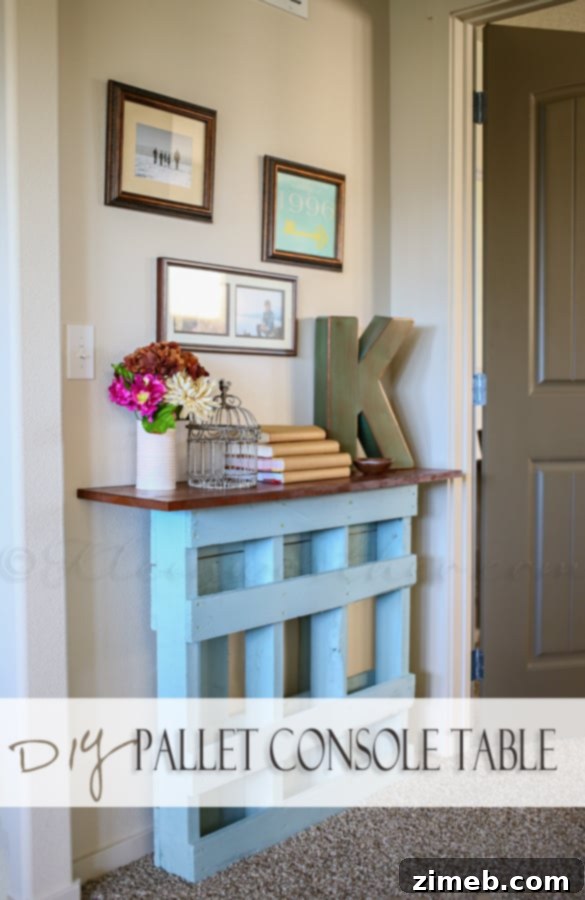
DIY Pallet Console Table