
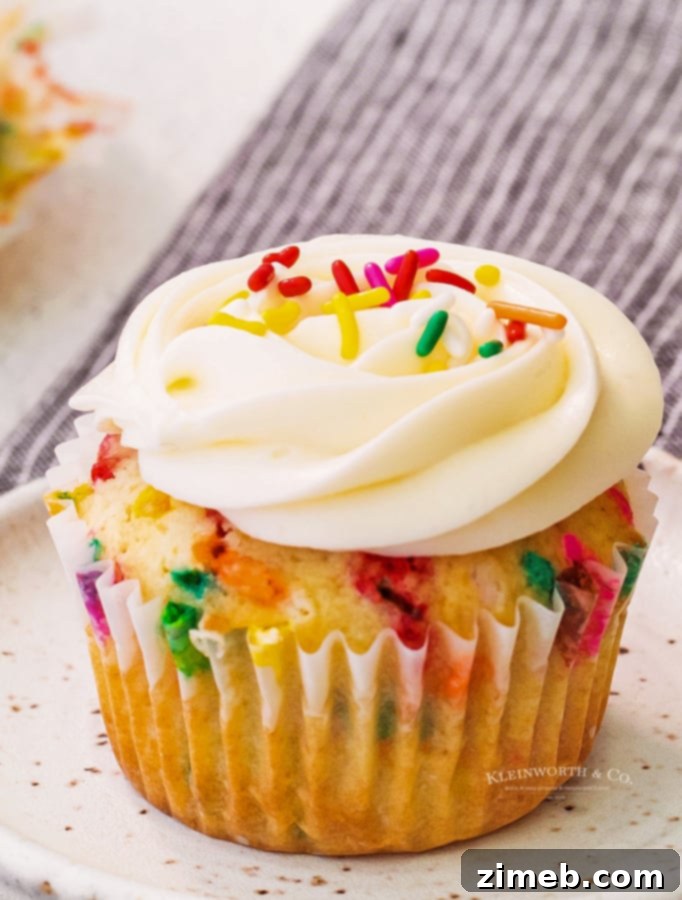
The Ultimate Homemade Funfetti Cupcakes with Cream Cheese Frosting
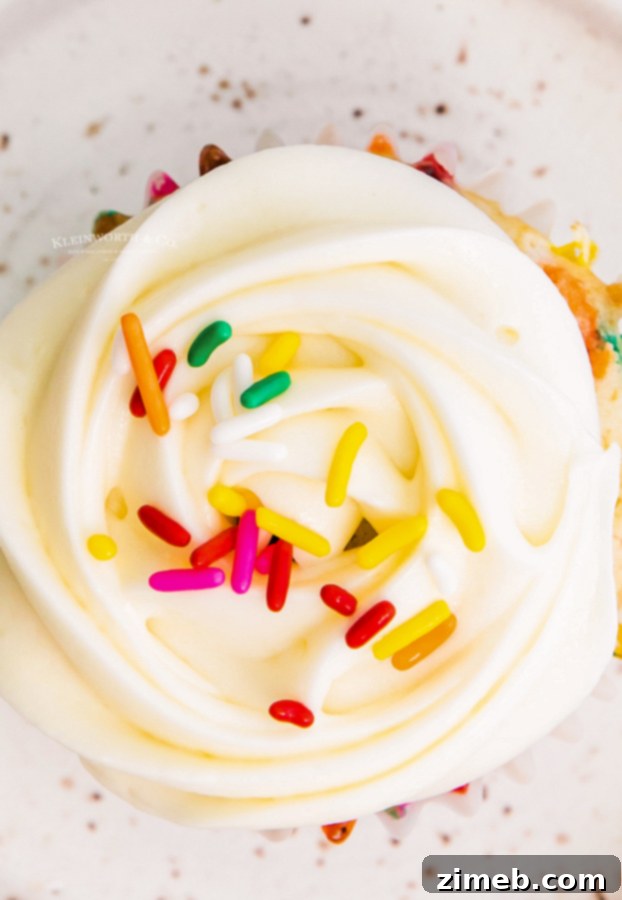
Get ready to elevate your celebrations with this ultimate Funfetti Cupcakes recipe! Forget the box mix – these light, fluffy, and delightfully colorful cupcakes are baked from scratch and crowned with a decadent cream cheese frosting that will make every occasion feel extra special. Perfect for birthdays, parties, or simply bringing a burst of joy to an ordinary day, these homemade Funfetti treats are a true crowd-pleaser.
My culinary journey began alongside a professional baker, so it’s safe to say that cake and frosting are practically in my DNA. This deep-rooted love for all things sweet means I’m always eager to whip up delicious desserts whenever life calls for a celebration. Recently, with significant family milestones on the horizon, I yearned for something festive but didn’t want to bake a full-sized Funfetti cake. The solution? A batch of homemade Funfetti cupcakes, lavishly topped with my favorite tangy cream cheese frosting. The result was pure happiness in every bite!
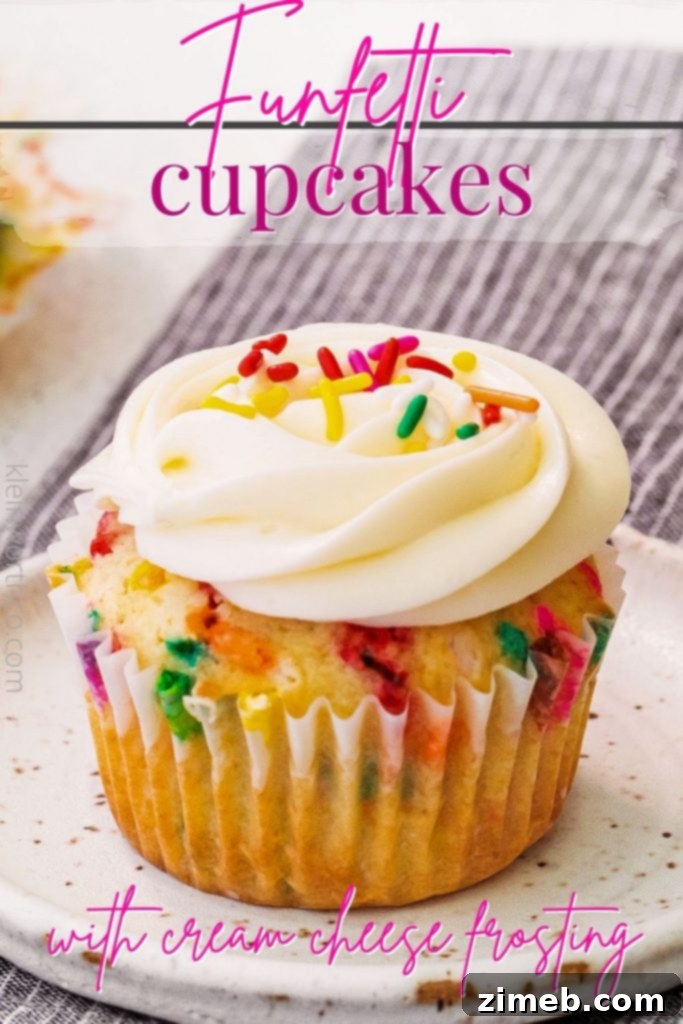
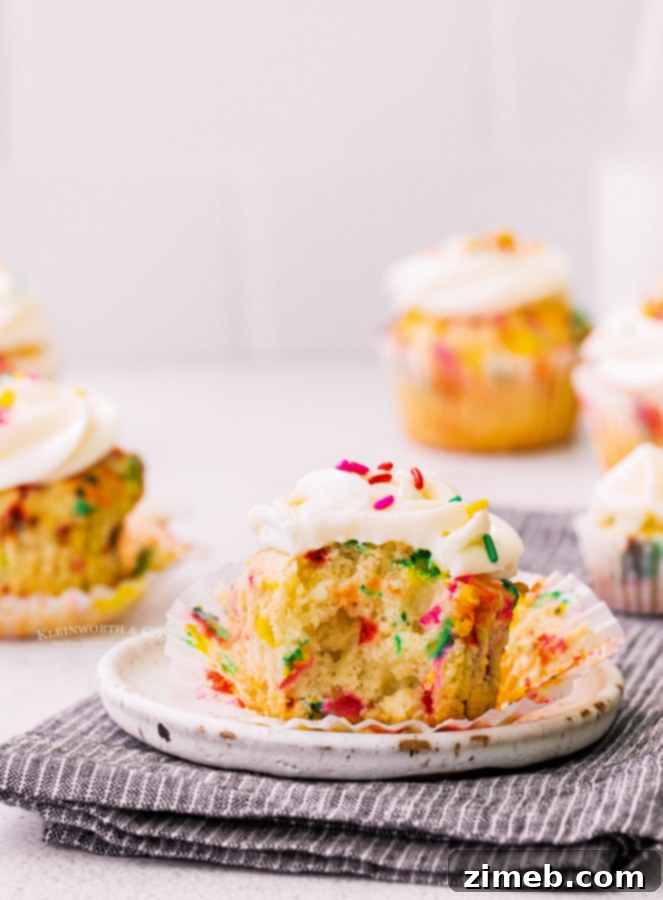
There’s something inherently joyful about rainbow sprinkles. They are the epitome of happiness, transforming any dessert into a vibrant spectacle. How can anyone resist a smile when presented with a cupcake adorned with these tiny bursts of color? My affection for cupcakes is well-documented, but sprinkles take that love to an entirely new level. Not only do they make a dazzling topping, but the magic of Funfetti lies in baking them *into* the cake batter, creating a kaleidoscope of color within each tender crumb. This simply amplifies the happiness quotient!
These Funfetti cupcakes are versatile enough for grand celebrations and intimate moments alike. Their playful appearance and delicious vanilla flavor make them irresistible. Trust me, once you try them, you’ll understand why they hold such a special place in my heart.
What Exactly Are Funfetti Cupcakes? Unraveling the Confetti Magic
At its core, Funfetti is a delightful vanilla cake or cupcake infused with vibrant rainbow sprinkles. It’s an explosion of color and flavor that brings instant cheer. While some regions might refer to it as “confetti cake,” the term “Funfetti” gained widespread popularity thanks to brands like Pillsbury, whose boxed mix made this whimsical dessert a household name. However, nothing compares to the taste and texture of Funfetti cupcakes made from scratch, boasting a soft, moist crumb that’s far superior to any store-bought alternative.
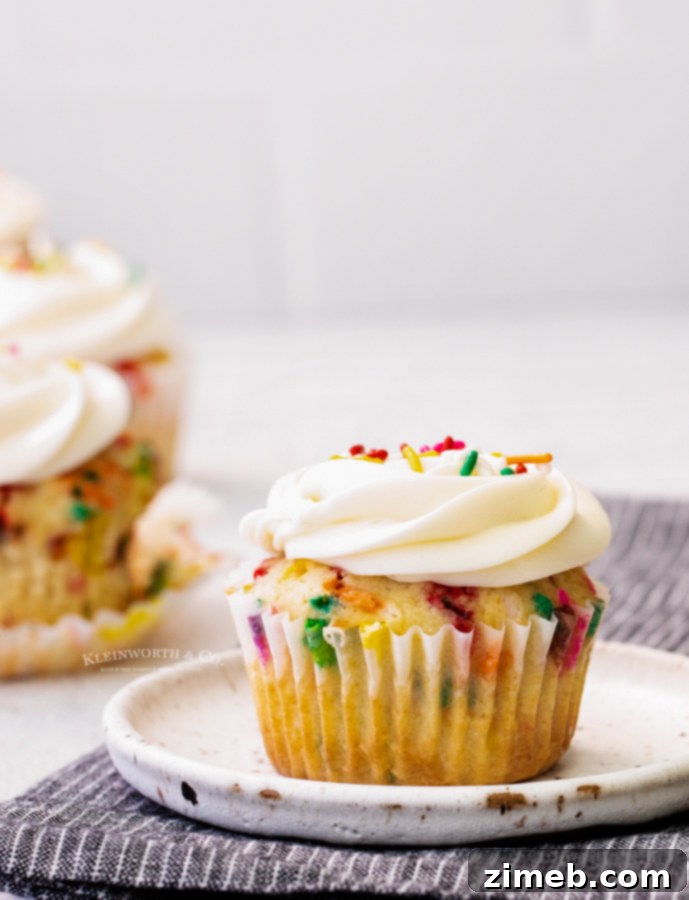
Common Questions for Perfect Funfetti Cupcakes
Baking can sometimes feel like a science, and getting those details right makes all the difference. Here are some frequently asked questions to help you achieve the best homemade Funfetti cupcakes:
Choosing the Best Sprinkles for Your Funfetti Creations
This is a crucial point that many bakers overlook! Not all “sprinkles” are created equal, especially when baking them into a batter. Using the wrong type can lead to disappointment, with colors bleeding and disappearing into your beautiful vanilla cake. For true Funfetti magic, you need to select the right kind of sprinkles.
Many packages labeled “sprinkles” actually contain colored sanding sugar. This type of sugar is not suitable for baking into a moist dough or batter. When exposed to moisture or refrigerated, sanding sugar will “sweat,” causing the colors to bleed and creating a muddy, rather than vibrant, effect. The vibrant specks will vanish, leaving you with a muted, unappealing cake.
Similarly, “Nonpareils” – those tiny, spherical, crunchy sprinkles – are also not ideal for this recipe. While they look charming on top of frosting, their delicate color coating tends to bleed significantly when mixed into batter and baked. For an authentic Funfetti experience, always opt for traditional “jimmie” sprinkles (also known as sugar strands or vermicelli). These hold their color and shape much better during the baking process, ensuring those delightful bursts of rainbow color remain intact.
How to Properly Measure Flour for Baking Success
Accurate flour measurement is vital for the perfect cupcake texture. Too much flour can lead to dry, dense cupcakes, while too little can make them overly crumbly. The most precise method, and the one preferred by professional bakers, is the “spoon and level” technique.
To use this method, first fluff your flour in its container with a spoon. Then, gently spoon the flour into your measuring cup until it overflows. Do not pack the flour down or tap the cup. Finally, use the flat edge of a knife or a straight kitchen utensil to level off the excess flour, ensuring a precise measurement. This prevents the flour from compacting, which can add significantly more flour than the recipe intends.
If you don’t have a knife handy for leveling, simply fluffing the flour with a spoon and then gently scooping it into the measuring cup, being careful not to pack it, will also yield good results for this particular Funfetti cupcake recipe.
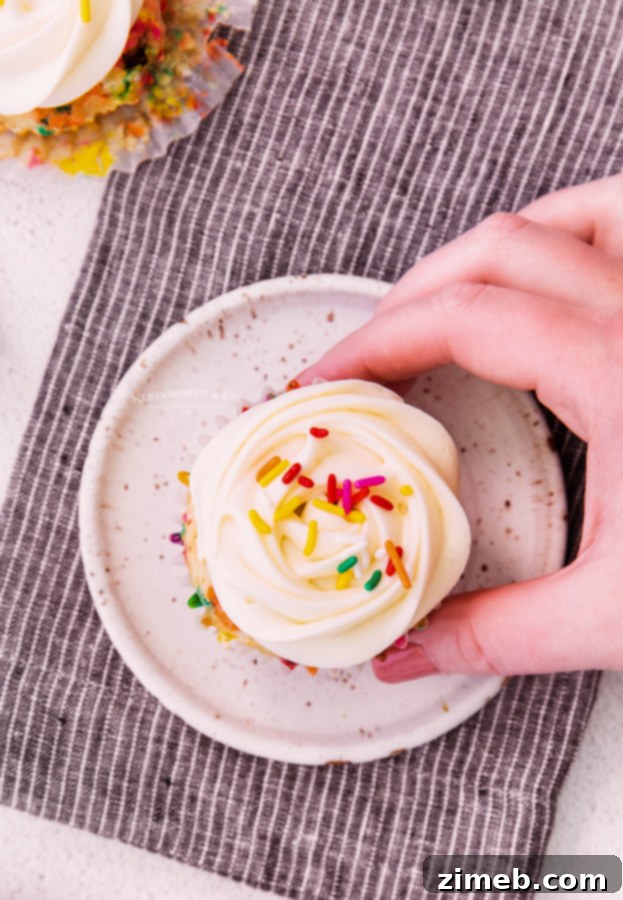
Why Room Temperature Ingredients Are Essential for Baking
You might often see recipes calling for “room temperature” ingredients, and it’s not just a suggestion – it’s crucial for the success of many baked goods, especially cupcakes. Using ingredients like butter and eggs at room temperature ensures they blend together seamlessly, creating a smooth, emulsified batter.
When butter is cold, it’s stiff and doesn’t cream well with sugar, leading to a lumpy batter with pockets of unblended ingredients. Room temperature butter, however, is pliable and combines beautifully with sugar, creating tiny air pockets. These trapped air bubbles are vital for a light and fluffy texture. During baking, these air pockets expand, giving your cupcakes their characteristic rise and tender crumb. Cold eggs, when added to creamed butter, can cause the mixture to curdle, resulting in a less smooth and desirable batter. Ensuring all ingredients are at room temperature guarantees an even distribution and the perfect texture every time.
Achieving Perfect Room Temperature Butter: Three Methods
Getting butter to the ideal room temperature can sometimes be a challenge, especially if you’re in a hurry or didn’t plan ahead. Here are a few reliable methods to soften your butter without overdoing it:
Method One: The Natural Way
The simplest approach is to plan ahead. Take your butter (and any other ingredients like eggs or cream cheese that need to be softened) out of the refrigerator and leave it on the counter for about 30 to 60 minutes before you start baking. This allows it to naturally come to a soft, pliable state. I typically gather all my chilled ingredients first, placing them on the counter so they can begin warming while I prep other items.
However, if it’s a cold winter day or if you’re not as organized as you’d like to be (it happens to the best of us!), 30 minutes might not be enough. That’s where the next two tricks come in handy.
Method Two: The Microwave Trick (Handle with Care!)
If you need softened butter quickly, the microwave can be your friend, but extreme caution is advised. Place the butter, still in its paper wrapping (ensure it’s not foil-wrapped), into the microwave. Microwave for 2 seconds, then flip the stick over. Microwave for another 2 seconds, flip again, and continue this process, 2 seconds per side, until the butter feels soft. It’s crucial to stop as soon as it feels pliable. **Overly softened or melted butter from the microwave will negatively alter the final texture of your baked goods.** Do not overdo it!
Method Three: The Warm Water Bath
My third, and often preferred, method for quickly achieving room temperature is a warm water bath. Place the wrapped butter sticks in a zip-top bag to prevent water from getting in. Submerge the bag in a bowl of warm (not hot!) water. You can do the same with eggs still in their shells. This method is incredibly effective and gentler than the microwave, allowing the ingredients to warm evenly without melting.
Can I Make These Funfetti Cupcakes Gluten-Free?
I haven’t yet had the opportunity to test a gluten-free version of this recipe, but it’s definitely on my list! If you decide to give it a try, I highly recommend using a 1:1 gluten-free all-purpose flour blend. These blends are specifically formulated to replace regular wheat flour in most recipes without requiring additional adjustments or ingredients. Please share your results if you bake them this way – I’d love to hear how they turn out!
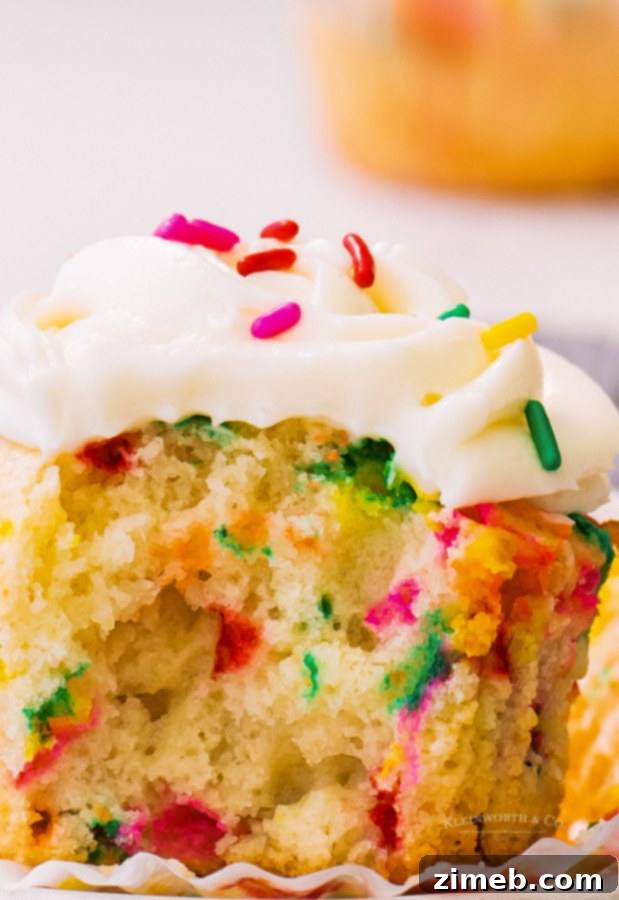
Freezing Funfetti Cupcakes for Future Enjoyment
Yes, absolutely! Freezing cupcakes is a fantastic way to prepare ahead or store leftovers, and I do it quite often. These cupcakes can be frozen at various stages of the creation process:
- **Baked and Unfrosted:** Once your Funfetti cupcakes are freshly baked and completely cooled, remove them from the pan. Wrap each cupcake tightly in plastic wrap to prevent freezer burn, then place them in an airtight container or freezer bag. They can be frozen for up to 2-3 months. This method is also useful if you plan to frost them later, as working with cold cupcakes can help prevent the frosting from melting or becoming too soft.
- **Completely Decorated:** You can also freeze fully frosted and decorated Funfetti cupcakes. Place them in an airtight container, ensuring there’s enough space so the frosting doesn’t get squashed. While the frosting won’t become completely rock-hard in the freezer, it will firm up enough to maintain its shape, though it can still be dented if something presses against it.
To thaw, transfer the frozen cupcakes to the refrigerator the night before you plan to serve them. This allows them to thaw slowly and evenly. For the best flavor and creamy frosting texture, let them sit at room temperature for 1-2 hours before serving.
More Delicious Birthday Cake-Flavored Recipes to Love
- Classic Confetti Cake – A Funfetti Favorite
- Frosted Funfetti Cake Mix Cookies
- Funfetti Cake Batter Dip
- Our Signature Homemade Funfetti Cake
- Celebration-Ready Birthday Cheesecake
- Delightful Birthday Cake Cookies
- Colorful Confetti Sprinkle Cupcakes
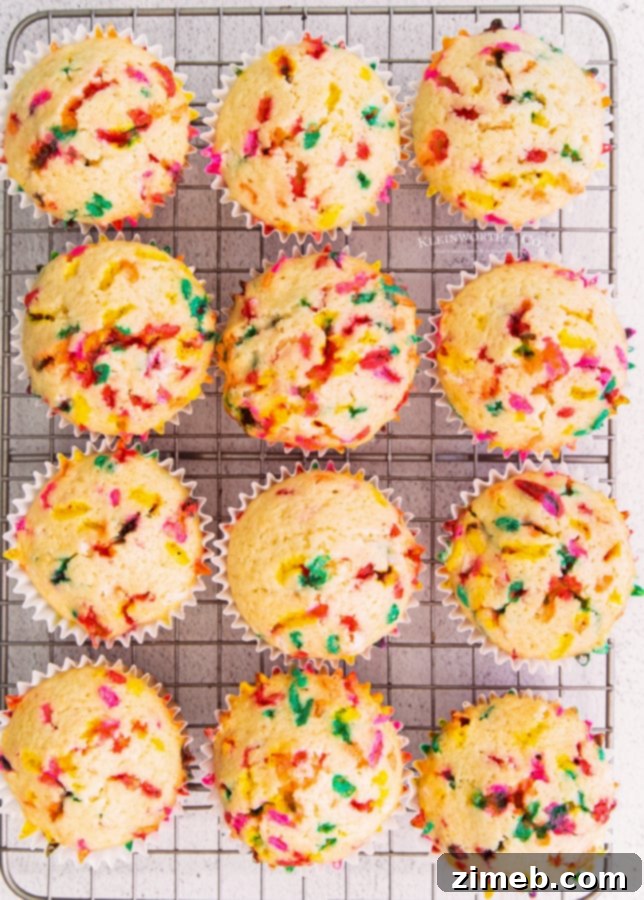
Essential Ingredients for Homemade Funfetti Cupcakes
Gather these simple ingredients to create your vibrant Funfetti cupcakes:
- All-purpose flour
- Granulated sugar
- Baking powder
- Large eggs
- Vegetable oil
- Buttermilk
- Pure vanilla extract
- Rainbow sprinkles (jimmie-style recommended for best results!)
Ingredients for Luxurious Cream Cheese Frosting
This rich and tangy cream cheese frosting perfectly complements the sweet Funfetti cupcakes:
- Cream cheese (softened)
- Unsalted butter (softened)
- Pure vanilla extract
- Confectioner’s sugar (powdered sugar)
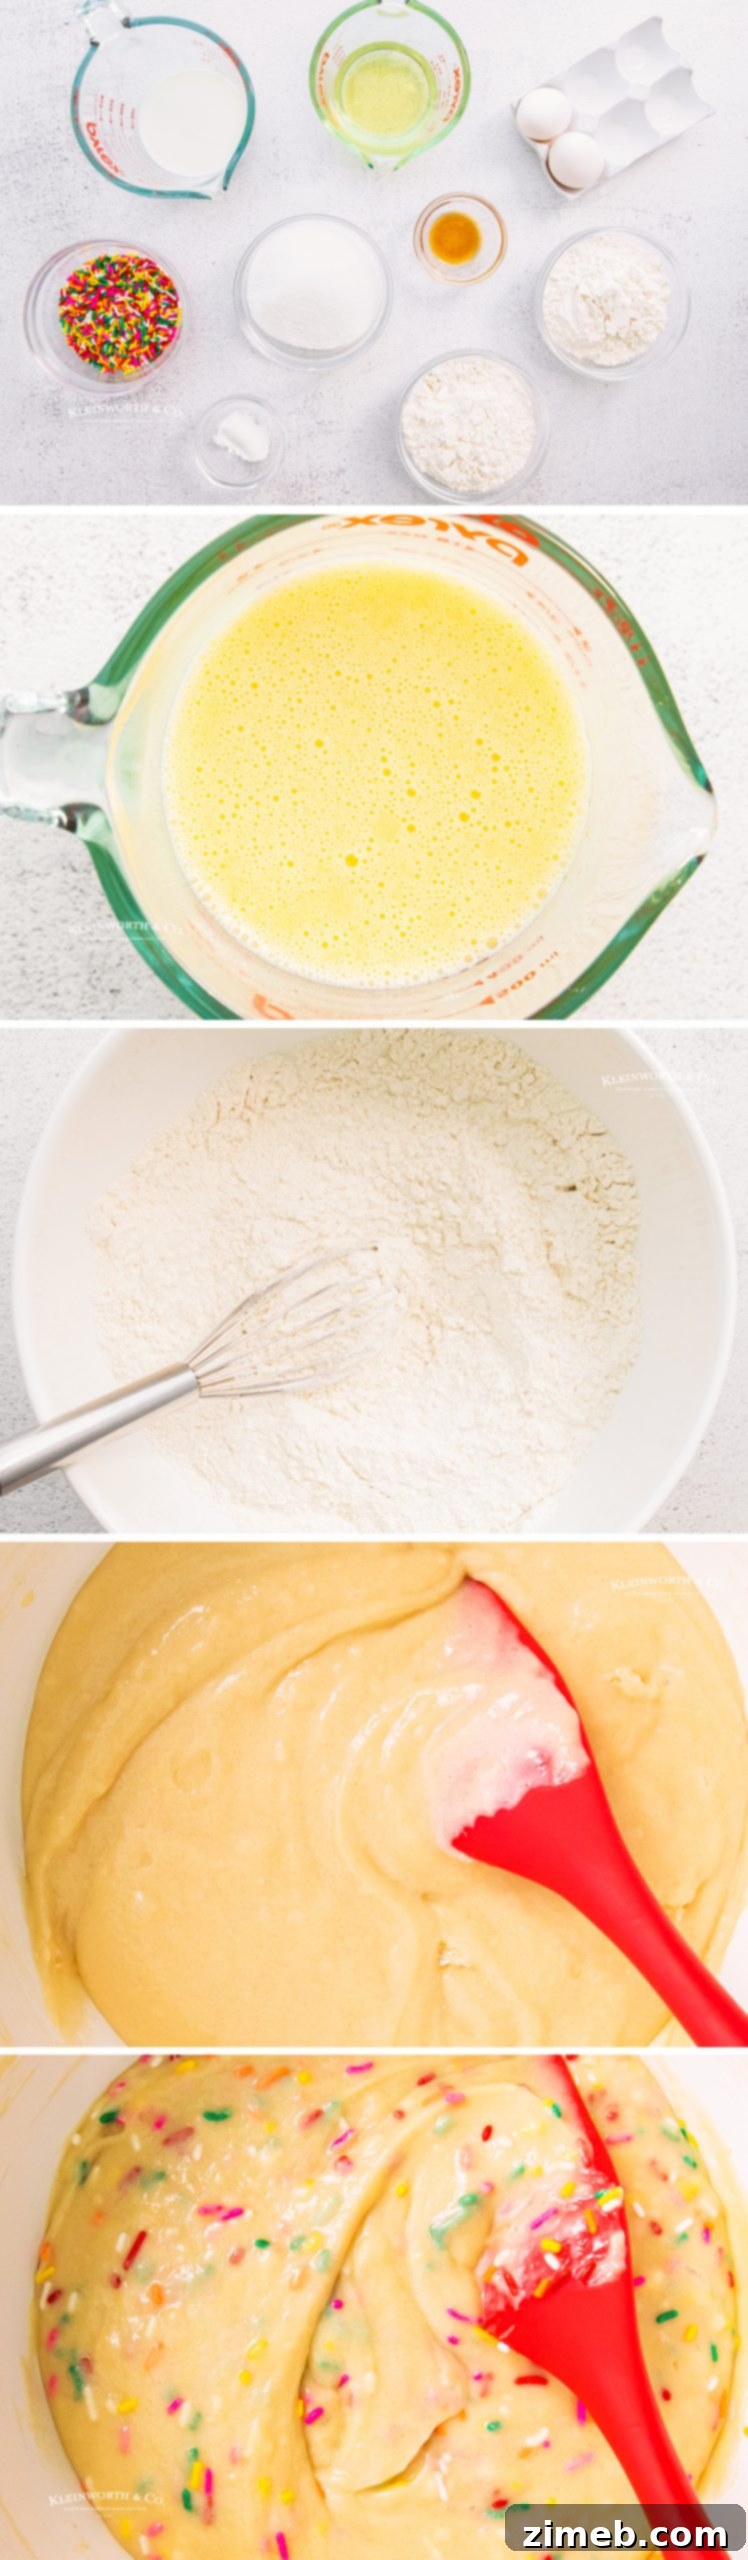
Step-by-Step Guide: How to Make Funfetti Cupcakes from Scratch
Follow these easy instructions for perfectly baked, moist, and festive Funfetti cupcakes:
- Preheat your oven to 350°F (175°C). Line a 12-well cupcake tin with paper liners or generously coat each well with baker’s release spray. Set aside.
- In a large bowl, whisk together the all-purpose flour, granulated sugar, and baking powder until well combined.
- In a separate medium bowl, whisk together the eggs, vegetable oil, buttermilk, and vanilla extract until smooth.
- Pour the wet ingredients into the bowl with the dry ingredients. Gently fold them together using a spatula or wooden spoon, mixing just until no large lumps of flour remain. Be careful not to overmix, as this can lead to tough cupcakes. A few small lumps are perfectly fine.
- Gently fold in the rainbow sprinkles.
- Fill each prepared cupcake liner approximately three-quarters full with batter.
- Bake for about 15-18 minutes, or until a toothpick inserted into the center of a cupcake comes out clean.
- Once baked, allow the cupcakes to cool completely in the tin for a few minutes before transferring them to a wire rack to finish cooling. Ensure they are entirely cool before frosting.
What is Baker’s Release and How to Make It
Baker’s release is a fantastic homemade solution that guarantees your baked goods, especially cakes and cupcakes, slide effortlessly out of the pan. It’s far more effective than just buttering and flouring, saving you from stuck-on disasters.
Making baker’s release is incredibly simple, requiring just three equal parts of common kitchen ingredients:
- 1 cup all-purpose flour
- 1 cup shortening
- 1 cup cooking oil (vegetable or canola oil works well)
Combine all three ingredients in a bowl and whisk thoroughly until you have a smooth, creamy consistency. Store this mixture in an airtight container in your pantry or refrigerator. When you’re ready to bake, simply dip a pastry brush into the mixture and spread an even layer over the inside of your cake pan or cupcake wells. It works like magic!
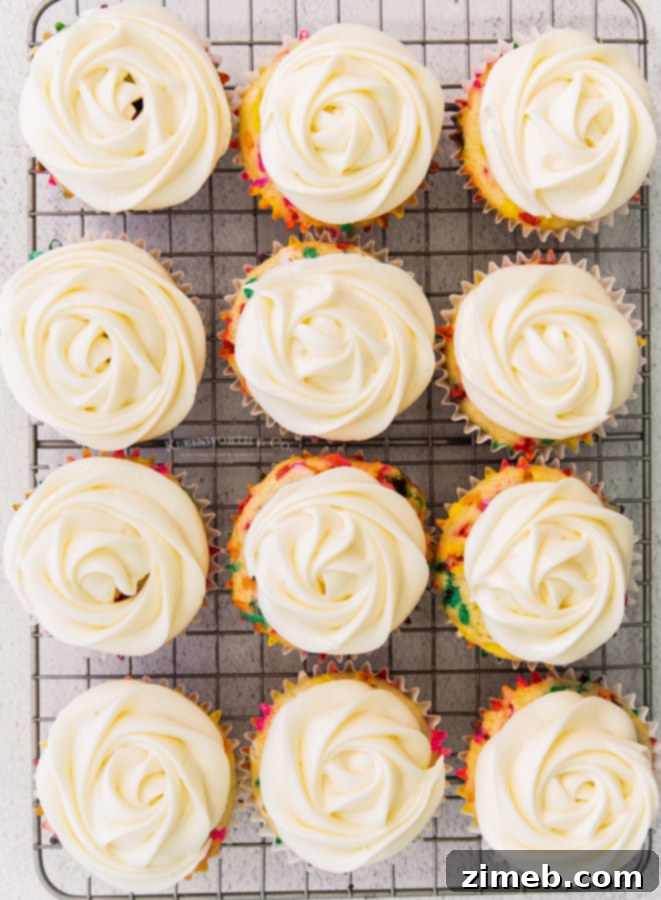
Crafting the Perfect Cream Cheese Frosting
This rich, tangy, and impossibly creamy frosting is the ideal companion for your homemade Funfetti cupcakes:
- Using a stand mixer fitted with the paddle attachment or a hand mixer, beat the softened cream cheese and softened butter together on medium speed for about 2 minutes, until the mixture is smooth, light, and creamy.
- Add the vanilla extract and mix until just combined.
- With the mixer on low speed, gradually add the confectioner’s sugar, a little at a time, until it is fully incorporated and there are no dry pockets.
- Once all the sugar has been added, increase the mixer speed to high and beat the frosting for another 2 minutes. This incorporates air, making the frosting wonderfully light and fluffy.
- Transfer the finished frosting to a piping bag fitted with your favorite decorating tip (I love a Wilton 2D for beautiful swirls) and decorate your completely cooled cupcakes as desired.
- Finish with an extra sprinkle of rainbow magic on top, and enjoy!
- Store any leftover frosted cupcakes in an airtight container in the refrigerator for up to two days.
Delightful Creations: More Recipes Using Rainbow Sprinkles
Rainbow sprinkles aren’t just for Funfetti! Here are more fun and colorful recipes where these cheerful adornments shine:
- St. Patrick’s Day Hot Chocolate Bombs
- Funfetti Cake Batter Dip
- Edible Sugar Cookie Dough
- Frozen Bananas with a Sprinkle Topping
- Classic Lofthouse Sugar Cookies
- Festive Cake Batter Frosting
- Colorful Birthday Sugar Cookie Bars
- Our Beloved Homemade Funfetti Cake
- Spectacular Rainbow Cake
Try These Other Fantastic Cupcake Recipes
If you’ve fallen in love with these easy Funfetti cupcakes, you’ll definitely want to explore these other incredible cupcake creations. Each link leads to an easy, printable recipe that’s sure to inspire your next baking adventure!
S’mores Cupcakes
These S’mores Cupcakes feature a rich homemade chocolate cupcake base, topped with decadent chocolate frosting, crushed graham crackers, and a fluffy marshmallow meringue. Prepare for an unforgettable flavor experience with every bite.
Check out this recipe
Red Velvet Cupcakes with Cream Cheese Frosting
Perfect for Christmas, Valentine’s Day, or any special occasion, these Red Velvet Cupcakes with Cream Cheese Frosting are easy to make and boast a perfectly moist crumb. You won’t want to miss these classic beauties.
Check out this recipe
Peanut Butter Chocolate Cupcakes
A dream come true for peanut butter and chocolate enthusiasts! These Peanut Butter Chocolate Cupcakes are adorned with a mini peanut butter cookie and sprinkles, making them an irresistibly yummy treat.
Check out this recipe

Nutella Filled Cupcakes
Indulge in these homemade vanilla cupcakes, generously stuffed with creamy Nutella and topped with rich chocolate buttercream frosting. Ideal for birthdays, holidays, or any time you crave a delightful surprise.
Check out this recipe
Cinnamon Vanilla Bean Cupcakes
Simple yet utterly delicious, these Cinnamon Vanilla Bean Cupcakes are perfect for fall celebrations, holiday desserts, or for anyone who adores the warm spice of cinnamon.
Check out this recipe
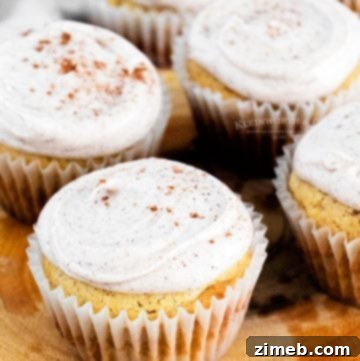
Best Bakery-Style Vanilla Cupcakes
Discover how easy it is to make the Best Bakery-Style Vanilla Cupcakes at home. These are perfect for parties, holidays, and all celebrations – truly better than anything you can buy!
Check out this recipe
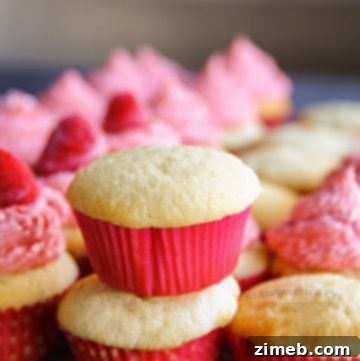
Chocolate Covered Strawberry Cupcakes
A delicious homemade recipe featuring rich chocolate cupcakes topped with creamy strawberry buttercream frosting and elegant fresh chocolate-covered strawberries!
Check out this recipe
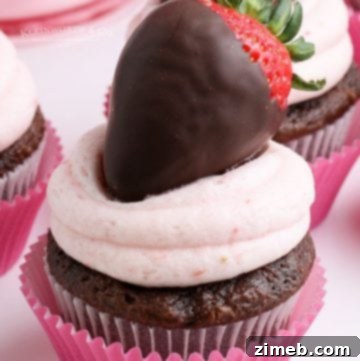
4th of July Cupcakes
Celebrate Independence Day with these deliciously adorable 4th of July Cupcakes, complete with homemade candy melt sparklers! They’re also fantastic for Memorial Day, Flag Day, and Labor Day.
Check out this recipe

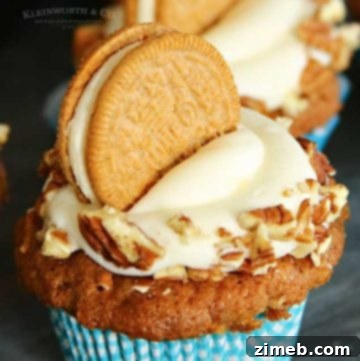
Carrot Cake Cupcakes with Cream Cheese Frosting
These Carrot Cake Cupcakes, generously topped with cream cheese frosting and OREO Carrot Cake Cookies, are the perfect dessert recipe for all your spring celebrations.
Check out this recipe
Other Creative Cupcake Ideas
- Delectable Coconut Cupcakes
- Irresistible S’mores Cupcakes
- Comforting Apple Fritter Cupcakes
- Fresh Blueberry Cupcakes
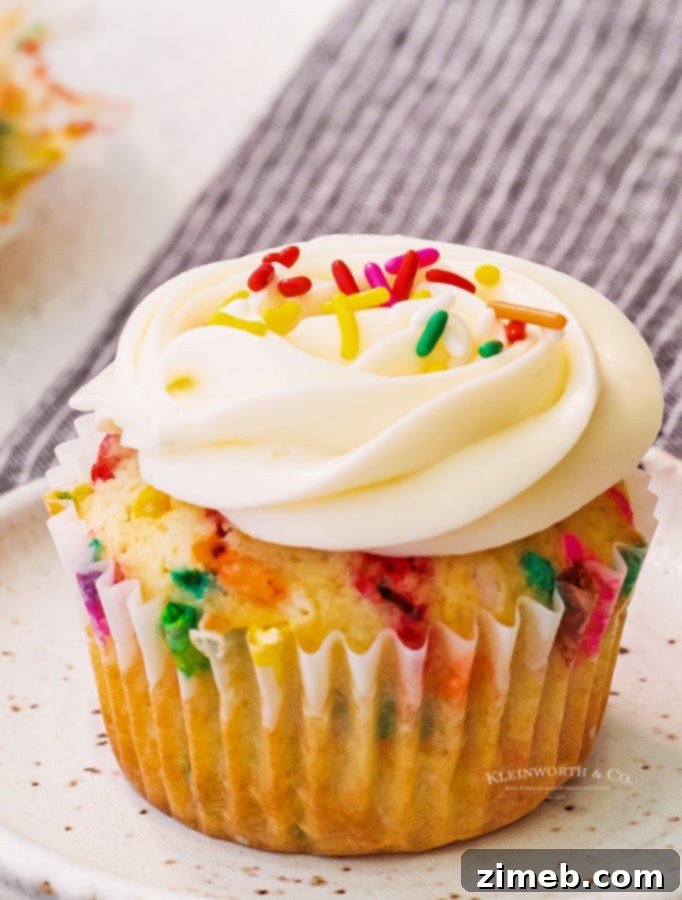
I genuinely hope you cherish this recipe for homemade Funfetti Cupcakes as much as I do. If you bake them, please consider leaving a five-star review below to share your experience! And don’t forget to spread the joy by sharing this recipe on Facebook and Pinterest – let’s make the world a little more colorful, one Funfetti cupcake at a time!
CONNECT WITH YUMMI HAUS!
Be sure to follow me on my social media, so you never miss a post!
Substack, Facebook, Pinterest, Instagram, Email Subscription
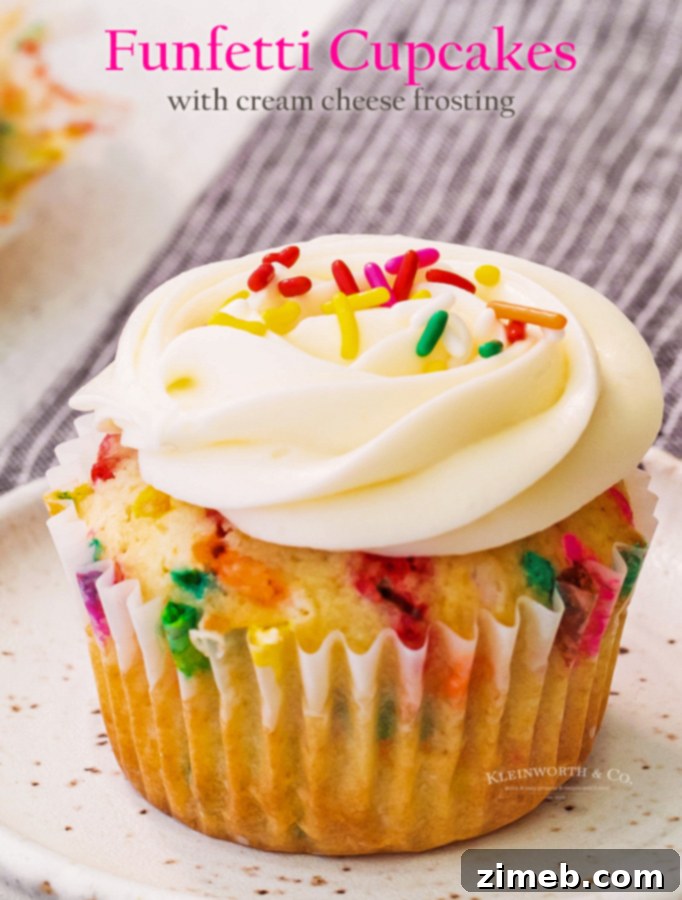
Funfetti Cupcakes Recipe + Cream Cheese Frosting
Rate this Recipe
Funfetti Cupcakes Recipe + Cream Cheese Frosting
This super delicious Funfetti Cupcakes Recipe is perfect for parties and celebrations! Light and fluffy, so much better than the box mix!
Pin
Save
Cook Time: 15 mins
Ingredients
Cupcakes
- 1 cup all-purpose flour
- 1 cup granulated sugar
- 1 tsp baking powder
- 2 large eggs
- ½ cup vegetable oil
- ½ cup buttermilk
- 1 tsp pure vanilla extract
- ½ cup sprinkles
Frosting
- 6 ounces cream cheese softened
- 6 tbsp butter softened
- 1 tsp vanilla extract
- 2 ½ cups confectioner’s sugar
Instructions
Cupcakes
- Preheat the oven to 350 degrees F and line a 12 well cupcake tin with paper liners or coat with baker’s release. Set aside.
- Combine the flour, sugar and baking powder and whisk to combine.
- In another bowl, whisk together the eggs, vegetable oil, buttermilk, and vanilla extract.
- Add the wet ingredients to the dry ingredients and fold them together gently. Keep folding just until no large lumps of flour remain.
- Fold in the sprinkles.
- Fill each cupcake tin ¾ of the way full and bake the cupcakes until a toothpick inserted into the center comes out clean– about 15 minutes.
- Allow the cupcakes to cool completely on a wire rack before frosting them (see below).
Frosting
- Using a stand or hand mixer, beat the cream cheese and butter together on medium speed until smooth and creamy– about 2 minutes.
- Add the vanilla and mix to combine.
- On a low speed, add the confectioner’s sugar a little at a time.
- Once all of the confectioner’s sugar has been added, turn the mixer to high speed and beat until the frosting is light and fluffy– about 2 minutes.
- Transfer the frosting to a piping bag fitted with your choice of tip (I used a Wilton 2D) and decorate the cupcakes as desired.
- Top with sprinkles and enjoy!
- Store any leftover cupcakes in the refrigerator for up to two days.
Nutritional information for the recipe is provided as a courtesy and is approximate. Please double-check with your own dietary calculator for the best accuracy. We at Yummi Haus cannot guarantee the accuracy of the nutritional information given for any recipe on this site.