
We are absolutely brimming with excitement here at Kleinworth & Co. as we welcome a truly special new contributor to our creative family – my dear friend, Ariean from One Krieger Chick! This collaboration is something I’ve eagerly anticipated, and I couldn’t be more thrilled to share her incredible talent and heartwarming presence with all of you. For those who may not yet be familiar with Ariean’s work, prepare to be captivated. She embodies a unique blend of sweetness, kindness, and boundless creativity that makes every project she touches shine. Her ability to transform simple ideas into stunning realities is truly inspiring, and I’ve long admired her innovative spirit and meticulous craftsmanship. Please join me in extending the warmest possible welcome to Ariean as she embarks on this exciting new chapter with us. We’re incredibly fortunate to have her remarkable skills and delightful personality enriching our community, and I know you’ll come to adore her as much as I do.
A Warm Welcome: Connecting Over Coffee and Creativity!
Hello, wonderful new friends! I’m Ariean, the creative force behind One Krieger Chick, and I am beyond excited to join the vibrant community here at Kleinworth & Co. The opportunity to share my passion for crafting and connect with fellow enthusiasts is truly a dream come true. Gina and I discovered early on that we share a remarkable amount in common, particularly our deep, abiding love for coffee. It’s more than just a beverage; it’s a ritual, a source of comfort, and often, the very fuel that kick-starts our creative endeavors each day. This shared appreciation for a good cup of joe often sparks our best ideas, and it’s certainly what inspired today’s delightful project. Together, we hope to bring you many more inspiring ideas that blend everyday joys with the satisfaction of handmade artistry.
Embrace the Morning Ritual: Crafting Your “But First…Coffee” Statement Tee
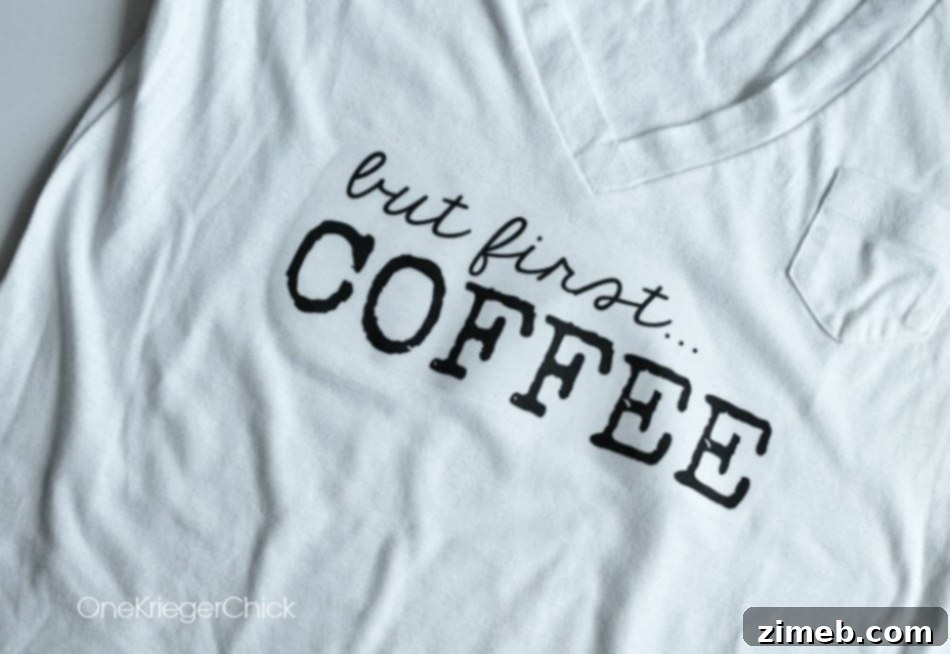
In a world that moves at an increasingly frantic pace, there’s a universal understanding and cherished ritual that many of us hold dear: that first cup of coffee in the morning. It’s not just about the caffeine; it’s about the moment of quiet anticipation, the comforting aroma, and the gentle nudge it provides to greet the day. This sentiment is beautifully captured in a phrase that has become a beloved mantra for coffee aficionados everywhere: “But First…Coffee.” It’s a subtle yet powerful declaration, a gentle warning, or perhaps a friendly reminder to ourselves and those around us that certain priorities must be met before the day’s hustle truly begins. This personalized tee isn’t just a piece of clothing; it’s a wearable expression of your morning philosophy, a testament to the essential role coffee plays in setting a positive tone for your entire day. Imagine stepping out, feeling refreshed, and sporting a shirt that perfectly encapsulates your approach to a great start. It’s a conversation starter, a nod to fellow coffee lovers, and a stylish way to infuse a bit of your personality into your everyday wardrobe. Crafting your own allows for a unique touch, making it even more special and reflective of your individual style.
Craft Your Own “But First…Coffee” T-Shirt: A Fun & Easy DIY Guide
Creating your very own “But First…Coffee” T-shirt is a wonderfully rewarding and surprisingly simple DIY project. It’s an excellent way to personalize your wardrobe, create thoughtful gifts for fellow coffee enthusiasts, or simply enjoy a relaxing afternoon of crafting. With just a few basic supplies and a clear set of instructions, you can transform a plain tee into a personalized statement piece that celebrates your favorite morning ritual. This project is perfect for beginners and seasoned crafters alike, promising a satisfying result that you’ll be proud to wear.
Gather Your Essential Supplies:
Before you begin, ensure you have all your materials ready. The key to a smooth crafting experience often lies in thorough preparation. You’ll need the following items, each playing a crucial role in bringing your custom T-shirt to life:
- T-shirt of Choice: Select a blank T-shirt in your preferred color, material, and size. High-quality cotton or cotton-blend shirts tend to work best for iron-on transfers, providing a smooth surface for application and excellent durability. Consider whether you want a classic fit, a V-neck, or a crew neck to truly personalize your garment.
- Iron-on T-shirt Transfer Paper: This is the magic behind your custom design! It’s vital to purchase transfer paper specifically designed for the color of shirt you’re using. There are different types for light-colored fabrics versus dark-colored fabrics. Using the correct type ensures your graphic’s colors appear vibrant and opaque on your chosen tee. Always refer to the package directions for specific recommendations and compatibility.
- Template for Graphic Image: You’ll need the “But First…Coffee” graphic. This free printable decal will be the centerpiece of your shirt. Ensure you have access to a printer to get a crisp, clear image onto your transfer paper.
- Sharp Scissors: A good pair of scissors will be indispensable for neatly trimming around your printed graphic, ensuring clean edges for a professional finish.
- Standard Household Iron: Any standard iron will do the trick. Ensure it has a steam-off setting, as you’ll want to apply the transfer paper with dry heat for best results.
- Hard, Heat-Resistant Surface: An ironing board is ideal, but a sturdy table covered with a thick towel will also work. The key is a firm, flat surface that can withstand the heat of the iron.
Step-by-Step Guide to Your Custom Coffee Tee:
Follow these detailed steps carefully to achieve a flawless “But First…Coffee” T-shirt that you’ll love to wear:
Step 1: Prepare Your T-Shirt for Transfer. Begin by washing, drying, and thoroughly ironing your chosen T-shirt. This crucial first step removes any sizing, lint, or wrinkles that could interfere with the transfer paper’s adhesion, ensuring a smooth, clean surface for your design. A perfectly smooth canvas will help your graphic adhere evenly and prevent unsightly bubbling or peeling.
Step 2: Print Your “But First…Coffee” Decal. Locate the free printable “But First…Coffee” T-shirt decal. Print this graphic onto your specialized iron-on transfer paper. It is absolutely essential to follow the package directions provided with your transfer paper regarding printing settings, orientation (often you’ll need to print a mirrored image, especially for light fabrics), and paper tray placement. Neglecting these instructions can result in a blurred image or a transfer that doesn’t adhere correctly.
Step 3: Precisely Trim Your Image. Once your decal is printed and dry (refer to transfer paper instructions for drying times), carefully use your sharp scissors to trim around the image. Aim for approximately a 1/4 inch border around the design. This small margin helps to prevent any unintended transfer of unprinted paper, giving your finished design a clean, professional edge on the fabric.
Step 4: Position Your Design. Lay your prepared T-shirt flat on your hard, heat-resistant ironing surface. Carefully position the trimmed transfer image onto the shirt. Ensure the image itself is facing down toward the fabric, with the paper backing facing upwards. Take your time to center the design perfectly or place it exactly where you envision it on the shirt. This is your chance to get the alignment just right, so use a ruler if necessary for precision.
Step 5: Iron the Image onto the Shirt. With the iron set to the recommended temperature for your transfer paper (usually a high, dry heat setting, with no steam), begin to iron the image onto the shirt. Move the iron continuously in small, circular motions over the entire graphic area. The key is to apply firm, even pressure across the entire design without letting the iron sit still in one place for too long. Prolonged contact in a single spot can lead to burning the paper or the fabric. Maintain constant motion to ensure even heat distribution and optimal adhesion. Refer to your transfer paper’s instructions for the specific duration and technique required, as these can vary by brand.
Step 6: Allow to Cool and Reveal Your Design. After you’ve thoroughly ironed the entire image according to the package directions, carefully remove the iron and allow the T-shirt and the transfer paper to cool completely. Patience is crucial at this stage; attempting to peel the backing paper while it’s still warm can result in the design tearing or failing to transfer properly. Once cool to the touch, slowly and carefully peel away the paper backing, starting from one corner. You’ll reveal your perfectly transferred “But First…Coffee” design! Admire your awesome new, custom-made shirt!
Step 7: Care Instructions for Lasting Wear. To ensure your custom “But First…Coffee” T-shirt remains vibrant and beautiful for many washes to come, proper care is essential. Always refer to the washing instructions provided with your specific iron-on transfer paper, as they often contain critical details for longevity. Generally, it is recommended to wash the shirt inside out in cold water on a gentle cycle. For drying, hang the shirt to air dry instead of using a machine dryer, as high heat can potentially damage the transfer. Following these simple guidelines will help preserve the integrity of your design and keep your shirt looking fantastic.
Seriously, I Want This Shirt! Ariean, You’re Absolutely Awesome!
Wow! Seriously, Ariean, you’ve done it again! This “But First…Coffee” T-shirt is absolutely phenomenal, and I am completely in love with it! The simplicity, the message, the sheer genius of this DIY project – it’s all just perfect. Every time I see it, it puts a smile on my face, and I can already imagine countless coffee lovers sporting this fantastic design. I knew you were incredibly talented, and this project just reinforces that belief. You’ve made crafting accessible and fun, and I’m so excited for our readers to try this out. My day is definitely off to a great start just seeing this, and I truly hope yours is too! I told you all she was pretty AWESOME, didn’t I? This project is just a tiny glimpse into her incredible creative mind.
Head on over and check out all the other fabulous things Ariean has done at One Krieger Chick. Her blog is a treasure trove of inspiration, clever ideas, and beautiful creations, spanning a wide array of crafts and home decor projects. You’re guaranteed to find something that sparks your imagination and encourages you to get crafting!
Craving More Creative Projects? Dive into Ariean’s Portfolio!
If this “But First…Coffee” T-shirt project has ignited your inner crafter, you’re in luck! Ariean has a remarkable knack for developing engaging and achievable DIYs that yield stunning results. Her philosophy of making beautiful things accessible to everyone shines through in every tutorial. Here are a couple more fan-favorite projects from her extensive collection that you won’t want to miss. These diverse ideas demonstrate her versatile talent and commitment to helping you bring more handmade beauty into your life:
Unleash Your Inner Artist: The T-Shirt Tie-Dye Fringe Scarf
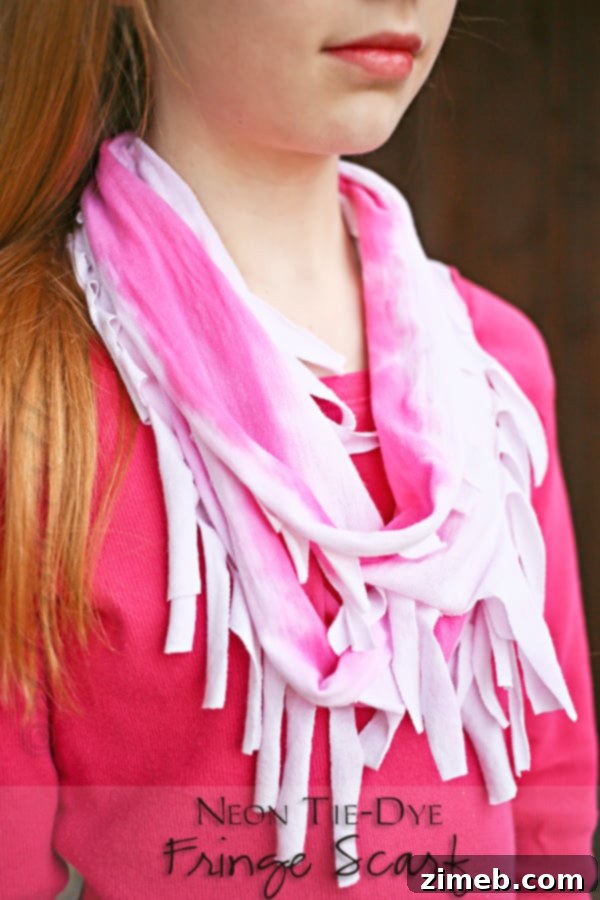
Transform an old T-shirt into a vibrant, fashionable accessory with Ariean’s ingenious tutorial for a Neon Tie-Dye Fringe Scarf. This project is a fantastic way to upcycle materials, experiment with color, and create a unique, eye-catching scarf that’s perfect for adding a pop of personality to any outfit. It’s surprisingly simple, incredibly fun, and the results are always stunningly original. Discover how to create your own wearable art today!
Effortless Comfort: The No-Sew Sleep Mask Project
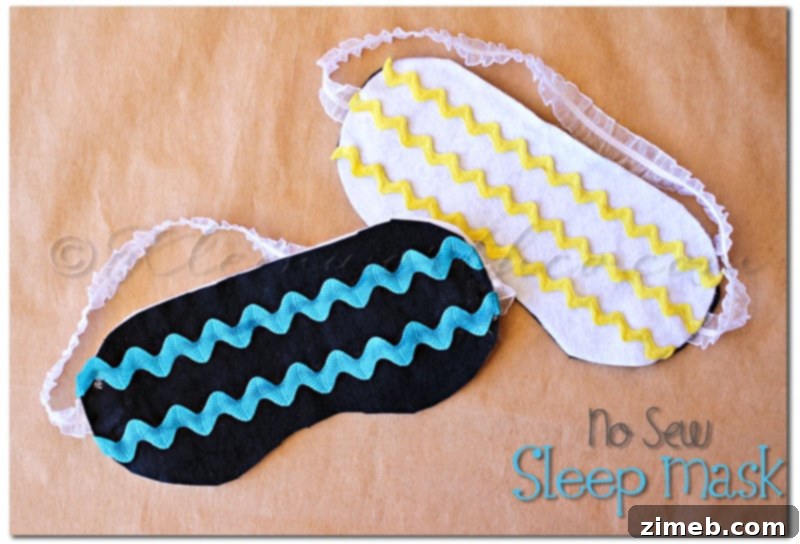
For those who appreciate both comfort and simplicity, Ariean’s No-Sew Sleep Mask project is an absolute must-try. This brilliant tutorial demonstrates how to craft a luxuriously soft and effective sleep mask without needing a sewing machine or even a needle and thread. It’s perfect for gifting, travel, or simply ensuring a peaceful night’s rest. Learn how to create this essential comfort item with ease and enjoy the sweet dreams it brings.
Don’t stop here! Ariean’s creativity knows no bounds, and these projects are just a taste of the inspiring content you’ll find from her. We invite you to explore more of her work, get inspired, and embark on your own creative journey. Happy crafting!