

Mastering the Art of Poached Eggs: Your Ultimate Guide to a Perfect Breakfast
There’s a unique satisfaction that comes with cutting into a perfectly cooked egg, watching that rich, golden yolk slowly spill out. For many, this culinary delight is the cornerstone of a truly satisfying breakfast or brunch. While eggs offer a multitude of preparations, from scrambled to fried, few can rival the delicate elegance and creamy texture of a perfectly poached egg. This comprehensive guide will walk you through everything you need to know to effortlessly create these breakfast masterpieces, turning a seemingly daunting task into a simple, enjoyable kitchen experience.
Poaching eggs might sound intimidating, but with a few simple ingredients – fresh eggs, a splash of vinegar, and water – combined with a basic saucepan, you’re well on your way to a gourmet meal. This method not only guarantees a consistently perfect runny yolk every single time but also presents a lighter, healthier alternative to frying. Say goodbye to excess oils and hello to a pure, unadulterated egg flavor that complements almost any dish.

The Simplicity of Poached Eggs: Why This Method Stands Out
Poaching an egg is a culinary technique that involves cooking an egg in hot water without its shell. Unlike boiling, where the egg is fully submerged and cooked in its shell, poaching requires a gentle simmer and precise timing, resulting in a firm white and a luscious, runny yolk. This method is often lauded for its ability to produce a clean, pure egg flavor, free from the added fats typically used in frying. It’s a fundamental skill for any home cook looking to elevate their breakfast game or add a touch of sophistication to various dishes.
The beauty of poaching lies in its straightforward nature. While it does benefit from a little practice to achieve consistent perfection, the core process is remarkably simple. You don’t need fancy equipment; just a pot, some water, vinegar, and fresh eggs are enough to get started. The gentle cooking process ensures that the egg whites set delicately around the vibrant yolk, creating a visually appealing and incredibly satisfying result.
Getting Started: Essential Ingredients and Setup
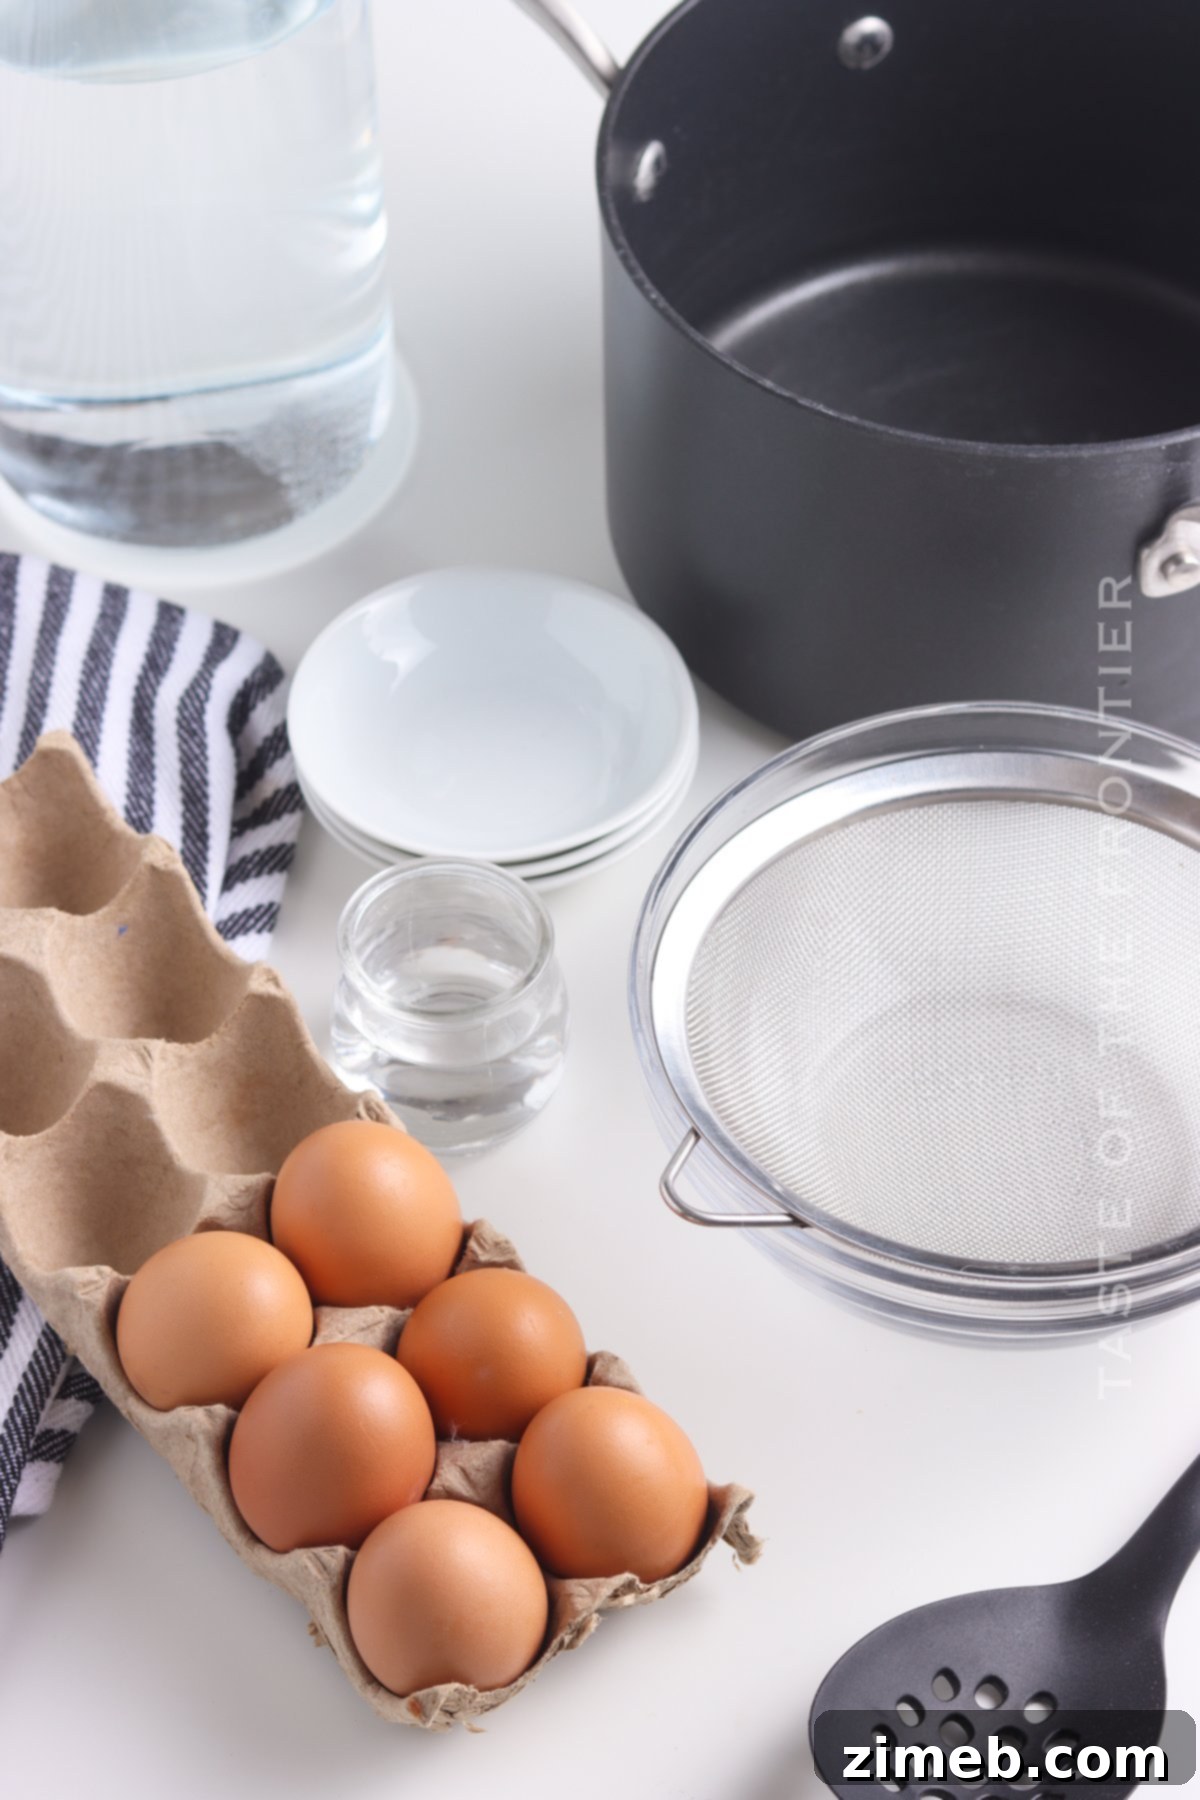
Embarking on your poached egg journey begins with the right setup. The quality of your ingredients, particularly the eggs, plays a significant role in the final outcome. Fresh eggs are paramount for successful poaching, as their whites are thicker and hold their shape better, preventing them from scattering in the water.
Perfect Poached Eggs Ingredients:
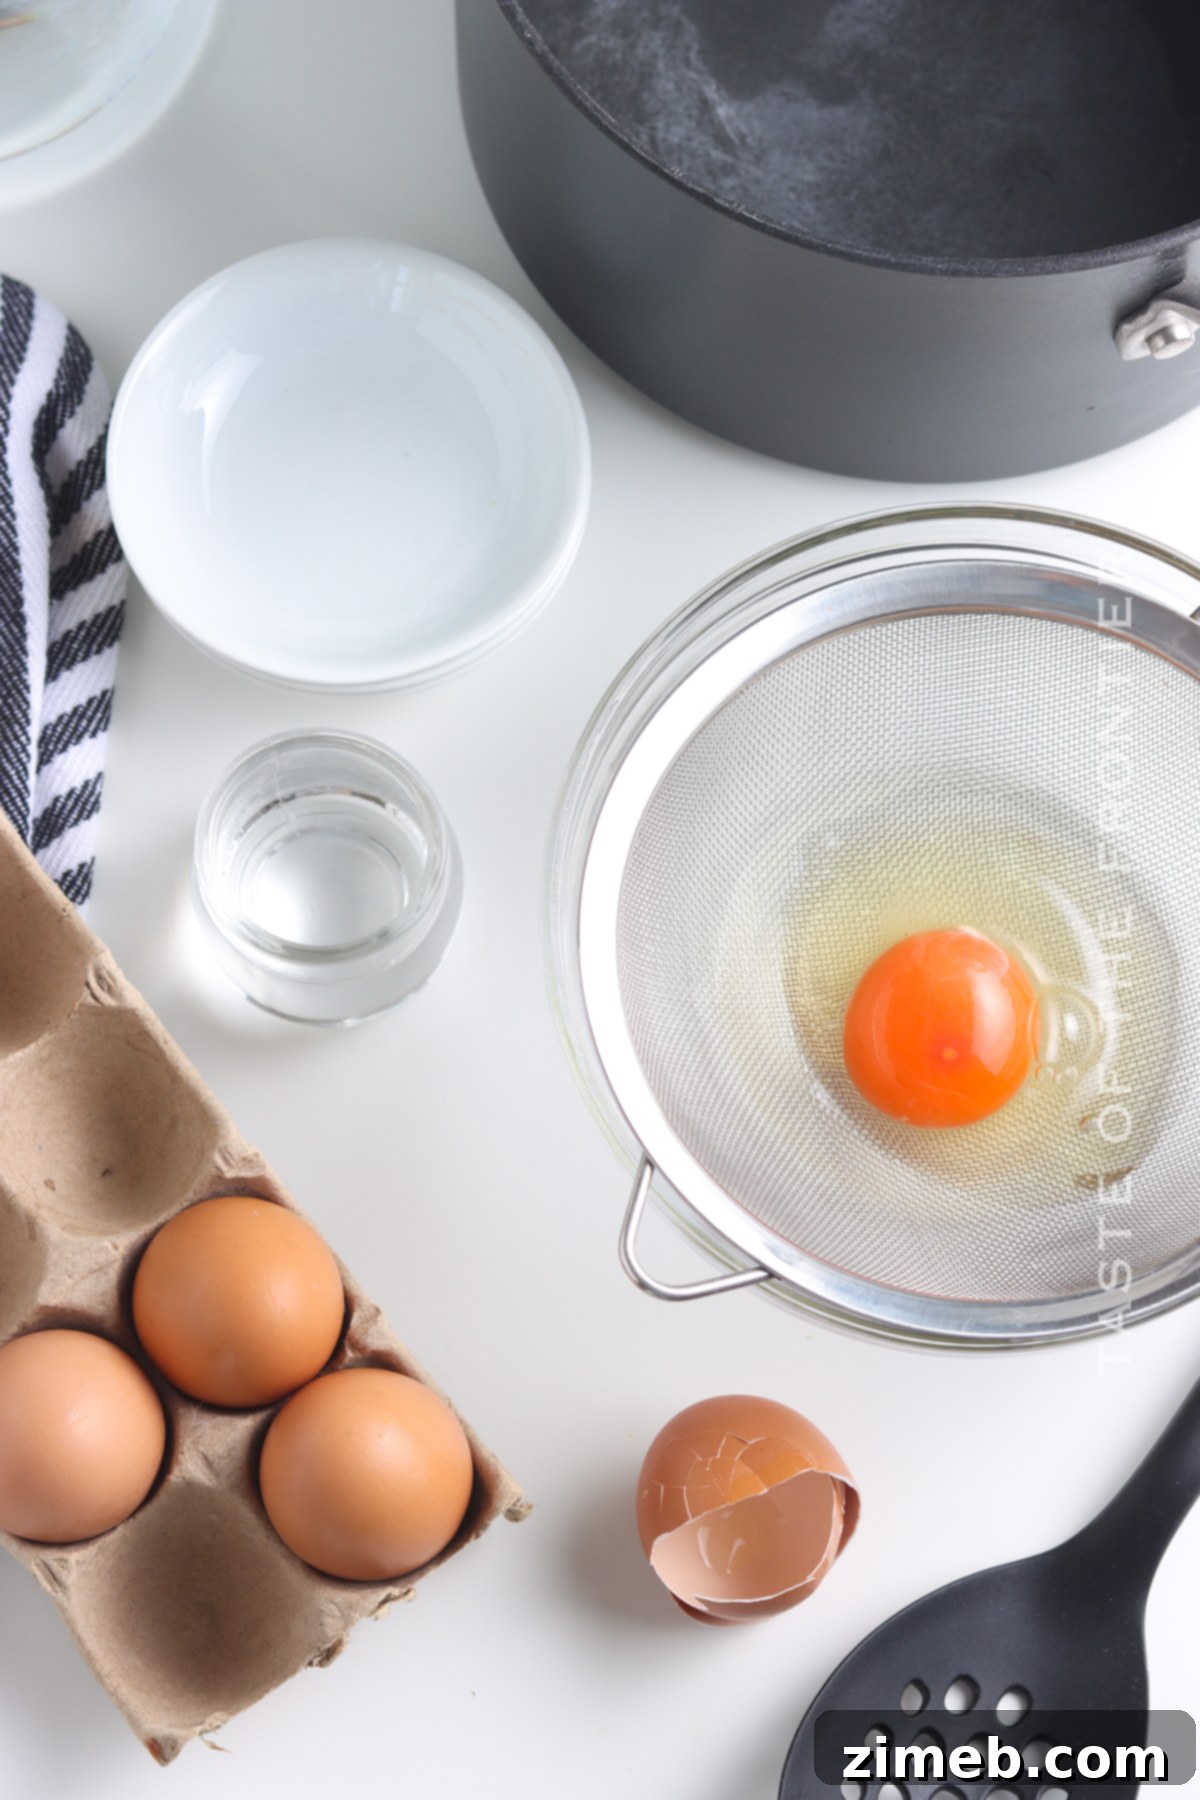
- Large Eggs: Fresh eggs are key. Their albumin (egg white) is firmer and less likely to spread. If your eggs aren’t super fresh, a fine-mesh strainer can help remove the thinner, watery whites, keeping your poached eggs compact.
- Distilled White Vinegar: A small amount of vinegar helps the egg whites coagulate faster, forming a neat parcel around the yolk. Don’t worry, you won’t taste it!
- Water: The medium for cooking.
- Saucepan or Pot: A medium to large saucepan provides enough space for the eggs to cook without crowding.
Preparing Your Eggs for Poaching
Before the water even touches the heat, it’s wise to prepare your eggs. Crack each egg, one at a time, into a small bowl or ramekin. This allows you to inspect the egg for any shell fragments and ensures you can gently slip it into the simmering water. If your eggs aren’t farm-fresh, you might notice some thin, watery whites surrounding the thicker albumen. To achieve the most aesthetically pleasing poached egg, gently strain the egg through a fine-mesh sieve for a few seconds to discard these thinner whites. This step, while optional, makes a noticeable difference in the egg’s appearance, resulting in a tighter, more uniform shape.
Step-by-Step Stovetop Poaching Method
The traditional stovetop method is the most common and, arguably, the most rewarding way to poach eggs. Follow these steps for consistently perfect results:

- Prepare the Water: Fill a medium to large saucepan with about 4-6 inches of water. Add 1 tablespoon of distilled white vinegar. Bring the water to a gentle simmer – you’re looking for small bubbles forming on the bottom of the pan, not a rolling boil. A thermometer should read around 180-190°F (82-88°C).
- Create a Vortex: Using a long-handled spoon, gently stir the water in a circular motion to create a slow “tornado” or vortex effect in the center of the pan. This motion helps the egg whites wrap around the yolk, creating a compact, beautiful shape.
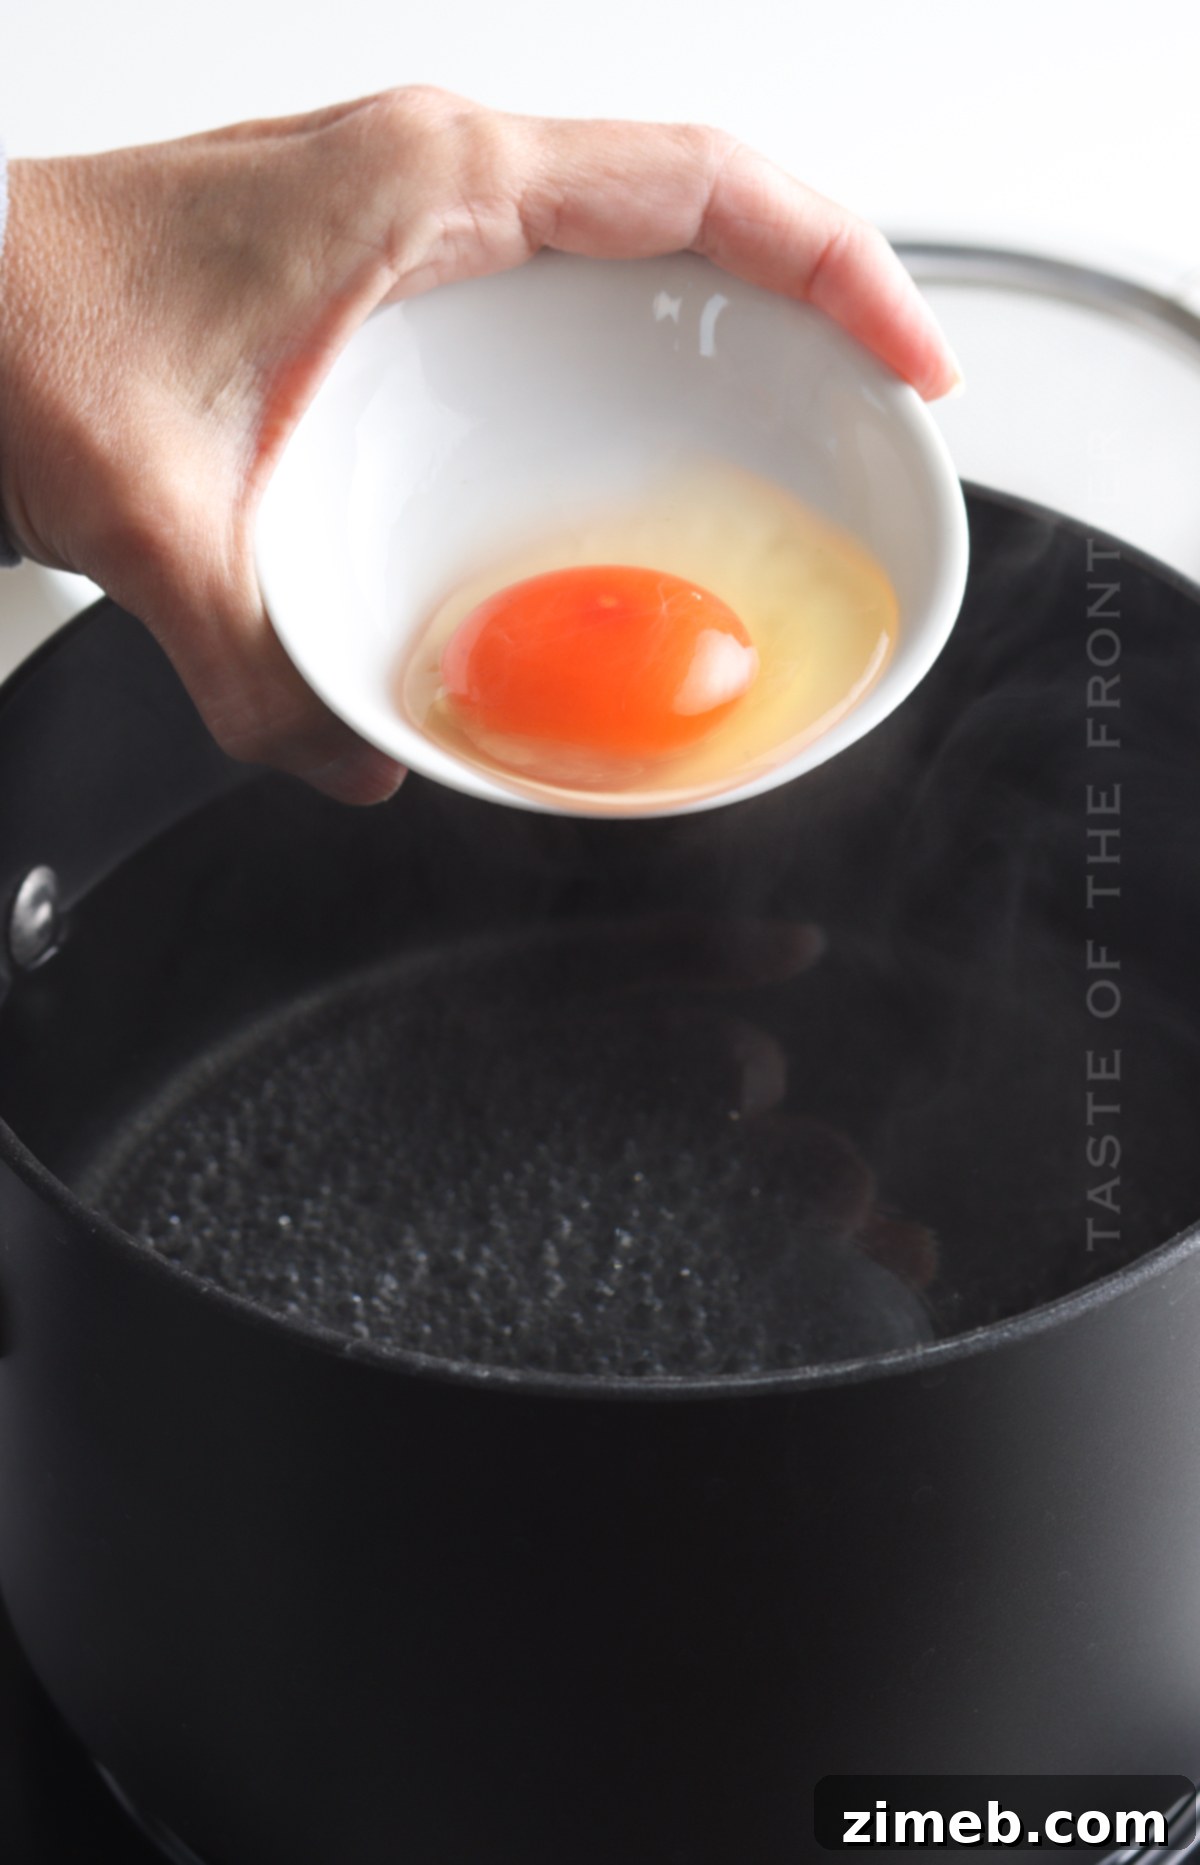
- Gently Add the Egg: Carefully slip one prepared egg into the center of the swirling water. If poaching multiple eggs, ensure there’s enough space between them to prevent sticking. Avoid overcrowding the pan; it’s better to poach eggs in batches of 1-2 at a time, depending on the pan size.
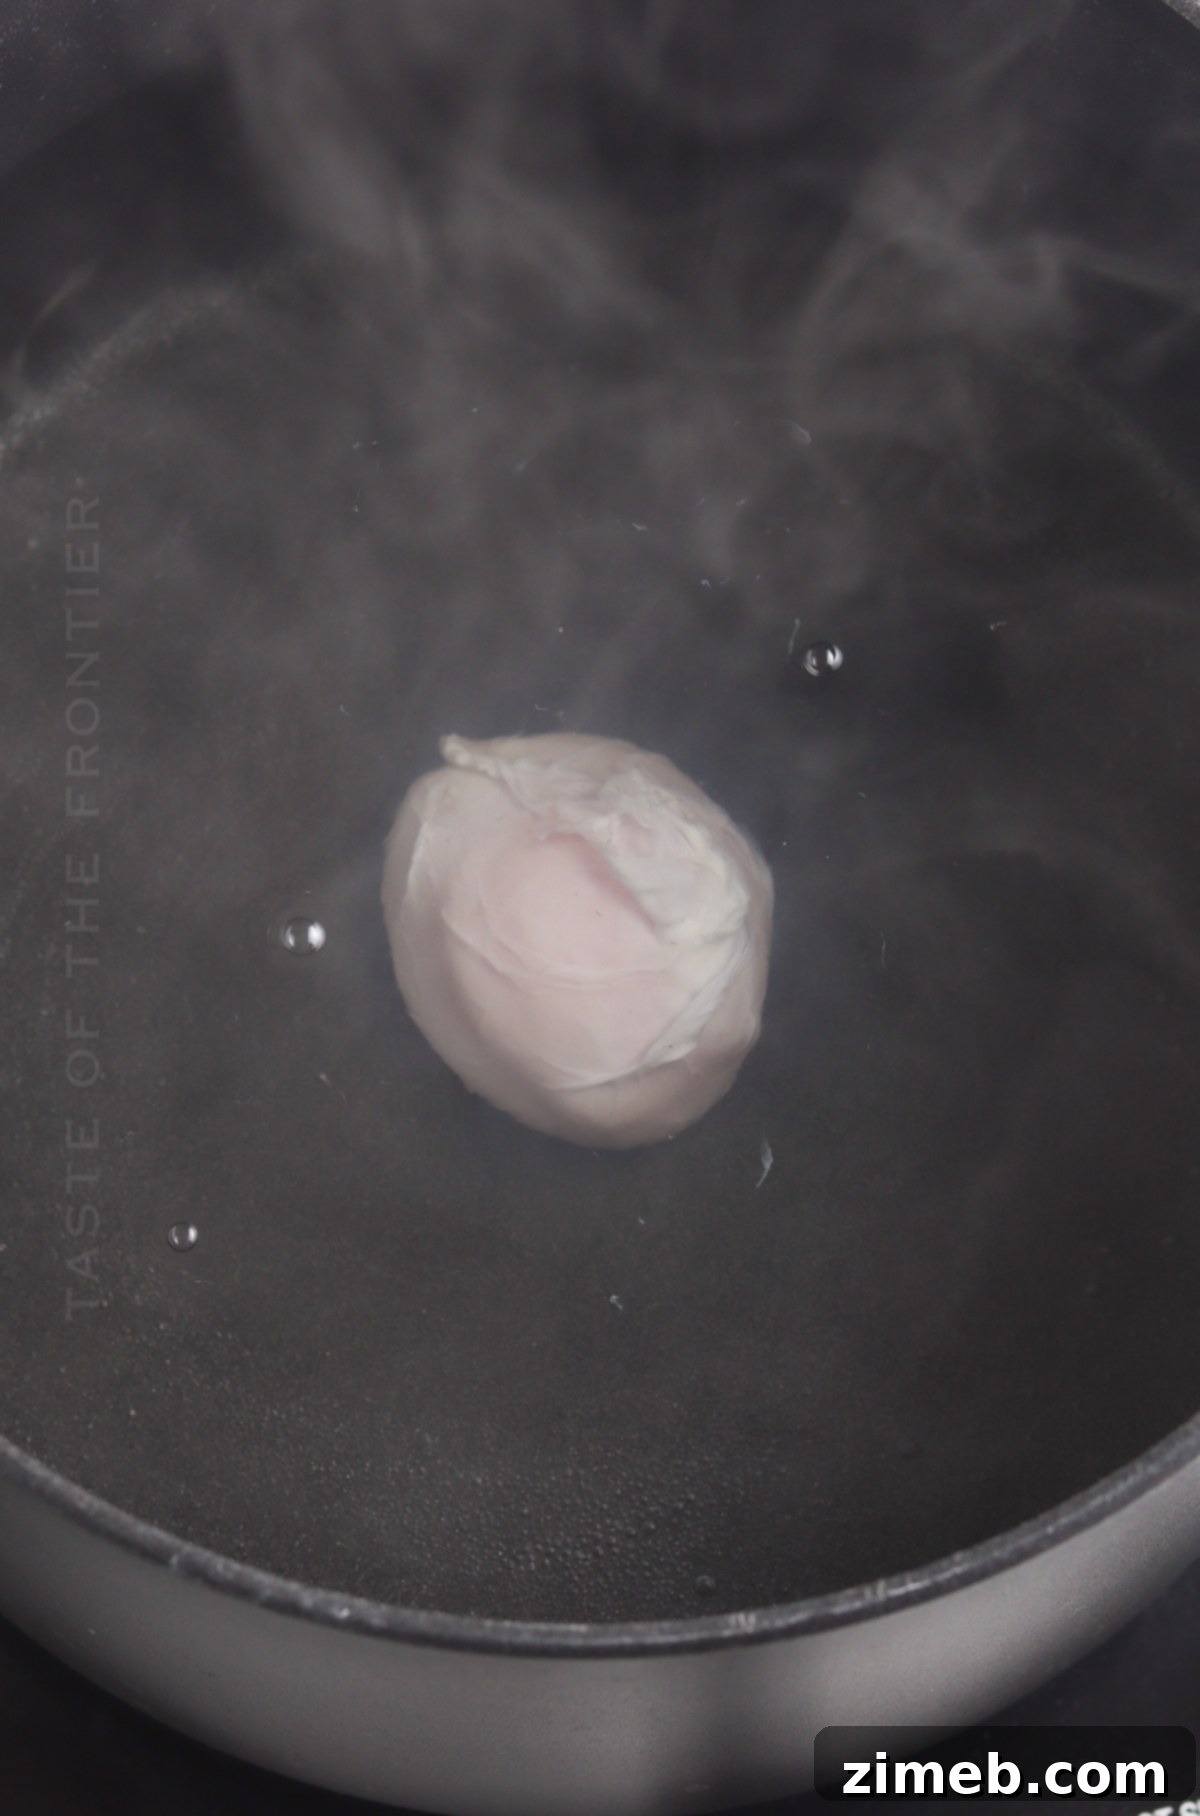
- Cook to Perfection: Let the egg cook for 2 to 3 minutes. For a truly runny yolk, 2 minutes and 30 seconds is often ideal. For a slightly firmer yolk, go closer to 3 minutes. Do not stir the water once the egg is in, as this can break the delicate whites.
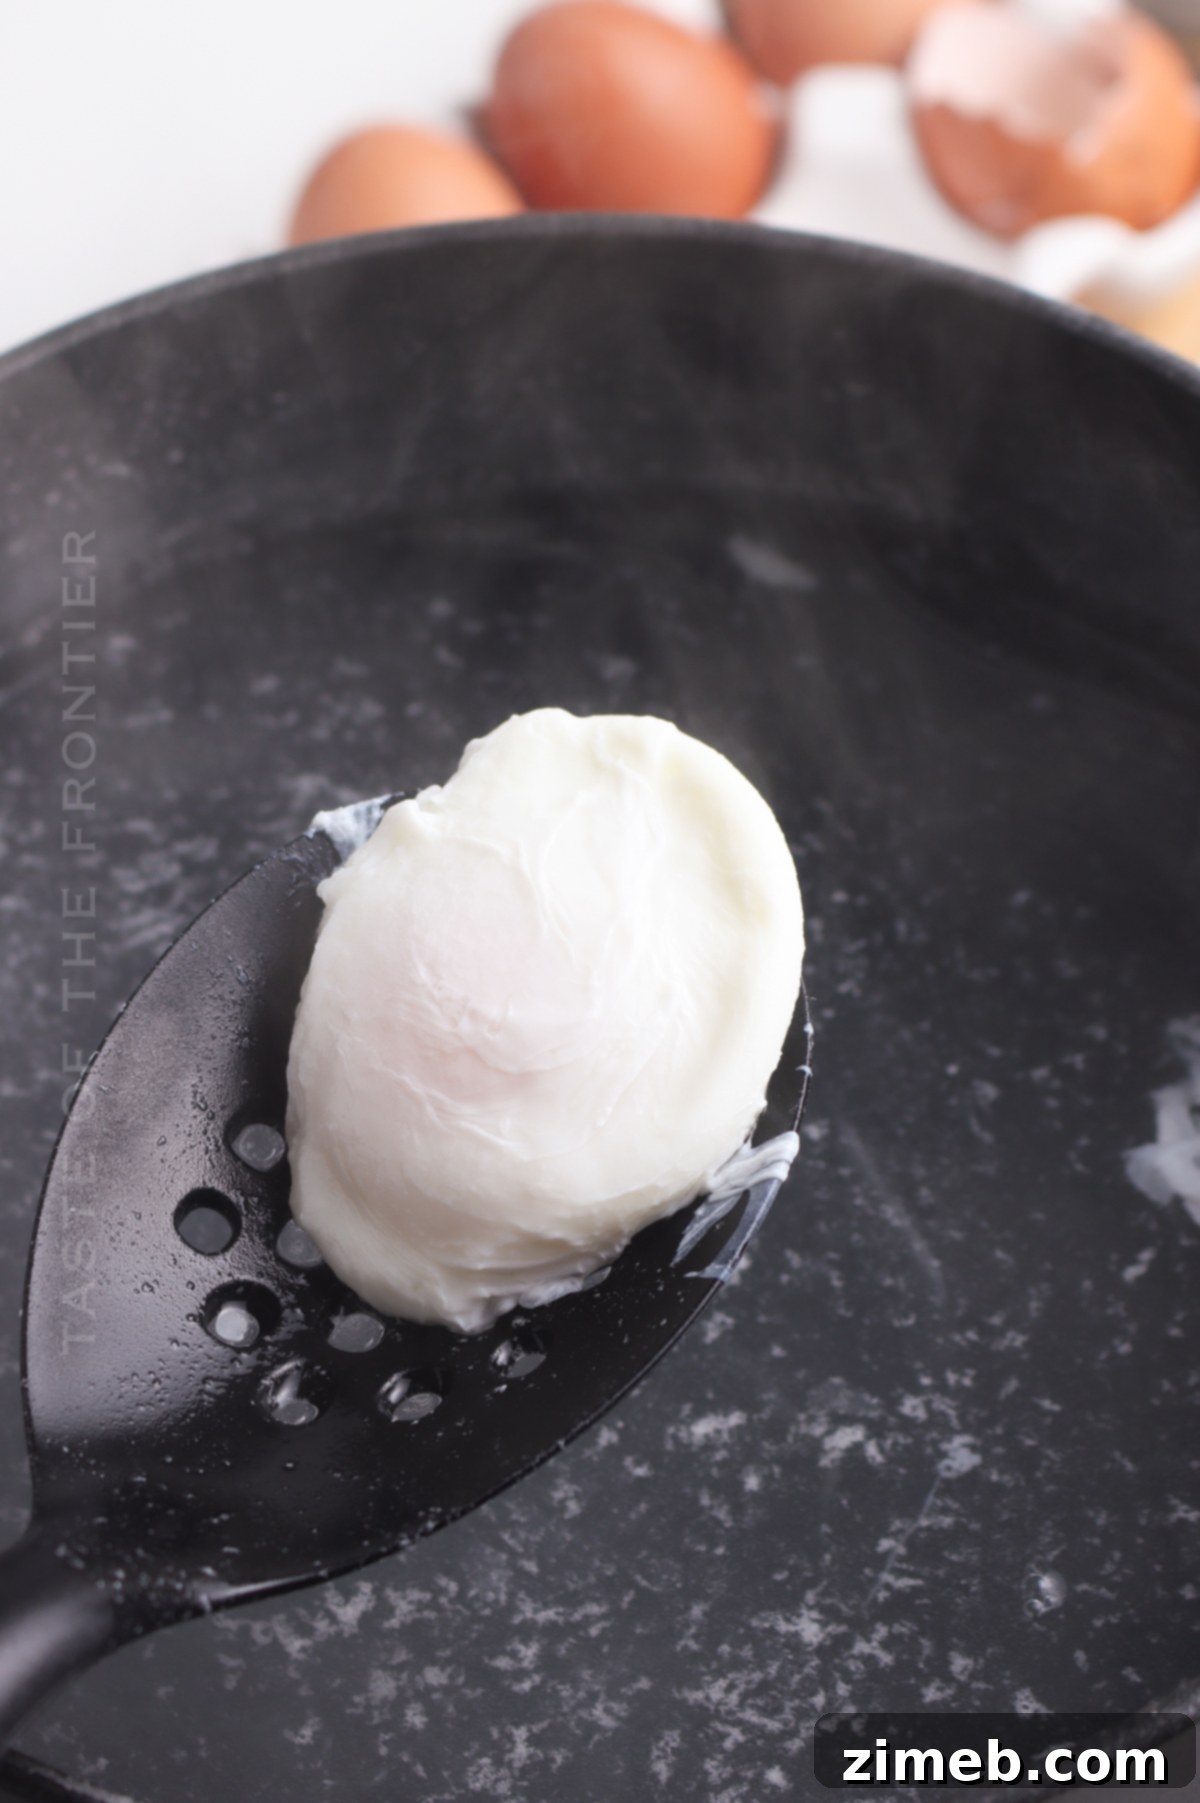
- Remove and Serve: Using a slotted spoon, carefully lift the poached egg from the water, letting any excess water drain off. Place it directly onto a plate or a paper towel-lined surface to absorb any remaining moisture. Serve immediately.
Poached eggs are incredibly versatile. Enjoy them on their own, seasoned simply with salt and freshly ground black pepper. They are also fantastic with sliced avocado on toast, as the star of Eggs Benedict, or added to salads for a boost of protein and richness. The possibilities are endless!
Frequently Asked Questions About Poached Eggs
Can You Poach Eggs Ahead of Time?
Yes, absolutely! Poaching eggs in advance is a fantastic time-saver, especially when preparing for a brunch crowd. Once your eggs are perfectly poached, immediately transfer them to an ice-water bath. This rapidly stops the cooking process, preventing them from overcooking and preserving their ideal texture. Once cooled, store them in the ice-water bath in an airtight container in the refrigerator for up to 2 days. To reheat, simply place the chilled poached eggs in a bowl of hot (not boiling) water for about 20-30 seconds, or until warmed through. This method makes entertaining a breeze!

How to Store Poached Eggs
As mentioned, poached eggs can be stored in the refrigerator. The best way to store them is fully submerged in water within an airtight container. This keeps them moist and prevents them from drying out or absorbing refrigerator odors. They will keep well for up to two days. While the egg whites might firm up slightly upon cooling, the yolk will retain its creamy consistency. Reheating them gently in warm water brings them back to their prime.
How to Make Poached Eggs in the Microwave
For a quick and convenient poached egg, the microwave can be your best friend. This method is surprisingly effective for single servings.
- Fill a microwave-safe coffee cup, glass, or liquid measuring cup halfway with cold water.
- Carefully crack 1 egg into the cup.
- Place a small microwave-safe saucer on top of the cup to completely cover the opening.
- Microwave on high for 30 seconds. Carefully check if the egg white is set. If not, microwave in 10-second increments until desired doneness. Exercise caution when removing the lid, as steam can escape rapidly and effectively.
- Using a slotted spoon, strain the egg once it has finished cooking and serve immediately.
Is Poached Egg on Toast Good for Weight Loss?
Absolutely! Poached eggs are an excellent choice for those focusing on weight management. They are low in calories and fat (especially compared to fried eggs) and packed with high-quality protein, which is known for its satiety-boosting effects. When combined with whole-grain toast and perhaps some healthy fats like avocado, a poached egg on toast becomes a filling, nutrient-dense breakfast that can keep you feeling satisfied for hours. This helps prevent mid-morning snacking and supports healthy eating goals. The protein content helps maintain muscle mass, which is crucial during weight loss.
Can Poached Eggs Be Undercooked? Understanding Salmonella Risk
Any food containing eggs, especially if undercooked, carries a risk of salmonella infection. This is particularly true for poached eggs where the yolk remains runny. While the chances are relatively low with properly handled and pasteurized eggs, it’s a consideration, especially for vulnerable populations like pregnant women, young children, the elderly, and individuals with compromised immune systems. For most healthy adults, a runny yolk from a fresh, quality egg is generally considered safe. However, if you have concerns, cooking the egg for an extra 30 seconds to a minute will result in a firmer, though still soft, yolk, reducing any potential risk.
How to Make Poached Eggs in the Instant Pot
The Instant Pot offers another convenient way to achieve perfectly poached eggs, especially if you prefer a more hands-off approach and can precisely control the temperature. Here’s how:
- Add 1 cup of water to the bottom of your Instant Pot insert.
- Place the trivet (steaming rack) in the pot.
- Carefully crack each egg into individual silicone poaching cups or ramekins. Ensure the yolks remain unbroken. You can typically cook 4 eggs at once depending on the size of your cups and pot.
- Place the filled poaching cups on the trivet.
- Secure the lid and set the valve to the “Sealing” position.
- Cook on Manual High Pressure for 3 minutes.
- Once cooking is complete, perform a Quick Release of the pressure.
- As soon as the pressure pin drops, carefully remove the eggs.
- Run a spoon along the inside of each cup to gently release the poached egg.
- Place them on a paper towel-lined plate to absorb any excess moisture before serving.
Don’t miss these other great egg recipes!
- Soft Boiled Eggs
- Perfect Hard Boiled Eggs
- How to Dye Eggs
- Traditional Deviled Eggs
- Best Egg Salad Recipe
- 25 Amazing Egg Recipes
- 30 Unique Easter Egg Decorating Ideas
Products I love when making poached eggs…
Crafting perfect poached eggs is a simple endeavor, and you might already have most of the necessary tools. However, having the right equipment can make the process even smoother and more enjoyable. Here’s a list of items I find indispensable for consistently delicious poached eggs. (You can also SHOP MY FAVORITES in my store).
- Saucepan or Pot: A good quality saucepan with a heavy bottom ensures even heat distribution, which is vital for maintaining a consistent simmer.
- Spider Strainer: While a slotted spoon works, a spider strainer is fantastic for gently lowering and lifting eggs, preventing damage to the delicate whites.
- Prep Bowls or Ramekins: Small bowls are ideal for cracking eggs individually before slipping them into the water, allowing for a smooth transfer and better egg formation.
If you love this Easy Poached Eggs recipe, you’re going to love these other breakfast ideas too. Please click each link below to find the easy, printable recipe!
Air Fryer Bagels
Forget about running to the coffee shop for breakfast when you can make warm & chewy, Air Fryer Bagels in the comfort of your own home!
Check out this recipe

Brioche French Toast
Rich and tender brioche bread, thickly sliced and coated in a sweet cinnamon egg custard makes this Brioche French Toast the perfect breakfast. Topped with fresh fruit and maple syrup, it’s delish!
Check out this recipe

Blueberry Baked French Toast
Blueberry Baked French Toast is an easy breakfast recipe for any day of the week. You’ll love how easy it is to make this overnight french toast casserole.
Check out this recipe

Easy Overnight Oats
These super Easy Overnight Oats are a great make-ahead breakfast with just 5 ingredients and only 5 minutes of prep. So delicious too!
Check out this recipe
Blueberry Pie Donuts
Check out this recipe

Breakfast Burritos
Loaded with sausage, hash browns, cheese, and peppers, these Breakfast Burritos are the perfect food to keep you going all morning long.
Check out this recipe

Homemade Waffle Recipe
No need to dine out to enjoy warm Belgian waffles. This Homemade Waffle Recipe is so easy and delicious – make extra for a quick breakfast all week long.
Check out this recipe

JUMBO Bakery-Style Chocolate Chip Muffins
JUMBO Bakery-Style Chocolate Chip Muffins are deliciously moist, packed with chocolate chips, and the perfect way to start the day!
Check out this recipe

Mini Pancake Cereal
Mini Pancake Cereal has taken over the internet. Teeny tiny pillowy pancakes with a crispy outer texture are great with syrup, fruit, & more!
Check out this recipe

Other Delicious Egg Recipes
Expand your egg repertoire beyond poaching with these fantastic recipes:
- Scrambled Eggs
- Bacon Deviled Eggs
- Soft Boiled Eggs
- Fried Eggs
- Sunny Side Eggs
- Perfect Hard Boiled Eggs
- Steamed Eggs
We hope this guide empowers you to confidently create beautiful, delicious poached eggs every time. If you enjoyed this recipe for Easy Poached Eggs as much as we do, please consider leaving a five-star review and sharing it with your friends and family on Facebook and Pinterest! Your support helps us create more great content.

CONNECT WITH YUMMI HAUS!
Be sure to follow us on our social media, so you never miss a post!
Substack, FB, Pinterest, IG, Email Subscription

PIN THIS RECIPE NOW TO REMEMBER IT LATER

Easy Poached Eggs
Course: Breakfast
Servings: 2
This easy poached eggs recipe makes a great breakfast. All you need is eggs, a little vinegar, water, and a saucepan. So simple and tasty!
Pin Recipe
Save Recipe
Prep Time: 2 minutes
Cook Time: 3 minutes
Total Time: 5 minutes
Ingredients
- 2 large eggs (fresh eggs work best)
- 1 tablespoon distilled white vinegar
- Water
Instructions
Stovetop Method:
- Boil water in a large pot, then lower the heat to a gentle simmer (just bubbling).
- Add the vinegar to the water.
- Crack each egg into individual cups, ready to pour into the water.
- Using a slotted spoon, stir the water in a large circular motion to create a vortex.
- Add one egg to the center of the pot’s vortex. Gently stir the water to keep the circular motion going, helping the egg white wrap around itself.
- Cook the egg for 2½ to 3 minutes, then remove using a slotted spoon.
- You can place the cooked egg into an ice bath to stop the cooking process or serve immediately.
Instant Pot Method:
- Add 1 cup of water to the bottom of the Instant Pot insert.
- Place the trivet in the pot.
- Crack an egg into a liquid measuring cup, then pour it into a poaching cup. Repeat for up to three more eggs, ensuring yolks are not broken.
- Place the lid on and set the valve to sealing.
- Cook on manual high pressure for 3 minutes.
- Quick release the pressure when done.
- Remove the eggs as soon as the pressure pin drops.
- Run a spoon along the inside of the poaching cup to release the egg.
- Place them on a paper towel-lined plate to help absorb excess moisture before serving.
Notes
- Use a fine mesh strainer to separate out thin egg whites when using older eggs before cooking them, for a neater poached egg.
Equipment
- 1 saucepan
- 1 fine mesh strainer (optional, see notes)
- 1 slotted spoon
Nutritional information for the recipe is provided as a courtesy and is approximate. Please double-check with your own dietary calculator for the best accuracy. We at Yummi Haus cannot guarantee the accuracy of the nutritional information given for any recipe on this site.
Love this recipe? Follow @KleinworthCo for even more tasty recipes!