
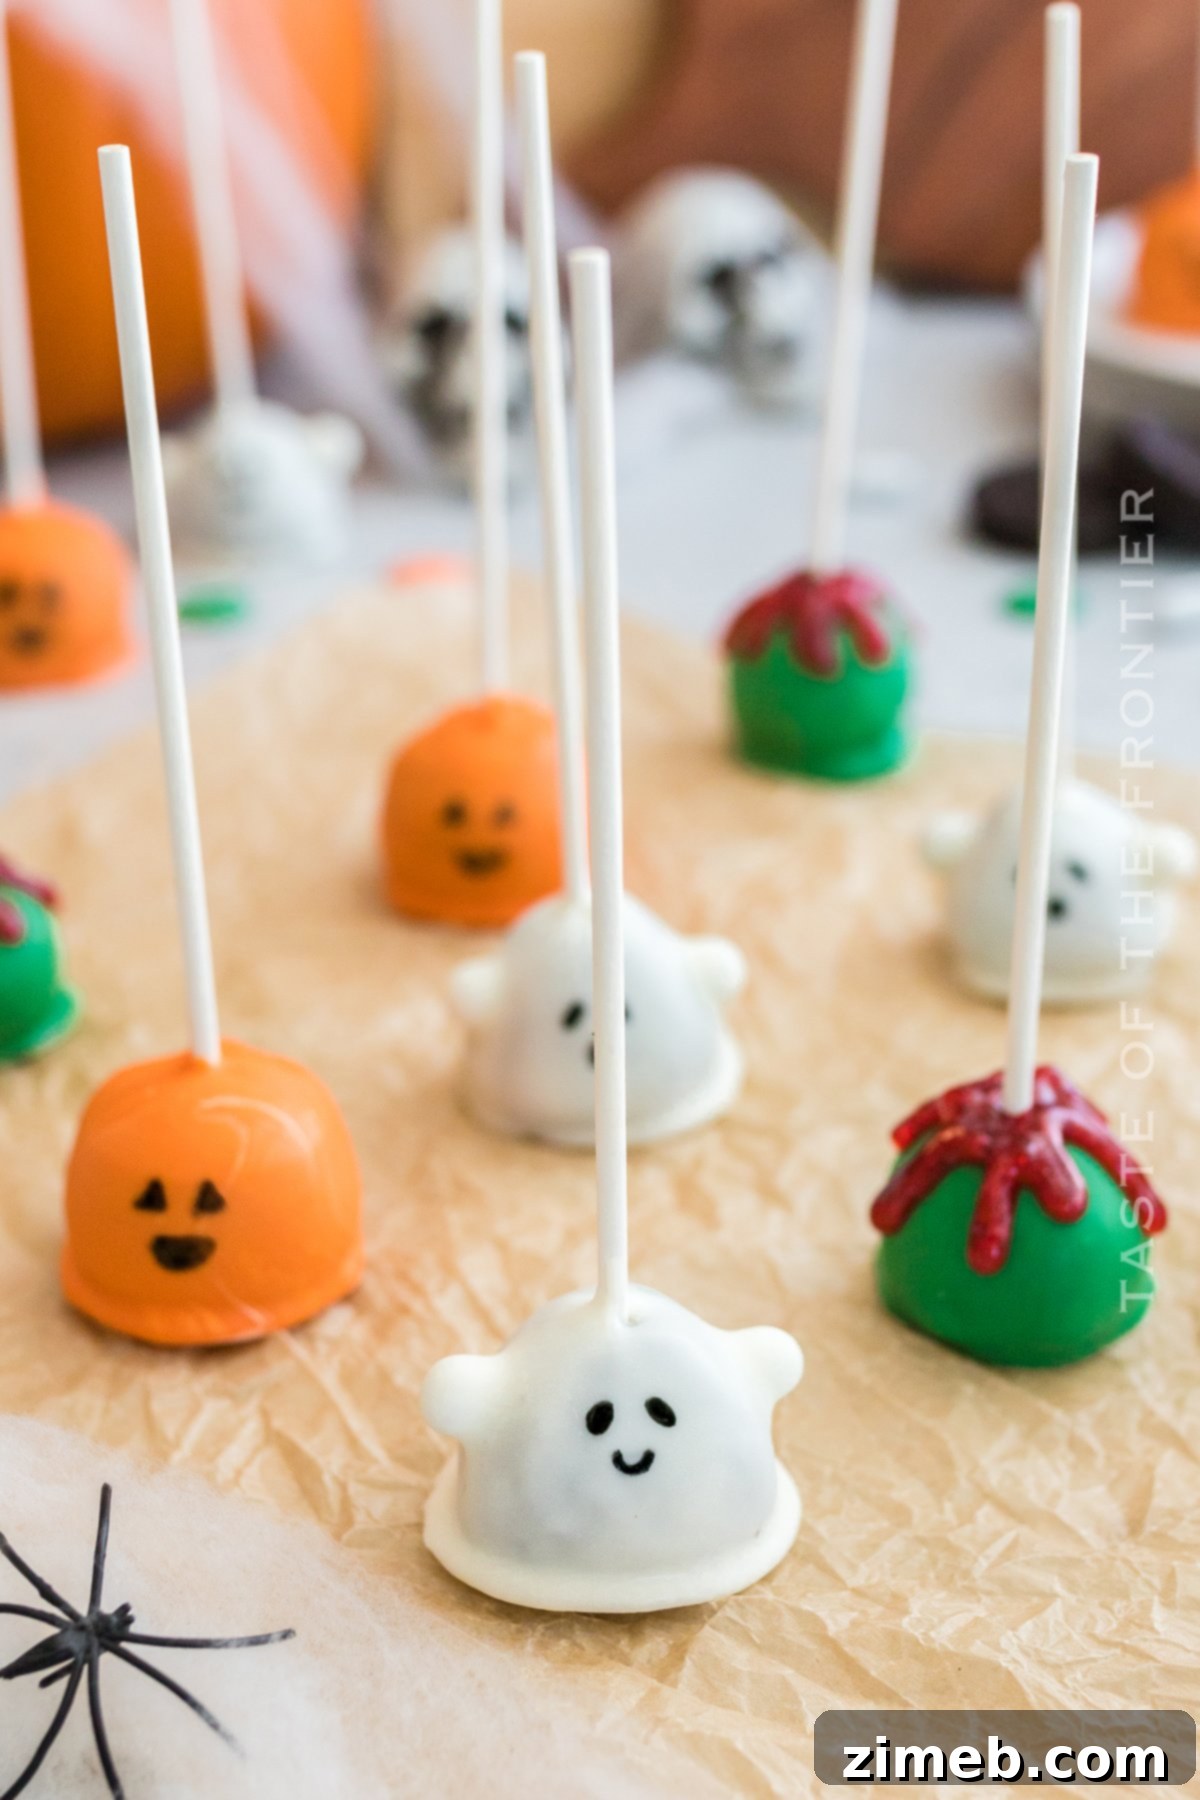
Looking for irresistibly fun and effortless Halloween treats to create with your children this spooky season? These Halloween Oreo Balls are the answer! They’re incredibly simple to make, delightfully delicious, and absolutely perfect for any Halloween party or autumnal gathering. Get ready to impress your guests and add a touch of sweet, spooky magic to your celebrations this year!
Halloween is fast approaching, which means it’s time to conjure up some hauntingly good treats for your party menu! These bewitching Oreo ball truffles are guaranteed to be a monstrous hit with guests of all ages. Their ease of preparation combined with their delectable taste makes them an ideal choice for both seasoned bakers and kitchen novices. Start your Halloween party planning today and ensure these delightful Oreo balls are at the very top of your must-make list. You won’t regret adding these festive Halloween Oreo Ball Truffles to your repertoire, promising a sweet fright for everyone!
Crafted from classic chocolate and cream-filled Oreo cookies, these truffles are not only a fantastic party snack but also a perfect homemade treat for trick-or-treaters or a thoughtful gift for friends and neighbors. Their charming appearance is almost too cute to eat – but one bite, and you’ll remember why these Oreo truffles are utterly irresistible!
PIN THIS TO SAVE FOR LATER
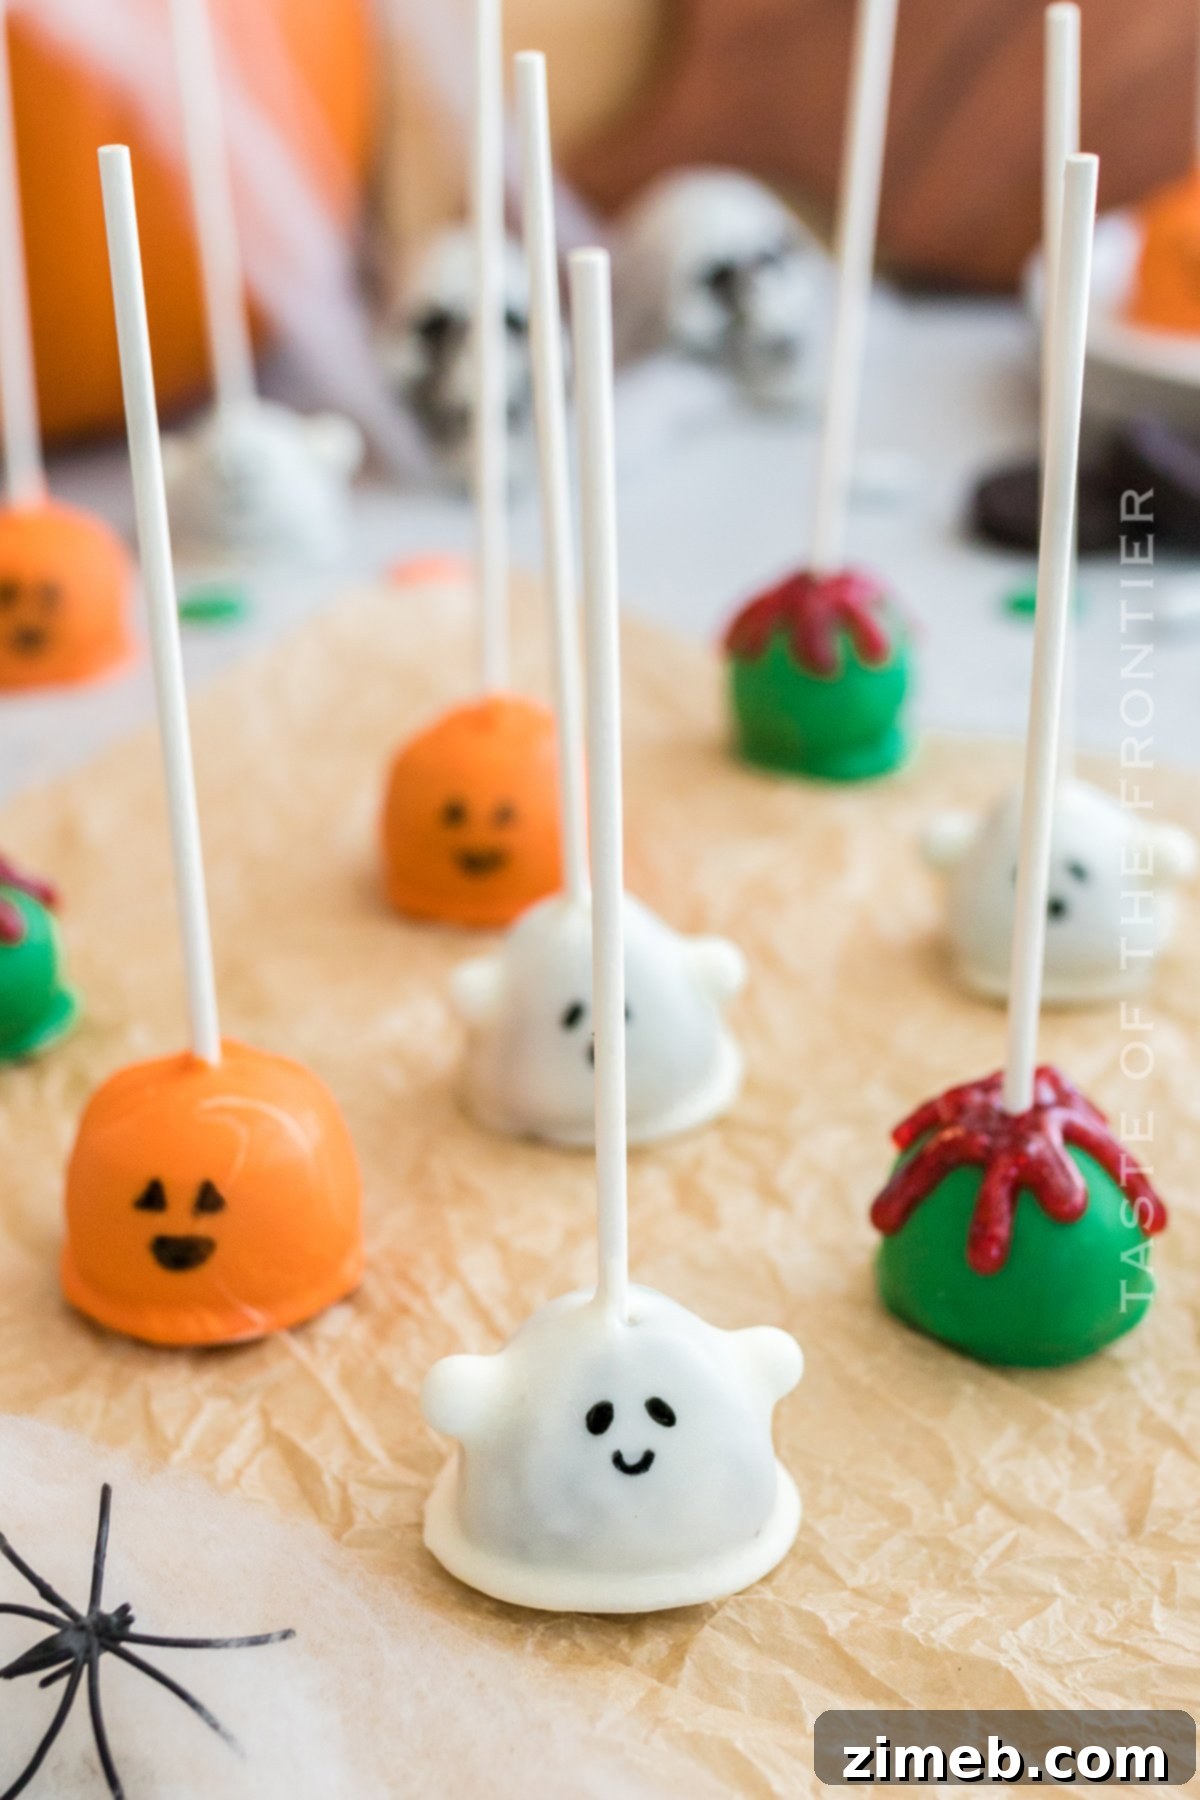
One of the most appealing aspects of these Halloween Oreo Balls is their remarkable simplicity. Despite their intricate and festive appearance, they require just a handful of ingredients and minimal effort, allowing you to “wow” your party guests with seemingly complex yet effortlessly created desserts. Beyond their party-perfect status, these charming truffles also make fantastic homemade gifts for friends, family, and neighbors, spreading a little Halloween cheer one delicious bite at a time. Their undeniable cuteness might make you hesitate before taking a bite, but the promise of a rich Oreo truffle quickly overcomes any such reservations.
Halloween Cake Pops: A Spooky Twist on a Classic Treat
Commonly Asked Questions About Halloween Oreo Balls
What Exactly Are Oreo Ball Truffles?
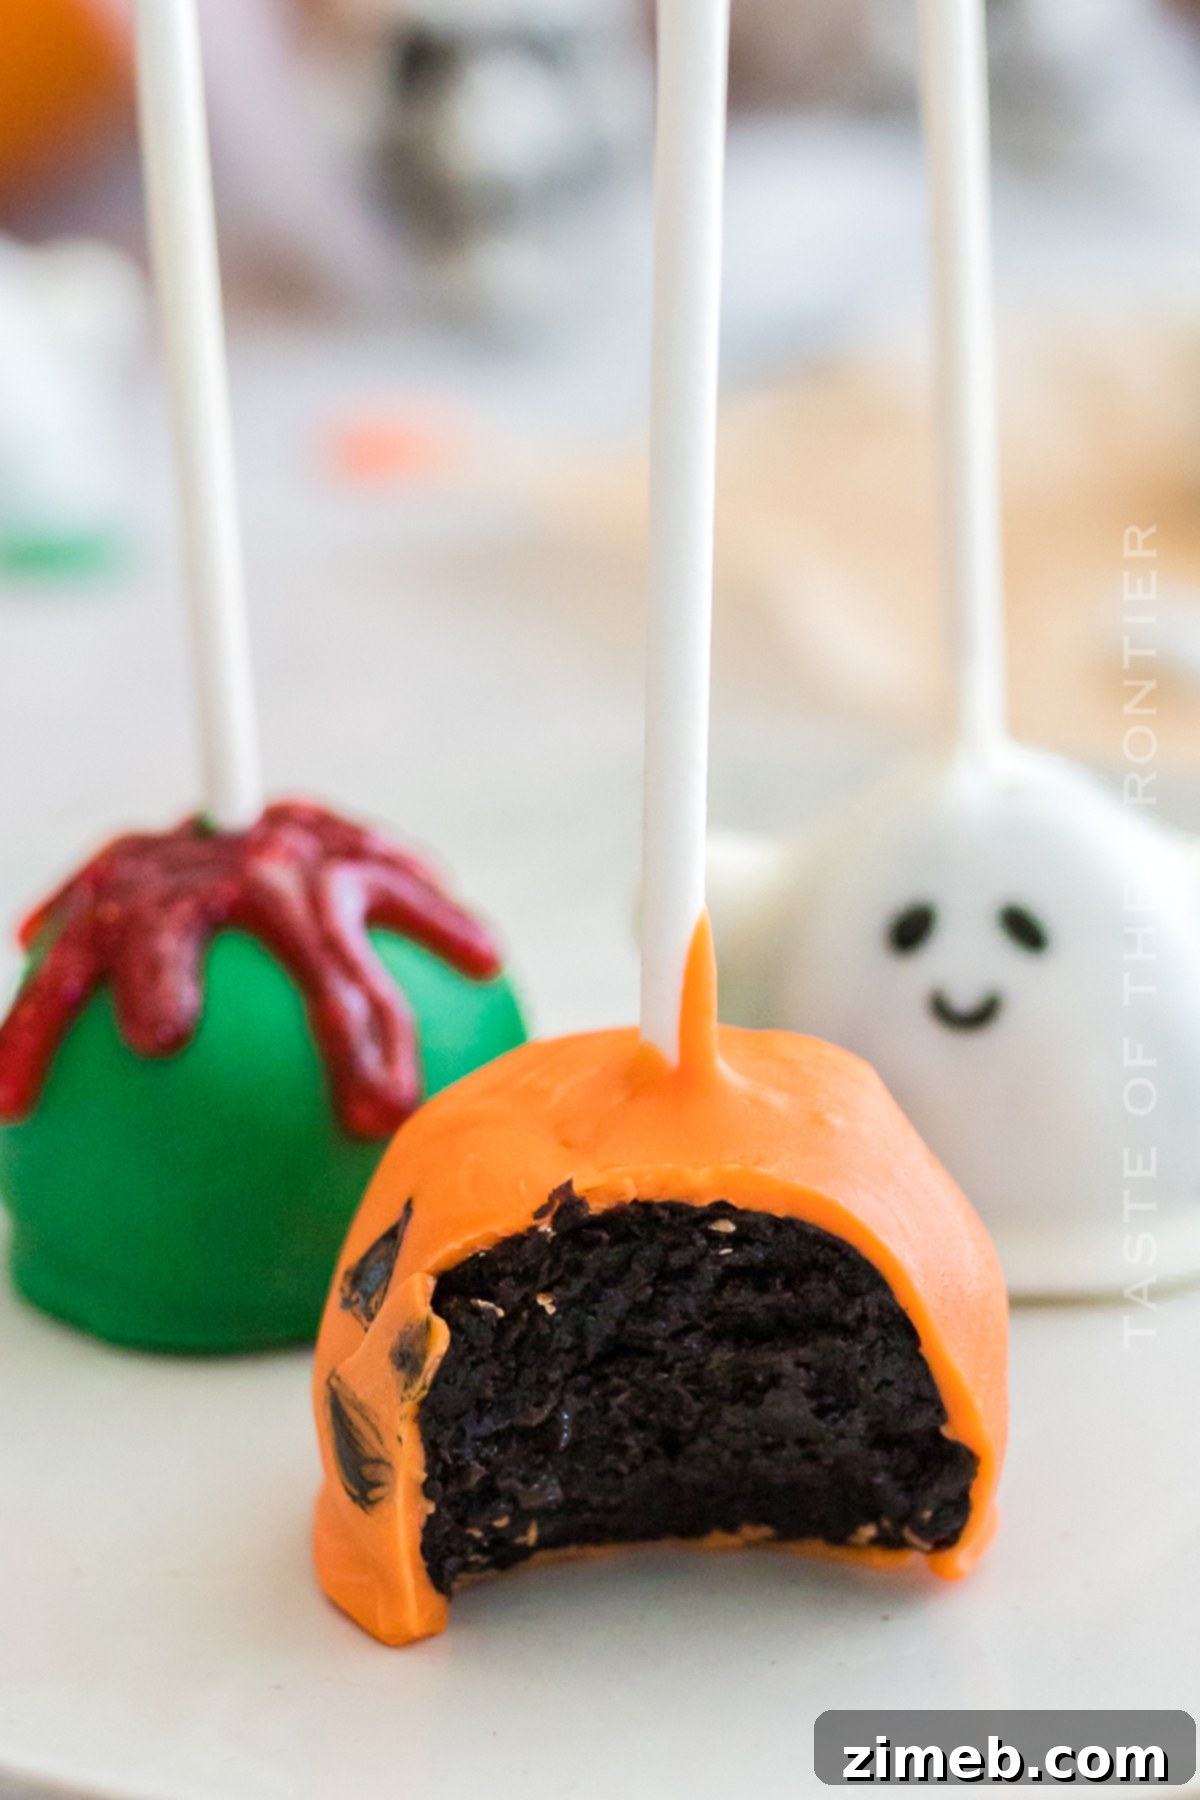
Oreo ball truffles are delightful no-bake confections crafted from crushed Oreo cookies and softened cream cheese, rolled into bite-sized balls, and then typically enrobed in a smooth chocolate coating. For Halloween, these versatile treats transform into a canvas for spooky creativity. They’re renowned for their rich, creamy texture and intense chocolate-Oreo flavor, making them a crowd-pleasing dessert that’s both easy to handle and incredibly satisfying. Think of them as a decadent, simplified truffle that captures the essence of your favorite cookie in a festive, party-ready form.
Explore Diverse Halloween Oreo Ball Truffle Designs
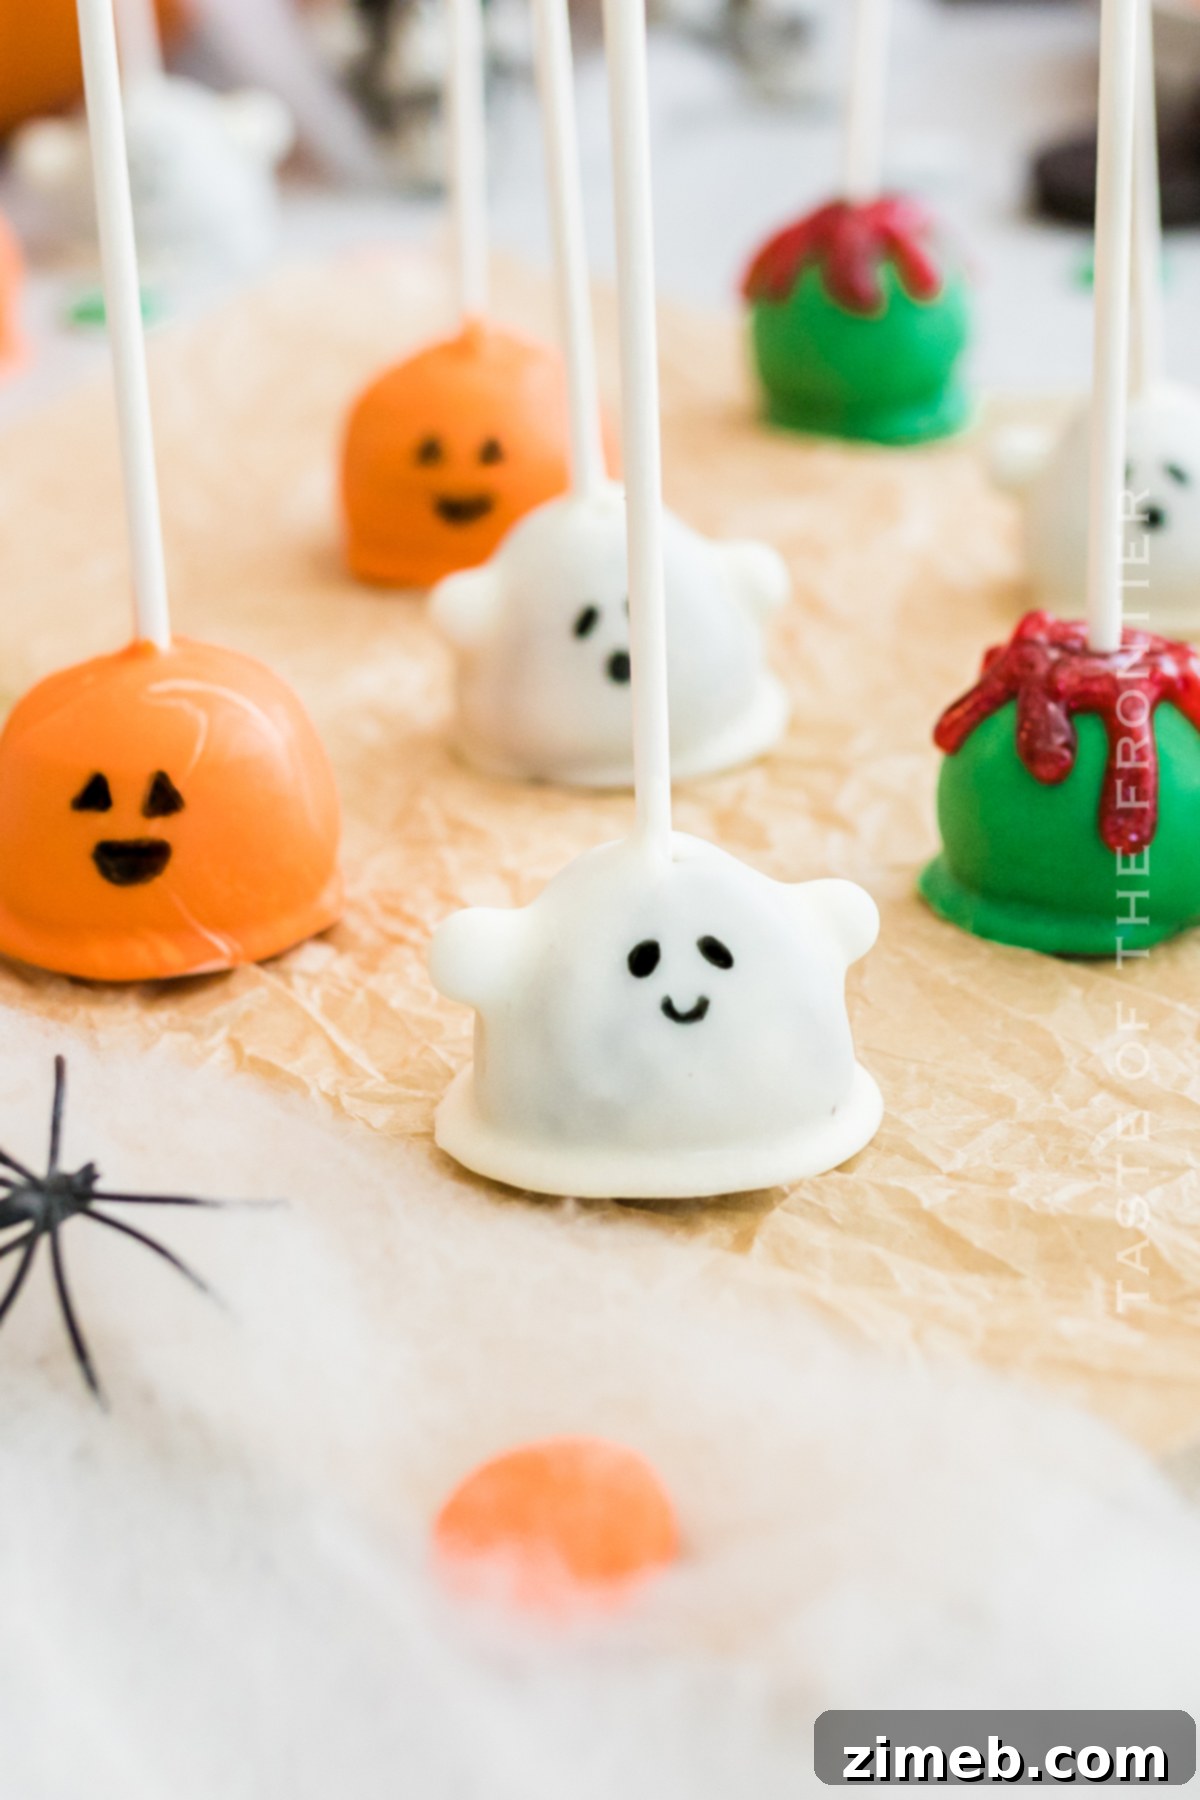
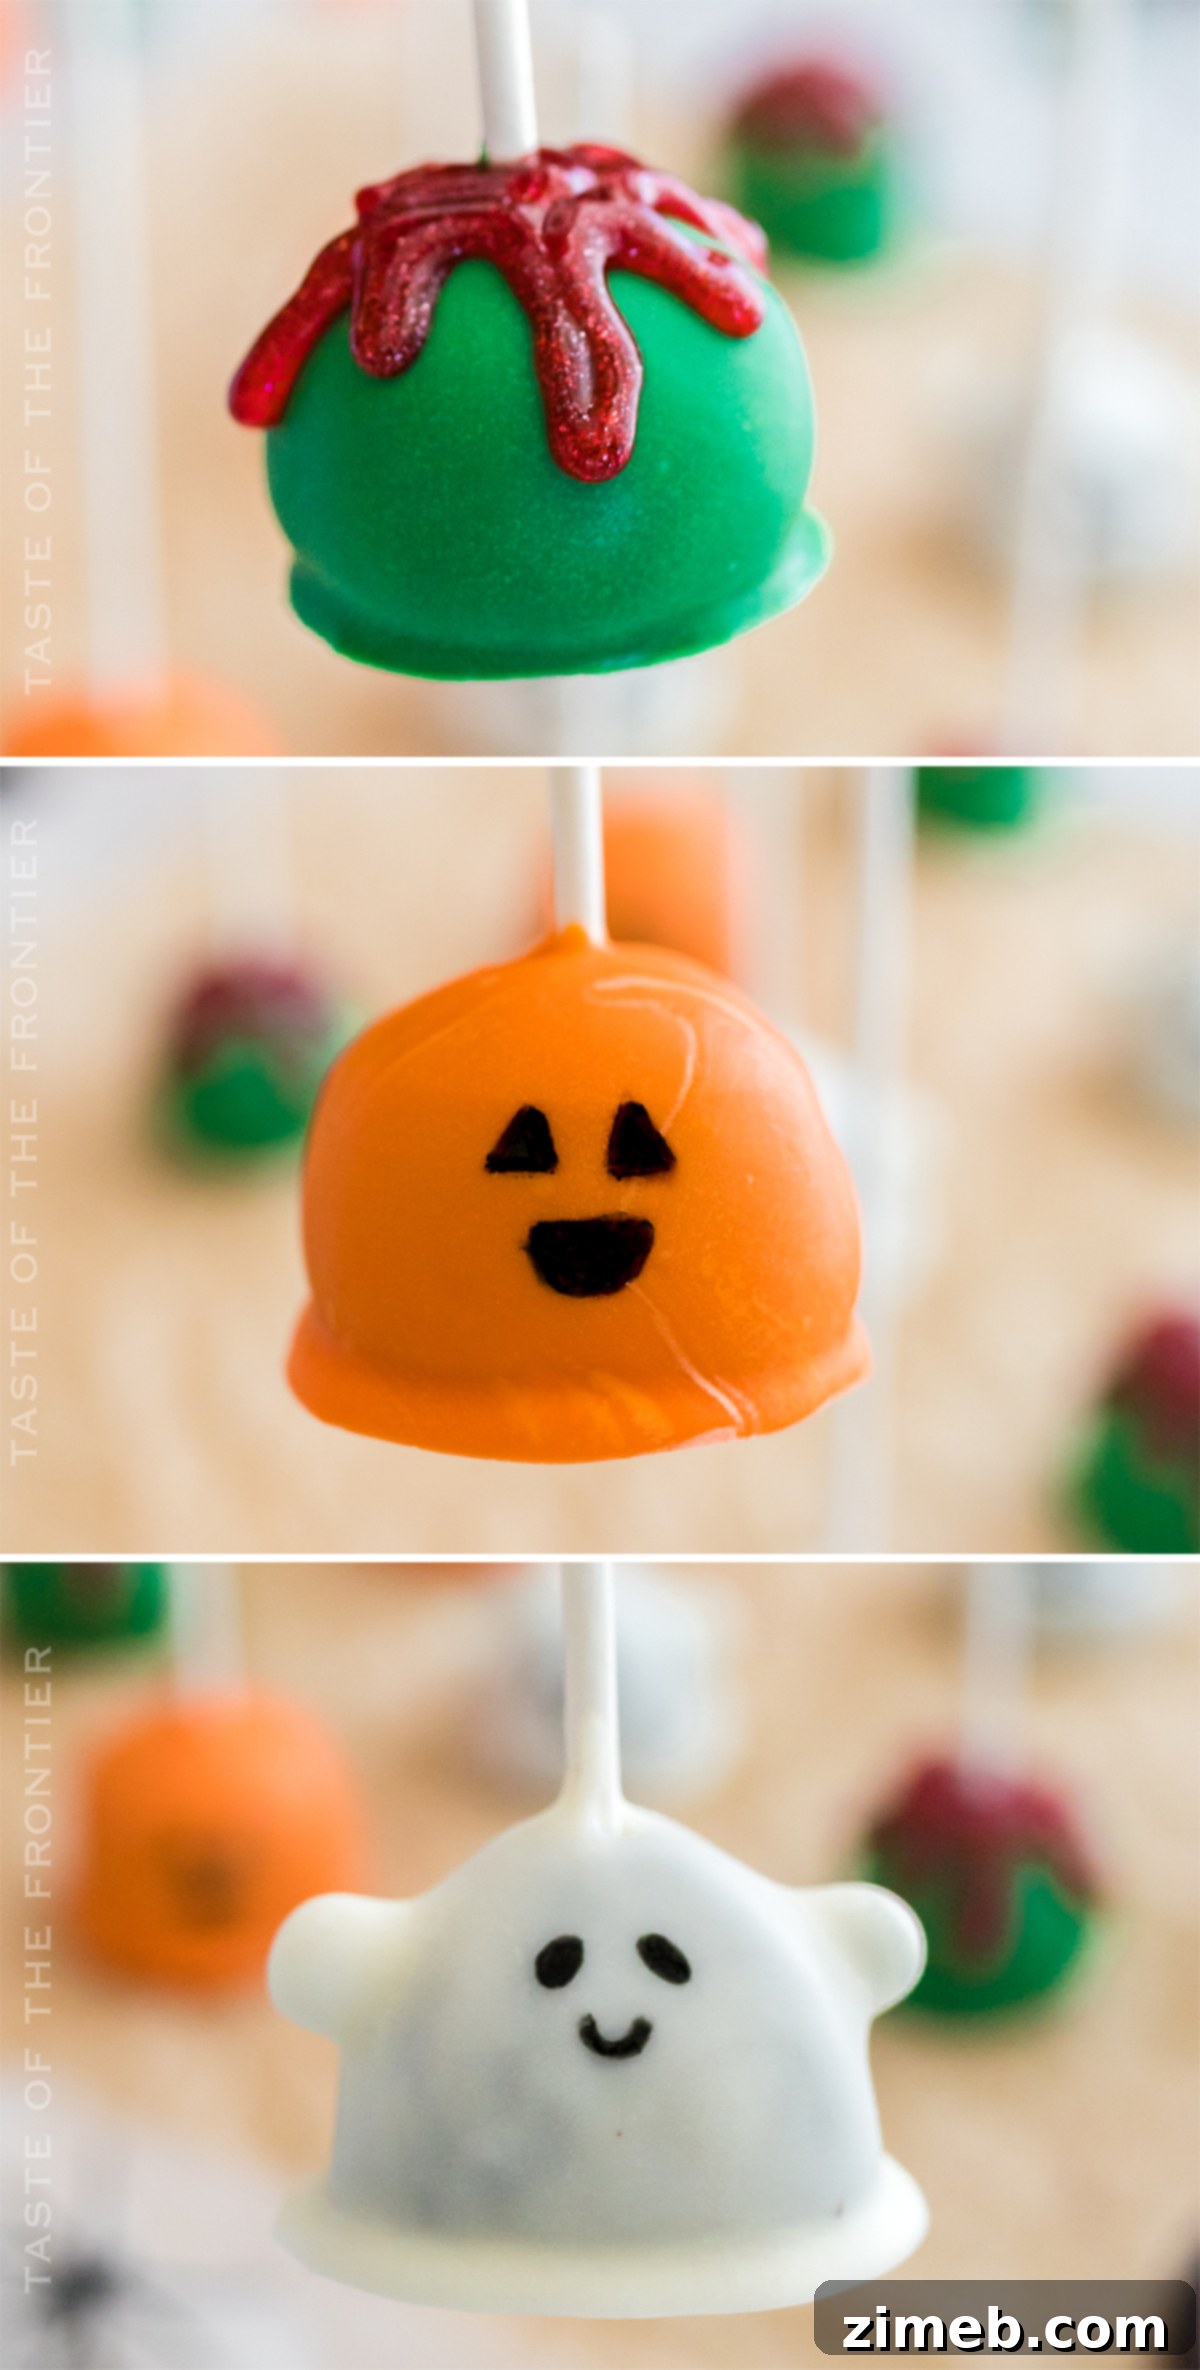
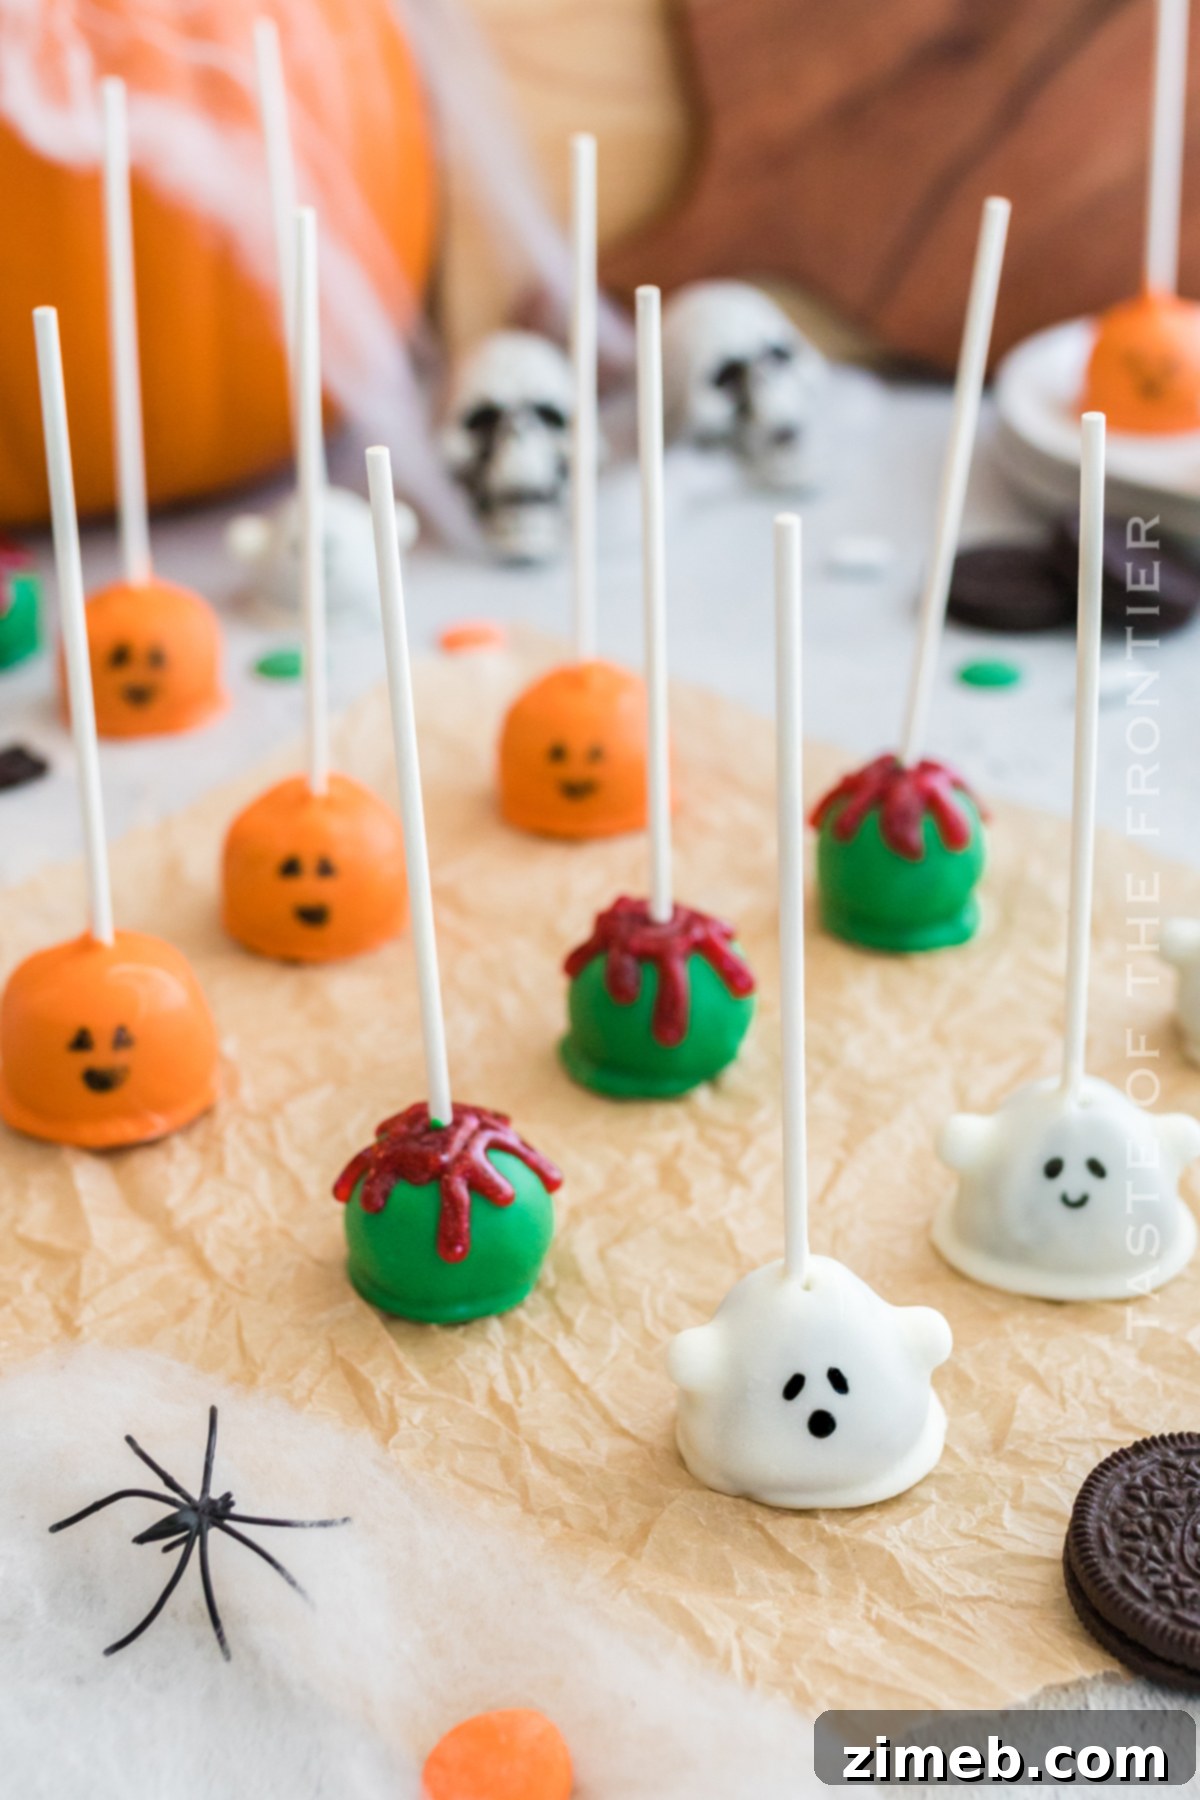
The beauty of Halloween Oreo ball truffles lies in their adaptability to various spooky designs. Beyond the ghost, pumpkin, and poisoned apple designs featured here, you can unleash your creativity to craft an array of other eerie characters, including bats, mummies, eyeballs, and even pumpkin eyes. Each design offers a unique way to personalize your treats and truly elevate your Halloween dessert table.
Ghost Oreo Balls: Spookily Sweet
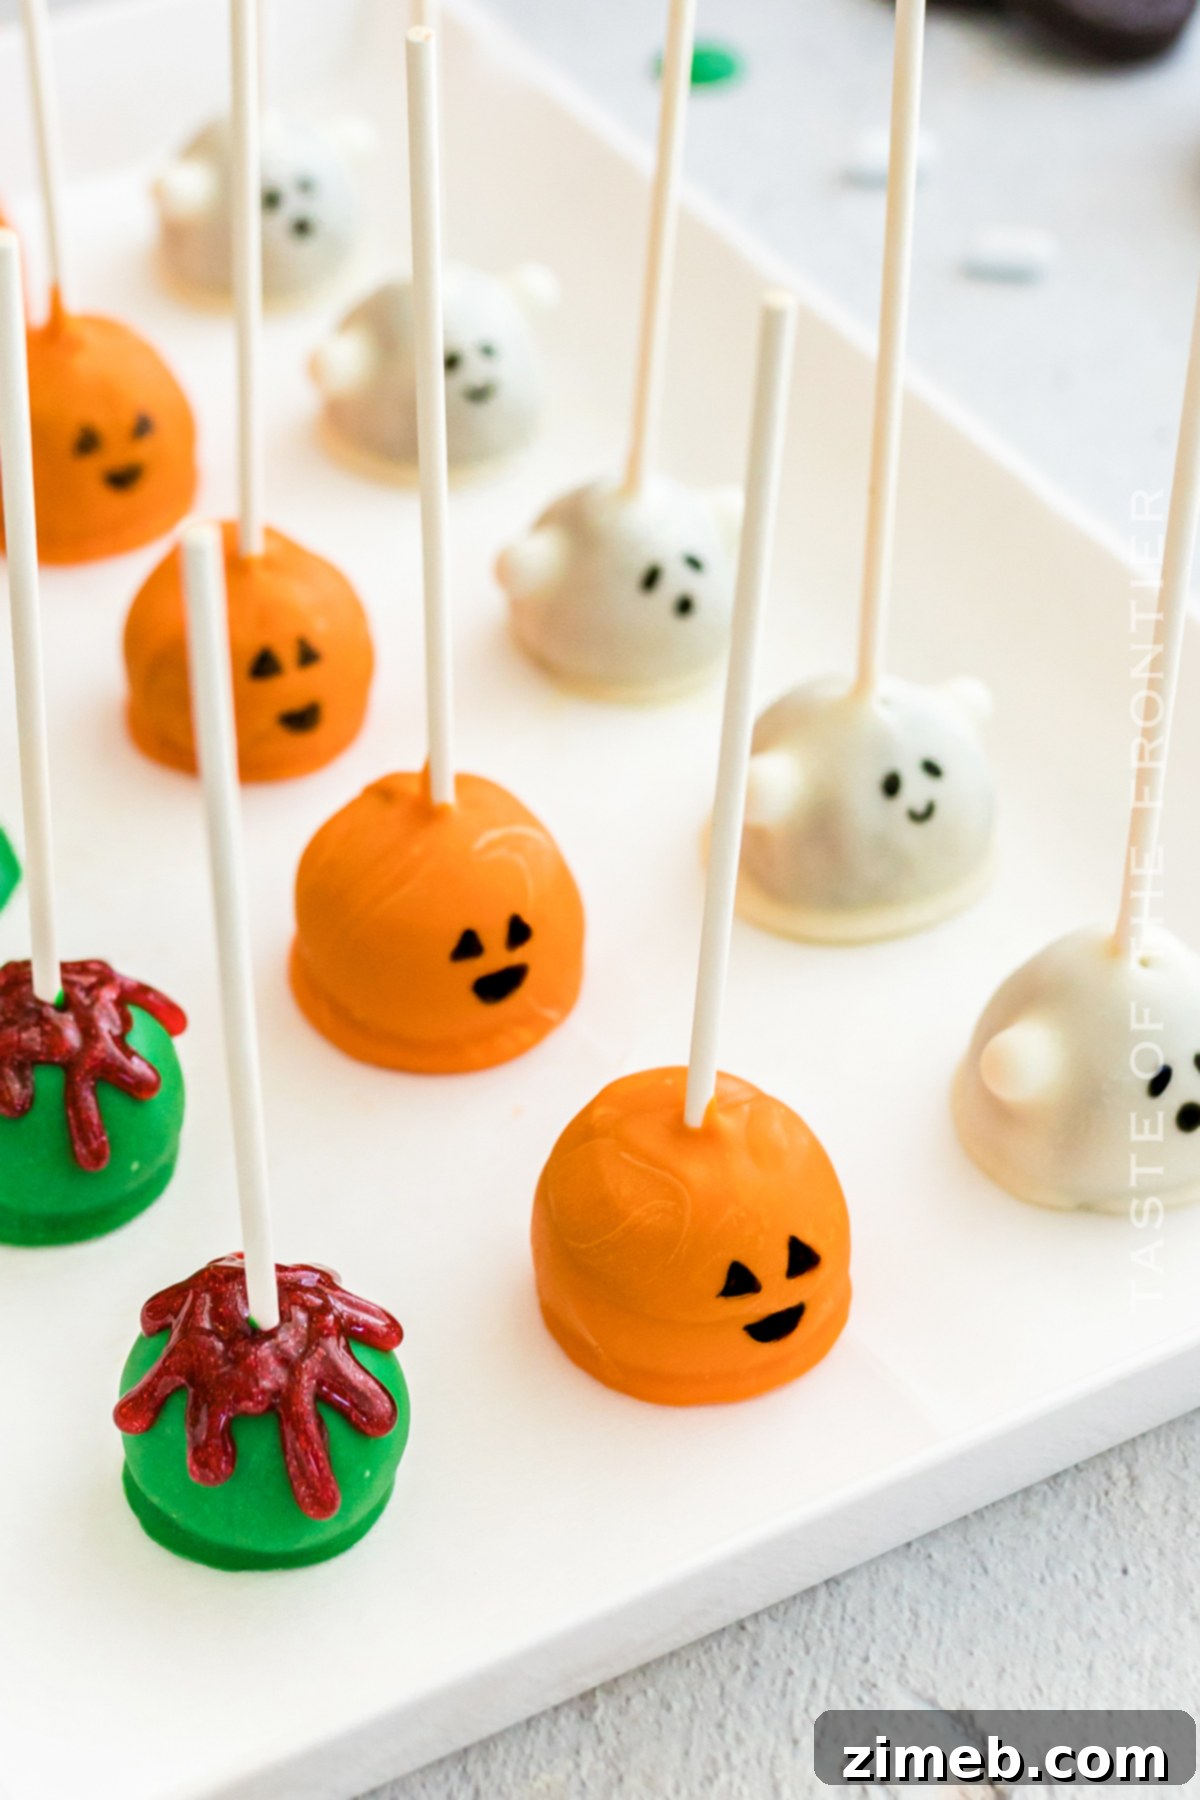
Ghosts are an iconic symbol of Halloween, perfectly embodying the holiday’s creepy yet fun spirit. To create spectral ghost Oreo balls, shape your Oreo mixture into a slightly triangular or tapered ball to mimic a classic ghost form. Once chilled, dip them into melted white chocolate, allowing any excess to drip away for a smooth finish. After the chocolate sets, use an edible food marker to draw on eerie eyes and a gaping mouth, or add two small candy eyes for a more whimsical look. You can even stick small candy pieces, like Good & Plenty, into the sides before coating to create playful arms, giving your ghosts an extra touch of character that kids will adore.
Bat Oreo Balls: Nighttime Nibblers
Bats, with their nocturnal habits and mysterious aura, are quintessential Halloween creatures. Transforming your Oreo truffles into charming little bats is surprisingly simple. Begin by coating your Oreo balls in rich, dark chocolate to achieve a sleek, shadowy base. Once the chocolate is firm, break regular Oreo cookies in half (or use other dark, thin cookies) to create bat wings. Gently press these “wings” into the sides of the truffles. Finish by attaching two small candy eyes to the front, bringing your adorable flying mammals to life. These dark, delicious treats will look fantastic perched on your Halloween display.
Mummy Oreo Balls: Ancient Delights
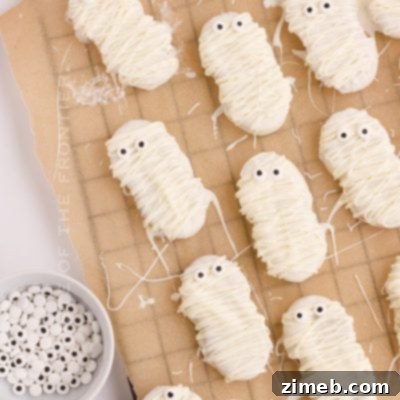
Mummies, wrapped in their ancient linens, are a timeless Halloween motif, evoking images of old tombs and forgotten curses. To craft mummy Oreo balls, first coat your prepared truffles in smooth white chocolate. Allow this layer to set completely. Then, using a piping bag or a fork, drizzle a second layer of white chocolate back and forth across the truffle, creating the appearance of bandages. While this second layer is still wet, carefully place two candy eyes on the “face” portion of the mummy. The slightly haphazard draping of the chocolate “bandages” gives each mummy a unique, charmingly spooky personality.
Eyeball Oreo Balls: Watching You!
For a truly ghoulish and simple design, eyeball Oreo balls are a fantastic choice. These are incredibly easy to make and offer a striking visual effect. Simply coat your Oreo truffle in white chocolate, ensuring an even, smooth surface. Before the chocolate fully sets, gently press a single candy eye into the center of the truffle. The stark contrast of the eye against the white chocolate makes for a wonderfully creepy yet edible decoration, perfect for adding a bit of playful horror to your Halloween dessert spread.
Pumpkin Eye Oreo Balls: Jack-O’-Lantern Charm
While we showcase a full pumpkin design here, creating pumpkin eye Oreo balls offers a simpler yet equally festive option. After coating your truffles in vibrant orange chocolate, you can either draw on intricate jack-o’-lantern faces with a food-safe marker or opt for a quicker method: simply stick a single candy eye onto the orange truffle. This minimalist approach still captures the essence of a spooky pumpkin, making it an excellent choice for a quick and fun decoration. These festive orange treats are perfect for a classic Halloween theme.
Halloween Truffles: A Visual Feast
Essential Ingredients for Your Spooky Halloween Oreo Balls
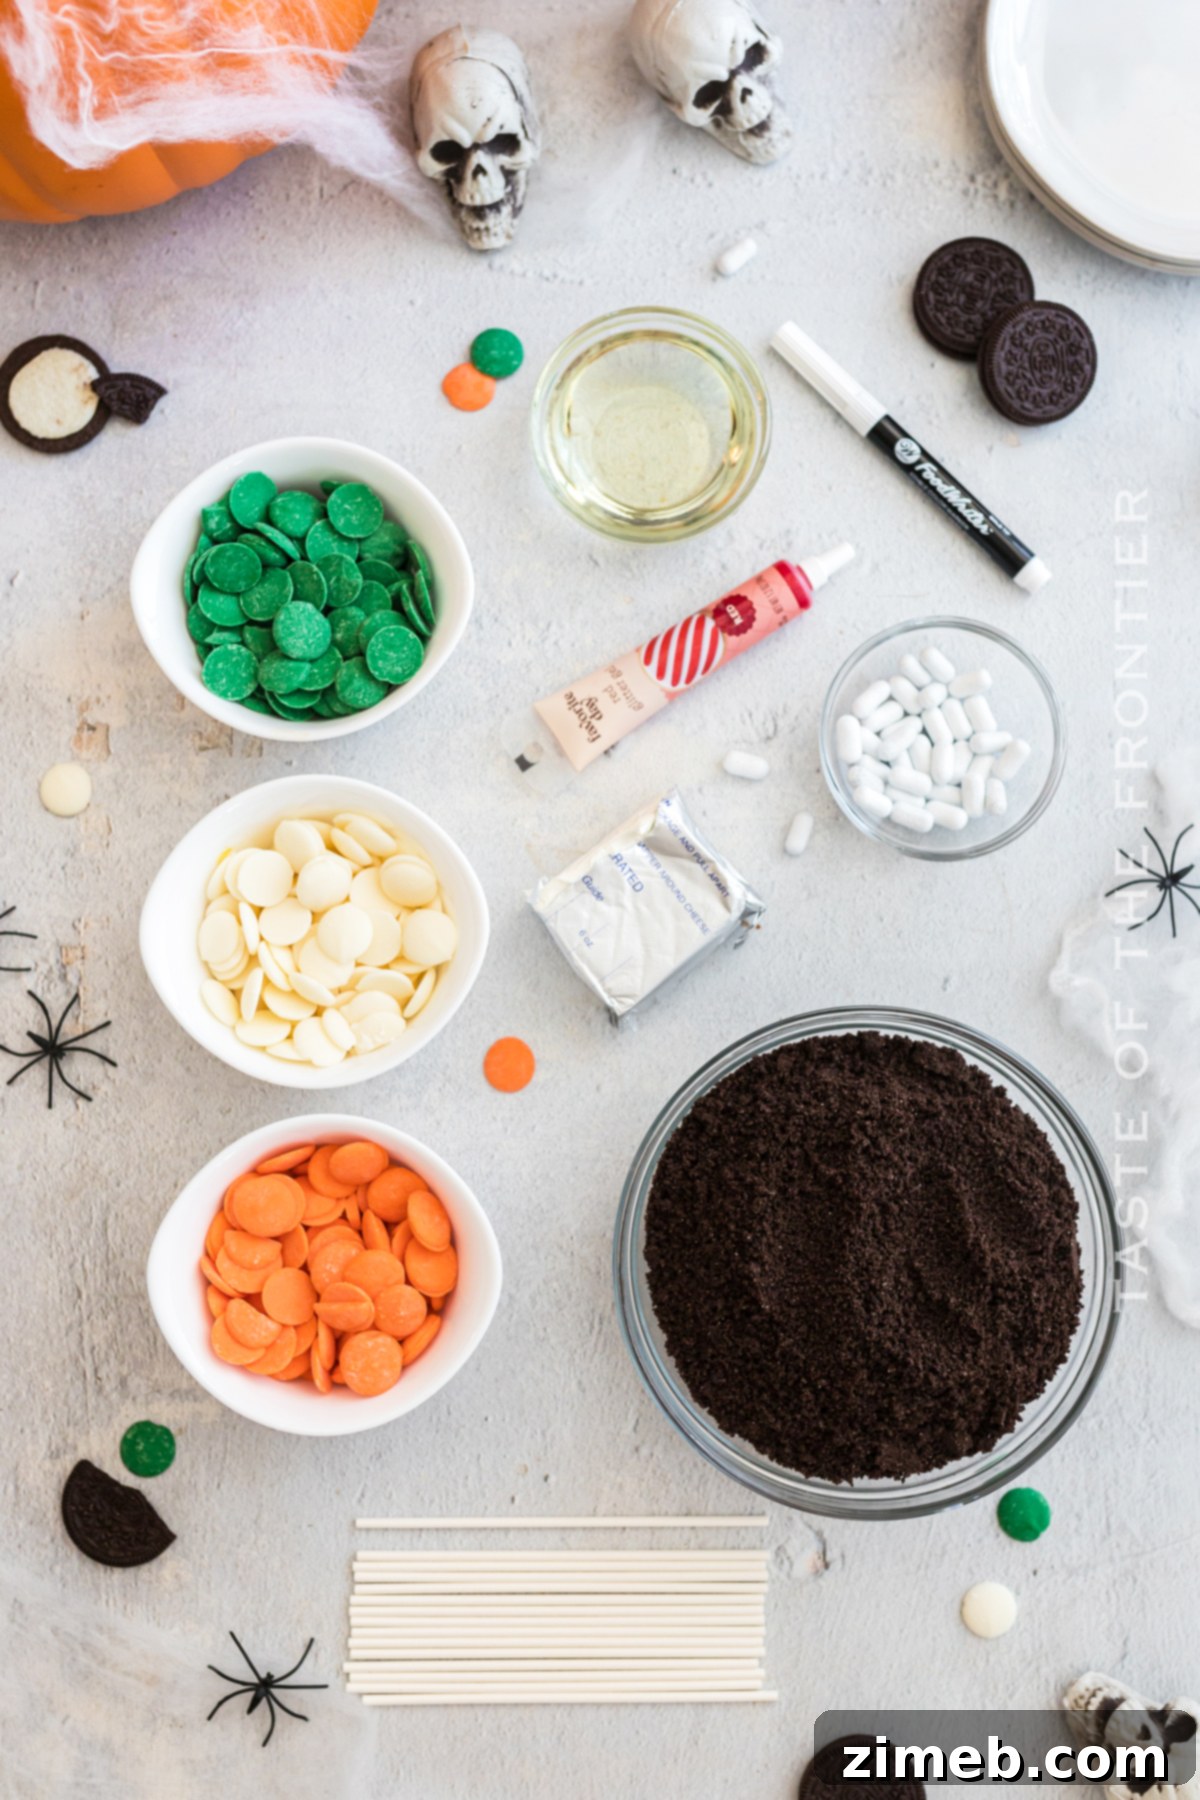
Gathering the right ingredients is the first step to crafting these delightful Halloween treats. This recipe relies on a few simple staples that are easy to find and transform into something truly magical for your holiday table. Here’s what you’ll need:
- Oreo cookies (ground)
- Coconut oil
- Cream cheese (softened)
- Green chocolate melts
- Orange chocolate melts
- White chocolate melts
- Good & Plenty candy (for ghost arms, optional)
- Red frosting gel
Can I Substitute Other Types of Oreo Cookies?
Absolutely! This recipe is wonderfully flexible. You can certainly use any variety of Oreo cookie you prefer. Whether it’s classic, mint, peanut butter, or even seasonal flavors, experimenting with different Oreo types can add a unique twist to your truffles. Just be mindful of the cream-to-cookie ratio, as some variations might affect the dough consistency slightly.
*Important Note: If you choose to use Double-Stuffed Oreos, remember to reduce the amount of cream cheese by half to maintain the correct dough-like consistency for rolling. The extra cream in these cookies will make them softer.
Can This Recipe Be Doubled for Larger Gatherings?
Yes, this recipe can easily be doubled or even tripled, which is something we frequently do for larger parties or when preparing treats for multiple events. However, a word of caution: if you’re working with a standard food processor, you might need to process the cookies in batches. Fifty Oreo cookies (or more) will likely be too much for most food processors to handle efficiently in one go. Processing in smaller quantities ensures a fine, even crumble, which is crucial for the truffle’s smooth texture.
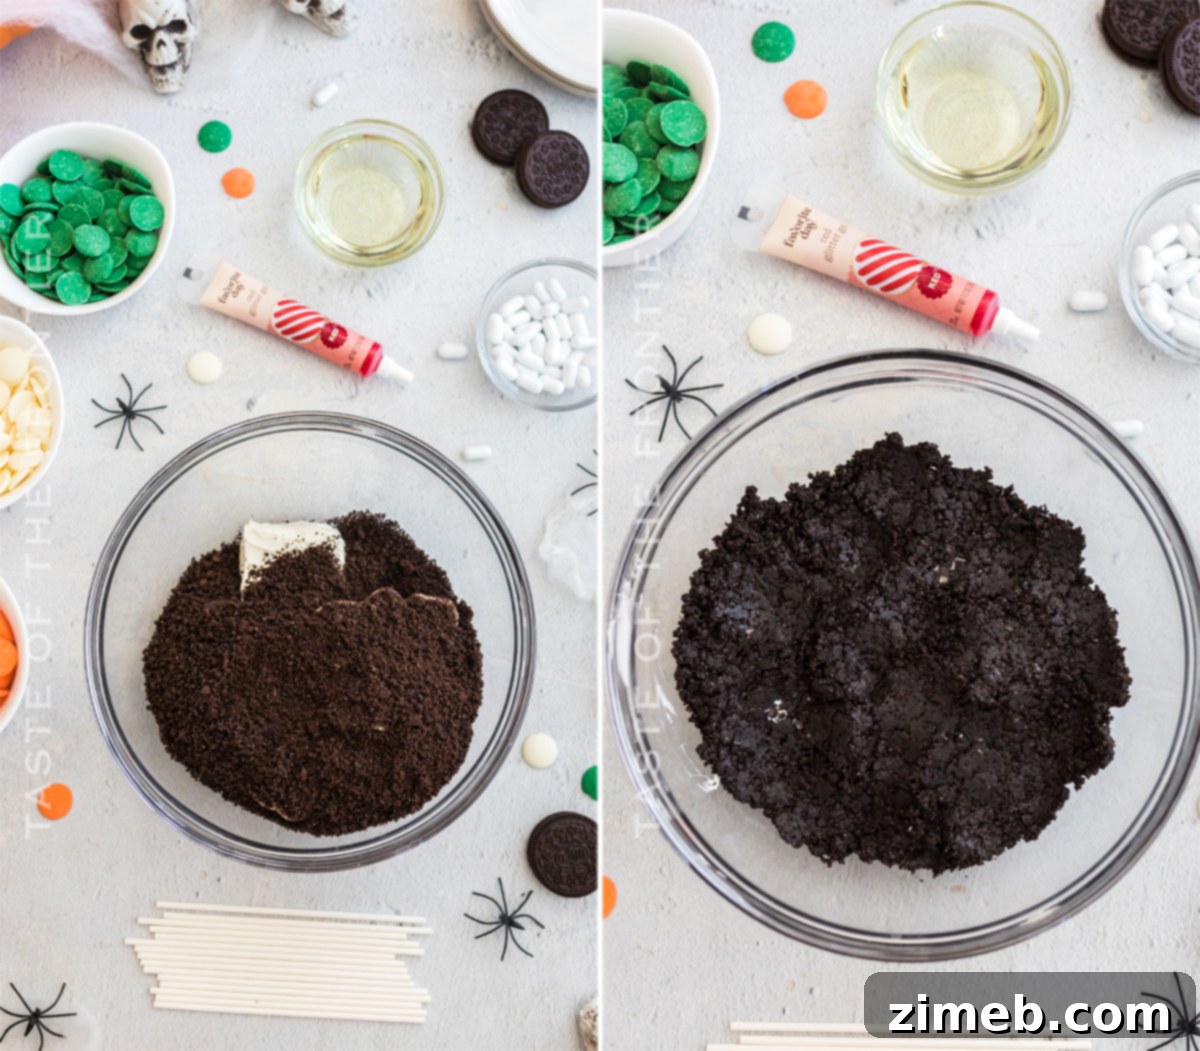
Step-by-Step Guide: How to Make Halloween Oreo Balls
- In a large mixing bowl, combine the finely ground Oreo cookies with the softened cream cheese. Using a hand mixer, blend these ingredients until the mixture is smooth and achieves a consistent, dough-like texture.
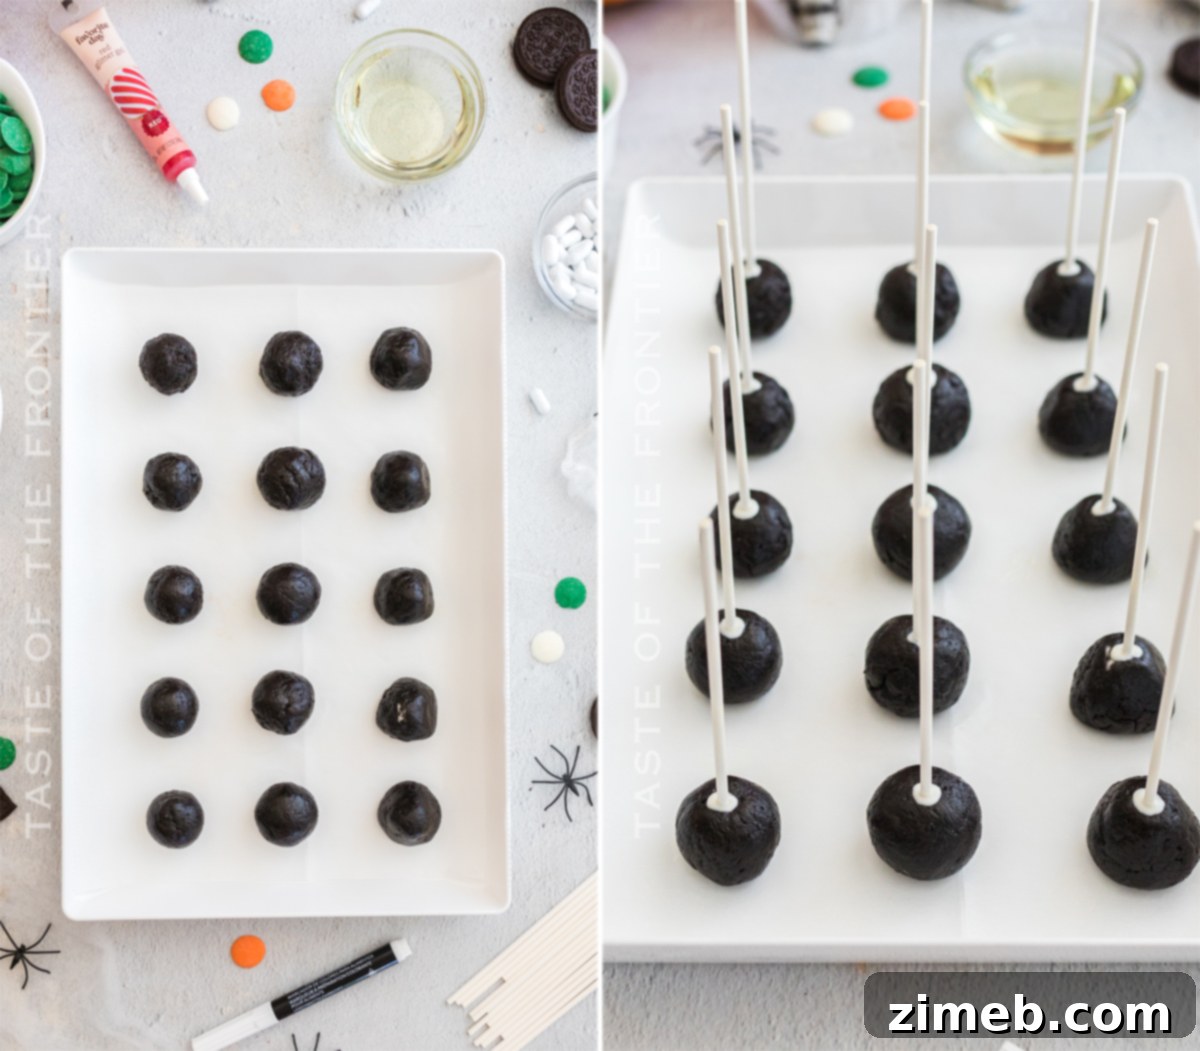
- Using a cookie scoop for uniform sizing, scoop out an even amount of the mixture. Roll each portion gently in your hands to form a smooth ball. For ghost shapes, slightly taper one end to create a triangular, elongated form. Place each shaped ball onto a sheet of parchment paper. Repeat this process for all 15 balls.
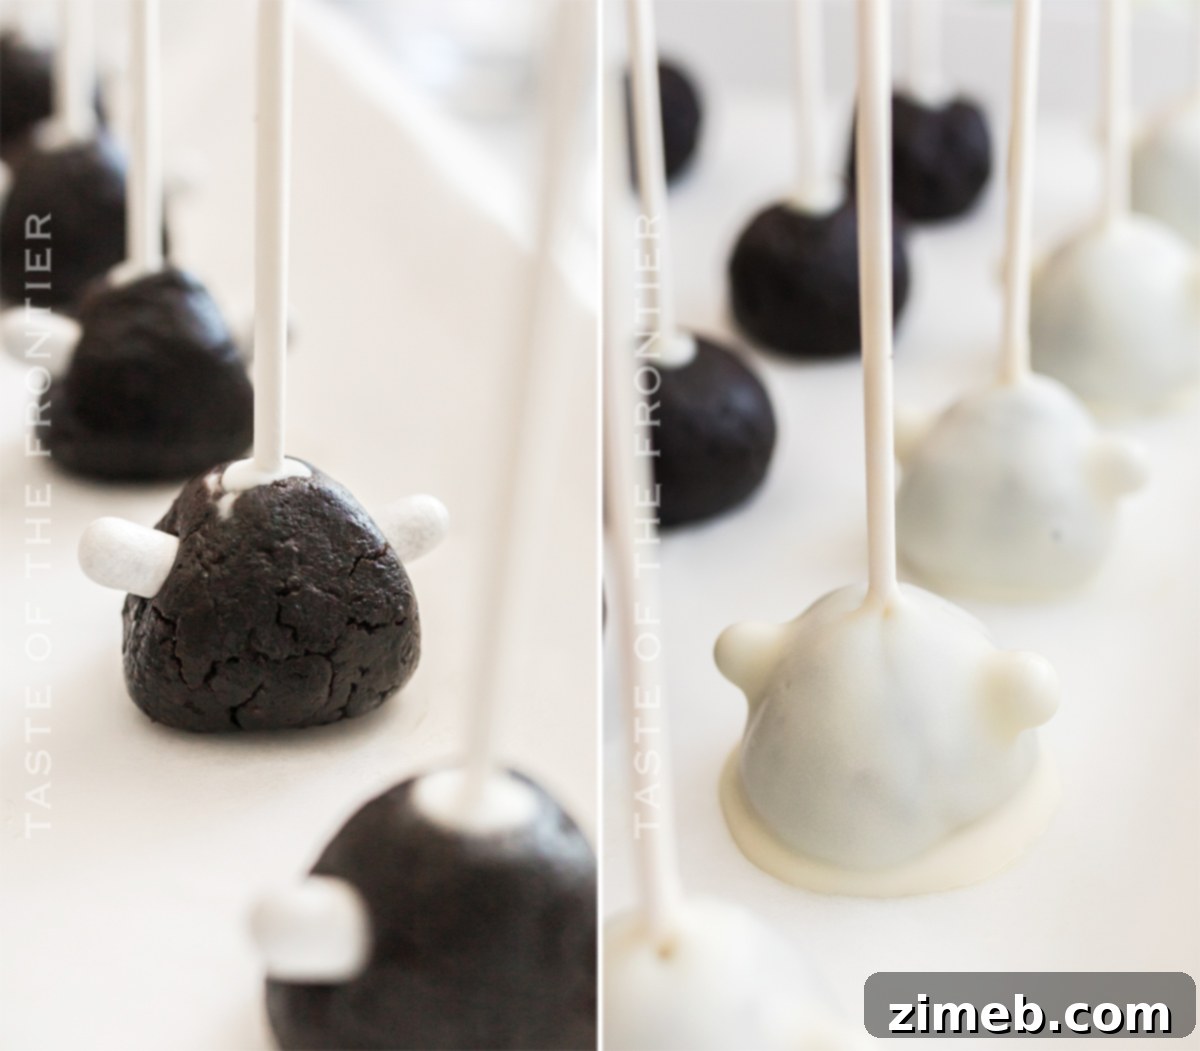
- For the ghost-shaped balls, gently insert two Good & Plenty candies (or similar small, elongated candies) into the sides of each “ghost” to create playful arms.
- Melt a small amount of your chosen chocolate melts in a tiny bowl. Dip the very tip of a cake pop stick into this melted chocolate, then carefully insert the stick approximately three-quarters of the way into an Oreo ball. This chocolate acts as a “glue” to secure the stick. Repeat for all the truffle pops. Place the prepared pops in the refrigerator for about 10 minutes to allow the chocolate to set firmly.
Decorating Your Spooky Halloween Cake Pops
Now comes the fun part – bringing your Halloween characters to life with vibrant colors and creative details!
- Once your truffle pops have thoroughly chilled and the sticks are secure, proceed to melt each color of chocolate melts separately. Microwave them in 30-second intervals on low power, stirring well after each interval, until the chocolate is fully melted and smooth. To achieve a perfect dipping consistency, stir 1 tablespoon of coconut oil into each color of melted chocolate. This helps thin the chocolate slightly, ensuring an even and glossy coating.
- Gently dip each ghost-shaped Oreo pop into the melted white chocolate, rotating to achieve a complete and even coating. Allow any excess chocolate to drip off before carefully placing the pop back onto the parchment paper to set. Repeat this for all your ghost-shaped pops.
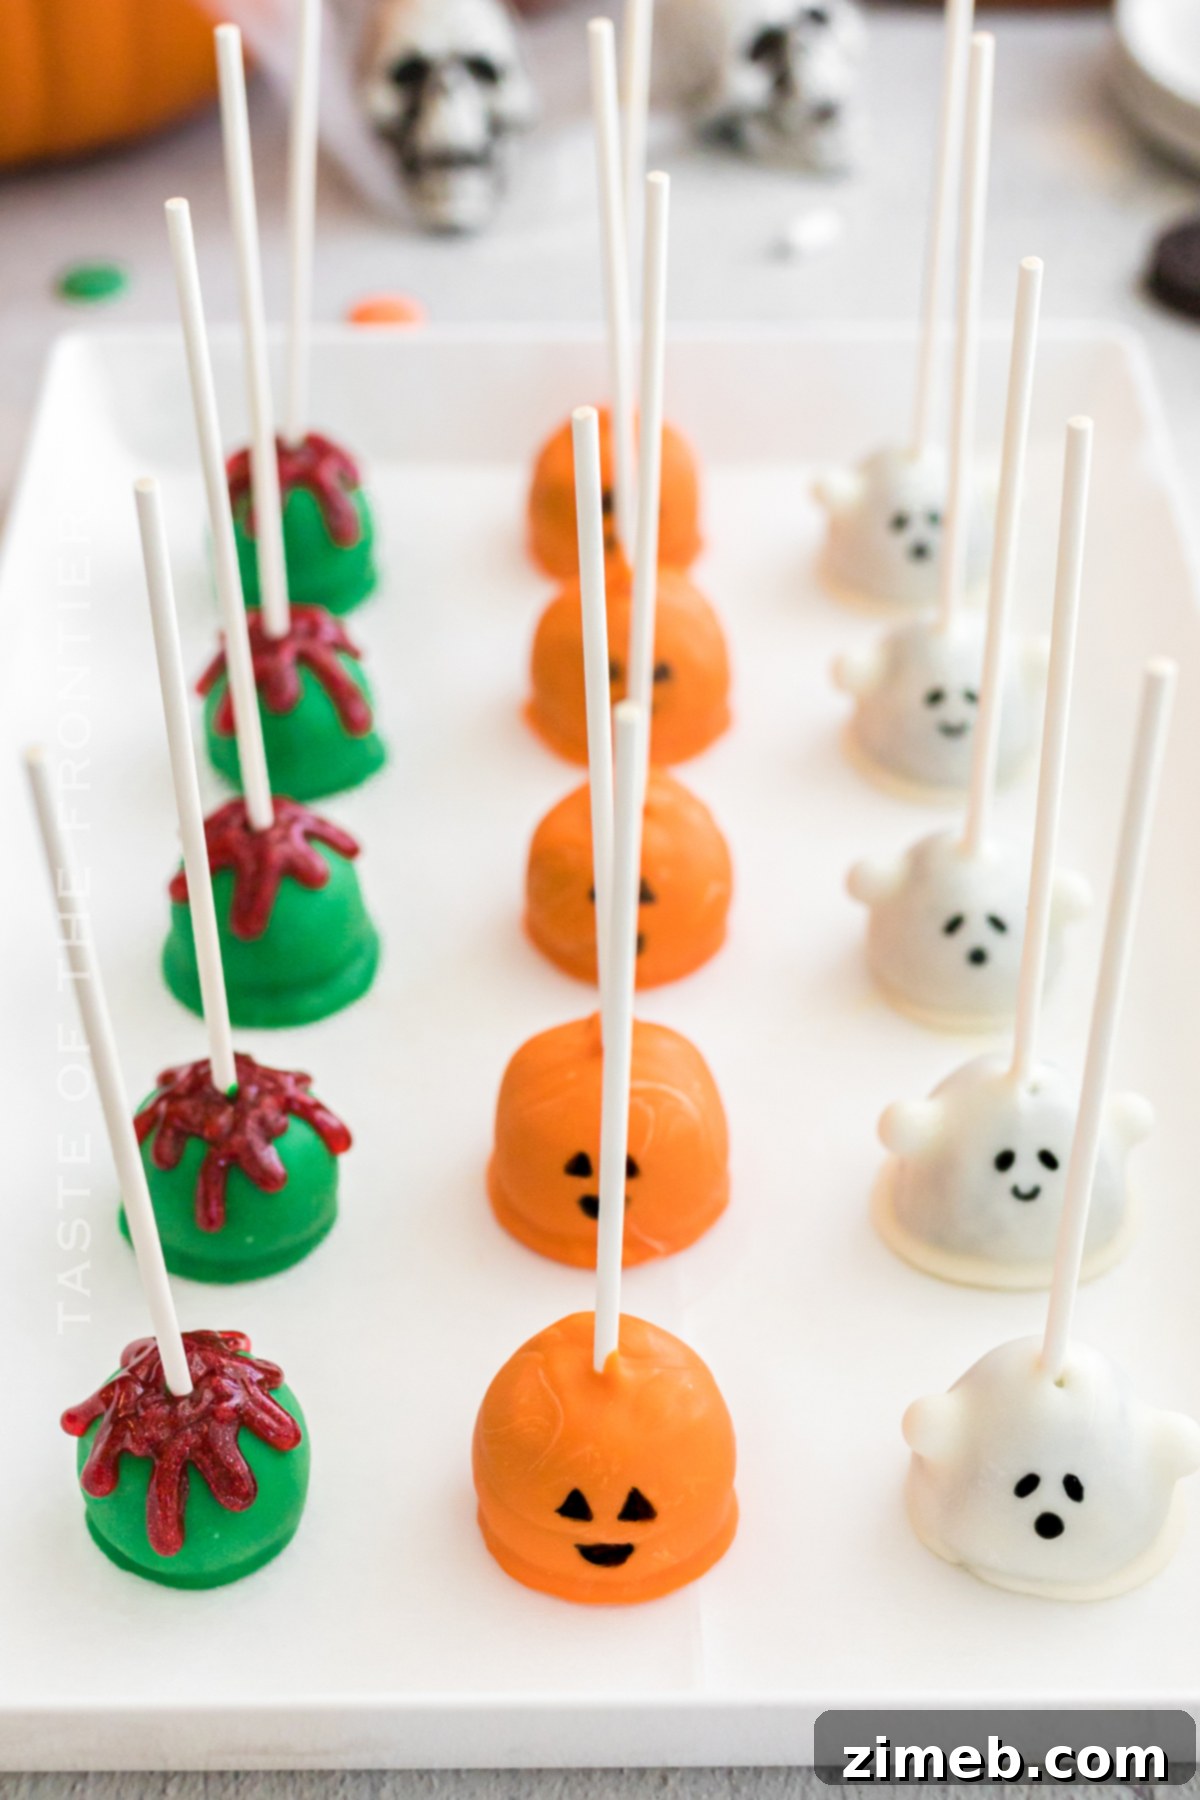
- Next, take an Oreo pop and dip it into the vibrant orange melted chocolate, again allowing the excess to drip away. Place it back on the parchment paper. Repeat this step with four more Oreo pops; these will become your adorable jack-o’-lantern pops.
- Finally, dip the remaining five Oreo pops one at a time into the bright green melted chocolate. Let the excess drip off and return them to the parchment paper. These green-coated pops will transform into your eerie poisoned apple pops.
- Transfer the parchment-lined tray of dipped pops to the refrigerator to chill and set for at least 20 minutes. This ensures the chocolate coating hardens beautifully.
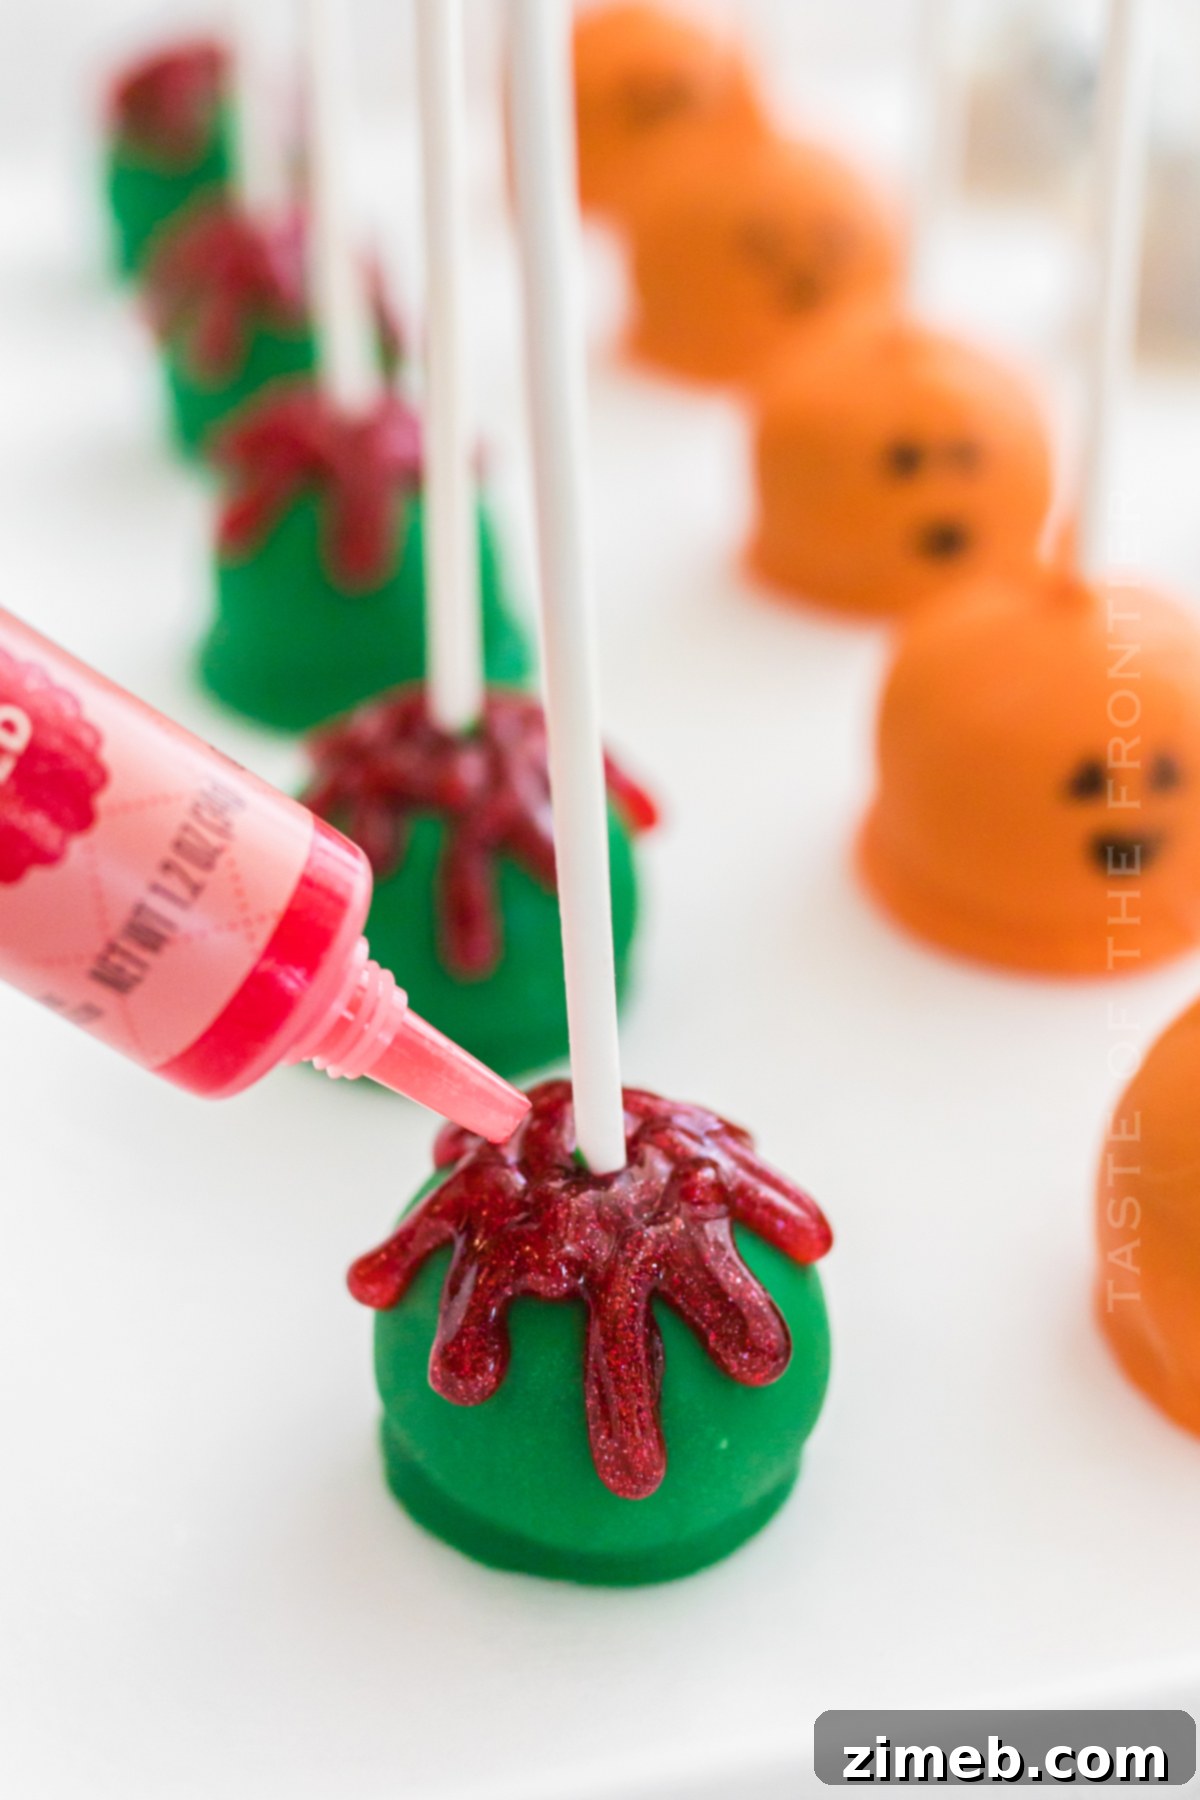
- Once the chocolate coatings are completely set, retrieve your red frosting gel. Carefully create drips along the green-coated “poisoned apple” pops to simulate the effect of dripping poison. Place them back on the parchment to allow the gel to set slightly.
- Using a food-safe marker, draw expressive eyes and mouths onto your jack-o’-lantern pops and friendly (or spooky!) faces onto your ghost pops.
Troubleshooting: Why Didn’t My Chocolate Wafers Melt Smoothly?
Encountering chunky rather than creamy melted chocolate is a common issue known as “seizing.” This frustrating phenomenon typically occurs due to two main culprits: overheating or exposure to even a tiny amount of water or steam.
In the case of overheating, the chocolate’s delicate structure breaks down, causing it to burn and clump. To prevent this, always melt chocolate slowly and gently, preferably using a double boiler or microwaving in short bursts (e.g., 30-second intervals) on a lower power setting, stirring frequently. For contact with water or steam, remember that chocolate is “hydrophobic,” meaning its waxy oils repel water. When water comes into contact with melted chocolate, it causes the cocoa solids and fats to separate, leading to a thick, grainy, and unworkable consistency. Always ensure your bowls, utensils, and environment are completely dry when melting chocolate. To avoid seizing, meticulously follow the package directions for your specific chocolate wafers or candy melts.
Is Chilling the Truffle Mixture Truly Necessary?
Yes, chilling the Oreo and cream cheese mixture is absolutely imperative for several reasons. First, it firms up the mixture, making it much easier to roll into neat, cohesive balls without them sticking to your hands or losing their shape. Secondly, and perhaps most importantly, keeping the cream cheese-based truffles thoroughly chilled is crucial for food safety. Cream cheese is a dairy product and can spoil if left at room temperature for extended periods. Ensuring both the initial mixture and the finished truffles remain chilled helps maintain their freshness and prevents bacterial growth. Aim for at least one hour of chilling for the mixture before rolling, and always store the finished treats in the refrigerator.
Optimal Storage for Leftover Oreo Balls
Storing your delicious Halloween Oreo balls is straightforward. Simply place them in an airtight container and keep them refrigerated for up to 7 days. As they are made with cream cheese, it’s essential to prevent them from sitting out at room temperature for extended periods to maintain their freshness and food safety. They will hold up beautifully when properly chilled.
Personally, I prefer to add the final delicate decorations, such as drawing faces with food-safe markers or applying frosting gels, just before serving. I’ve found that occasionally, in the moist environment of the refrigerator, food pens can bleed or colors might slightly run. While this doesn’t happen every time, it can be a minor disappointment when you’ve put so much effort into creating eye-catching treats. Decorating just before presentation ensures your masterpieces look their absolute best!
Can Oreo Truffles Be Frozen?
Yes, Oreo truffles are excellent candidates for freezing, a practice I often employ for meal prep or to make treats ahead of time. You can freeze them either before or after coating them with chocolate. If freezing after coating, ensure the chocolate has fully set and hardened before stacking them or placing them in an airtight freezer-safe container. This prevents them from sticking together or marring the chocolate shell.
Similar to refrigeration, it’s best to add any final decorative touches (like faces or gel drips) after you’ve thawed the truffles and they are ready to be served. This preserves the crispness of the decorations and prevents any potential moisture-related issues.
Choosing the Best Chocolate for Coating Your Truffles
For this delightful Halloween recipe, we specifically used candy melts due to their vibrant colors, smooth consistency, and ease of use for dipping. However, you have several excellent alternatives for coating your Oreo balls:
- Almond Bark: A popular choice for its smooth melting and firm setting properties.
- Candi Quik: Similar to almond bark and candy melts, offering convenience and a good finish.
- Melting Wafers: Any brand of melting wafers designed for dipping will work beautifully, providing a smooth and hard shell.
- High-Quality White Chocolate: If you prefer using true chocolate, high-quality white chocolate (or milk/dark chocolate) can also be used. Just be extra careful when melting, as real chocolate is more prone to seizing than candy melts. Adding a touch of coconut oil or vegetable shortening can help with consistency.
Explore More Irresistible Truffle Recipes
If you’ve fallen in love with the simplicity and deliciousness of these Oreo truffles, you’ll be thrilled to discover a world of other amazing truffle recipes. Here are some of our top suggestions to keep your sweet tooth satisfied year-round:
- Classic Oreo Balls / Oreo Truffles
- Vibrant Rainbow Truffles Recipe
- Decadent Chocolate Chip Cookie Truffles
- Seasonal Pumpkin Spice Truffles
- Sweet Sugar Cookie Truffles
- Gourmet Dark Chocolate Pistachio Truffles
- Festive 4th of July Truffles
- Simple & Easy Chocolate Truffles
- Romantic Valentine Oreo Truffles
- Refreshing Rainbow Mint Oreo Truffles
- Chocolate Truffles with Holiday Sprinkles
- Quick Holiday Nutella Bites
- Classic Buckeye Candies
- Cool Peppermint Oreo Balls
- Whimsical Grinch Truffles
- Jolly Christmas Truffles
Can I Use a Different Type of Cookie for Truffles?
Absolutely! While Oreos are classic for a reason, you can certainly venture into other cookie varieties to create different truffle flavors and textures. We have dedicated recipes for Sugar Cookie Truffles and Chocolate Chip Cookie Truffles. It’s important to note that it’s not a direct 1-for-1 swap with the Oreo recipe, as different cookies have varying moisture levels and sizes. Always refer to the specific recipe for those varieties to ensure the correct proportions of cream cheese and other ingredients for the best results.
Do I Need a Food Processor for Crushing the Cookies?
While a food processor or a high-powered blender is highly recommended for achieving a fine, even cookie crumble (which is key to smooth truffles), it’s not strictly essential. For instance, I personally love using my Ninja blender for this recipe; its pitcher attachment functions much like a food processor, and I can then swap to a dough mixer blade for incorporating the cream cheese. However, if you don’t own one, you can still get the job done manually. Place the cookies in a large, sturdy zip-top bag, seal it tightly, and then use a rolling pin or even a meat mallet to crush them into fine crumbs. The goal is to get the cookies as finely ground as possible for the best truffle consistency.
Expert Tips for Crafting Perfect Halloween Oreo Balls
Achieving bakery-worthy Halloween Oreo balls is simpler than you think with these insider tips:
- **Manual Crushing**: If a food processor isn’t available, use a sturdy rolling pin to crush the cookies in a sealed bag. Ensure they are reduced to very fine crumbs for a smooth truffle base.
- **Prepare Your Workspace**: Have your baking sheet or cookie sheet lined with parchment paper and ready before you start rolling the mixture. This streamlines the process and allows you to work quickly.
- **Instant Eyes**: For a quick and easy decorating hack, use mini chocolate chips to create eyes on your spooky characters, or simply pick up a package of store-bought candy eyes for an effortless touch.
- **Alternative Liner**: Don’t have parchment paper? Wax paper works just as effectively to prevent the truffles from sticking to the tray while they set.
- **Kid-Friendly Fun**: Involve the little ones in the decorating phase! Drawing faces, adding sprinkles, or attaching candy arms makes for a memorable and enjoyable activity.
- **Softened Cream Cheese is Key**: Always ensure your cream cheese is thoroughly softened to room temperature. This makes it significantly easier to blend smoothly with the cookie crumbs, preventing lumps and ensuring a uniform dough.
- **Strategic Coloring**: When using white chocolate for light-colored designs like ghosts or eyeballs, consider using Golden Oreos for the base. This makes it much easier to achieve a bright, even white coating compared to covering dark chocolate crumbs.
- **Dipping Technique**: Use a fork to gently dip the truffles into the melted chocolate. This allows excess chocolate to drip off easily through the tines, preventing thick, clumpy coatings.
- **Oreo Type Awareness**: Remember to use regular Oreos for the given recipe proportions. If opting for Double-Stuffed Oreos, you must reduce the cream cheese quantity to maintain the correct dough consistency.
- **Patience is a Virtue (for Chilling)**: Allow the truffles ample time to chill in the refrigerator after dipping. The chocolate needs to firm up completely before moving on to additional decorations or handling, ensuring a neat and professional finish.
- **White Chocolate Chip Caution**: While melted white chocolate chips can be used as an alternative to candy melts, be aware they tend to seize more easily. Melt them very slowly and gently to avoid this issue.
- **Flavor Versatility**: Don’t limit yourself to specific chocolate types; milk chocolate can also be a delicious coating for these fun spooky treats, offering a different flavor profile.
- **Oil Alternatives**: If coconut oil isn’t on hand, vegetable oil or vegetable shortening can be used in a pinch to thin out the melted chocolate to the desired dipping consistency.
- **Precision Decorating**: For intricate details and finer decorations, have a piping bag (or a simple zip-top bag with a corner snipped off) ready. This allows for controlled application of frosting gels and fine lines.
DON’T MISS THESE HOLIDAY E-BOOKS!


Essential Products I Love for Making Halloween Oreo Balls…
This no-bake Oreo treat recipe is incredibly easy and wonderfully delicious. If you’re anything like me during this time of year, you might already have some of these items stashed away in your pantry. Or, perhaps you’re a first-timer when it comes to making Oreo balls and feel a bit nervous – rest assured, you are going to absolutely adore these! To help you along, I’ve compiled a list of the essential tools and ingredients I simply can’t live without when whipping up this festive holiday treat. (You can also SHOP MY FAVORITES directly in my store)
- Oreo cookies
- White candy melts
- Orange candy melts
- Green candy melts
- Red gel frosting
- Food-safe marker
- Cake pop sticks
- Good & Plenty candy
If you adore this easy Halloween Oreo Balls recipe, you’re bound to fall in love with these other fantastic Halloween treats as well. Simply click each link below to discover the easy, printable recipe and add more spooky delights to your celebration!
Check out this recipe
Check out this recipe

Check out this recipe
Check out this recipe
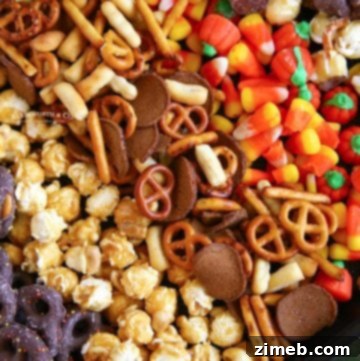
Check out this recipe
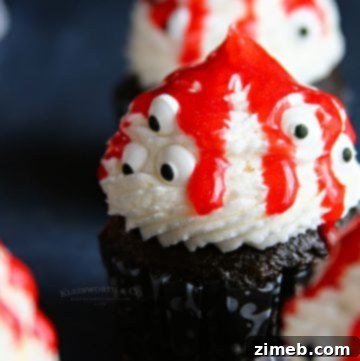
Check out this recipe
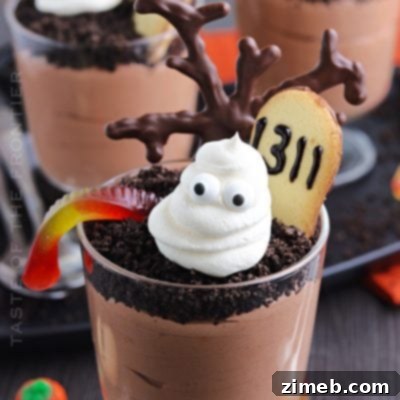
Check out this recipe
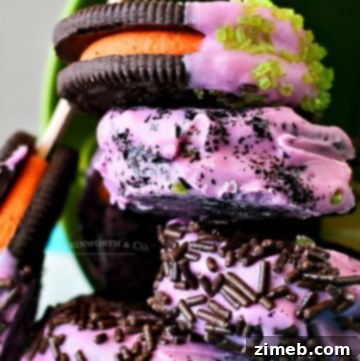
Check out this recipe
Check out this recipe
If you genuinely love this recipe for Homemade Oreo Pops as much as I do, please take a moment to write a five-star review. Your feedback is greatly appreciated, and don’t forget to help me share the spooky fun on Facebook and Pinterest with your friends and family!
CONNECT WITH YUMMI HAUS!
Be sure to follow me on my social media channels, so you never miss a post!
Substack, Facebook, Pinterest, Instagram, Email Subscription
Rate this Recipe
Halloween Oreo Balls / Halloween Cake Pops
Ingredients
- 25 Oreo cookies (ground)
- 3 tbsp coconut oil
- 5 oz cream cheese (softened)
- ⅔ cup green chocolate melts
- ⅔ cup orange chocolate melts
- ⅔ cup white chocolate melts
- 5 Good & Plenty candy (for ghost arms, optional)
- Red frosting gel
Instructions
-
In a large bowl, combine ground Oreos and cream cheese. Mix with a hand mixer until smooth and the mixture has a dough-like consistency.
-
Using a cookie scoop, portion out an even amount of the mixture and roll it into a ball in your hand. Place each on a prepared sheet of parchment paper. Repeat 14 more times.
-
Shape 5 of the balls like ghosts (slightly triangular). Then, take two Good & Plenties and stick them into the side of each ghost pop to create arms.
-
Melt a small amount of the chocolate and dip the tip of a cake pop stick into the chocolate. Then, insert the stick about ¾ of the way into an Oreo pop. Repeat for all the pops. Place the pops in the fridge to set for 10 minutes.
-
Once the pops have set, melt each color of the chocolate melts in the microwave for 30-second increments (on low power) until fully melted and smooth. Stir 1 tbsp coconut oil into each color to thin.
-
Gently dip a ghost-shaped Oreo pop into the white melted chocolate, ensuring an even coating. Allow the excess to drip off, then place it back on the parchment paper. Repeat with the remaining ghost-shaped Oreo pops.
-
Next, dip an Oreo pop into the orange melted chocolate, allowing the excess to drip off. Place it on the parchment, then repeat with 4 more Oreo pops. These will be your jack-o’-lantern pops.
-
Last, dip the remaining 5 Oreo pops in the green melted chocolate (one at a time). Allow the excess to drip off, then place them on the parchment. These will be your poisoned apple pops.
-
Place the parchment-lined tray in the fridge to set for 20 minutes.
-
Once the pops are set, use your red frosting gel to create drips off the green pops, mimicking a “poisoned apple” look. Set them back on the parchment.
-
Using your food-safe marker, draw eyes and a mouth on your jack-o’-lantern pops and on your ghost pops.
Notes
- Adding 1 tablespoon of coconut oil to your melted chocolate will slightly thin it out, making the dipping process for each Oreo pop much easier and ensuring a smoother coating. If the chocolate still appears too thick, add an additional teaspoon of coconut oil at a time until you reach your desired, perfect consistency.
- While you can manually crush Oreos using a meat cleaver or hammer (by placing them in a sealed bag), the most efficient and easiest method to achieve finely ground crumbs is by using a food processor.
- If you don’t have readily available green or orange melting chocolate, you can easily create these colors. Simply use white chocolate melts and incorporate food coloring specifically designed for chocolate (oil-based food coloring works best) to achieve your desired vibrant hues.
Equipment
-
1 Food-safe black marker
-
15 cake pop sticks
Nutrition
Nutritional information for the recipe is provided as a courtesy and is approximate. Please double-check with your own dietary calculator for the best accuracy. We at Yummi Haus cannot guarantee the accuracy of the nutritional information given for any recipe on this site.