
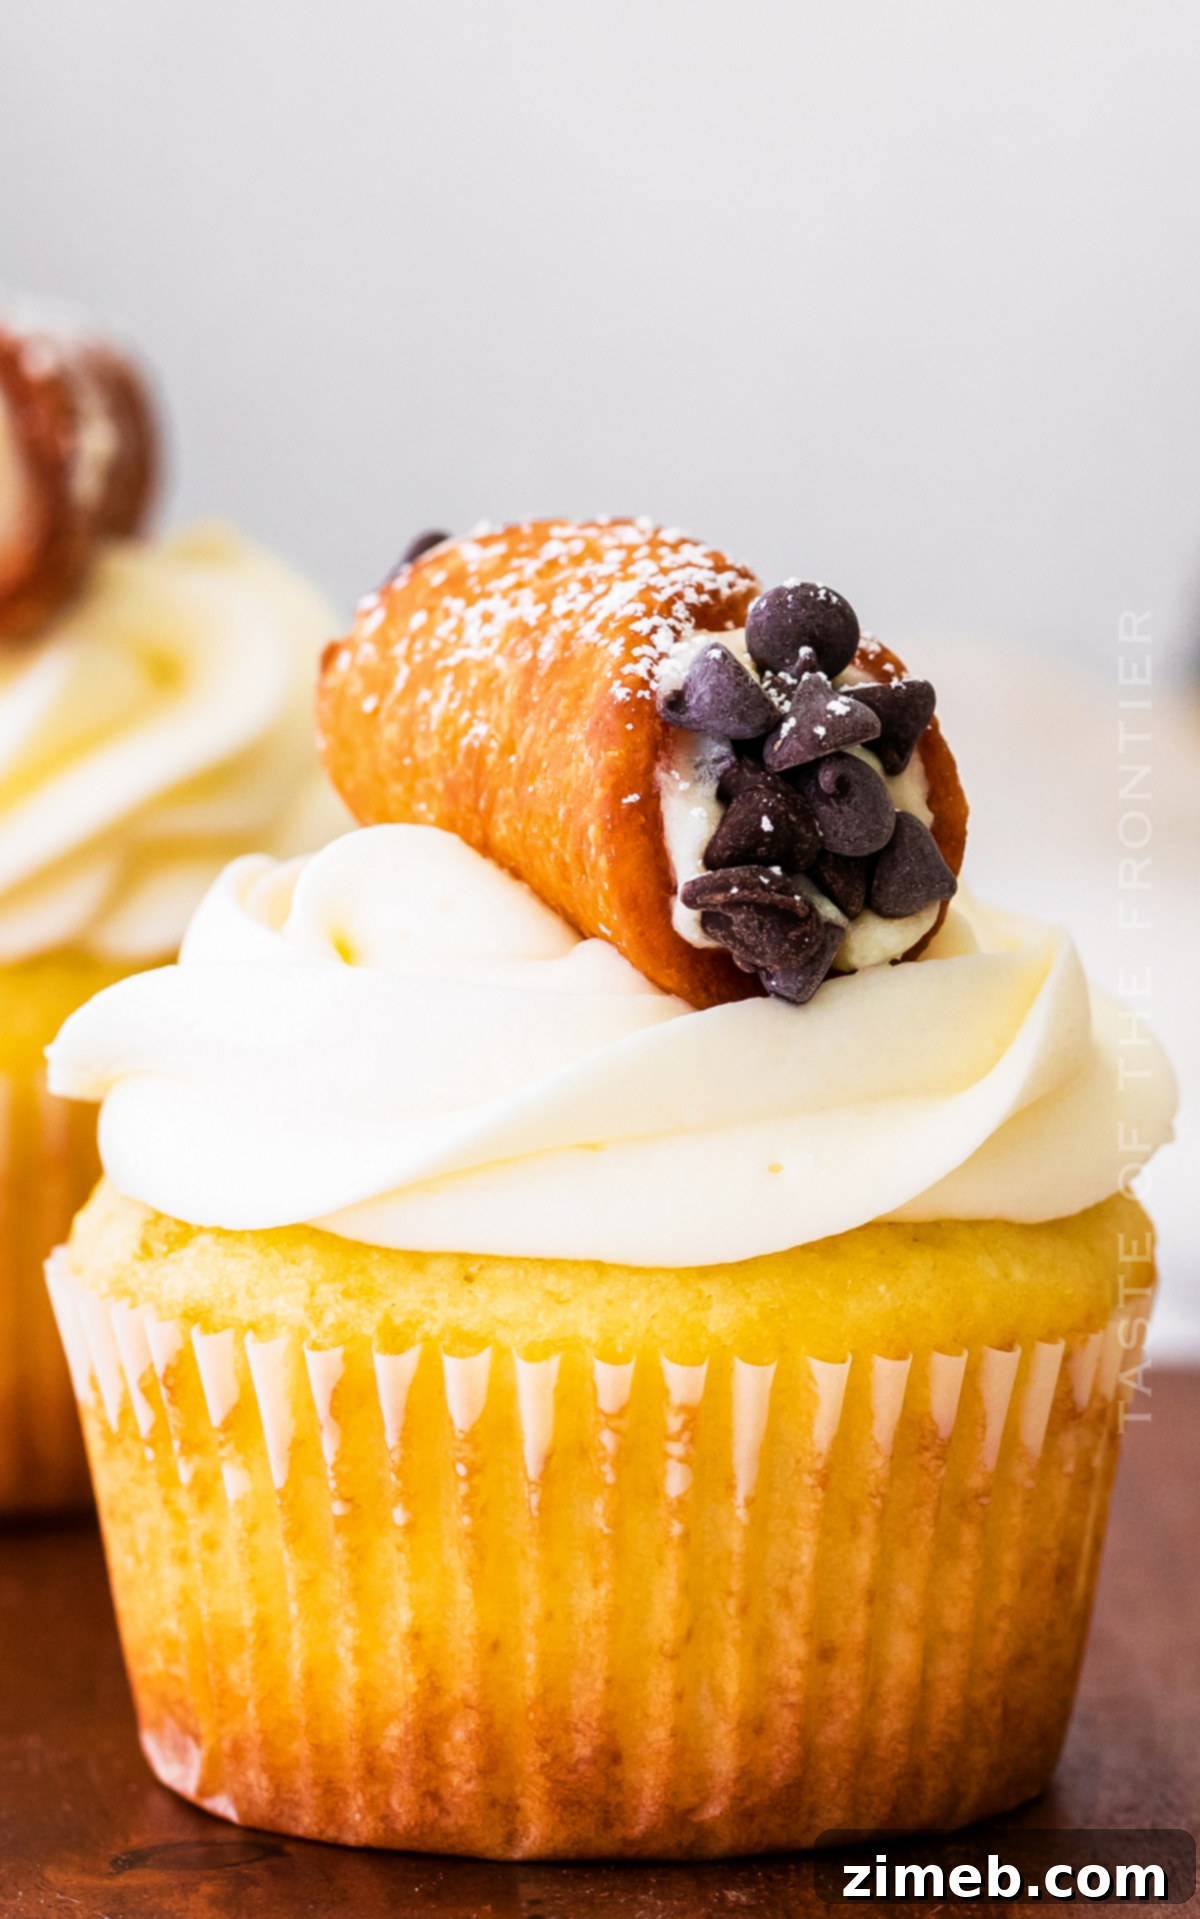
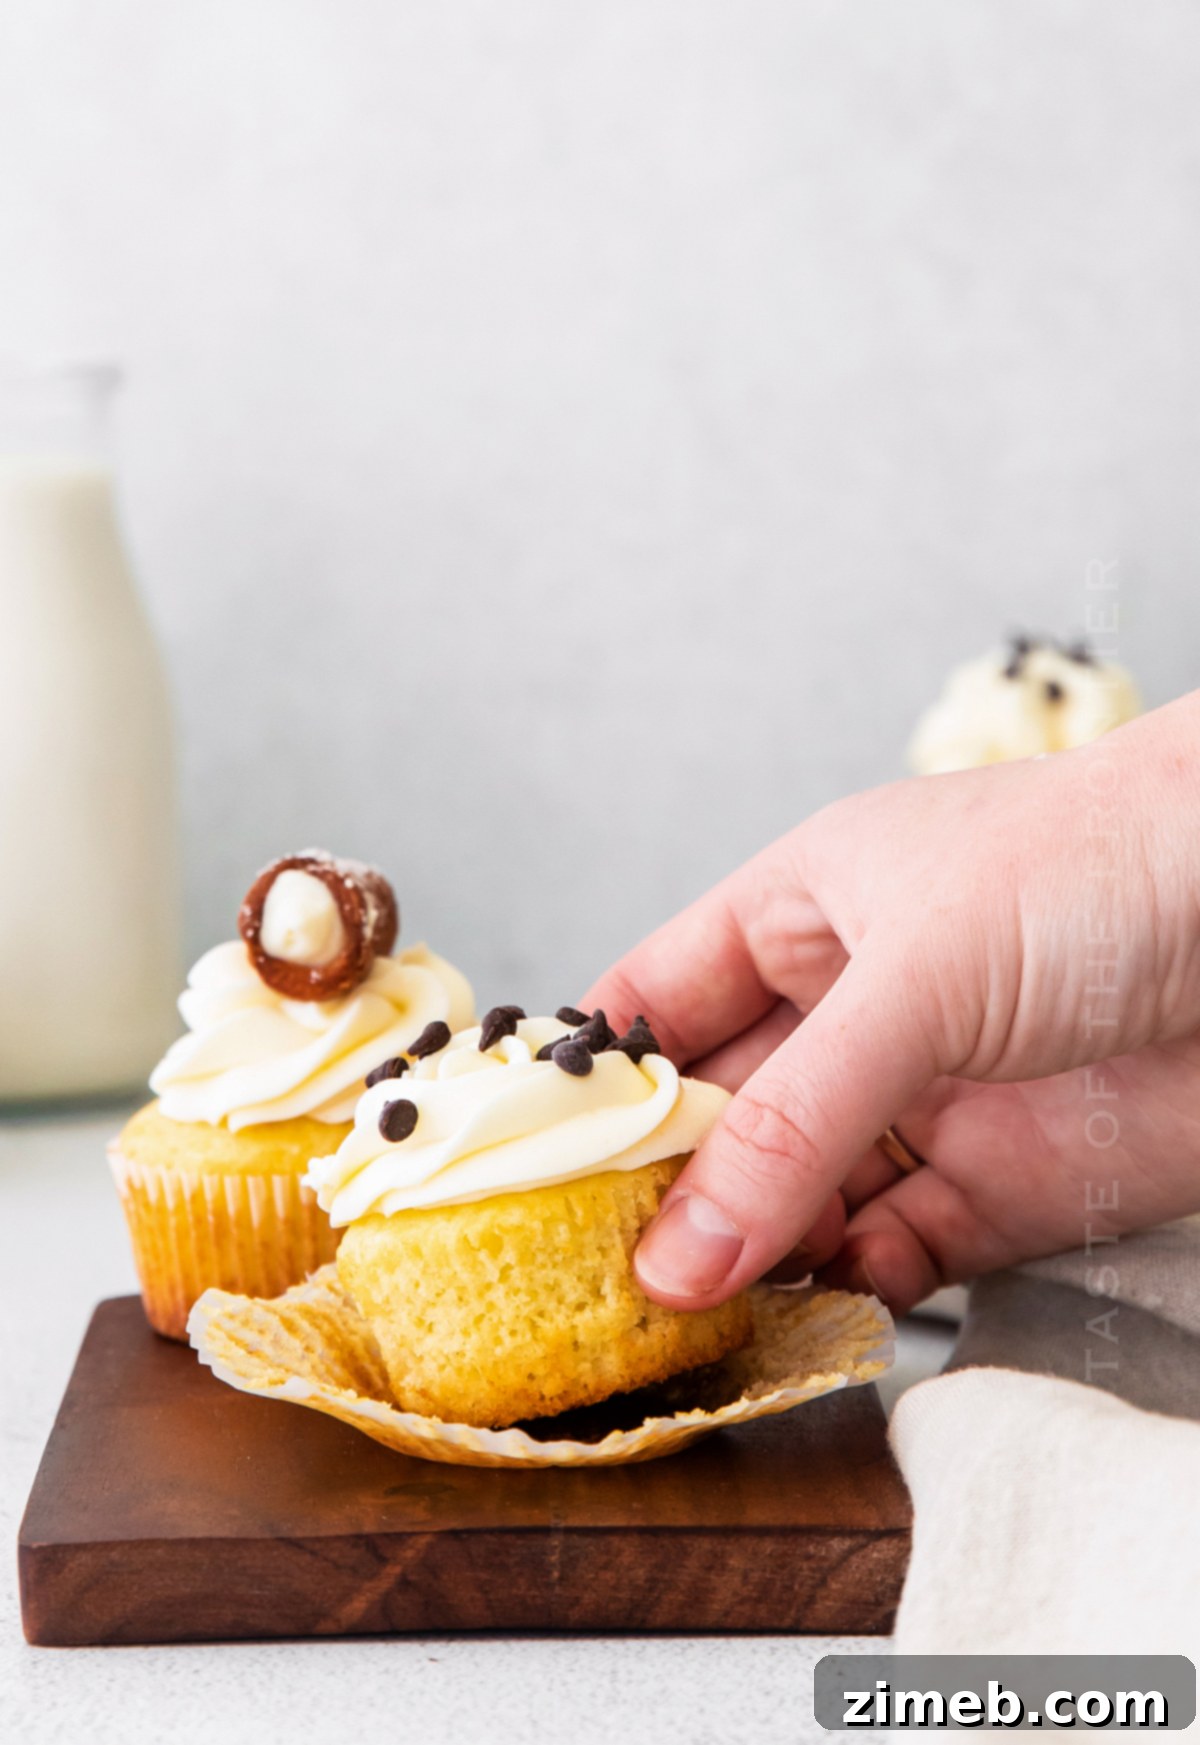
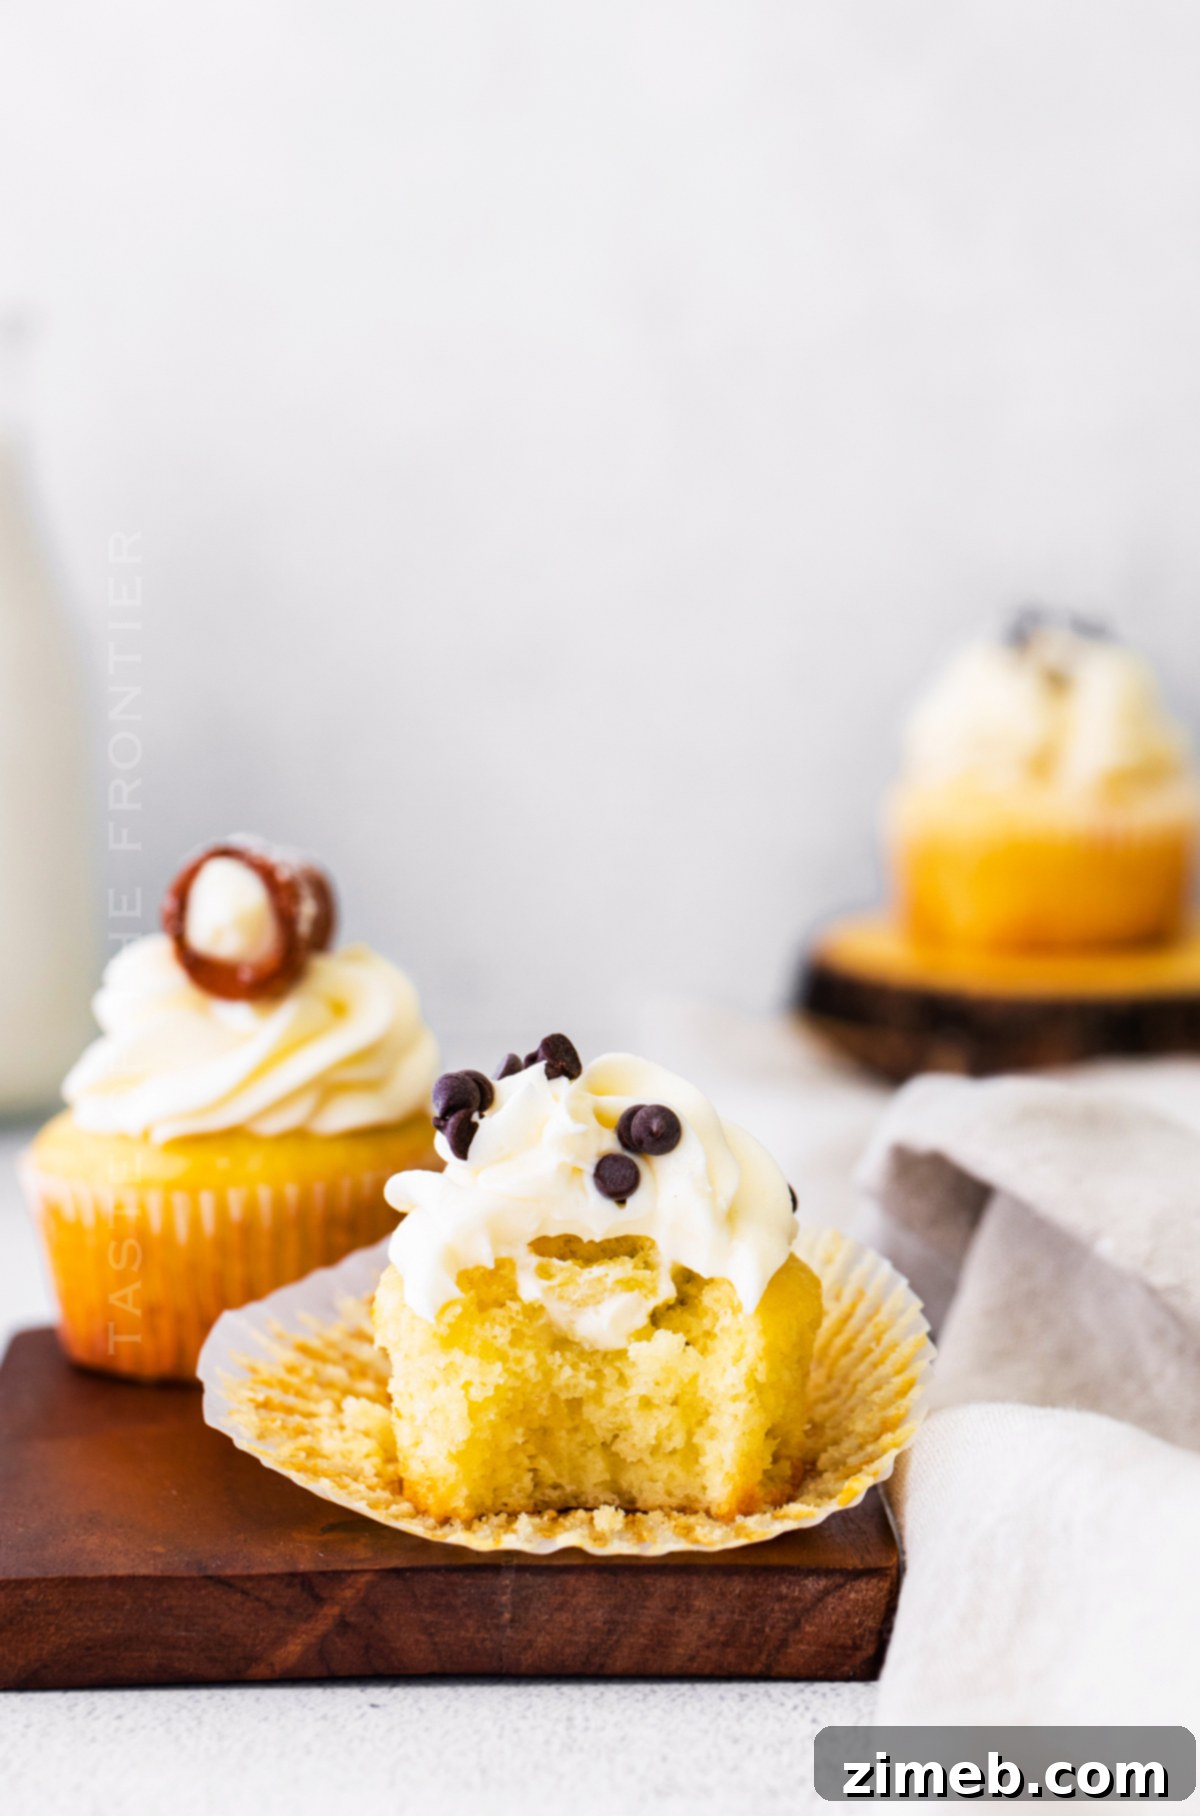
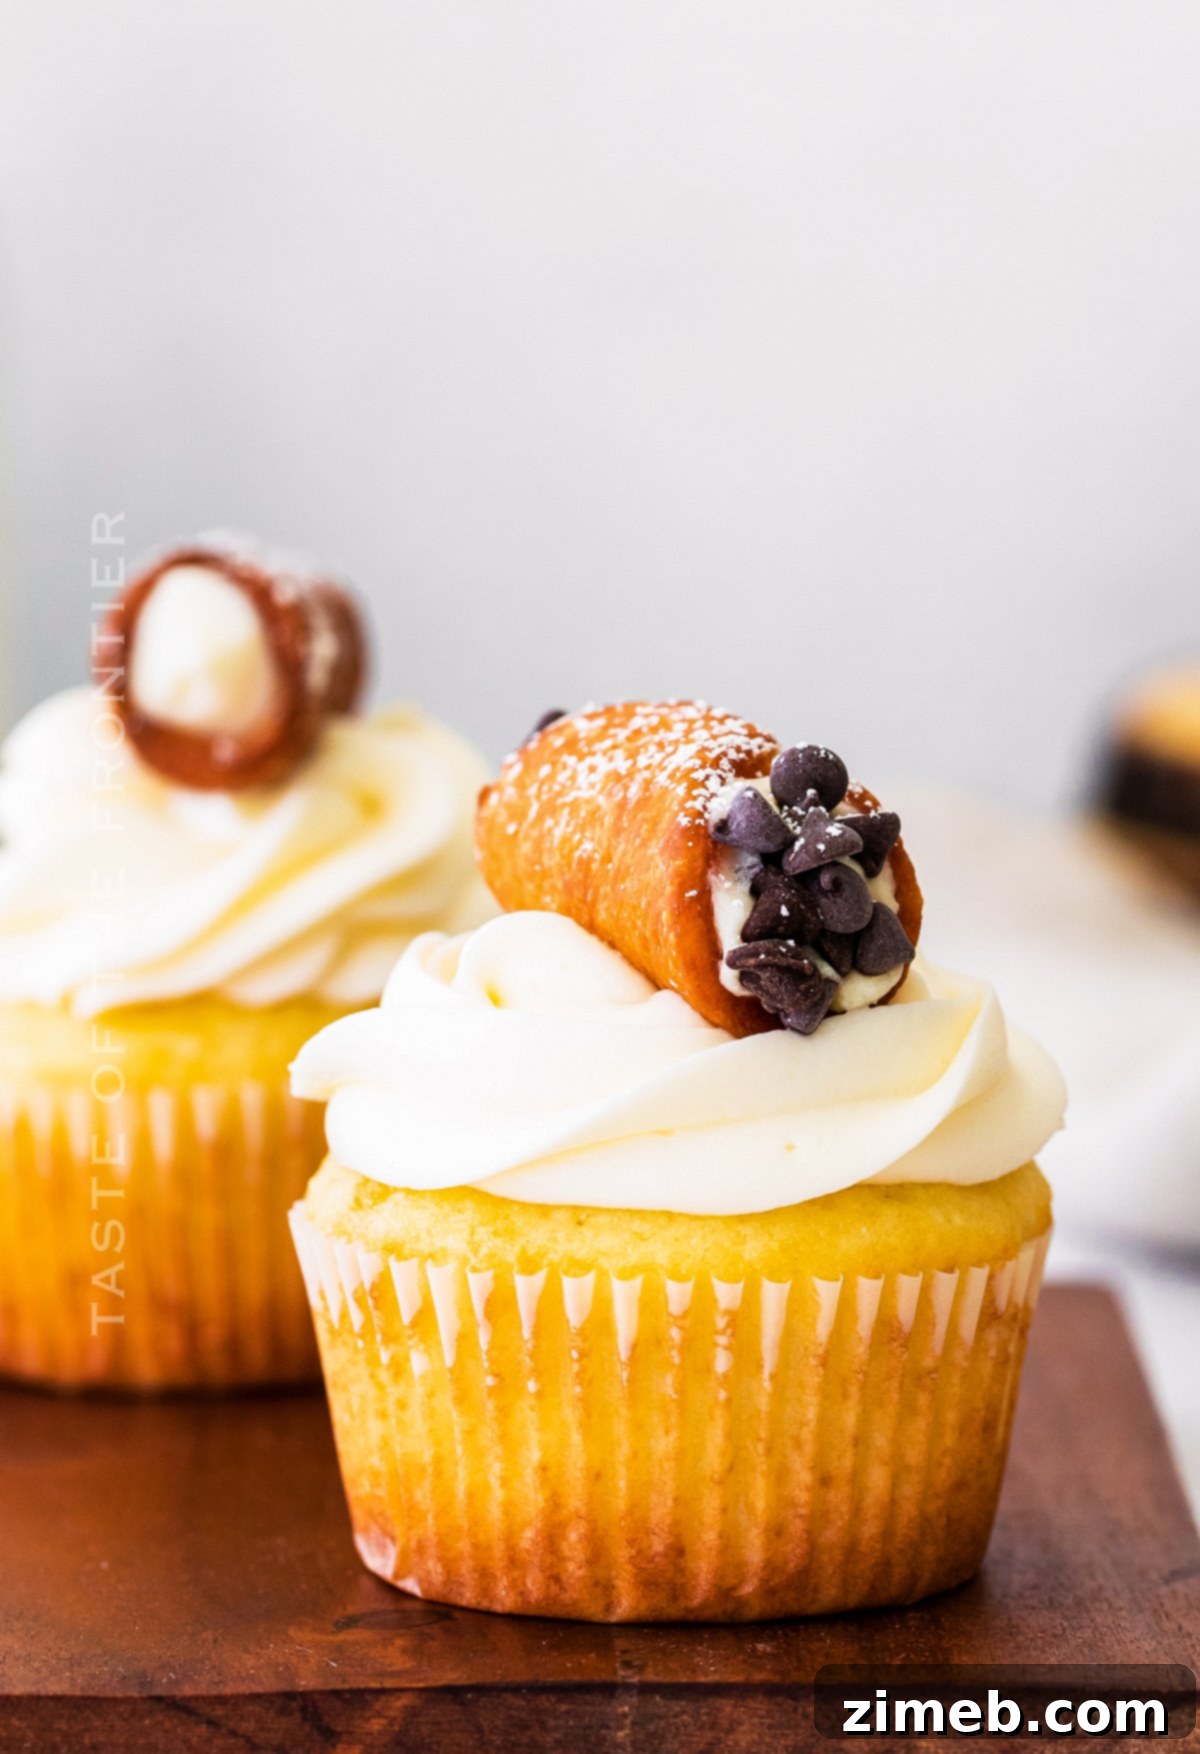
Welcome to the world of exquisite baking with our incredible Cannoli Cupcakes! These aren’t just any ordinary dessert; they are a celebration in every bite, perfectly blending the rich, creamy essence of traditional Italian cannoli with the beloved convenience of a cupcake. Imagine a tender, moist cupcake base, generously filled with a luscious cannoli cream, then crowned with a light, airy cannoli frosting, and finally adorned with delicate mini chocolate chips and charming mini cannolis. This masterpiece is guaranteed to captivate the hearts and palates of your family and friends, making it the undeniable star of any gathering or holiday celebration.
There’s something truly special about cupcakes. As a passionate advocate for all things cake, I find cupcakes to be the ultimate culinary delight – a personal-sized portion of joy, perfectly portable and undeniably charming. They offer all the decadence of a full cake without the fuss, making them ideal for any occasion, from casual get-togethers to elegant parties.
As I often seek inspiration for unique and delightful desserts, especially for spring festivities, these Cannoli Cupcakes naturally came to mind. My family already adores the Cannoli Cream Pie that has become a cherished annual tradition. It felt only right to transform that incredible, authentic flavor profile into an equally irresistible cupcake form, offering a fresh and exciting way to enjoy a classic favorite.
PIN THIS TO SAVE FOR LATER
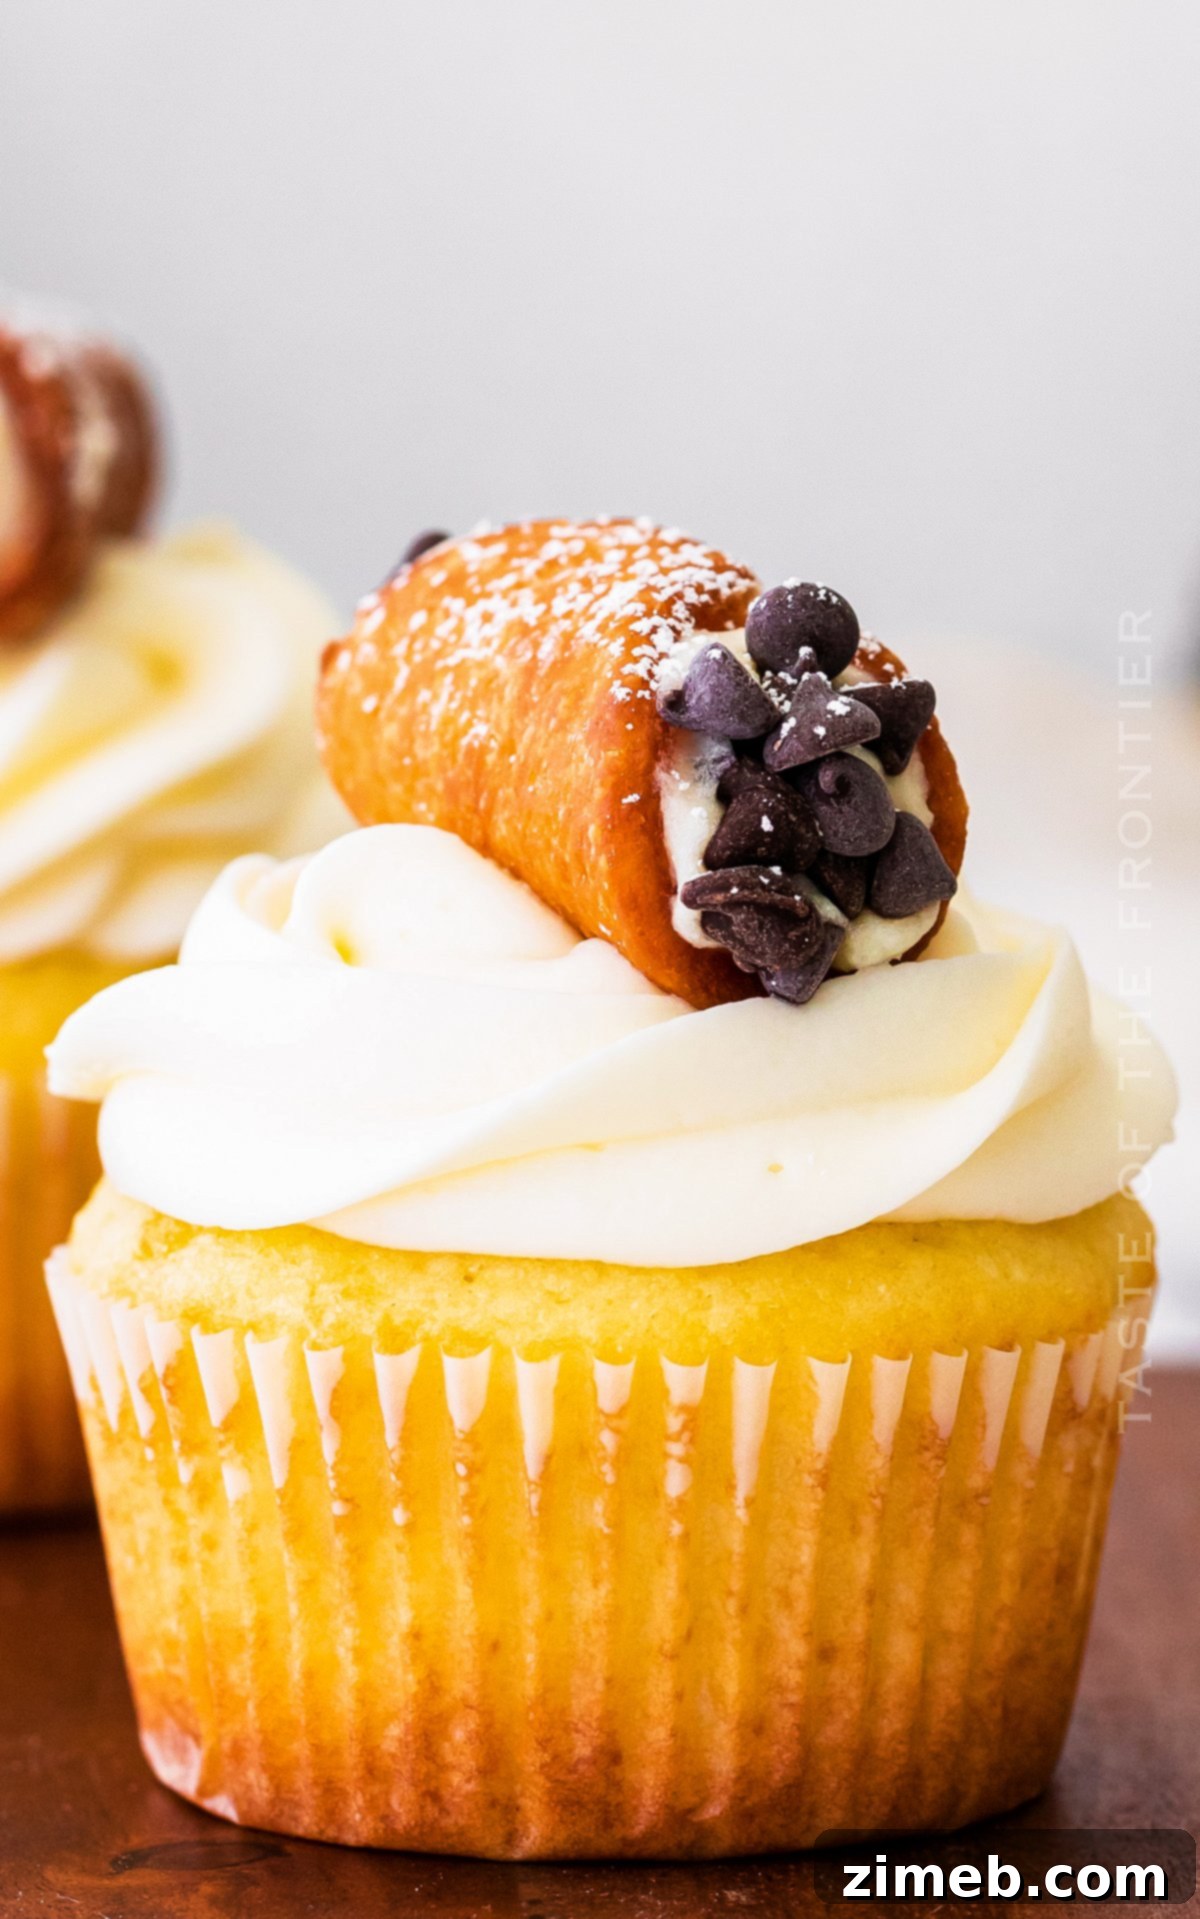
Beyond their stunning appearance and decadent taste, these Cannoli Cupcakes are remarkably simple to create. We’ve meticulously broken down the entire process, ensuring each component is easy to follow and execute. You’ll find that the steps flow seamlessly, allowing you to whip up the cupcake batter, prepare the delectable cannoli filling while they bake, and then craft the cloud-like frosting as they cool. Each stage is designed for efficiency and ease, making this recipe accessible even for novice bakers.
Their exquisite flavor and elegant presentation make them a guaranteed crowd-pleaser for all your seasonal celebrations, family dinners, or whenever you crave a truly special treat. These cupcakes aren’t just a dessert; they’re an experience waiting to be shared.
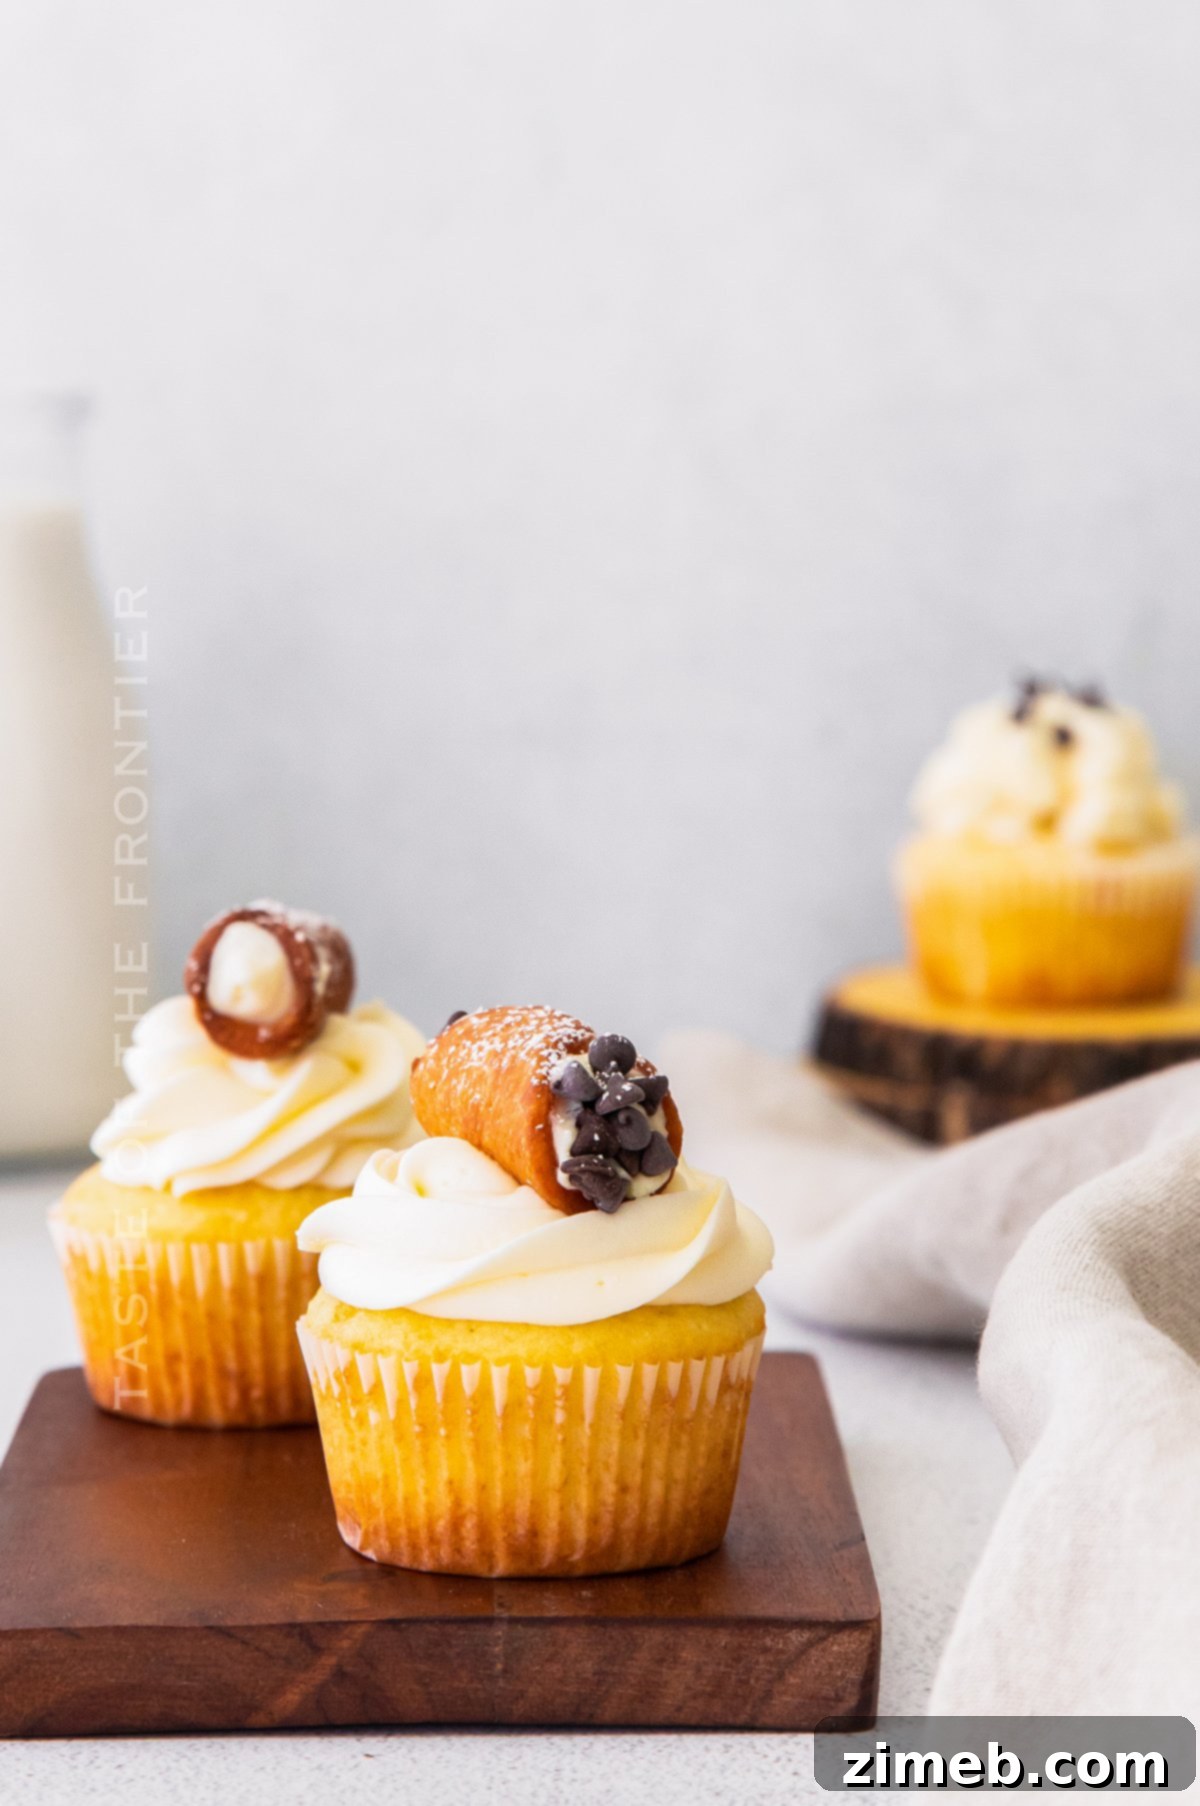
Frequently Asked Questions About Cannoli Cupcakes
What Exactly are Cannoli? A Deeper Dive
Cannoli are an iconic Italian pastry, a true culinary jewel originating from Sicily. Traditionally, they consist of tube-shaped shells of fried pastry dough, typically crisp and slightly sweetened, which are then generously filled with a creamy, rich ricotta cheese mixture. While often served simply, many variations include additions like candied fruit, nuts, or chocolate chips. This classic dessert holds a significant place in Italian culture, frequently enjoyed during festivals, holidays, and family gatherings. Our Cannoli Cupcakes offer a delightful and innovative twist on this beloved dessert, bringing its distinctive flavors to a new, convenient, and incredibly festive form that is sure to be the highlight of your holiday party or any special occasion.
The name “cannoli” itself comes from “canna,” meaning “small tube,” referring to the metal tubes around which the dough is wrapped and fried. The characteristic flavor comes from the ricotta cheese, often sweetened with sugar and flavored with vanilla, cinnamon, or even citrus zest. It’s this unique combination of crispy shell and creamy, flavorful filling that makes cannoli so irresistible, and precisely what we aim to capture in our cupcake rendition.
Storing Your Delicious Cannoli Cupcakes: Tips for Freshness
Proper storage is key to preserving the delectable taste and texture of your Cannoli Cupcakes. As with most cupcakes, maintaining freshness in an airtight container is paramount. Due to the presence of butter and mascarpone in the frosting, and especially the rich cream filling, refrigeration is essential when the cupcakes are not being served. This helps prevent spoilage and keeps the dairy components fresh and stable.
For the best eating experience, allow the refrigerated cupcakes to come to room temperature for about 15-30 minutes before serving. This ensures the frosting becomes wonderfully creamy and the cupcake itself regains its soft, moist texture, enhancing the overall flavor profile. Stored correctly in the refrigerator, these cupcakes will remain delightful for up to 4 days. If you’re planning further ahead, they can also be frozen for up to 3 months, though some considerations apply, as detailed below.
Can These Cupcakes Be Made with a Box Mix? A Time-Saving Alternative
Absolutely! If you find yourself pressed for time but still desire the homemade taste of these delightful Cannoli Cupcakes, utilizing a high-quality box mix for the cupcake portion is a perfectly viable and convenient option. This allows you to streamline the baking process while still enjoying the unique cannoli filling and frosting from scratch. When choosing a box mix, consider vanilla or a mild yellow cake flavor to complement the rich cannoli components. To elevate the store-bought mix, you can even add a touch of extra vanilla extract or a pinch of cinnamon to the batter, subtly customizing it to better match the authentic cannoli essence. This approach ensures a delicious result without compromising too much on flavor, especially when time is of the essence.
Freezing Cannoli Cupcakes: What You Need to Know
Freezing cupcakes can be a fantastic way to prepare components in advance, but it’s important to approach it strategically, especially with cream-filled desserts. Once baked and completely cooled, the plain cupcakes can indeed be frozen prior to filling and frosting. To do this, remove the cooled cupcakes from the muffin pan, wrap them tightly in plastic wrap (individually or in small batches), and then place them in an airtight freezer-safe bag or container. They can be stored this way for several weeks. This method is particularly useful for meal prepping or when you want to work with slightly firmer cakes, which can help prevent the frosting from becoming too soft during application.
However, when it comes to the cannoli filling, I generally advise against freezing it. The delicate texture of the ricotta cheese and the overall creaminess tend to change significantly after being frozen and then thawed, often resulting in a grainy or watery consistency. For this reason, I highly recommend baking the cupcakes ahead of time but preparing the cannoli filling and frosting fresh, right before you plan to serve them. This ensures the best possible flavor and texture for your completed Cannoli Cupcakes.
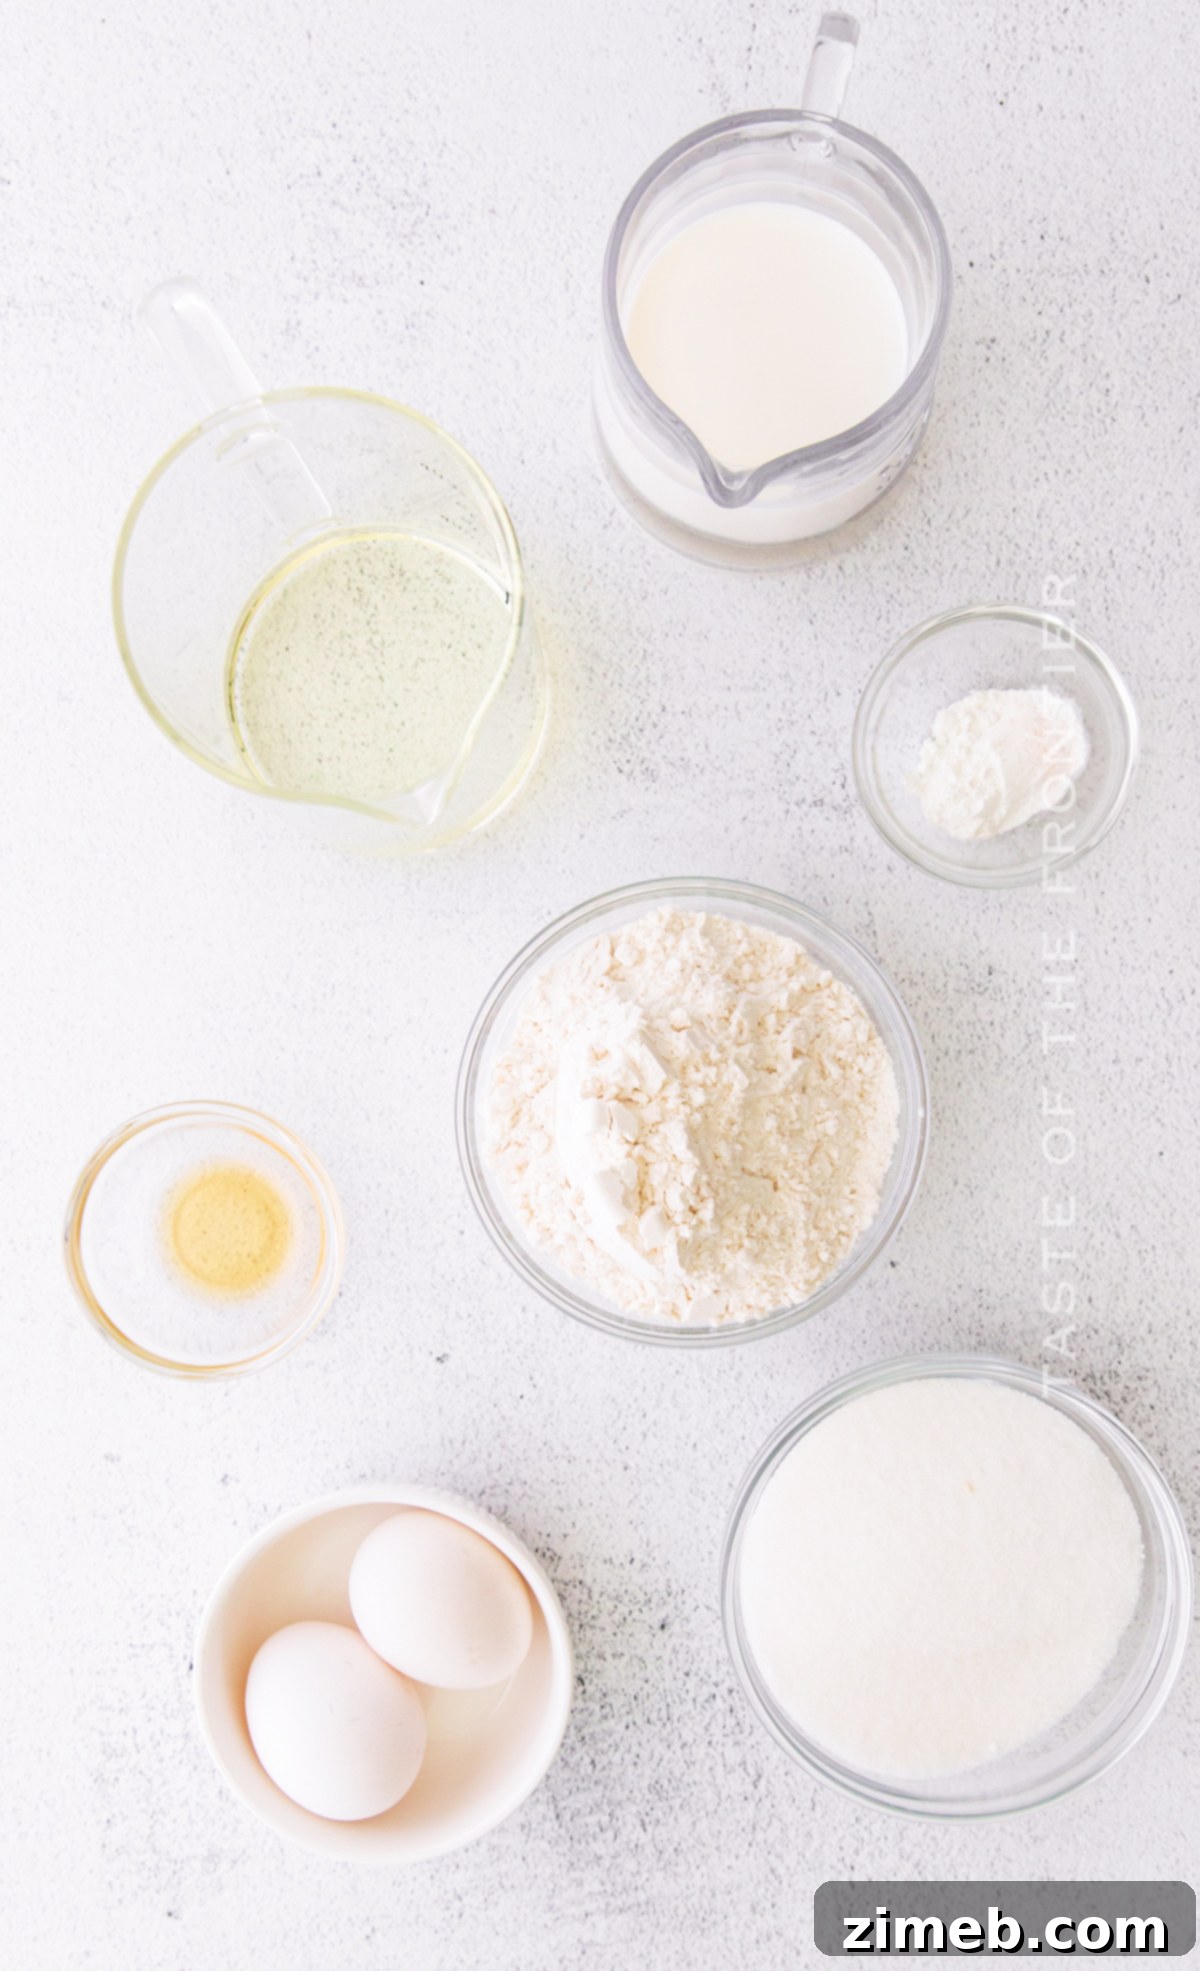
Essential Ingredients for Perfect Cannoli Cupcakes
Crafting these delightful Cannoli Cupcakes requires a thoughtful selection of ingredients, each playing a crucial role in achieving the signature taste and texture. Here’s a detailed look at what you’ll need:
For the Moist and Fluffy Cupcake Base:
- **All-Purpose Flour:** The foundational ingredient, providing structure. Ensure accurate measurement using the spoon and level technique for a tender crumb.
- **Granulated Sugar:** Sweetens the cupcake, balancing the richness of the filling and frosting.
- **Baking Powder:** The leavening agent responsible for the cupcake’s light and airy rise.
- **Vegetable Oil:** Contributes significant moisture and richness, keeping the cupcakes incredibly tender.
- **Milk:** Helps to moisten the batter, ensuring a light and fluffy texture without being too dense.
- **Large Eggs:** Act as a binder, giving structure and richness to the cupcakes.
- **Pure Vanilla Extract:** Enhances all the flavors, providing a warm, aromatic base that complements the cannoli elements beautifully.
For the Authentic Cannoli Filling:
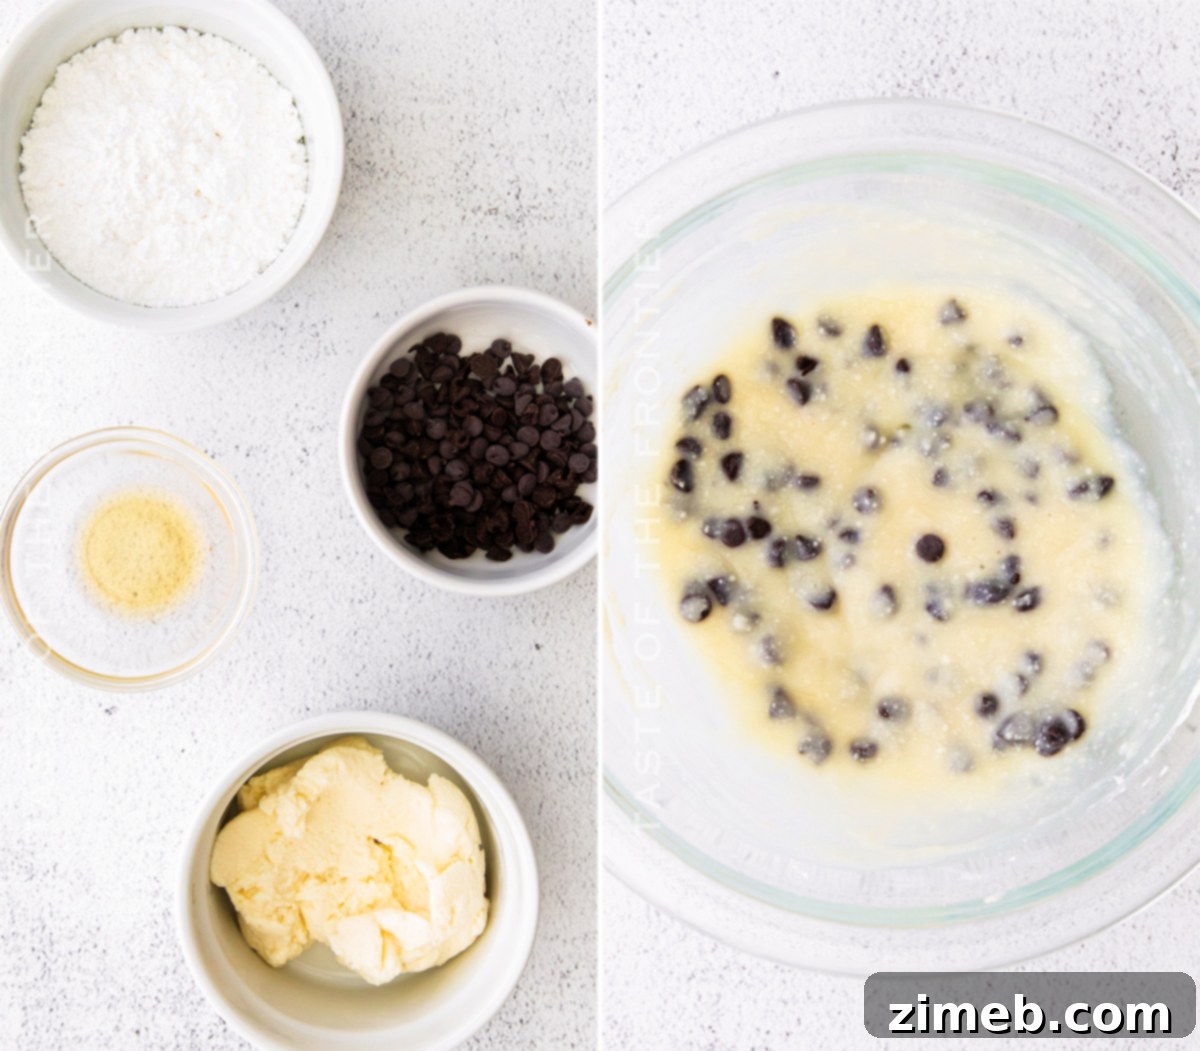
- **Ricotta Cheese:** The star of the show, delivering the distinctive, slightly grainy yet creamy texture and authentic flavor of cannoli. Draining it thoroughly is critical for the right consistency.
- **Confectioner’s Sugar:** Sweetens the ricotta, dissolving smoothly to prevent a gritty texture.
- **Vanilla Extract:** Deepens the flavor profile of the ricotta, adding a fragrant sweetness.
- **Mini Chocolate Chips:** A classic cannoli inclusion, these tiny chips provide bursts of chocolatey goodness throughout the creamy filling. Using mini chips ensures they disperse evenly and don’t overwhelm the delicate texture.
- **Cinnamon:** Just a pinch adds a warm, subtle spice that is traditional in many cannoli recipes, enhancing the overall depth of flavor.
For the Luxurious Mascarpone Frosting:
- **Butter (softened):** Forms the rich, creamy base of the frosting. Ensuring it’s perfectly softened is essential for a smooth, lump-free consistency.
- **Mascarpone Cheese (softened):** This Italian cream cheese adds an incredible tang and luxurious richness to the frosting, distinguishing it from regular buttercream and perfectly complementing the cannoli theme.
- **Confectioner’s Sugar:** Provides sweetness and body to the frosting, making it pipeable and smooth.
- **Pure Vanilla Extract:** Essential for tying all the flavors together and adding a comforting aroma.
Can This Recipe Be Doubled?
Yes, absolutely! This recipe scales beautifully, making it ideal for larger gatherings or when you simply want more of these irresistible treats. When doubling the recipe, using a cookie scoop or an ice cream scoop for portioning the batter into the muffin tins is highly recommended. This simple trick ensures that each cupcake is consistently sized, leading to even baking and a professional-looking finish across the entire batch.
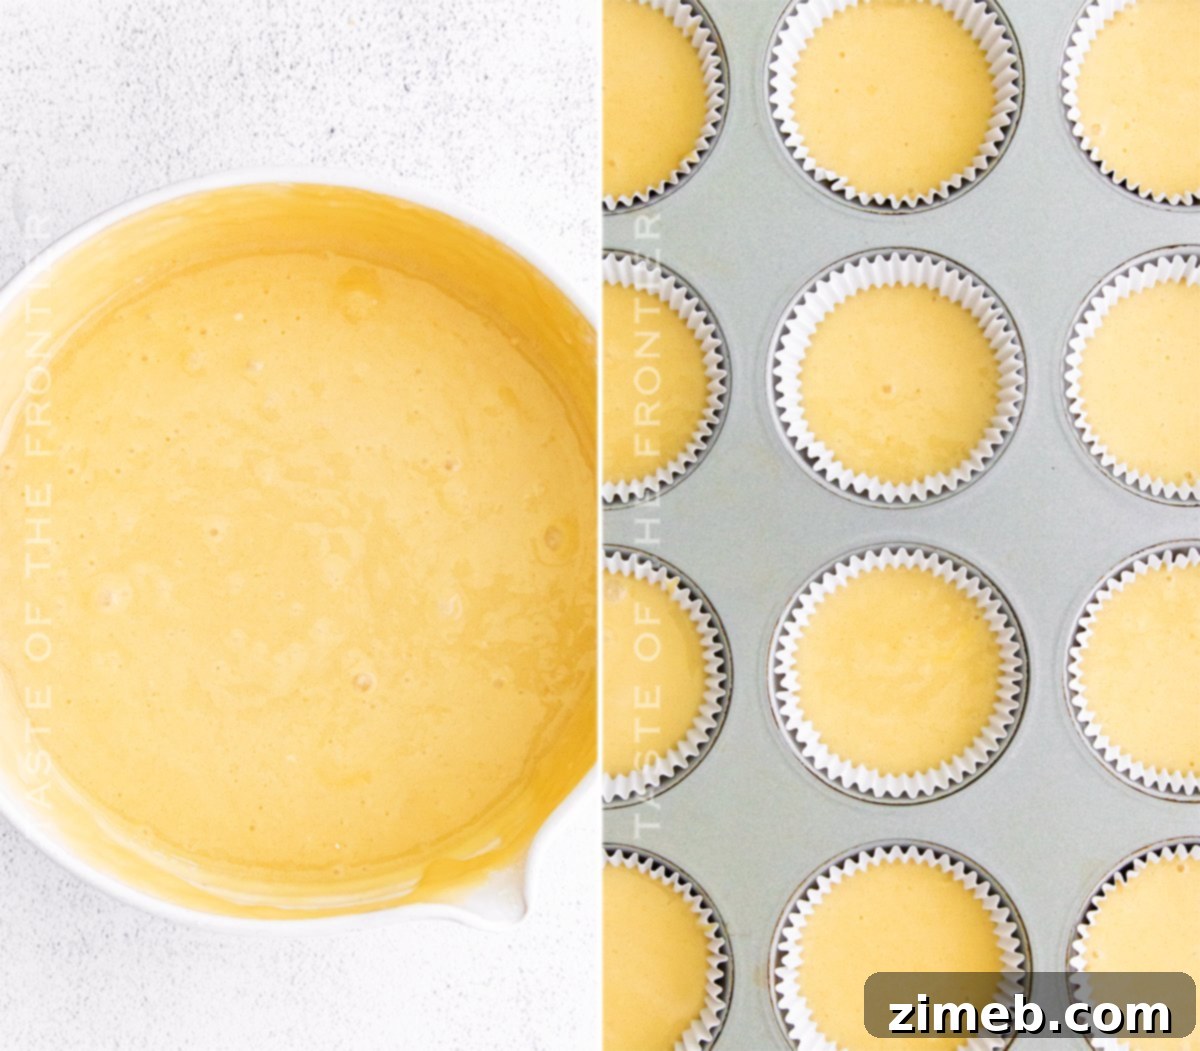
Crafting Your Cannoli Cupcakes: A Step-by-Step Guide
Follow these detailed instructions to create your perfect Cannoli Cupcakes, from baking the fluffy base to assembling the final decadent treat.
Step 1: Preparing the Cupcakes
- Begin by preheating your oven to 375°F (190°C). Line a 12-cup muffin tin with paper liners, preparing it for your cupcake batter.
- In a large mixing bowl, combine the dry ingredients: all-purpose flour, granulated sugar, and baking powder. Whisk them together thoroughly to ensure they are well distributed.
- Add the wet ingredients to the dry mixture: vegetable oil, milk, large eggs, and pure vanilla extract. Gently whisk until just combined. Be careful not to overmix; a few small lumps of flour are acceptable to avoid tough cupcakes.
- Evenly divide the cupcake batter among the lined muffin tins. For consistent sizing, a ¼ cup cookie scoop works wonderfully.
- Bake for 18-20 minutes, or until a toothpick inserted into the center of a cupcake comes out clean. This indicates they are fully baked.
- Once baked, remove the cupcakes from the oven and transfer them to a wire rack to cool completely before proceeding.
Step 2: Crafting the Cannoli Filling
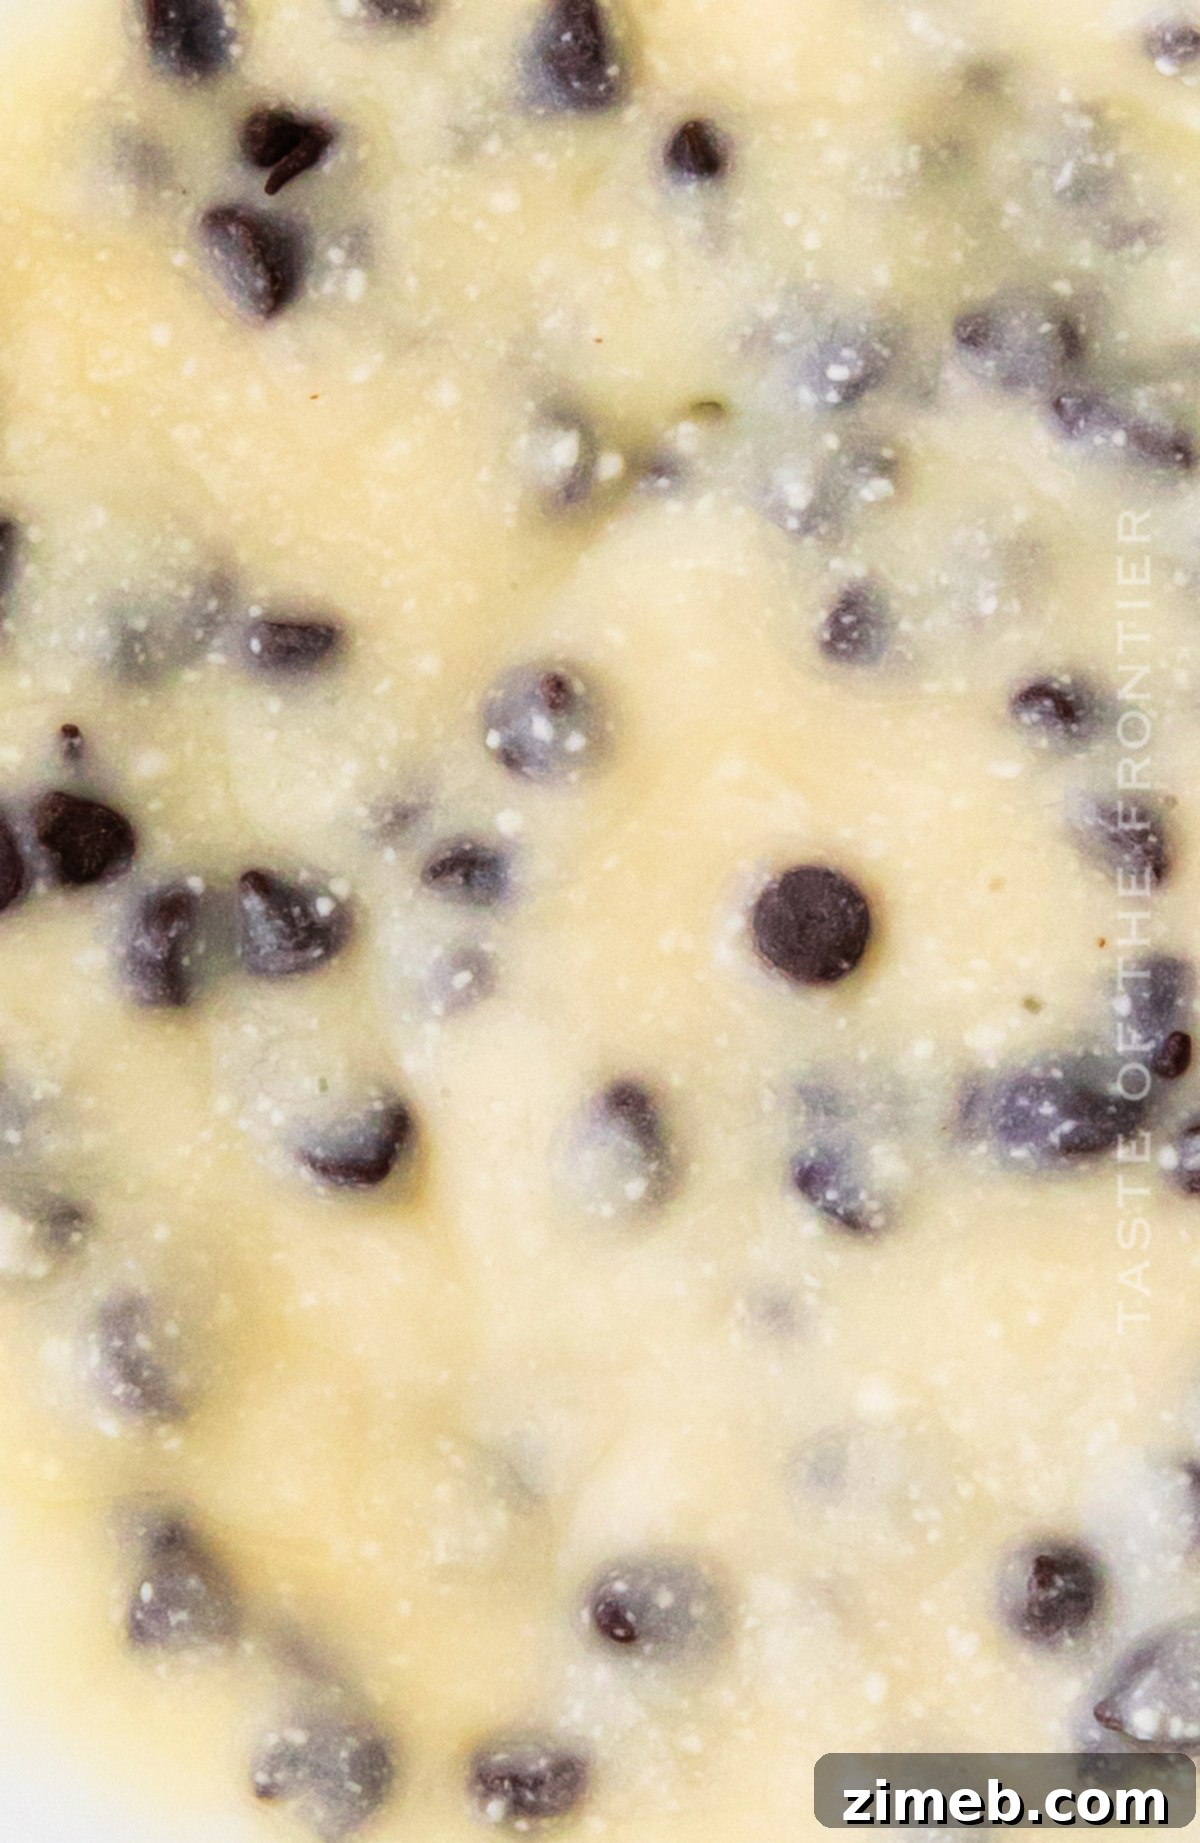
- In a small bowl, whisk together the ricotta cheese, confectioner’s sugar, and vanilla extract until smooth and well combined.
- Gently fold in the mini chocolate chips and the pinch of cinnamon. Stir until these additions are evenly distributed throughout the creamy ricotta mixture.
- Set the cannoli filling aside, preferably in the refrigerator, until you are ready to assemble the cupcakes. This allows the flavors to meld and the filling to firm up slightly.
Step 3: Whipping Up the Mascarpone Frosting
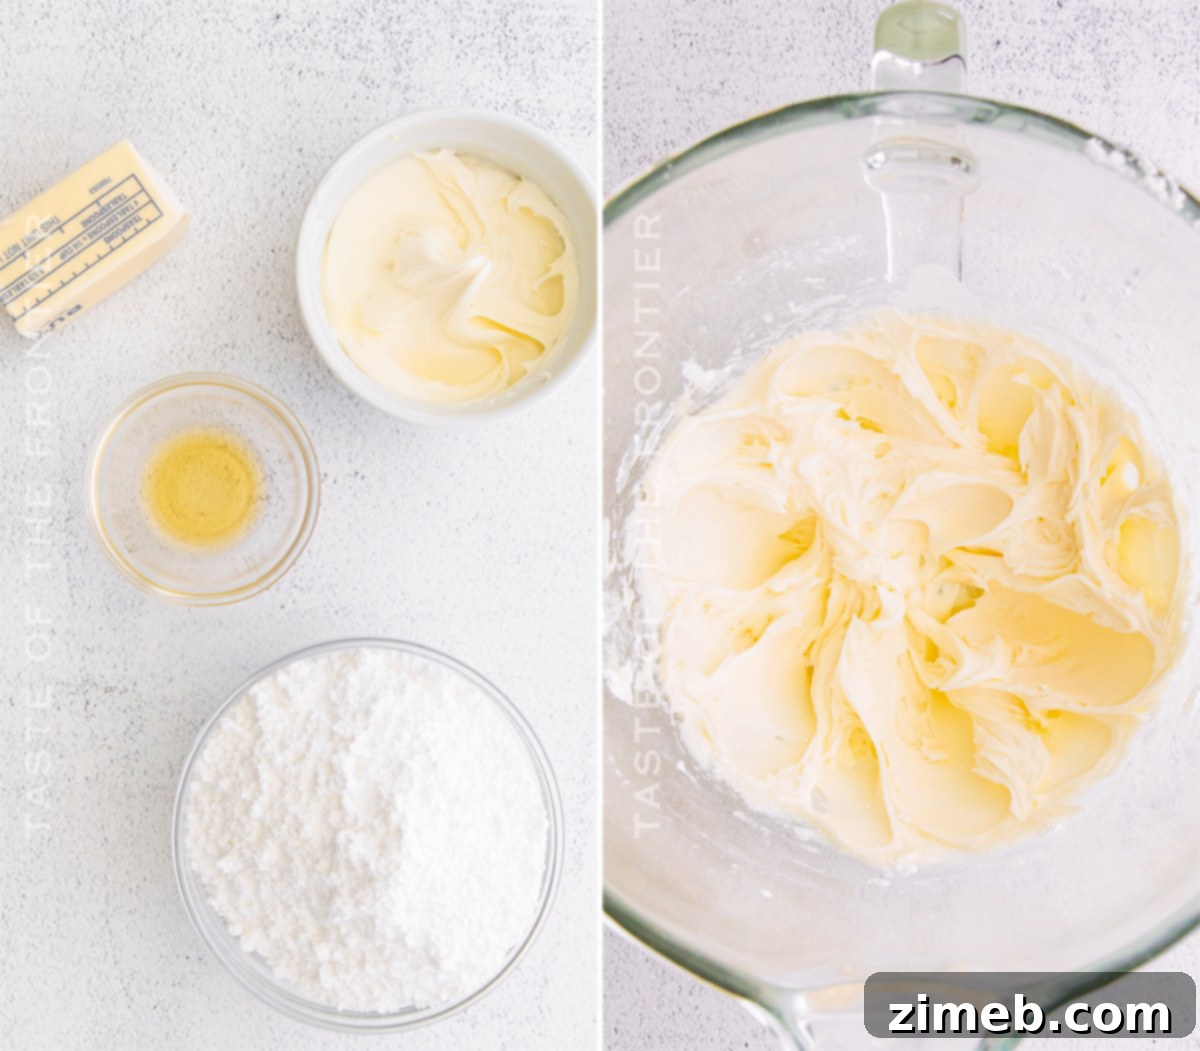
- In the bowl of a stand mixer fitted with the paddle attachment, add the softened butter and softened mascarpone cheese. Beat on medium speed until the mixture is smooth, creamy, and well incorporated, scraping down the sides as needed.
- With the mixer on low speed, gradually add the confectioner’s sugar, followed by the pure vanilla extract. Continue mixing until the sugar is fully incorporated.
- Increase the mixer speed to high and beat the icing for an additional 2-3 minutes until it becomes wonderfully light, fluffy, and voluminous.
- Transfer the prepared frosting to a piping bag fitted with your favorite decorative tip, ready for garnishing.
Step 4: Assembling Your Masterpieces
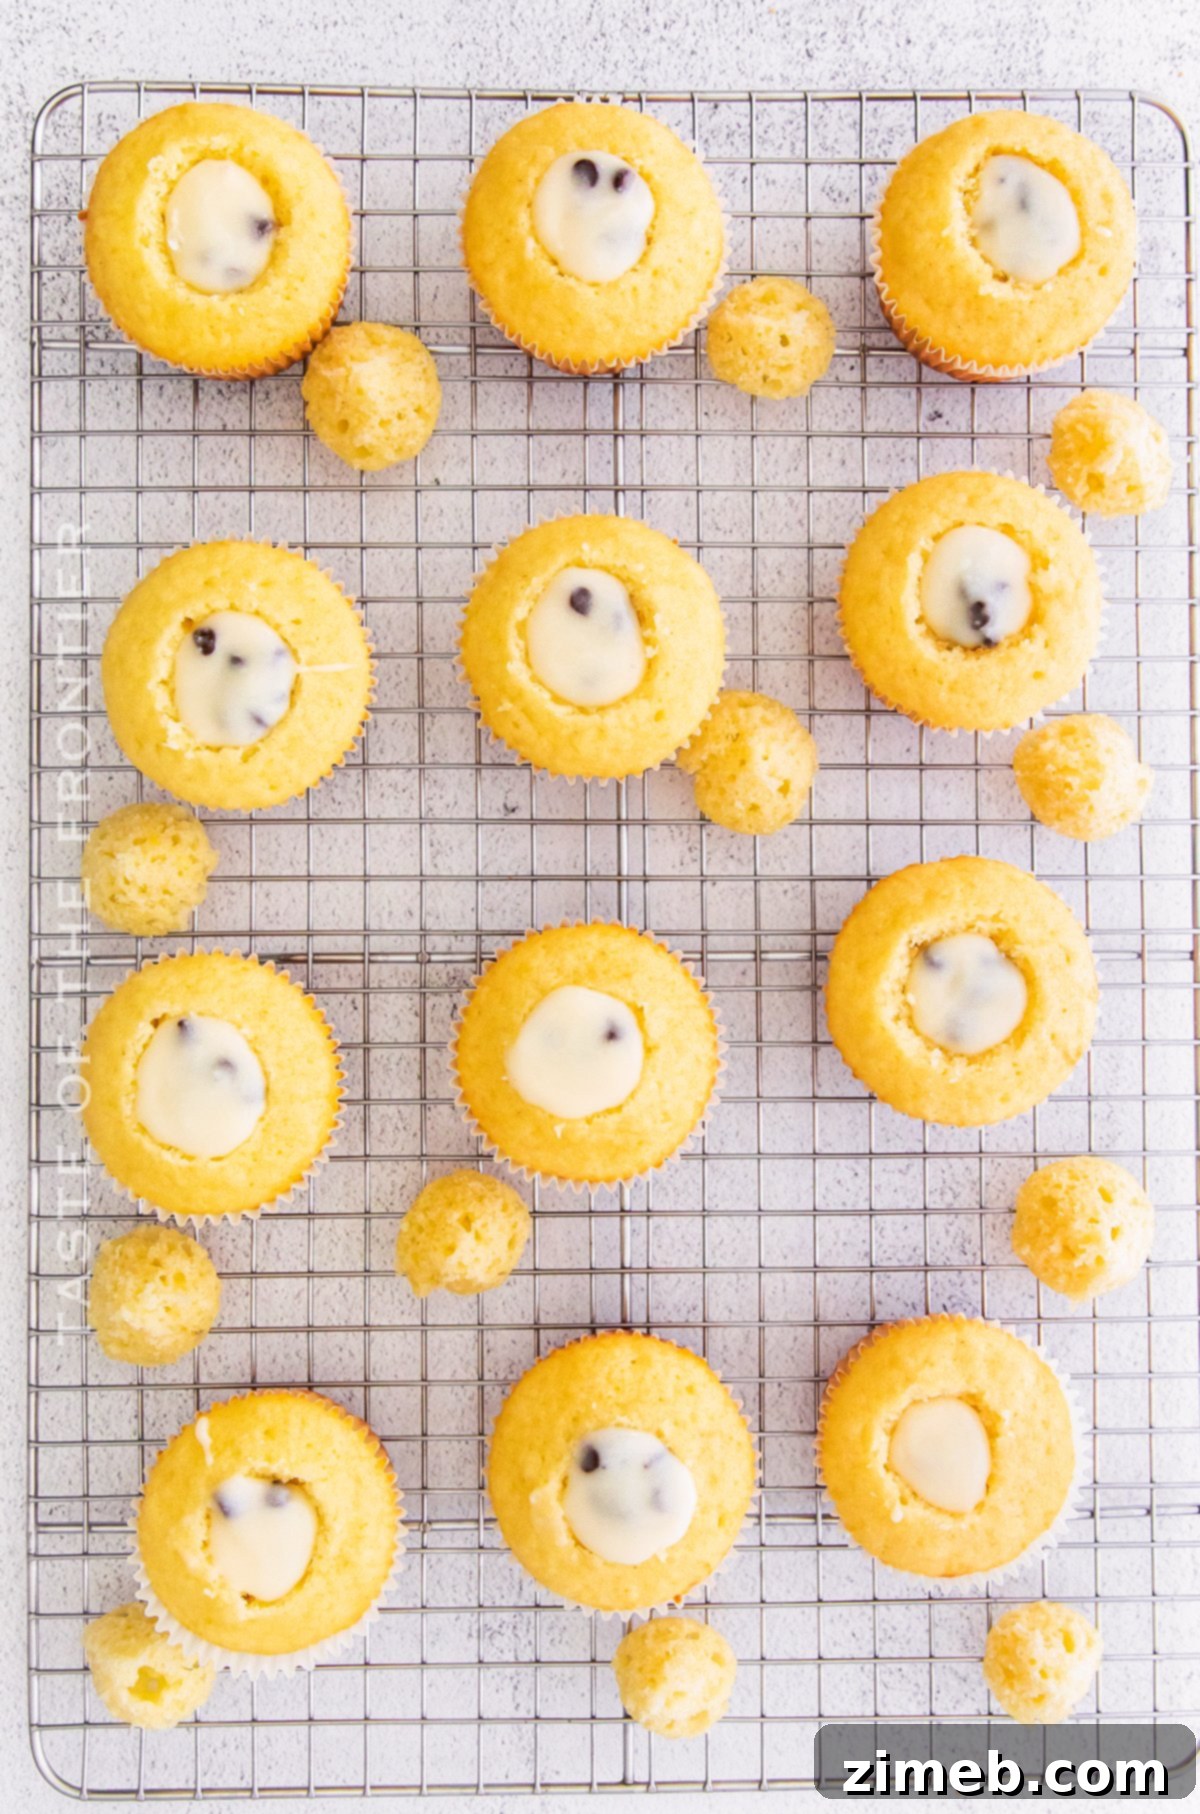
- Once the cupcakes are completely cool, use a small knife, a cupcake corer, or even a wide piping tip to scoop out a small hole from the center of each cupcake, creating a cavity for the filling.
- Fill each cored cupcake generously with approximately 1 tablespoon of the prepared cannoli filling. Carefully place the removed top portion of the cake back onto the cannoli filling, gently pressing it down.
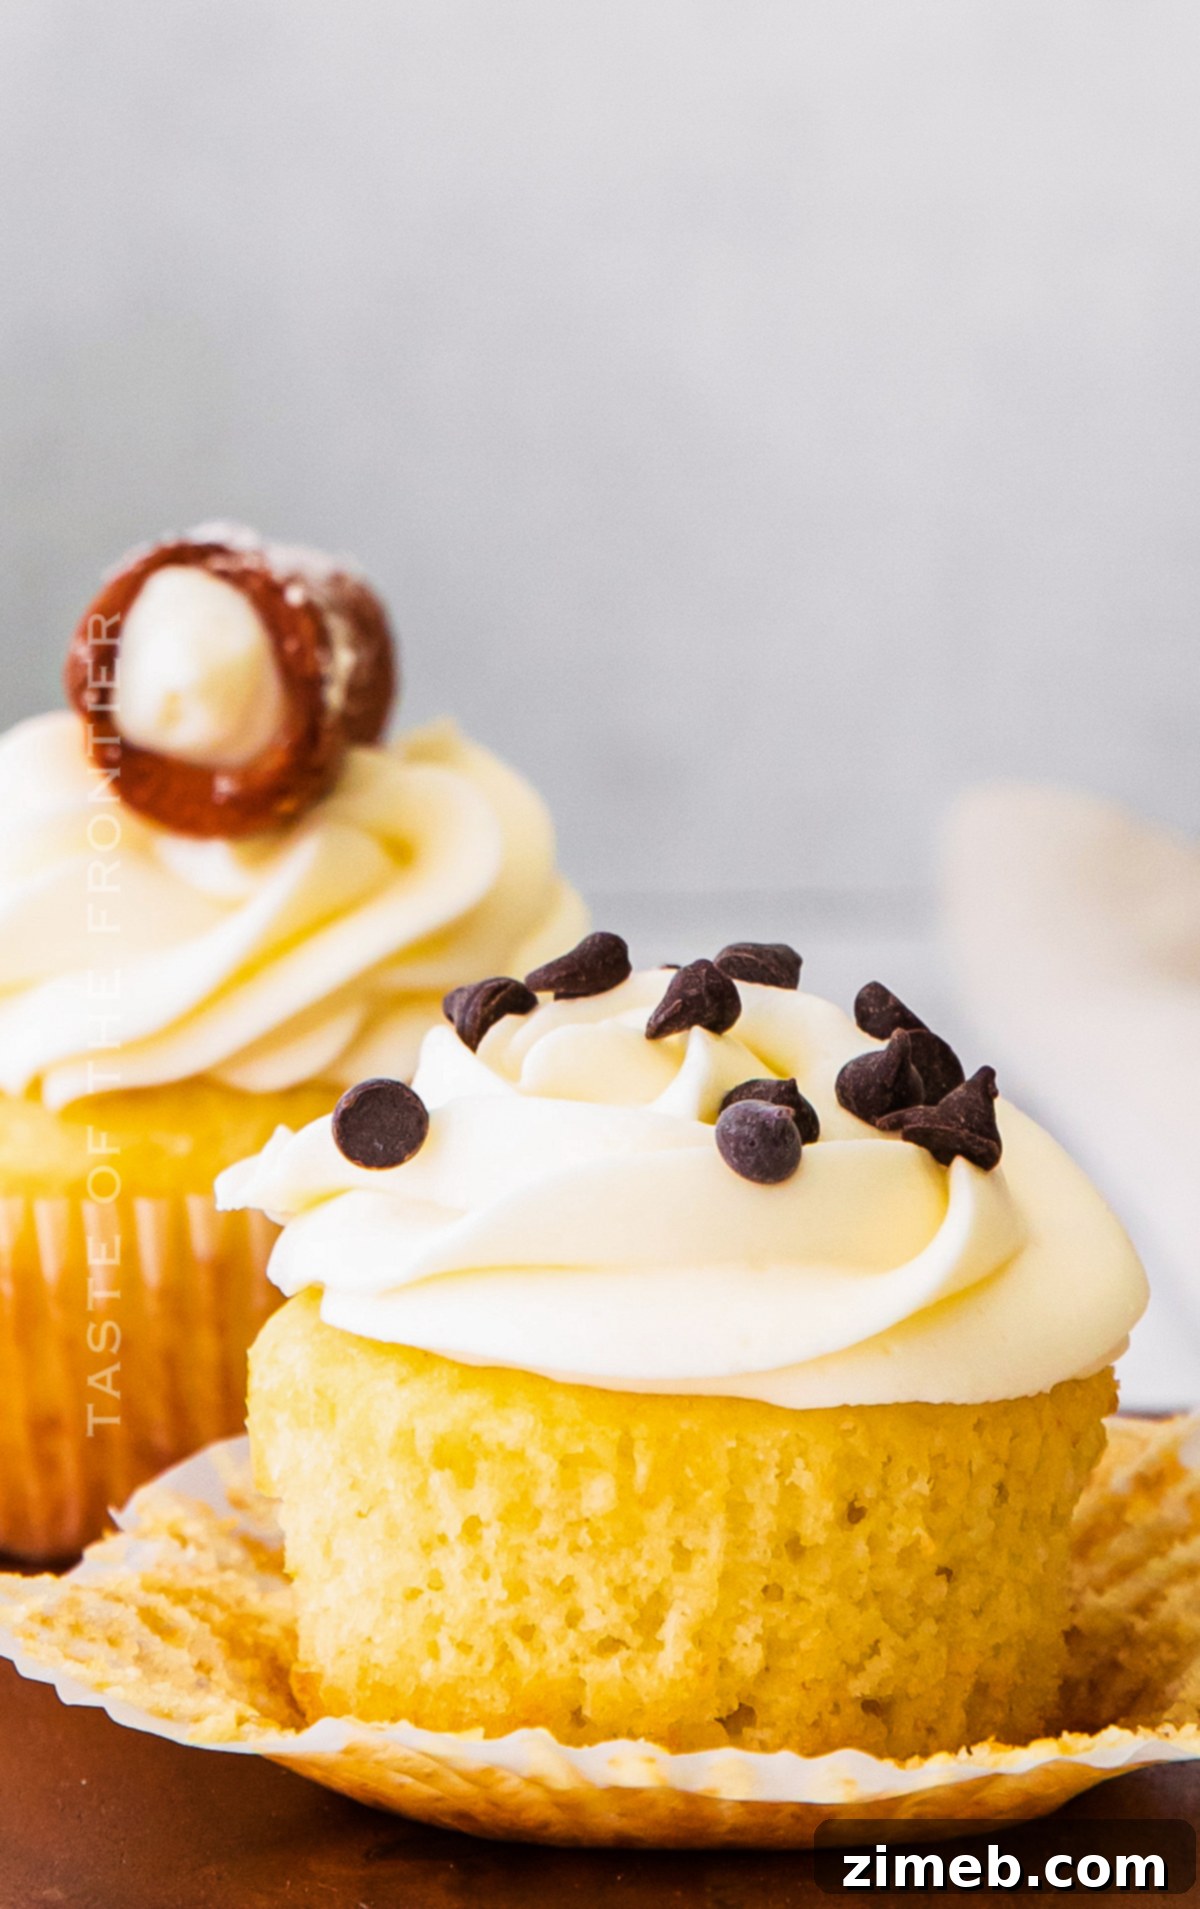
- Pipe the mascarpone frosting artfully on top of each filled cupcake. For an extra touch of authenticity and visual appeal, garnish with additional mini chocolate chips or even a tiny mini cannoli, if desired.
- Store any leftover Cannoli Cupcakes in an airtight container in the refrigerator for up to two days to maintain their freshness and delightful texture.
Expert Tips for Cannoli Cupcake Perfection:
- **Drain Ricotta Cheese Thoroughly:** This is arguably the most crucial step for a perfect cannoli filling. Excess moisture in the ricotta can lead to a runny, gritty filling that requires an excessive amount of confectioner’s sugar to thicken, altering the flavor and texture. Place the ricotta in a fine-mesh sieve lined with cheesecloth over a bowl and refrigerate for at least 4 hours, or preferably overnight, to allow all the liquid to drain.
- **Allow Filling Time to Set:** For the best texture, once your cannoli filling is prepared, give it at least 30 minutes in the refrigerator to chill and firm up. This will make it easier to handle and ensure it holds its shape within the cupcake.
- **Room Temperature Dairy is Key:** Always ensure your butter and mascarpone cheese are at true room temperature before you begin making the frosting. This ensures they cream together smoothly and evenly, preventing lumps and creating a light, airy frosting texture. Cold dairy ingredients will result in a stiff, uneven frosting.
- **Cream Butter and Mascarpone Adequately:** Beat the butter and mascarpone together on medium speed for a minimum of 3-4 minutes before adding any other ingredients. This process aerates the mixture, making the frosting wonderfully fluffy and smooth.
- **Sift Confectioner’s Sugar:** For the smoothest, lump-free frosting and filling, consider sifting your confectioner’s sugar. This extra step prevents any unwanted granular texture.
- **Cool Cupcakes Completely:** Never attempt to fill or frost warm cupcakes. The heat will melt the delicate cannoli filling and frosting, leading to a messy and unappealing result. Ensure your cupcakes are completely cool to the touch.
The Art of Stuffing a Cupcake for a Hidden Surprise
Stuffing a cupcake might seem like an advanced baking technique, but it’s surprisingly simple and adds a delightful hidden surprise to every bite. The basic process involves removing a small core from the center of the baked cupcake, filling that cavity with your desired creamy goodness (like our cannoli filling!), and then replacing the top piece of cake. To ensure everything fits neatly and the cupcake maintains its structural integrity, you may need to trim down the removed core slightly before placing it back on top of the filling.
You have several tools at your disposal for removing the cupcake core. A dedicated cupcake corer tool offers a clean, precise cut. Alternatively, a strawberry huller, a wide piping tip (the round end), or even a regular paring knife can be used effectively. Simply insert your chosen tool into the center of the cupcake, twist gently, and lift out the core. Once filled and the top replaced, don’t worry about any visible seams; your beautiful frosting and decorations will elegantly conceal them, leaving only the pleasant surprise of a creamy center.
Explore More Delicious Cannoli-Inspired Recipes!
- Air Fryer Churro Cannoli: A unique fusion dessert that’s both crispy and creamy.
- Cannoli Sugar Cookie Cups: Bite-sized treats combining cookie and cannoli magic.
- Air Fryer Cannoli: Perfect for making quick, mini cannoli for topping these cupcakes!
- Easy Oreo Cannoli Cream Pie: A no-bake delight blending two classic desserts.
- Cannoli Pancakes: Transform your breakfast into an Italian-inspired feast.
Achieving Perfectly Softened Butter: Three Easy Methods
For many baking recipes, especially those involving frosting, having butter at the right consistency – “room temperature and softened” – is absolutely crucial. It ensures proper emulsification with other ingredients, leading to a smooth, uniform texture. Here are a few reliable methods to achieve that perfect softness:
Method One: The Patient Approach (Countertop)
The simplest method involves foresight. Remove your butter (and any other chilled ingredients like mascarpone or eggs) from the refrigerator approximately 30-60 minutes before you plan to start baking. Simply leave them on the kitchen counter. This allows them to gradually warm up to an ideal, pliable state without melting. I often begin my baking process by taking out all necessary chilled ingredients first, ensuring everything is ready to go by the time I’ve prepped other components and gathered my tools.
However, if it’s a chilly winter day, 30 minutes might not be sufficient, or perhaps you’re simply not as organized as you’d like to be on a particular day (it happens to the best of us!). In such cases, the next methods come in handy.
Method Two: The Quick Microwave Trick (Use with Caution!)
This method offers a fast solution but requires extreme care to avoid over-softening. Place the butter, still wrapped in its paper (unless it has foil, which should be removed), into the microwave. Microwave it for 2 seconds, then flip the stick over. Repeat this process – 2 seconds, flip, 2 seconds, flip – continuing until the butter feels soft enough to indent with a finger but not melted. Often, just a few short bursts are all that’s needed. **A crucial warning:** Overly softened or melted butter from the microwave will significantly alter the final texture and consistency of your frosting or baked goods, often leading to a greasy or soupy result. Proceed with caution and stop as soon as it feels adequately soft.
Method Three: The Gentle Warm Water Bath
My preferred method for safely bringing butter and eggs to room temperature quickly is the warm water bath. Place the wrapped sticks of butter (and any eggs) into a zip-top bag to protect them from water. Submerge the sealed bag in a bowl of warm (not hot!) water. The gentle warmth of the water will gradually and evenly soften the butter without melting it. This technique is highly effective and ensures your ingredients reach the perfect “room temperature” consistency without the risk of overdoing it.
Understanding “Soft Butter” in Baking
When a recipe calls for “softened butter” or “butter at room temperature,” it refers to a specific consistency that is crucial for successful baking, especially in frostings and certain cake batters. This isn’t melted butter, nor is it butter straight from the fridge. Properly softened butter should be pliable enough that you can easily make an indentation with your finger without it melting or becoming greasy. It typically takes about an hour for butter to reach this state if left on the counter in a moderately warm kitchen. This consistency allows the butter to cream together with sugar, incorporating air and creating a light, fluffy base for your frosting or cake.
Detailed Ingredient Notes for Optimal Flavor & Texture
- **Flour:** The backbone of our cupcakes. Accurate measurement, ideally using the spoon and level method, prevents a dense or dry cupcake.
- **Granulated Sugar:** Provides essential sweetness and moisture to the cupcakes, ensuring a tender crumb.
- **Baking Powder:** Acts as the primary leavening agent, creating the characteristic light and airy texture.
- **Vegetable Oil:** A key for moisture retention and a rich, tender crumb that stays fresh longer than butter-based cakes.
- **Eggs:** Crucial for binding the ingredients, adding structure, and contributing to the overall richness.
- **Milk:** Contributes to the moistness and helps achieve a light, delicate cupcake texture.
- **Vanilla Extract:** A flavor enhancer in all three components (cupcake, filling, frosting), it ties everything together with a warm, inviting aroma.
- **Ricotta Cheese:** The heart of the cannoli filling. Its authentic flavor and texture are irreplaceable. Draining excess liquid is vital for a firm, creamy filling.
- **Confectioner’s Sugar:** Used in both the filling and frosting for sweetness and a smooth, dissolvable texture. Sifting is recommended to avoid lumps.
- **Mini Chocolate Chips:** Essential for that classic cannoli flavor. Mini chips are preferred as they distribute more evenly and provide chocolate bursts without being overwhelming.
- **Cinnamon:** A subtle pinch adds traditional warmth and depth to the cannoli filling, complementing the ricotta beautifully.
- **Butter (softened):** The foundation of our luscious frosting. Its softened state is non-negotiable for achieving a smooth, creamy, and lump-free consistency.
- **Mascarpone Cheese (softened):** Elevates the frosting with its luxurious, slightly tangy, and rich creaminess, distinguishing it from standard buttercreams and making it genuinely cannoli-inspired.
Don’t forget to explore our delightful Biscoff Cupcakes for another sweet adventure!
Recommended Tools for This Delicious Cannoli Cupcake Recipe…
This Cannoli Cupcake recipe is not only incredibly easy to follow but also produces a truly delicious result. Whether you’re a seasoned baker or just starting, having the right tools can make all the difference. Many of these items you might already have on hand, but if you’re new to baking homemade cupcakes or cannoli, a few essential tools can simplify the process and enhance your results. I’ve compiled a list of my go-to items that I simply can’t bake without when creating this fantastic dessert. (You can also **SHOP MY FAVORITES** directly in my online store for convenience.)
- **Muffin Tin:** Essential for baking perfectly shaped cupcakes.
- **Stand Mixer:** Great for creaming butter and mascarpone and making fluffy frosting with ease.
- **Prep Bowls:** Handy for organizing ingredients and keeping your workspace tidy.
- **Piping Tips:** For beautiful, professional-looking frosting designs.
- **Piping Bag:** A must-have for controlled and elegant frosting application.
If you adore this Cannoli Cupcake recipe, you’ll undoubtedly love these other fantastic cupcake creations too. Click each link below to discover easy, printable recipes and expand your baking repertoire!
Boston Cream Pie Cupcakes
Vanilla cupcakes with cream filling, chocolate buttercream, and topped with chocolate ganache – these Boston Cream Pie Cupcakes are delish!
Check out this recipe

Chocolate Covered Strawberry Cupcakes
Chocolate Covered Strawberry Cupcakes are a delicious homemade recipe topped with strawberry buttercream frosting & fresh chocolate covered strawberries!
Check out this recipe

Mint Chocolate Cupcakes
Mint Chocolate Cupcakes start with a homemade chocolate cupcake recipe and then topped with a creamy mint buttercream frosting and an Andes mint to make them extra special. These are perfect for all you lovers of a chocolate mint combo.
Check out this recipe

Carrot Cake Cupcakes with Cream Cheese Frosting
Carrot Cake Cupcakes with Cream Cheese Frosting & topped with OREO Carrot Cake Cookies are the perfect dessert recipe for all your spring celebrations.
Check out this recipe
Lemon Curd Cupcakes
Lemon Curd Cupcakes start with a light and airy lemon cupcake recipe that is filled with a dollop of lemon curd and topped with a refreshing homemade lemon frosting. Recipe for homemade lemon curd included too.
Check out this recipe

S’mores Cupcakes
These S’mores Cupcakes are made with a homemade chocolate cupcake recipe, topped with rich chocolate frosting, crushed graham crackers & marshmallow meringue. They will definitely send your eyes rolling back with every bite.
Check out this recipe

Caramel Apple Cupcakes
Caramel Apple Cupcakes are made with an apple and caramel homemade cupcake recipe then topped with a delicious caramel buttercream frosting, a fresh apple wedge, and a drizzle of caramel!
Check out this recipe
Cinnamon Vanilla Bean Cupcakes
Cinnamon Vanilla Bean Cupcakes are simple and easy to make. Perfect for fall celebrations, holiday desserts, or just serious cinnamon lovers.
Check out this recipe
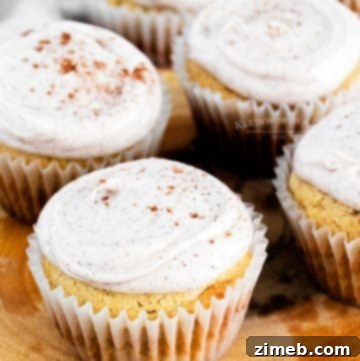
Pumpkin Spice Cupcakes
If you love Pumpkin Spice Lattes, then you’ll love these Pumpkin Spice Cupcakes topped with pumpkin espresso frosting. So deliciously perfect for fall!
Check out this recipe
If you cherish this recipe for Cannoli Cupcakes as much as I do, please take a moment to leave a five-star review and help us share this delightful creation on Facebook and Pinterest! Your support means the world to us.
CONNECT WITH YUMMI HAUS!
Be sure to follow me on my social media, so you never miss a post!
Substack, FB, Pinterest, IG, Email Subscription

Cannoli Cupcakes
Cannoli Cupcakes are the perfect holiday dessert! Filled with cannoli cream, topped with cannoli frosting, and they’re decorated with mini chocolate chips and mini cannolis. They’re sure to be a hit with your family and friends!
Ingredients
Cupcake
- 1 ¼ cups all-purpose flour
- 1 cup granulated sugar
- 1 teaspoon baking powder
- ½ cup vegetable oil
- ½ cup milk
- 2 large eggs
- 1 teaspoon pure vanilla extract
Cannoli Filling
- ¼ cup ricotta cheese
- ½ cup confectioner’s sugar
- 1 teaspoon vanilla extract
- ¼ cup mini chocolate chips
- pinch of cinnamon about 1/16th teaspoon
Frosting
- 4 tablespoons butter softened
- 4 ounces mascarpone cheese softened
- 2 cups confectioner’s sugar
- 1 teaspoon pure vanilla extract
Instructions
Cupcake
-
Preheat your oven to 375F and line 12 muffin tins with paper liners.
-
In a large bowl, whisk together the flour, sugar, and baking powder.
-
Add the vegetable oil, milk, eggs, and vanilla. Whisk to combine– just until no large lumps of flour remain. You don’t want to overmix.
-
Divide the batter between the muffin tins. I use a ¼ cup cookie scoop to ensure they’re all the same size.
-
Bake for 18-20 minutes, or until a toothpick inserted into the center comes out clean.
-
Remove the cupcakes to a wire rack to cool.
Cannoli Filling
-
In a small bowl, whisk together the ricotta, confectioner’s sugar, and vanilla.
-
Add the chocolate chips and cinnamon and stir to combine. Set aside until ready to use.
Frosting
-
Add the butter and mascarpone to the bowl of a stand mixer fitted with the paddle attachment. Beat on medium speed until smooth and creamy.
-
With the mixer on low, slowly add the confectioner’s sugar followed by the vanilla extract.
-
Turn the mixer to high speed and beat the icing until it becomes light and fluffy.
-
Transfer the frosting to a piping bag fitted with your choice of tip.
Assemble
-
Scoop a small hole out of the center of each cupcake.
-
Fill each cupcake with 1 tablespoon of cannoli filling and place the top of the cake back on top of the cannoli filling.
-
Pipe the frosting on top and garnish with additional mini chocolate chips, if desired.
-
Store any leftover cupcakes in an airtight container in the fridge for up to two days.
Nutritional information for the recipe is provided as a courtesy and is approximate. Please double-check with your own dietary calculator for the best accuracy. We at Yummi Haus cannot guarantee the accuracy of the nutritional information given for any recipe on this site.