
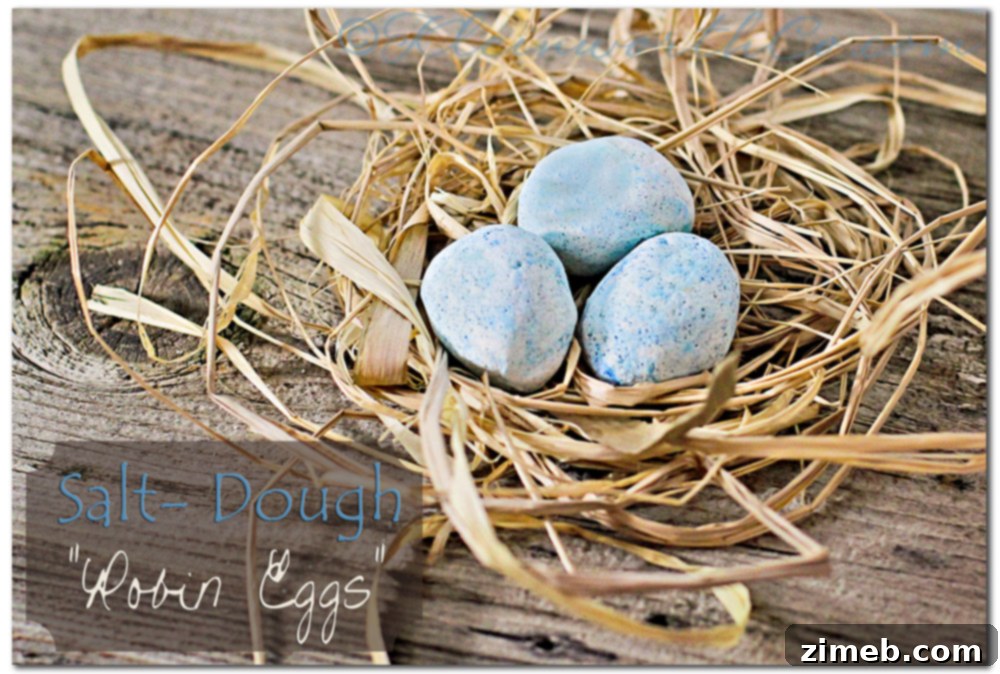
Embrace Spring: Crafting Beautiful DIY Salt Dough Robin Eggs with Your Kids
As the days grow longer and a gentle warmth returns to the air, I find myself brimming with the familiar excitement of spring. The garden slowly awakens, vibrant hues begin to dot the landscape, and a palpable sense of renewal fills our home. This seasonal shift always inspires me to refresh our living spaces, shedding the cozy, darker tones of winter for brighter, more cheerful decor. You might have seen my recent coffee filter wreath project, a perfect welcome for the new season. But as spring truly settles in, I felt the need for even more touches of nature-inspired cheer, particularly for our mantle and other prominent spots around the house.
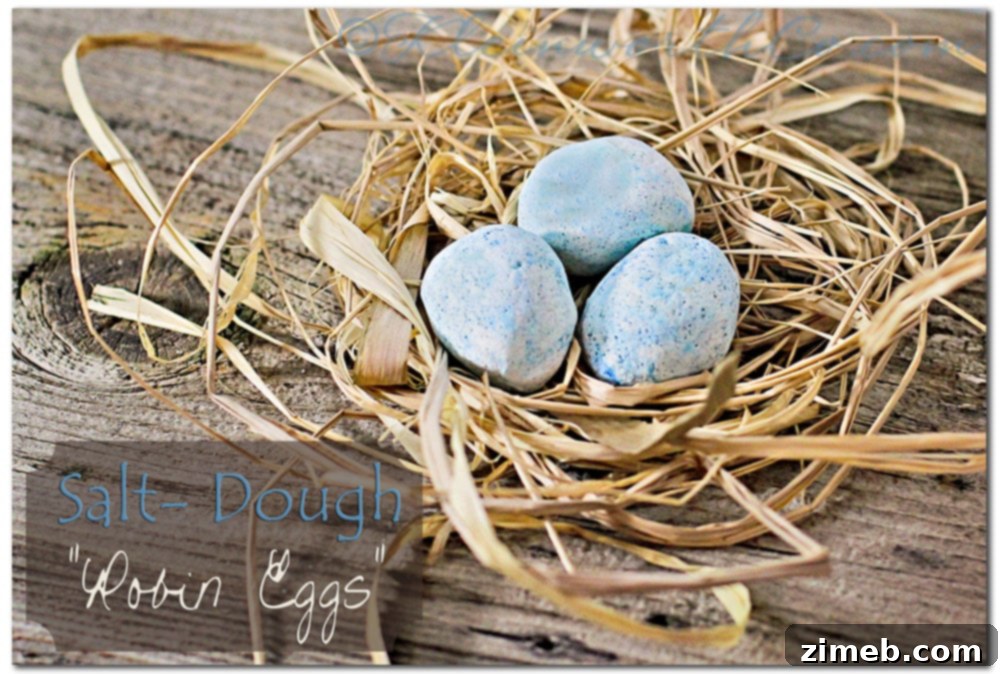
The idea of creating charming “nests of robin eggs” has been swirling in my mind for quite some time, even predating the holiday season. I envisioned these delicate, speckled treasures adorning our mantle or nestled on an end table, adding a whimsical, natural touch to our spring decor. While beautiful store-bought options are available, my heart was set on a homemade approach. Crafting with salt dough immediately came to mind – a simple, inexpensive, and wonderfully versatile medium perfect for involving the kids. I initially thought I would paint the eggs after they dried, but a delightful surprise awaited us. By incorporating a few drops of blue gel food coloring directly into the dough, the eggs dried with a naturally speckled appearance, eliminating the need for any additional painting. This unexpected outcome made the process even more magical and truly unique.
The Charm of Imperfection: Kids’ Creations
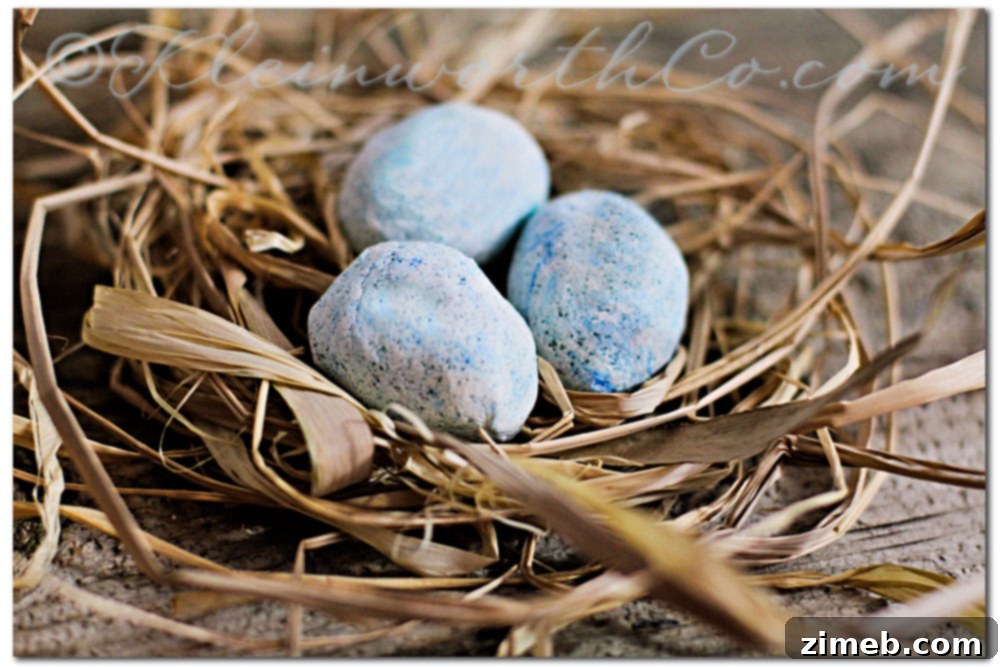
Admittedly, had I been meticulously organized, I might have encouraged the children to use a mold to achieve perfectly smooth, uniform egg shapes. However, a part of me truly cherishes the slight imperfections and unique contours of each egg. These are not merely decorative items; they are tangible memories, carefully shaped with love and enthusiasm by little hands. Each gentle curve and subtle indentation tells a story of creative exploration and family bonding. I know I will treasure these handmade treasures far more than any mass-produced decoration, precisely because of the personal touch and heartfelt effort that went into their creation. They serve as a beautiful reminder of a precious afternoon spent together, fostering creativity and a love for homemade crafts.
What truly makes this project shine is its incredible simplicity. Salt dough is a timeless craft material, beloved by parents and educators for its accessibility and forgiving nature. It requires just a few basic pantry staples, making it an ideal last-minute activity when the crafting bug bites. The process itself is wonderfully tactile, providing a fantastic sensory experience for children as they mix, knead, and shape the dough. This project is not only easy on the budget but also incredibly rewarding, resulting in charming decorative pieces that infuse your home with personalized warmth and spring cheer.
DIY Salt Dough Robin Eggs Recipe
Gather your little crafters and get ready to create these adorable, speckled robin eggs. This simple salt dough recipe is perfect for spring decorating and a delightful activity for the whole family. The natural speckles created by the food coloring add an authentic touch, making these eggs look like they were plucked right from a robin’s nest.
Ingredients
- 2 cups all-purpose flour
- 1 cup fine salt
- 1 cup warm water
- 2-3 drops blue gel food coloring (adjust for desired intensity)
Instructions
- In a large mixing bowl, combine the dry ingredients: flour and salt. Whisk them together thoroughly to ensure the salt is evenly distributed, which is crucial for the dough’s texture and preservation.
- Gradually pour in the warm water, mixing initially with a spoon and then switching to your hands to knead the mixture. Continue kneading until a smooth, pliable dough forms. It should be firm enough to hold its shape but soft enough to work with easily.
- Add 2 to 3 drops of blue gel food coloring to the dough. Knead vigorously until the color is evenly spread throughout. The gel food coloring will create a beautiful, mottled blue, mimicking the natural look of robin eggs. If you desire a more intense blue, add another drop or two.
- Take small portions of the colored dough and roll them into balls between your palms. Gently shape each ball into a somewhat egg-like form. Encourage creativity here – some eggs can be rounder, others more elongated. If you prefer a perfectly smooth shape, you could use a plastic egg mold, but the unique, hand-shaped imperfections truly add to their charm.
- Place the shaped eggs on a baking sheet lined with parchment paper. Allow them to air dry for several days, turning them periodically to ensure even drying. The drying time will depend on the humidity in your home and the thickness of the eggs. Alternatively, for a faster drying process, bake them in an oven at 200°F (93°C) for approximately 6 hours, or until completely hardened. Baking is a great option if you’re short on time.
Tips for Success:
- Dough Consistency: If your dough is too sticky, add a little more flour. If it’s too crumbly, add water a teaspoon at a time until it reaches the desired consistency.
- Coloring: Gel food coloring provides a vibrant, concentrated color without adding excess liquid to the dough. A little goes a long way!
- Drying: Ensure the eggs are completely dry before displaying or storing them to prevent mold. Air drying yields a slightly rougher, more natural texture, while baking results in a smoother, harder finish.
- Preservation: Once thoroughly dry, salt dough creations can last for years if kept away from moisture. A light coat of clear sealant (like Mod Podge or clear spray varnish) can add extra durability and a subtle sheen.
Nutritional information for this craft project is not applicable as it is for decorative purposes only and not intended for consumption. Please ensure children understand this is a craft and not edible.
Displaying Your Beautiful Handcrafted Robin Eggs
Once your salt dough robin eggs are perfectly dry and ready, the fun of decorating truly begins! These charming little treasures are incredibly versatile and can enhance a variety of spring displays throughout your home. Imagine a small, rustic wooden bowl or a delicate bird’s nest (which you can often find at craft stores or even make from twigs and raffia) filled with these speckled beauties on your mantle. They create an instant focal point, celebrating the freshness of the season. For a cohesive look, pair them with other natural elements like fresh spring flowers in a vase, sprigs of greenery, or even a few decorative feathers. A tiered tray styled with ceramic bunnies, small candles, and your DIY robin eggs can become a delightful centerpiece for your coffee table or dining area.
Consider placing them in a woven basket alongside some faux moss and tiny fairy lights for an enchanting glow in the evenings. They can also be strung with twine to create a rustic garland or nestled among branches in an “Easter tree” display. For an outdoor-inspired tablescape, scatter them around place settings or incorporate them into a spring wreath for your front door. The beauty of these homemade eggs lies in their ability to blend seamlessly with both minimalist and maximalist decor styles, adding a touch of handmade charm that store-bought items simply cannot replicate. They are perfect for Easter, spring baby showers, or simply to bring a touch of the outdoors in.
Beyond Robin Eggs: Exploring Salt Dough Crafts
The versatility of salt dough extends far beyond these lovely robin eggs. Once you’ve mastered the basic recipe, a world of creative possibilities opens up! You can use cookie cutters to make seasonal shapes like flowers, leaves, or butterflies for spring, or stars and gingerbread men for the winter holidays. Imprint natural textures like leaves, lace, or even your child’s handprint for personalized keepsakes. The dough can be sculpted into miniature fruit, beads for necklaces, or small figurines. While we chose to incorporate color directly into our eggs, plain salt dough can be painted with acrylics, glittered, or even decoupaged once dry. This craft medium is fantastic for making ornaments, gift tags, magnets, or simply decorative elements for any season. It’s an excellent way to encourage fine motor skills, creative thinking, and artistic expression in children of all ages, offering endless hours of engaging, hands-on fun.
Crafting these DIY salt dough robin eggs was more than just a project; it was an experience. It brought a sense of calm and creativity into our home and resulted in beautiful, meaningful decorations that truly capture the spirit of spring. I encourage you to gather your loved ones and give this delightful craft a try. You’ll not only create charming decor but also lasting memories.
Have fun bringing a touch of handmade magic to your home this spring!