
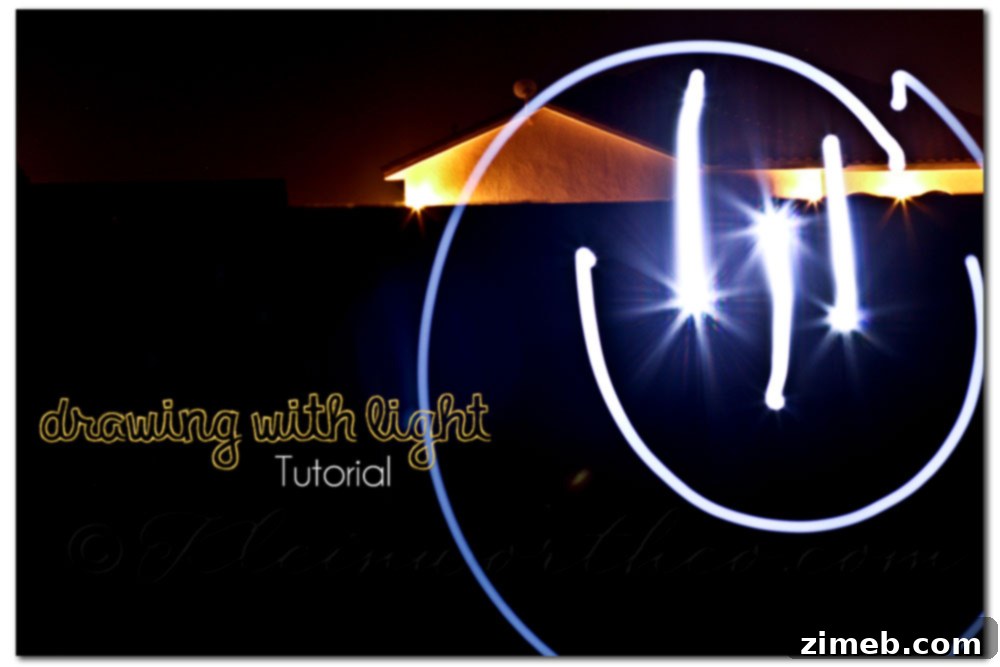
Unleash Your Creativity: A Comprehensive Guide to Light Painting Photography (Project 52, Week 28)
Happy Monday and welcome back to another exciting week of Project 52! As summer continues its vibrant journey, many of us with kids at home are on the lookout for engaging and memorable activities. Today, we’re diving into the enchanting world of photography with a super fun tutorial that promises not just great photos, but also an unforgettable experience for the whole family: light painting.
Drawing with Light: A Creative Photography Adventure
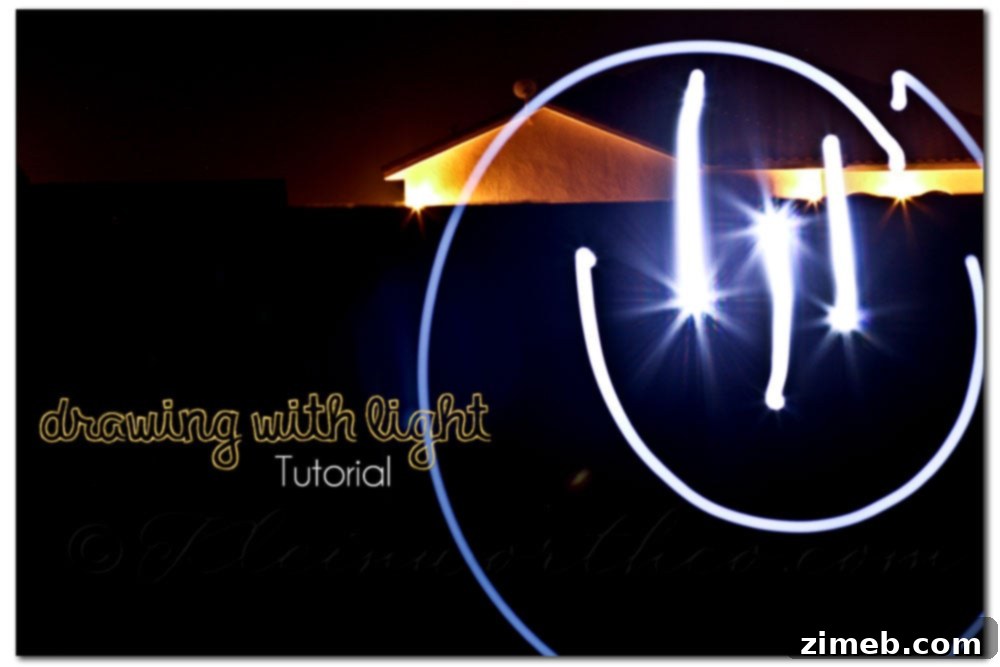
Light painting is a captivating photographic technique where you use a moving light source to “draw” or create patterns in a dark environment during a long exposure photograph. The result is often magical, transforming simple light into vivid strokes of art captured by your camera. It’s surprisingly simple to set up and offers endless possibilities for creative expression, making it a perfect summertime activity for kids and adults alike.
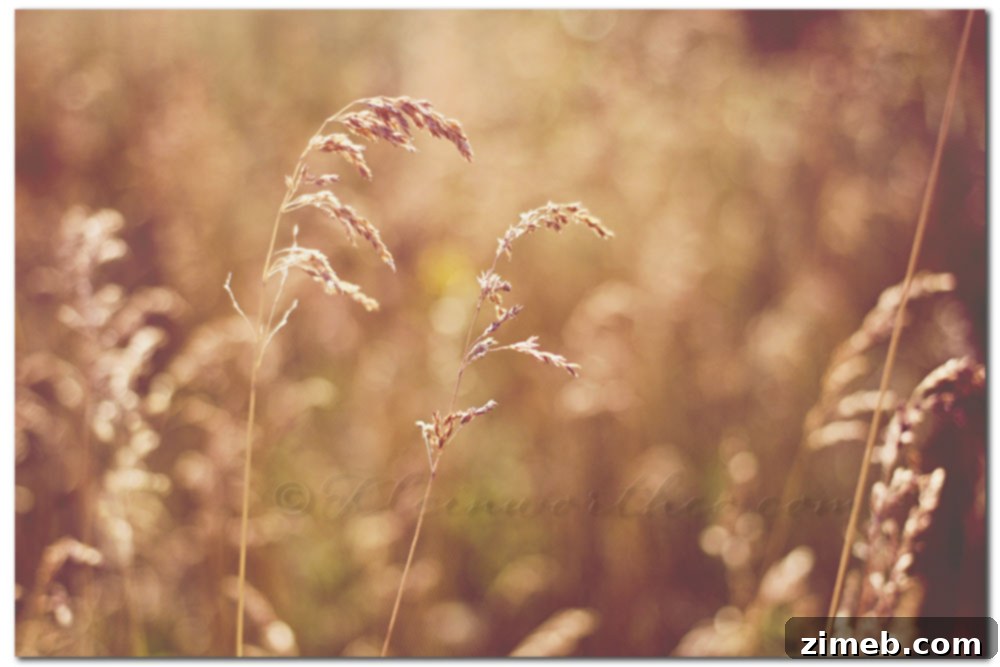
Before we dive into the specifics of this exciting tutorial, I wanted to share a recent capture for Project 52. This stunning image of the fields around our home was taken this past week, showcasing the beautiful golden tones of summer. It’s moments like these, celebrating light in all its forms, that truly inspire our photographic journey.
Getting Started: Essential Equipment for Light Painting
To embark on your light painting adventure, you don’t need a professional studio. A few key pieces of equipment, many of which you likely already own, will get you started:
- Camera: A DSLR, mirrorless camera, or even many modern smartphone cameras with a “Pro” or “Manual” mode capable of long exposures will work.
- Tripod (or a Steady Surface): This is non-negotiable. With shutter speeds ranging from 10 to 30 seconds (or even longer!), any camera movement will result in blurry photos. If you don’t have a tripod, a stable table, a stack of books, or even a beanbag placed on the ground can serve as an excellent substitute. The goal is absolute stillness for your camera.
- Light Source: This is your “paint brush.” Simple LED flashlights with a click-on/off button are ideal as they offer precise control over when the light is active. Other fantastic options include:
- Glow Sticks: Great for colorful, diffused light trails. Remember to have kids move them behind their backs when they’re done drawing to avoid capturing their physical presence.
- Smartphone Flashlight: Easily accessible and often adjustable in brightness.
- Fairy Lights/LED Strips: Can create interesting patterns or add background illumination.
- Laser Pointers (with caution): Can create very fine lines, but avoid shining them near eyes.
- Colored Lights: Experiment with different colored cellophane over flashlights to add vibrancy.
- Dark Environment: Crucial for the light trails to stand out. A dark room, a garage, or outdoors after sunset are perfect locations.
Camera Settings for Captivating Light Art
Understanding your camera settings is key to successful light painting. Here’s a breakdown for both advanced cameras and point-and-shoot models:
DSLR and Mirrorless Camera Settings:
For cameras with manual controls, set your camera to Manual Mode (M) to have full control over each setting:
- ISO: 100
Keeping your ISO at its lowest native setting (usually 100) minimizes digital noise, ensuring your dark backgrounds are clean and your light trails are crisp. You want the light source to be the dominant element, not grain.
- Aperture (f/stop): f/3.5 – f/5
This range provides a good balance. A wider aperture (like f/3.5) lets in more light, which can be useful if your light source isn’t very strong, or if you want to capture more of the ambient light in the background. A slightly narrower aperture (like f/5) will give you a bit more depth of field, helping to ensure your light trails are sharp. The specific f-stop might also depend on how many people are in your shot and how much you want them to be out of focus.
- Shutter Speed (SS): 10 – 30 seconds
This is where the magic happens! Your shutter speed dictates how long your camera’s sensor is exposed to light, allowing you enough time to “draw” with your light source. Start with 15-20 seconds and adjust as needed. If you want more complex drawings, you might extend this, or even use ‘Bulb’ mode for exposures longer than 30 seconds, manually controlling the shutter opening and closing.
- Manual Focus:
In a dark environment, your camera’s autofocus will struggle. Switch to manual focus. To achieve sharp focus, have your subject stand in position and briefly shine a brighter light on them (or have them hold the light source turned on) while you manually focus. Once focused, switch the lens back to manual focus if it automatically reverts, and do not move the camera or tripod.
- White Balance:
Experiment with settings like “Tungsten” or “Fluorescent” if you’re indoors to capture different color temperatures, or use “Auto” and adjust in post-processing.
Point & Shoot Style Cameras / Smartphone Cameras:
If you’re using a point-and-shoot camera or a smartphone, look for specific modes that allow for longer exposures:
- Night Mode or Fireworks Setting: Many cameras have pre-set modes designed for low light or capturing light trails. These are great starting points.
- Manual Mode (if available): If your camera offers manual controls, follow the DSLR settings above.
- Shutter Speed Control: You might have less direct control over shutter speed, but some advanced point-and-shoots and many smartphone apps (like “Pro” modes) allow for adjustment. The key is to have the shutter open long enough to capture the light’s movement without overexposing the scene.
- Depth of Field: Aim for a shallow depth of field (lower f-number if adjustable) to help keep the person drawing out of focus, emphasizing the light art.
The Art of Execution: Bringing Your Light Art to Life
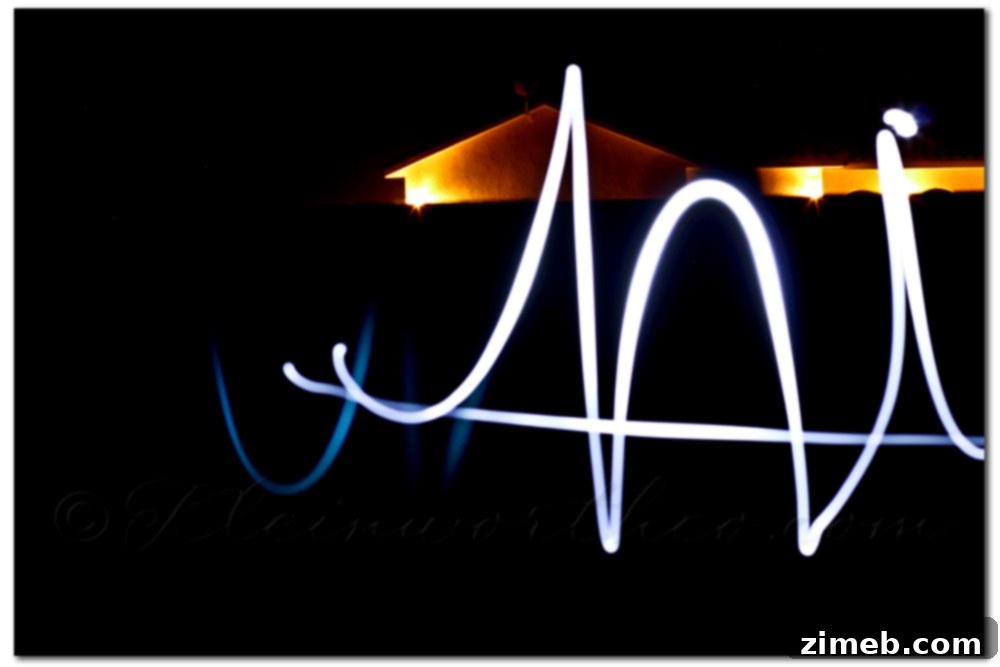
With your camera stable and settings dialed in, it’s time for the fun part. Here’s a step-by-step guide to creating your light paintings:
- Position and Focus: Have your subject (or “light artist”) stand in front of the camera. Turn on the room lights briefly and take a test shot to ensure your composition is pleasing. Then, manually focus on your subject. Once you’ve achieved sharp focus, make sure your tripod remains completely still throughout the process. It’s also crucial for the light artist to keep their feet in one place while their arms move to draw. This is part of the challenge and fun!
- Darkness is Your Canvas: Turn off all the lights in the room or wait for complete darkness if you’re outdoors. The darker the environment, the more dramatic and visible your light trails will be.
- The Countdown: Give your light artist a countdown (e.g., “3, 2, 1, GO!”). As you say “GO,” press your camera’s shutter button.
- Light Art in Motion: At the same moment, the light artist should click their flashlight on and begin drawing their desired shape, word, or pattern in the air. Emphasize smooth, continuous movements.
- Finishing the Drawing: Once the light artist has completed their drawing, they should click their flashlight off. They should then remain still until the camera’s shutter closes.
- Adjust and Experiment: You’ll quickly discover that a 15-second exposure might be too long for a simple shape, leaving the shutter open unnecessarily. Don’t hesitate to adjust your shutter speed accordingly. If the image is too bright, shorten the shutter speed; if it’s too dark, lengthen it. Experimentation is key to mastering this technique.
Unleashing Creativity: Ideas for Light Painting
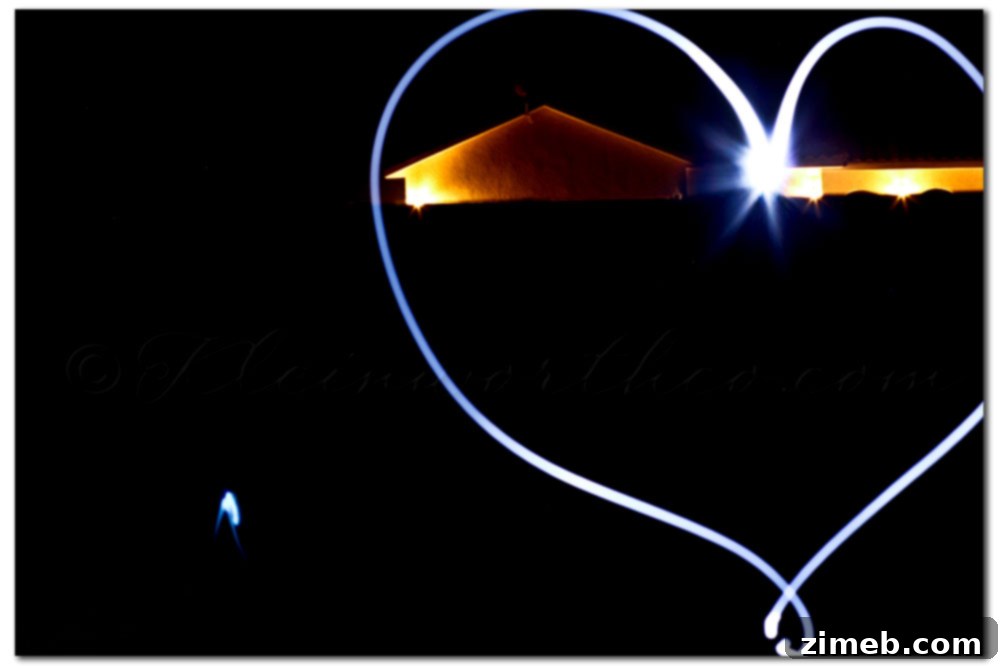
The true joy of light painting lies in its boundless creative potential. Encourage your kids to get wild with their imaginations:
- Shapes and Symbols: Start with basic shapes like hearts, stars, circles, or abstract squiggles.
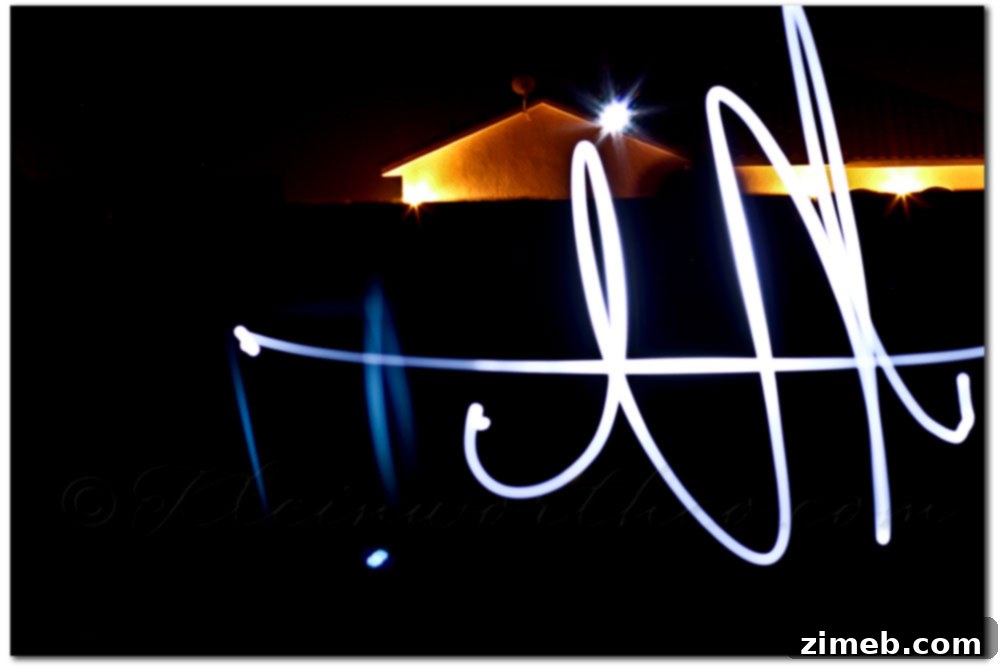
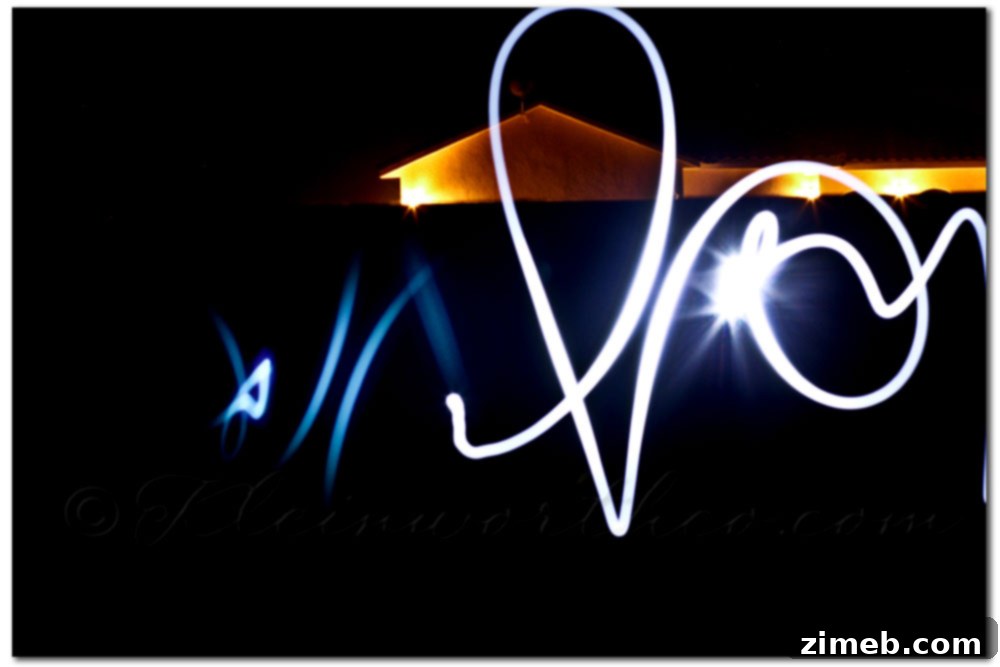
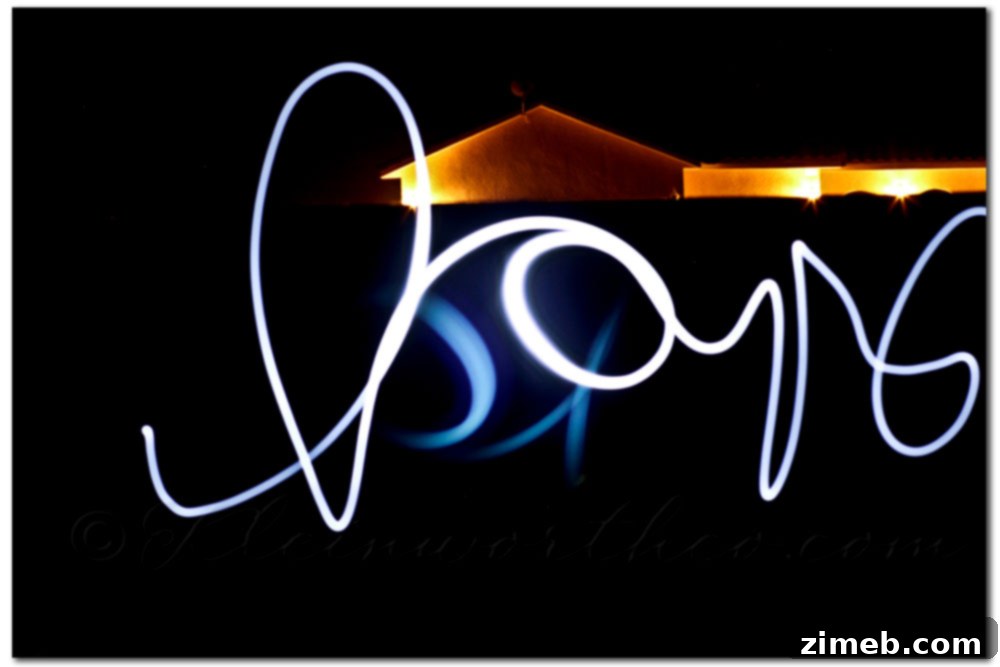
- Letters and Words: Practice writing names, messages, or simple words. This often requires writing backward for the text to appear legible in the final photo – a fun challenge for kids! If it’s too difficult, don’t worry, you can always flip the image horizontally in post-processing. My son, for instance, loved the challenge of backward writing.
- Abstract Patterns: Just move the light randomly or in rhythmic patterns to create captivating abstract art.
- Drawing Around Subjects: Instead of just drawing in the air, you can outline a person or an object with light.
- Storytelling: Create a sequence of light paintings to tell a simple story.
- Multiple Lights: Experiment with multiple light sources or different colored lights for multi-layered effects.
Tips for Success & Troubleshooting
Even with the right settings, you might encounter a few hurdles. Here are some tips and troubleshooting advice:
- Location, Location, Location: If you’re attempting this outdoors during summer, you might find that it doesn’t get truly dark until late evening (around 10-10:30 PM in some areas). A dark garage, a basement, or a windowless room can be perfect alternatives to ensure absolute darkness.
- Practice Makes Perfect: Encourage the light artist to practice their drawing motions in the air before the shutter opens. This helps them visualize the trajectory and timing.
- Smooth Movements: Emphasize smooth, continuous movements of the light source. Jerky motions can lead to disjointed light trails.
- Avoiding “Ghosting”: If the person drawing moves too much during the exposure, they might appear as a faint “ghost” in the photo. Remind them to stay as still as possible when not actively moving the light, especially before the shutter closes.
- Light Bleed: If your light source is too bright or pointed directly at the camera, it can create a harsh flare. Try diffusing the light slightly or angling it carefully.
Post-Processing: Minimal Yet Effective
One of the best aspects of light painting photography is how little post-processing is typically required. The magic is largely captured in-camera. Usually, all you’ll need to do is:
- Sharpening: A slight amount of sharpening can make the light trails pop even more.
- Sizing for Web/Print: Adjust the image dimensions for its intended use.
- Basic Adjustments: You might tweak exposure, contrast, or white balance slightly to enhance the overall mood.
- Flipping the Image: If your light artist found writing backward too challenging, most photo editing software (like Photoshop, GIMP, or even basic phone editors) can easily flip the image horizontally to correct the text.
This minimal editing requirement makes the process even more rewarding, allowing you to enjoy the immediate results of your creative efforts. Give it a try – the kids will be absolutely delighted, laughing and creating memories that will last far longer than the summer itself!
Project 52 Details: Join Our Photography Community!
We invite you to share your light painting creations or any other photo that captures your week’s essence with our Project 52 community. It’s a wonderful way to connect with fellow photography enthusiasts and get inspired.
- * Post 1 photo, or as many as you like, each week on Mondays.
- * Include the Project 52 button or a text link in your post (though not strictly mandatory, it helps spread the word!).
- * Please visit some other blogs linked up and leave some love and encouragement – fostering community is what Project 52 is all about!
- * Submit the direct URL of your blog post, not just your home page, so others can easily find your featured image.
Project 52
Grab the button HERE
To see where I am linking today, visit HERE