
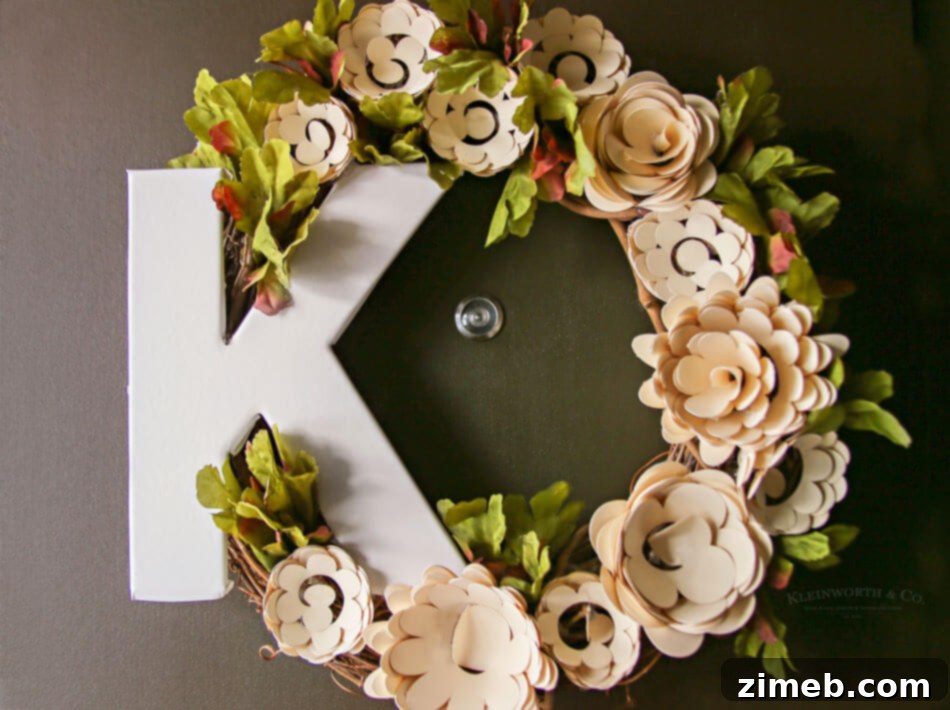
Elevate your home decor this season with a stunning, handcrafted Paper Flower Wreath, brought to life effortlessly with your Cricut Explore Air 2! Discover our comprehensive, easy-to-follow tutorial to create a beautiful spring centerpiece for your door that will impress all your guests.
There’s a unique joy in adorning your home with handmade creations, especially when they add a fresh, seasonal touch. For me, updating my front door wreath is a cherished monthly tradition. While I aim to craft a brand-new wreath each time, occasionally a masterpiece emerges that I simply can’t bring myself to dismantle. This passion for unique home decor led me to explore the enchanting world of paper flowers using my incredible Cricut Explore Air 2. The precision and versatility of this machine make crafting intricate paper designs not just possible, but incredibly simple and rewarding. For this project, I envisioned a vibrant spring wreath, a perfect welcome as the days grow longer and nature awakens. Paper crafts, like the ones you’re about to discover, are just the beginning of what you can achieve with a Cricut, opening up a realm of endless creative possibilities. Let’s dive into how you can easily create your own breathtaking paper flower wreath!
Crafting a Beautiful Paper Flower Wreath with Cricut
This post contains some affiliate links. Click here to read my full disclosure policy.
Why Choose a Paper Flower Wreath for Your Door?
Paper flower wreaths offer a delightful alternative to traditional floral arrangements. They provide long-lasting beauty without the need for watering or maintenance, making them perfect for both indoor and outdoor (covered) display. With your Cricut machine, you can achieve intricate designs and a wide array of vibrant colors that might be challenging or costly to find in real or silk flowers. Each petal can be perfectly cut, curled, and shaped to create a realistic and voluminous bloom, allowing for complete customization to match your home’s aesthetic and the current season. This project is not only cost-effective but also incredibly satisfying, transforming simple cardstock into a work of art.
Unleashing Creativity with the Cricut Explore Air 2
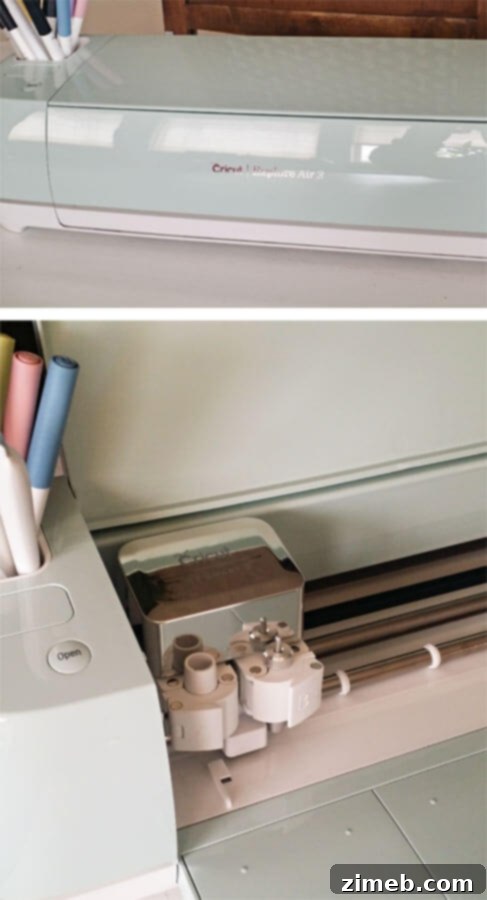
As mentioned, the heart of this project lies with my reliable Cricut Explore Air 2. This incredible machine has revolutionized my crafting process. One of its standout features is the seamless Bluetooth connectivity, which allows me the freedom to place it anywhere in my crafting space, not just tethered to my computer desk. This flexibility is a game-changer, enabling me to spread out and enjoy the creative process without limitations. The Cricut Explore Air 2 is renowned for its precision cutting, handling various materials from delicate paper to thicker cardstock with ease. Its intuitive interface makes it accessible for both beginners and experienced crafters alike, ensuring that even complex designs are executed flawlessly. For this paper flower wreath, the machine’s ability to consistently cut intricate flower patterns is absolutely essential, saving countless hours of manual cutting and ensuring a professional finish.
Getting Started: Cricut Design Space and Flower Selection
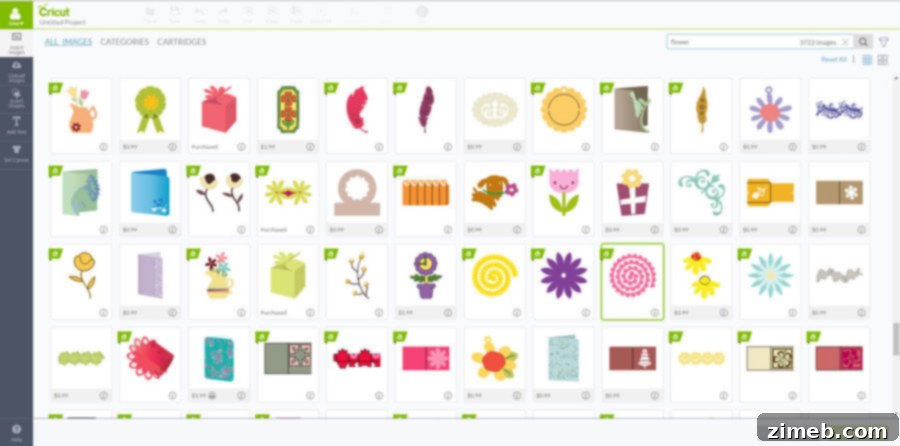
The journey begins in Cricut Design Space, the intuitive software where all your cutting magic happens. This platform is a treasure trove of design possibilities. I navigated through the extensive library and selected my preferred flower cut file. The beauty of Cricut Access, my monthly subscription, is the staggering array of over 30,000 files at my fingertips, covering everything from intricate floral patterns to decorative elements and fonts. This vast collection ensures that you’ll always find the perfect design to match your vision, or inspire a new one. For our paper flower wreath, I carefully chose spiral flower designs that, once rolled, would create realistic and full-bodied blooms. Consider experimenting with different flower styles to add variety and texture to your wreath.
Optimizing Your Cardstock and Cutting Process
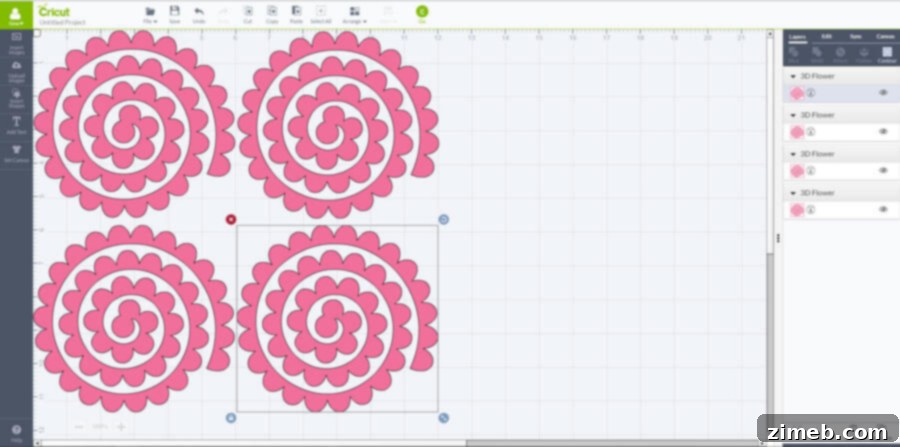
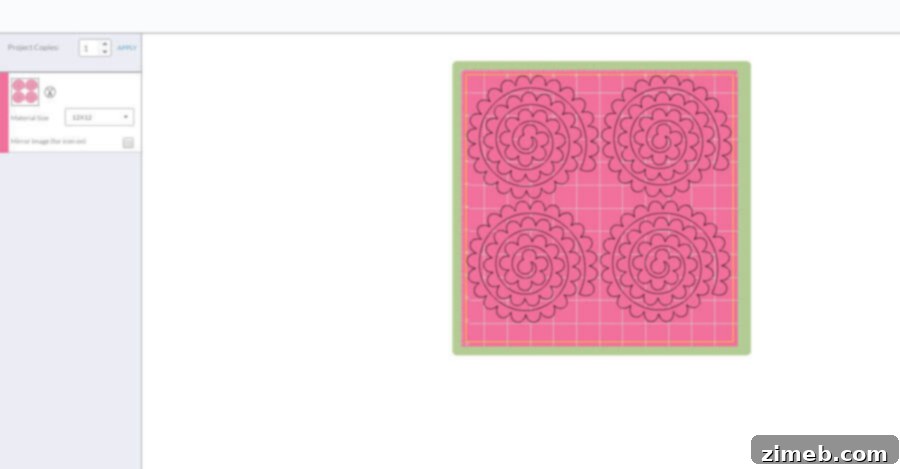
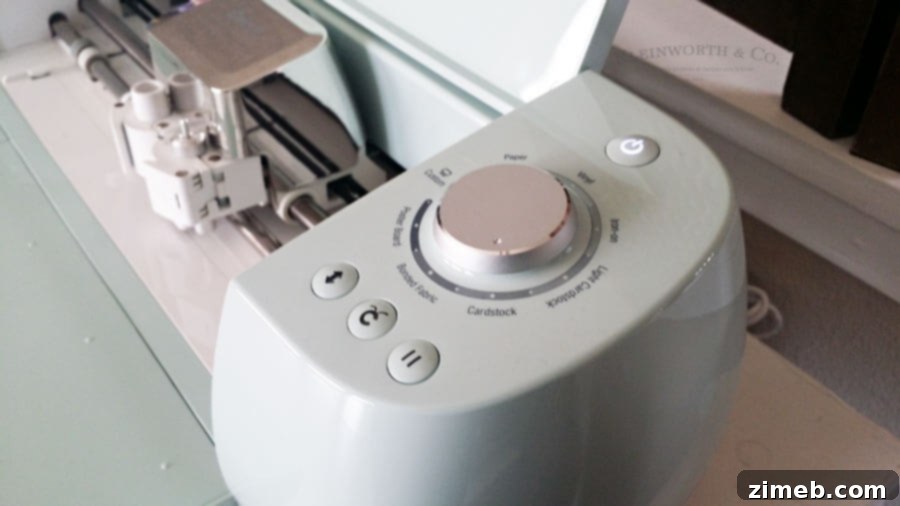
To make the most of my crafting materials, I focused on efficient layout within Design Space. For the larger focal flowers, I managed to cut four distinct large flowers, with each one utilizing a full 12″x12″ piece of cardstock. This ensures a grand, impressive bloom that will stand out on your wreath. Cardstock choice is crucial here; opt for a weight that holds its shape well when rolled, typically 65lb or 80lb. For the smaller accent flowers, I maximized my sheets by duplicating the cut file to fit four smaller flowers onto a single 12″x12″ sheet. This method is excellent for producing a high volume of flowers efficiently, providing the necessary fullness and depth for your wreath. Before initiating the cut, always double-check that your Cricut dial is accurately set to “Cardstock.” This ensures the blade applies the correct pressure for a clean, precise cut every time, preventing tears or incomplete cuts that can waste precious materials and time.
The Art of Weeding and Rolling Paper Flowers
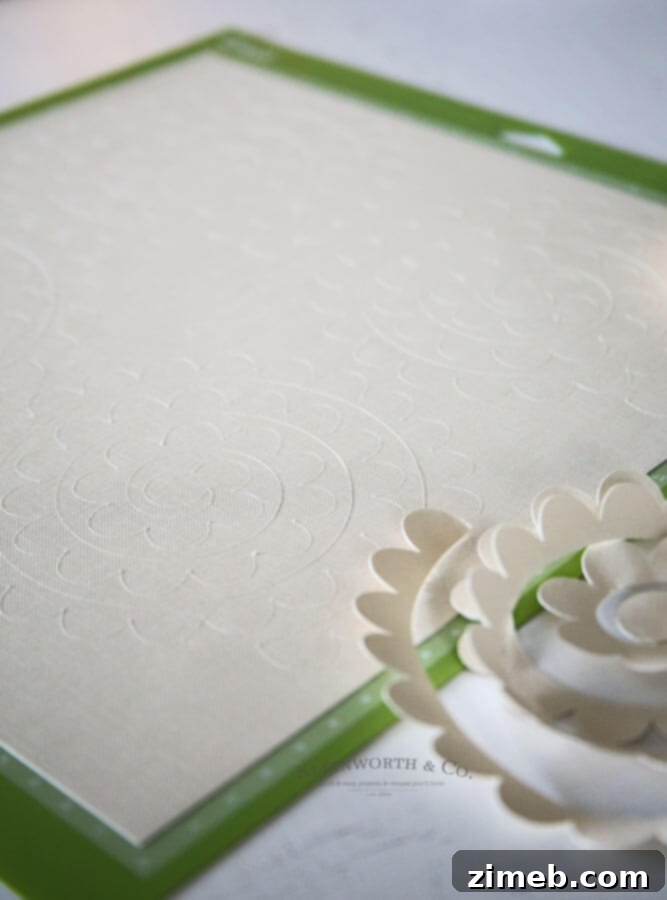
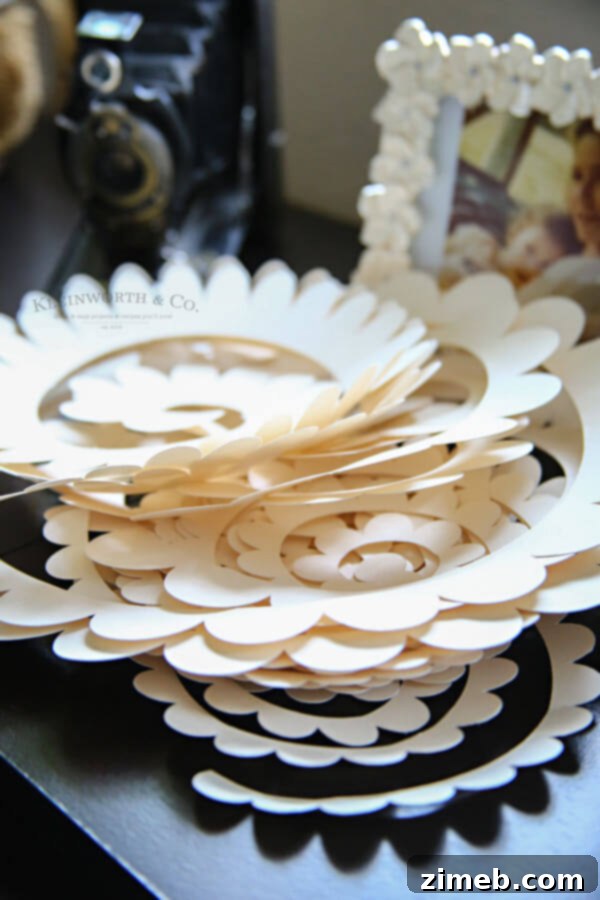
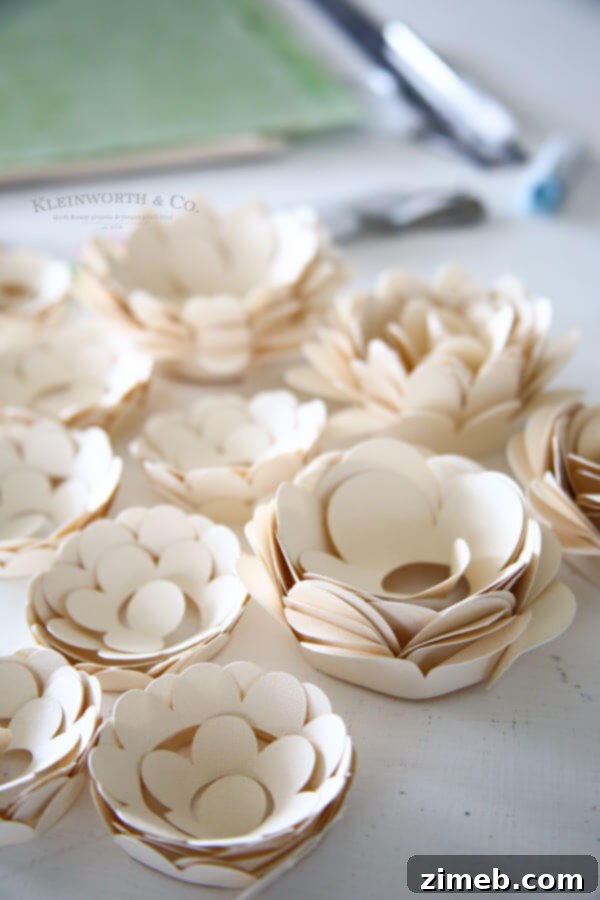
Once the Cricut has completed its magic, you’ll be left with your beautifully cut designs still attached to the cardstock sheet. This is where the “weeding” process comes in. Carefully remove the excess cardstock from around your cut flower shapes. You’ll see the intricate spiral patterns clearly defined. A weeding tool (a small hook-like tool) from your Cricut toolkit can be incredibly helpful here, allowing you to lift delicate pieces without tearing. After weeding, you’ll have a collection of perfectly cut paper spirals, ready to be transformed into exquisite blooms. The next step is rolling the flowers. Start from the outer edge of the spiral and begin to tightly roll the paper inwards towards the center. Maintain an even tension as you roll to ensure a uniform and sturdy flower. As you approach the center, the innermost circle of the spiral will become the base of your flower. Once fully rolled, gently release the tension slightly to allow the petals to relax and bloom naturally. To secure the flower, apply a small dab of double-sided tape or hot glue to the central base and press the rolled petals onto it, holding it firmly for a few seconds until set. This initial securing step is vital for maintaining the flower’s shape.
Assembling Your Stunning Paper Flower Wreath
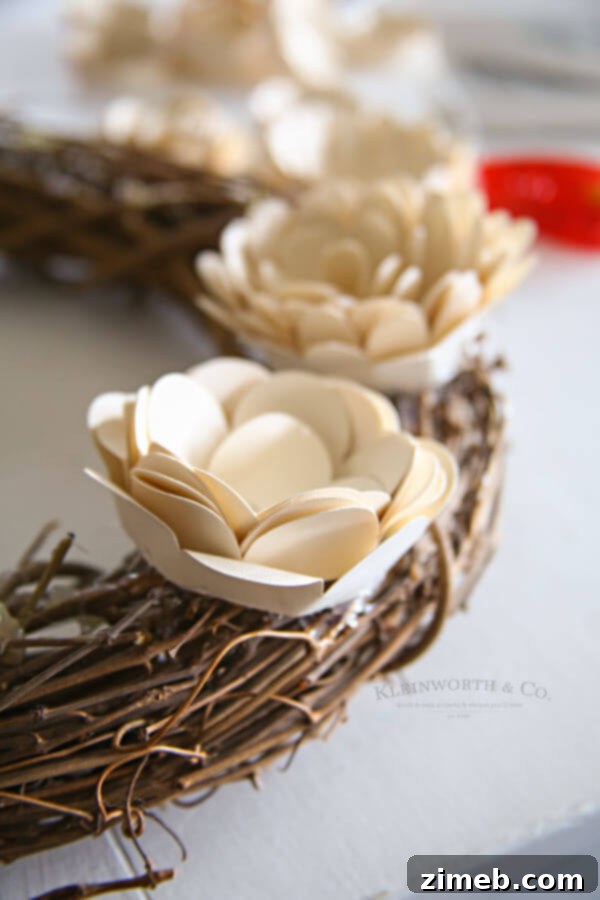
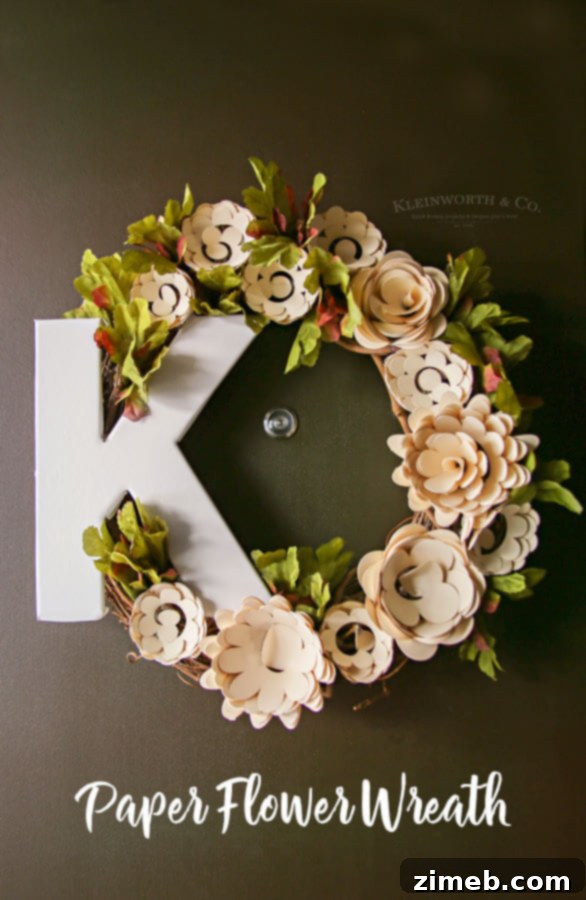
With all your beautiful paper flowers rolled and secured, it’s time for the exciting assembly phase! I had a collection of both large and small flowers, meticulously rolled and initially tacked with double-sided tape. However, for permanent adhesion to the wreath, I highly recommend an extra dab of hot glue for each flower. This ensures they remain firmly attached and won’t unravel over time, especially if your wreath is displayed on a door that experiences frequent opening and closing. For the wreath base, a grapevine wreath offers a rustic and natural foundation that complements the delicate paper flowers beautifully. Begin by arranging your largest flowers first, spacing them evenly to create a visually appealing framework. Then, fill in the gaps with your smaller flowers, creating depth and fullness. Don’t be afraid to experiment with placement before applying glue. Consider creating clusters, or a flowing cascade of flowers, depending on your desired aesthetic. The hot glue gun makes this process quick and efficient, creating a strong bond almost instantly.
Personalizing Your Wreath: Adding Embellishments and Finishing Touches
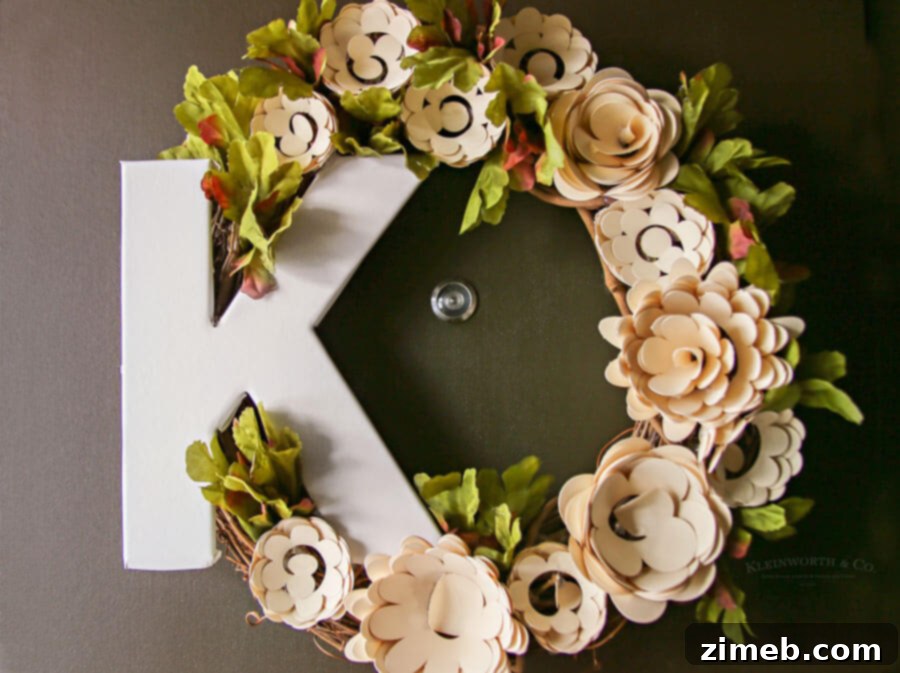
To add an extra layer of personalization and charm to my paper flower wreath, I incorporated a cardboard initial. This simple addition instantly makes the wreath unique and reflective of your family or personal style. Besides the initial, I also utilized some silk leaves I had on hand to serve as filler and add a touch of natural greenery. These leaves helped to break up the floral clusters and add texture. If you happen to have green cardstock available while crafting, you could easily cut out beautiful paper leaves using your Cricut Explore Air 2, allowing for even more cohesive and customized greenery. Consider adding other embellishments like ribbons, small wooden signs, or even subtle glitter for extra sparkle. The possibilities for customization are truly endless, allowing you to create a wreath that perfectly complements your home and expresses your individual creativity. This final step transforms a collection of beautiful flowers into a cohesive and personalized statement piece.
The Rewarding Result: A Beautiful, Handmade Wreath
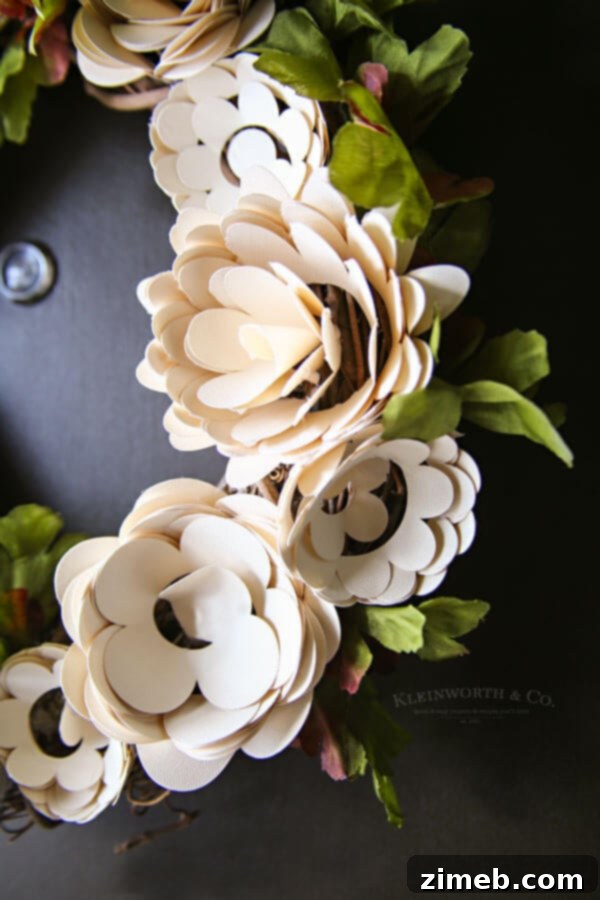
The transformation from flat sheets of cardstock to this vibrant, dimensional paper flower wreath is truly remarkable. I am absolutely thrilled with how this project turned out! It serves as a fantastic, budget-friendly, and highly customizable alternative to purchasing expensive silk floral wreaths. The ability to select your own paper colors, flower styles, and embellishments means you can design a wreath that perfectly harmonizes with your home’s aesthetic for any season or occasion. Hung proudly on my front door, it adds a welcoming splash of color and handmade charm, making a statement that store-bought decor simply can’t replicate. This project truly embodies the joy of DIY crafting and the immense creative potential unlocked by the Cricut Explore Air 2. It’s more than just a decoration; it’s a testament to creativity, patience, and the satisfaction of making something beautiful with your own hands.
This handcrafted paper flower wreath stands out as one of my most cherished and satisfying DIY projects to date.
Explore More Cricut Explore Air 2 Projects
Inspired to create even more amazing things with your Cricut Explore Air 2? The possibilities are endless! From personalized gifts to intricate home decor, your Cricut machine can help you unleash your inner artist. Dive into more exciting tutorials and discover new ways to utilize your cutting machine.
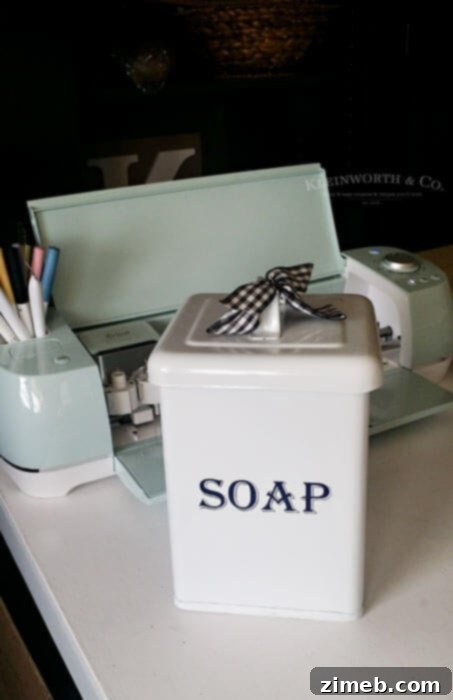
Vintage Soap Canister Cricut Tutorial
For more fantastic Cricut ideas, don’t miss these inspiring projects from fellow crafters:
- 50+ Creative DIY Cricut Projects from Clarks Condensed
- 23 of The BEST Cricut Tutorials from Printable Crush
We hope this detailed guide encourages you to embark on your own paper flower wreath journey. Happy crafting!
This is a sponsored conversation written by me on behalf of Cricut. The opinions and text are all mine.