
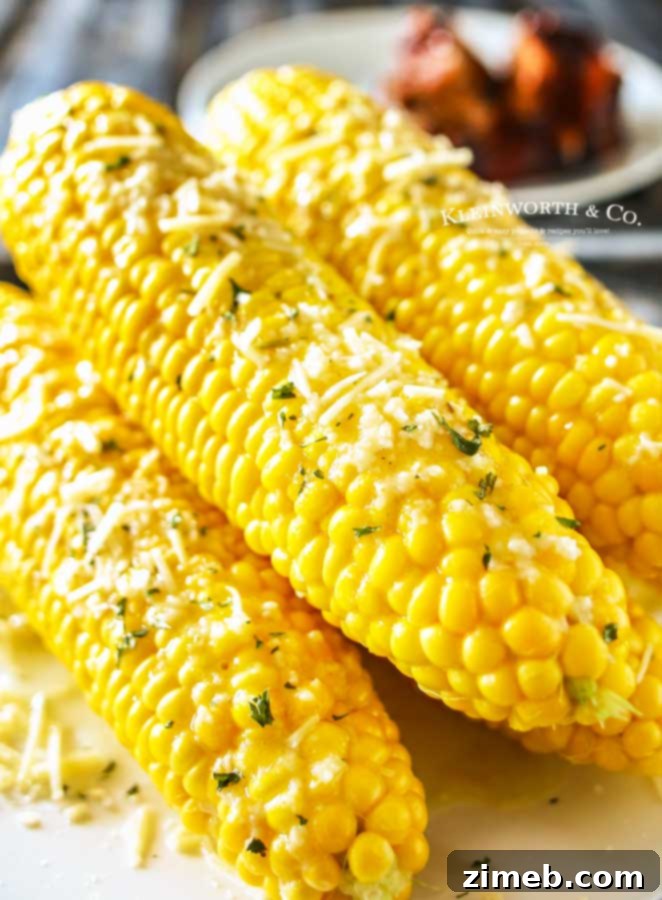
Sea Salt Garlic Corn is a delightful and flavorful upgrade to your classic BBQ side dish, transforming humble corn on the cob into an irresistible summer staple. This simple yet incredibly tasty recipe promises to be a crowd-pleaser, ensuring your guests keep coming back for more all season long. Prepare to elevate your outdoor dining experience with this vibrant and buttery corn dish.
There’s an undeniable magic to the summer months, isn’t there? The longer days, the warm evenings, and the irresistible aroma of food sizzling on the grill. For many, including myself, this time of year is synonymous with outdoor living and, more specifically, outdoor cooking. One of the greatest joys of grilling season is the ability to shift the majority of the culinary chaos out of the kitchen and into the fresh air. Less mess indoors means more time enjoying the beautiful weather and the company of loved ones.
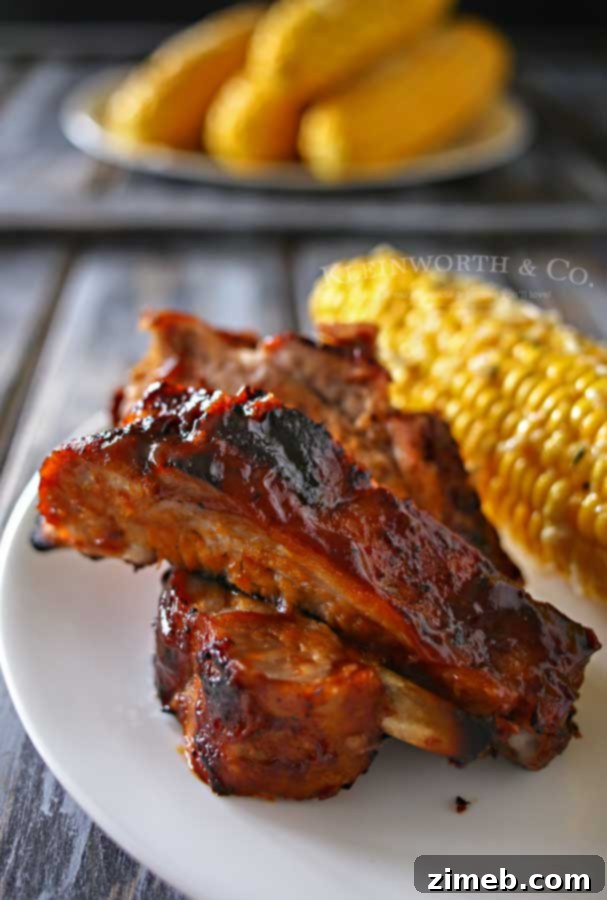
While the main course, perhaps some succulent ribs or juicy steaks, takes center stage on the grill, I often find myself preparing complementary side dishes, like this incredible Sea Salt Garlic Corn, right inside. This strategy keeps the indoor mess minimal, allowing for quick clean-up once dinner is served. Of course, this rule of minimal mess holds true for most meals, with the notable exception of those glorious, saucy ribs that seem to defy all attempts at neatness!
Looking for another easy summer side? Don’t miss our super-easy grilled corn recipe!
Despite our best intentions and careful efforts, the moment the grilled masterpieces and their accompanying side dishes make their way from the grill to the dining table, a certain level of delightful disarray often ensues. Especially when serving messy, flavorful items like ribs, the kitchen can quickly become a flurry of activity, with cutting, plating, and saucing leaving their marks. It seems no matter how meticulous we are, the delicious chaos of a true BBQ feast is simply part of the experience.
The Irresistible Allure of Sea Salt Garlic Corn
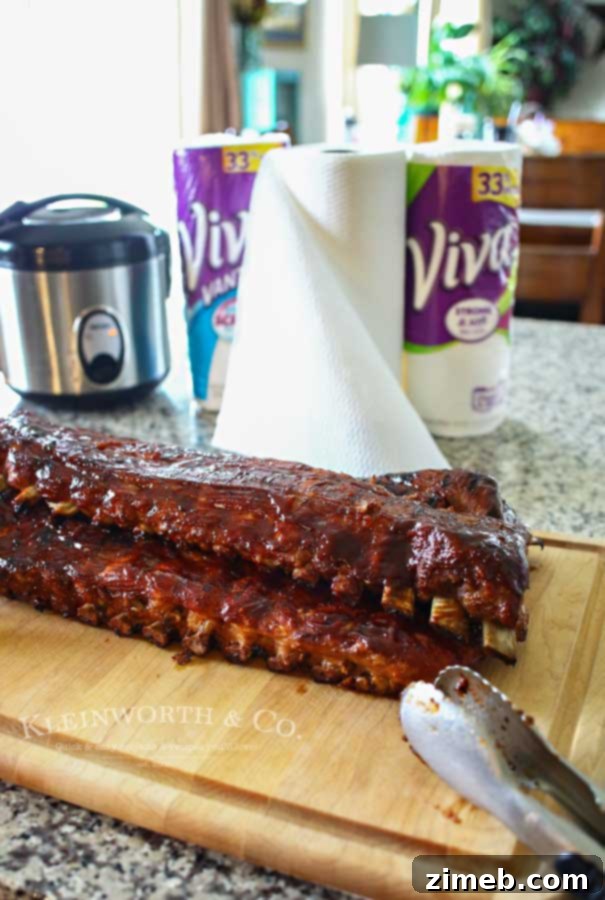
Take, for instance, a recent family BBQ. The ribs were perfectly cooked and brought in from the grill, the kitchen still pristine. But once we started the enjoyable process of carving, serving, and adding those delightful sides, it transformed in moments. The kitchen suddenly looked as if a delicious, BBQ sauce-laden tornado had swept through. Fortunately, keeping highly absorbent and durable Viva Towels handy means these moments of messy feasting are quickly remedied, allowing us to focus on the truly important part: enjoying the incredible food.
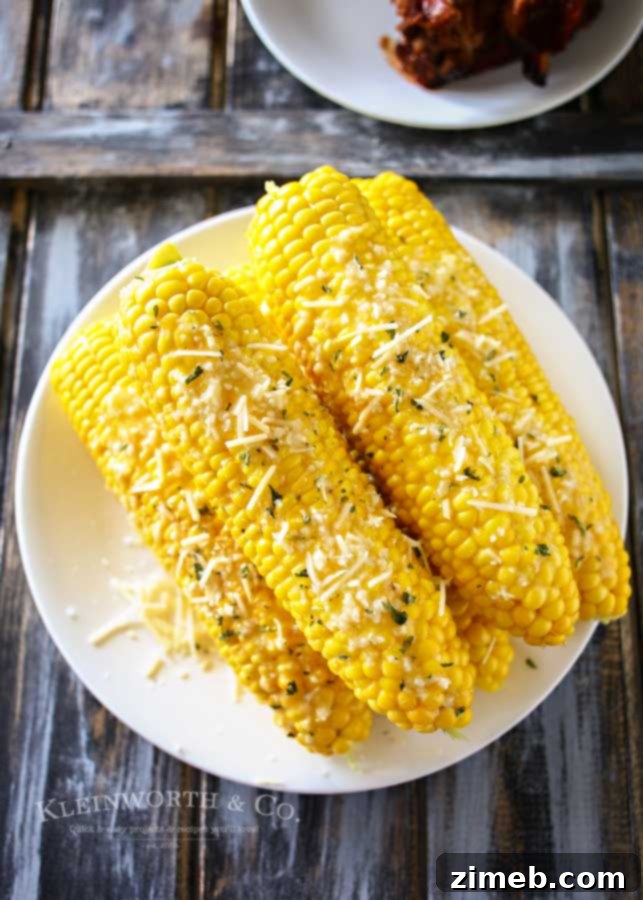
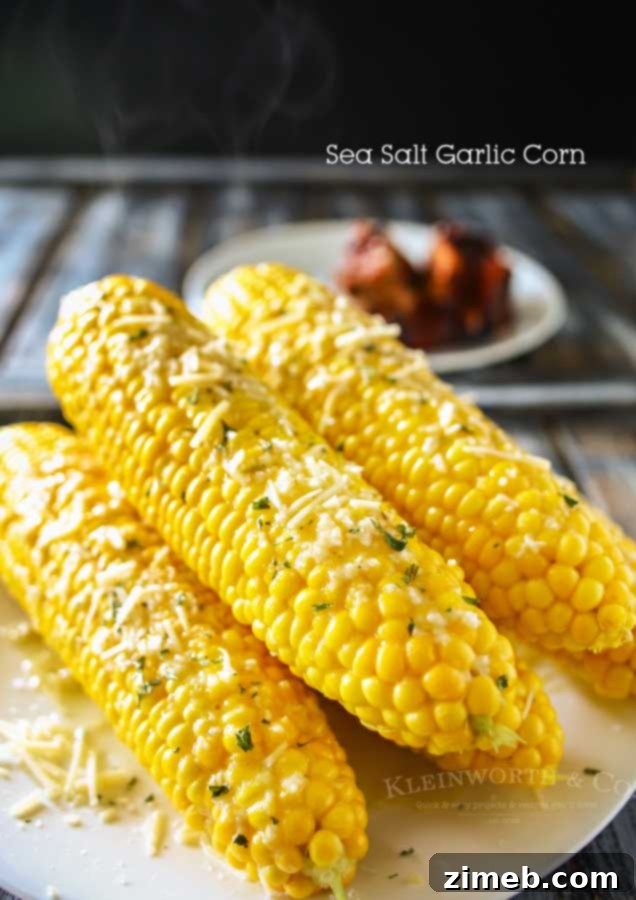
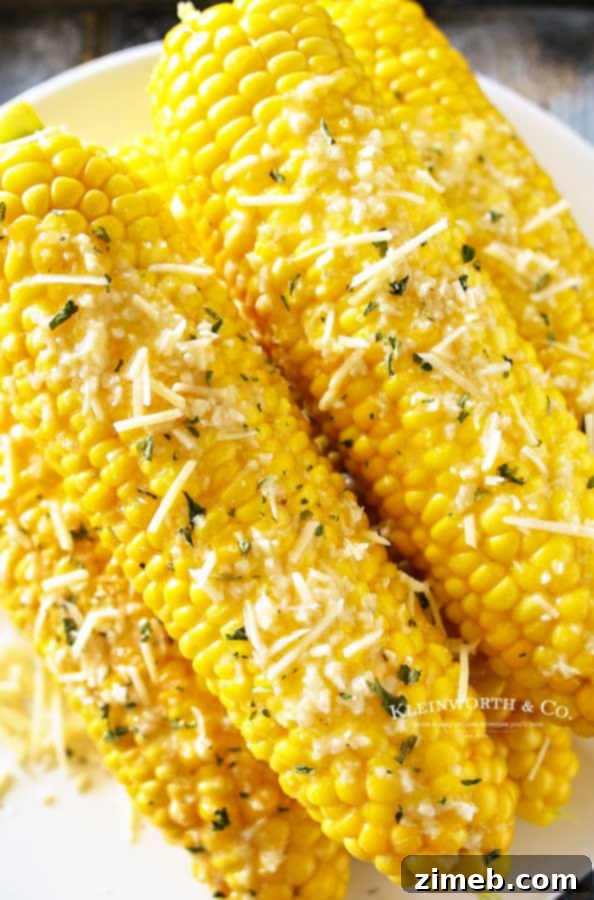
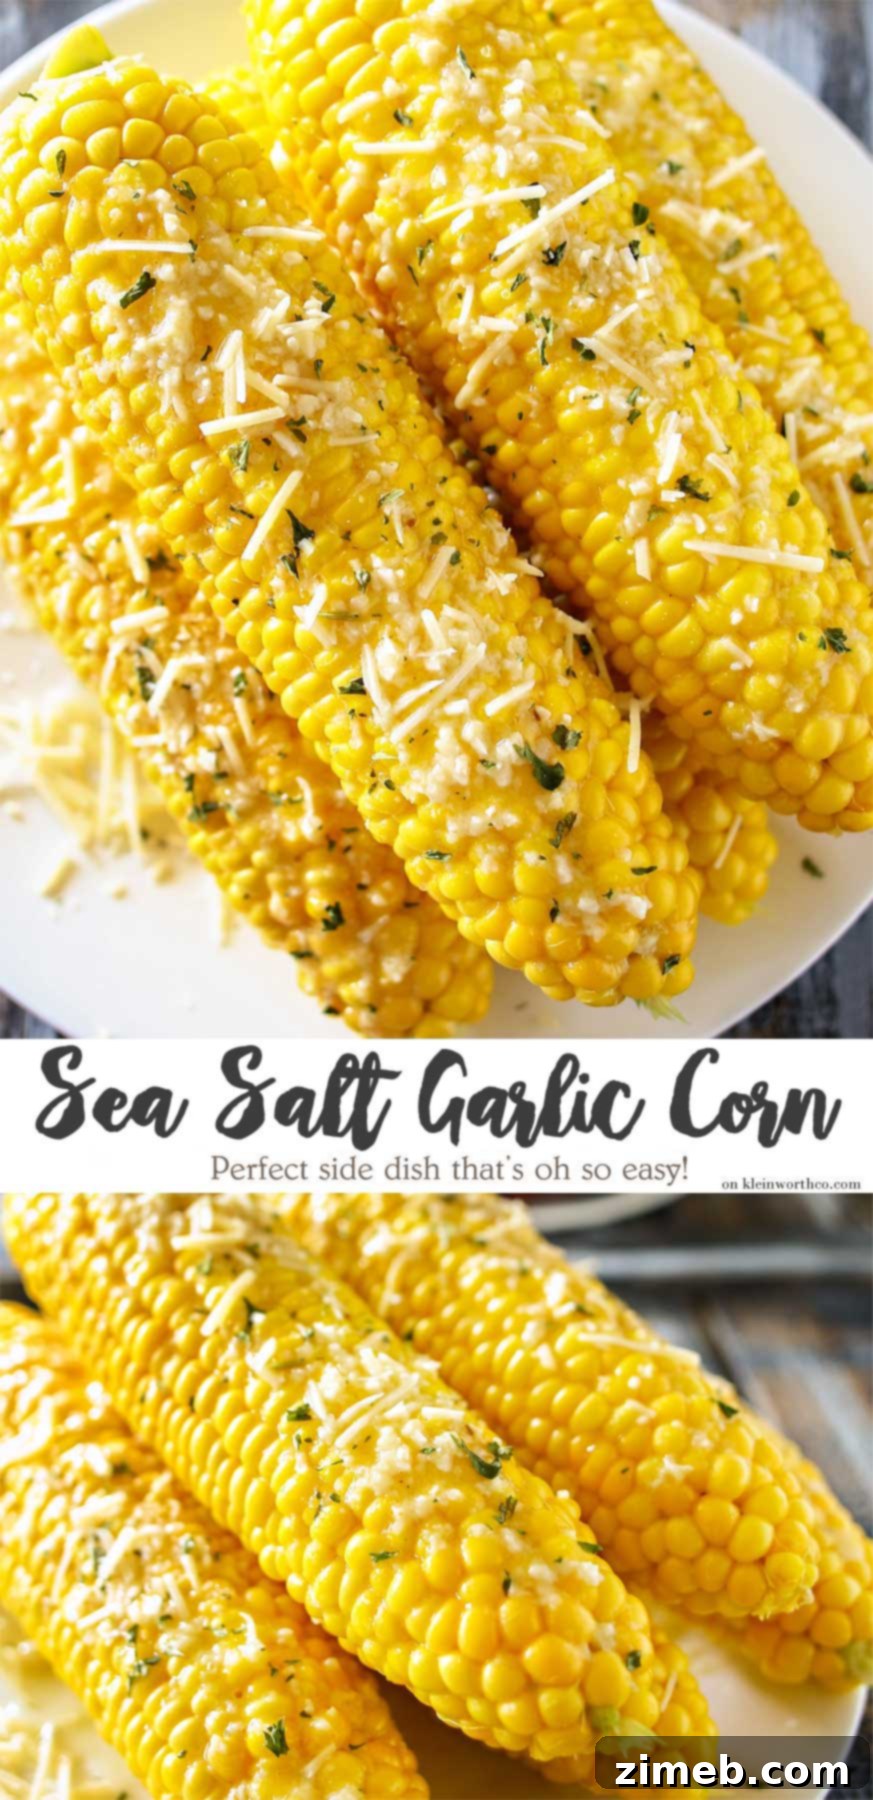
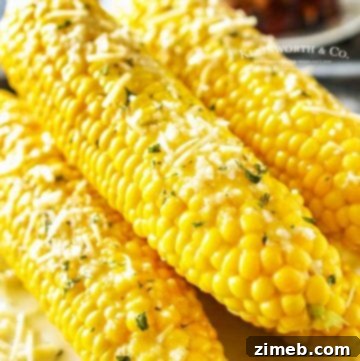
In these moments, I make a conscious effort to set aside the clean-up thoughts and fully immerse myself in the enjoyment of the meal. And when you look at this corn, it’s easy to see why. It’s not just beautiful, but utterly delicious. The rich garlic butter, generously drizzled over each cob, creates a succulent base, perfectly complemented by a sprinkle of coarse sea salt for that delightful pop of flavor, and finished with a dusting of savory Parmesan cheese. This combination elevates the humble corn on the cob to an over-the-top, scrumptious experience.
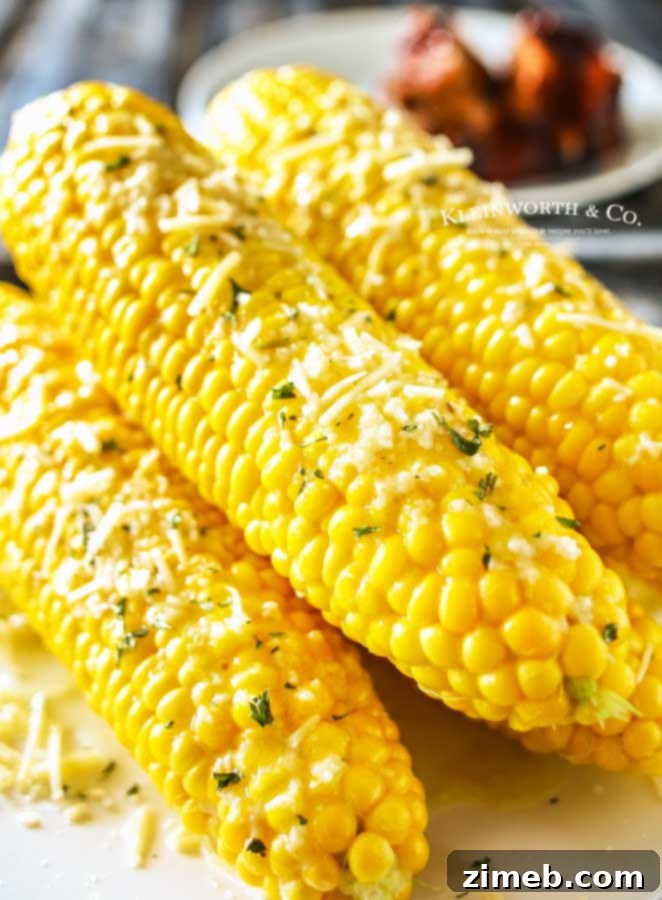
This garlic corn truly was the quintessential addition to a plate of perfectly cooked ribs, rounding out the meal with a burst of fresh, savory flavor.
Frequently Asked Questions About Sea Salt Garlic Corn
Here are some common questions about making and serving this fantastic Sea Salt Garlic Corn:
How can I keep the corn warm for serving?
Keeping your corn warm until mealtime is crucial for a perfect serving. A simple method is to leave the cooked corn in the pot of hot water, keeping it covered, until you’re just about ready to plate everything. Alternatively, you can remove the corn from the water and place it on a serving platter, then tent it loosely with aluminum foil. For larger gatherings, consider wrapping the cooked corn cobs in foil individually or in small batches, and then placing them in an insulated cooler. The residual heat will keep them warm for a surprisingly long time without overcooking.
How many can this recipe serve?
The serving size for this recipe is highly flexible and depends entirely on the number of ears of corn you choose to prepare. As a base, we typically use about 6 ears for a standard family meal. This amount is easily adjustable; you can increase or decrease the quantity of corn and the garlic butter mixture as needed to accommodate more or fewer guests. When planning for a crowd, remember that some people might enjoy more than one ear, especially when it’s as delicious as this!
Can this recipe be doubled or scaled?
Absolutely! This Sea Salt Garlic Corn recipe is incredibly forgiving and scales beautifully. We often double or even triple it for larger gatherings or when we simply want more delicious leftovers. The beauty of this recipe is that the garlic butter seasoning is so versatile; it can be drizzled over many other grilled vegetables or even roasted potatoes, making it a fantastic all-purpose flavor enhancer for your summer meals. Don’t hesitate to adjust quantities to fit your needs.
What type of corn is best for this recipe?
While any sweet corn on the cob will work, fresh, in-season sweet corn will yield the best flavor and texture. Look for corn with bright green husks that are tightly wrapped, and silks that are slightly damp and golden or brown, not black or slimy. A good test is to gently squeeze the ear to feel plump kernels underneath. If fresh corn isn’t available, frozen corn on the cob is a perfectly acceptable substitute, though cooking times will need to be adjusted.
Mastering the Best Sea Salt Garlic Corn: Step-by-Step Guide
Making this flavorful Sea Salt Garlic Corn is incredibly straightforward. Here’s how you achieve this irresistible BBQ side dish:
- **Prepare the Corn:** Start by shucking your corn on the cob, removing all husks and silks. Place the cleaned corn into a large, sturdy pot. Fill the pot with water, ensuring that most of the corn cobs are submerged.
- **Boil to Perfection:** Cover the pot with a lid and bring the water to a rolling boil over high heat. Once boiling, uncover the pot and continue to boil for approximately 6-8 minutes, or until the corn is tender-crisp. You want it cooked through but still with a slight bite.
- **Prepare Garlic Butter:** While the corn is cooking, prepare your flavor-packed butter. In a small bowl, combine the melted butter with the garlic paste. Stir vigorously until the garlic paste is fully incorporated into the butter, creating a fragrant, smooth mixture.
- **Drain and Plate:** Once the corn is done cooking, carefully remove each cob from the hot water using tongs. Place the cooked corn cobs onto a large serving plate or platter, arranging them neatly.
- **Drizzle and Garnish:** Generously drizzle the prepared garlic butter mixture over each and every corn cob. Ensure they are well coated for maximum flavor. Finish by sprinkling coarse sea salt over the buttered corn, followed by a generous amount of shredded Parmesan cheese and a pinch of fresh parsley for garnish. Serve immediately and watch them disappear!
Storage Tips for Leftover Corn on the Cob
If by some miracle you have any leftover Sea Salt Garlic Corn, storing it properly ensures you can enjoy it again later. Simply place any remaining corn on the cob in an airtight container. Refrigerate promptly, and it should stay fresh and delicious for up to 5 days. For reheating, you can warm it gently in the microwave, steam it lightly, or even quickly grill it for a smoky touch.
Can this recipe be made with frozen corn on the cob?
Absolutely! This recipe works beautifully with frozen corn on the cob as well, making it a viable option year-round. When using frozen corn, the primary adjustment you’ll need to make is to the cooking time. Frozen corn will typically require a longer boiling period compared to fresh corn, as it needs to thaw and then cook through. Just be sure to boil the corn until it is fully tender and heated through, then proceed with the garlic butter, sea salt, and Parmesan cheese as directed. The result will still be wonderfully flavorful!
As for those messy BBQ moments we discussed earlier, my trusted companion, Viva Towels, truly shine. Their exceptional strength and durability, much like cloth, make quick work of even the stickiest barbecue sauce spills. Viva Vantage, with its unique scrubby texture, is perfect for tackling larger kitchen messes, while the soft and smooth texture of classic Viva Towels is gentle enough for wiping little faces and cleaning hands, ensuring everyone stays tidy without interrupting the fun.
Essential Ingredients for Homemade Sea Salt Garlic Corn
To whip up this incredible Sea Salt Garlic Corn, you’ll need a few key ingredients:
- Fresh corn on the cob – remember to shuck it completely
- Good quality butter – melted for easy mixing
- Garlic paste – a convenient way to add intense garlic flavor
- Coarse sea salt – for that essential crunch and briny kick
- Shredded Parmesan cheese – adds a savory, cheesy layer
- Fresh parsley – for a pop of color and herbaceous garnish
Achieve the Best Garlic Corn on the Cob Recipe with These Products
This garlic corn on the cob recipe is truly super easy and incredibly delicious. If you’re anything like me during this time of year, you might already have most of these ingredients on hand. Or, perhaps you’re new to making seasoned corn on the cob and feel a little nervous about getting it just right. Don’t worry, you’re going to absolutely love it! To ensure your success and make the process even smoother, I’ve compiled a list of products that I personally rely on when creating this fantastic side dish. Having the right tools and quality ingredients makes all the difference in achieving the best garlic corn on the cob every time.
- Large Stock Pot: Essential for boiling multiple ears of corn efficiently.
- Kitchen Tongs: Perfect for safely handling hot corn cobs in and out of boiling water.
- Garlic Paste: A convenient and flavorful alternative to mincing fresh garlic.
- Coarse Sea Salt: Provides the perfect texture and burst of salty goodness.
- Quality Parmesan Cheese: For that savory, nutty finish that complements the garlic and butter.
- Salt Shaker for easy seasoning: While coarse sea salt is preferred, a good quality table salt can also be used for seasoning during boiling if desired.
If you love this Easy Sea Salt Garlic Corn recipe, you’re going to adore these other fantastic summer recipes too. Click each link below to discover more easy, printable recipes that are perfect for your next BBQ or family meal!
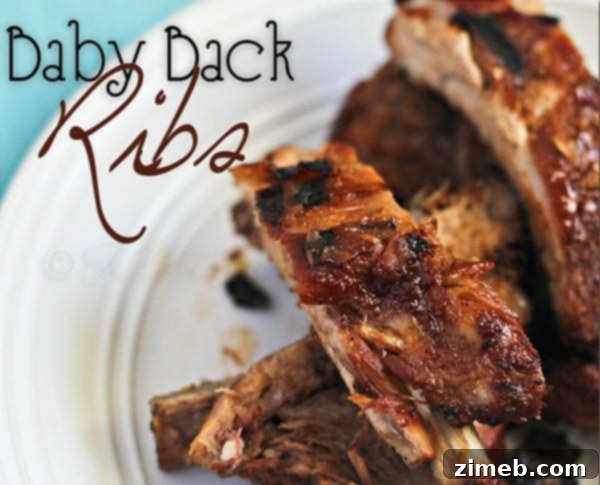
Mouth-Watering Baby Back Ribs
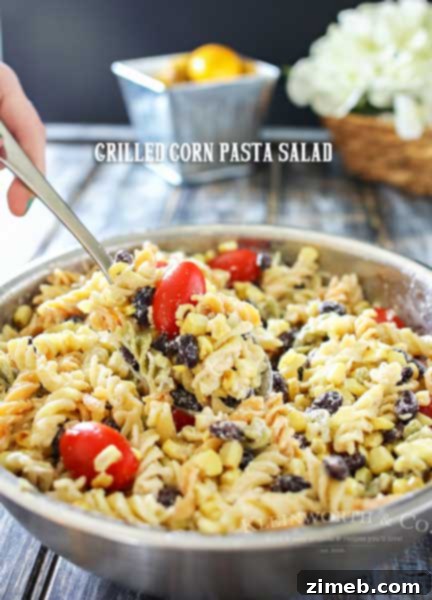
Refreshing Grilled Corn Pasta Salad
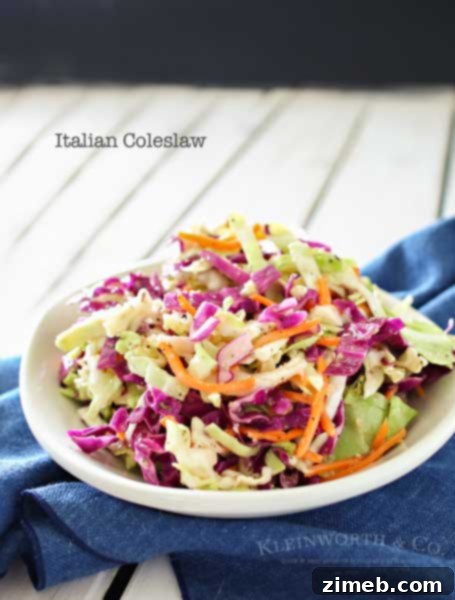
Zesty Italian Coleslaw
If you’ve enjoyed making and savoring this fantastic recipe for Sea Salt Garlic Corn as much as I do, please take a moment to leave a five-star review. Your feedback truly helps, and I’d be incredibly grateful if you could share this recipe with your friends and family on Facebook and Pinterest! Your support means the world and helps me continue to bring you delicious, easy-to-make recipes.
CONNECT WITH KLEINWORTH & CO!
Don’t miss out on any of our delicious updates! Be sure to follow me on my social media channels and subscribe to our email list:
Facebook, Pinterest, Instagram, Email Subscription
Rate this Recipe
Sea Salt Garlic Corn
Ingredients
- 6 ears corn on the cob – shucked
- ½ cup butter, melted (1 stick)
- 2 tbsp garlic paste
- 2 tsp coarse sea salt
- 1/4 cup shredded parmesan cheese
- pinch of parsley for garnish
Instructions
-
Place the corn in a large pot of water filled so most of the corn is covered.
-
Cover & bring to a boil over high heat.
-
Uncover & continue to boil approx 6-8 minutes.
-
Meanwhile, stir garlic paste into melted butter until fully combined.
-
Once the corn is done cooking, remove & place on a large plate.
-
Drizzle the garlic butter over each corn cob.
-
Sprinkle with coarse sea salt, parmesan cheese & parsley before serving.
Nutritional information for the recipe is provided as a courtesy and is approximate. Please double-check with your own dietary calculator for the best accuracy. We at Yummi Haus cannot guarantee the accuracy of the nutritional information given for any recipe on this site.
I was selected for this opportunity as a member of Clever Girls and the content and opinions expressed here are all my own.