
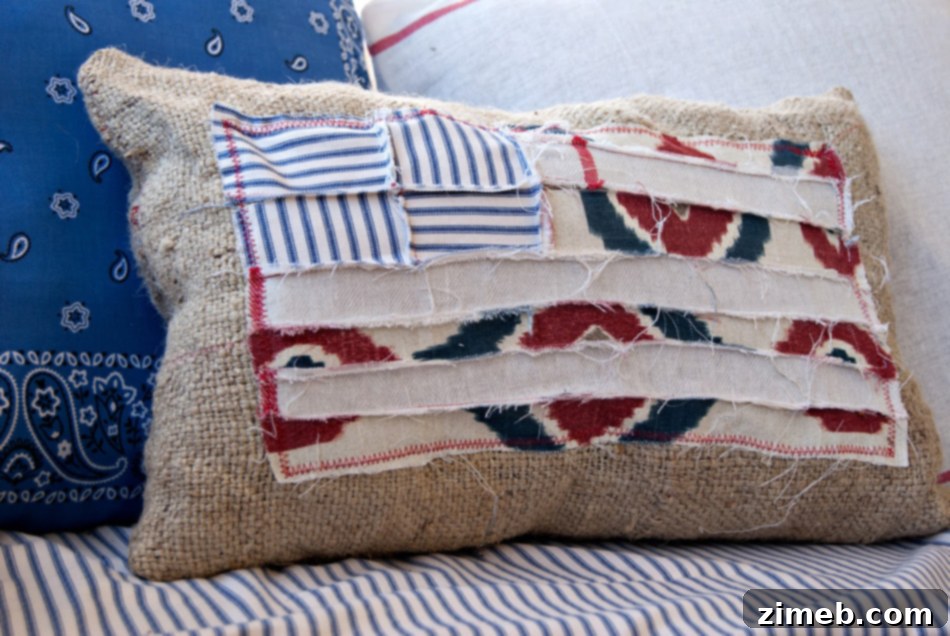
We are absolutely thrilled today to bring you a project that captures the heart of patriotic celebration: a charming and easy-to-make Scrappy Flag Pillow! Here at our creative space, we have a deep affection for all things red, white, and blue, especially as holidays like Memorial Day and the Fourth of July approach. While the hustle and bustle of moving and packing might prevent us from fully decorating this year, we can still embrace the spirit of these cherished occasions through delightful DIY crafts.
That’s why we couldn’t be more excited to share this fantastic tutorial with you. Our incredibly talented contributor, Amber from Averie Lane, has created an absolutely AWESOME DIY Scrappy Flag Pillow. This project perfectly embodies patriotic love while offering a clever way to utilize leftover fabric scraps. It’s not just a decoration; it’s a statement of creativity and resourcefulness that we know you’re going to adore!
Welcome, Craft Enthusiasts!
Hi everyone! I’m Amber from Averie Lane, and I am so excited to be back here to share a super easy and rewarding sewing tutorial with you today. As many of you know, we recently celebrated Memorial Day, a time for reflection and remembrance. And before we know it, the Fourth of July will be upon us, bringing with it parades, fireworks, and vibrant celebrations!
For crafters and DIY enthusiasts, these holidays truly mean only one thing…
Red, White & Blue.
And what better way to express that patriotic spirit than with a handmade touch in your home decor?
The Inspiration Behind the Scrappy Flag Pillow
The idea for this charming flag pillow sprang from a classic crafter’s dilemma: a pile of beautiful fabric scraps leftover from a pillow-making marathon over Memorial weekend. Instead of letting those vibrant red, white, and blue remnants go to waste, I saw an opportunity to transform them into something truly special and meaningful. It struck me that these scraps, each with its own history from previous projects, could come together to form a unique representation of our national flag.
This project isn’t just about crafting; it’s about giving new life to materials and creating something with character and a story. The “scrappy” nature means no two pillows will be exactly alike, adding to their unique appeal. The result was so unexpectedly cute and full of personality that I knew instantly I had to share the tutorial with all of you. It’s a fantastic way to add a handmade touch to your home, perfect for celebrating patriotic holidays or simply showcasing your love for country all year round. Plus, it’s an incredibly beginner-friendly sewing project that builds confidence and yields a beautiful, functional piece of home decor.
Gather Your Supplies: What You’ll Need
Before diving into any sewing project, gathering all your materials is key. For this Scrappy Flag Pillow, you’ll find that many items might already be in your craft stash, making it a budget-friendly and resourceful endeavor. Here’s a detailed list of what you’ll need:
- Scrap Fabric (Red, White, and Blue): This is the heart of our “scrappy” project! Look for remnants from previous sewing ventures, old garments, or fat quarters. Mixing different textures and patterns (solids, subtle prints, tiny florals, small checks) within the red, white, and blue color scheme will add wonderful depth and character to your flag.
- Sewing Machine: Any basic sewing machine capable of a straight stitch will work perfectly. Ensure it’s in good working order and recently cleaned for smooth operation.
- Thread: I used a vibrant RED thread for this project, which can add a subtle decorative touch by blending in with the red stripes and standing out slightly against the white. You could also opt for a neutral white or cream thread for a more seamless look across all colors.
- Burlap: This rustic fabric provides a wonderful texture and sturdy backing for your flag panel. Its natural appearance beautifully complements the scrappy feel of the flag. If burlap isn’t your preference or readily available, you can substitute it with a sturdy cotton canvas, linen, or even denim for a different look.
- Poly-fill: This synthetic fiberfill is ideal for stuffing pillows, providing a soft yet resilient cushion. You can adjust the amount to achieve your desired level of firmness for the pillow. Other stuffing options include repurposed fabric scraps (chopped finely), old pillow inserts, or even natural fibers like cotton batting.
- Basic Sewing Tools: Don’t forget your essentials! You’ll need sharp fabric scissors or a rotary cutter with a cutting mat, a ruler or measuring tape for precise measurements, sewing pins to hold pieces in place, and an iron and ironing board for pressing seams. A seam ripper is always a good idea to have on hand for any small adjustments!
Step-by-Step Tutorial: Crafting Your Scrappy Flag Pillow
Preparation: Cutting Your Fabric Pieces
Accurate cutting is the first step to a successful sewing project. Take your time with this stage to ensure your stripes and blue union come together neatly. Remember, the “scrappy” element allows for some flexibility, especially with the blue section, so don’t be afraid to piece together smaller scraps if needed!
Cut your scraps to the following sizes:
- 2 Red strips @ 1.5 inches x 11 inches
- 1 White strip @ 1.5 inches x 11 inches
- 2 Red strips @ 1.5 inches x 18 inches
- 2 White strips @ 1.5 inches x 18 inches
- 1 Blue rectangle @ 4 inches x 7 inches (If you have smaller blue scraps, you can sew 2 or 3 pieces together to achieve this 4×7 inch dimension. This flexibility is perfect for a truly scrappy design!)
- 2 Burlap (or other backing fabric) pieces @ 13 inches x 20 inches
Step 1: Assemble the Short Stripe Section
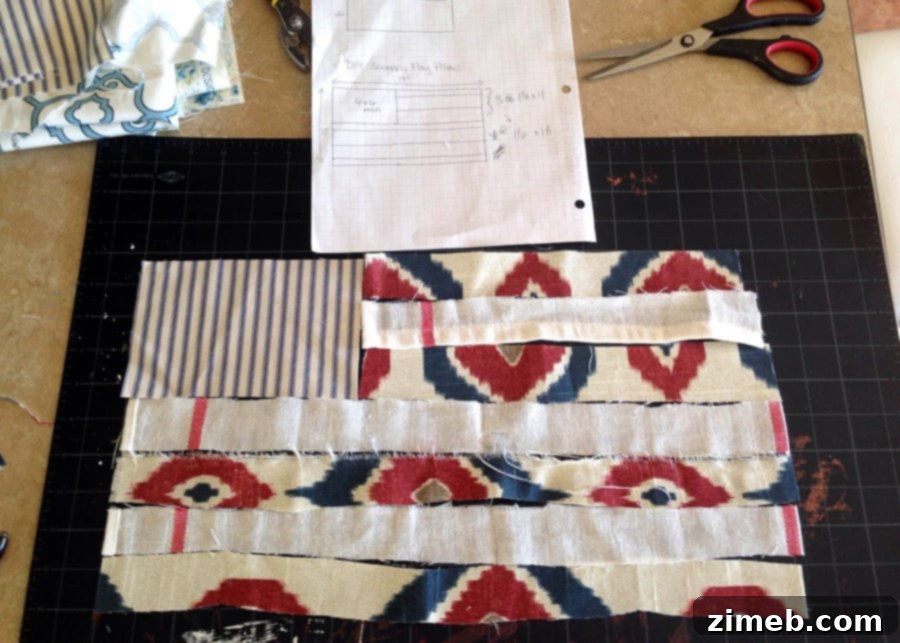
Let’s begin by forming the upper part of our flag. Take your three short strips: two red and one white. Lay them out on your workspace, alternating colors so they read Red, White, Red. This sequence will form the top-left portion of your flag, adjacent to where the blue “union” will be placed. Carefully align the long edges of the strips, ready for sewing.
Step 2: Sew Your Short Strips Together
With your short strips laid out, place the first red strip and the white strip *wrong sides together*. Pin them along the long edge. Stitch them with the smallest seam allowance you can comfortably manage – this helps to maximize the width of your stripes and create a crisp, defined look. Repeat this process to attach the second red strip to the other side of the white strip. Once sewn, press your seams open or to one side for a neat finish, ensuring the fabric lies flat.
Step 3: Construct the Long Stripe Section
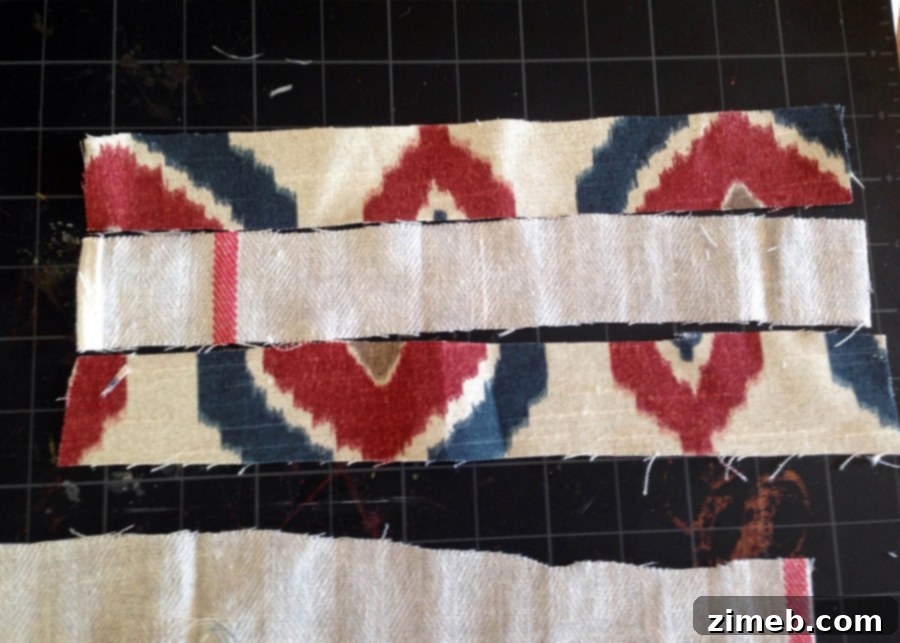
Now, let’s create the longer stripes for the main body of the flag. Take your four long strips: two red and two white. Arrange them in an alternating pattern, for example, Red, White, Red, White. Similar to the previous step, sew these strips together, placing them *wrong sides together* and using a small seam allowance. Again, press your seams for a clean, flat appearance.
*IMPORTANT NOTE* As you sew your strips together, especially when working with different fabric scraps, you might notice that the pieces don’t always line up perfectly or that the raw edges become a bit uneven. Please don’t worry about this! The charm of a “scrappy” pillow is in its handmade, slightly imperfect nature. After sewing each section, simply trim any excess fabric to square everything up. This ensures your pieces fit together nicely without sacrificing the unique, rustic appeal of the project. Embrace the scrappy aesthetic – it’s not meant to be perfect, it’s meant to be personal and lovely!
Step 4: Connect the Short Stripes to the Blue Union
Take the assembled section of your three short strips (Red, White, Red) and align its short side with one of the short sides of your blue rectangle. Place them *wrong sides together*, pin carefully, and sew them securely. This step merges the first set of stripes with the blue “union” area, forming the iconic upper-left corner of the flag design.
Step 5: Attach the Long Stripes to Complete the Flag Panel
Next, take your four-strip section (the longer stripes you sewed in Step 3). Align its long edge with the bottom of the piece you just created (the blue rectangle connected to the three short strips). Pin these two main flag components together, ensuring they are evenly aligned, and then sew them securely. This brings all the elements of your flag design together into one cohesive fabric panel, ready for the next steps.
Step 6: Press and Refine Your Flag Panel
Head over to your ironing board. It’s time to give your flag panel a crisp, finished look. Iron the entire flag, making sure to press all the seams open. This flattens the fabric and helps your stripes become more defined and sharp. Once pressed, take a moment to trim any excess fabric around the outer edges of your flag panel. This step helps to square up the piece and ensures your stripes are clearly visible and well-structured within the overall design.
Step 7: Center the Flag on Your Burlap Front
Now, take one of your 13″ x 20″ burlap pieces – this will be the front of your pillow. Carefully center your freshly pressed and trimmed scrappy flag panel onto the burlap. Take your time to ensure it’s straight and evenly spaced from all edges. Once you’re happy with the placement, pin the flag panel securely in place. This will prevent any shifting as you prepare to sew it down.
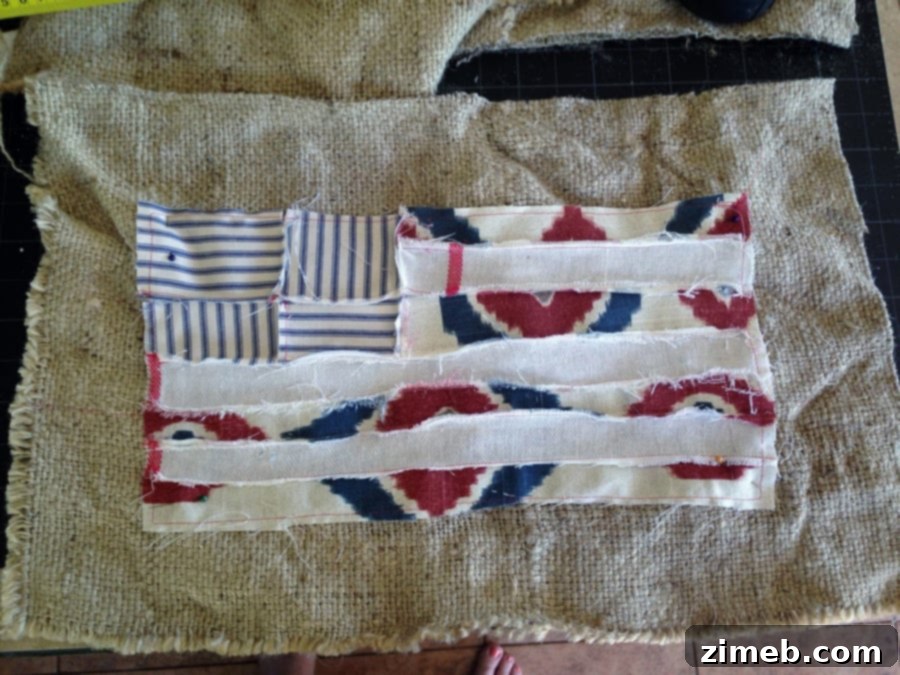
Step 8: Secure the Flag to the Burlap
With your flag panel pinned firmly to the burlap, it’s time to sew them together. Using your sewing machine, stitch around the entire edge of your flag. You can choose a zig-zag stitch for a slightly decorative, raw-edge effect that complements the scrappy look, or a straight stitch for a cleaner, more integrated finish. This step permanently attaches your beautiful flag motif to the burlap, forming the complete front of your pillow cover.
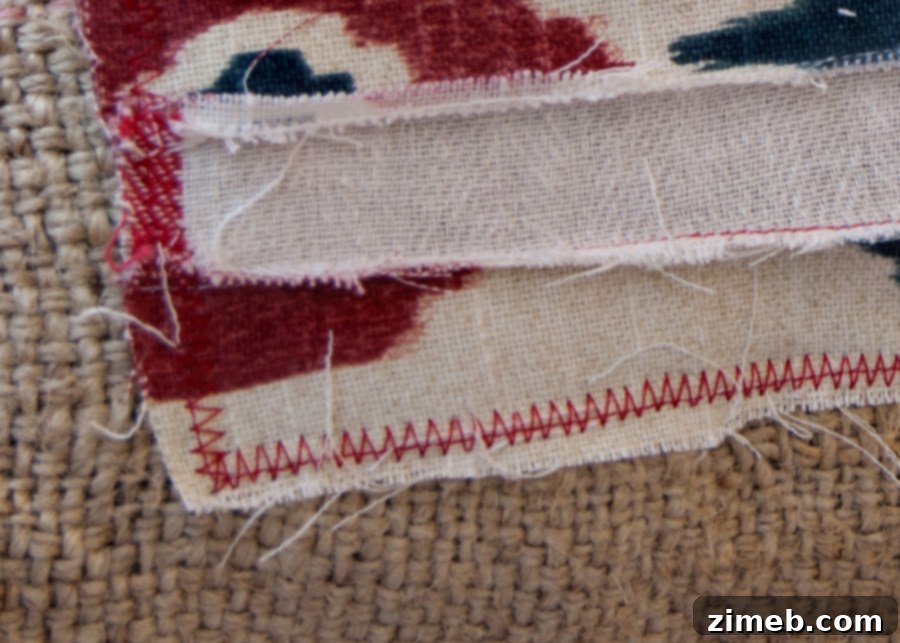
Step 9: Assemble, Stuff, and Finish Your Pillow
We’re almost there! Place your two burlap pieces *right sides together*. This means the burlap piece with the flag design should be facing inwards, against the second plain burlap piece. Pin around the entire perimeter, then sew them together using a straight stitch. Remember to leave a 3 to 4-inch opening along one side – this crucial gap will allow you to turn the pillow cover right side out and add the stuffing. Be sure to backstitch at the beginning and end of your seam for added durability.
Once sewn, carefully clip the corners close to the seam (without cutting through the stitches) to reduce bulk, then turn the pillow cover *right side out* through the opening. Use a pointed tool, like a chopstick or a knitting needle, to gently push out the corners, ensuring they are nice and sharp. Now for the satisfying part: begin filling your pillow cover with poly-fill. Stuff it to your desired level of firmness, making sure the filling is evenly distributed to prevent lumps. Finally, close the opening using a neat and virtually invisible slip stitch (also known as a ladder stitch). This hand-sewn stitch will give your Scrappy Flag Pillow a professional, polished finish.
The Grand Reveal: Your Finished Scrappy Flag Pillow!
And there you have it! With a little bit of sewing magic and some lovely fabric scraps, you’ve created this fun, unique, and truly patriotic Scrappy Flag Pillow!
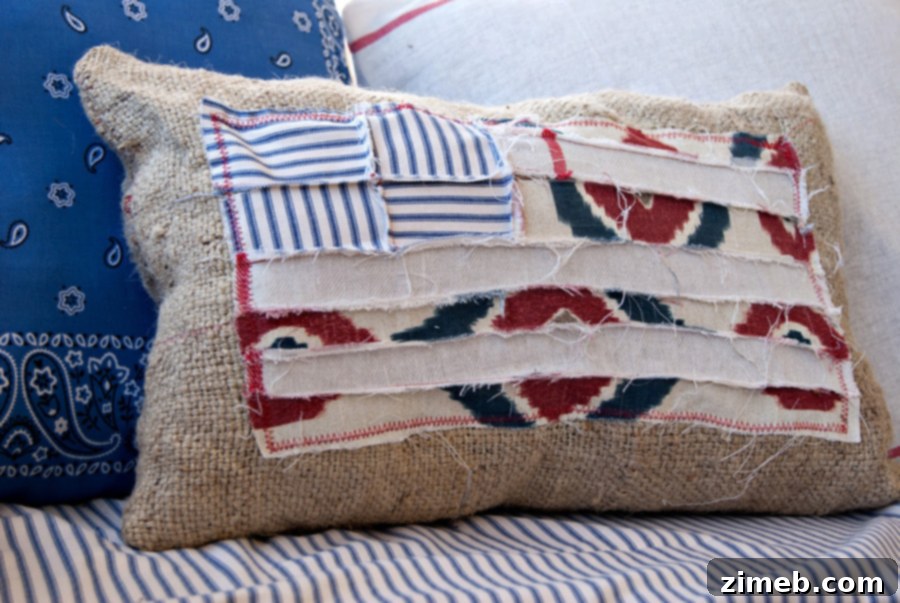
Styling Your Patriotic Masterpiece
This versatile pillow isn’t just for the Fourth of July; it’s a fantastic addition to your home decor year-round. For me, this Scrappy Flag Pillow provides the perfect finishing touch to my Americana-themed porch swing, adding a cozy and inviting patriotic flair. Imagine it:
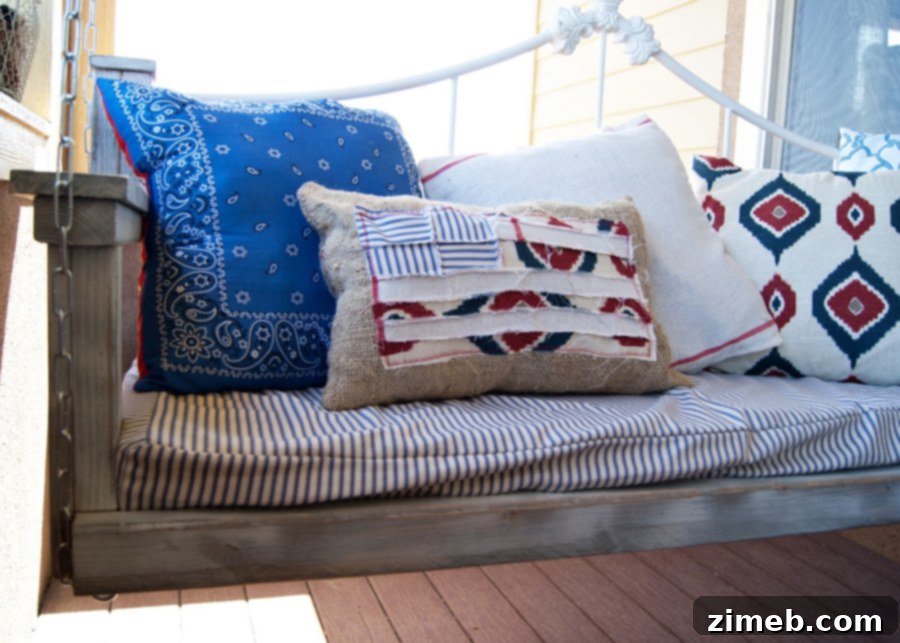
It’s incredible how it effortlessly ties together a charming hodgepodge of different fabrics into one beautiful, cohesive pillow. The mix of patterns and textures gives it that truly unique, handcrafted appeal that mass-produced items just can’t replicate. It adds a layer of warmth and personality to any space, making it feel more lived-in and loved.
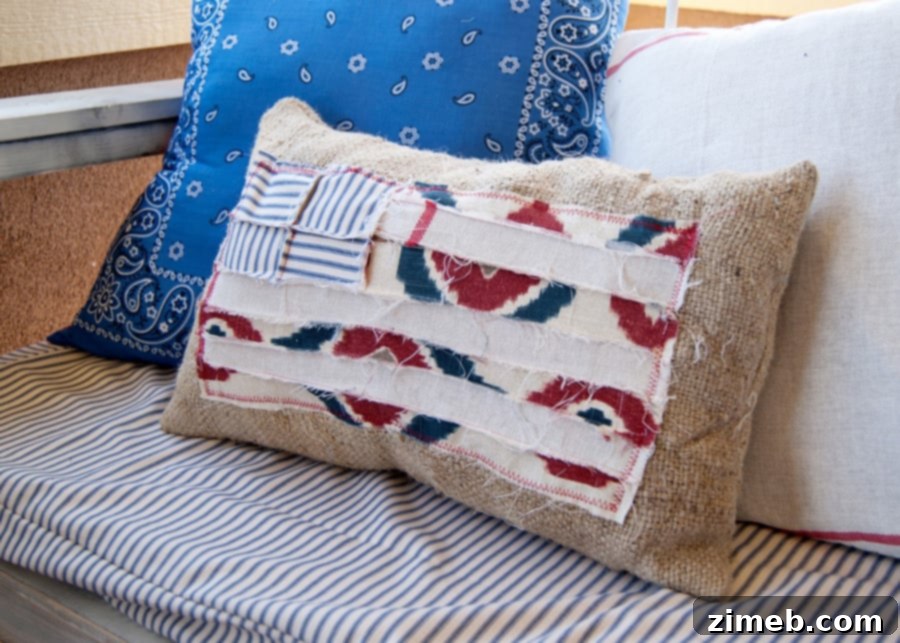
What do you think? Are you ready to give this delightful project a try? We hope you enjoyed this detailed tutorial and feel inspired to create your own!
A huge thank you to Amber from Averie Lane for sharing this wonderful and accessible DIY project with us today! We’re already envisioning our own versions of this charming Scrappy Flag Pillow, and I, for one, can’t wait to give this a try as soon as I get set up in my new studio space. It’s truly the perfect project to celebrate our patriotic spirit with creativity and flair.
Want More Creative Projects & Tutorials?
If you loved creating this patriotic pillow and are eager to explore more fun and easy DIYs, you’ve come to the right place! We believe in empowering everyone to create beautiful things for their home and wardrobe. Check out some of our other popular tutorials:
How to Sew ~ Tips for Getting Started
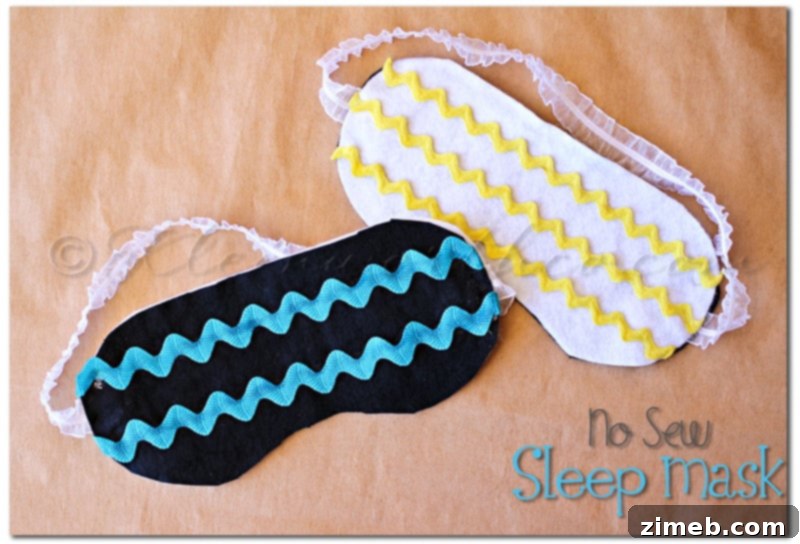
No Sew Sleep Mask
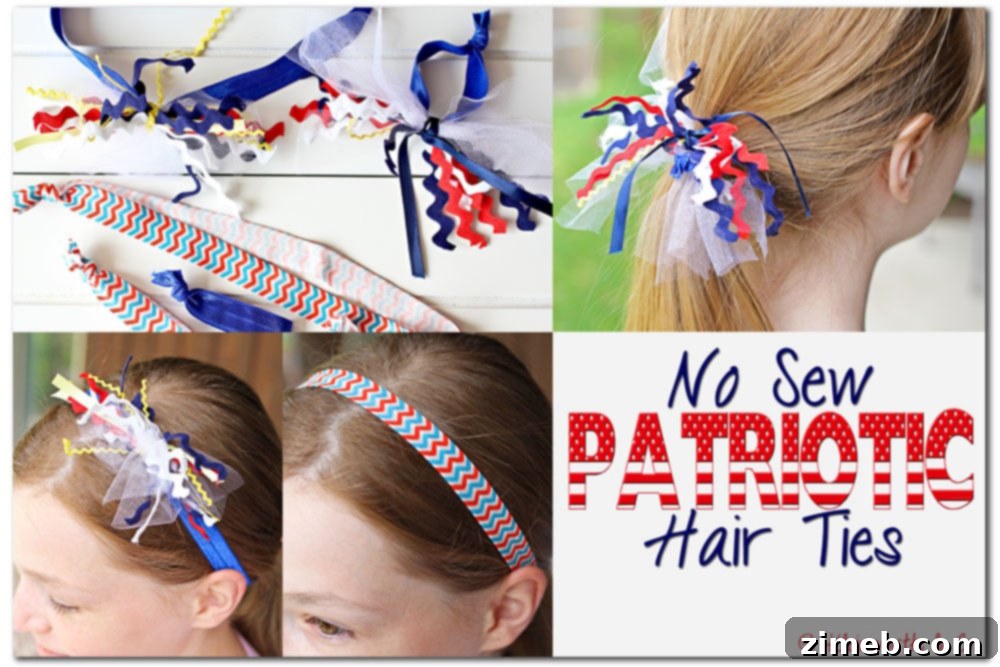
No Sew Patriotic Hair Ties
For more daily inspiration, creative ideas, and to see where we’re linking today, make sure to follow along!