
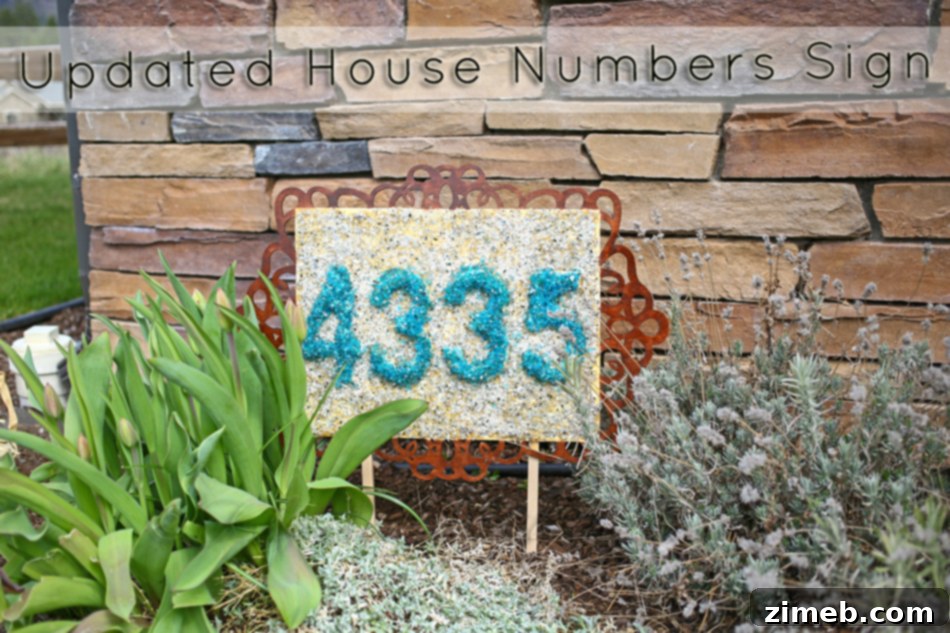
This is a Sponsored post written by me on behalf of Elmer’s ProBond Advanced for SocialSpark. All opinions are 100% mine, reflecting my genuine experience and creativity.
Elevate Your Curb Appeal: Crafting a Custom DIY House Numbers Sign with Elmer’s ProBond Advanced
Embarking on the journey of building a new home is an incredibly exciting experience. Our semi-custom build has allowed for significant personalization, giving us a say in many crucial design elements. Yet, as with any semi-custom project, some aspects come as standard, often falling short of truly reflecting personal style. For me, that includes the often-overlooked, yet highly visible, house numbers. I believe every detail of a home should echo the homeowner’s unique personality, steering clear of generic trends. This philosophy extends to every choice, from interior decor to the exterior elements that greet guests and passersby.
The standard house numbers provided with our model home were, to put it mildly, uninspired. A simple plastic plate featuring plain black and white plastic numbers, screwed into place. While functional, it lacked any character or distinctive charm. This simply wouldn’t do for a home I envision as a true reflection of myself. So, I set out to create a custom house numbers sign that would not only be practical but also serve as a beautiful, welcoming statement piece at the end of our driveway once our landscaping is complete.
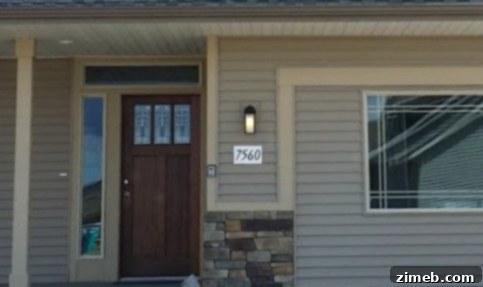
Why Custom House Numbers Are Essential for Home Personalization
House numbers are more than just navigational aids; they are a vital component of your home’s curb appeal and an opportunity for personal expression. Generic, mass-produced numbers can detract from an otherwise thoughtfully designed exterior, leaving a bland first impression. Custom house numbers, however, instantly elevate your home’s aesthetic, showcasing your attention to detail and unique taste. They contribute significantly to the overall personality of your property, making it stand out in a neighborhood filled with similar homes. This DIY project wasn’t just about functionality; it was about infusing a piece of my identity into the very entrance of my new home, creating a distinctive welcome that truly feels like “me.”
Elmer’s ProBond Advanced: The Ultimate Adhesive for Creative Home Projects
For a project that demands both aesthetic appeal and enduring durability, especially for outdoor exposure, choosing the right adhesive is paramount. This is where Elmer’s ProBond Advanced truly shines. I’ve grown to rely on Elmer’s Wood Glue Max and ProBond Advanced because they represent Elmer’s strongest and safest multi-surface glues available. ProBond Advanced is engineered to provide exceptional strength, remarkable durability, and unparalleled ease of use, all while ensuring a clean, professional finish.
What makes ProBond Advanced indispensable for ambitious home improvers and DIY enthusiasts is its extraordinary ability to bond mixed materials. This includes challenging combinations like wood to metal, glass to concrete, or ceramic to drywall. Unlike many polyurethane glues, which can leave behind unsightly, messy residue, ProBond Advanced cures cleanly, preserving the pristine look of your project. This feature was particularly crucial for my house numbers sign, which combines wood, plastic numbers, and delicate mirror and glass pieces. Its weather-resistant properties also make it an ideal choice for outdoor applications, ensuring my custom sign will withstand the elements beautifully for years to come.
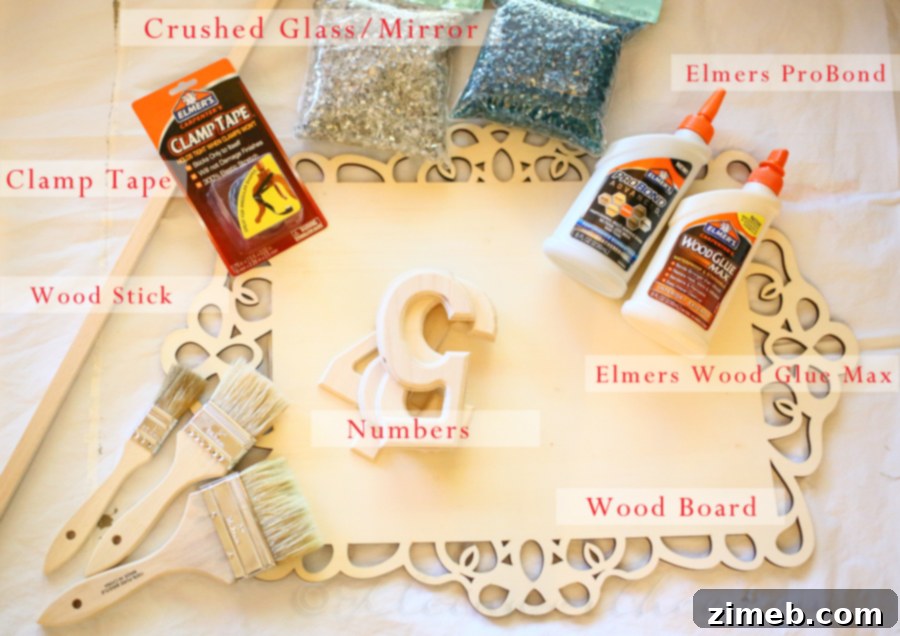
Step-by-Step Guide: Crafting Your Unique Mosaic House Numbers Sign
Creating this personalized house numbers sign was a rewarding process that combines practical craftsmanship with artistic flair. Here’s a detailed breakdown of how I brought my vision to life:
Materials You’ll Need:
- Scrolled wooden board (chosen for its decorative edge)
- Elmer’s ProBond Advanced Multi-Surface Glue
- Elmer’s Wood Glue Max (optional, for wood-to-wood bonds if applicable)
- Individual house numbers (plastic or wood, to be embellished)
- Two bags of mirror pieces (one turquoise glass, one silver mirror)
- A sturdy wooden stick or two smaller stakes (for ground insertion)
- Painter’s tape
- Wood stain (complementary to your home’s accents)
- Clear outdoor sealant/paint
- Disposable gloves (recommended for glue application)
- Work surface protection
Phase 1: Embellishing the House Numbers
My first step was to transform the plain house numbers into sparkling, personalized elements. I began by applying a generous, even coat of Elmer’s ProBond Advanced onto the surface of each individual house number. While ProBond Advanced provides incredible strength, it’s also formulated for precise application, ensuring a clean finish. Immediately after applying the glue, I carefully pressed the turquoise glass pieces onto the numbers, covering them completely. The robust adhesion of ProBond Advanced meant these pieces stayed firmly in place. Once all numbers were adorned, I set them aside in a safe, undisturbed area, allowing ample time for the glue to cure and dry thoroughly. Patience during this stage ensures a durable and long-lasting bond.
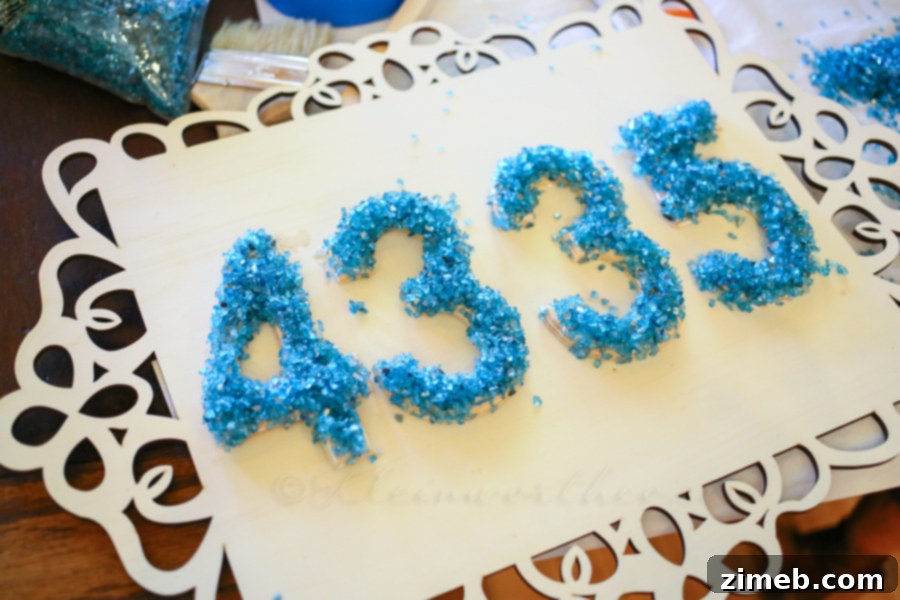
Phase 2: Decorating the Sign Board with Mirror Mosaics
Once the embellished numbers were completely dry and securely set, I moved on to the scrolled wooden board. This board would serve as the backdrop for my numbers. I began by strategically taping off the scrolled edges of the board using painter’s tape. This ensured that no glue or mirror pieces would adhere to the decorative border, which I planned to stain later for a beautiful contrast. Next, I applied a thick, even layer of Elmer’s ProBond Advanced to the remaining, untaped portions of the board where the numbers and silver mirror pieces would be placed. With the glue applied, I carefully arranged the silver mirror pieces, creating a striking mosaic effect around the designated areas for the numbers. While it might look like a lot of excess glue in the process, ProBond Advanced allows for clean handling; any extra simply fell away once the project was complete and gently tipped, revealing a perfect mosaic. This stage required significant drying time, typically 24-48 hours, to ensure maximum bond strength for outdoor resilience.
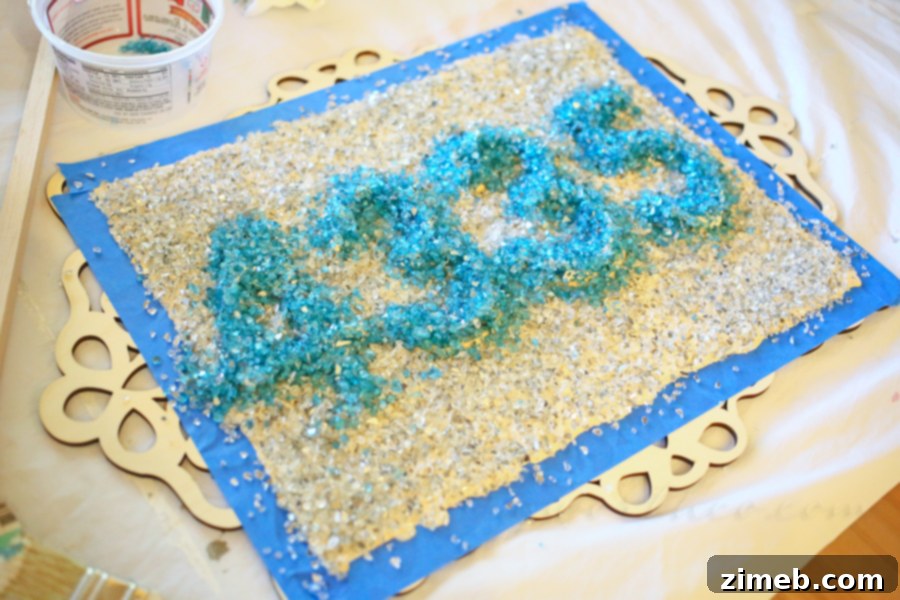
Phase 3: Adding Finishing Touches and Weather Protection
After the mirror pieces were firmly set and the glue completely dry, it was time to refine the board’s appearance. I carefully removed the painter’s tape, revealing the clean, unstained scrolled edges. I then applied a wood stain to these edges, choosing a color that would provide a beautiful contrast to the mosaic and complement the future accents of our new home. This step adds depth and a professional finish to the sign. To ensure the longevity of this outdoor piece, I then applied a liberal coating of clear outdoor sealant or paint to the entire front surface of the sign. This protective layer is crucial for sealing in the mosaics and stained wood, safeguarding them against harsh weather conditions, UV rays, and moisture. This step is key to preserving the sign’s vibrant appearance and structural integrity for years.
Phase 4: Preparing for Ground Installation
With the front of the board fully dry and protected, I prepared the sign for installation. I took a sturdy, large wooden stick and cut it in half to create two strong stakes. Flipping the sign over, I used Elmer’s ProBond Advanced to securely glue these wooden stakes to the back of the board. The strong bond of ProBond Advanced ensures that the stakes will remain firmly attached, providing stable support once the sign is placed in the ground. To complete the weatherproofing, I also applied a coat of the clear outdoor sealant to the back of the sign and the newly attached stakes. Once this final coat was dry, the custom house numbers sign was ready to be installed and admired!
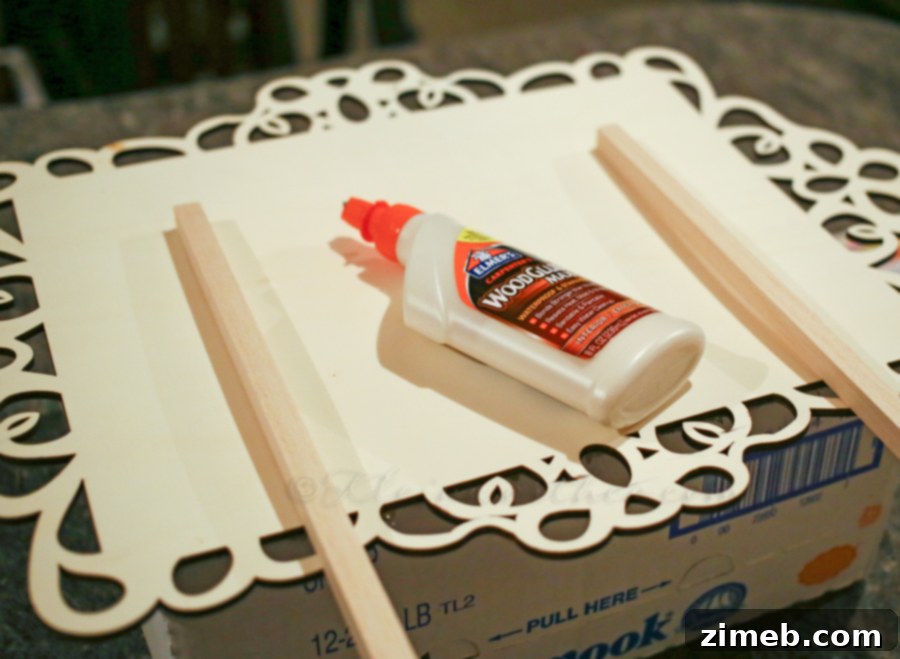
Bringing Your Vision to Life: The Final Placement and Landscaping
This custom house numbers sign isn’t just a decorative element; it’s a key part of our vision for the entire front yard. It will be strategically placed in the corner of our front yard, at the very end of the driveway, becoming a focal point. We have exciting plans to enhance its setting with surrounding landscaping, including carefully chosen boulders, lush bushes, and vibrant flowers. Imagine pulling in and out of the driveway, greeted by this sparkling, personalized piece of art – a constant reminder of the effort and love poured into making our house a truly unique home. This sign adds the perfect pop of “me” to the front yard, transforming a functional necessity into a stunning statement piece. What a fantastic improvement to the overall aesthetic and welcoming feel of our new home!
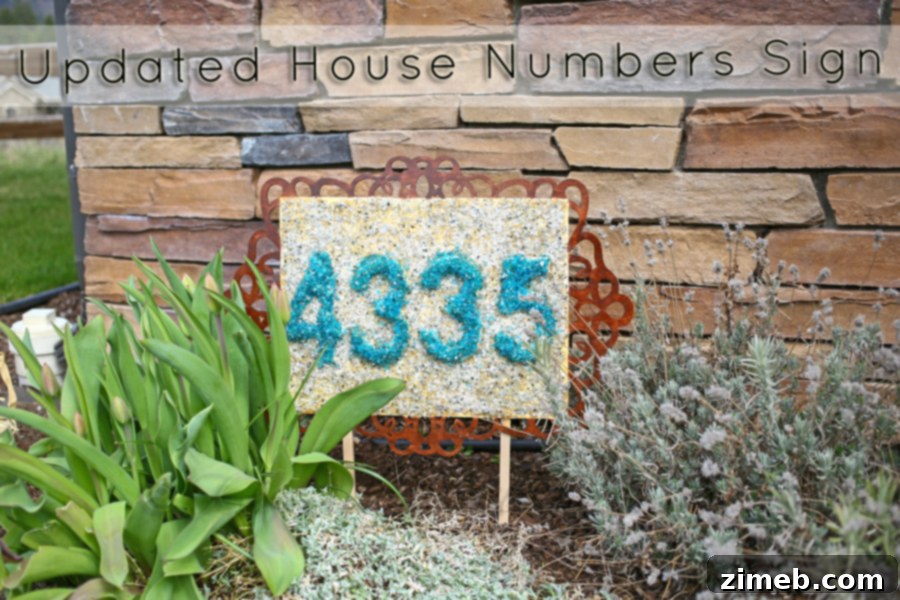
Unlock Your Creativity with Elmer’s ProBond Advanced
This project is just one example of how a bit of creativity, combined with the right tools, can dramatically enhance your home. Choosing to DIY allows for unparalleled customization, often at a fraction of the cost of professionally made items. The satisfaction of crafting something beautiful and functional with your own hands is truly immeasurable. Elmer’s ProBond Advanced empowers you to tackle diverse projects, bridging the gap between imagination and tangible results, especially when working with mixed materials that traditional glues might struggle with.
For even more inspiring home improvement ideas and innovative uses for Elmer’s ProBond Advanced, be sure to visit Elmer’s Mixed Materials Pinterest Board. You’ll find a wealth of projects that showcase the versatility and strength of this incredible adhesive.
How would you use ProBond Advanced to bring your next creative vision to life?