
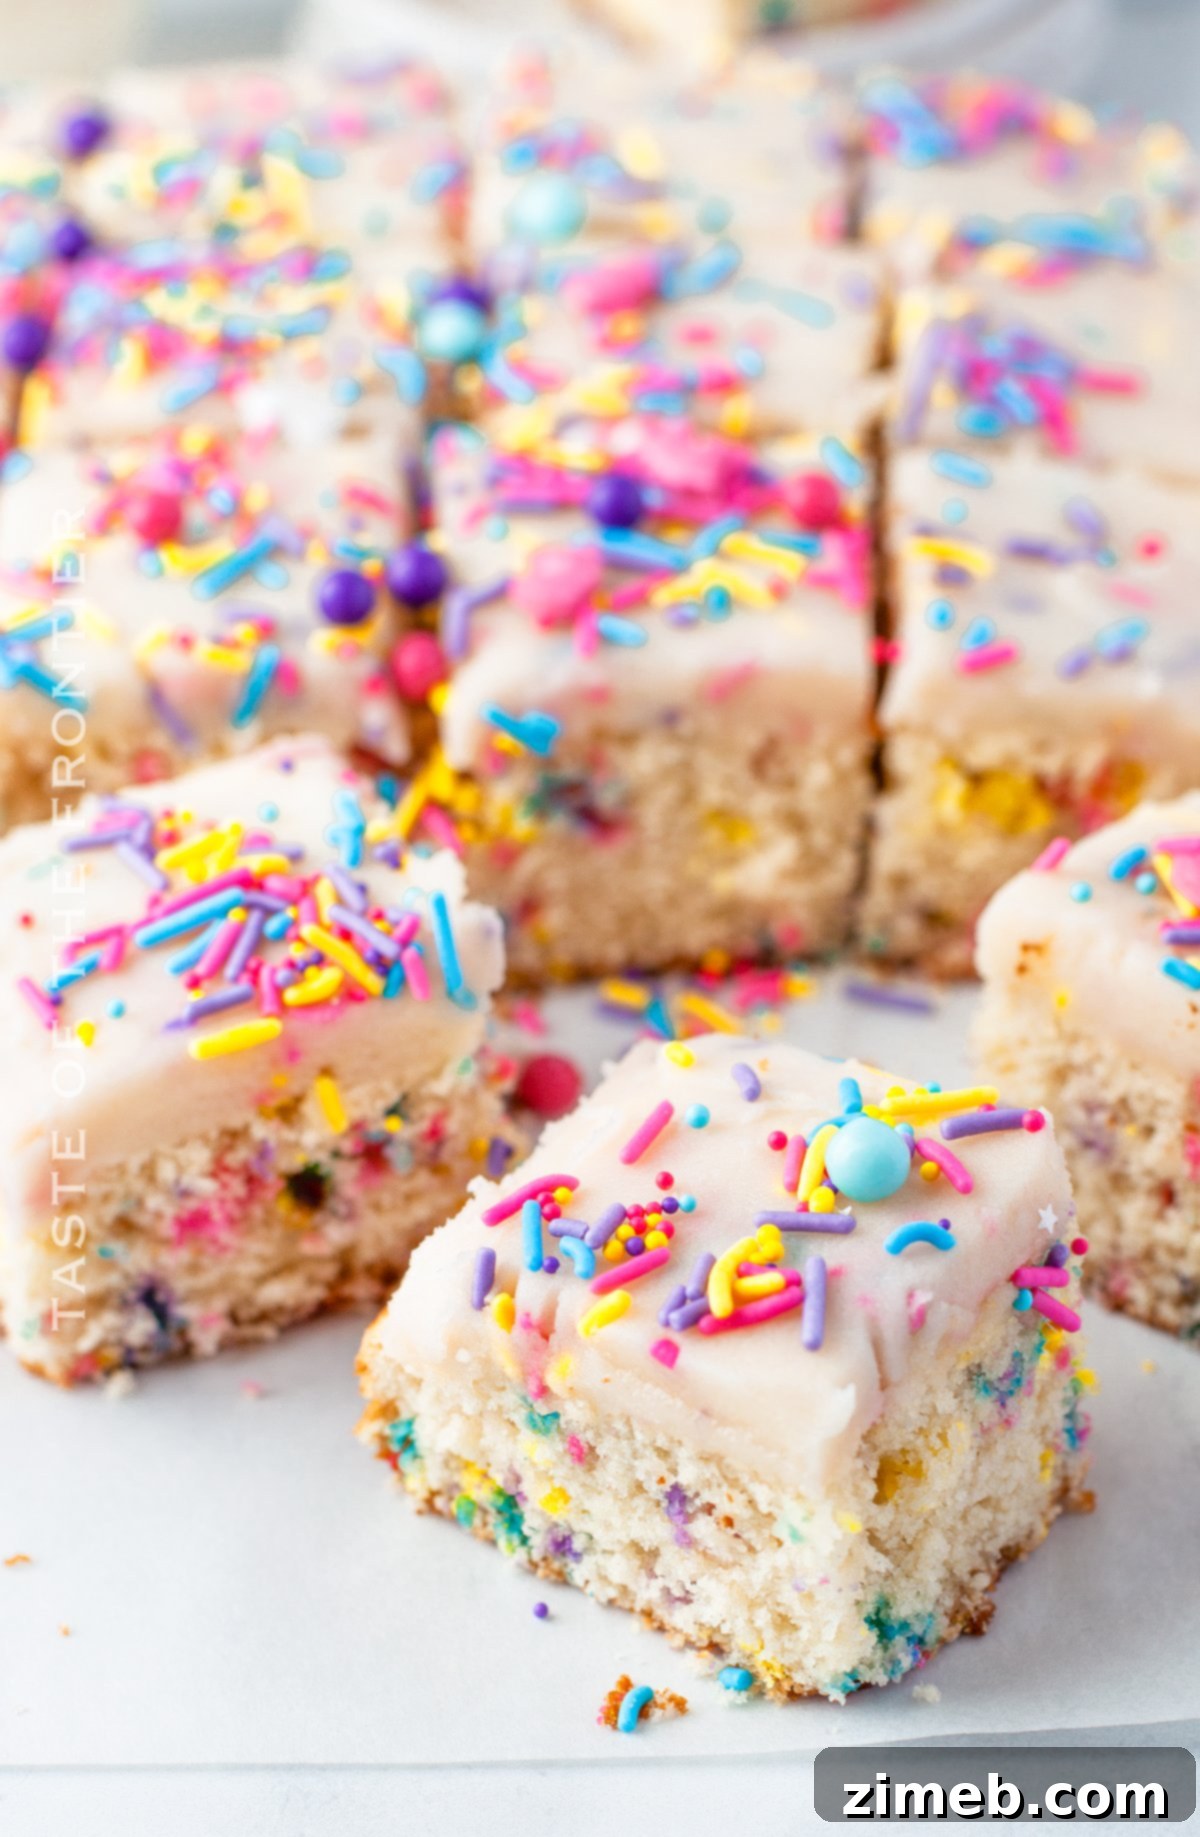
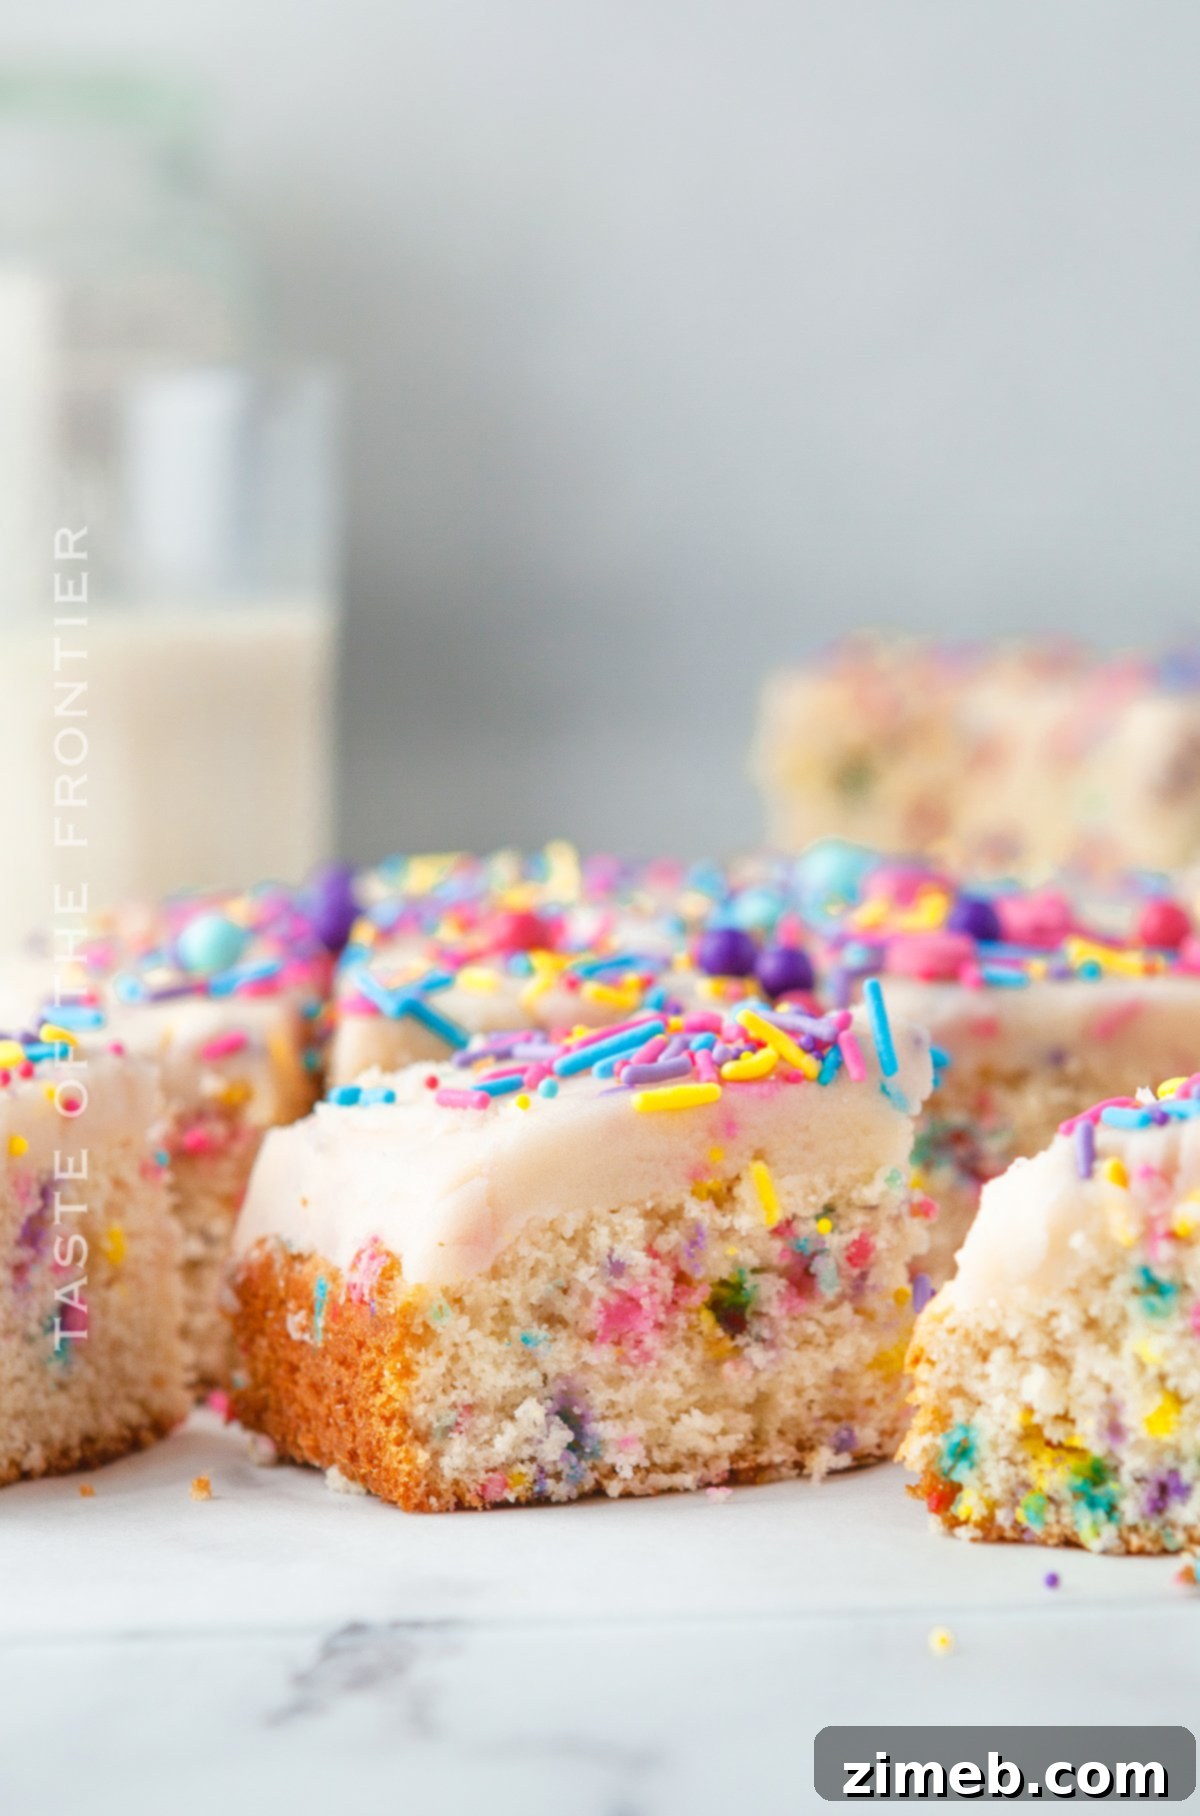
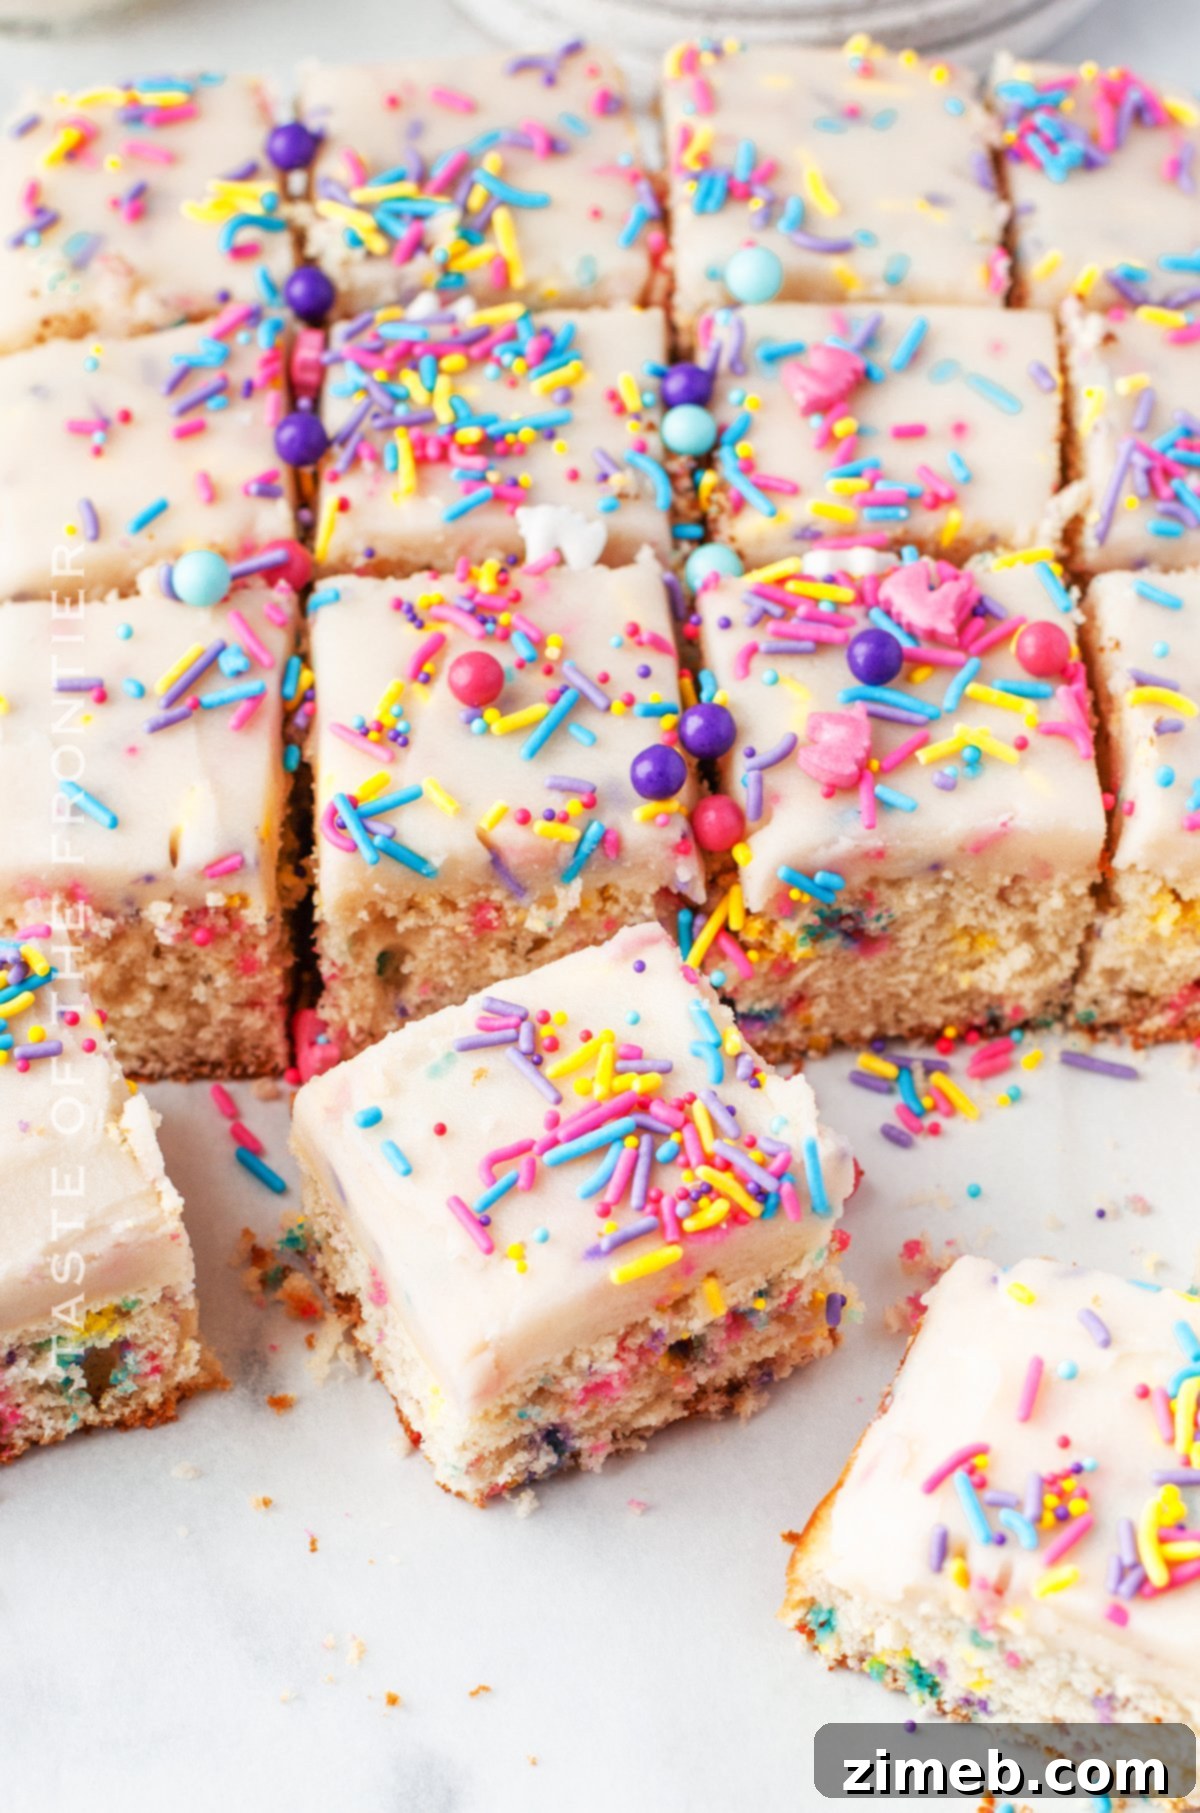
It’s time for some genuine joy and vibrant celebration! Prepare to elevate your next special occasion – be it a birthday bash, a joyous wedding reception, or any moment worth commemorating – with a dazzling homemade Funfetti Cake, universally known and loved as a Confetti Cake!
When the conversation turns to desserts, my heart unequivocally belongs to cake. While I appreciate and enjoy a wide variety of sweet confections, the Funfetti or Confetti cake consistently stands out as my ultimate favorite. There’s an undeniable charm in its playful appearance, a symphony of colors that promises delight with every slice.
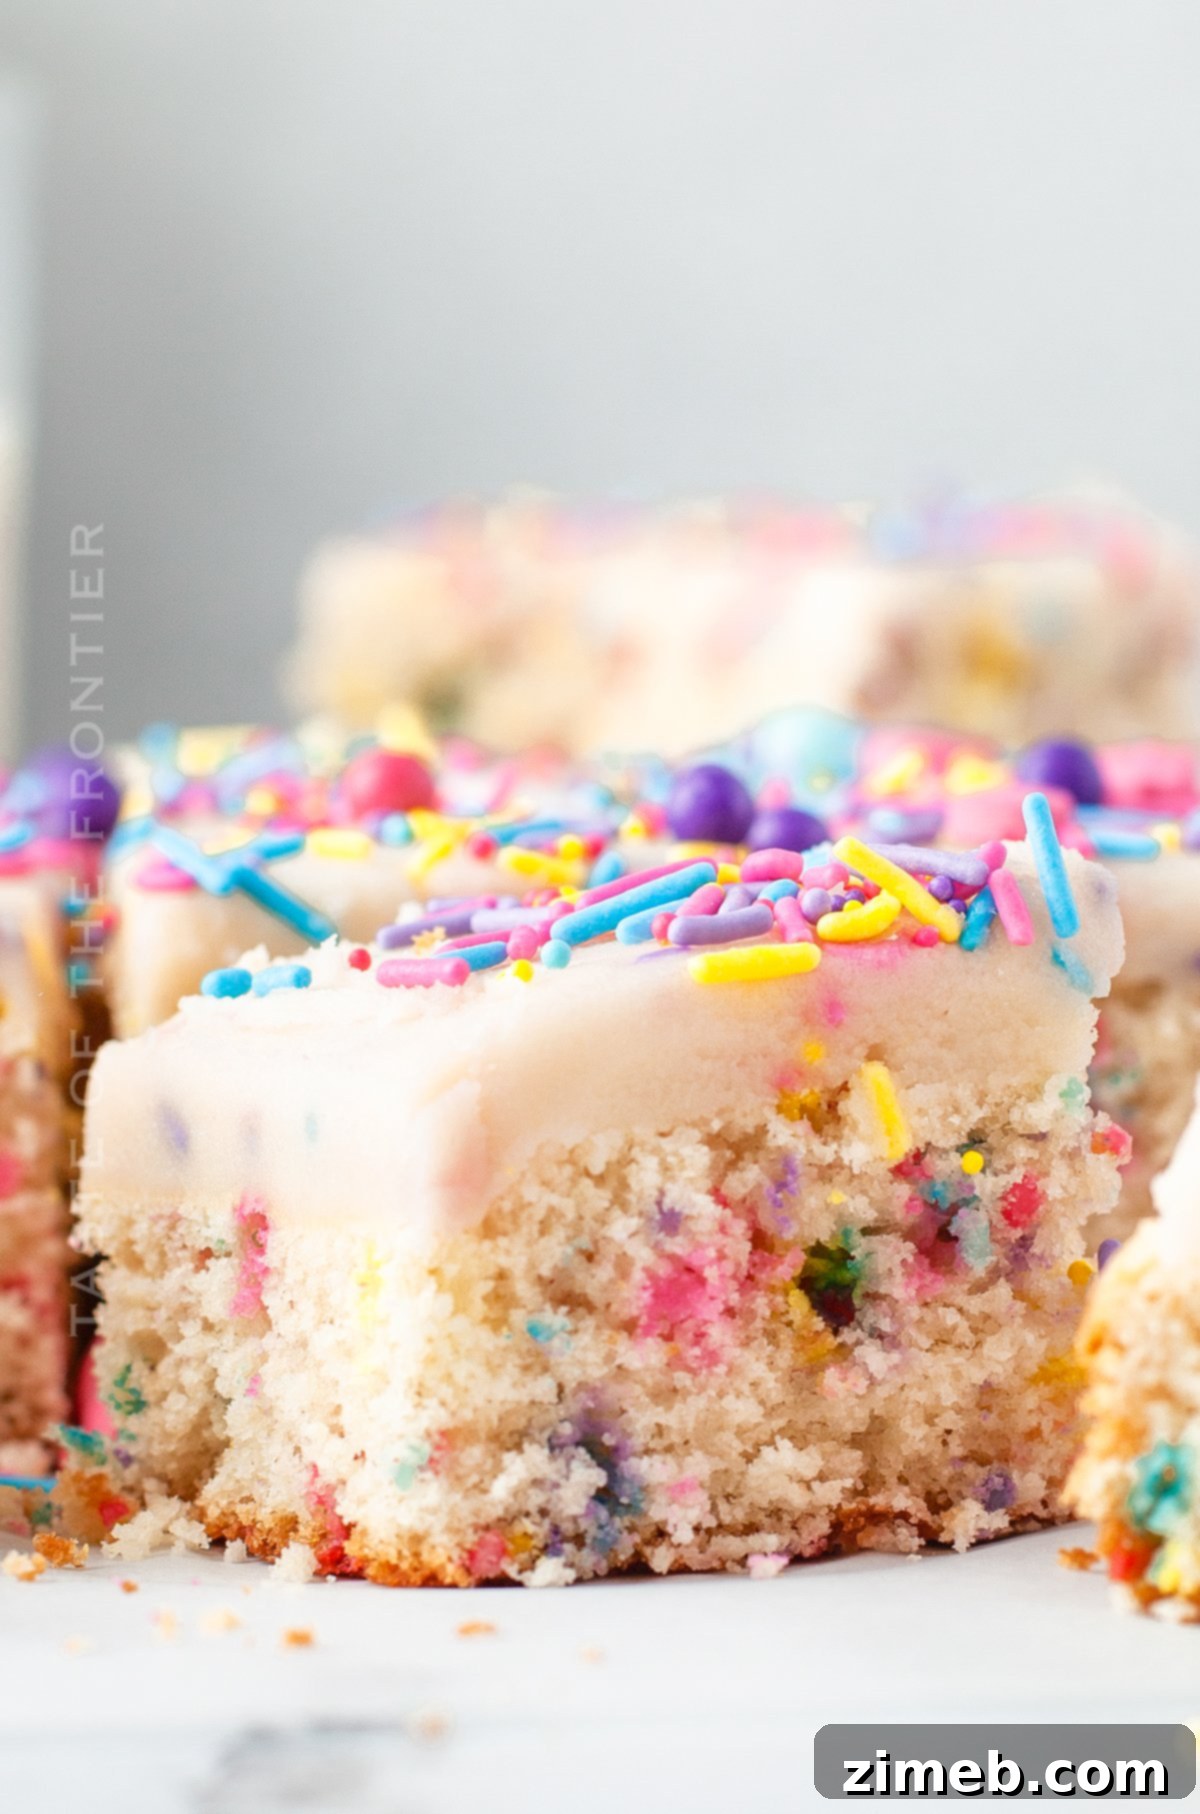
How can anyone resist a smile when greeted by the whimsical dance of colorful sprinkles baked into a tender, vanilla-infused crumb? This particular cake recipe isn’t just about deliciousness; it’s a guaranteed mood-lifter, a culinary embodiment of happiness. That’s precisely why it remains my preferred choice for bringing an extra spark of cheer to any celebration.
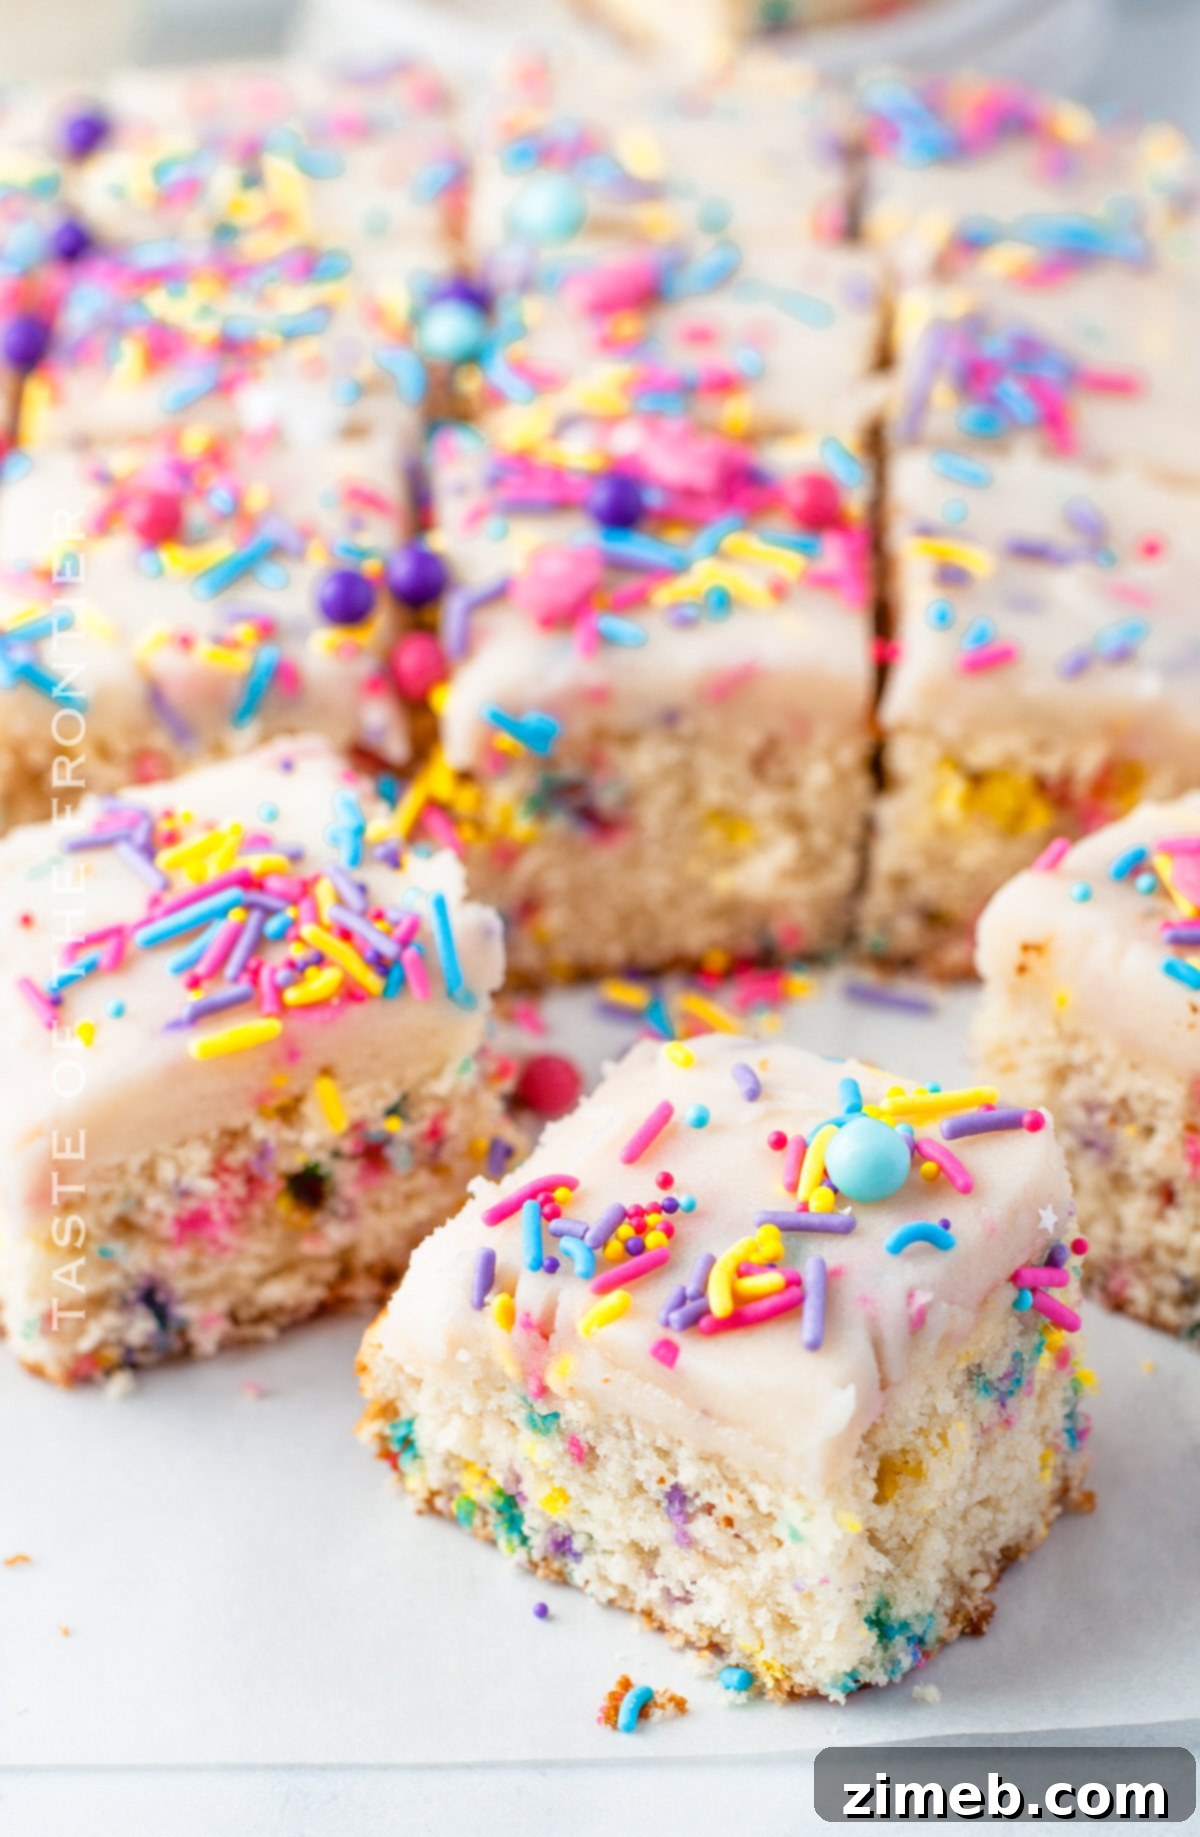
I’ve previously shared my decadent 3-layer Homemade Funfetti Cake, perfectly crowned with my signature Cake Batter Frosting. While that majestic creation is ideal for grand affairs and larger gatherings, I recognized the need for a more accessible, single-layer version. This recipe is designed for everyday joy, perfect as a delightful snack cake that fits seamlessly into more casual settings.
Imagine serving this vibrant treat at lively backyard BBQs, refreshing pool parties, joyous birthday celebrations for the little ones, or even cozy girly sleepovers. Its simplicity and festive appeal make it incredibly versatile, ready to transform any casual get-together into an unforgettable moment of sweet indulgence and colorful fun.
Frequently Asked Questions About Funfetti Cake
Delving into the world of Funfetti cake often brings up a few common questions. Here, we address some of the most popular inquiries to ensure your baking experience is as smooth and delightful as the cake itself.
What Exactly is Funfetti or Confetti Cake?
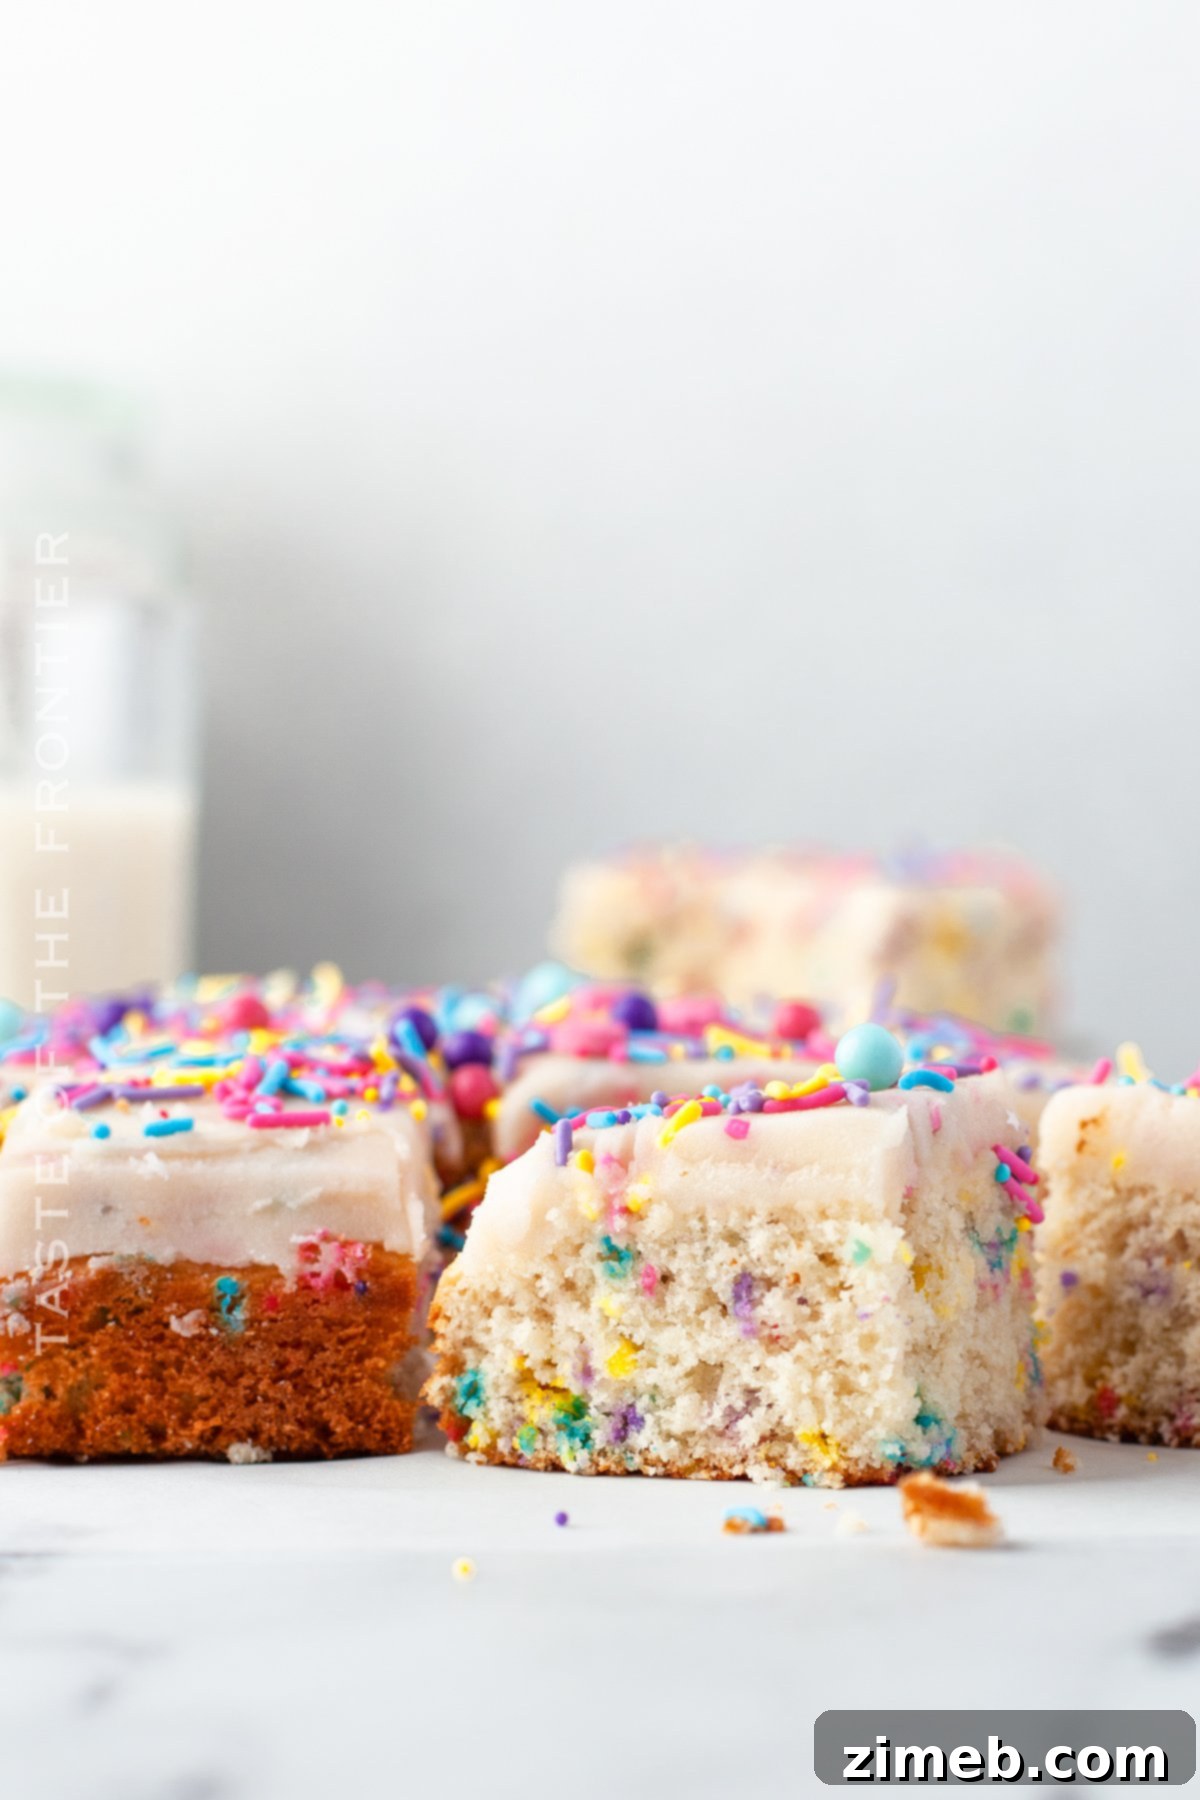
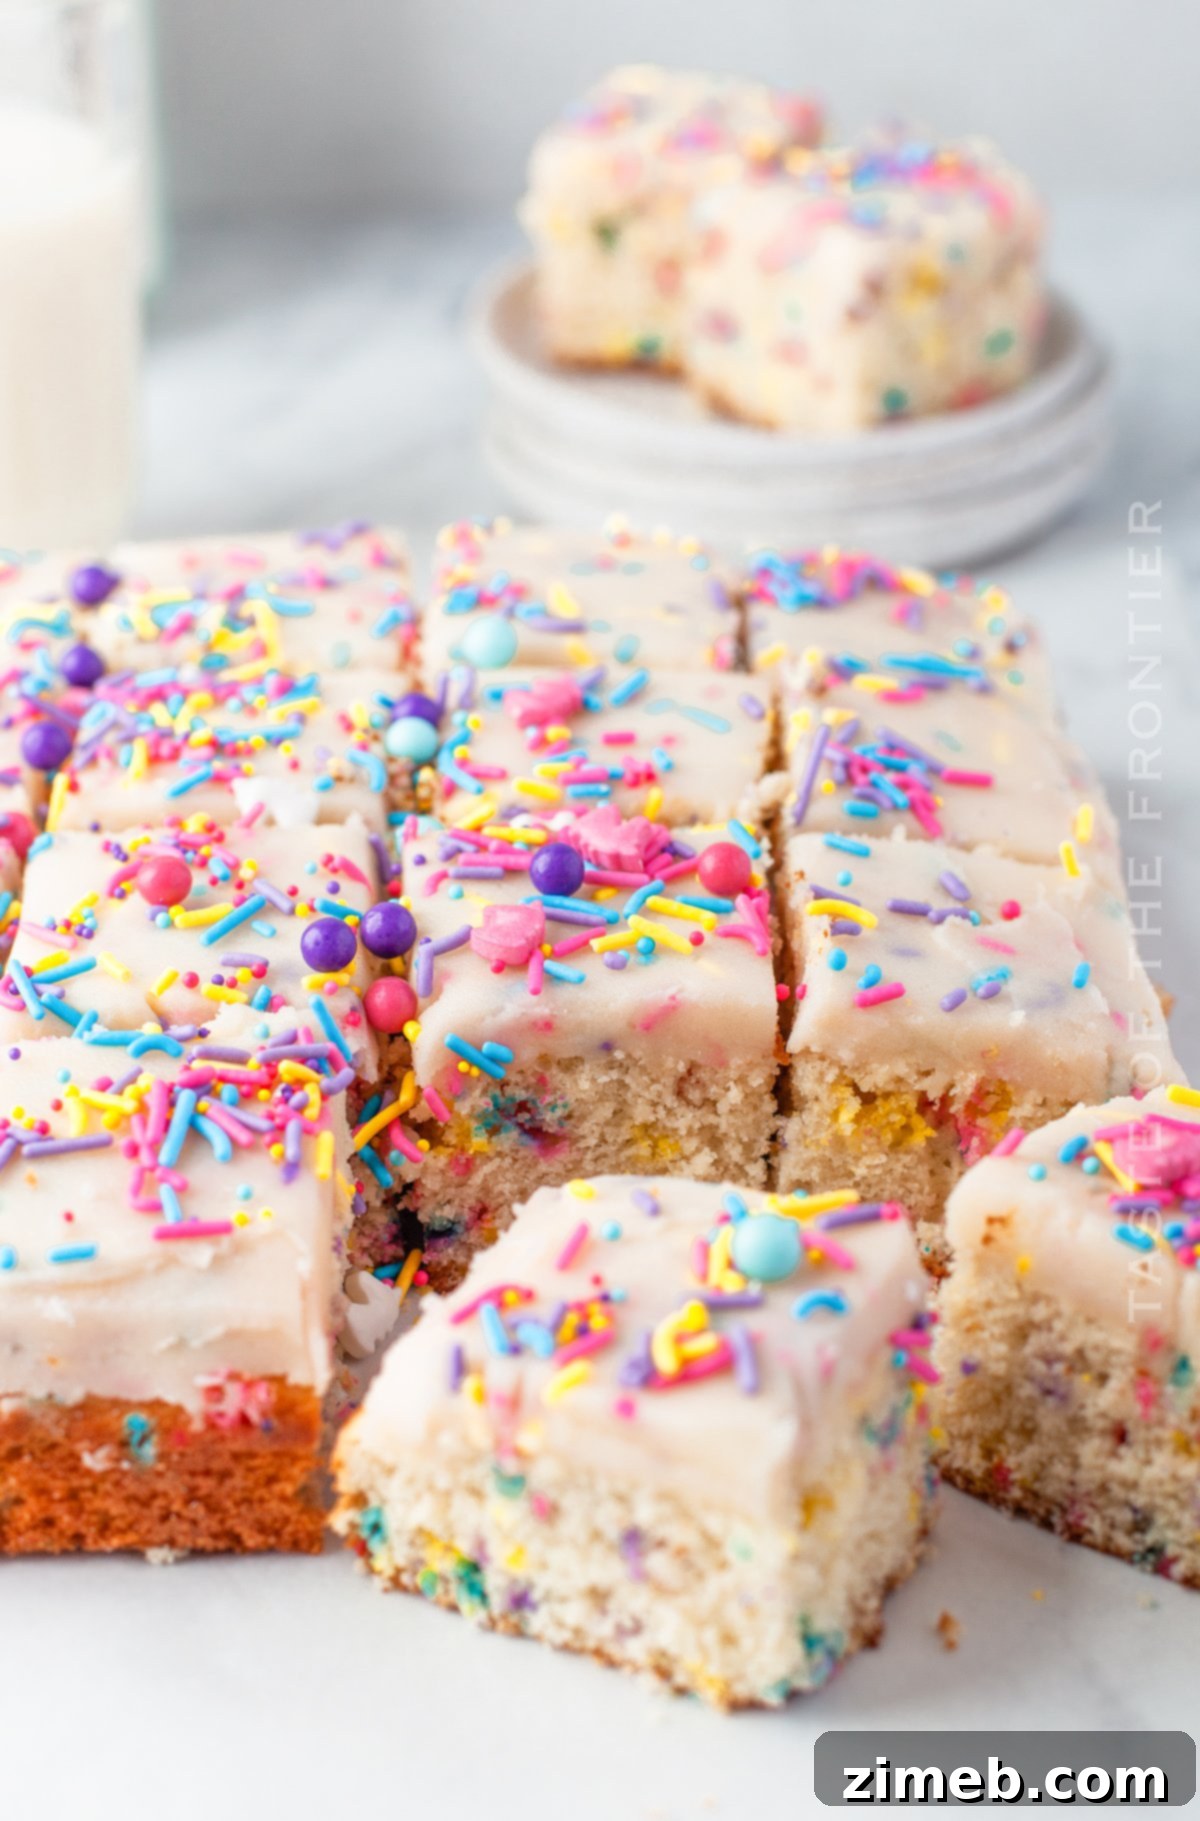
At its core, Funfetti cake is a delightful culinary creation featuring a soft, tender, and incredibly moist vanilla cake base generously studded with vibrant, multi-colored rainbow sprinkles. These playful sprinkles are baked directly into the batter, ensuring that every slice is a burst of color and cheer. It’s truly one of the most fun and visually appealing cake flavors out there, consistently ranking as my personal favorite.
The terms “Funfetti cake” and “Confetti cake” are often used interchangeably to describe this sprinkle-filled vanilla delight. Historically, “Confetti cake” was the generic term. However, the Pillsbury brand popularized the name “Funfetti” with their iconic box mix, leading many to associate the name “Funfetti” specifically with this festive style of cake. Regardless of the name, the essence remains the same: a joyful, sprinkle-packed dessert guaranteed to bring smiles.
Choosing the Best Sprinkles for Your Funfetti Cake
The type of sprinkles you choose is paramount to achieving that perfect, vibrant Funfetti look without any color bleeding. It’s crucial to understand that not all “sprinkles” are created equal, despite how they might be labeled.
Many people mistakenly use colored sanding sugar, which is often packaged and marketed as sprinkles. While pretty in its dry form, sanding sugar is not suitable for baking into a moist cake batter. When exposed to moisture—either from the cake batter itself or from refrigeration—this sugar will inevitably sweat, causing its colors to bleed and creating a muddy, undesirable appearance in your cake.
Similarly, “Nonpareils” (those tiny, round, hard sprinkles) are also not ideal for this recipe. While they hold their shape well, they too are prone to significant color bleeding once incorporated into a wet batter and especially after baking, leading to a less-than-perfect result. For the most vibrant and stable color, always opt for traditional “jimmie” sprinkles or specialized baking sprinkles designed not to bleed.
Can This Funfetti Recipe Be Adapted for Cupcakes?
Absolutely! This versatile Funfetti cake recipe can easily be transformed into adorable cupcakes. To do so, simply line a muffin tin with paper liners. Fill each liner about 1/2 to 3/4 full with the prepared batter, ensuring there’s enough room for them to rise without overflowing.
Bake the cupcakes in a preheated oven at 350°F (175°C) for approximately 17 to 19 minutes. The baking time might vary slightly depending on your oven, so keep an eye on them. You’ll know they’re perfectly done when a gently pressed center springs back, or a toothpick inserted into the middle comes out clean. Allow them to cool completely before frosting for the best results.
The Correct Way to Measure Flour for Baking Success
Accurate flour measurement is a fundamental step in baking, often overlooked, but critical for achieving the perfect cake texture. The most widely accepted and precise method, often referred to as the “spoon and level” technique, involves lightly spooning the flour into your measuring cup until it overflows, then leveling off the excess with a straight edge (like the back of a knife). This method prevents the flour from becoming overly compacted, which can lead to adding too much flour and ultimately a dry, dense cake.
However, for this specific Funfetti cake recipe, a slightly less formal but still effective approach can be used. First, use a spoon to gently fluff the flour in its container. Then, carefully scoop the fluffed flour into your measuring cup without packing it down. Level off any excess. The key is to avoid compressing the flour, ensuring you don’t incorporate more than necessary, which could otherwise make your delicious cake too dry.
Why Room Temperature Ingredients Are Essential for Cake Baking
Using room temperature ingredients, particularly butter, eggs, and dairy, is not a mere suggestion—it’s a critical step that significantly impacts the final texture and quality of your cake. When ingredients are at a similar, moderate temperature, they emulsify much more effectively.
This emulsification is key because it allows air to be trapped within the mixture during the creaming process (especially with butter and sugar). These trapped air pockets are what help your cake rise beautifully and achieve that coveted light, fluffy, and tender crumb as it bakes. Cold ingredients, on the other hand, resist blending, leading to a lumpy batter, uneven pockets of unblended butter, and a denser, less airy cake. Therefore, taking the time to bring your ingredients to room temperature is a small effort that yields a remarkably better baked good.
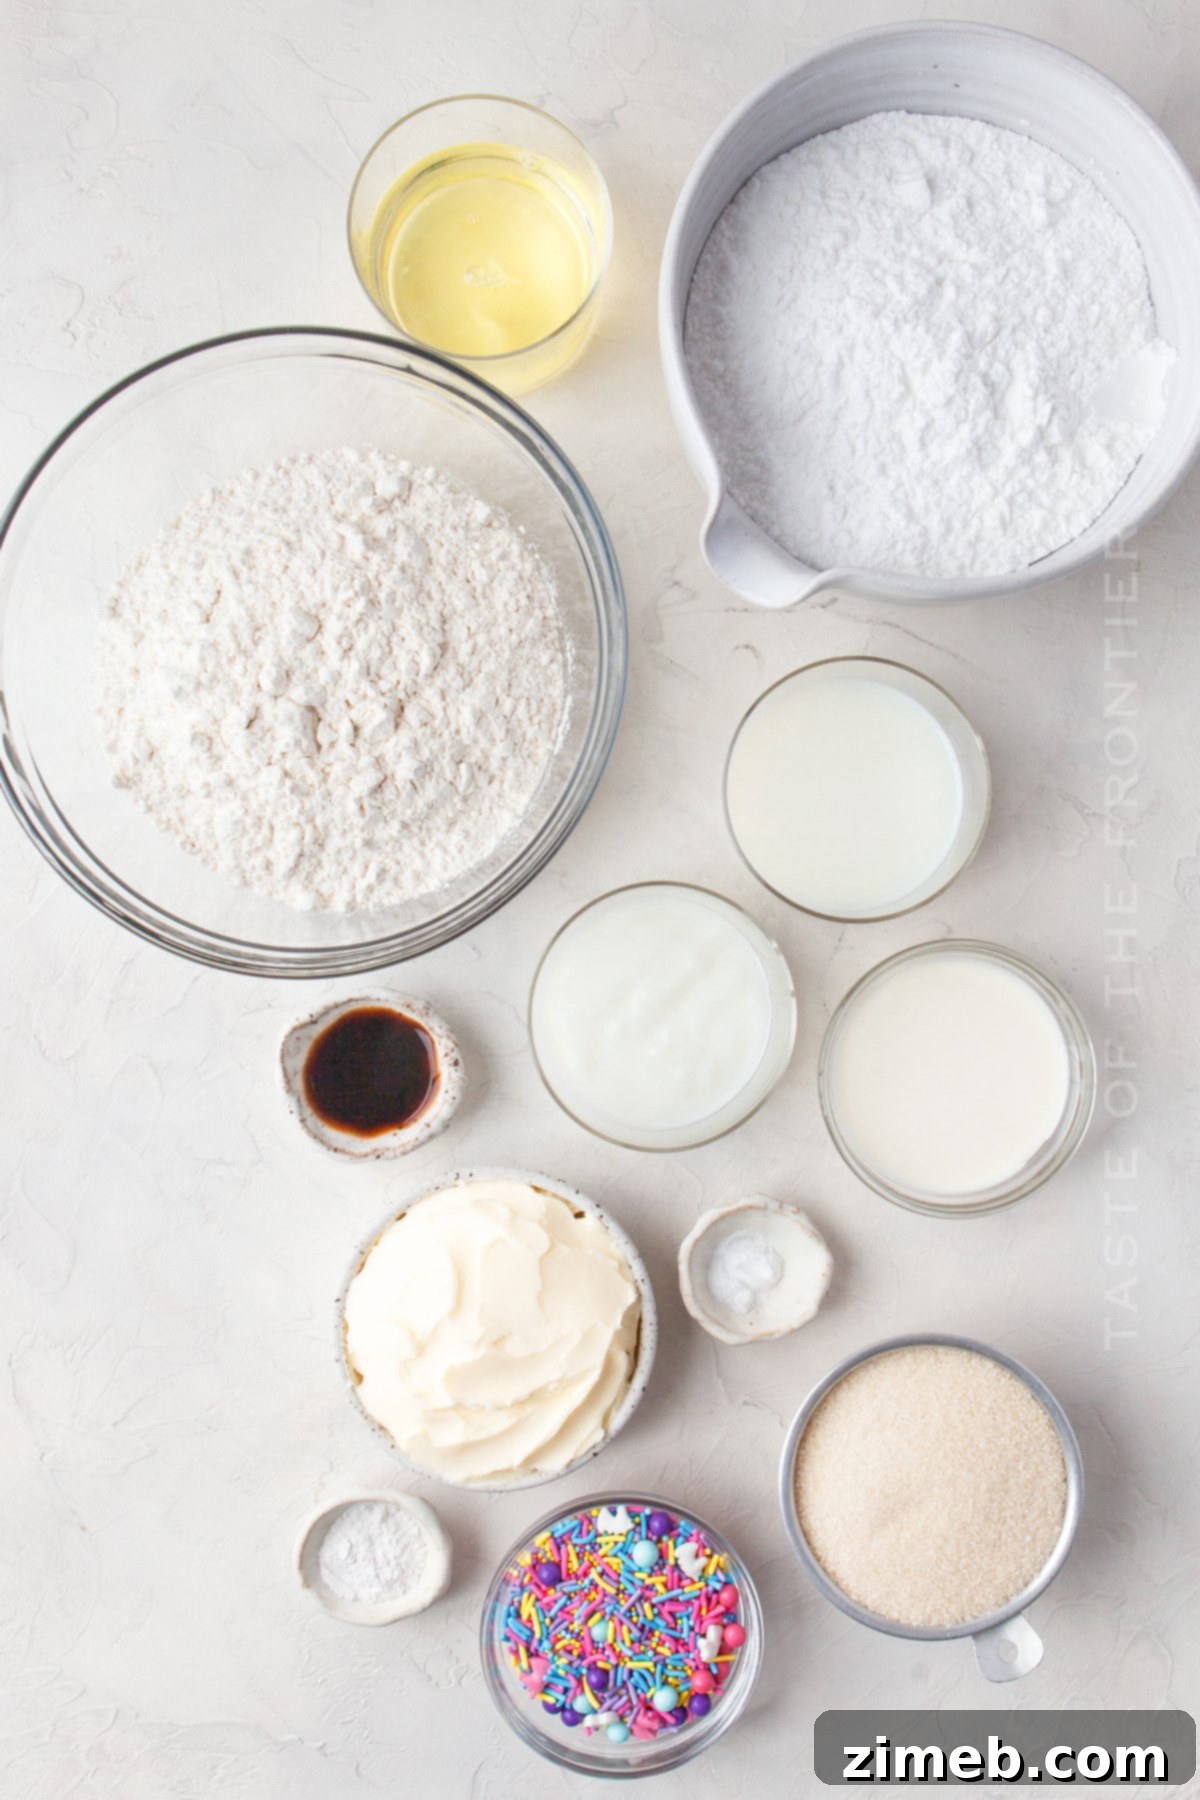
Key Ingredients for a Perfect Homemade Confetti Cake
- Unsalted Butter, softened to room temperature
- Granulated Sugar
- Large Egg Whites
- Pure Vanilla Extract
- All-Purpose Flour
- Baking Powder (for lift)
- Baking Soda (for tender crumb)
- Whole Milk
- Plain Greek Yogurt or Sour Cream (adds moisture and tang)
- Quality Funfetti Sprinkles or Jimmies (ensure they are non-bleeding type)
Effective Methods for Softening Butter to Room Temperature
Achieving perfectly softened butter is a common point of frustration for home bakers. Fortunately, there are several reliable methods to quickly bring your butter to that ideal room temperature consistency, ensuring it creams beautifully with sugar for an airy cake batter.
Method One: The Natural Approach
The simplest method involves planning ahead. Remove your butter (and any other chilled ingredients like eggs or milk) from the refrigerator approximately 30-60 minutes before you plan to begin baking. Leave them on the kitchen counter at ambient room temperature. This allows them to naturally soften without intervention. I often start my baking preparations by pulling all necessary chilled ingredients out, giving them ample time to warm up while I gather other supplies and preheat the oven.
However, life often gets in the way of perfect planning, especially in colder months when butter takes longer to soften. Or, perhaps, you simply aren’t as organized as you’d like to be on a particular baking day. Don’t worry, these situations are entirely common, which brings us to other quick tricks.
Method Two: The Controlled Microwave Approach
For a quicker solution, the microwave can be your friend, but exercise extreme caution to avoid melting the butter. Place the butter sticks, still wrapped in their paper (but *never* foil!), into the microwave. Microwave on a low power setting (or use short bursts) for increments of 2 seconds. After each 2-second burst, flip the butter over. Continue this process, flipping and microwaving for 2 seconds per side, until the butter feels slightly pliable when gently squeezed, but not oily or melted. It’s crucial to stop as soon as it reaches this perfect consistency, as even slightly over-softened or melted butter from the microwave will negatively impact the cake’s texture. Overdoing it in the microwave can fundamentally alter the final result, leading to a greasy or dense cake.
Method Three: The Warm Water Bath Technique
My third go-to method is highly effective for both butter and eggs. Place the wrapped sticks of butter into a zip-top bag, ensuring it’s sealed completely to prevent water from entering. Submerge this bag into a bowl of warm (not hot!) water. You can also place eggs, still in their shells, directly into the warm water bath. If the water isn’t excessively hot, this technique provides a gentle and consistent way to bring your ingredients to the ideal “room temperature” quickly, making it a perfect solution for spontaneous baking urges.
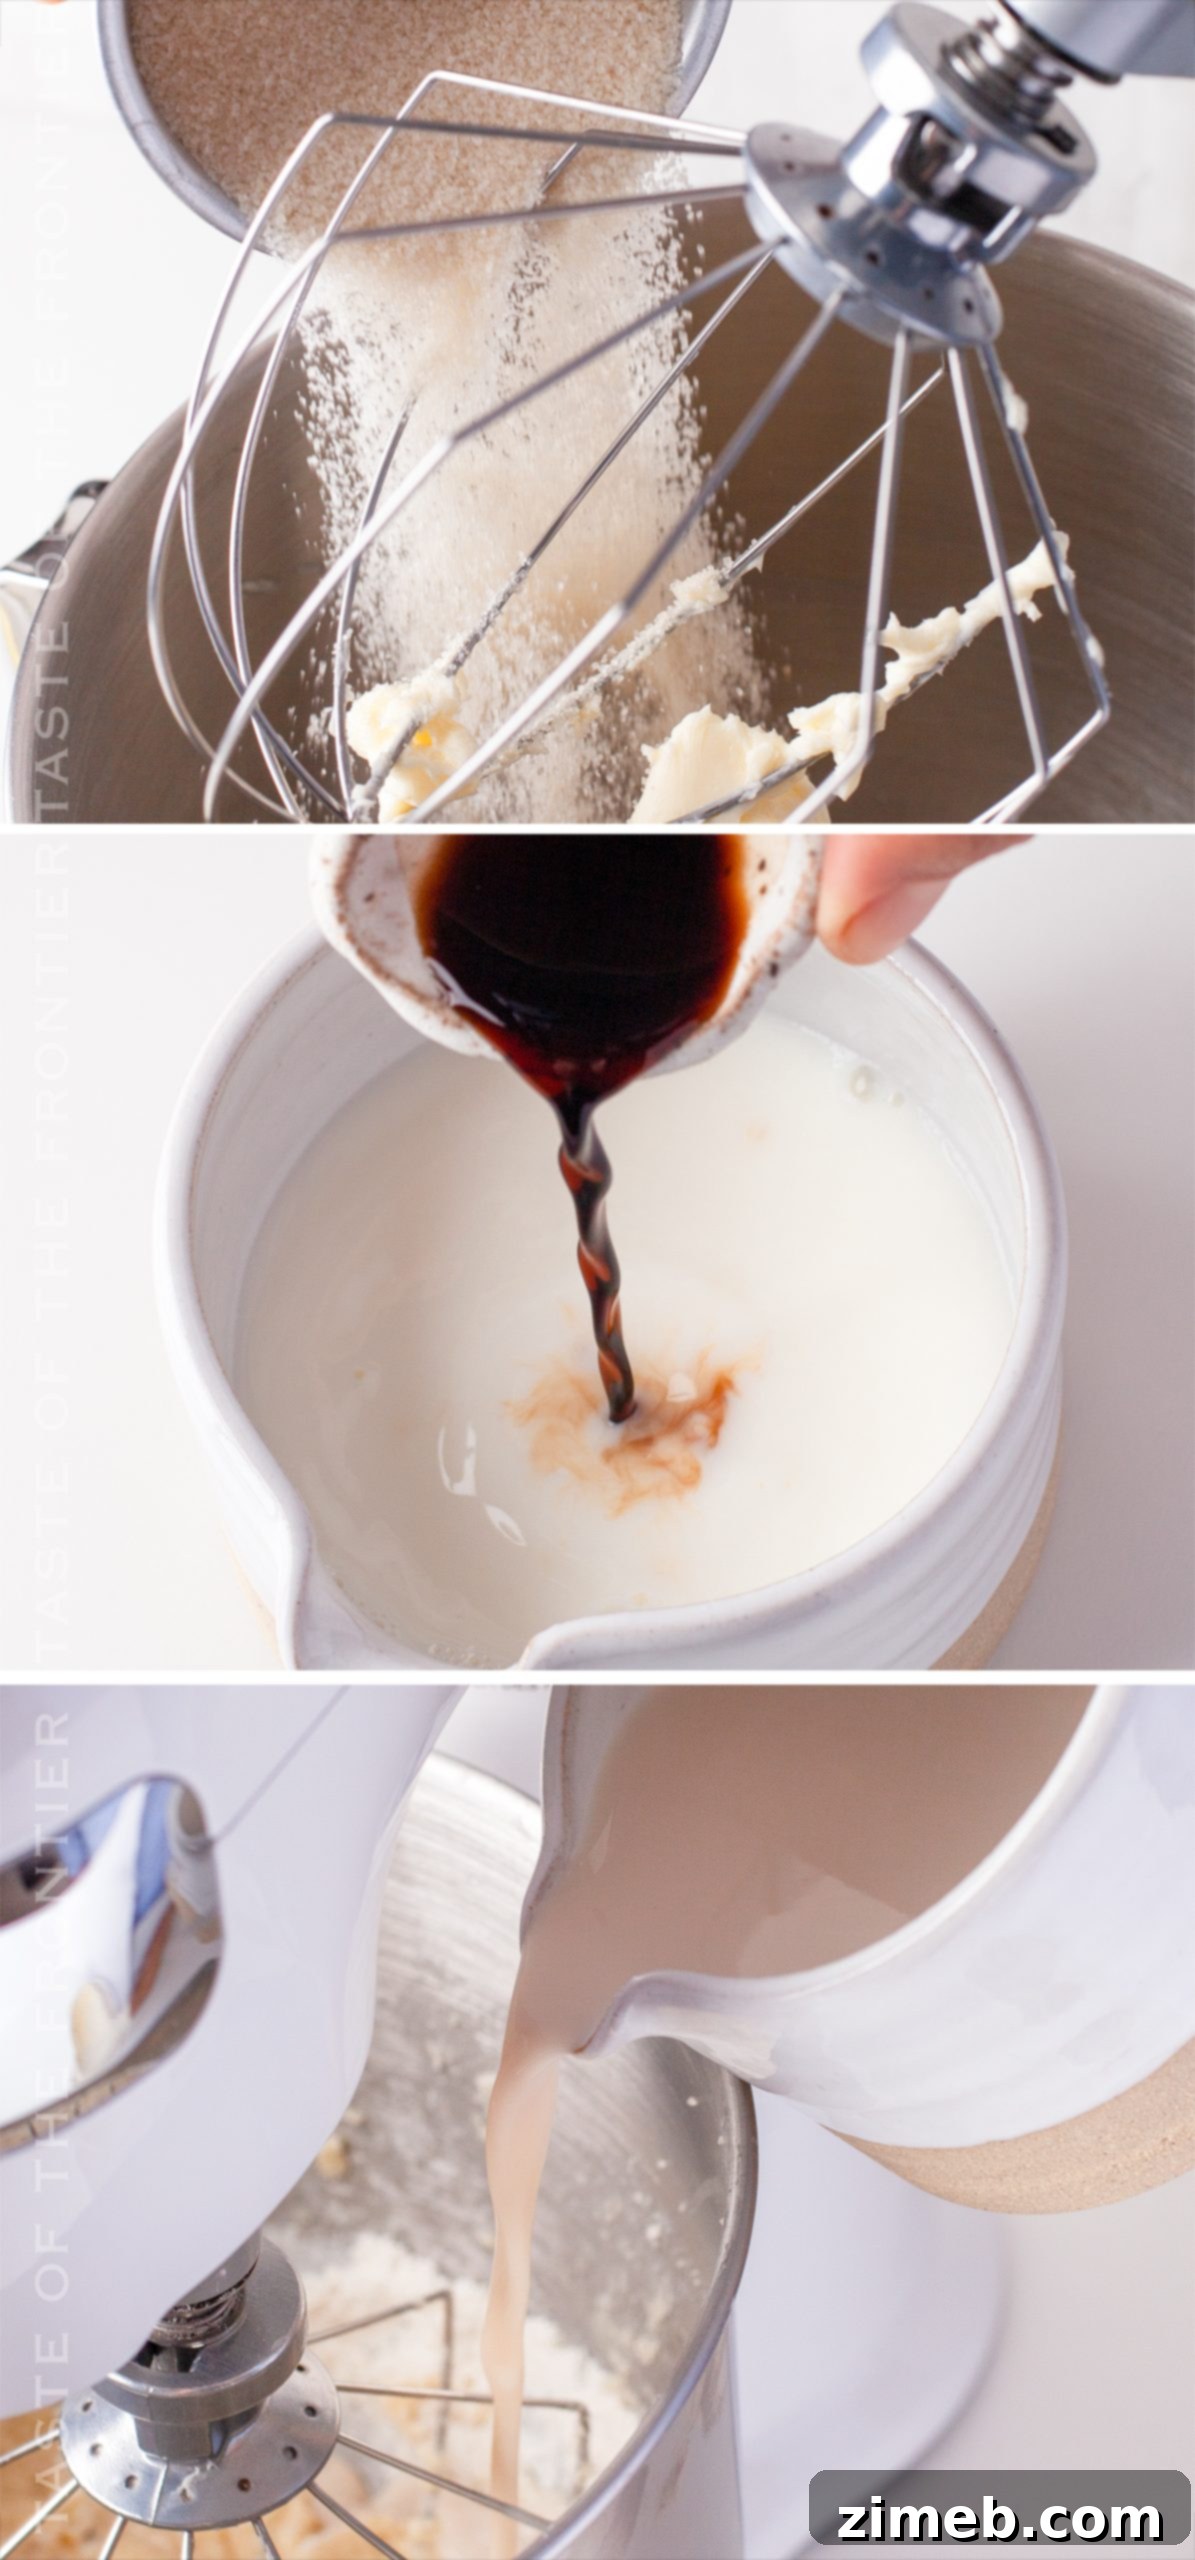
Step-by-Step: How to Bake Your Delicious Confetti Cake
- Begin by preheating your oven to 350°F (175°C). Prepare a 9×13-inch baking pan by lining it with parchment paper, leaving an overhang on the sides for easy removal, then set it aside.
- In the bowl of a standing mixer fitted with the paddle attachment, beat the softened butter until it is light and creamy. Gradually add the granulated sugar, continuing to beat until the mixture is pale and fluffy, about 2-3 minutes.
- Slowly incorporate the egg whites, one at a time, beating well after each addition until fully combined. Mix in the vanilla extract.
- In a separate medium bowl, whisk together the all-purpose flour, baking powder, and baking soda. This ensures even distribution of the leavening agents.
- In a small dish or measuring cup, gently combine the milk with the plain Greek yogurt or sour cream.
- With the mixer on low speed, gradually add the dry flour mixture to the butter mixture, alternating with the wet milk-yogurt mixture. Begin and end with the flour mixture. Scrape down the sides of the bowl frequently with a rubber spatula to ensure all ingredients are thoroughly incorporated and no pockets of unmixed butter or dry ingredients remain.
- Continue mixing until the batter is just smooth and uniform. Be careful not to overmix, as this can lead to a tough cake.
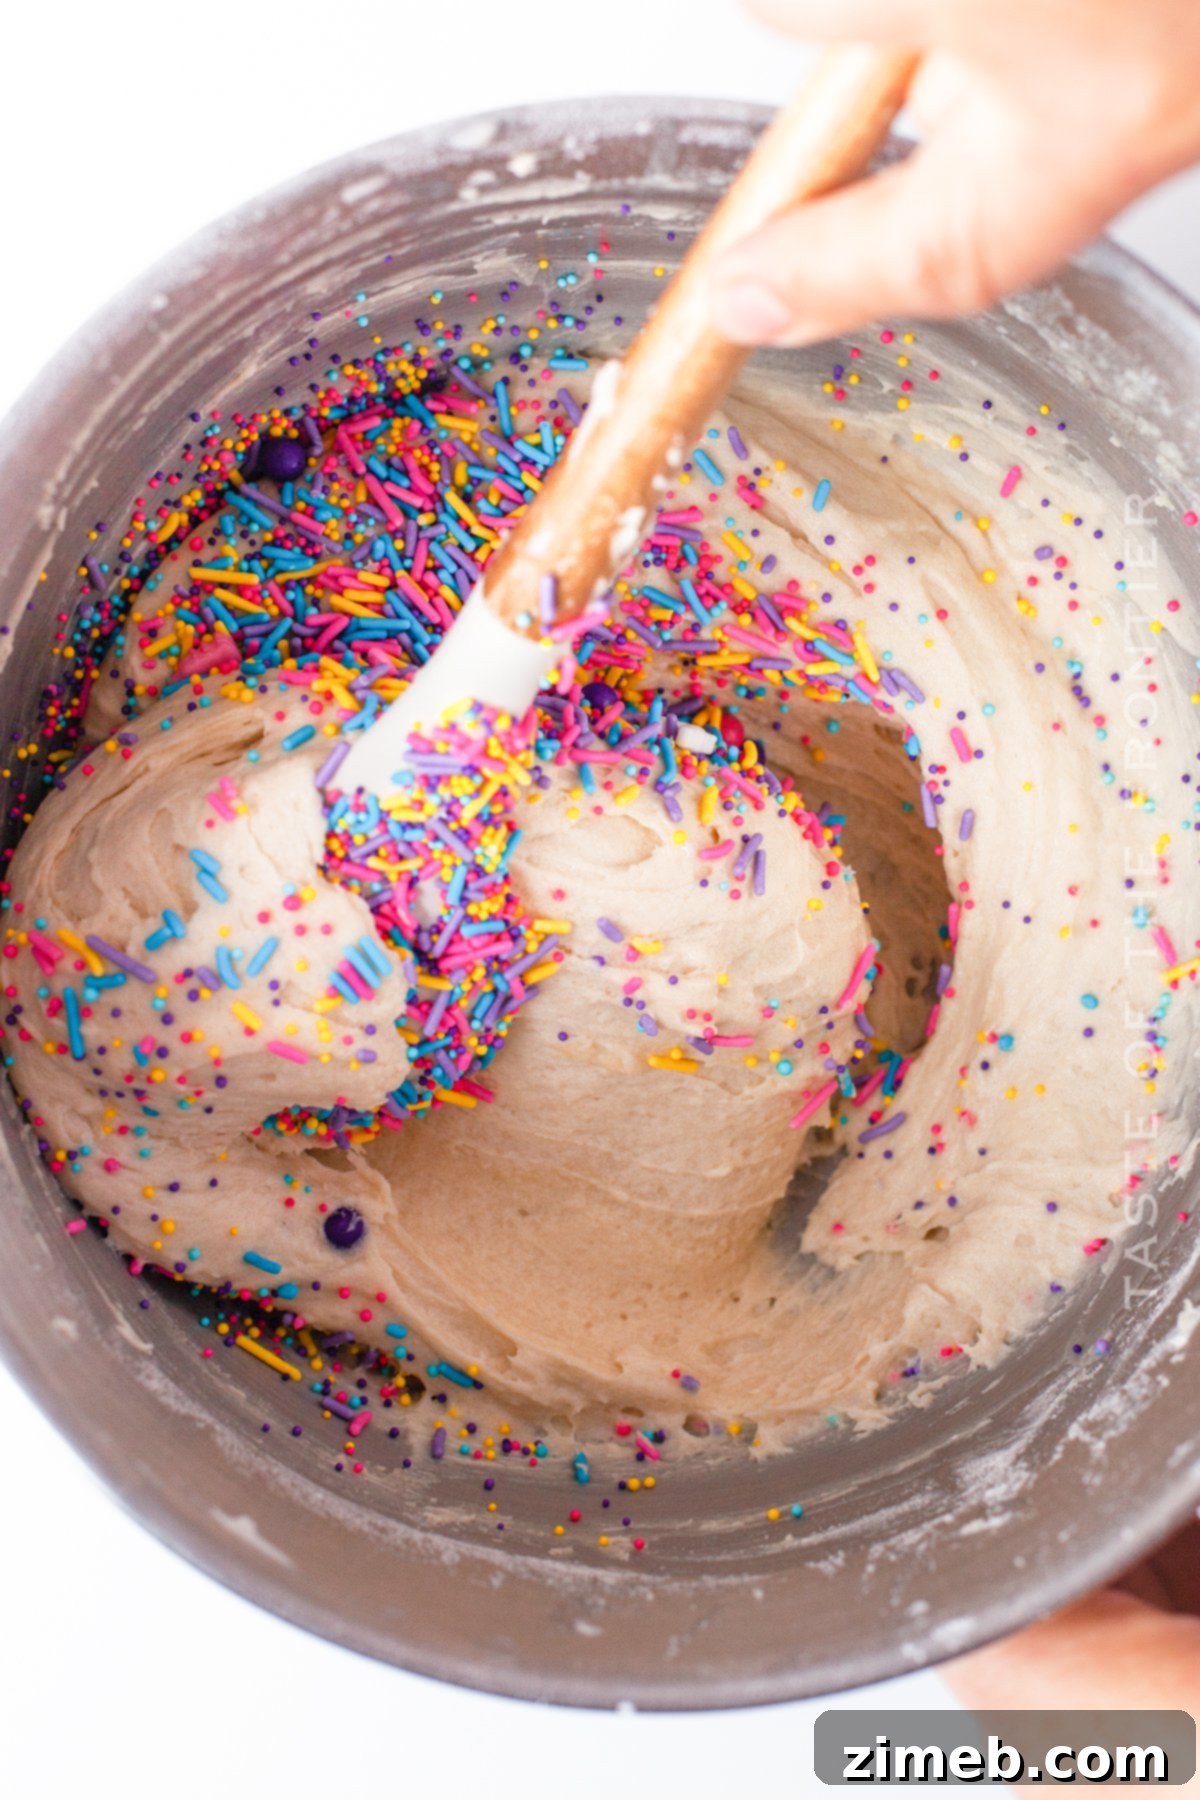
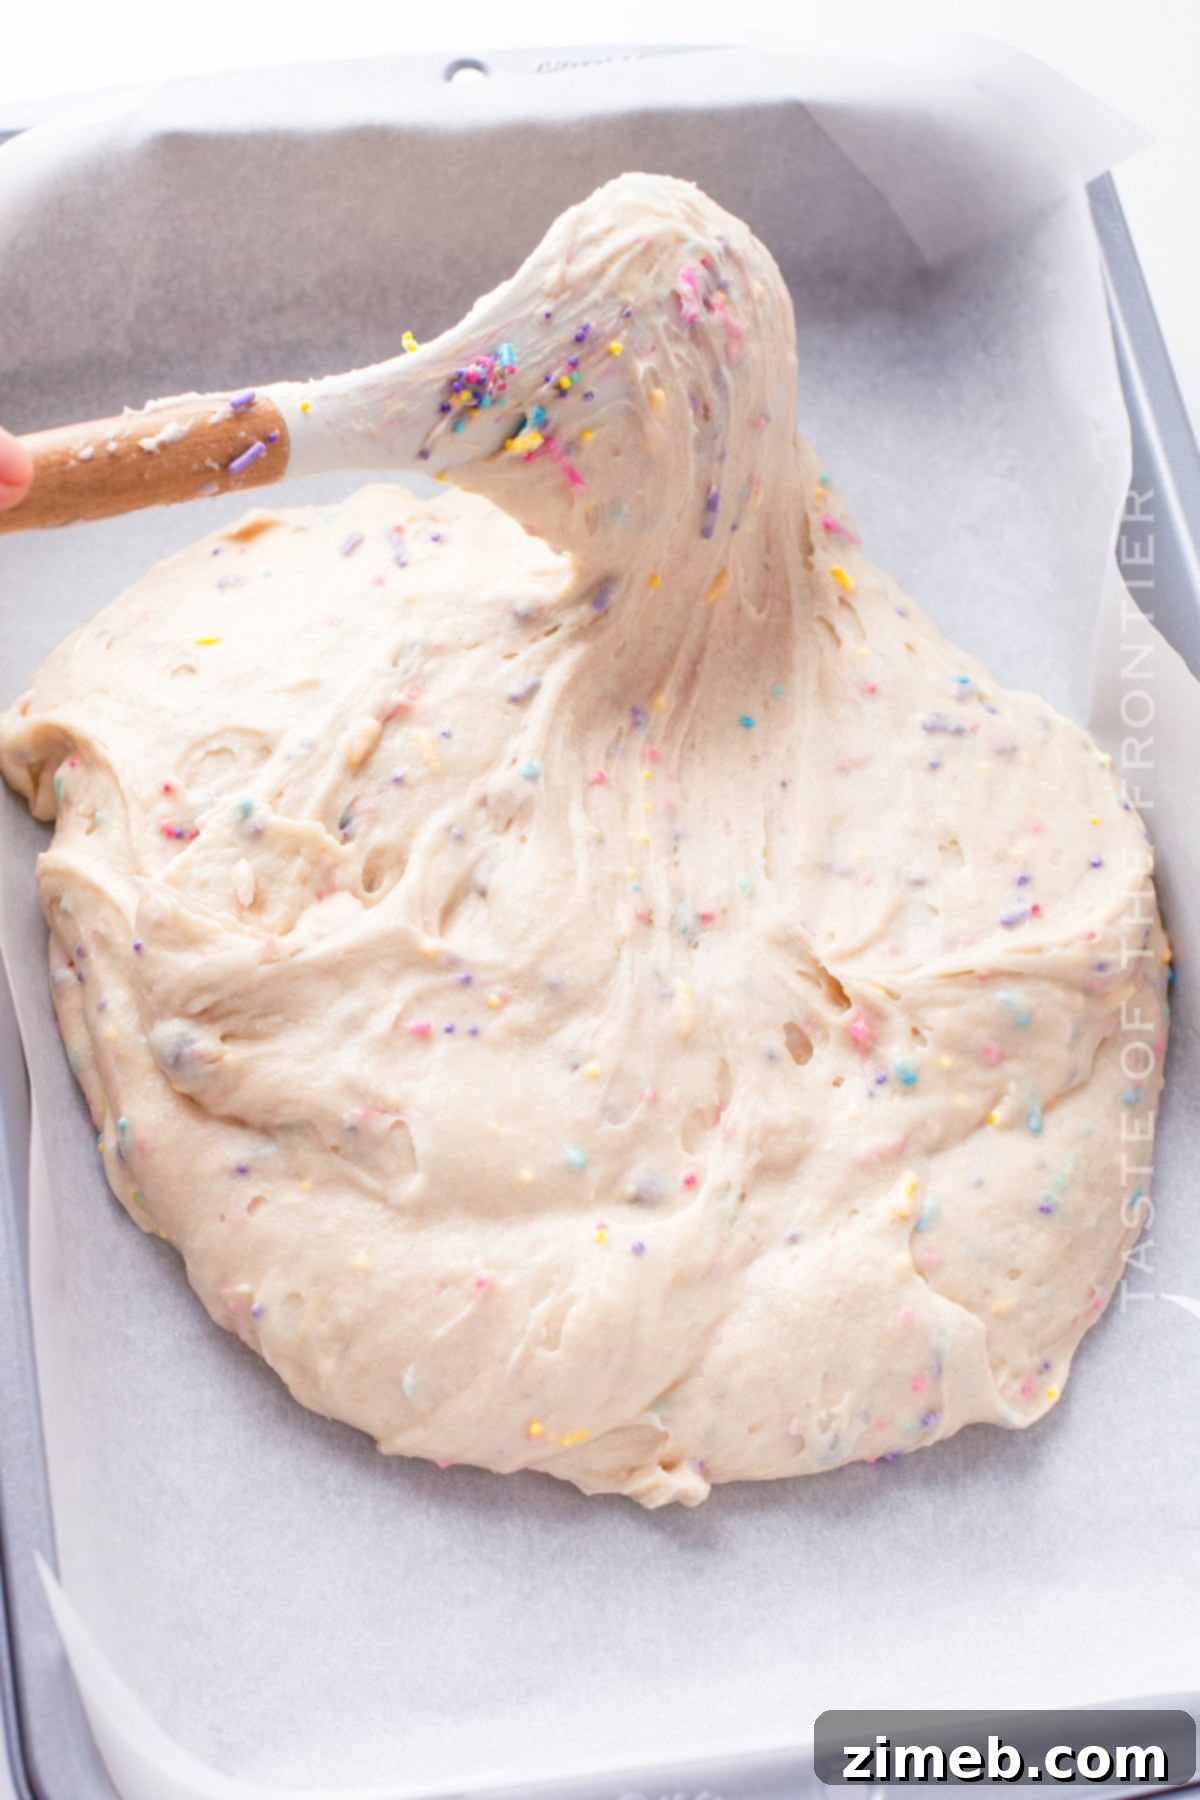
- Gently fold in your chosen Funfetti sprinkles or jimmies by hand using a spatula until they are evenly distributed throughout the batter. Pour the festive batter into your prepared 9×13-inch baking pan, spreading it evenly.
- Place the pan in the preheated oven and bake for 25 to 30 minutes. The cake is done when a wooden toothpick inserted into the center comes out clean, or the top springs back lightly when pressed.
- Once baked, remove the cake from the oven and allow it to cool completely in the pan on a wire rack before attempting to frost or decorate. Cooling thoroughly is vital for the frosting to set properly.
- After the cake has completely cooled, generously spread the homemade buttercream frosting on top in an even, smooth layer. Finish by scattering an extra shower of Funfetti sprinkles over the frosted surface for maximum visual appeal and fun.
Can I Prepare the Buttercream Frosting in Advance?
Absolutely, preparing the frosting ahead of time is a smart strategy that can significantly streamline your baking process. In my kitchen, cake creation often happens in stages. I might bake the cake layers on one day, and concurrently, prepare the frosting. This way, while the cake layers are cooling and potentially destined for the freezer, the frosting can be refrigerated.
You can store this buttercream frosting in an airtight container in the refrigerator for up to 1-3 days before you plan to decorate your cake. This allows you to break up the workload and enjoy a less rushed decorating experience. Just be sure to bring the frosting back to room temperature and give it a quick whip with your mixer before using to restore its smooth, spreadable consistency.
Freezing Funfetti (Confetti) Cake for Later Enjoyment
Yes, this Funfetti or Confetti cake freezes exceptionally well, making it perfect for meal prep or saving leftovers. I often freeze cakes at various stages of their creation. For a freshly baked and cooled cake, I recommend removing it from the pan, wrapping it tightly in several layers of plastic wrap, and then an additional layer of aluminum foil. This dual-layer protection helps prevent freezer burn and keeps the cake fresh for several weeks. Freezing cake layers is also a fantastic trick when you want to work with a firm, cold cake for easier frosting and decorating, as it helps prevent the frosting from getting too soft.
You can also freeze a completely decorated Funfetti cake. Place the entire cake in an airtight, freezer-safe container. While the frosting won’t become rock-hard, it will firm up enough to protect the cake, though do be mindful that it can still be dented if other items are pressed against it. To enjoy, thaw the cake in the refrigerator overnight. For the best taste and texture, allow the thawed cake to sit at room temperature for 1-2 hours before serving, which will restore the buttercream to its creamy, delightful consistency.
Storing Leftover Buttercream Frosting
Proper storage is key to extending the life of your homemade buttercream frosting. Any leftover frosting can be kept refrigerated in an airtight container for up to 7 days. Ensure it doesn’t sit out at room temperature for extended periods, as this can affect its freshness and food safety. When you’re ready to use it again, simply bring it to room temperature and give it a good whip with an electric mixer to restore its fluffy texture.
For longer storage, buttercream frosting also freezes beautifully. Transfer it to an airtight, freezer-safe container and freeze for up to 3 months. When you plan to use it, thaw the frosting overnight in the refrigerator. Before decorating, let it come to room temperature and beat it with a mixer until it’s light, fluffy, and smooth once more.
Optimal Storage for Leftover Confetti Funfetti Sheet Cake
To keep your leftover Confetti Funfetti sheet cake fresh and delicious, proper storage is crucial. If a significant portion of the cake remains after serving, I recommend first covering any exposed cut surfaces with plastic wrap to prevent it from drying out. Then, wrap the entire cake, pan and all, with a layer of aluminum foil for added protection. Store the wrapped cake in the refrigerator.
If you only have a few individual slices left, the best approach is to place them in an airtight container. Storing them as individual slices in a container helps maintain their moisture and prevents them from absorbing refrigerator odors. This cake will remain fresh and delightful for up to 5 days when properly wrapped and refrigerated. For the best flavor and texture, allow the refrigerated slices to sit at room temperature for about 20 minutes before serving again.
Discover More Delicious Cake Recipes!
If you enjoyed crafting this delightful Funfetti cake, you’ll be thrilled to explore more of our irresistible cake creations. Each recipe is designed to bring joy to your kitchen and smiles to your table.
- Mint Chocolate Chip Cake
- Easy Strawberry Cake
- Classic Yellow Cake
- Elegant Vanilla Bundt Cake
- Our Best White Cake Recipe
- Festive Chocolate Peppermint Bundt Cake
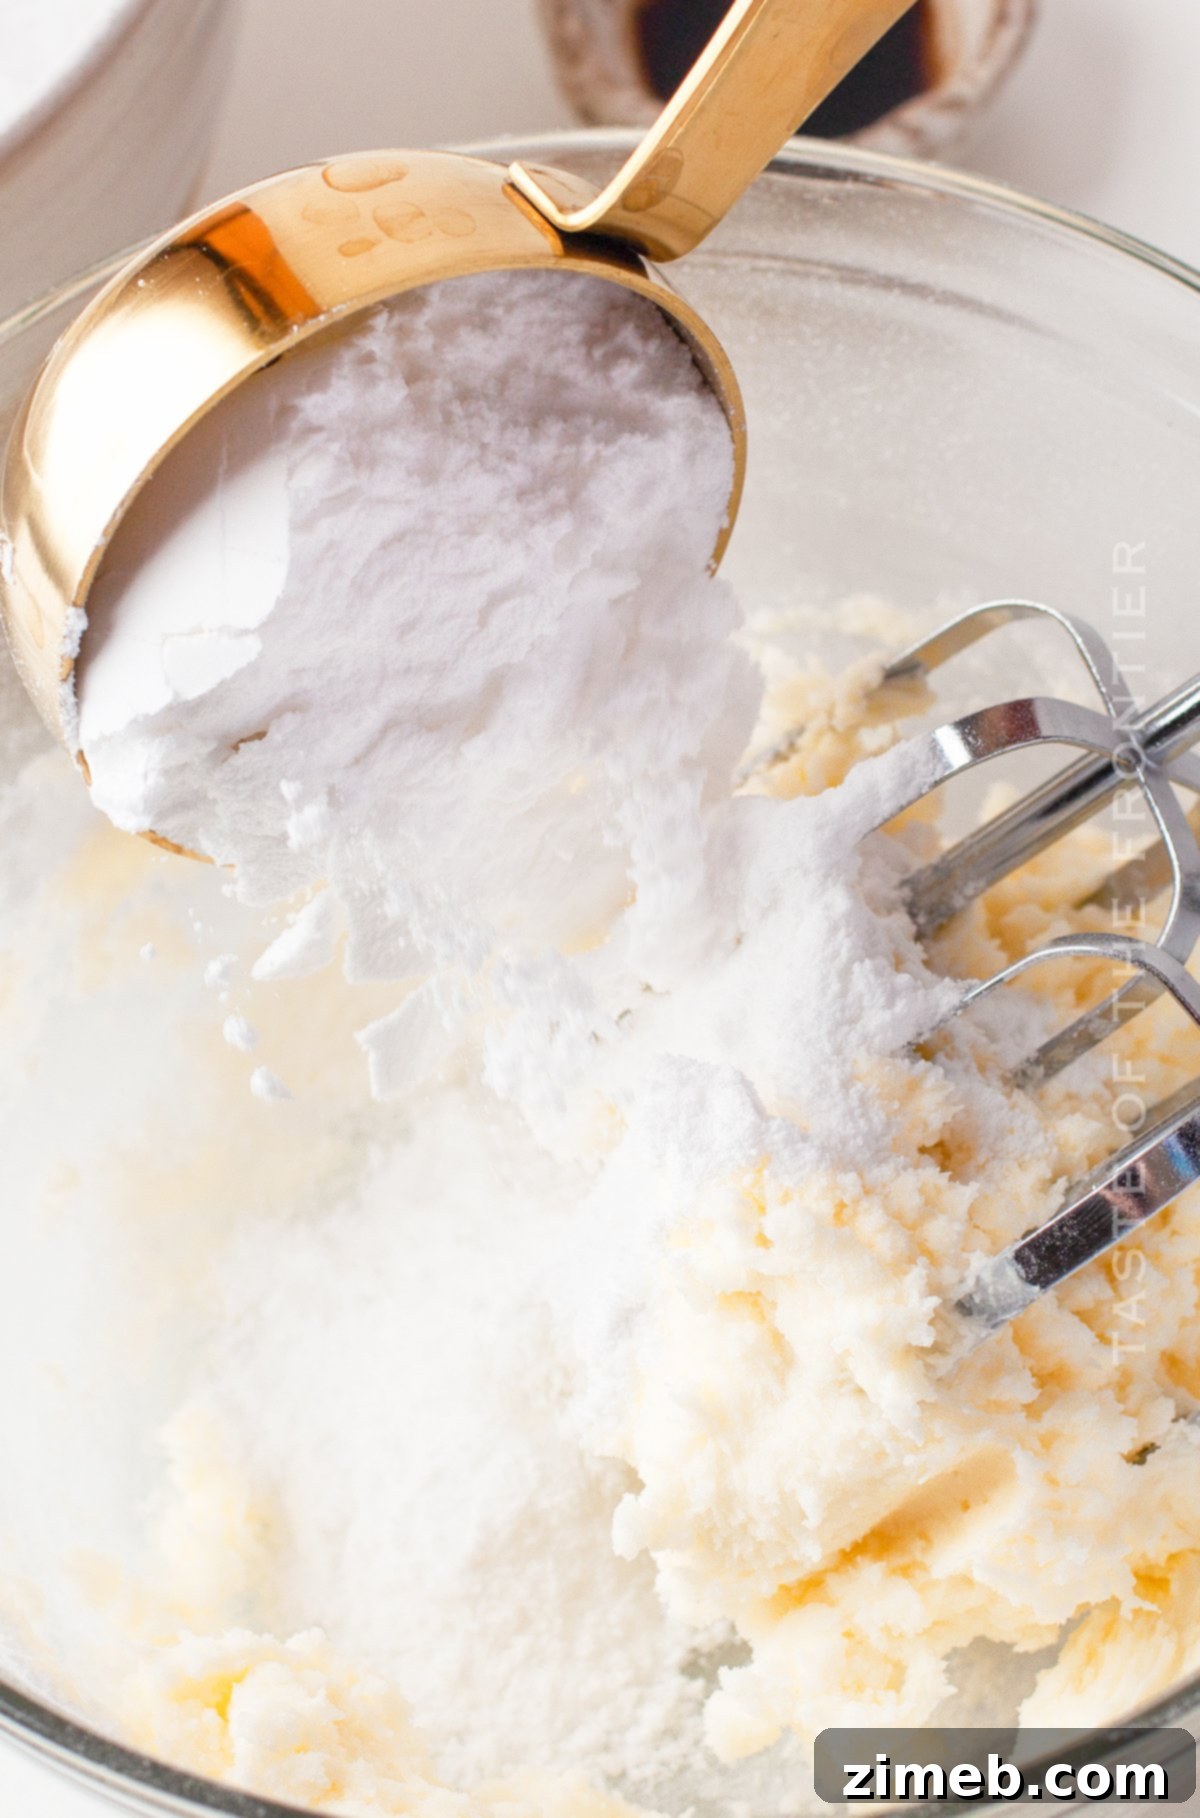
Essential Ingredients for Irresistible Confetti Buttercream Frosting
- Softened Unsalted Butter
- Confectioner’s Sugar (Powdered Sugar)
- Heavy Whipping Cream or Whole Milk (for desired consistency)
- Pure Vanilla Extract
- Vibrant Funfetti Sprinkles or Jimmies (for mixing in and topping)
Serving Size: How Many Does This Funfetti Cake Serve?
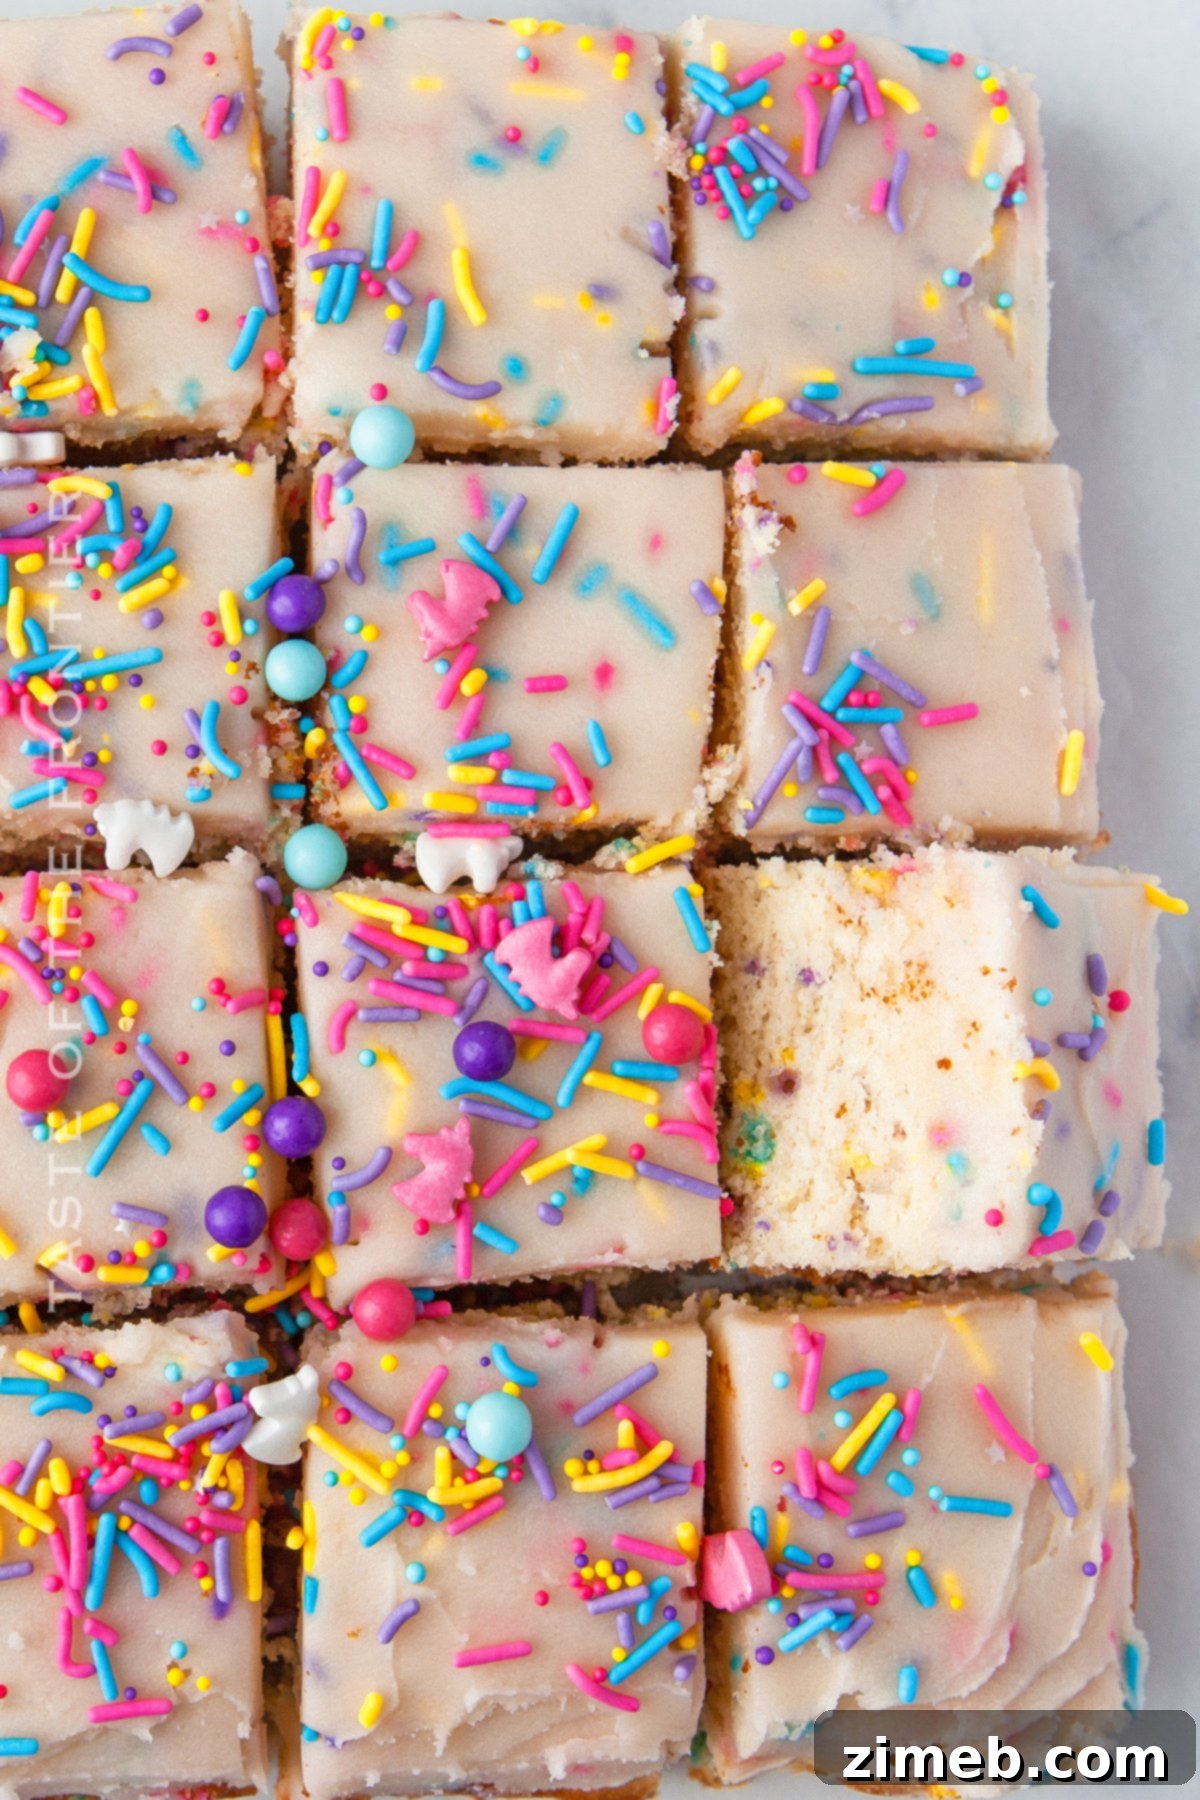
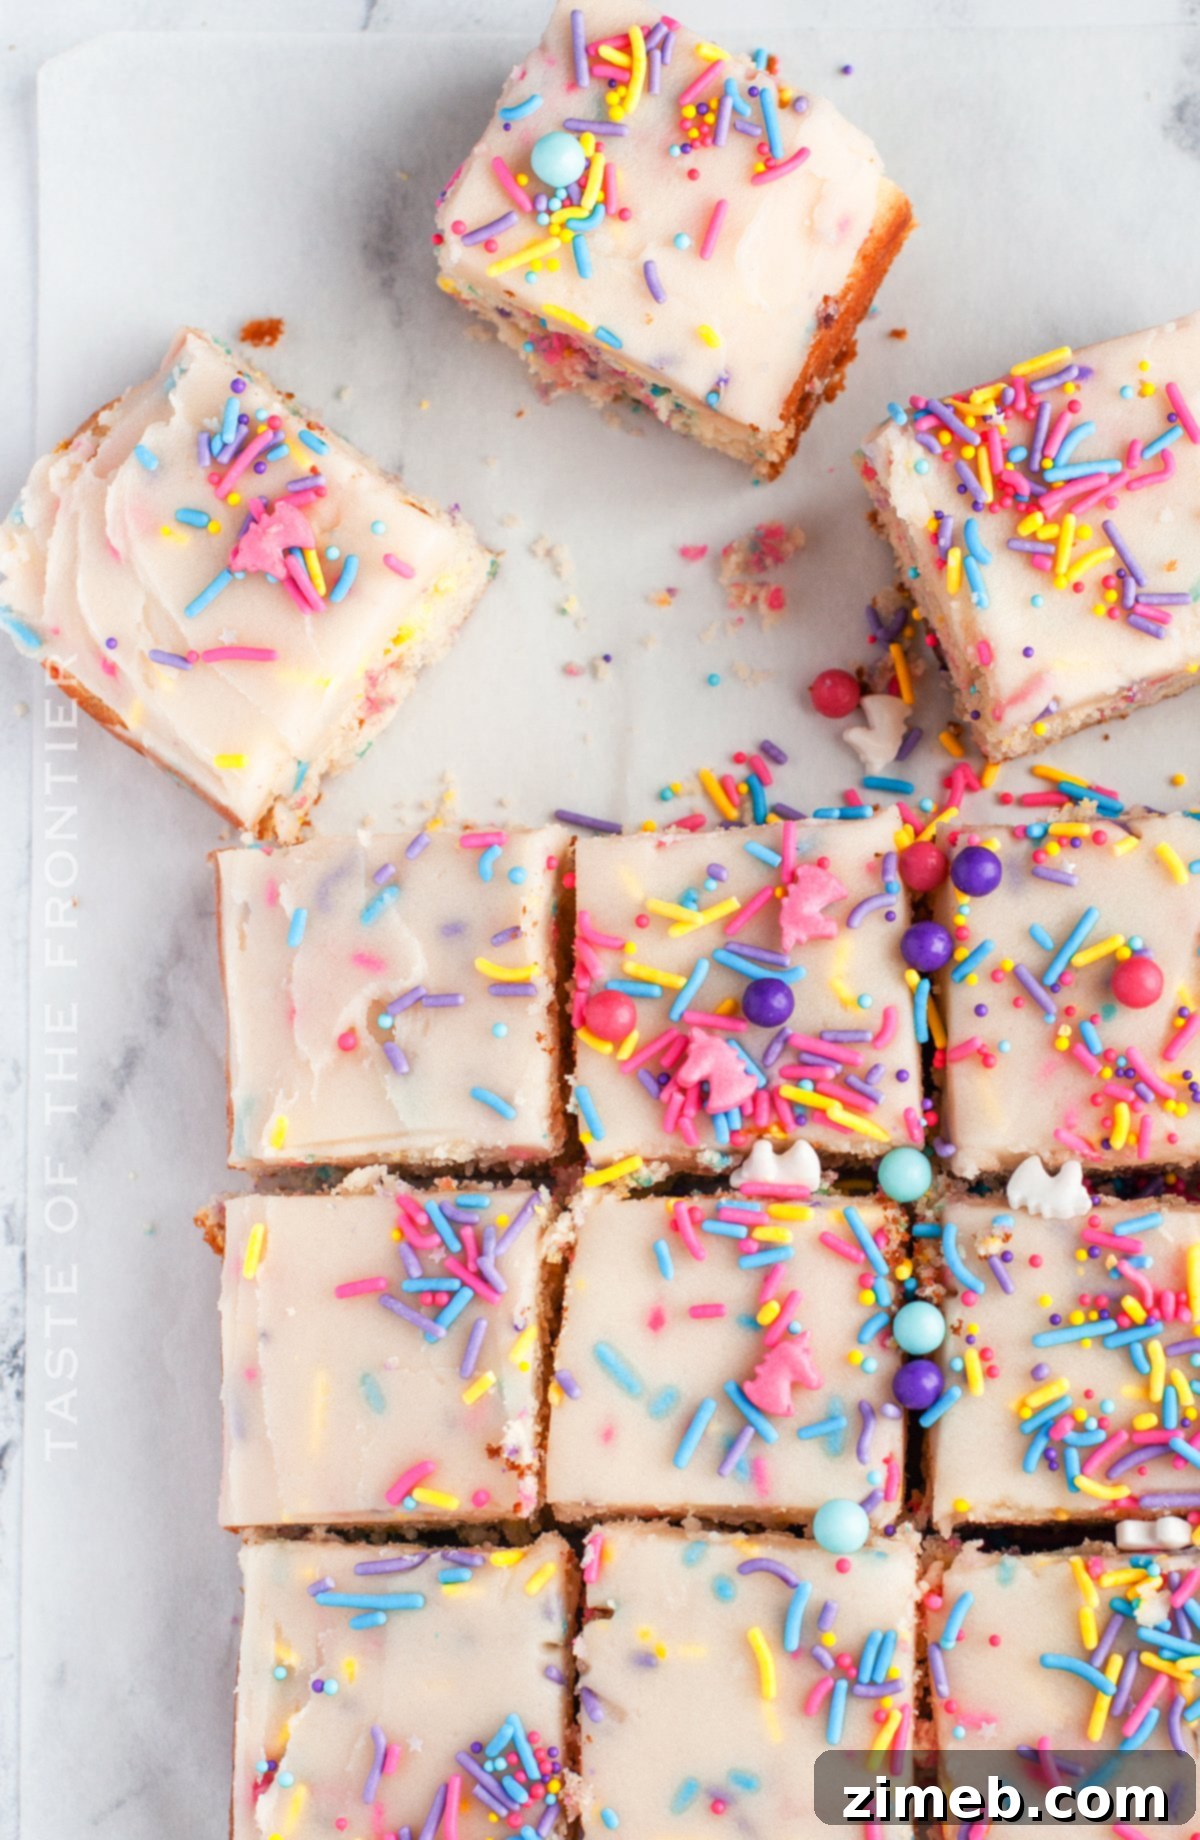
This generously sized Confetti Funfetti Cake, baked in a 9×13-inch pan, is designed to yield approximately 24 delightful squares. The exact number of servings, of course, can vary slightly depending on how large or small you cut each slice. In our household, where the motto is often “go big or go home” when it comes to dessert, we frequently divide the cake amongst our family of 3-4 over two indulgent evenings. It’s perfectly portioned for a medium-sized gathering or for enjoying delicious leftovers for days!
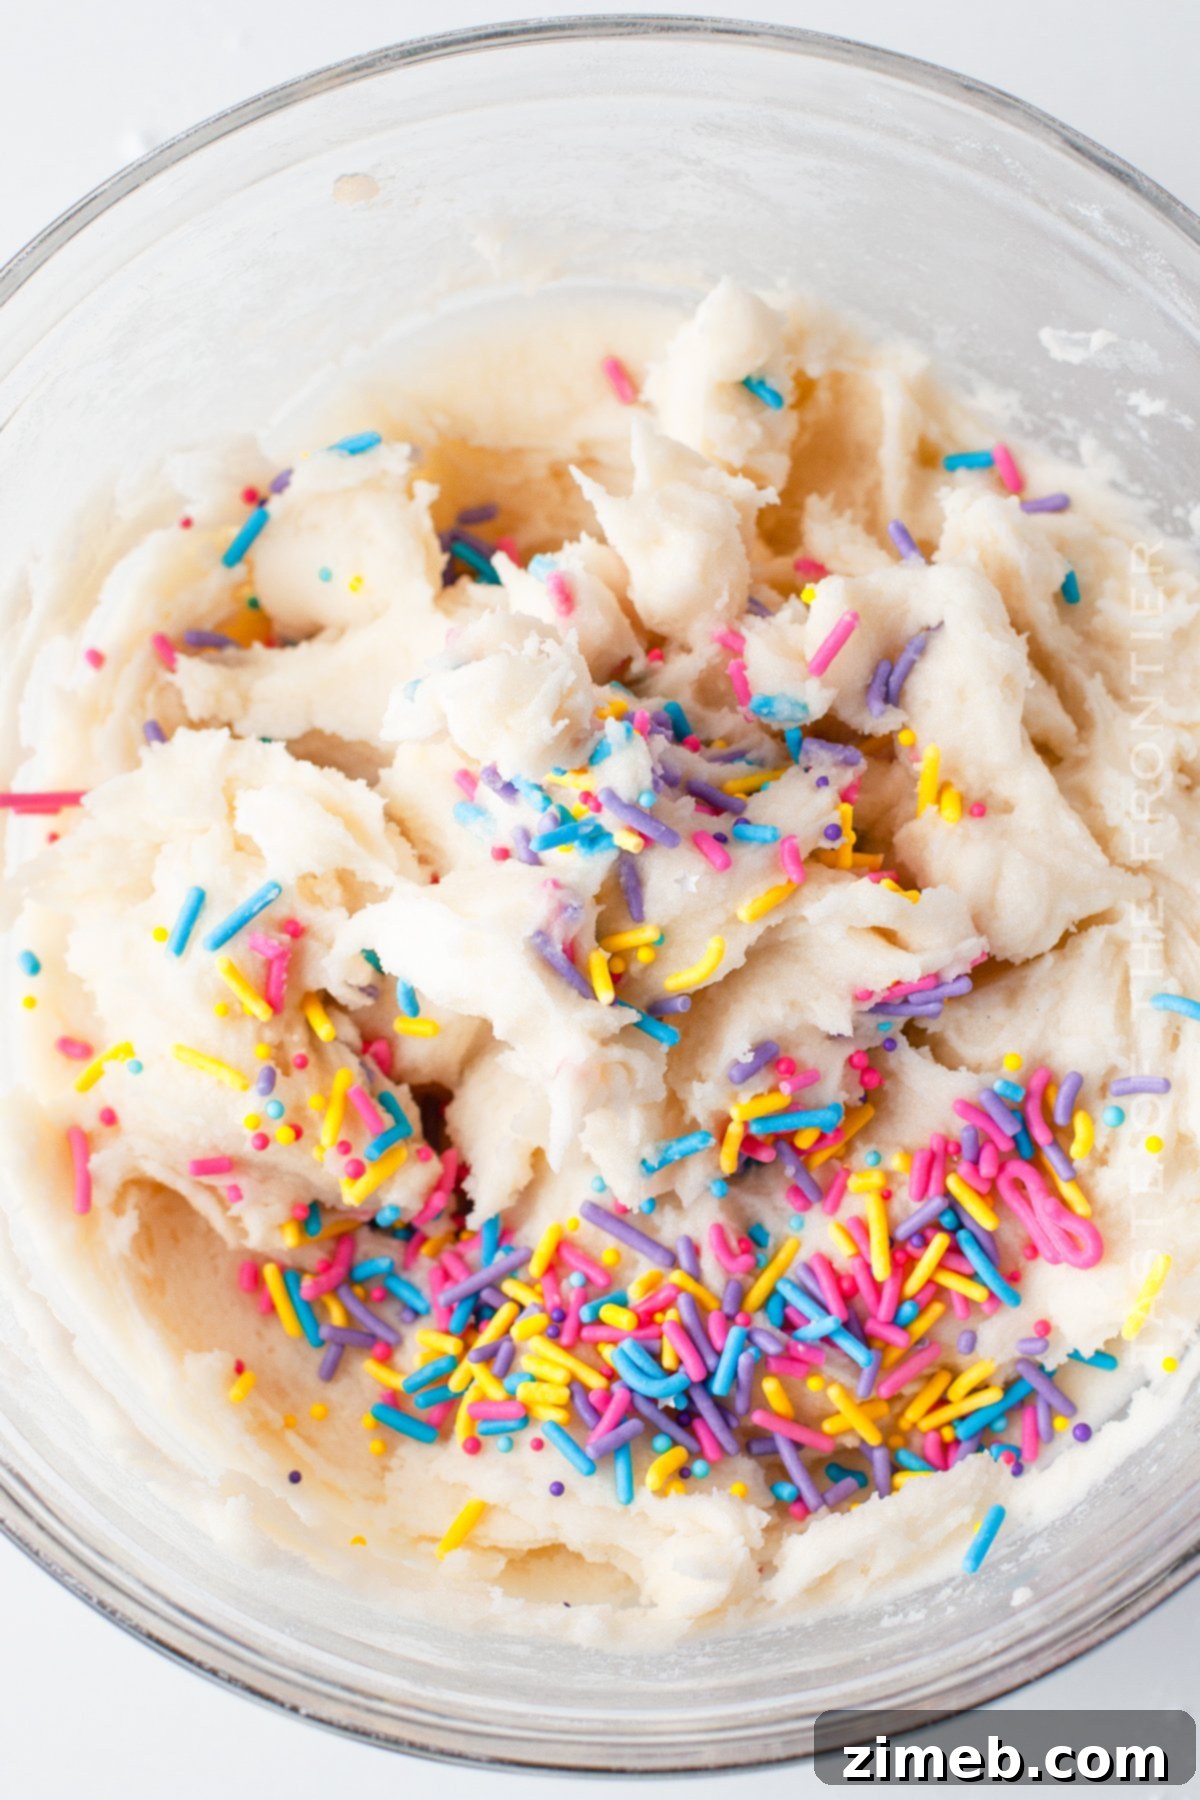
Crafting Your Confetti Buttercream Frosting: A Simple Guide
- In a medium-sized mixing bowl, use an electric mixer to beat the softened butter until it is visibly lightened in color and wonderfully creamy in texture.
- Gradually add the confectioner’s sugar (powdered sugar) into the butter, alternating with the heavy whipping cream or milk, and finally, mix in the vanilla extract. Continue to beat on medium speed until all ingredients are thoroughly combined and the frosting is smooth, light, and fluffy.
- Optional step: For an extra burst of color and fun, you can gently fold in about half of your Funfetti/confetti sprinkles into the prepared buttercream frosting. Use the remaining sprinkles to generously scatter over the top of the frosted cake for a beautiful and festive finish.
What is Baker’s Release and How to Make It?
Baker’s release is a fantastic, homemade alternative to store-bought non-stick sprays and parchment paper, designed to make removing cakes and other baked goods from their pans virtually effortless. It’s a simple yet incredibly effective mixture of oil, flour, and shortening that creates a superior non-stick barrier. Using baker’s release can save you time and prevent the heartbreak of a cake sticking to the pan, ensuring a perfect release every time.
Making baker’s release at home is incredibly straightforward, following a simple 1:1:1 ratio. You’ll need equal parts of all-purpose flour, vegetable shortening (like Crisco), and your preferred cooking oil (such as canola or vegetable oil). For example, I typically use 1 cup of each ingredient to make a batch that lasts a good while.
- Combine 1 cup all-purpose flour
- 1 cup vegetable shortening
- 1 cup cooking oil
Whisk these ingredients together vigorously until the mixture is smooth, homogenous, and lump-free. Once prepared, store your homemade baker’s release in an airtight container in your pantry or refrigerator. When you’re ready to bake, simply dip a pastry brush into the mixture and apply an even, thin layer over the entire interior surface of your cake pan. This coating provides an exceptional non-stick surface, often outperforming store-bought sprays and making parchment paper optional for many recipes.
Pair Your Funfetti Cake with These Amazing Frosting Recipes!
While our Confetti Buttercream is delightful, this versatile cake base pairs beautifully with a variety of other delicious frostings. Experiment with these favorites to discover new flavor combinations:
- Rich Chocolate Cream Cheese Frosting
- Aromatic Coffee Buttercream Frosting
- Indulgent Cookie Dough Frosting
- The Best Bakery-Style Buttercream Frosting
- Delicate Fresh Strawberry Buttercream Frosting
Can I Double the Buttercream Frosting Recipe?
Absolutely! This buttercream frosting recipe is wonderfully adaptable and doubles exceptionally well without compromising on quality or texture. If you’re planning to frost a larger cake, create more intricate decorations, or simply desire a more generous layer of frosting, feel free to multiply the ingredients by two (or even three!). When tackling a larger batch, I often opt for my robust pro mixer to ensure everything is thoroughly combined and whipped to perfection. The base recipe provides just enough frosting for the single-layer cake described here, so doubling is recommended for any expanded frosting needs.
Recommended Products for Your Funfetti Confetti Cake Baking Adventure
This easy sheet cake recipe is not only incredibly delicious but also straightforward to make. If you’re like me, you might already have most of these essential baking tools on hand. However, if you’re new to the wonderful world of homemade cakes and feeling a little nervous, rest assured that you’re going to love the process and the delicious outcome! To help you achieve baking success, I’ve compiled a list of my absolute must-have items that make crafting this Funfetti cake recipe a breeze.
- Stand Mixer: An invaluable tool for effortless creaming and mixing, ensuring a smooth batter.
- Hand Mixer: A versatile alternative for smaller batches or quick mixing tasks.
- Large Mixing Bowl: Essential for combining your ingredients with ease and preventing spills.
- Offset Spatula: Perfect for smoothly spreading batter and frosting for a professional finish.
- Silicone Spatulas: Indispensable for scraping bowls clean and gently folding in sprinkles.
- 9×13 Cake Pan: The ideal size for this single-layer sheet cake recipe.
- High-Quality Rainbow Sprinkles/Jimmies: Choose non-bleeding varieties for the best visual effect.
- Unicorn Sprinkles Mix: For an extra magical touch, especially for themed parties!
If you adore this easy Confetti Cake – Funfetti Cake recipe, you’re bound to fall in love with these other delightful cake ideas too. Click each link below to find the easy, printable recipe and start your next baking adventure!
Explore this Recipe
View This Recipe
Discover This Recipe

Get the Recipe
Check Out This Recipe
Get the S’mores Recipe

Discover This Mint Cake
View Coconut Cake
Get German Chocolate Cake
More Fantastic Birthday Cake-Flavored Recipes to Enjoy
If you’re captivated by the whimsical charm and delightful taste of birthday cake flavors, you’ll love exploring these additional recipes that capture that same celebratory spirit:
- Classic Funfetti Cupcakes Recipe
- Frosted Funfetti Cake Mix Cookies
- Irresistible Funfetti Cake Batter Dip
- Our Signature Homemade Funfetti Cake
- Decadent Birthday Cheesecake
- Chewy Birthday Cake Cookies
If you absolutely adore this recipe for Homemade Confetti Cake – Funfetti Cake as much as I do, please take a moment to leave a five-star review below. Your feedback truly helps, and I’d be incredibly grateful if you could also help me share this delightful recipe on Facebook and Pinterest!
CONNECT WITH YUMMI HAUS!
Be sure to follow me on my social media channels, so you never miss a post!
Substack, Facebook, Pinterest, Instagram, Email Subscription
PIN THIS TO SAVE FOR LATER
Rate this Recipe
Homemade Confetti Cake – Funfetti Cake
Ingredients
Cake
- 1 ¾ cup unsalted butter, softened
- 1 cup granulated sugar
- 3 large egg whites
- 2 teaspoons pure vanilla extract
- 2 ¼ cups all-purpose flour, spooned and leveled
- 1 teaspoon baking powder
- ¼ teaspoon baking soda
- ½ cup whole milk, at room temperature
- ½ cup plain Greek yogurt or sour cream, at room temperature
- ⅓ cup Funfetti Sprinkles or Jimmies (ensure non-bleeding type)
Buttercream Frosting
- ½ cup unsalted butter, softened
- 3 cups confectioner’s sugar (powdered sugar)
- 5 tablespoons heavy whipping cream or milk
- 1 teaspoon pure vanilla extract
- ⅓ cup Funfetti sprinkles or Jimmies for topping (use ½ cup for extra sprinkles if desired)
Instructions
For the Confetti Cake:
-
Preheat your oven to 350°F (175°C). Line a 9×13-inch baking pan with parchment paper, allowing some overhang on the longer sides to create “handles” for easy removal later. Set aside.
-
In the bowl of a stand mixer fitted with the paddle attachment, beat the softened butter on medium speed until smooth and creamy. Gradually add the granulated sugar, continuing to beat for 2-3 minutes until the mixture is light, fluffy, and pale in color.
-
Slowly incorporate the egg whites, one at a time, mixing well after each addition until fully combined into the butter mixture. Stir in the vanilla extract until just blended.
-
In a separate medium bowl, whisk together the all-purpose flour, baking powder, and baking soda until thoroughly combined.
-
In a small bowl or liquid measuring cup, combine the room temperature milk with the plain Greek yogurt or sour cream. Whisk gently until smooth.
-
With the mixer on low speed, gradually add the dry flour mixture to the butter mixture in three additions, alternating with two additions of the wet yogurt-milk mixture. Begin and end with the flour mixture. After each addition, scrape down the sides of the bowl to ensure everything is well combined and there are no unmixed pockets of butter or dry ingredients.
-
Mix until the batter is just smooth and uniform. Be careful not to overmix, which can develop the gluten and result in a tougher cake.
-
Gently fold in the Funfetti sprinkles using a rubber spatula until they are evenly distributed throughout the batter. Transfer the colorful batter into your prepared baking pan, spreading it out into an even layer.
-
Place the pan into the preheated oven and bake for 25 to 30 minutes. The cake is perfectly baked when a toothpick inserted into the center comes out clean, or the top springs back when gently pressed.
-
Once baked, carefully remove the cake from the oven and allow it to cool completely in the pan on a wire rack. This is crucial before moving to the decorating stage.
-
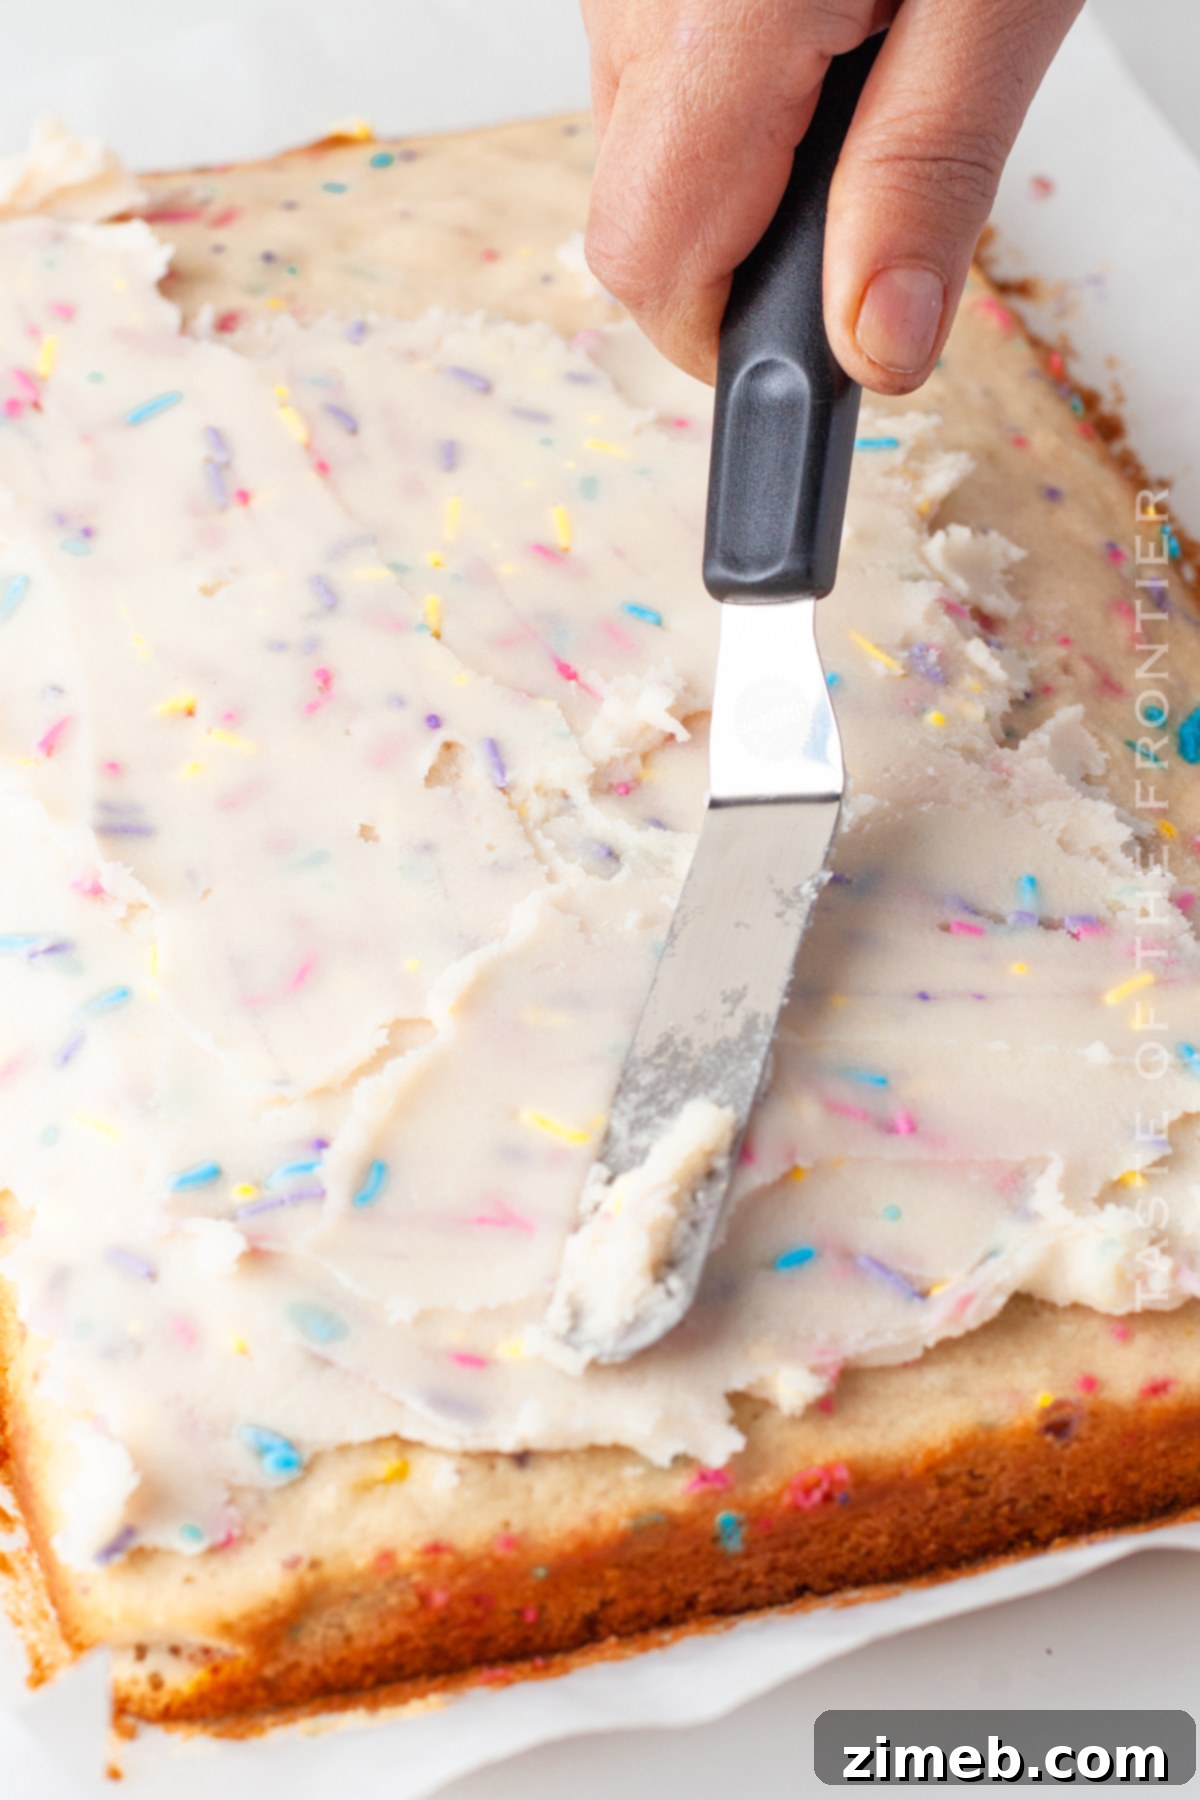
After the cake has fully cooled, use an offset spatula to spread the prepared buttercream frosting evenly over the top. Generously sprinkle additional Funfetti sprinkles over the frosting for a truly festive finish.
For the Confetti Buttercream Frosting:
-
In a medium mixing bowl, using an electric mixer, beat the softened butter on medium speed until it is light, creamy, and pale in color, about 2-3 minutes.
-
Gradually add the confectioner’s sugar to the butter, alternating with the heavy whipping cream (or milk) and vanilla extract. Beat until all ingredients are well combined and the frosting is smooth, fluffy, and spreadable. If the frosting is too thick, add a touch more cream; if too thin, add more confectioner’s sugar.
-
Optional: For extra sparkle, you can gently fold in half of the Funfetti/confetti sprinkles into the buttercream. Then, use the remaining sprinkles to scatter artfully over the top of your frosted cake for a beautiful decorative finish.
Equipment
-
1 Electric Mixer (Stand or Handheld)
-
1 9×13-inch Baking Pan
Nutritional information for the recipe is provided as a courtesy and is approximate. Please double-check with your own dietary calculator for the best accuracy. We at Yummi Haus cannot guarantee the accuracy of the nutritional information given for any recipe on this site.