
Crafting Your Dream Workspace: A DIY Industrial Sawhorse Desk Tutorial
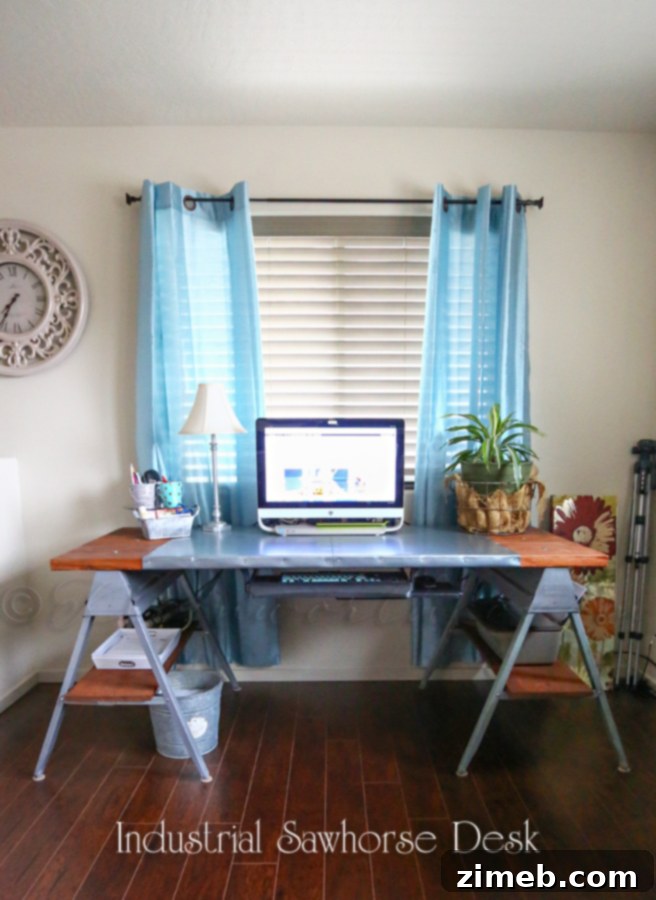
Years ago, my wonderful partner gifted me a beautiful, traditional-style office desk. While I appreciated the gesture, it quickly became apparent that it was far too modest in size for my evolving daily needs. At the time, my professional life as a virtual recruiter meant my office space was considerably smaller than it is today, and I had a dedicated homeschooling area that didn’t impinge on my desk. I managed to make it work for a while, but eventually, the limitations became undeniable. What I truly needed was a desk at least two feet longer, and a few extra inches of depth would have been a significant bonus. My search for a suitable replacement was extensive, but finding something that met both my aesthetic preferences and budget proved challenging. I envisioned an industrial-style desk, not the mass-produced kind, but something truly unique and imbued with character – the kind of piece you might discover in an artist’s loft. Coincidentally, my studio space is situated in our home’s loft, boasting a distinct artsy, Venice Beach-inspired ambiance. If you’re unfamiliar with Venice Beach, it’s renowned for its incredibly eclectic and singular style. Faced with this dilemma, what’s a creative soul to do? I simply decided to embark on a DIY project to construct my own Industrial Sawhorse Desk, and the result is something I absolutely adore.
The Vision: A Desk Transformed into a Statement Piece
My initial traditional desk, while charming, simply couldn’t keep up with the demands of an expanding workload and a desire for a more inspiring workspace. The constant clutter and cramped feel hindered my productivity and creativity. I yearned for a desk that was not just functional but also a true reflection of my personal style – a blend of rugged industrial aesthetics with an artistic, bohemian flair. This meant moving away from polished, manufactured looks towards something raw, authentic, and repurposed. The industrial sawhorse desk concept perfectly captured this vision: sturdy, practical, and visually striking. It promised ample surface area for my projects, computers, and organizational tools, all while complementing the unique atmosphere of my loft studio. This wasn’t just about building a desk; it was about crafting a central piece that would anchor my creative endeavors and enhance the entire room’s character.
Gathering Your Materials: The Foundation of Industrial Chic
To kickstart this ambitious project, I began by sourcing the primary components for the desktop. I started with three sturdy wooden boards: two measuring 12 inches wide and six feet long, and one slightly narrower board, 10 inches wide, but also six feet in length. These dimensions were carefully chosen to provide the expansive workspace I desperately needed, offering significant improvement over my previous desk’s compact footprint. Selecting quality wood is crucial for both the durability and the aesthetic appeal of the final piece, as it forms the canvas for the distressing and staining processes that give the desk its unique industrial character.
Embracing Imperfection: The Art of Distressing
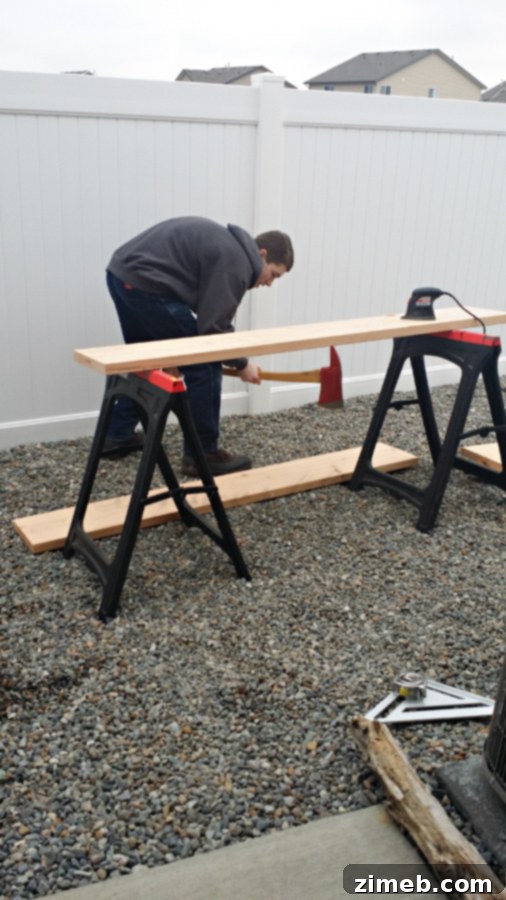
Once I had the raw lumber, the next step was to tailor them to the exact length of my desired desk. Precision in cutting is important, but for an industrial, reclaimed look, a little ruggedness goes a long way. This is where the fun began! To infuse the wood with that coveted aged character, I enlisted my son to help with a bit of distressing. Armed with his dad’s axe, he carefully applied some gentle blows to the boards. The goal wasn’t to split the wood, but rather to create subtle indentations, nicks, and imperfections that simulate years of use and exposure. We also experimented with various other tools, pounding and scraping to add diverse textures and “stories” to the wood. This intentional roughening process ensures that each board possesses a unique, non-uniform finish, moving further away from a manufactured look and closer to something authentically weathered and robust. It’s these small details that contribute significantly to the overall industrial and artisanal aesthetic, giving the desk a soulful, handcrafted feel.
Staining and Finishing: Bringing Depth and Protection
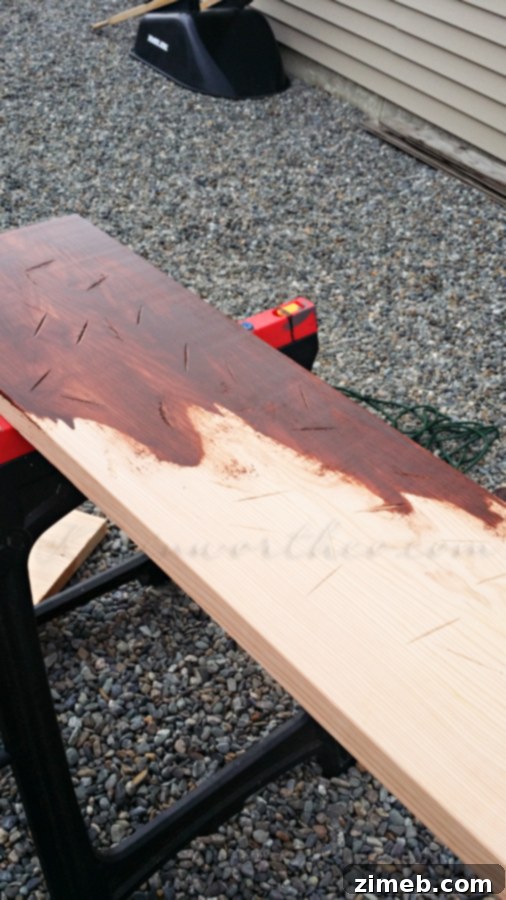
With the distressing complete, it was time to apply the stain. This step is critical for enhancing the wood’s natural grain and achieving the desired color depth that complements the industrial theme. I opted for a technique of painting the stain onto the boards and then meticulously rubbing it off with a paper towel. This method allows for greater control over the intensity of the color, preventing it from looking too uniform or artificial. The goal was to achieve a rich, somewhat muted tone that highlighted the distressing rather than masking it. After the staining process, patience is key. I allowed the stained boards to dry thoroughly for a couple of days, ensuring the color was fully set before moving on. Then, a protective finish was applied, which not only safeguards the wood from wear and tear but also adds a subtle sheen that enhances its character. This final coat also required several days to cure completely. This waiting period was undoubtedly the hardest part for me; I was eager to see the finished product come to life!
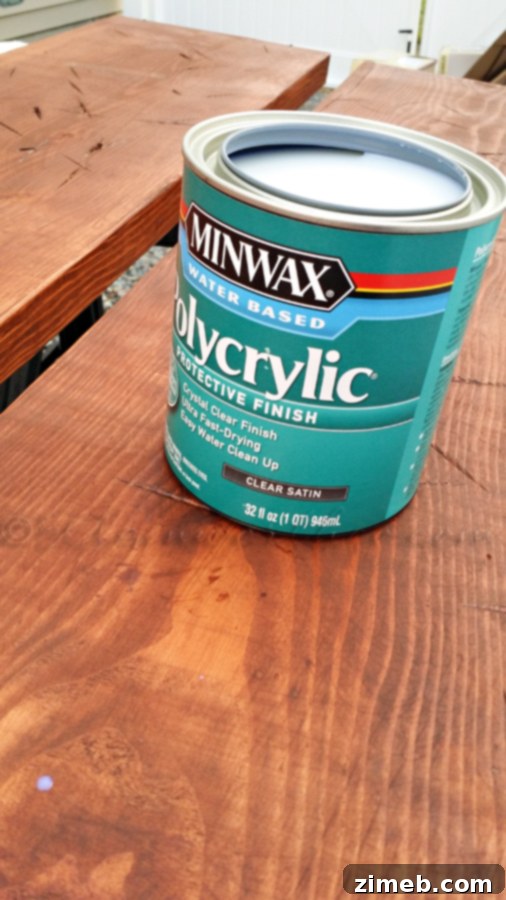
I let dry for a couple days & then added my finish & let that dry for a couple days. This was the hardest part for me because I wanted it done NOW.
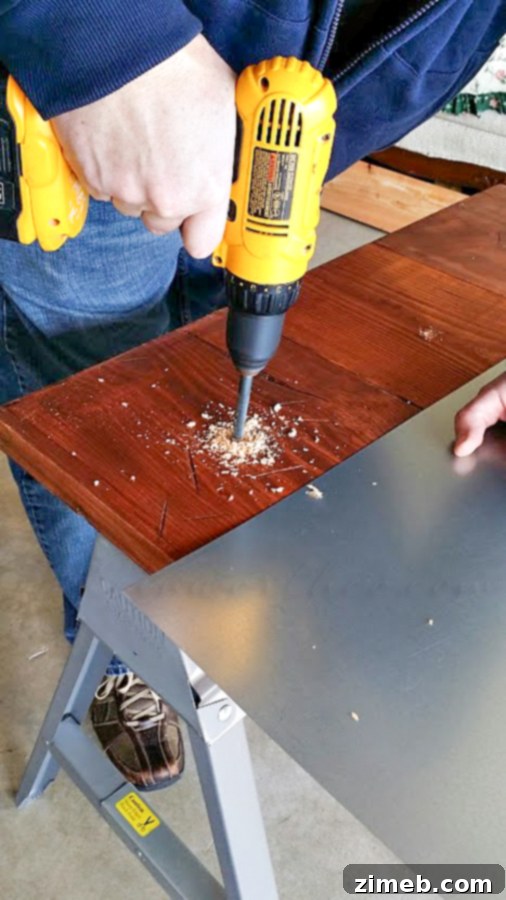
Assembly: Bringing the Industrial Sawhorse Desk to Life
Securing the Desktop to the Sawhorses
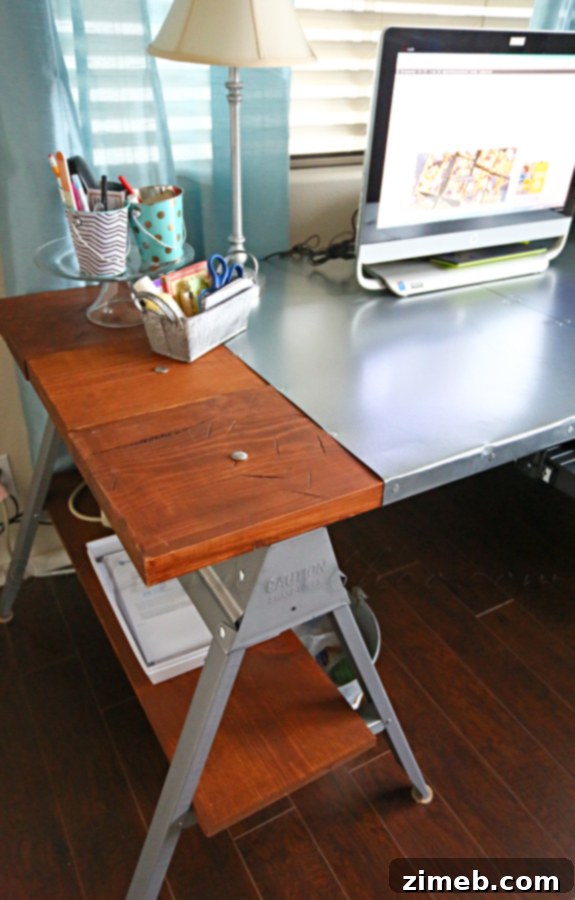
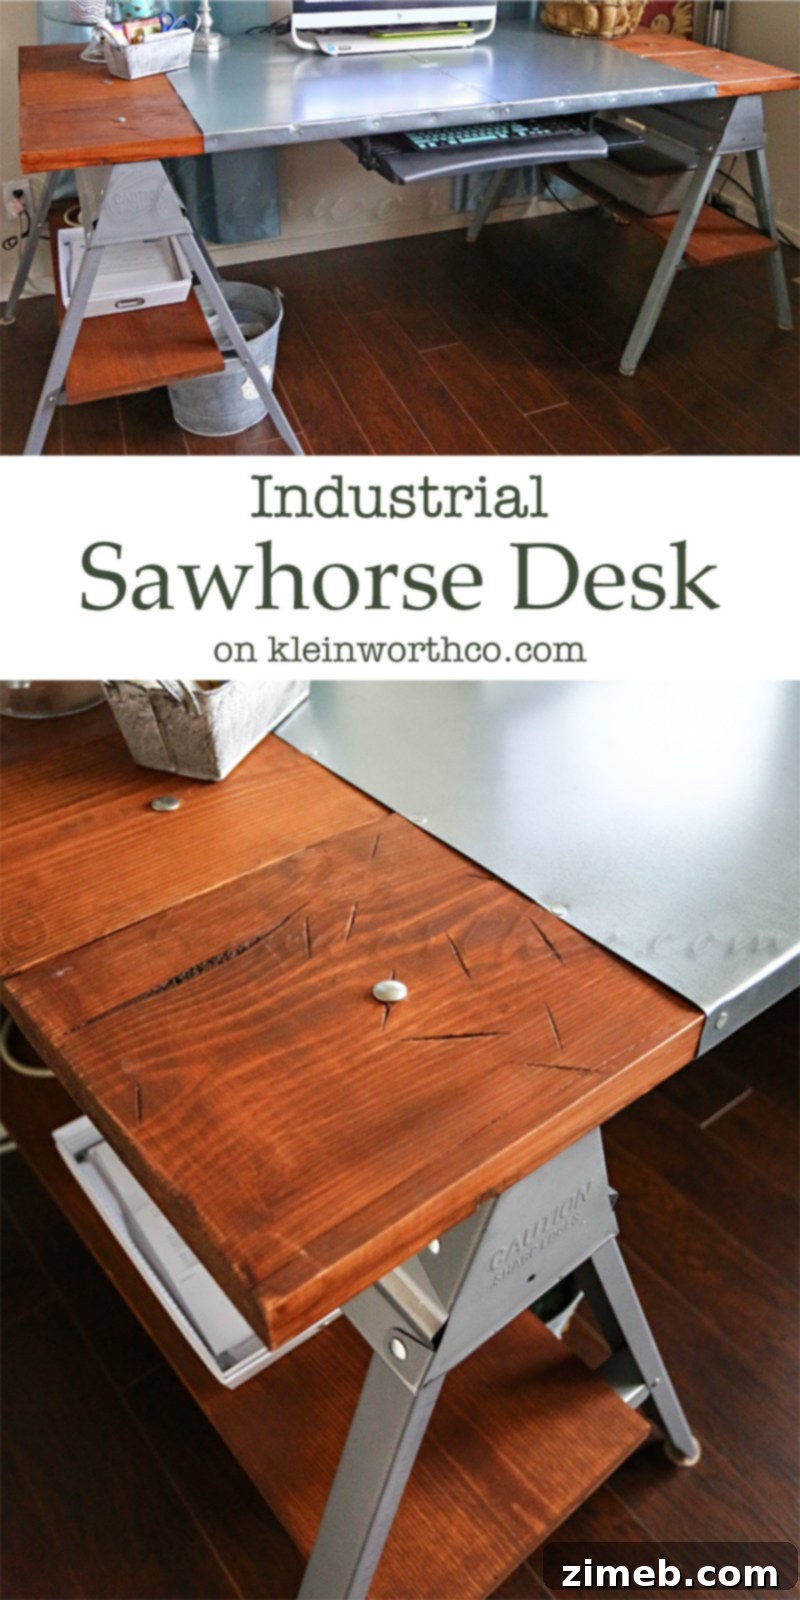
The moment arrived to assemble the primary structure of the desk. For the base, we utilized sturdy, collapsible metal sawhorses, which not only offered robust support but also contributed to the desired industrial aesthetic. We carefully laid out the stained wooden boards on top of the sawhorses, meticulously adjusting their positions to ensure they were evenly spaced from each end. This meticulous placement was crucial, not only for aesthetic balance but also to guarantee ample clearance for my chair underneath, providing comfort and functionality. With the boards perfectly aligned, we marked the exact center of each board directly above the top beam of the sawhorse. Then, using a drill, we created pilot holes that passed completely through both the wooden boards and the metal sawhorse tops. This precision drilling ensures a secure and stable connection, vital for a durable desk.
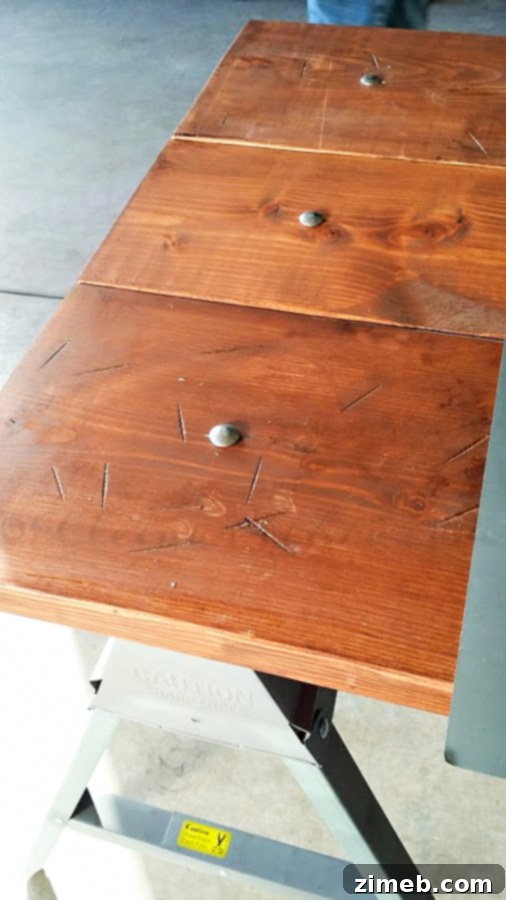
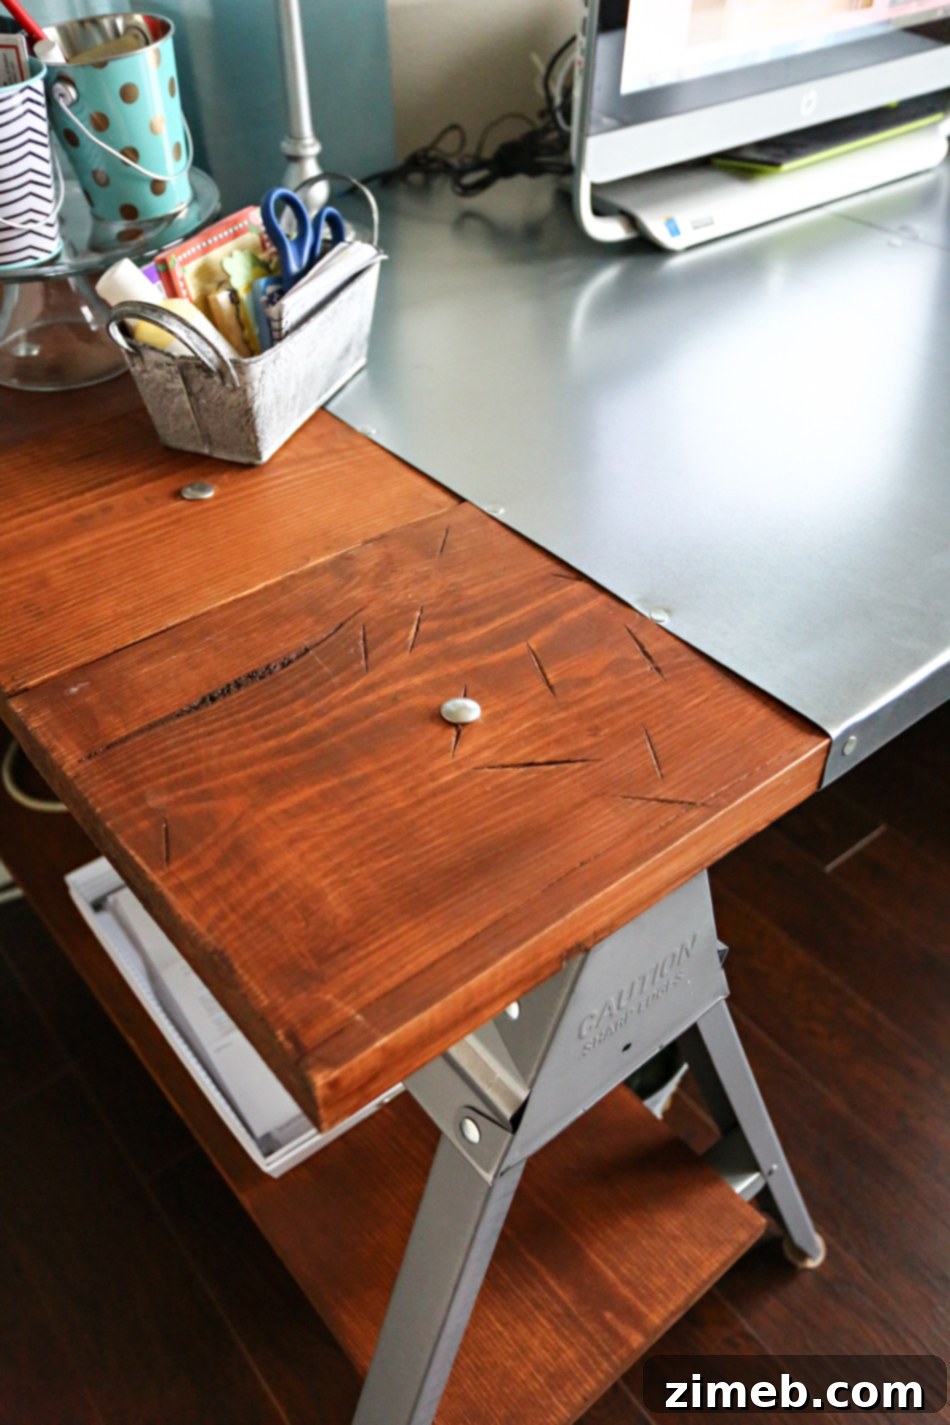
To complete the connection, we inserted long bolts through the drilled holes, securing them firmly with locking nuts on the underside. This choice of hardware was intentional; the prominent bolt heads on the desk surface mimic the appearance of rivets, a classic element of industrial design. This detail subtly reinforces the rugged, handcrafted look, moving the desk further away from a generic, mass-produced item and closer to a custom, artisanal piece. The visual weight of these bolts adds to the desk’s character, blending functionality with a distinctive aesthetic.
The Metal Top: Adding the Industrial Edge
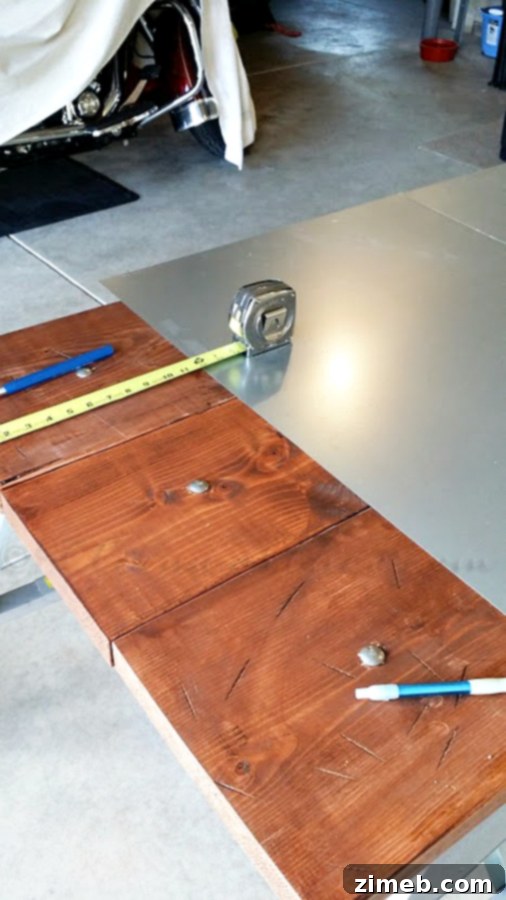
Next came the exciting task of adding the sheet metal top, a quintessential element of the industrial aesthetic. I carefully laid out two pieces of sheet metal, each measuring 24×36 inches, side-by-side across the wooden desktop. Precise measurement was essential to ensure that once they were secured, they would be equidistant from the ends of the desk, creating a balanced and professional appearance. Unfortunately, some of the process photos from this stage seem to have gone missing from my phone, but the method was straightforward and effective. We began by driving large, flat-head nails through the metal and into the wooden boards. Starting at the corners, we secured the sheet metal, then continued to add nails with as even spacing as possible all around the perimeter and across the surface. What’s important to note is that I wasn’t overly particular about perfect alignment or exact spacing for these nails. In fact, some slight imperfections were intentional. My goal was to create a look that was distinctly handmade and authentic, avoiding the sterile, flawless finish of a mass-produced item. This deliberate irregularity adds to the desk’s unique charm and industrial character.
You can clearly observe the distinctive nails across the desk’s surface in the image above, showcasing the intentional, non-uniform pattern.
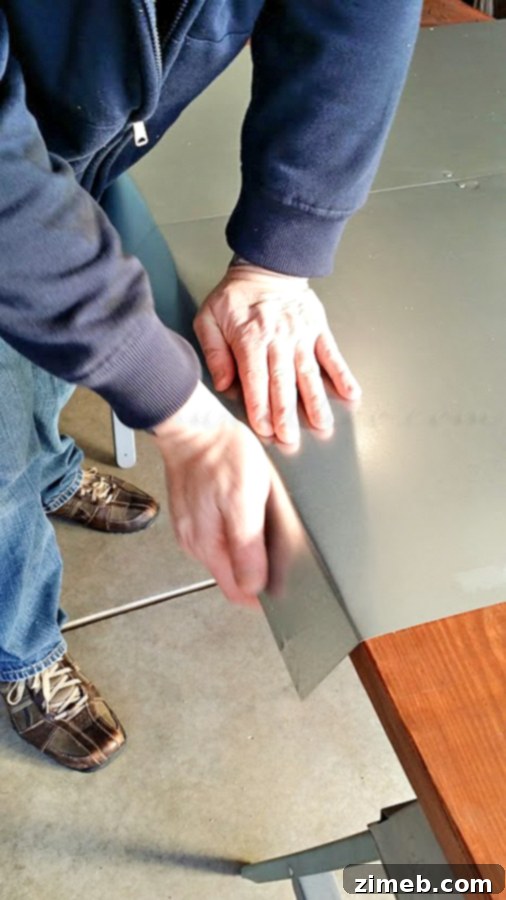
When it came to the edges and ends of the desk, we carefully pressed and curled the sheet metal around the wooden perimeter. This step required a gentle but firm hand to achieve a neat wrap. To further tighten the corners and ensure a snug fit, we then used a mallet, gently pounding the metal to hug the edges even more securely. Finally, additional nails were strategically placed around these wrapped edges to permanently secure the sheet metal, completing the rugged, durable top of the industrial sawhorse desk. The slight unevenness and hammered texture add to its unique charm, embodying the raw, unrefined beauty of industrial design.
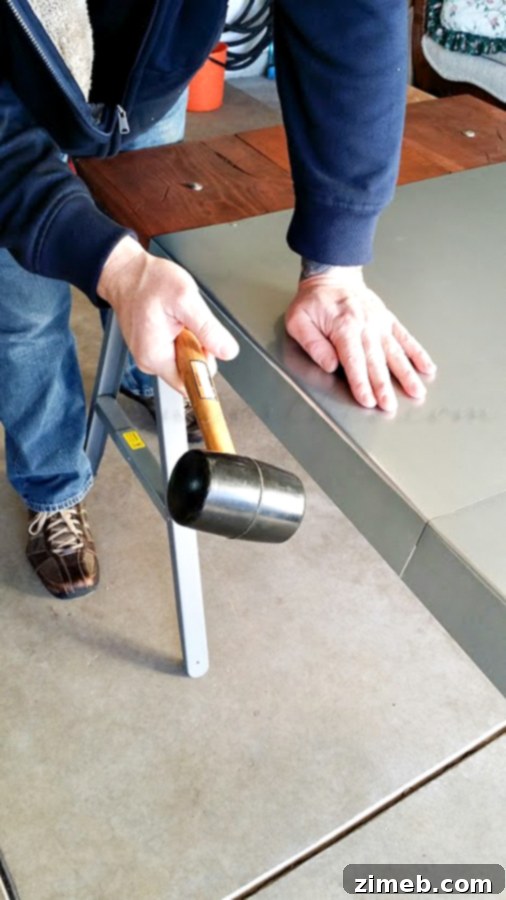
Then we pounded it with the mallet to give the corners a little tighter hug. Then added more nails around the edges to secure.
Enhancing Functionality: Keyboard Drawer and Storage Solutions
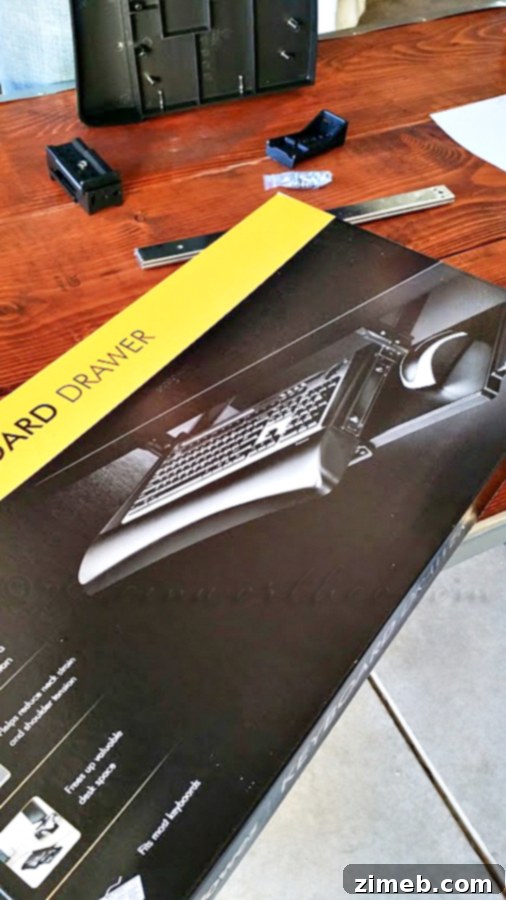
At this stage, the desk could technically be considered complete. However, I knew that having my keyboard directly on the desk surface would not only clutter my expansive workspace but also result in an uncomfortably high typing position. To address this ergonomic concern and maintain a clean aesthetic, I decided to incorporate a simple, pull-out keyboard drawer. This addition was a game-changer for my comfort and the overall tidiness of the desk. To install it, we simply flipped the desk over, following the package directions for central placement. It was a straightforward and quick process, culminating in a fully functional and ergonomically optimized workstation. And with that, my industrial sawhorse desk was truly DONE!
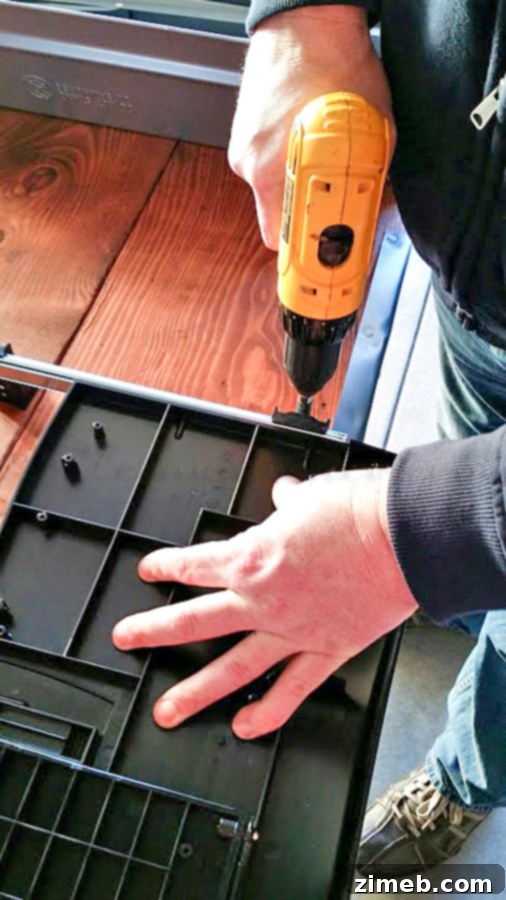
We flipped the desk over & installed directly in the center according to the package directions. Simple. …..and then it was DONE!
Smart Storage: Maximizing the Sawhorse Design
One of the brilliant design features of the sawhorse base is its collapsible nature. This proved incredibly beneficial when it came time to transport the newly constructed desk upstairs to my loft studio. We were able to fold it down to a nearly flat configuration, making the ascent significantly easier than it would have been with a rigid, bulky desk. Once it was in its permanent home, I had another idea to further enhance its functionality: adding shelves to the lower portion of the sawhorses. My thoughtful partner promptly made another trip, procuring a 10-inch wide board, which he then cut in half. I stained these pieces to match the desktop, and they simply slid into place within the sawhorse structure. Now, I have designated, out-of-sight storage for essentials like power strips, paper sorters, and even my printer. This keeps my studio floor clear and, most importantly, prevents these items from cluttering the precious surface of my new, expansive desk. It’s a testament to how even after the main build, thoughtful additions can vastly improve a workspace.
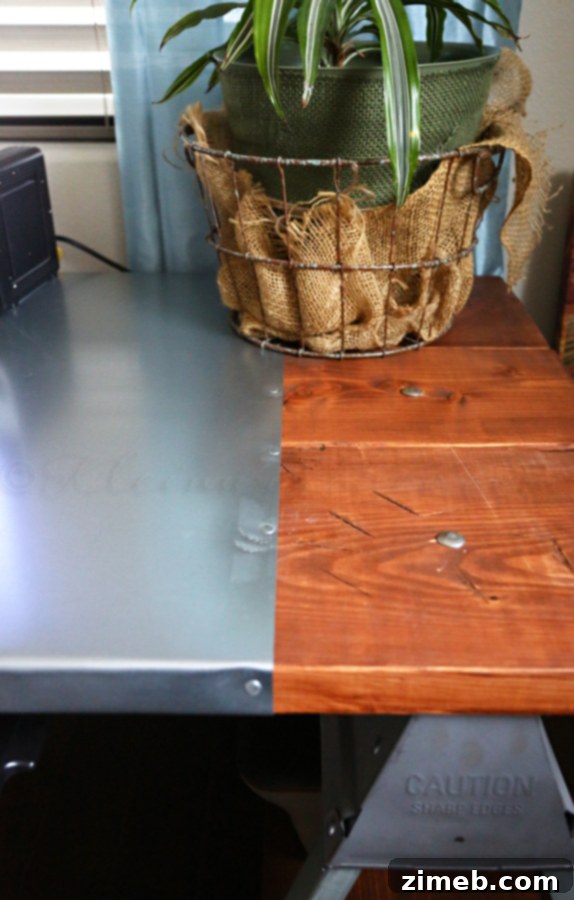
To further embed the industrial character, we took a hammer and strategically applied some additional distressing to the metal surface. These light, intentional indentations and marks contribute to an even more authentic, “worked” appearance, ensuring the desk tells a story and feels truly unique, rather than appearing brand new. It’s a subtle touch that elevates the overall aesthetic and aligns perfectly with the raw, eclectic vibe of my studio.
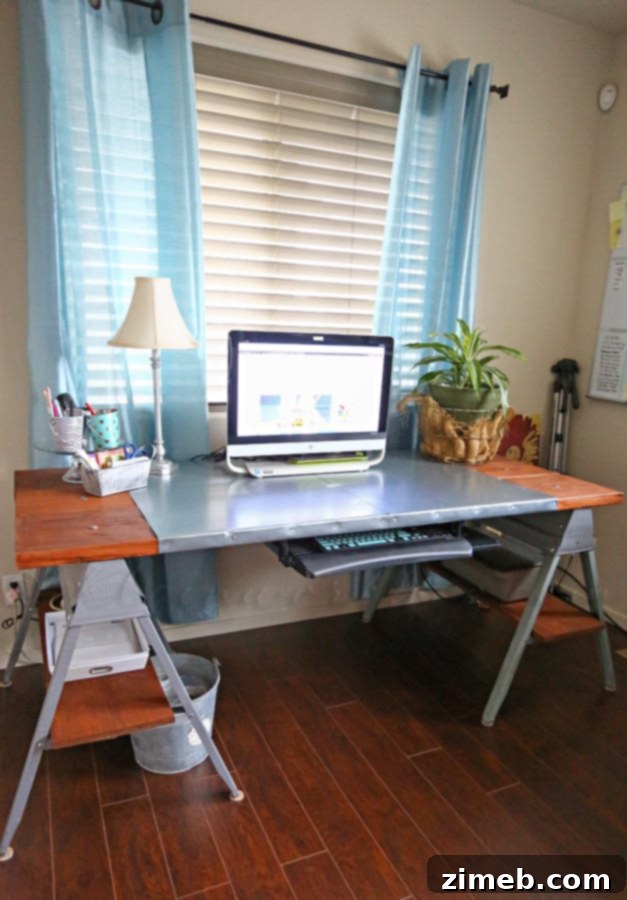
Completing the look, I added a galvanized bucket, perfectly suited as a trash bin, which seamlessly blends with the industrial aesthetic of the desk and my studio. A small but important detail was adding felt circles beneath the feet of the sawhorses. I trimmed them to perfectly fit the impressions on the floor, ensuring that my beautiful new desk wouldn’t cause any scratches or damage. These protective pads are a practical touch that preserves both the flooring and the desk’s stability, allowing me to enjoy my new workspace without worry.
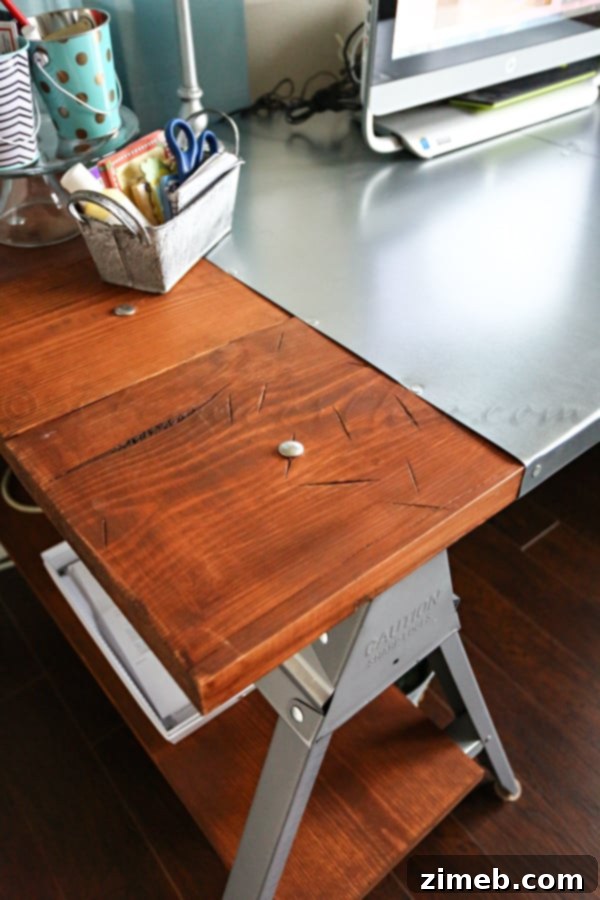
The transformation is remarkable. My new industrial sawhorse desk is significantly larger than its predecessor, providing an abundance of space for all my creative and professional endeavors. The increased surface area, coupled with the integrated storage solutions, has dramatically improved my organization and workflow. I feel so much more efficient and inspired in this personalized workspace. It’s not just a desk; it’s a testament to the power of DIY, proving that with a clear vision and a bit of effort, you can create a functional and aesthetically pleasing environment that perfectly suits your needs and reflects your unique style. This desk has truly become the heart of my productive and artistic sanctuary.
Looking for More Fun DIY Projects for Your Home?
If you’ve been inspired by the creation of this industrial sawhorse desk, you’re in luck! There’s a whole world of possibilities when it comes to personalizing your home with unique, handcrafted pieces. DIY projects offer a fantastic way to save money, unleash your creativity, and furnish your space with items that genuinely reflect your personality. Whether you’re looking to add a touch of rustic charm, a modern edge, or simply create functional solutions, building it yourself brings an unparalleled sense of accomplishment. Explore some of our other favorite home improvement and decor projects below to find your next weekend endeavor. Each project comes with its own set of challenges and rewards, guiding you through the process of transforming everyday materials into extraordinary home accents. Dive in and discover the joy of making something truly your own!
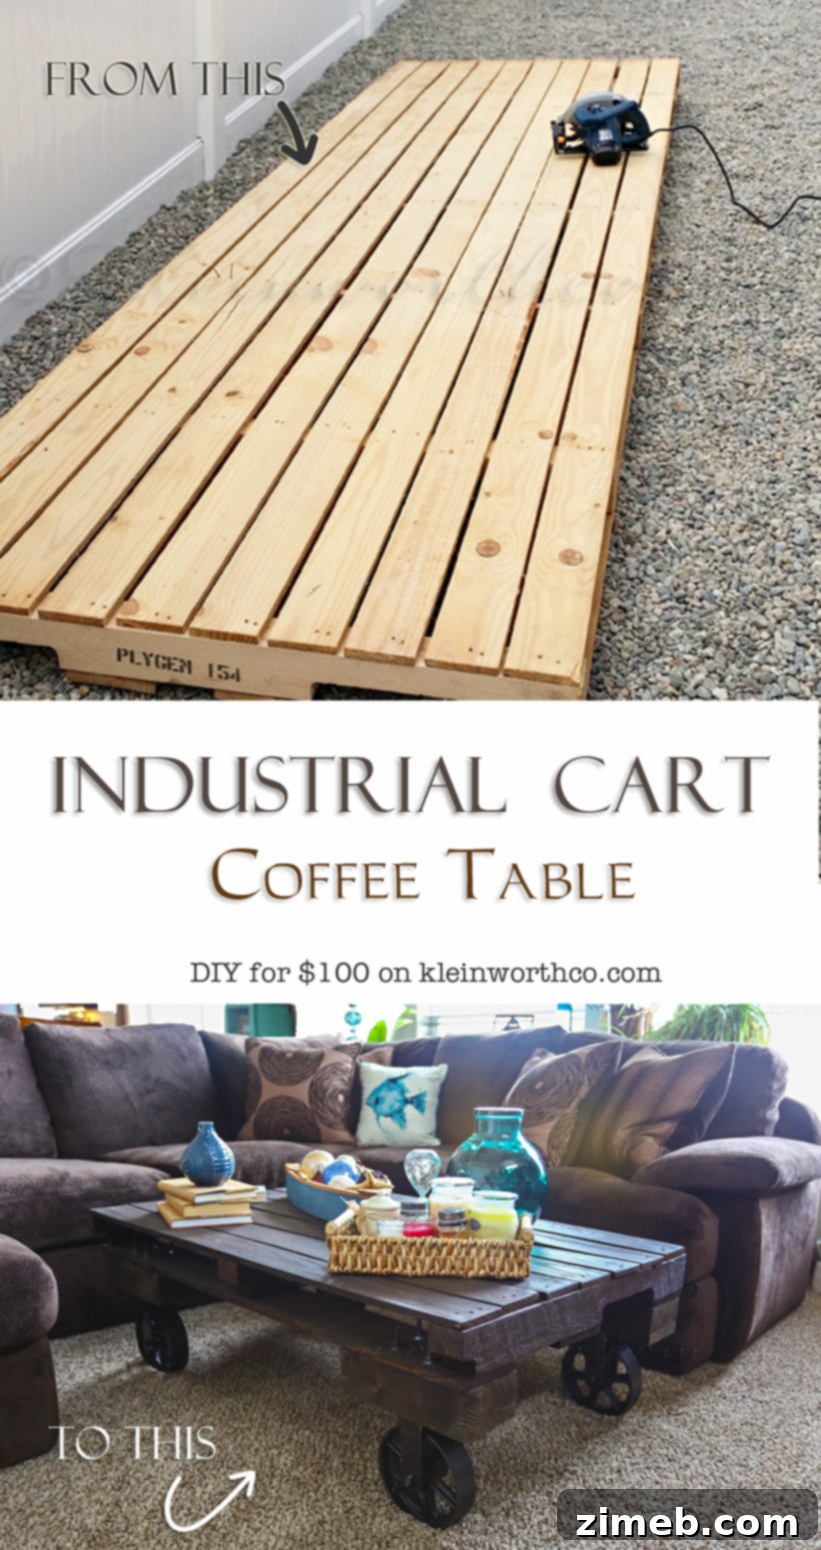
Industrial Cart Coffee Table
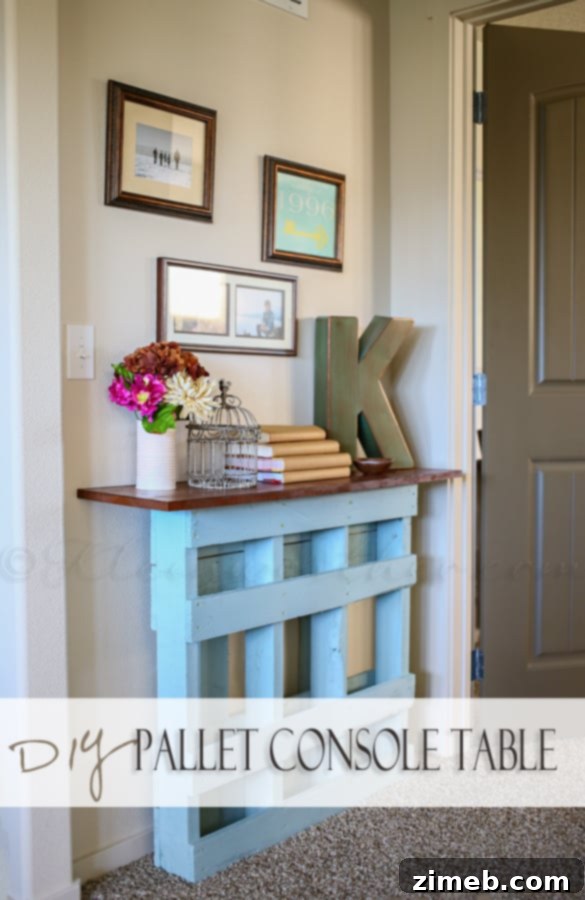
DIY Pallet Console Table

Change Can Lights to Pendant Lights {in less than 10 minutes}
To see where I am linking today- visit HERE