
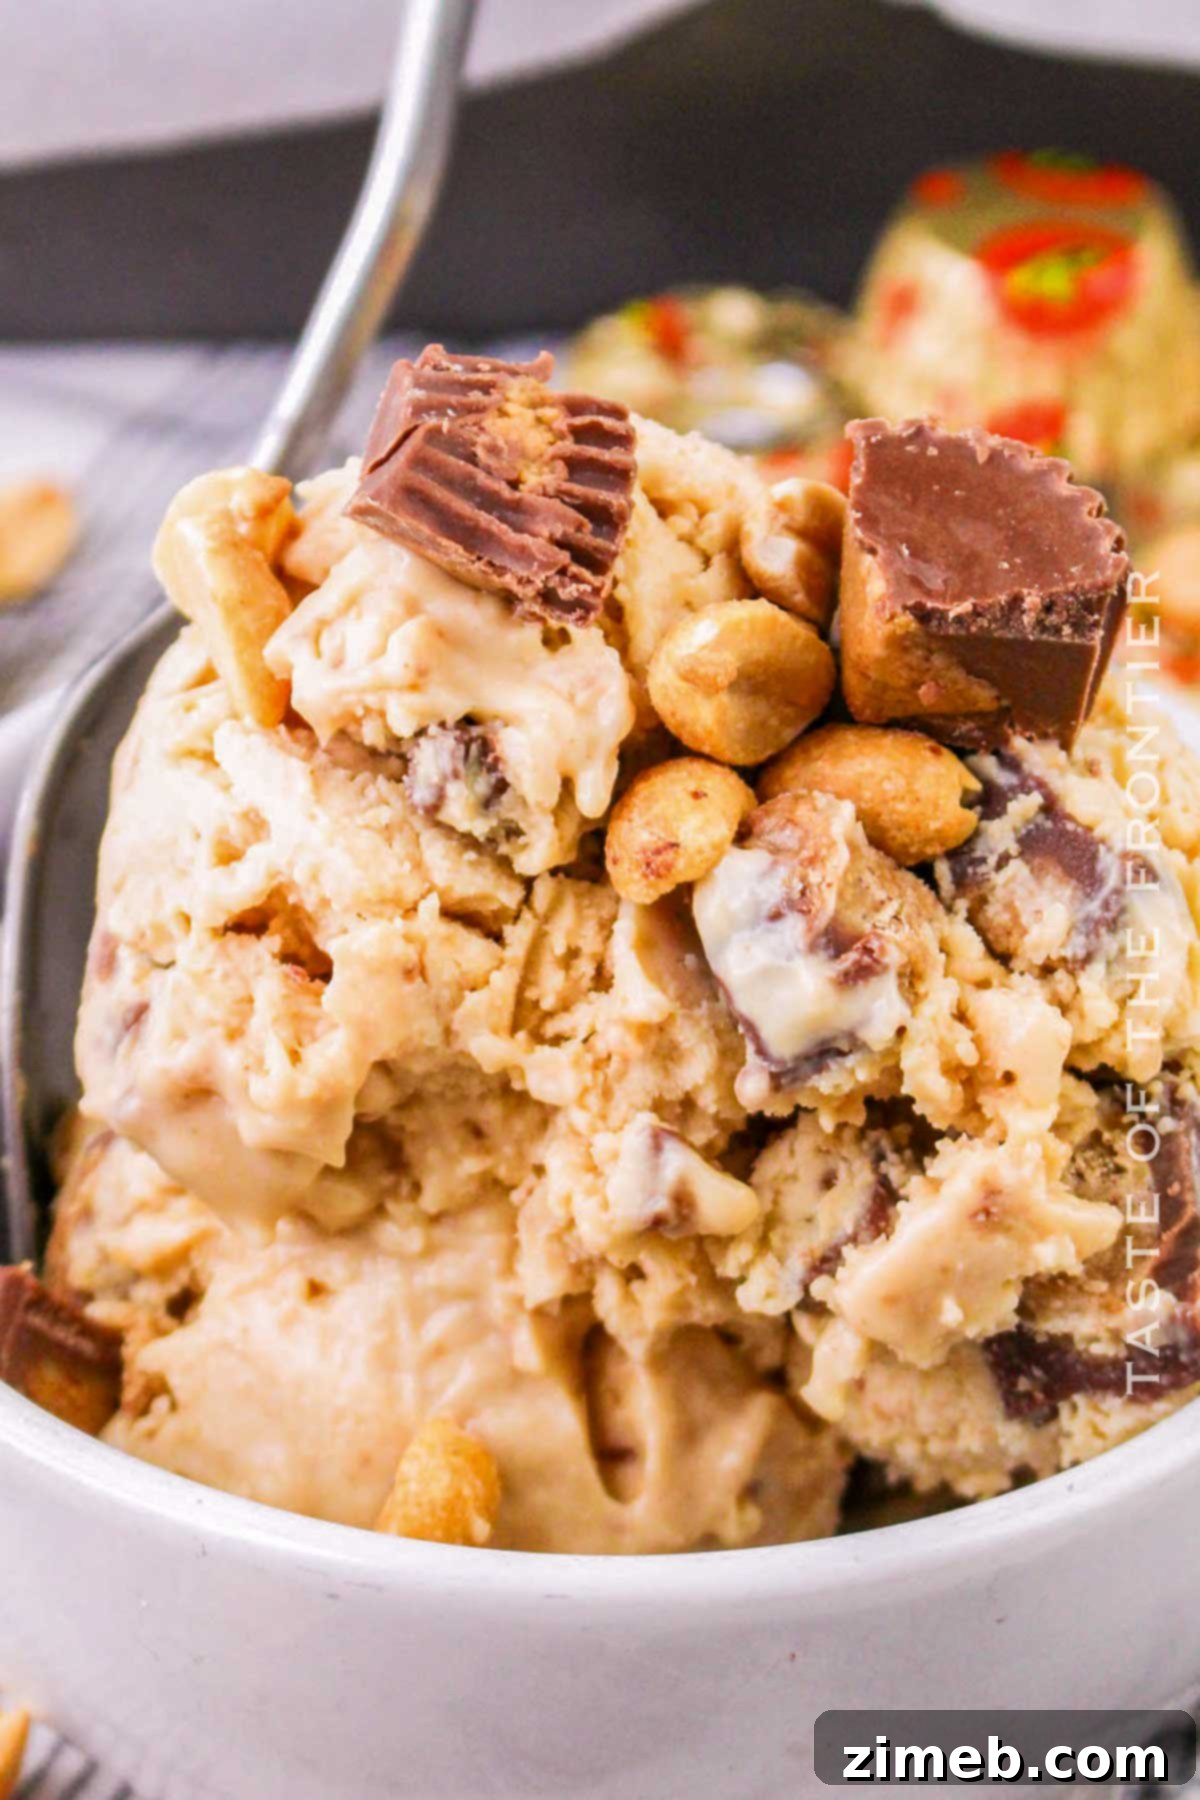
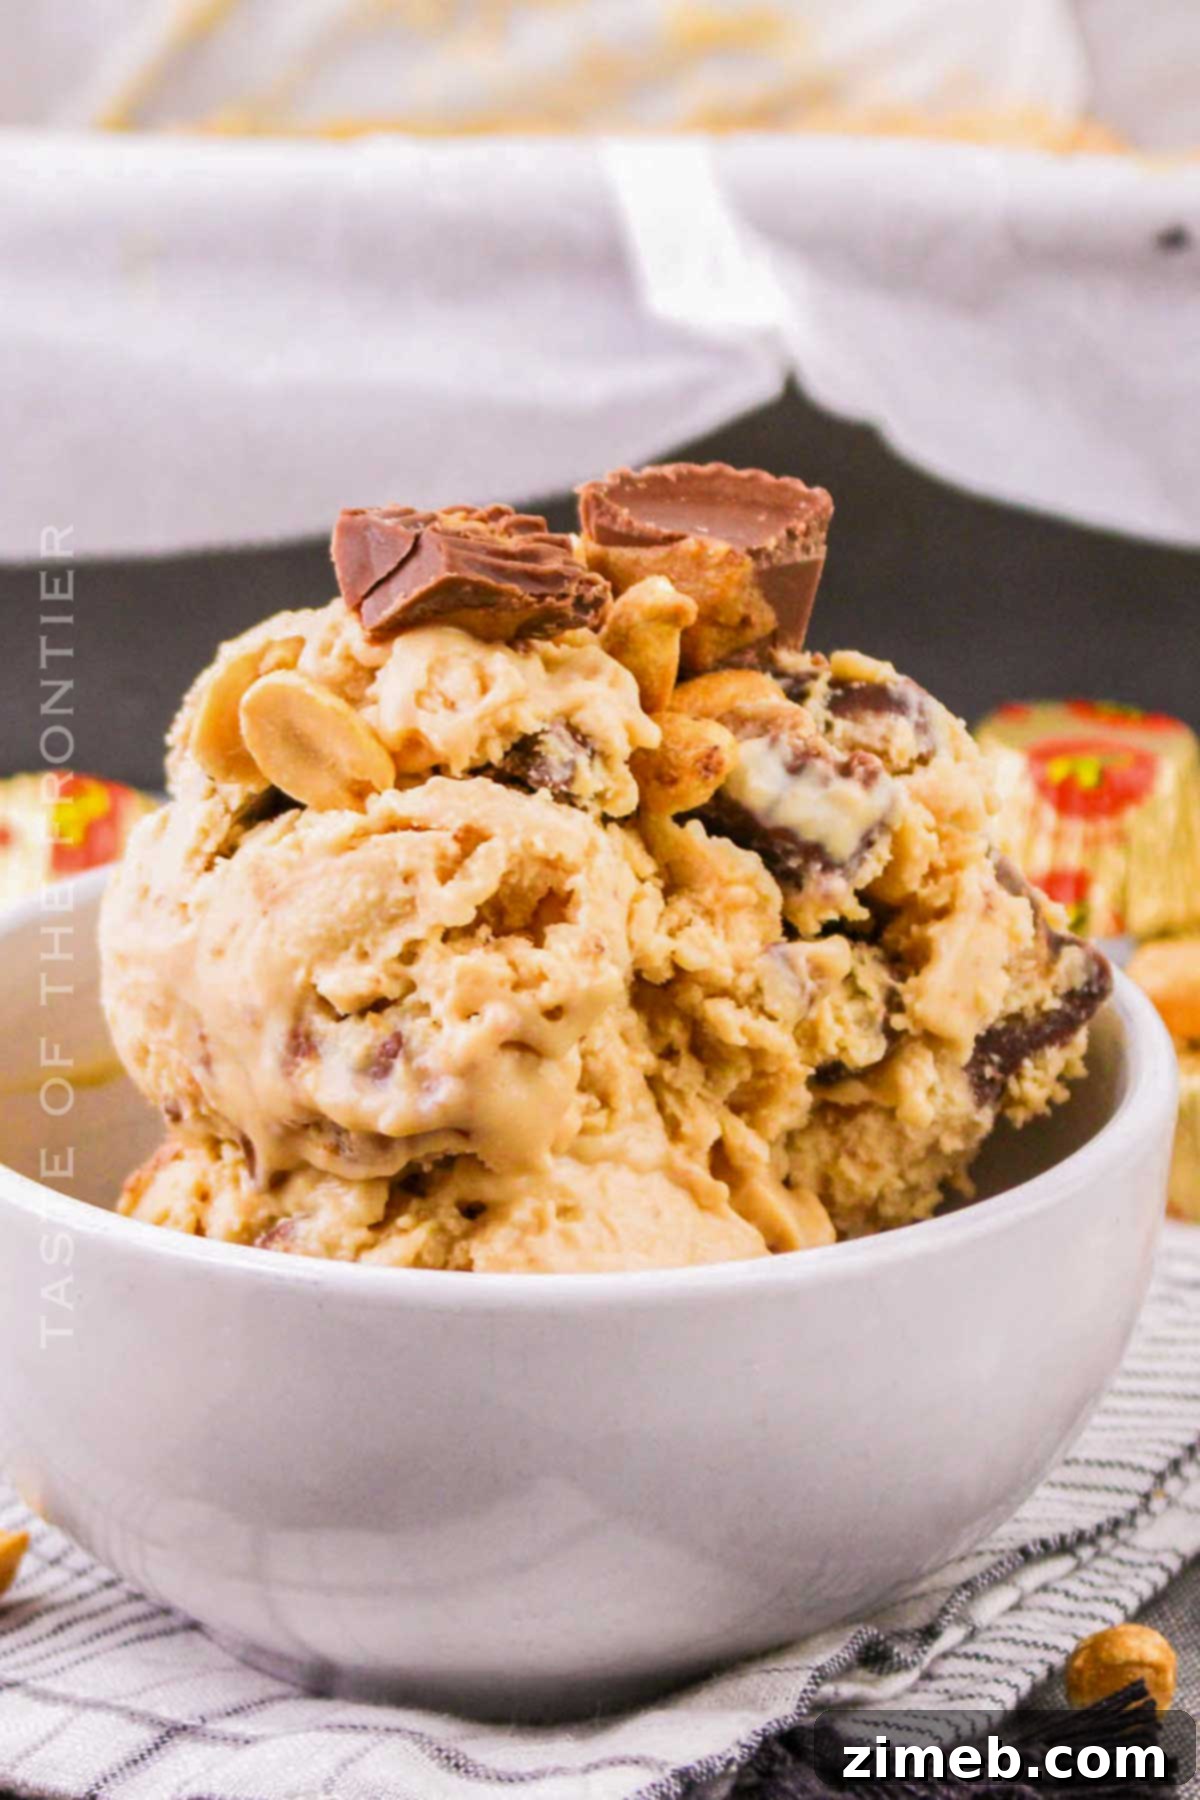
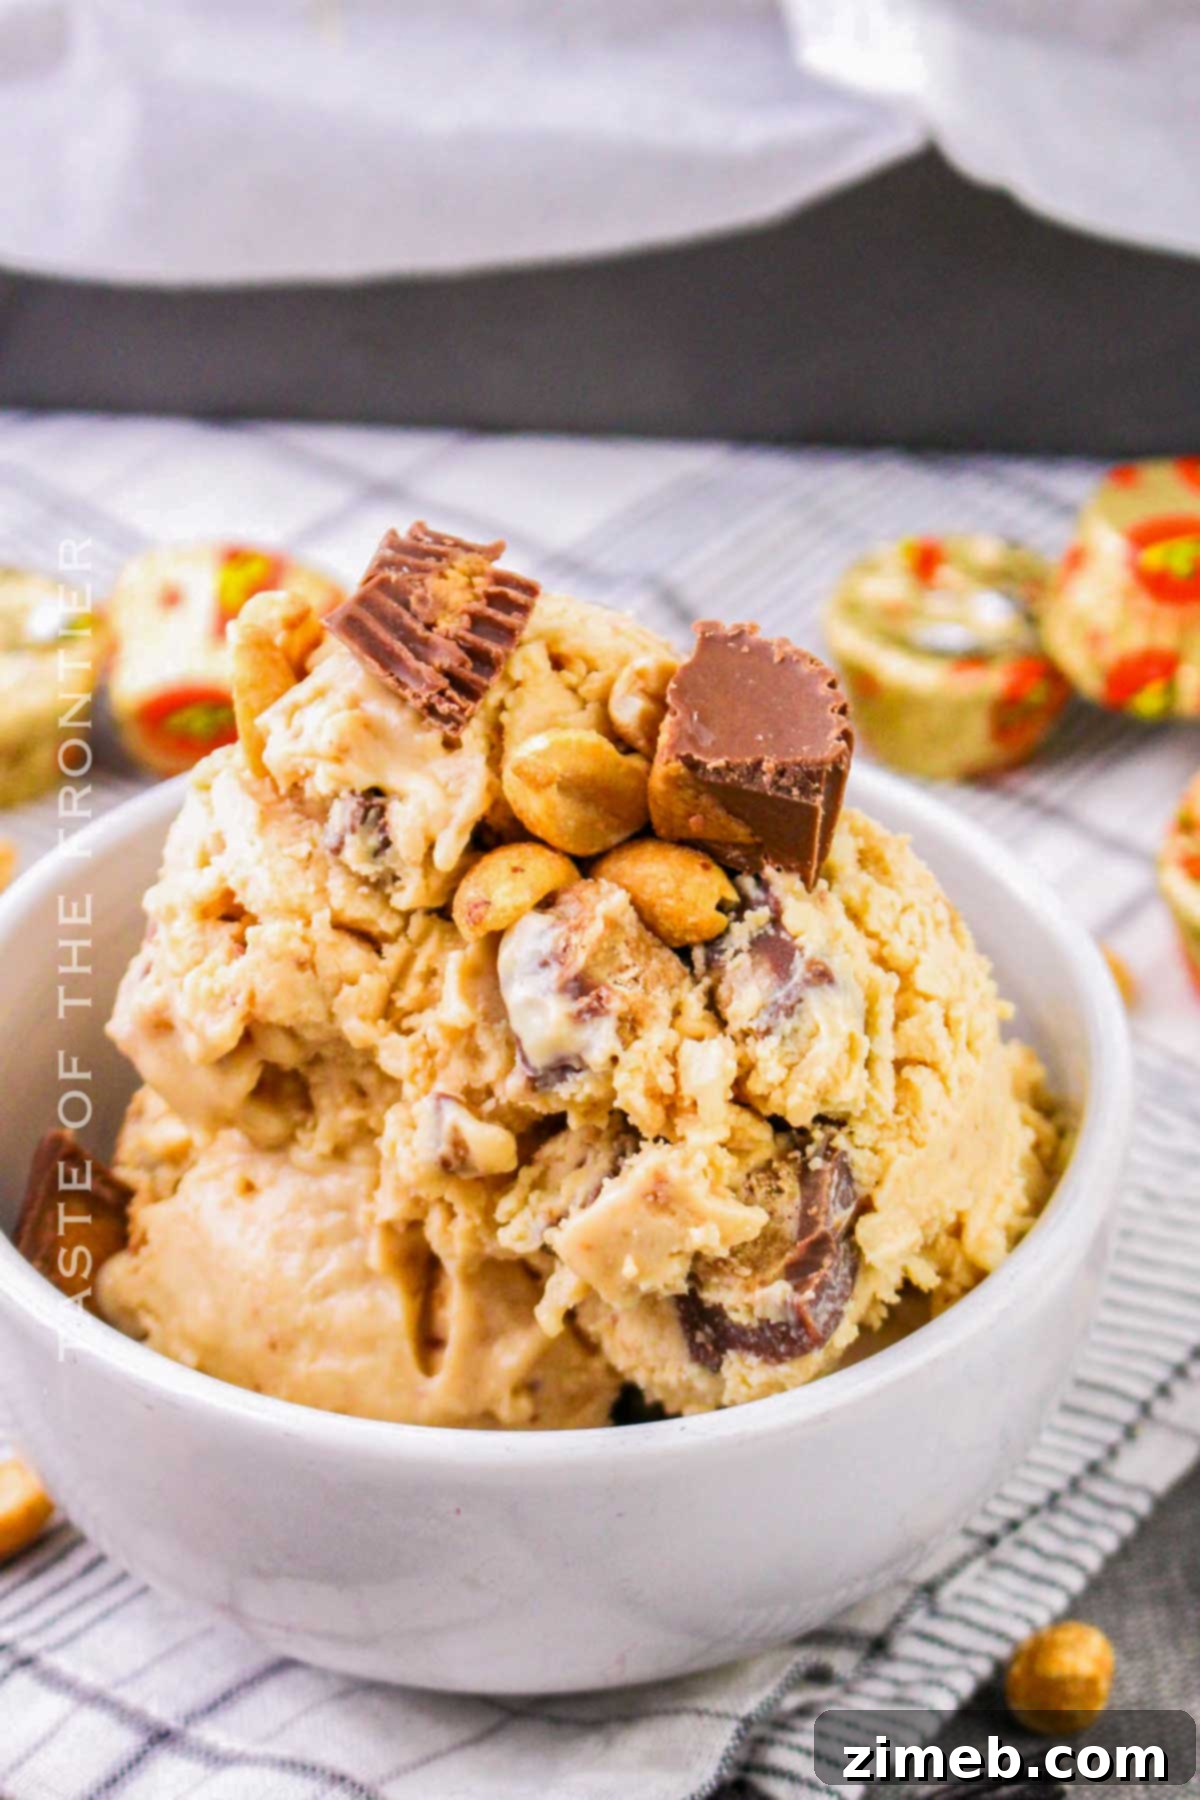
Indulge in a truly unforgettable dessert experience with this homemade Reese’s Peanut Butter Ice Cream. This creamy, rich, and utterly decadent treat perfectly balances the intense flavor of roasted peanuts with sweet vanilla notes, all studded with delightful chunks of real Reese’s Peanut Butter Cups. It’s a dream come true for any peanut butter enthusiast, offering a luxurious texture and an explosion of flavor in every spoonful.
Crafting this homemade delight requires minimal effort, making it an accessible project for any home cook, regardless of whether you own an ice cream maker. Prepare to impress your family and friends with a dessert that rivals any gourmet scoop shop, right from the comfort of your kitchen. Perfect for satisfying an intense sweet tooth craving or celebrating special occasions, this recipe is guaranteed to become a cherished favorite.
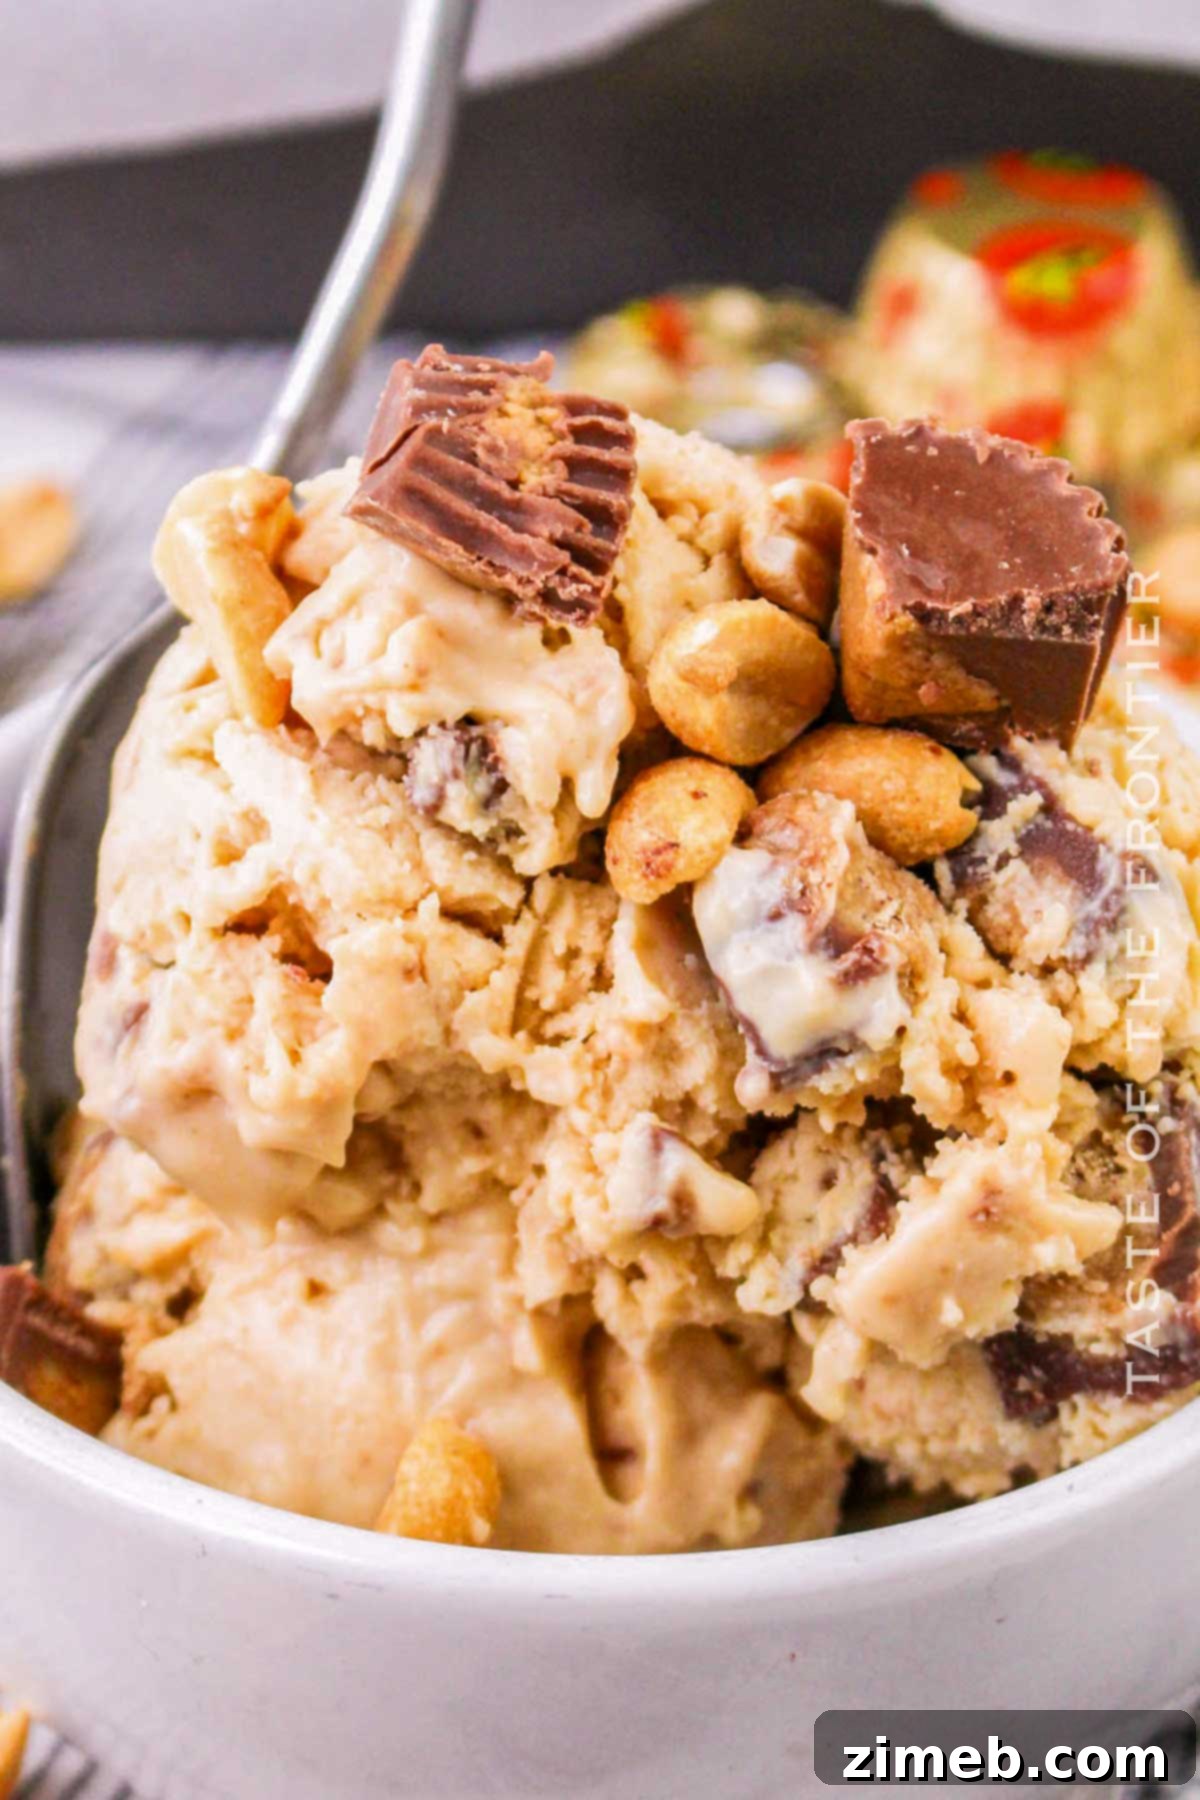
This Reese’s Peanut Butter Ice Cream recipe is incredibly versatile. It’s an ideal choice for a quick, satisfying sweet snack after a long day, or as a show-stopping dessert for holiday gatherings and special celebrations. Its rich flavor profile and comforting texture make it a delightful addition to any menu, promising smiles and satisfied palates all around.
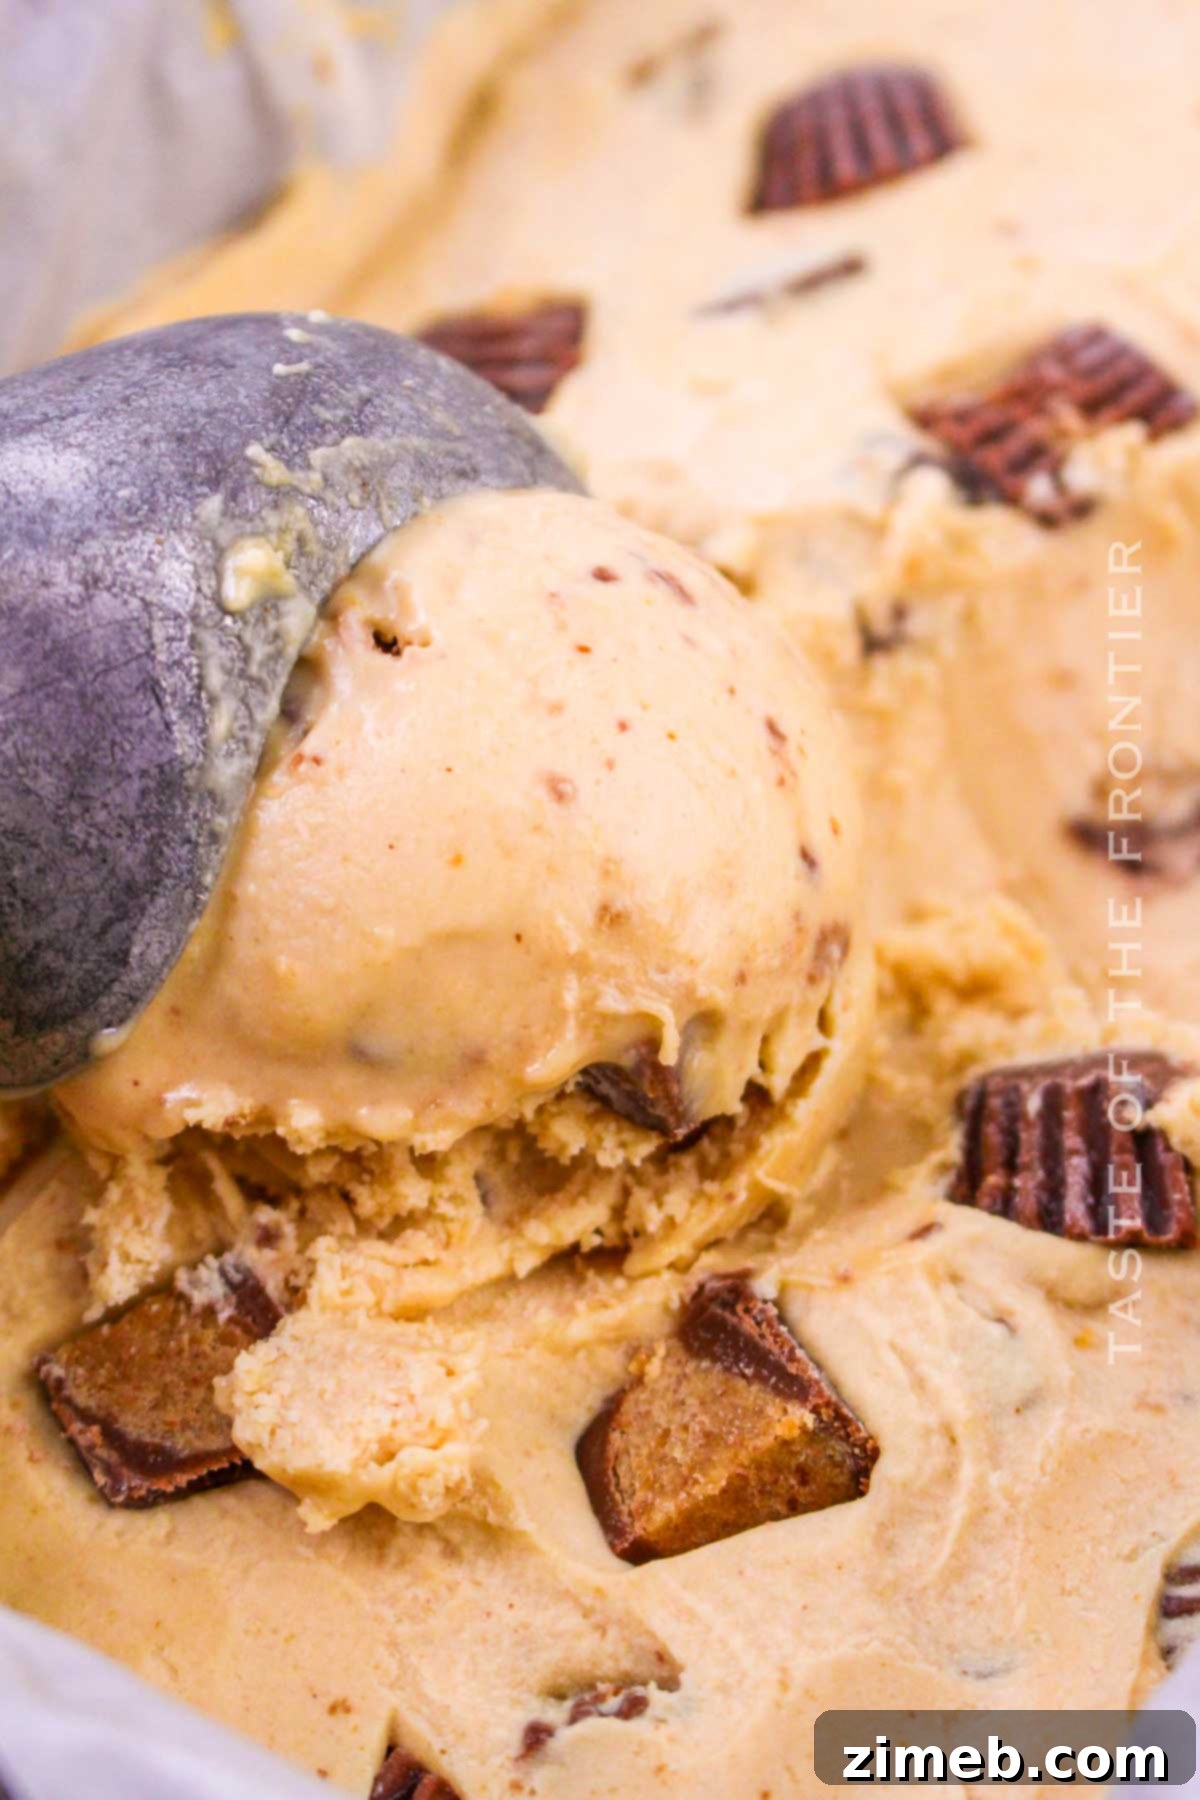
Why You’ll Adore This Easy Homemade Reese’s Ice Cream Recipe
There are countless reasons to fall in love with making your own Reese’s Peanut Butter Ice Cream. This recipe stands out for its simplicity, fantastic taste, and the joy it brings. Here’s why it’s destined to become a staple in your dessert repertoire:
- Quick & Minimal Effort: Forget complicated processes and endless waiting. This recipe boasts a mere 15-minute prep time, followed by a few hours for the ice cream to set. It calls for only 6 readily available ingredients, which you can easily find at any local grocery store. This means less stress and more time enjoying your delicious creation.
- Wonderful Family Activity: Making this ice cream is a fantastic way to bond with kids and create lasting memories. They’ll love helping with the mixing and especially anticipating the final product. The first bite is always met with pure delight, instantly turning them into lifelong fans of homemade ice cream.
- Perfect for Any Occasion: Whether it’s a scorching summer day, a cozy year-round lazy afternoon at home, or an easy after-dinner dessert, this homemade peanut butter ice cream is always a hit. Unlike store-bought varieties, often produced by large corporations like Hershey, your homemade version offers unparalleled freshness and flavor. It’s truly a peanut butter lover’s dream come true.
- Superior Taste Experience: Prepare to be amazed – this homemade ice cream genuinely tastes better than anything you can buy in a store. The fresh ingredients and careful preparation elevate the flavor profile, making it incredibly rich, creamy, and satisfying. This recipe is guaranteed to become your next ice cream obsession, leaving you craving more.
- No Eggs, No Cooking: One of the best features of this recipe is that it requires no eggs, which means absolutely no cooking! This simplifies the process immensely, eliminating the need for tempering eggs or worrying about custard bases. It’s quicker, easier, and perfect for hassle-free dessert making.
- Customizable Fun: Homemade ice cream offers endless possibilities for customization. Beyond the classic Reese’s Cups, you can experiment with different mix-ins and toppings to create your unique flavor combinations, making every batch a new adventure.
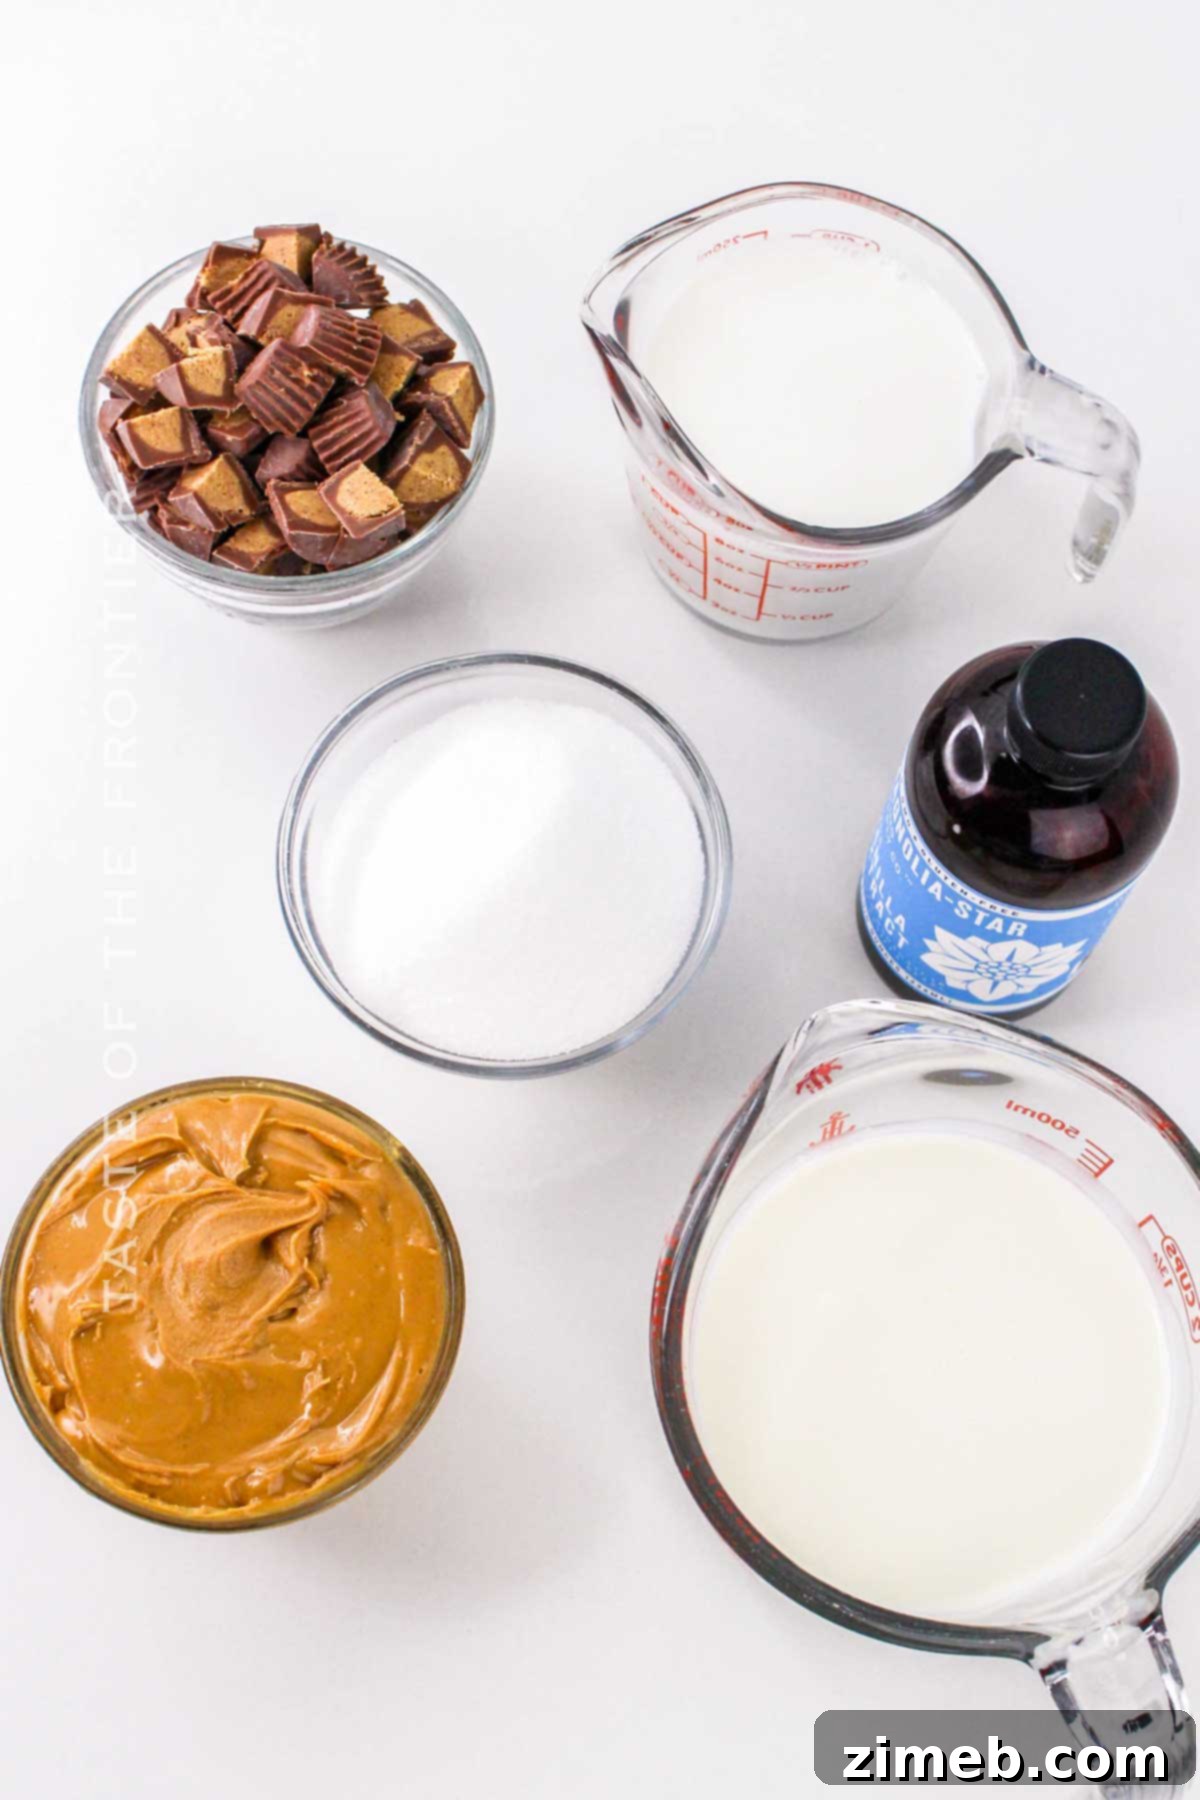
Essential Ingredients for Your Peanut Butter Ice Cream: Detailed Notes
My signature recipe features a delightful blend of peanut butter and vanilla, creating a harmonious and deeply satisfying flavor. While this combination is phenomenal, you always have the flexibility to adapt the base to pure vanilla or even a rich chocolate ice cream using cocoa powder.
- Whole Milk (Full Fat): This is crucial for achieving a smooth, light peanut butter ice cream base, especially when using an ice cream machine for churning. The fat content contributes to a creamier texture and helps prevent ice crystal formation.
- Granulated Sugar: Beyond simply adding sweetness, granulated sugar plays a vital role in the structure and texture of your ice cream. It lowers the freezing point, resulting in a softer, more scoopable consistency.
- Heavy Cream: This ingredient is the secret to unparalleled creaminess and volume. Heavy cream provides the necessary fat content to create that rich, luxurious mouthfeel that defines truly decadent ice cream. Don’t skimp on it for the best results!
- Vanilla Extract: A touch of vanilla extract enhances the overall flavor profile, adding a subtle warmth and aroma that complements the peanut butter beautifully. It’s a foundational flavor enhancer in most great ice cream recipes.
- Creamy Peanut Butter: This is, of course, the star of our show! For homemade ice creams, creamy peanut butter works exceptionally well, integrating smoothly into the base. While crunchy peanut butter can also be used for added texture, natural peanut butter (the kind that separates) is generally not recommended as its oil can separate in the ice cream mixture, leading to an inconsistent texture.
- Reese’s Peanut Butter Cups (Mini is Best): These iconic candies are a fantastic shortcut, delivering both chocolate and peanut butter flavors in one delightful bite. For best results, freeze the Reese’s Cups for at least 10 minutes before chopping. This prevents them from becoming too soft and mushy during mixing. Each standard peanut butter cup can be cut into 4 pieces, or adjust according to your preferred chunk size. The mini cups are perfect for scattering evenly throughout the ice cream.
Essential Kitchen Equipment for Homemade Ice Cream
Having the right tools can make all the difference in your ice cream making journey. While some items are essential, others offer convenient alternatives for those without specialized gadgets:
- Electric Ice Cream Machine: This is highly recommended for churning the ice cream into a perfectly smooth mixture, effectively preventing the formation of undesirable ice crystals. An ice cream maker works by continuously mixing and cooling the base, incorporating air and freezing it evenly. If you don’t have a machine, don’t worry! A large, freezer-safe bowl or pan will be used for the no-churn method.
- Airtight Container for Freezing and Storage: An airtight container is crucial for preserving the quality and preventing freezer burn of your homemade ice cream. Options include purpose-built ice cream containers, a loaf pan, a round cake pan, or any other freezer-safe dish with a tight-fitting lid. Ensure it’s large enough to hold at least 1 quart of ice cream, with a little extra space for expansion as it freezes.
Understanding the Role of an Ice Cream Maker
An ice cream maker is a wonderful kitchen appliance designed to help you create delicious homemade ice cream, sorbet, gelato, and frozen yogurt with ease. Its primary function is to churn and simultaneously cool the ice cream mixture.
This continuous whipping and cooling action serves two major purposes: it incorporates air into the mixture, which gives ice cream its light and fluffy texture, and, most importantly, it prevents the formation of large ice crystals. Without churning, the water in the mixture would freeze into hard, icy chunks, resulting in a less desirable, gritty texture. The ice cream maker ensures a consistently smooth, creamy, and irresistible final product by breaking up these crystals as they form.
Step-by-Step: Crafting Your Reese’s Peanut Butter Ice Cream
Creating this delightful Reese’s Peanut Butter Ice Cream is a straightforward process. Follow these simple steps for a perfectly creamy, peanut-buttery treat.
*No-Churn Alternative: If you don’t have an ice cream machine, you can still make a fantastic no-churn version. In this case, it’s best to use sweetened condensed milk instead of whole milk. You will then skip the machine churning step and proceed directly to freezing your peanut butter ice cream base in a freezer-safe container. Whisk the condensed milk with heavy cream, vanilla, and peanut butter until smooth, then fold in Reese’s Cups before freezing.
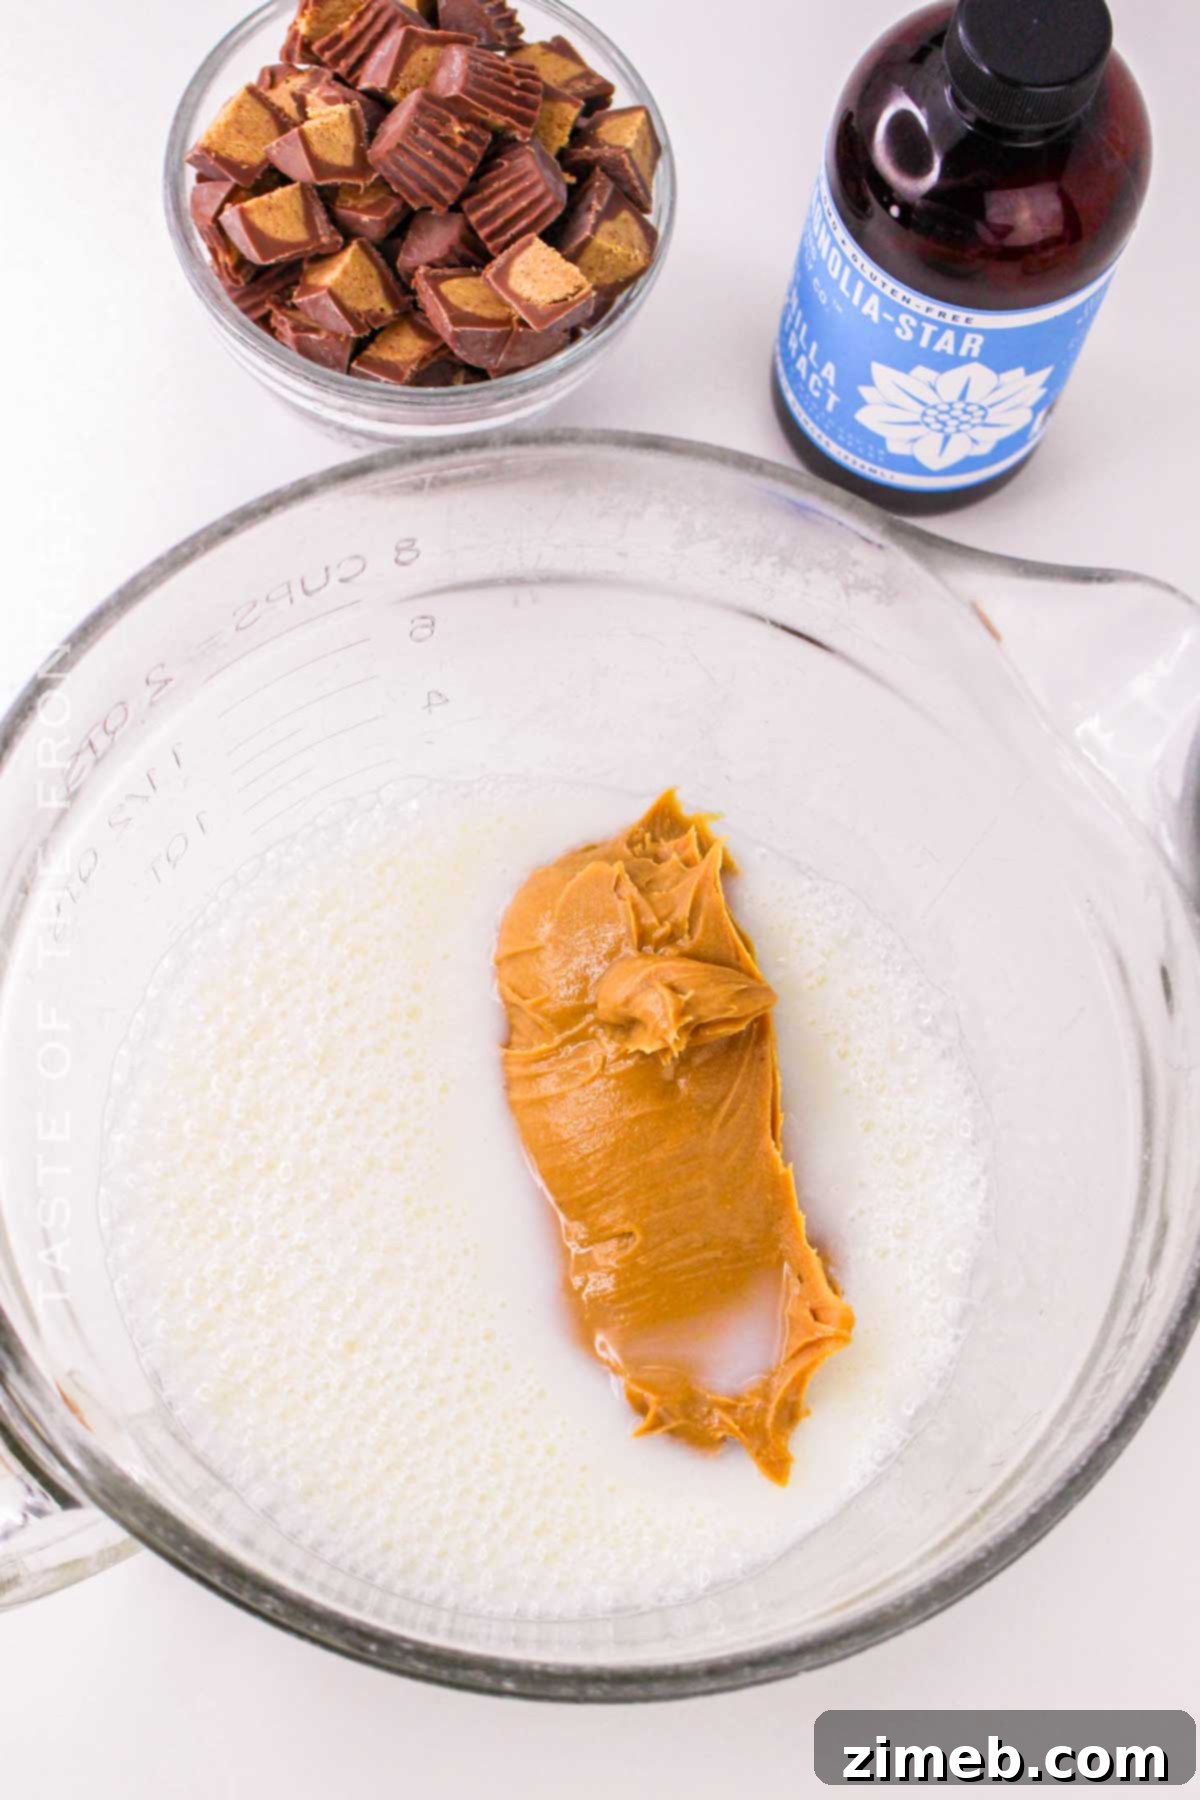
- Prepare the Base: In a large mixing bowl, whisk together the whole milk and granulated sugar until the sugar is completely dissolved. Ensure there are no grainy remnants at the bottom of the bowl.
- Incorporate Peanut Butter: Add the creamy peanut butter to the milk and sugar mixture. Mix thoroughly until the peanut butter is fully blended and the mixture is smooth and uniform.
- Add Flavor Enhancers: Stir in the heavy cream and vanilla extract. This combination will lend richness and a beautiful aroma to your ice cream.
- Chill the Mixture: Cover the bowl with plastic wrap and refrigerate the mixture for at least 2 hours, or until it is thoroughly chilled. This crucial step helps the ice cream freeze more efficiently and achieve a better texture.
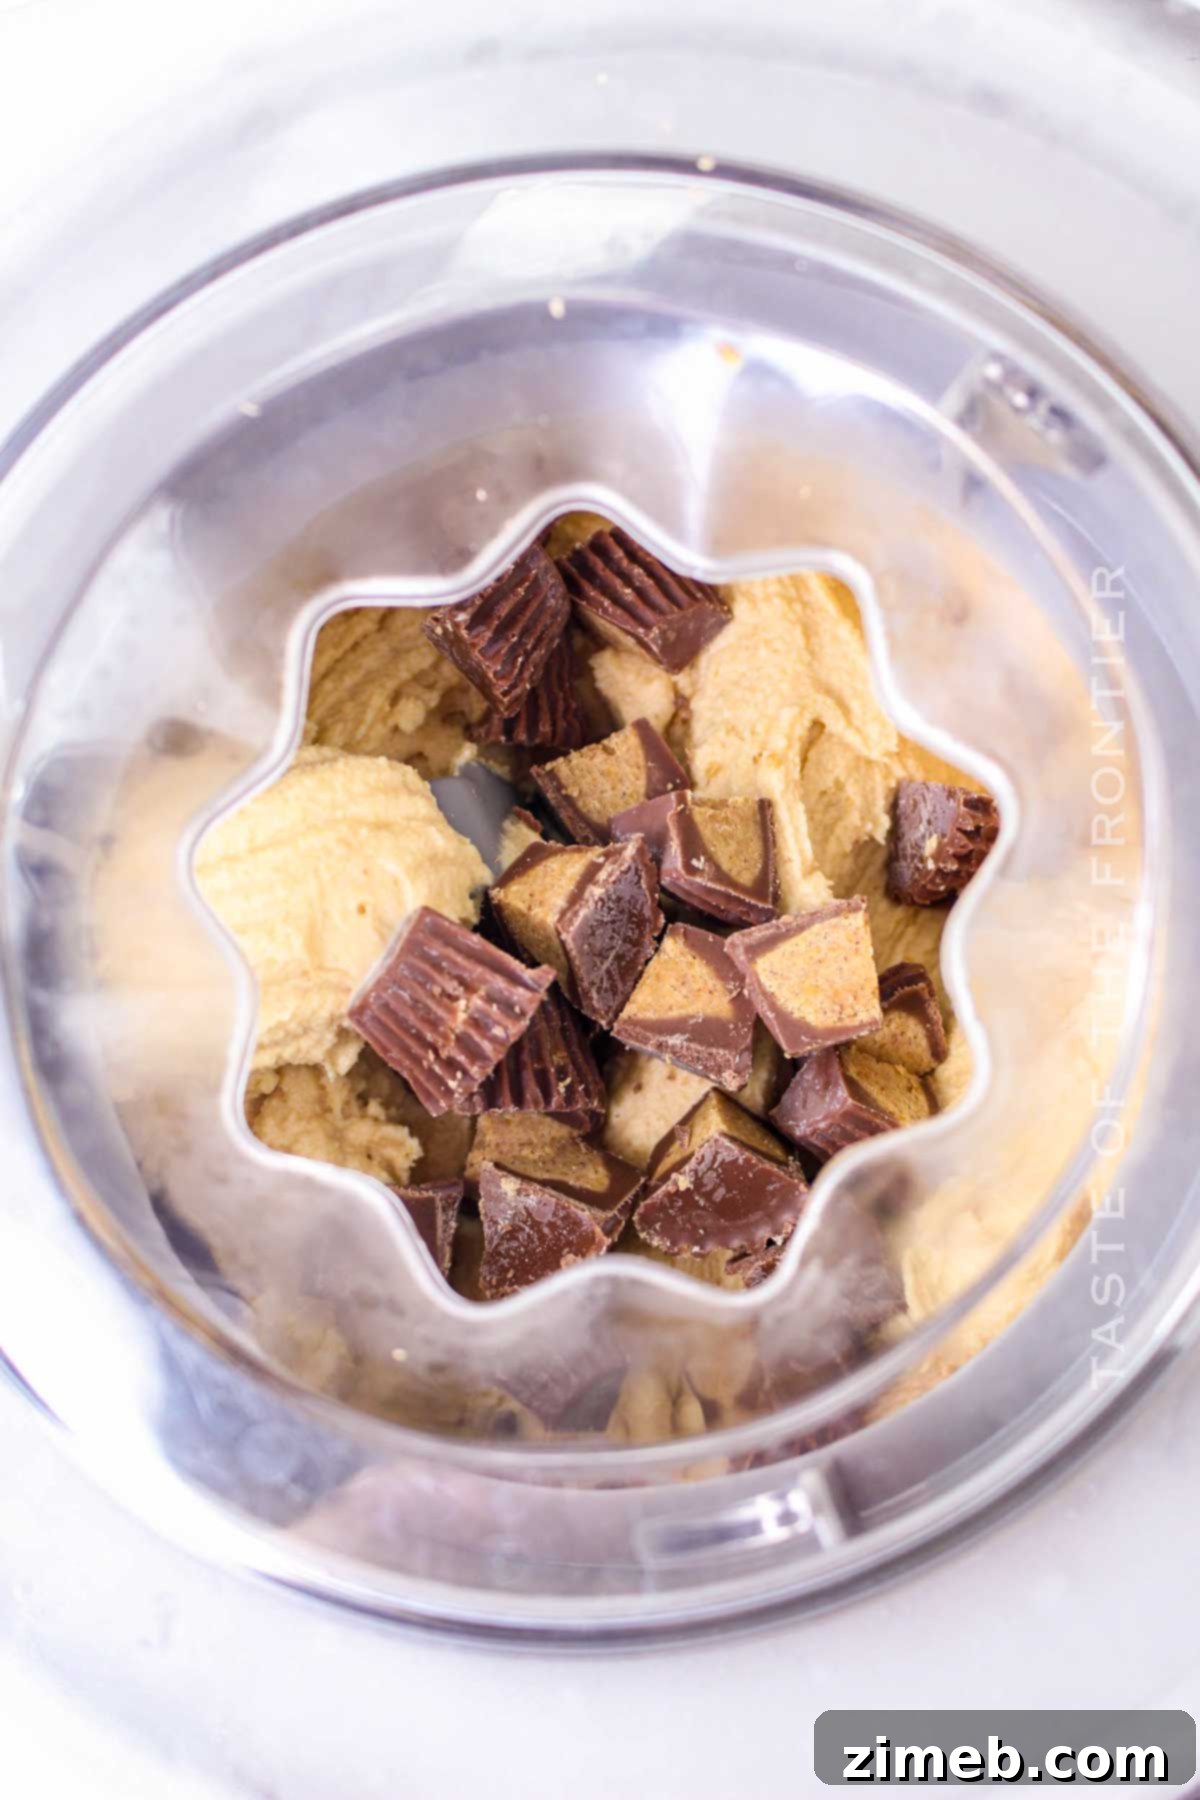
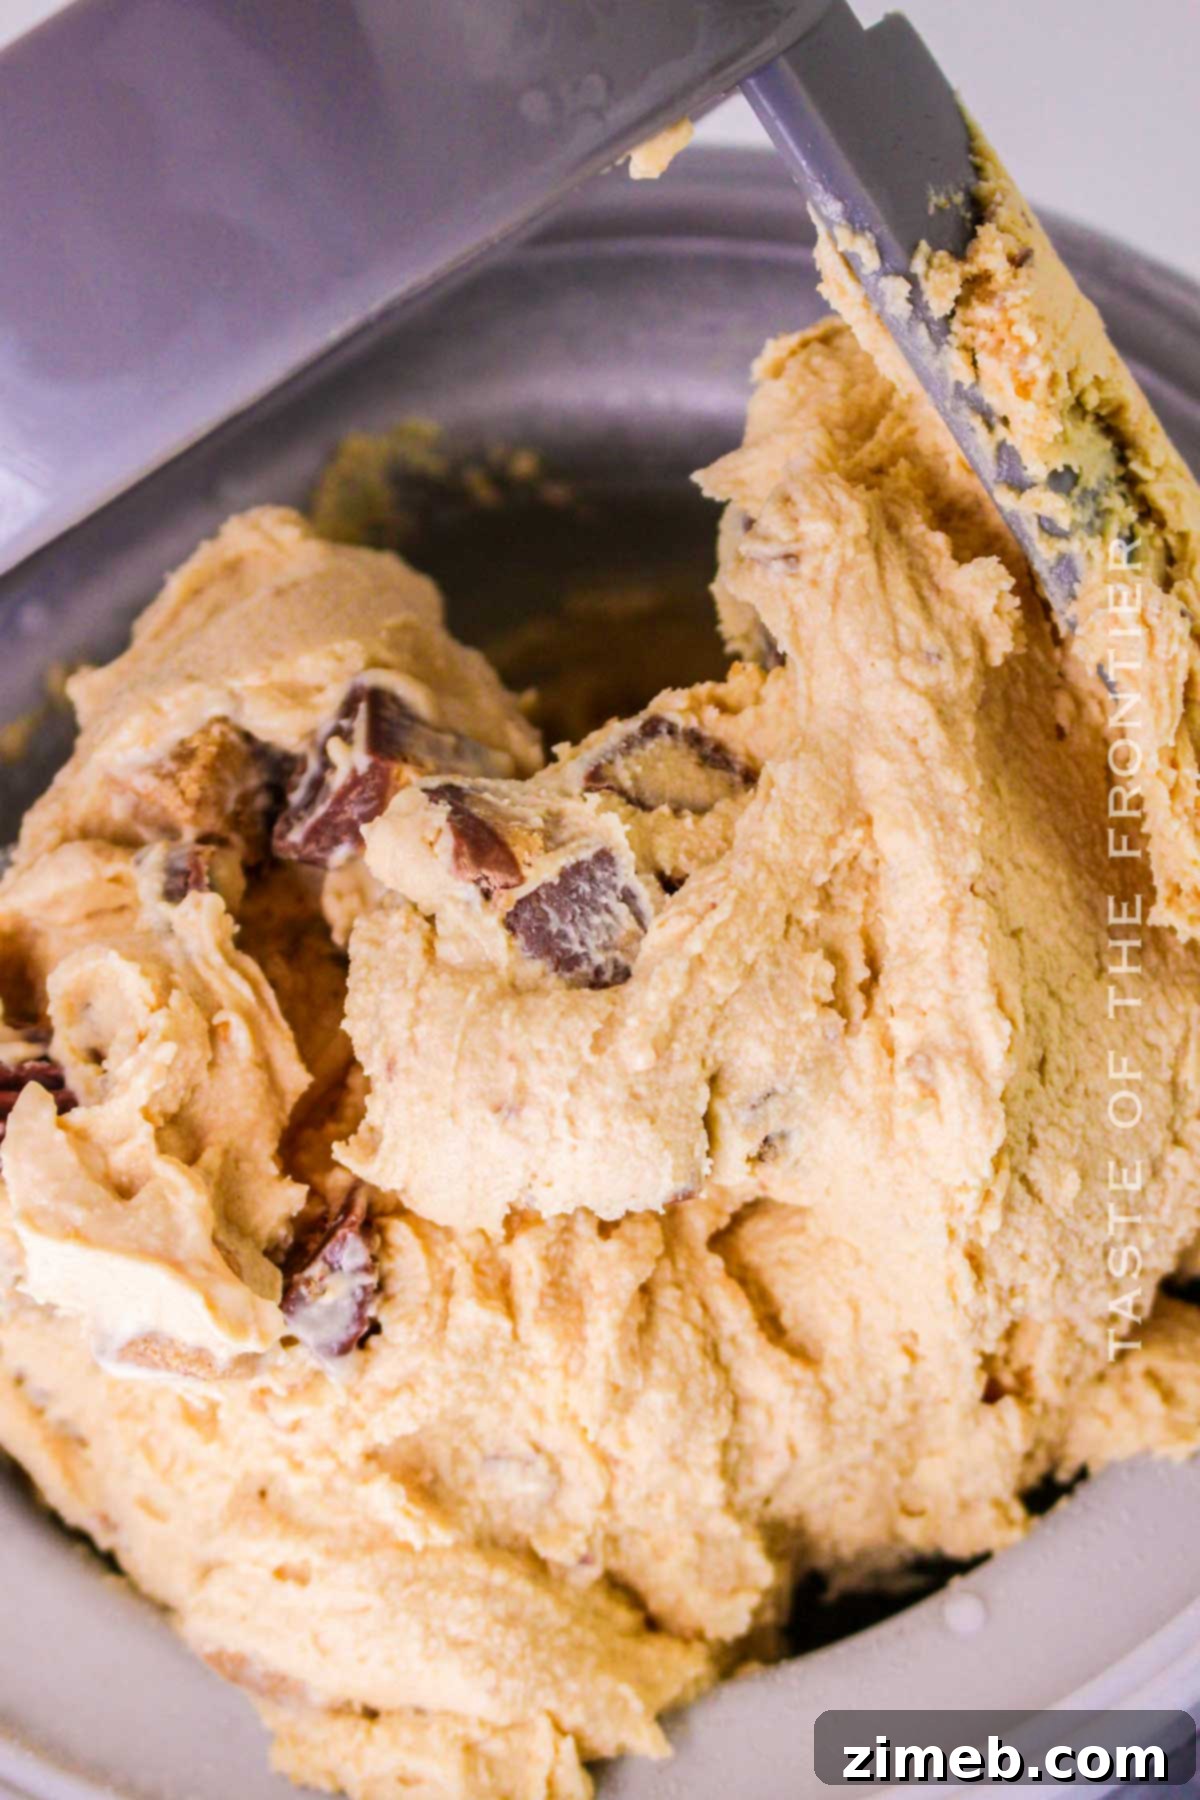
- Churn (if using a machine): Pour the thoroughly chilled peanut butter ice cream base into your electric ice cream machine. Churn according to the manufacturer’s directions, which typically takes about 20-25 minutes. The mixture should thicken to a soft-serve consistency.
- Add Reese’s Cups: During the last 5 minutes of churning, add the chopped Reese’s Peanut Butter Cups to the ice cream. This ensures they are evenly distributed without being over-processed.
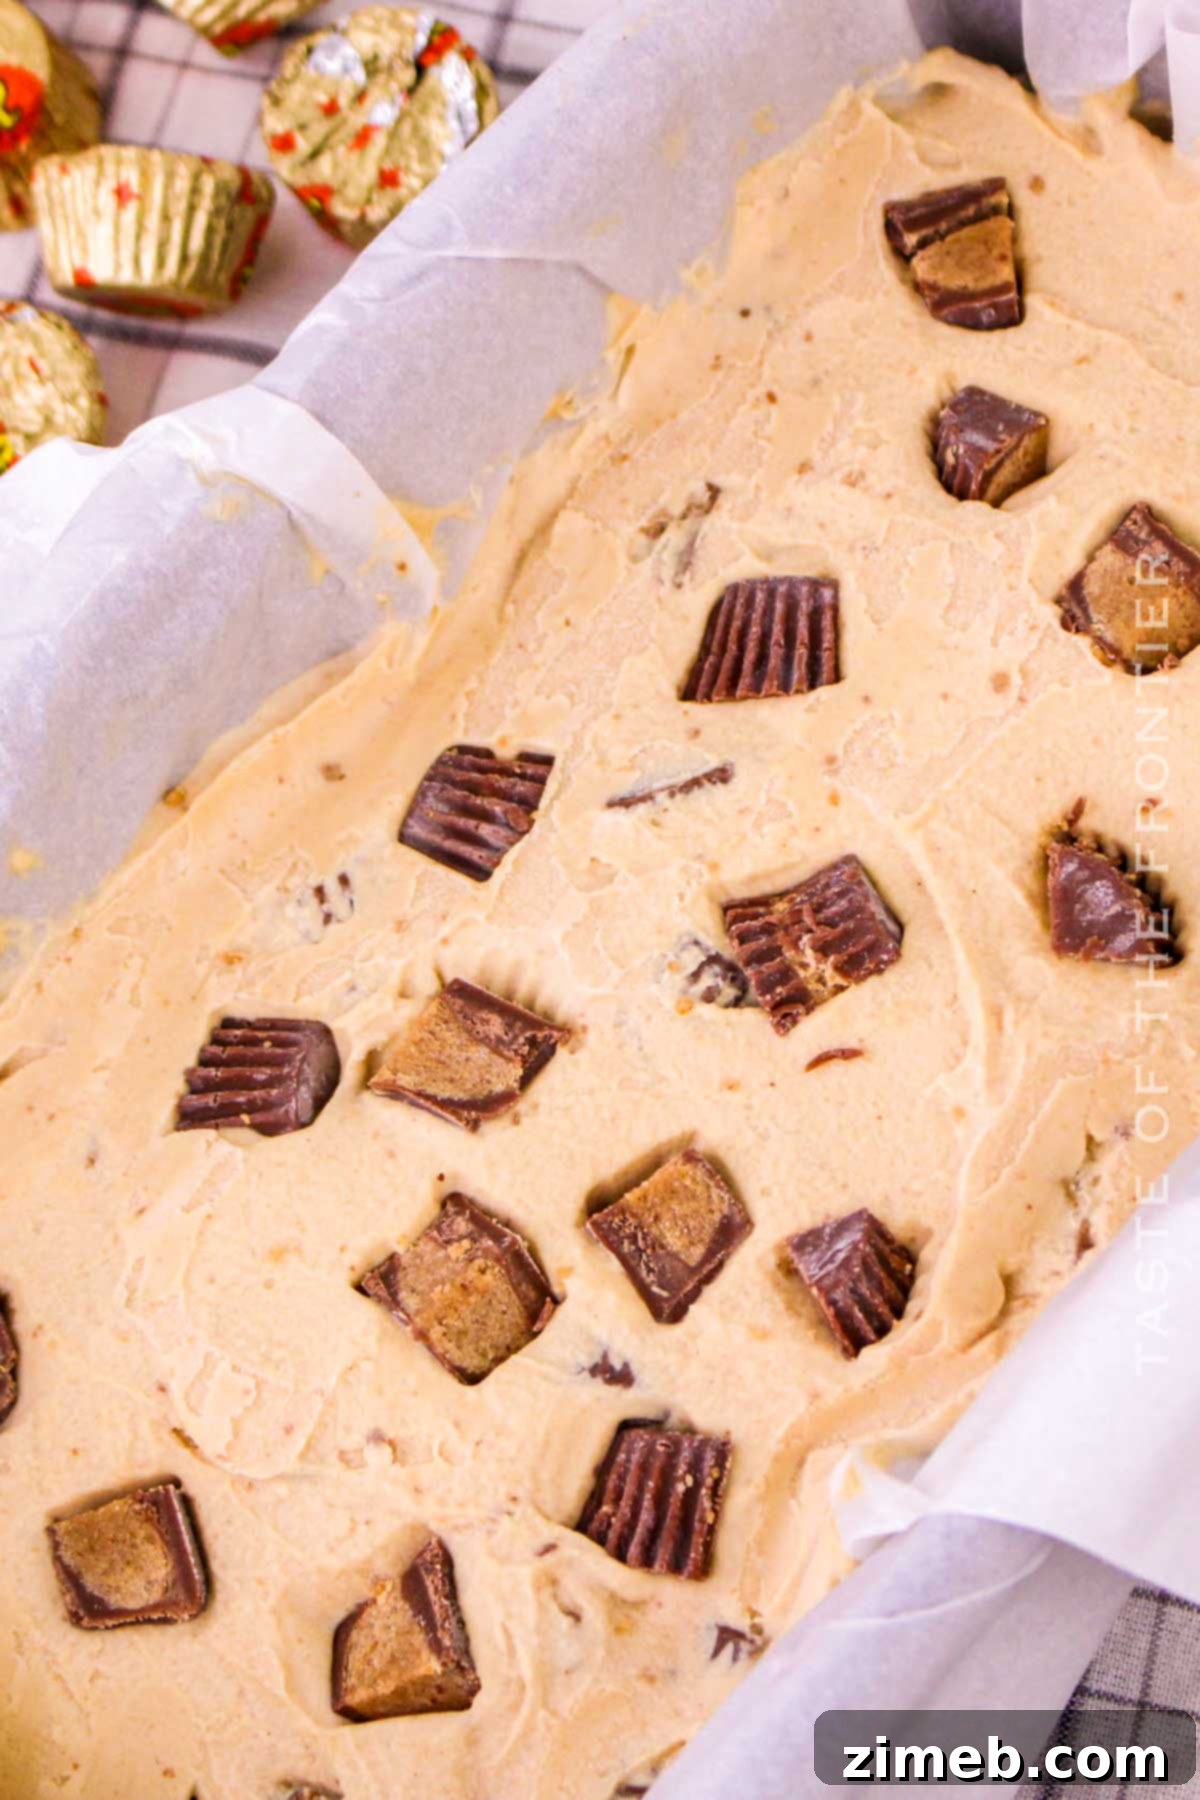
- Final Freeze: Transfer the churned ice cream to an airtight container. Freeze it for at least 2 hours (or until firm) before serving to allow it to harden to a scoopable consistency.
Expert Tips for Scooping Your Homemade Ice Cream
Serving homemade ice cream perfectly is an art that enhances the entire dessert experience. Because homemade ice creams often contain fewer stabilizers than commercial brands, they tend to melt faster. Here’s how to get those ideal scoops:
To ensure easy and smooth scooping, allow the ice cream to soften in the refrigerator for about 10-15 minutes before serving. Avoid leaving it out on the counter at room temperature for too long, as it will melt quite quickly.
For pristine scoops every time, dip your spoon or ice cream scoop in hot water and pat it dry between each scoop. This simple trick warms the metal slightly, allowing it to glide through the frozen dessert with ease.
- Using an Ice Cream Scooper: For a perfect spherical ball, glide your scooper along the edges of the ice cream, rotating it as you go until the scoop is full. This method creates beautiful, round ice cream balls.
- Using a Regular Spoon: If you don’t have a dedicated scooper, a sturdy spoon works well. Dig into the ice cream and scoop a generous amount. Then, without lifting the spoon, rotate it within the ice cream. This technique will yield a lovely, oval-shaped scoop.
Creative Topping Ideas for Your Reese’s Peanut Butter Ice Cream
While this Reese’s Peanut Butter Ice Cream is utterly delicious on its own, adding toppings can elevate it to an even more spectacular dessert. A classic choice that never disappoints is, of course, a generous dollop of fresh whipped cream to crown this delightful treat. But don’t stop there! Explore these amazing topping ideas to customize your homemade ice cream:
- Peanuts: Enhance the peanut flavor and add a satisfying crunch with chopped, whole, toasted, or salted peanuts – whichever you prefer. The nuts highlight the rich peanut butter flavor and provide a wonderful textural contrast.
- Coarse Sea Salt: If you appreciate the unique combination of sweet and salty, a delicate sprinkle of coarse sea salt can create an incredible flavor dimension, making each bite even more exciting.
- Extra Reese’s: There’s no such thing as too much Reese’s! Add more chunks of peanut butter cups or sprinkle in some peanut butter chips for an intensified peanut butter and chocolate experience.
- Chocolate & Candy: Sprinkle some dark or milk chocolate shavings, M&Ms, or your favorite crushed candy for added color and flavor. Drizzling chocolate or caramel syrup also creates a beautiful and delicious finish. Crushed Oreo cookies are another excellent choice if you crave even more chocolatey goodness.
- Melted Peanut Butter: For a truly decadent dessert and an extra burst of concentrated peanut flavor, drizzle melted peanut butter over your scoops. You can even create luscious layers of melted peanut butter within your ice cream as you freeze it.
- Flavor Combinations: Don’t limit yourself to just one flavor! Serve your Reese’s ice cream alongside other homemade ice cream flavors. A scoop of peanut butter, a scoop of vanilla, and a scoop of chocolate create a delightful trifecta of tastes and textures.
And for the ultimate classic presentation, don’t forget to serve your magnificent scoops in crispy ice cream cones!
Optimal Storage for Your Homemade Reese’s Ice Cream
Proper storage is key to maintaining the delicious flavor and creamy texture of your homemade Reese’s Peanut Butter Ice Cream. To enjoy it at its best, store the ice cream in a freezer-safe, airtight container in the freezer for 2-4 weeks.
If you don’t have a specific airtight container, you can still store your ice cream effectively. Simply transfer it to a freezer-safe bowl or pan and wrap the surface tightly with foil or regular plastic wrap, pressing it directly onto the ice cream to minimize air exposure. This crucial step helps prevent freezer burn, which occurs when air comes into contact with the ice cream surface, leading to an undesirable icy texture and altered flavor.
Keep in mind that homemade ice cream recipes generally do not contain industrial stabilizers like Xanthan gum or artificial preservatives found in many commercial varieties. This means your homemade creation will naturally melt faster at room temperature compared to store-bought ice cream. Always return it to the freezer promptly after serving to maintain its quality.
Expert Tips for Crafting the Best Reese’s Peanut Butter Ice Cream
Elevate your homemade Reese’s Peanut Butter Ice Cream from good to absolutely phenomenal with these insightful tips and tricks:
- Pre-Chill Your Bowl: For both churned and no-churn ice cream, chilling your mixing bowl (and the ice cream maker bowl if applicable) in the freezer for up to 24 hours can significantly improve the final texture. This helps keep the mixture colder, allowing it to freeze faster and more evenly, which is crucial for preventing ice crystals, especially in no-churn batches.
- Measure Peanut Butter Easily: Peanut butter can be notoriously sticky to measure. To make cleanup a breeze, lightly grease your measuring cup with a non-stick cooking spray before scooping the peanut butter. It will slide right out!
- No-Churn Perfection: When making a no-churn peanut butter cup ice cream, sweetened condensed milk is your best friend. It provides the necessary sweetness and creamy texture without the need for churning. Ensure you freeze the mixture for at least 4 hours, or preferably overnight, for optimal consistency. Insufficient freezing time can lead to a separated or overly soft texture.
- Gentle Mixing with Reese’s: When folding in your chopped Reese’s Peanut Butter Cups, work gently and don’t rush. The goal is to distribute the chunks evenly without breaking them down too much. You want distinct pieces of candy in every bite, not just a uniform peanut butter swirl.
- Manual Mixing Without a Machine: If an ice cream maker isn’t available, you can still achieve a decent texture. After chilling your dairy dessert base, use an electric mixer to beat the mixture (and peanut butter) for no longer than 5 minutes. This helps incorporate air and creates a lighter texture before freezing. You will need to stir it every 30-45 minutes during the initial freezing period to break up ice crystals.
- Irresistible Peanut Butter Swirls: For an extra layer of peanut butter goodness and visual appeal, create delightful peanut butter swirls. In the last step, when adding the chopped cups, also drizzle in some additional melted creamy peanut butter. Use a knife or a skewer to gently swirl the melted peanut butter through the mixture, creating beautiful patterns and enhancing the flavor.
Frequently Asked Questions About Homemade Ice Cream
What Are the Best Alternatives to an Ice Cream Maker for No-Churn Ice Cream?
You absolutely can make delicious ice cream without a dedicated machine! The most popular and effective no-churn method involves using sweetened condensed milk as the base. This ingredient provides the necessary sweetness and creaminess, eliminating the need for churning to achieve a smooth texture. You can further enrich this base by folding in whipped heavy or double cream.
Another common alternative is to use an electric mixer. After preparing your ice cream base (either with condensed milk or a heavy cream mixture), beat it with an electric mixer for a few minutes to incorporate air, then freeze. To prevent large ice crystals, stir or beat the mixture every 30-45 minutes during the first few hours of freezing until it reaches your desired consistency. For the best no-churn results, ensure the ice cream freezes for at least 4 hours, or ideally overnight, for a firm and scoopable texture.
How Can I Achieve a Soft and Fluffy Texture in Homemade Ice Cream?
Achieving that perfectly soft, fluffy, and scoopable texture in homemade ice cream is all about controlling ice crystal formation and incorporating ingredients that affect its freezing point. Here’s how you can do it:
- Sweetened Condensed Milk & Double Cream: These ingredients are a powerhouse for soft, fluffy ice cream. Sweetened condensed milk is dense and resists freezing hard, while double or heavy cream, when whipped, adds air and richness that contribute to a lighter, softer consistency.
- Sugars & Syrups: Beyond granulated sugar, incorporating sweet corn syrup or honey can help. These sugars are “invert sugars” which interfere with ice crystal formation more effectively than regular granulated sugar, resulting in a smoother, softer ice cream.
- A Touch of Alcohol: A small amount of clear, high-proof alcohol like vodka (a tablespoon or two per quart) can significantly lower the freezing point of your ice cream base, making it much softer and easier to scoop directly from the freezer without becoming rock hard. The alcohol content is minimal and generally doesn’t impart a noticeable flavor.
- Proper Churning/Mixing: Whether using an ice cream maker or a no-churn method with an electric mixer, ensuring adequate air incorporation is key to fluffiness. Churning or beating introduces tiny air pockets that contribute to a lighter texture.
- Fat Content: Higher fat content from heavy cream or whole milk also contributes to a smoother, less icy texture, as fat does not freeze into hard crystals.
The greatest advantage of making ice cream at home is that it can often be healthier, made with fresh, quality ingredients, and tailored to be even creamier and more flavorful than many store-bought options.
If you loved this homemade Reese’s Peanut Butter Ice Cream recipe, you’re sure to enjoy these other delightful ice cream flavors too. Click each link below to discover the easy, printable recipe!
Check out this recipe
Check out this recipe
Check out this recipe
Check out this recipe

Check out this recipe

More Irresistible Peanut Butter Treats You’ll Love
Peanut Butter Cup Ice Cream Cake
Classic Peanut Butter Cookies
Microwave Peanut Butter Fudge
Peanut Butter Cup Cookies
CONNECT WITH YUMMI HAUS!
Be sure to follow me on my social media, so you never miss a post!
Substack, FB, Pinterest, IG, Email Subscription
Rate this Recipe
Reese’s Peanut Butter Ice Cream
Ingredients
- 1 cup whole milk
- ¾ cup granulated sugar
- 1 ½ cups heavy cream
- 1 teaspoon vanilla extract
- 1 cup peanut butter creamy
- 1 cup Reese’s Peanut Butter Cups chopped and frozen
Instructions
-
Whisk together the whole milk and sugar in a mixing bowl until the sugar is completely dissolved.
-
Add the peanut butter, mixing until completely blended.
-
Stir in the heavy cream and vanilla extract.
-
Cover the mixture and refrigerate for at least 2 hours, or until thoroughly chilled.
-
Pour the chilled mixture into the electric ice cream machine and churn according to the manufacturer’s instructions, usually about 20-25 minutes.
-
During the last 5 minutes of churning, add the chopped Reese’s Peanut Butter Cups to the ice cream.
-
Transfer the ice cream to an airtight container and freeze for at least 2 hours before serving.
Equipment
-
ice cream machine
Nutrition
Nutritional information for the recipe is provided as a courtesy and is approximate. Please double-check with your own dietary calculator for the best accuracy. We at Yummi Haus cannot guarantee the accuracy of the nutritional information given for any recipe on this site.