
Unleash your inner artist and transform your living space with this incredibly simple and stunning **DIY Burlap Coastal Art** project. If you’re yearning for that tranquil, breezy aesthetic of the seaside but don’t want to spend a fortune or countless hours on decor, then this project is your perfect anchor. We’ll guide you through creating bespoke coastal wall art that feels professionally curated yet takes less than 30 minutes of active crafting time. It’s an ideal way to infuse your home with serene beach vibes, making it a must-try for anyone looking to enhance their coastal-themed decor on a budget.
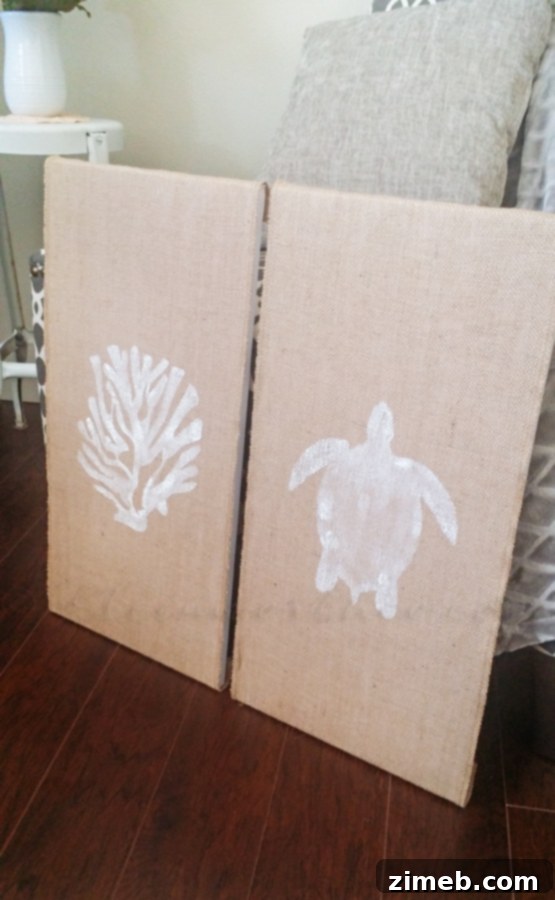
You’re about to discover how effortlessly beautiful and impactful this project can be. Forget complex techniques or expensive supplies; this DIY is all about smart repurposing and simple artistry. We’ll show you step-by-step how to create these charming burlap pieces, breathing new life into old canvases and adding a touch of personalized beach house elegance to any room. It’s a creative endeavor that proves you don’t need to be an experienced crafter to achieve impressive results. In just under half an hour, you can have a brand new piece of art ready to adorn your walls, perfectly complementing your existing decor or kickstarting a new coastal theme.
Why Choose DIY Coastal Art?
Coastal decor brings a sense of calm, freshness, and natural beauty into a home. It’s about evoking the feeling of a seaside retreat, whether you live by the ocean or miles away. However, store-bought coastal art can often be pricey and may not always fit your exact color scheme or aesthetic preferences. This DIY approach offers unparalleled flexibility, allowing you to select specific motifs, colors, and textures that perfectly align with your vision. Moreover, the act of creating something with your own hands is incredibly rewarding, adding a personal touch that no mass-produced item can replicate. Burlap, with its rustic texture and natural appeal, is an ideal material to enhance this earthy, beachy feel, making it perfect for capturing the essence of the coast.
Materials You’ll Need for Your Burlap Coastal Art
One of the beauties of this project is its minimal material requirements, many of which you might already have on hand. Here’s a detailed list to get you started:
- **Existing Framed Art or Canvases:** Repurposing old pieces is key here. Any canvas, framed print, or even a sturdy piece of wood can serve as your base. Consider the size and shape that best fits your desired display area.
- **White Muslin Fabric (or similar light-colored, plain fabric):** This will act as an opaque base layer, covering your old art completely and providing a clean, neutral surface for your burlap. An old white sheet or plain cotton fabric would also work.
- **Burlap Fabric:** Choose a good quality burlap that isn’t too loosely woven, as this will provide a better surface for painting. You’ll need enough to cover the front of your canvases, with extra for wrapping around the edges. Natural, undyed burlap is perfect for that authentic coastal look.
- **Staple Gun and Staples:** Essential for securely attaching the fabrics to your canvases.
- **Scissors:** For cutting fabric and paper.
- **Printer and Standard Printer Paper:** To print your chosen coastal clip art designs.
- **X-Acto Knife or Craft Knife:** For precise cutting of your stencils.
- **Cutting Mat:** Highly recommended for protecting your work surface while using the X-Acto knife.
- **Acrylic Paint:** Select colors that complement your coastal theme. Whites, creams, light blues, sea greens, and sandy browns are excellent choices. A small amount goes a long way.
- **Stipple Brush (or a firm, short-bristled brush):** This type of brush is crucial for the “pouncing” paint technique, ensuring controlled application and preventing paint from bleeding under the stencil.
- **Optional:** Painter’s tape (to secure stencils), pencil (for light marking), ruler (for precise fabric cuts).
Step-by-Step Guide to Your Burlap Coastal Art Transformation
Step 1: Preparing Your Base Canvases
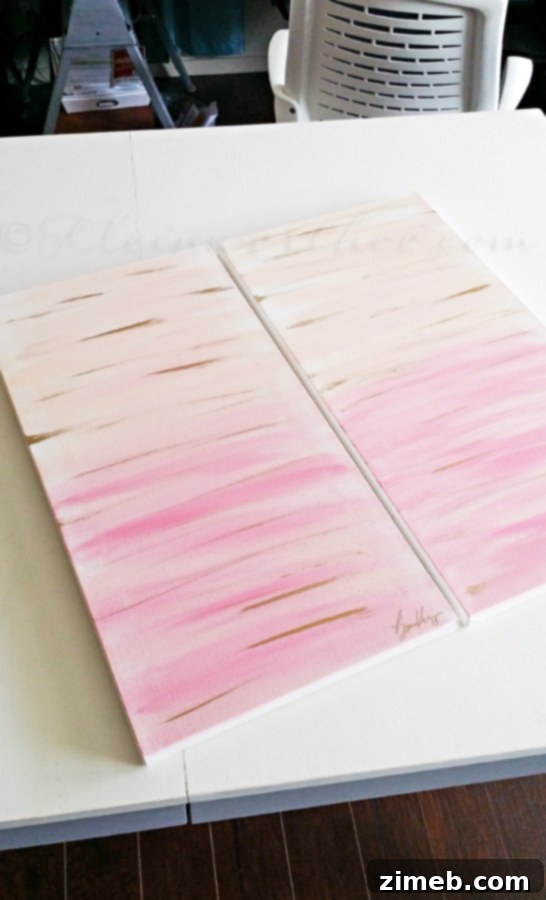
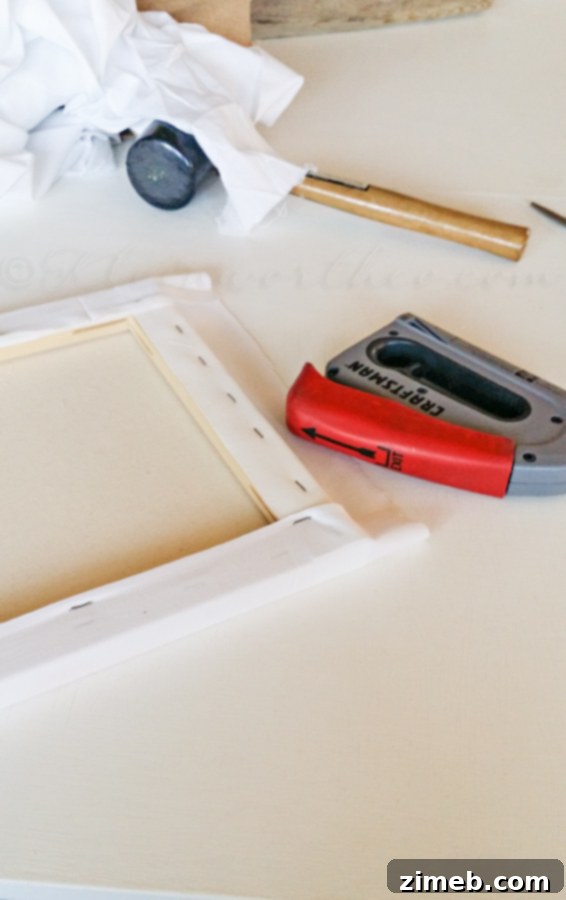
The journey begins with those paintings you’re ready to update. In my case, I had created two pieces about a year ago for a powder room I envisioned in “seashell colors”—think pink, gold, cream, and blush tones. While I was initially happy, the theme quickly clashed with the rest of my home’s cool blues, mint, and cream beach tones. Instead of discarding or painting directly over them, I decided to preserve the original art for potential future use. This is where the muslin comes in. Lay your white muslin fabric flat, place your existing art face down on it, and cut the muslin so it’s large enough to wrap around the edges and staple to the back of the frame. Pull the fabric taut and smooth, then use your staple gun to secure it firmly to the back. Work your way around, ensuring there are no wrinkles or slack in the fabric. This creates a pristine, neutral base, acting as a clean slate for your new coastal design and ensuring your old art remains protected underneath.
Step 2: Adding the Burlap Accent
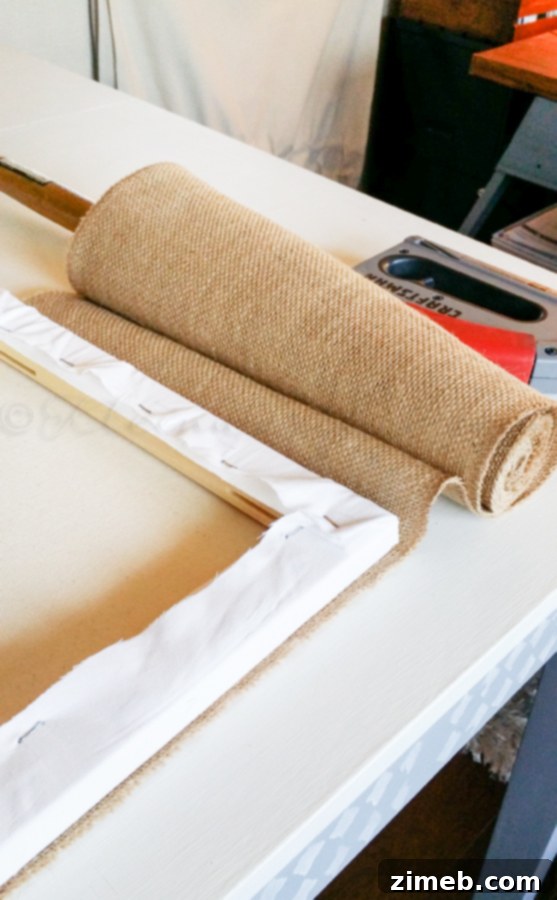
Next, it’s time to introduce the star of the show: burlap. Measure and cut strips of burlap that are wide enough to cover the desired area on your canvas. For my project, I opted to staple burlap around each end of the canvas, leaving the center muslin exposed. This created a dual-texture effect, with the raw, rustic burlap framing a smooth central panel. To do this, lay your burlap strip over the prepared canvas, ensuring it’s positioned exactly where you want it. Wrap the ends tightly around to the back of the canvas and secure them with your staple gun. Don’t worry if your burlap isn’t wide enough to wrap all four sides—sometimes, an intentional partial wrap adds character and visual interest, as it did for my pieces. The goal is to achieve a neat and secure attachment that highlights the beautiful texture of the burlap.
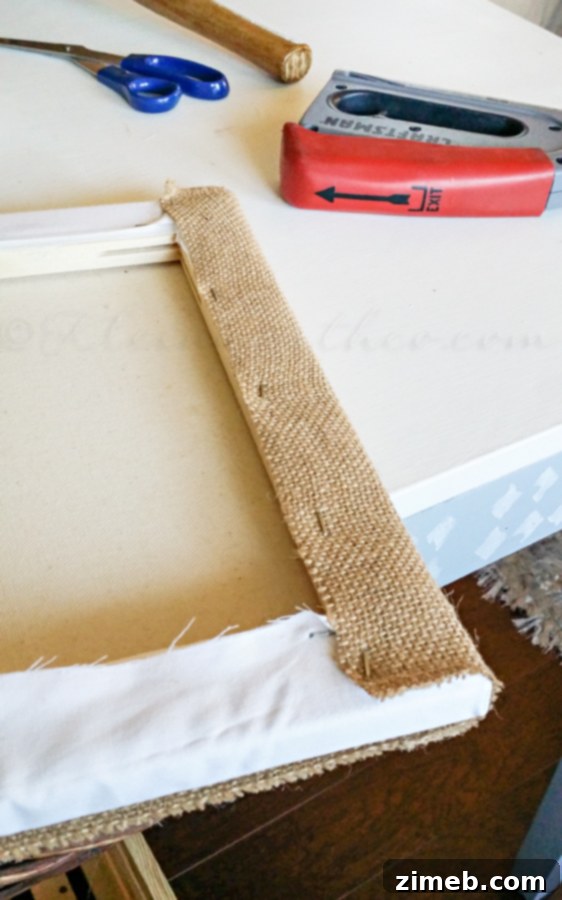
Just like with the muslin, the process is simple: wrap and staple. The rustic charm of burlap lies in its textured weave, so don’t fret over absolute perfection. Embrace the natural irregularities. For my artwork, the burlap wasn’t quite wide enough to wrap around the entire sides of the canvas, but I found that perfectly acceptable. This creates a unique border effect, drawing the eye to the central design area. The contrast between the smooth muslin and the textured burlap adds a sophisticated depth to the piece, elevating it beyond a simple painted canvas.
Step 3: Creating Your Coastal Stencils
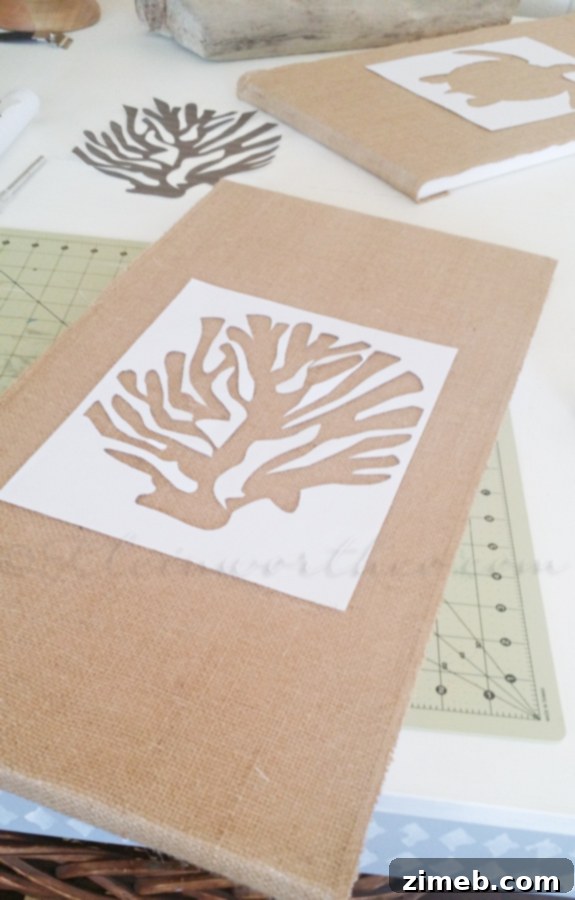
Now for the artistic touch! This step allows for immense personalization. I printed out some coastal clip art—think seashells, starfish, seahorses, anchors, or coral silhouettes—that fit the aesthetic I was aiming for. Once printed, carefully use your X-Acto knife to cut out the shapes, creating your stencils. Take your time with this step, especially for intricate details, as clean cuts will result in crisp painted designs. Place your chosen stencil over the burlap, arranging it precisely where you want your design to appear. You can lightly secure it with a bit of painter’s tape if you’re worried about it shifting during painting, although the weight of the paper usually holds it well on burlap’s texture. With your stencils in place, grab your paint brush and get ready to add color!
Step 4: Stenciling Your Design
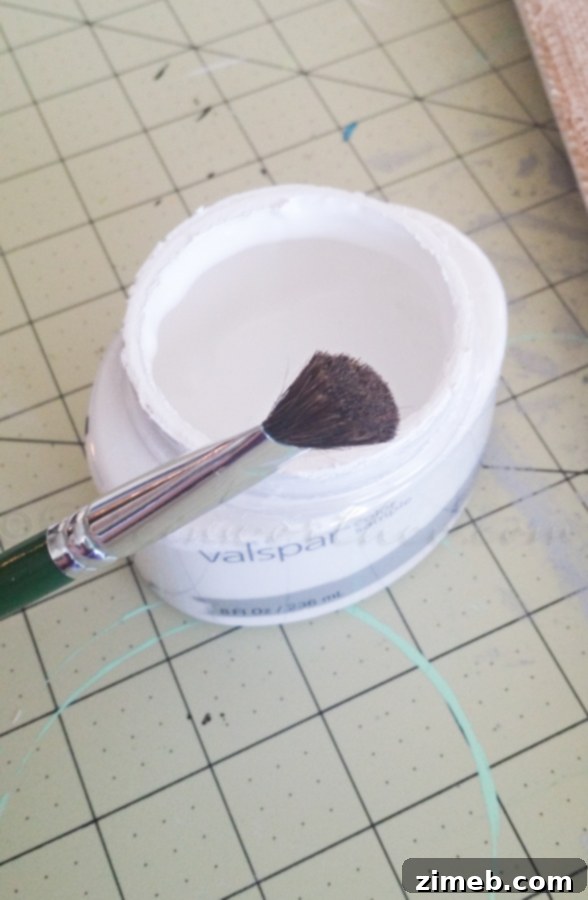
With your stencil perfectly positioned, it’s time to paint. Dispense just a small sample of your chosen acrylic paint onto a palette or a disposable plate. Load your stipple brush lightly with paint, dabbing off any excess to prevent overloading the brush. The key here is to use a “pouncing” or “stippling” motion, gently dabbing the paint straight down onto the burlap through the stencil. This technique prevents the paint from seeping under the edges of the stencil and also ensures a lighter, more controlled application on the burlap’s textured surface. You don’t want the paint to soak through to the layers beneath. Apply thin, even layers, building up the color gradually until you achieve your desired opacity. This patient approach will yield clean, professional-looking results on the rustic burlap fabric.
Step 5: Final Touches and Drying
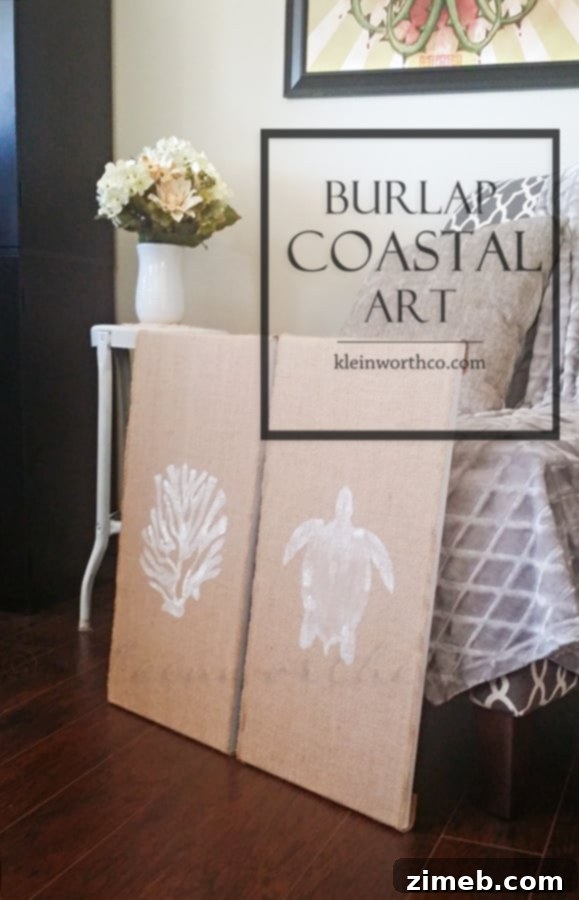
Once you’ve finished stenciling, carefully lift your paper stencil. Marvel at your newly created design! Now comes the easiest part: waiting for it to dry. Acrylic paints dry relatively quickly, so you won’t have to wait long. This project truly is a simple and easy update that takes virtually no time at all, offering immediate gratification. Once fully dry, your new Burlap Coastal Art is ready to hang and admire. You’ve transformed old pieces into stunning, personalized decor that perfectly captures the serene beauty of the coast.
Tips for Success and Customization
- **Burlap Selection:** Thicker, more tightly woven burlap will offer a smoother painting surface, while looser weaves provide a more rustic, textured finish. Choose according to your preference.
- **Paint Colors:** Beyond traditional blues and greens, consider sandy neutrals, soft grays, or even a pop of coral for a vibrant touch.
- **Multiple Designs:** Don’t limit yourself to one stencil per canvas. You can create a collage of smaller coastal elements for a more intricate look.
- **Adding Dimension:** After the paint is dry, you could lightly distress the burlap edges or add small embellishments like twine, small natural seashells, or a hint of glitter for extra sparkle.
- **Clean Stencils:** For reusable stencils, clean them gently with water immediately after use.
This DIY Burlap Coastal Art project offers a delightful way to refresh your home decor, bringing the calming essence of the beach indoors. It’s a testament to how simple materials and a little creativity can yield beautiful, personalized results. Whether you’re revamping an entire room or just adding a subtle coastal accent, these easy-to-make art pieces are sure to become cherished elements of your home.
Want more fun beachy projects? Explore these inspiring DIYs!
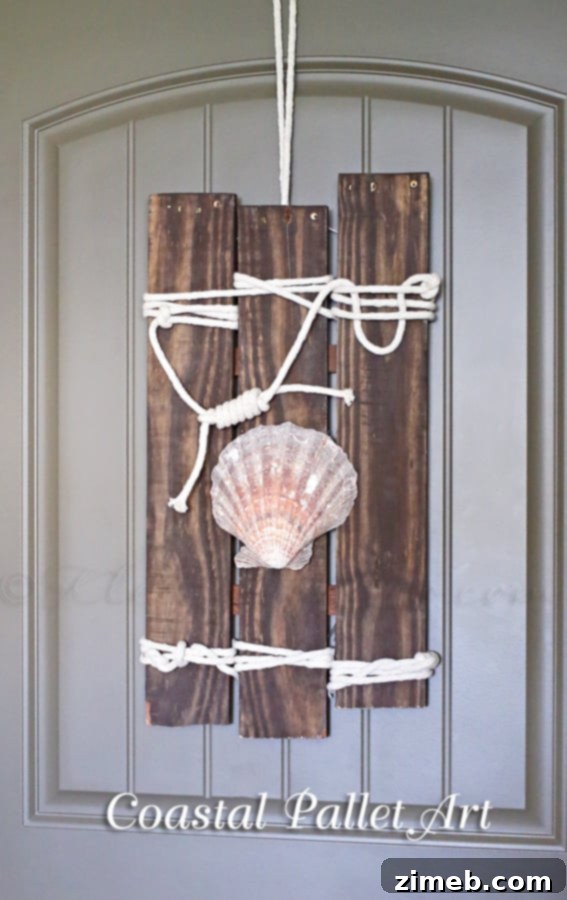
COASTAL PALLET ART
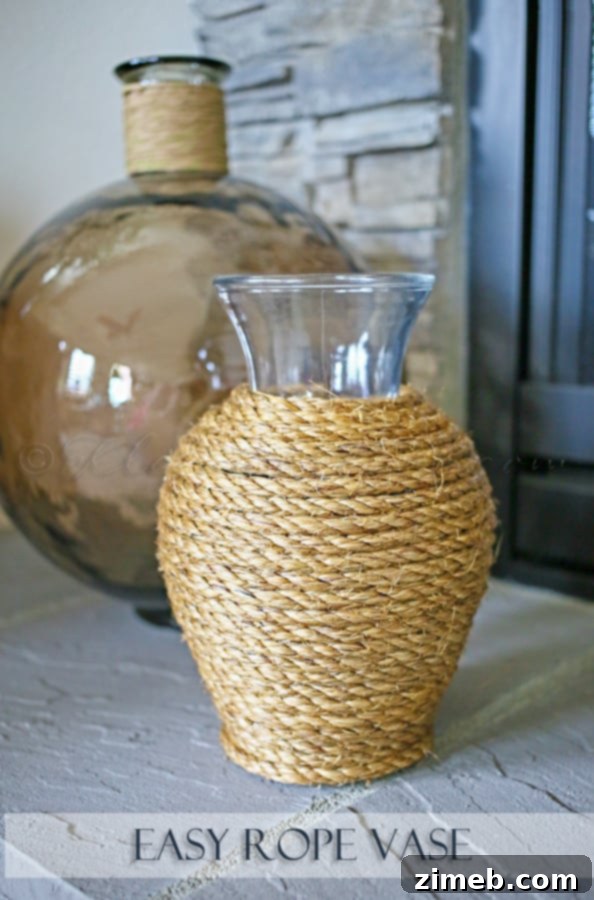
Easy Rope Vase
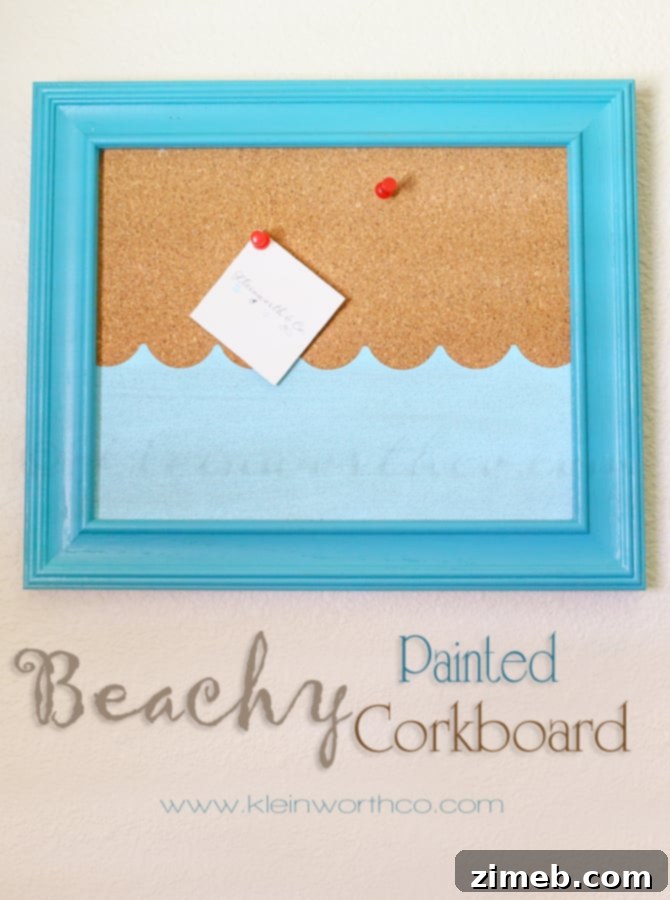
Beachy Painted Corkboard
To see where I am linking today- visit HERE