
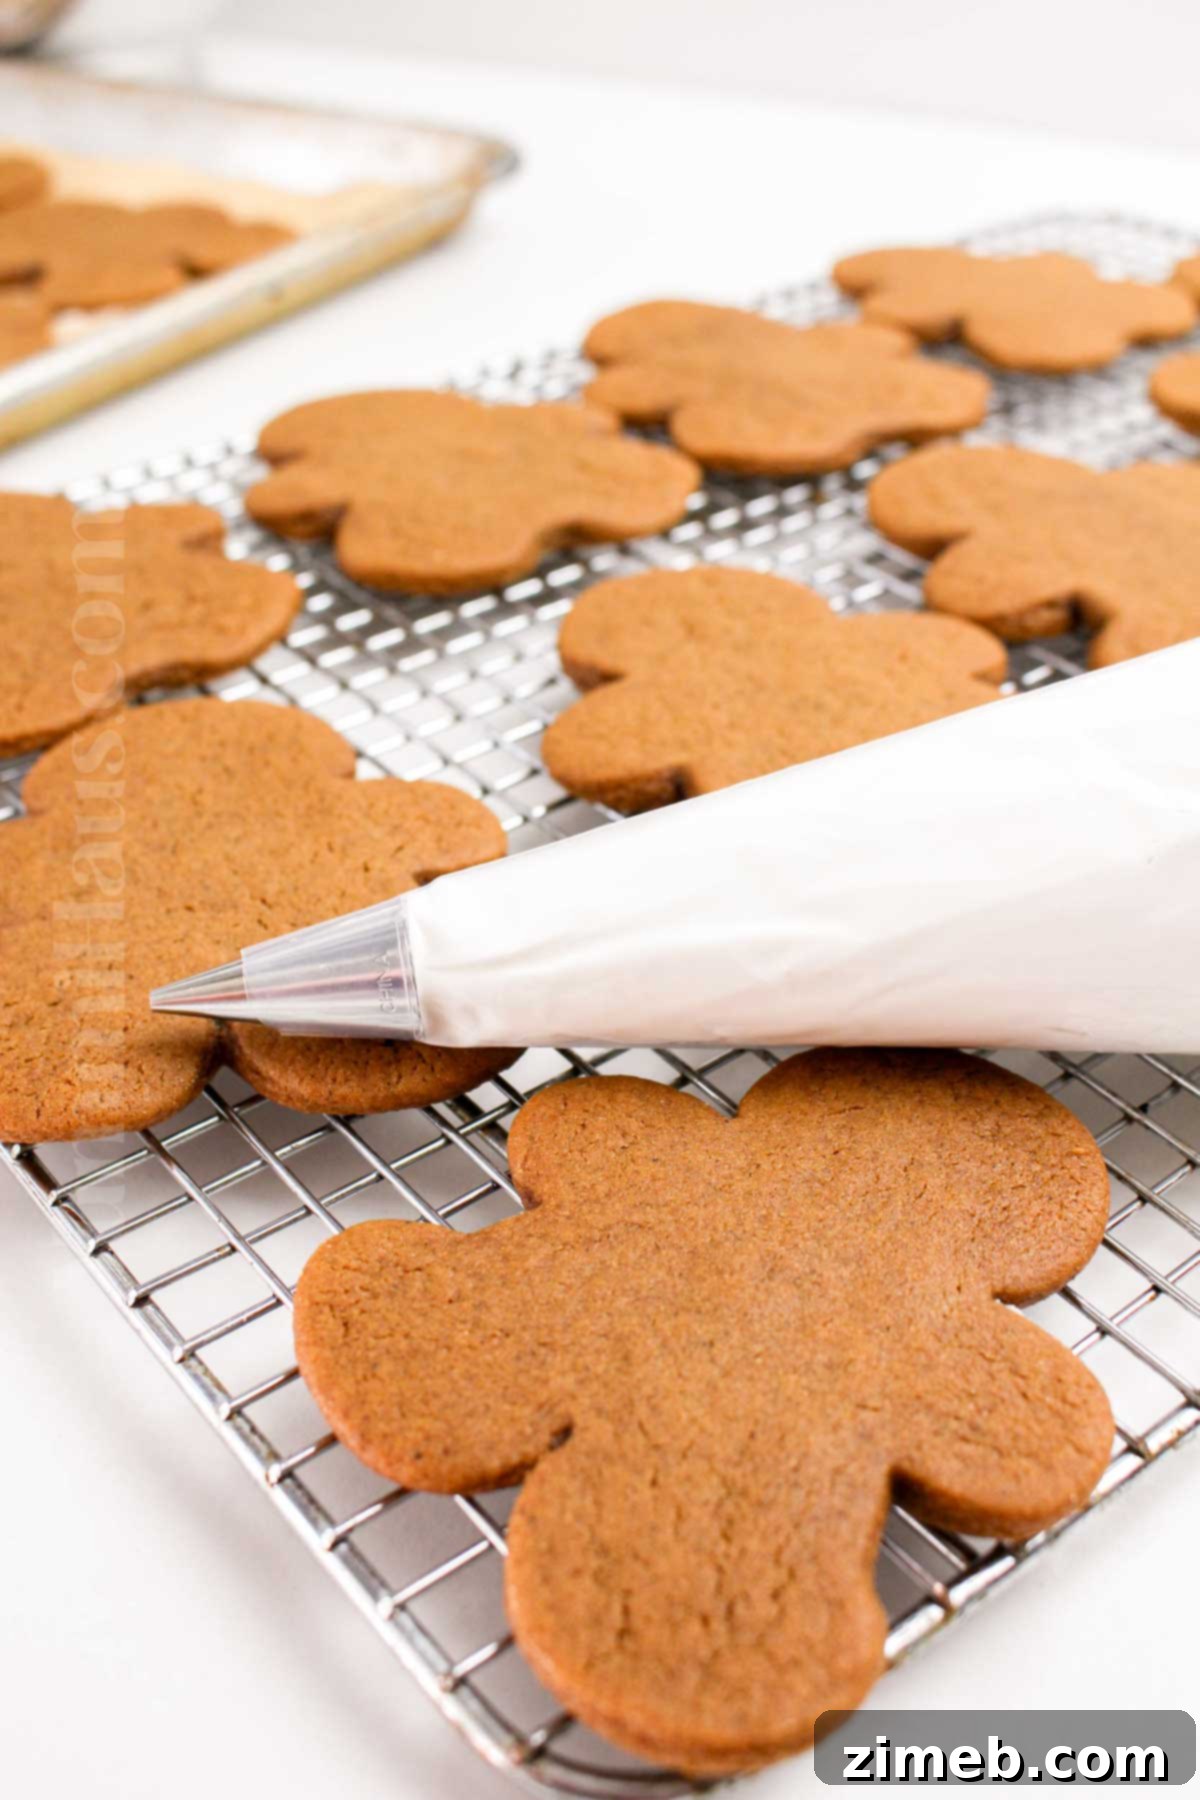
If you’ve ever dreamt of transforming ordinary baked goods into edible works of art, then mastering royal icing is your golden ticket. This exquisite icing is the secret behind those breathtakingly smooth, glossy, and intricately detailed cookies and cakes. Its unique ability to dry to a firm, durable finish makes it indispensable for professional decorators and home bakers alike.
However, achieving that perfect royal icing consistency—one that pipes beautifully, floods flawlessly, and dries without a hitch—can sometimes feel more like a delicate science experiment than a simple baking task. But fear not! This guide provides a straightforward, incredibly reliable recipe that will empower you to create stunning decorations with ease, adding that undeniable “wow” factor to all your sweet creations.
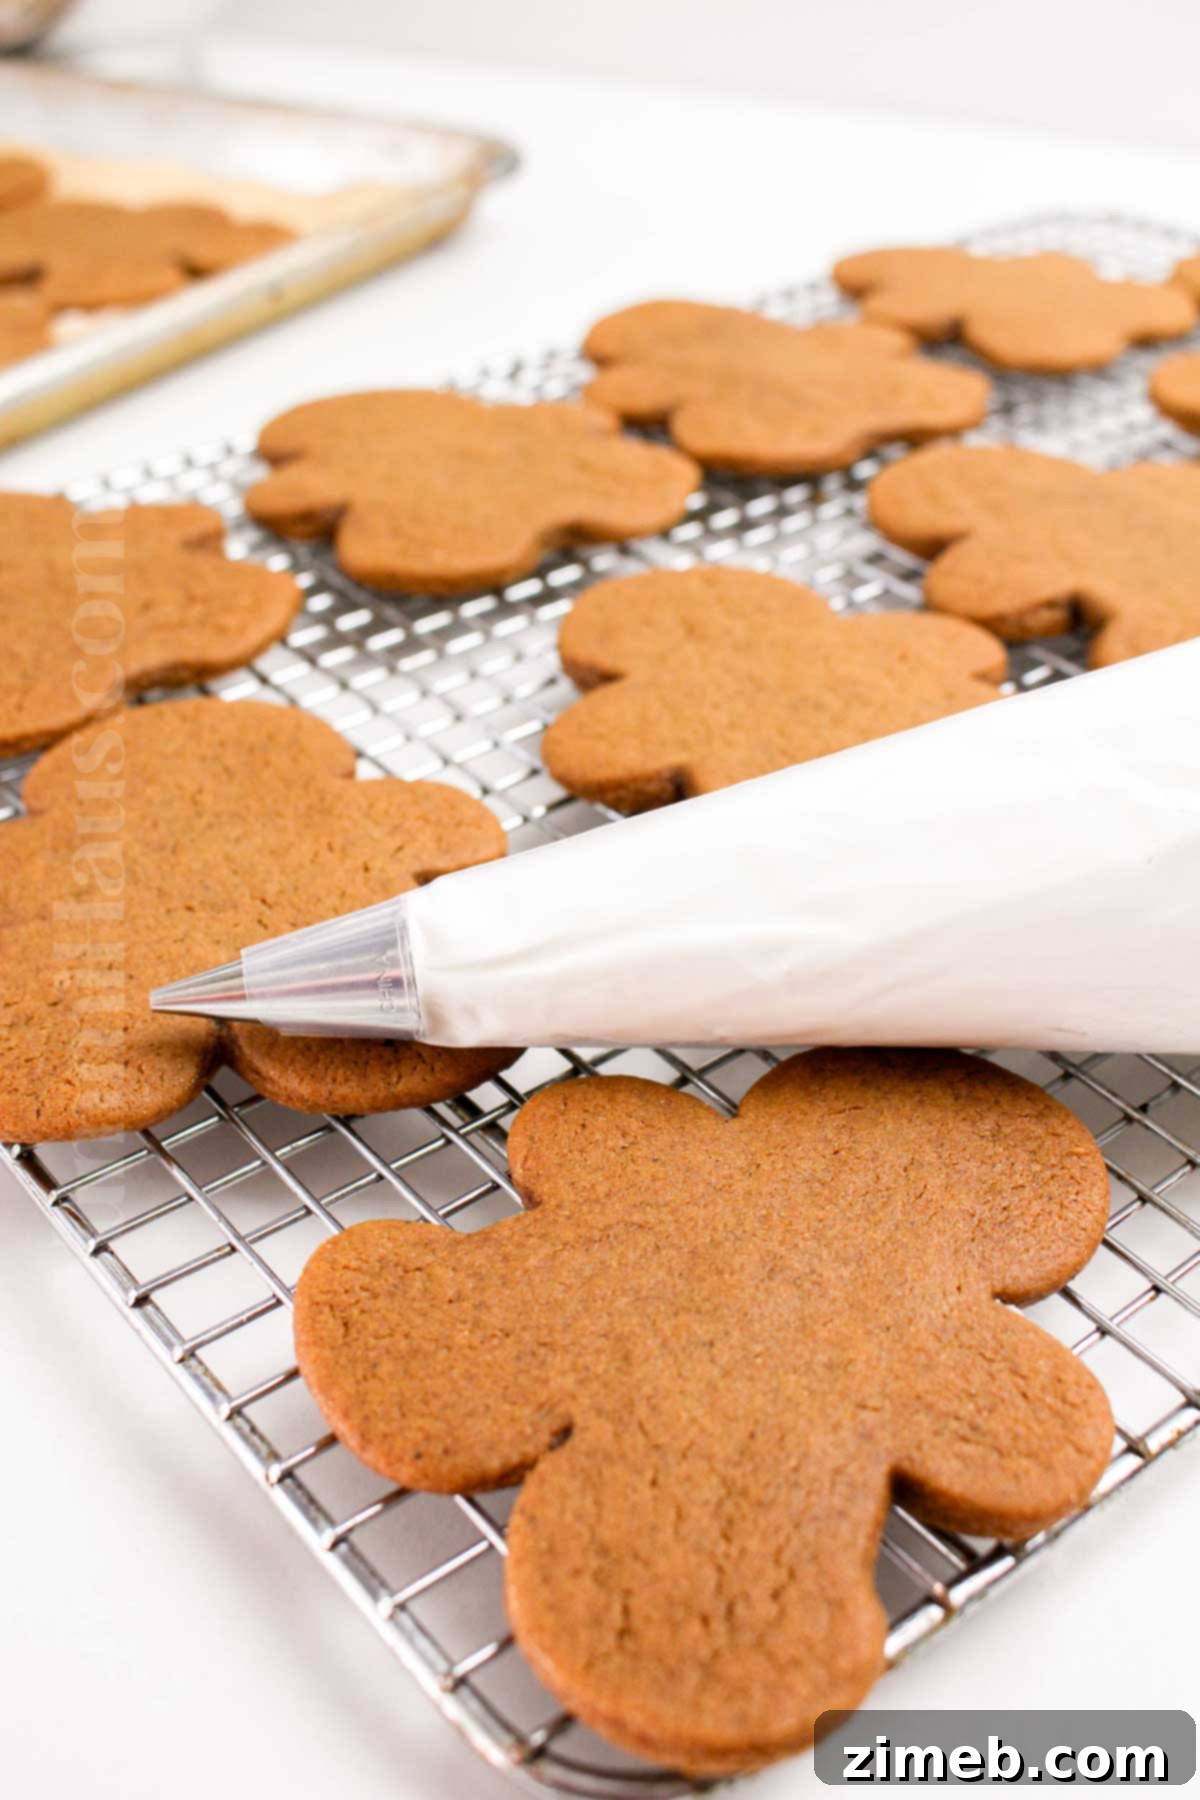
Your Royal Icing Rundown:
Texture: Experience the joy of a silky-smooth icing that glides effortlessly through a piping bag. This recipe delivers a texture that’s perfect for both delicate details and seamlessly flooding cookies, ensuring your treats boast a truly professional, bakery-quality appearance.
Taste: Far from being just a pretty face, this royal icing offers a delightful sweetness balanced with just the right whisper of vanilla. It’s an icing that tastes every bit as incredible as it looks, enhancing the flavor of your favorite baked goods.
Ease: Designed for simplicity and foolproof results, this recipe calls for only a few readily available ingredients. Whether you’re decorating elaborate cakes, charming cookies, or festive gingerbread houses, you’ll achieve consistently smooth, beautiful results without any stress.
Why You’ll Love It: This royal icing recipe stands out for its unmatched reliability. It consistently produces a smooth, glossy finish that makes every decorating session an absolute pleasure. From intricate piping work to smooth flood fills, it elevates your baked treats, making them not only visually stunning but also incredibly delicious.
Why This Royal Icing Recipe Is a Must-Try
Creating beautiful, professionally decorated cookies and cakes is an art, and royal icing is your most versatile medium. This particular recipe takes the guesswork out of the process, ensuring consistent, stunning results every time. Here’s why it will quickly become your go-to royal icing:
- Achieve Reliable Texture Every Time: Say goodbye to frustratingly runny or overly stiff icing. This recipe strikes the perfect balance, ensuring your royal icing is neither too liquid nor too firm. This ideal consistency makes intricate piping details a total breeze and allows for smooth, even flooding across your cookies or cakes without overflowing.
- Simple Ingredients, Big Impact: You don’t need exotic or hard-to-find components for this recipe. With just a handful of basic pantry staples—confectioner’s sugar, meringue powder, water, and vanilla extract—you can whip up a batch that delivers professional-grade results. This simplicity means no last-minute trips to the store or compromises with obscure substitutes, making decorating accessible to everyone.
- Quick to Dry, Yet Perfectly Workable: One of the greatest advantages of royal icing is its ability to dry hard, creating a protective, decorative shell. This recipe dries fast enough to prevent smudging and allow for layering colors and designs without long waits, yet it provides ample working time for you to perfect your designs and make adjustments. It’s the ideal choice for achieving sharp, crisp lines and dazzling finishes, even if you’re not an experienced icing artisan.

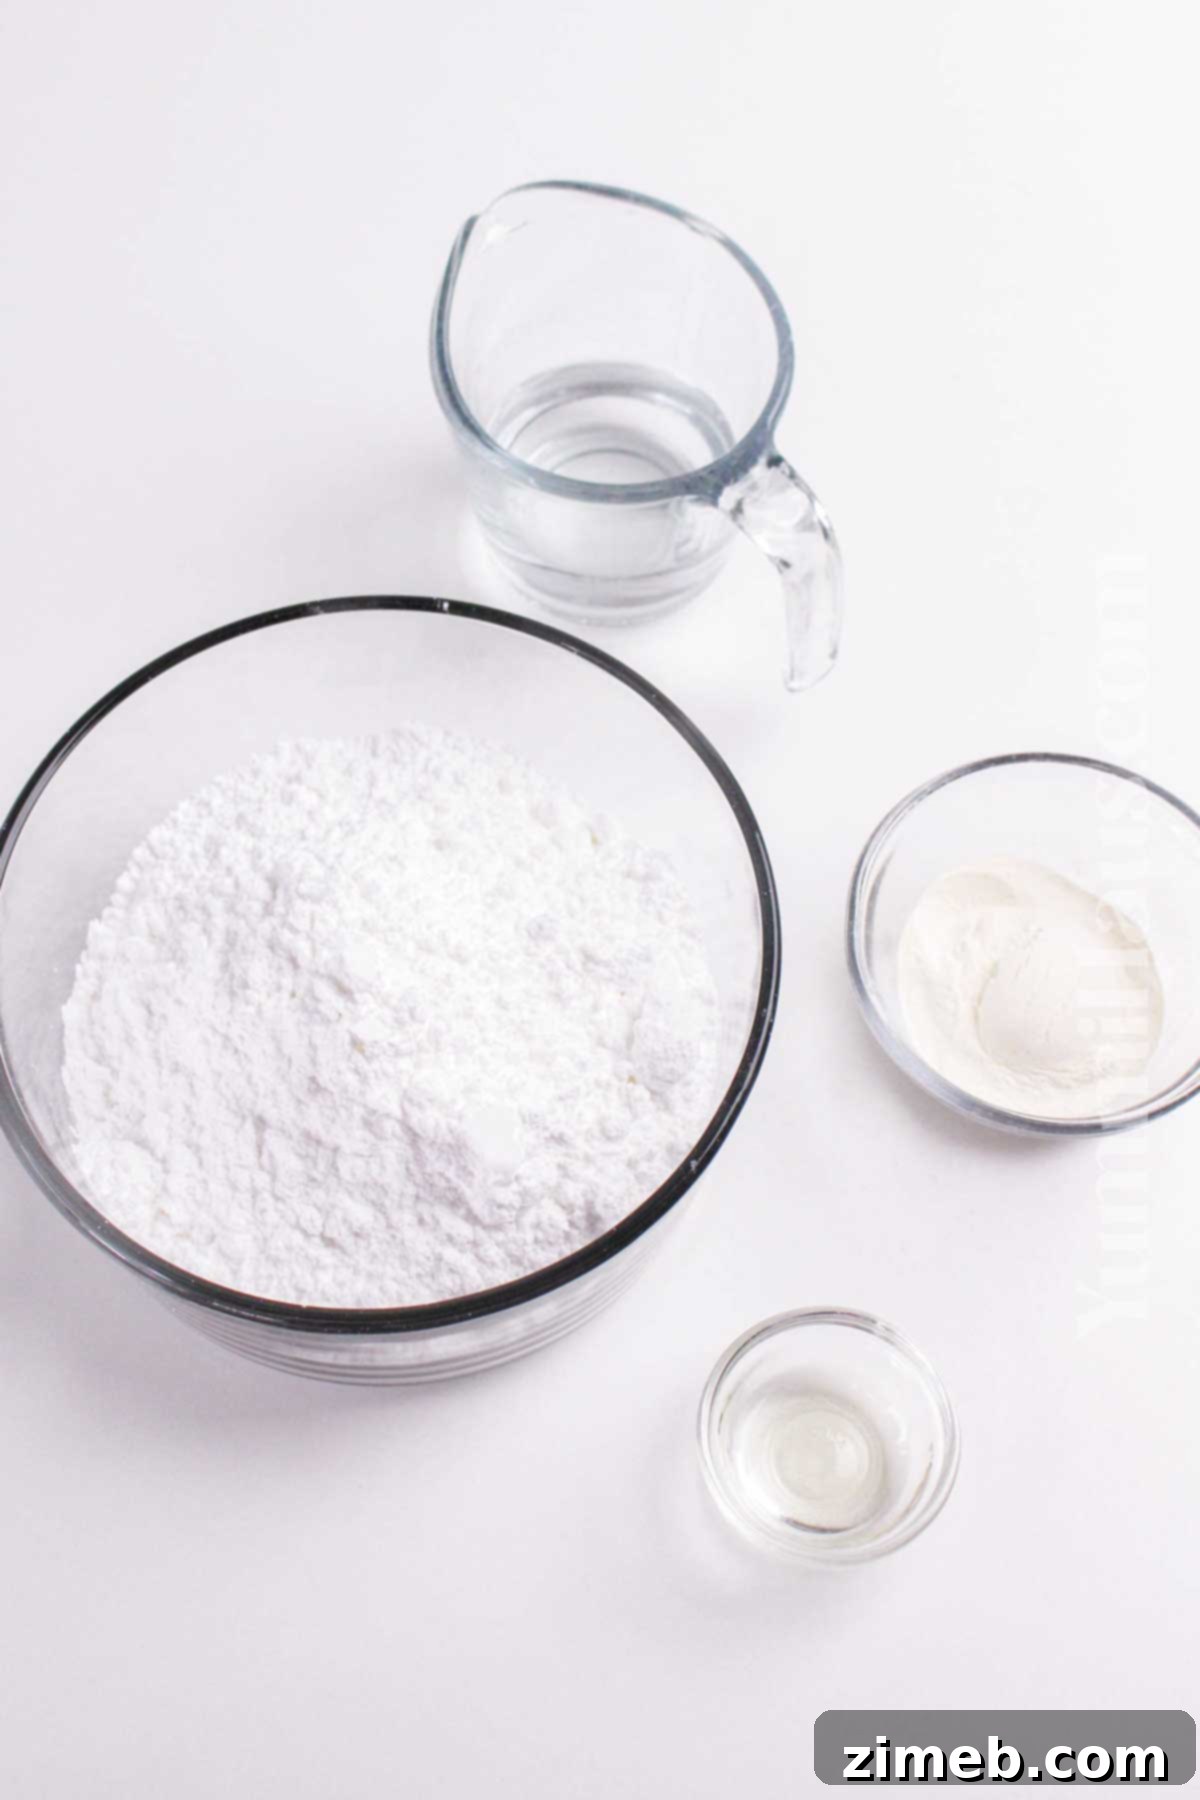
Essential Ingredient Notes for Royal Icing
Every ingredient plays a crucial role in achieving the perfect royal icing. Here’s a closer look at what you’ll need and why:
- Confectioner’s Sugar (Icing Sugar): This fine-grained sugar is the backbone of royal icing, providing both its delightful sweetness and its signature smooth texture. Sifting it before use is highly recommended to prevent lumps and ensure a flawlessly smooth consistency, crucial for intricate piping.
- Meringue Powder: A miracle ingredient for royal icing! Meringue powder is made from dried egg whites and stabilizers. It’s what gives the icing its incredible ability to hold shape, dry hard, and achieve that beautiful glossy finish without cracking. It’s also a safer alternative to raw egg whites, eliminating concerns about salmonella and extending the shelf life of your icing.
- Water: The key to adjusting your royal icing’s consistency. A little water goes a long way. You’ll add it gradually to achieve the right thickness for outlining, flooding, or creating stiff peaks for decorative elements. Precision is important here.
- Vanilla Extract: While optional, a touch of vanilla extract adds a lovely depth of flavor that complements a wide array of baked goods. For the brightest white icing, opt for clear vanilla extract. Pure vanilla extract, though delicious, can impart a slight off-white or creamy tint.
Must-Have Kitchen Equipment for Royal Icing
Having the right tools makes all the difference when preparing and decorating with royal icing. Here’s a list of essential equipment:
- Mixing Bowl: A large, clean bowl is essential for whipping your ingredients. Glass or metal bowls are ideal as they don’t retain grease, which can prevent meringue powder from whipping correctly.
- Electric Mixer or Stand Mixer: An absolute necessity for achieving the proper consistency. A stand mixer with a whisk attachment is highly recommended for hands-free, efficient mixing that produces stiff peaks.
- Measuring Cups and Spoons: Accurate measurements are crucial in baking, especially when it comes to royal icing consistency.
- Rubber Spatula: Perfect for scraping down the sides of the bowl and folding in ingredients gently.
- Piping Bags (icing bags) and Tips (optional): Essential for decorating. A variety of tips allows for different effects, from fine lines to star designs.
- Damp Towel: Keep a damp towel handy to cover your royal icing when not actively using it, preventing it from drying out and crusting over.
- Liquid or Gel Food Colors: If you plan on coloring your icing, gel colors are preferred as they are highly concentrated and won’t significantly alter the icing’s consistency.
- Squeeze Bottles for Decorating: Excellent for flooding large areas of cookies or cakes with a smooth, even layer of icing.
How to Make the Perfect Royal Icing
Making royal icing is a simple process, but precision is key to getting that ideal smooth, glossy finish. Follow these steps for a flawless batch every time:
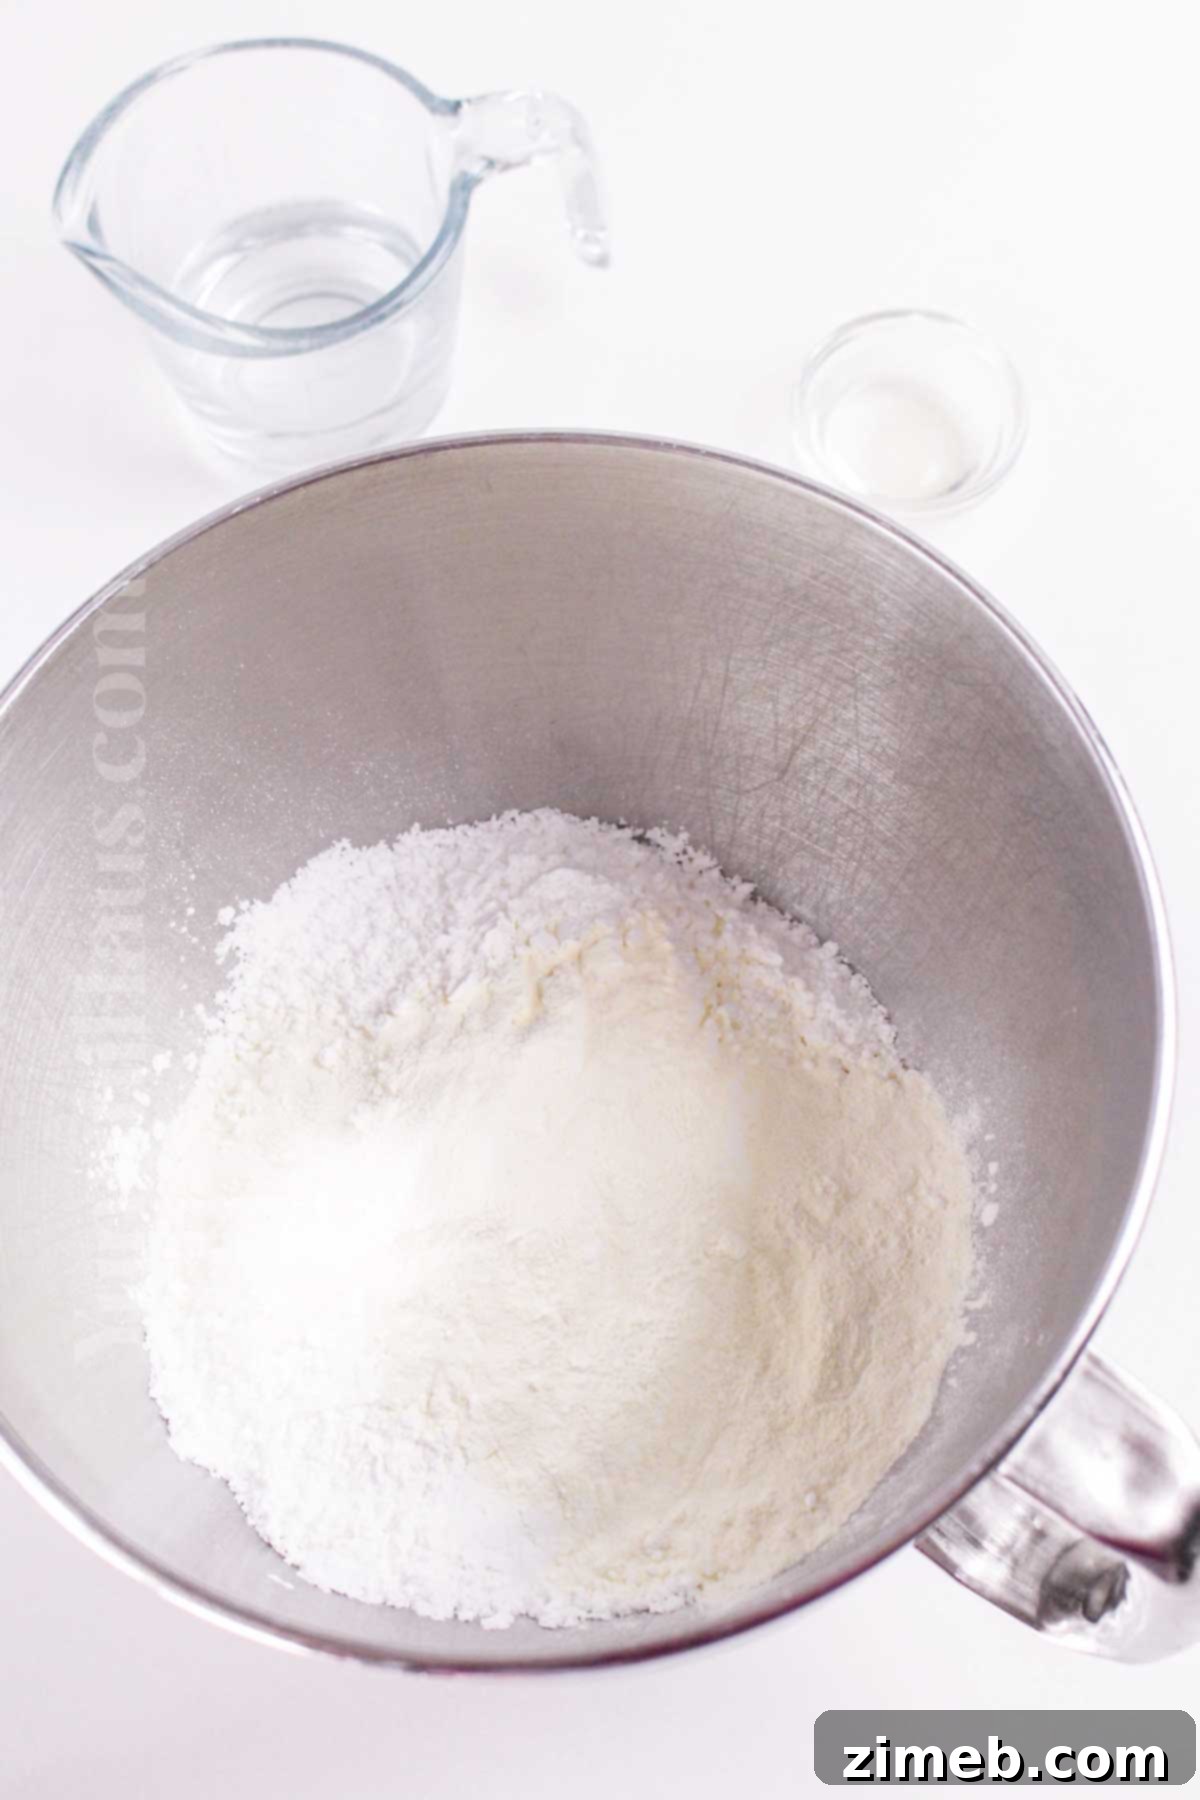
- Combine Dry Ingredients: In a large, clean mixing bowl, whisk together the sifted confectioner’s sugar and meringue powder. This ensures there are no lumps and that the ingredients are evenly distributed before liquid is added.
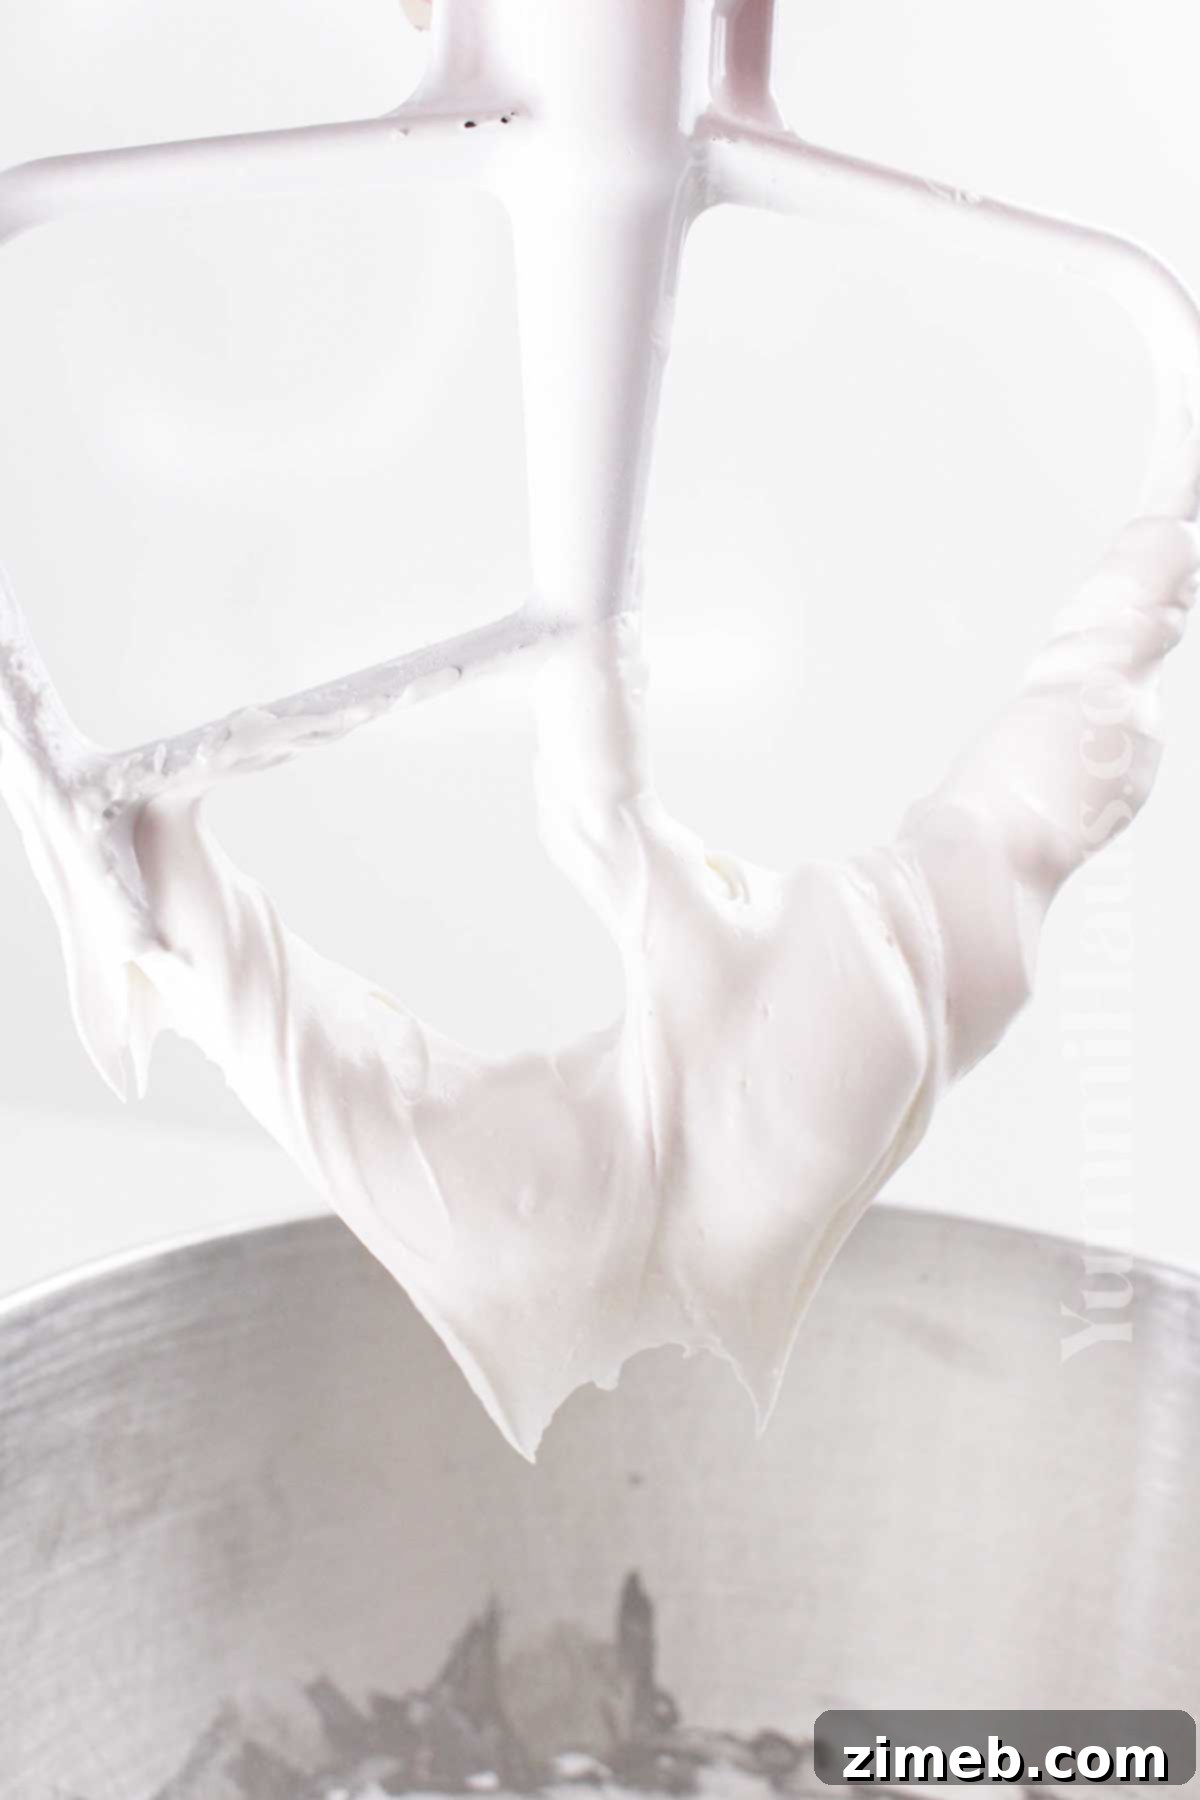
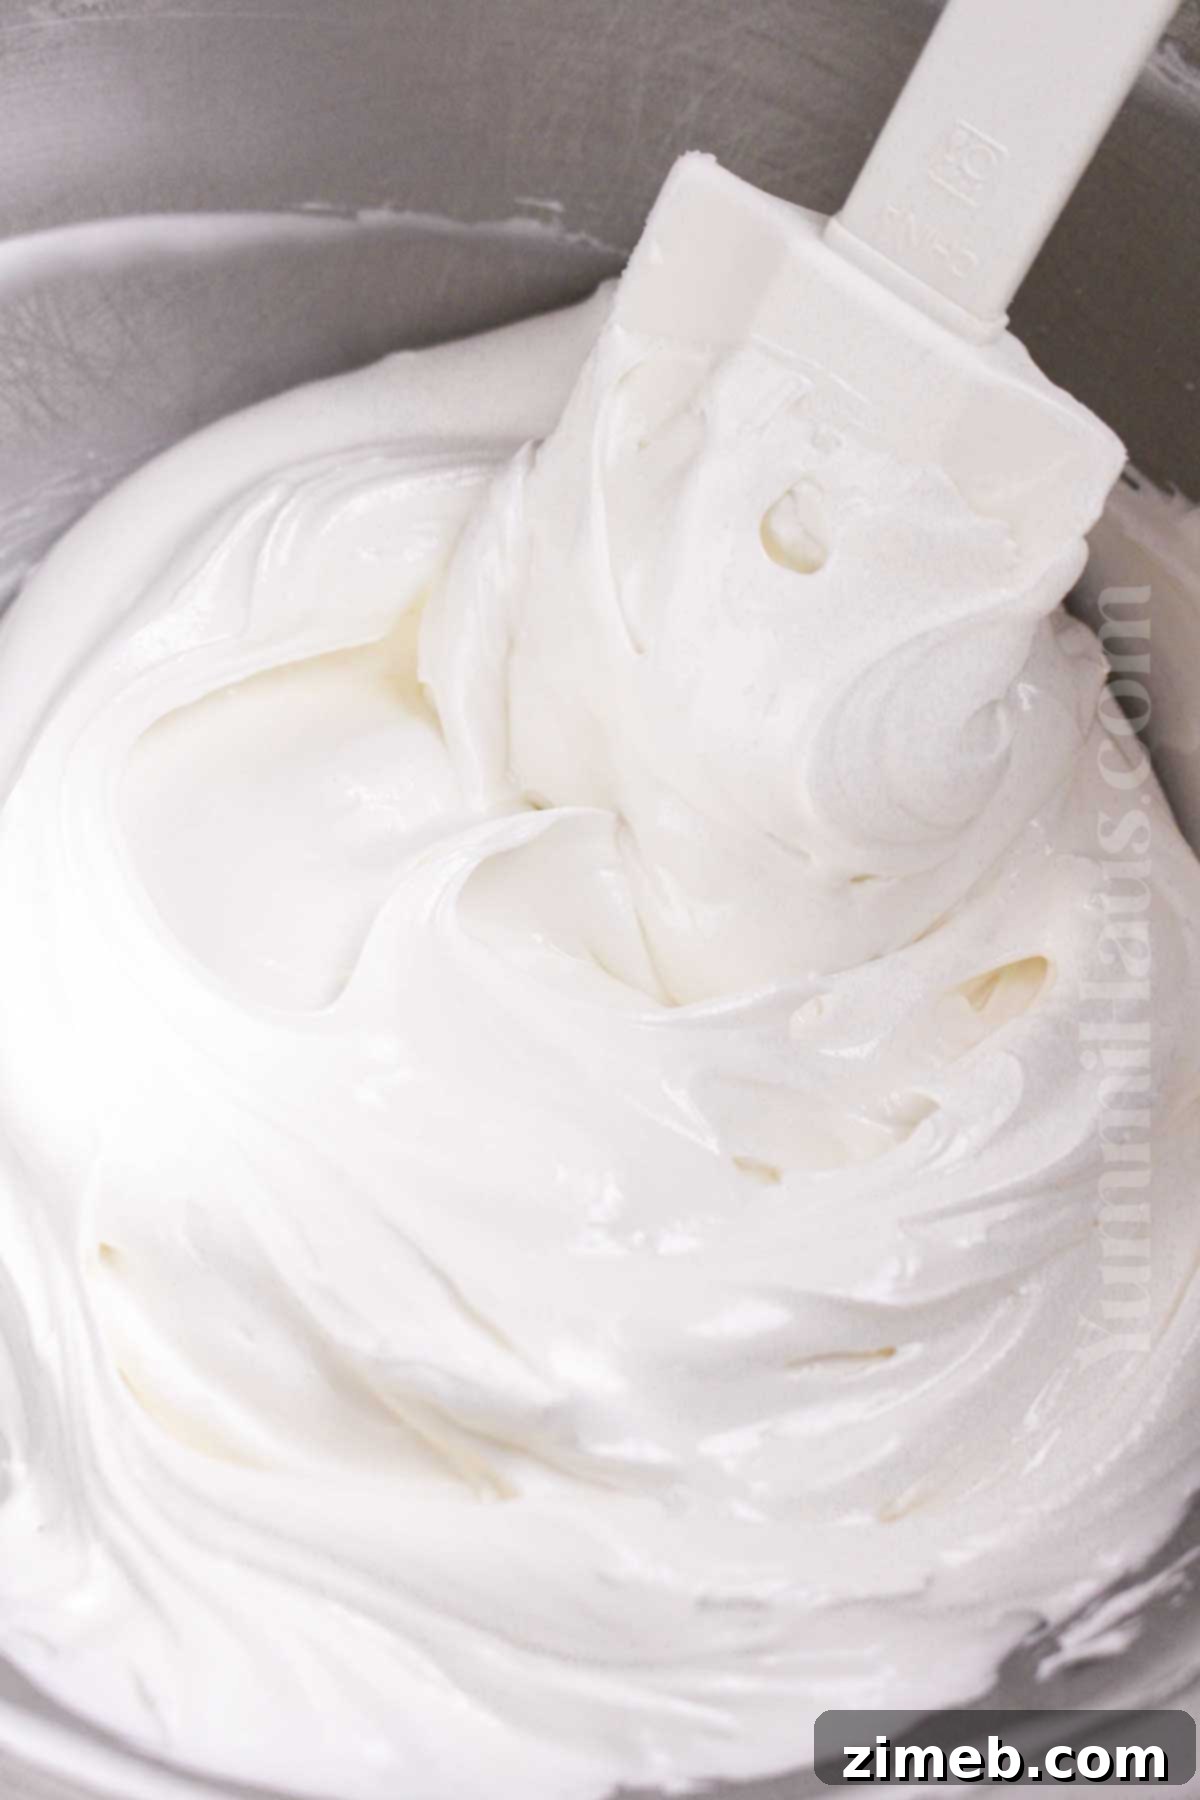
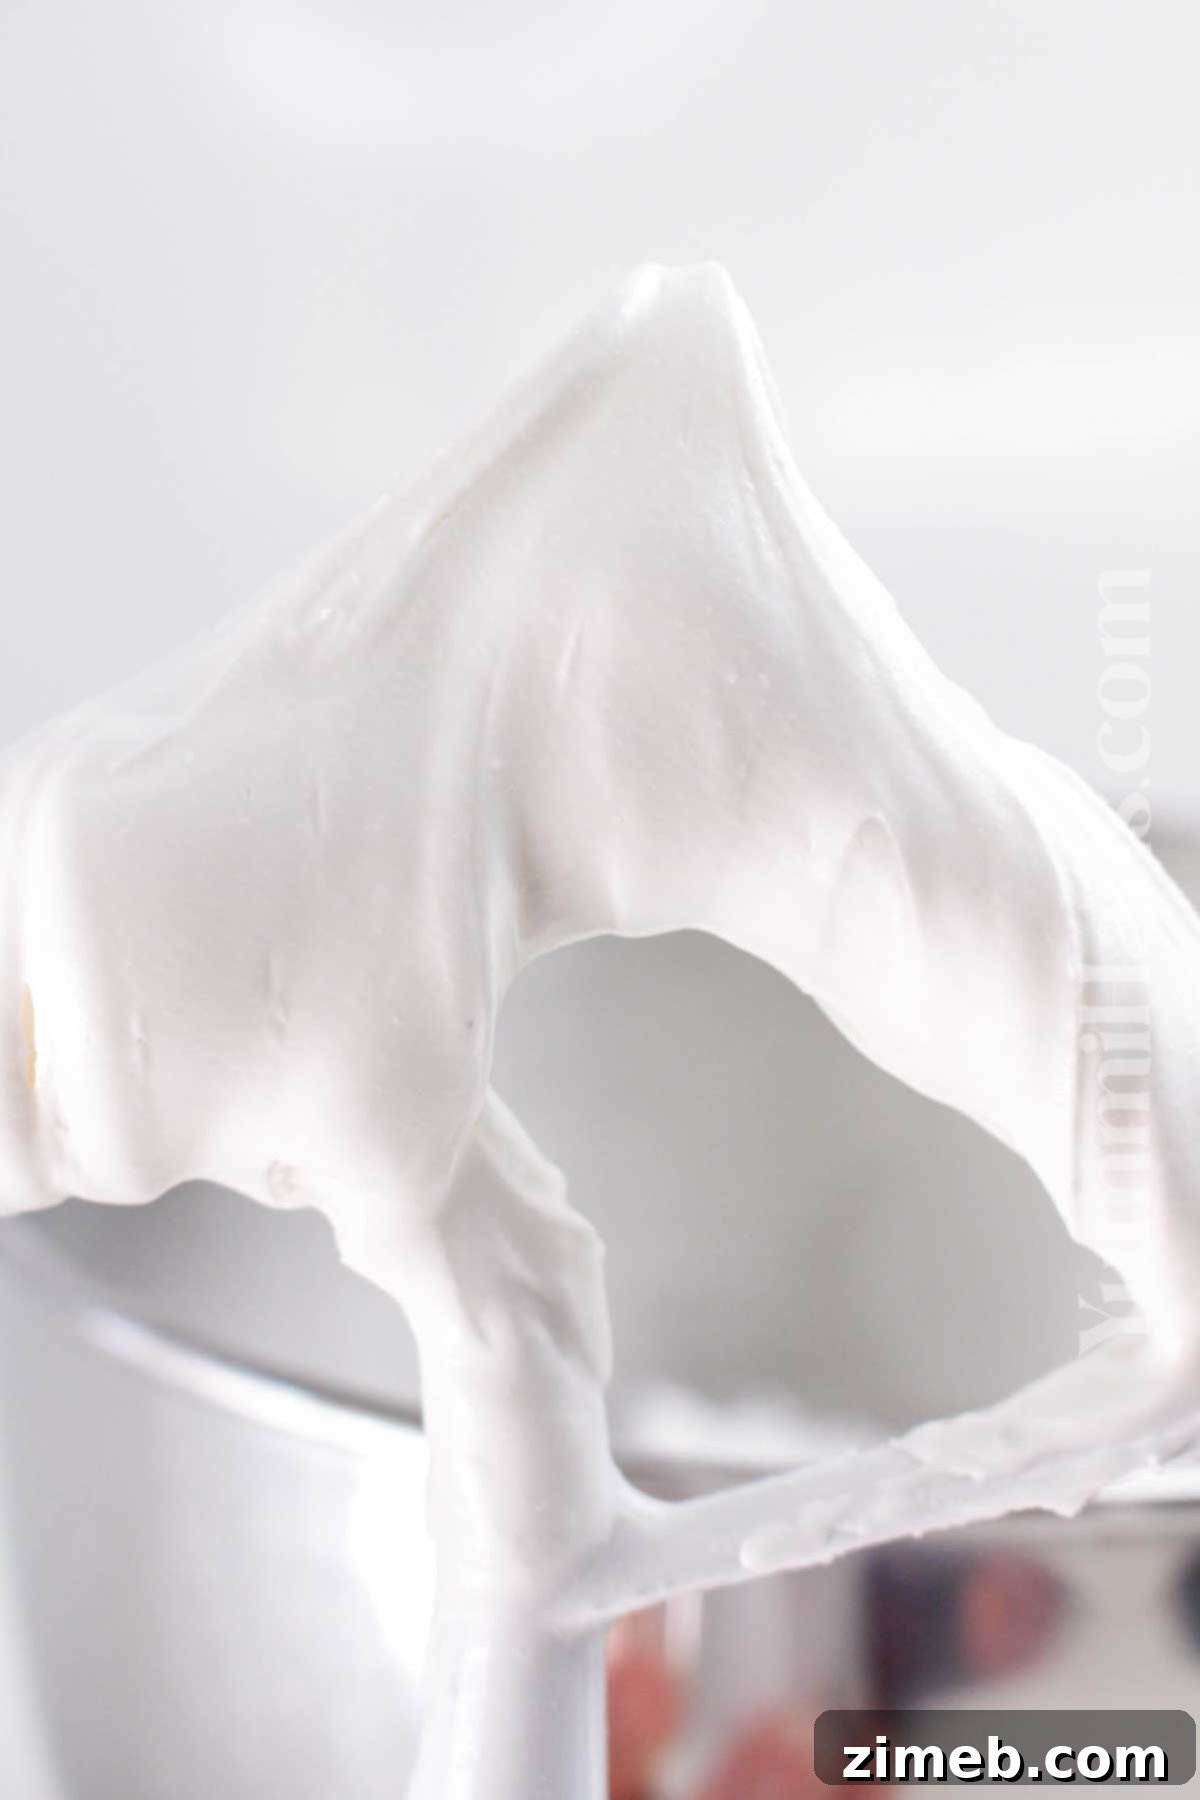
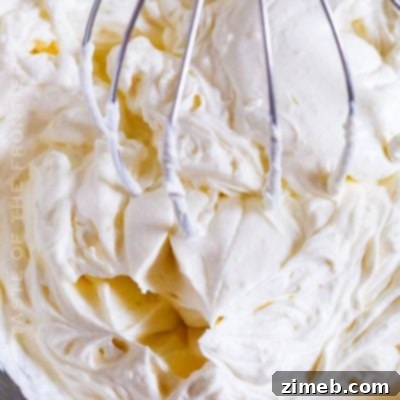
- Gradually Add Water and Beat: Begin adding the water, one tablespoon at a time, while beating the mixture on medium speed with an electric mixer. Continue to beat for about 5 to 7 minutes. The icing will gradually thicken and transform into a glossy, smooth consistency. You’re looking for firm peaks that hold their shape.
- Introduce Flavor (Optional): If desired, gently fold in the vanilla extract or any other chosen flavor booster (see section below for ideas). Mix just until combined. Be mindful that pure vanilla extract can slightly tint the icing; use clear vanilla for pure white results.
Royal Icing Variations & Substitutions
While the basic royal icing recipe is wonderful as is, it’s also incredibly versatile! Here are some ways to customize it to suit your taste and decorating needs:
- Embrace Meringue Powder for Safety: For a worry-free icing that’s safe for everyone, including pregnant women, always opt for pasteurized meringue powder. It provides exceptional stability and a longer shelf life compared to raw egg whites, without compromising on texture or performance.
- Explore Exciting Flavor Twists: Beyond classic vanilla, royal icing can be infused with a myriad of flavors. Experiment with extracts like almond for a nutty depth, refreshing peppermint for holiday treats, or bright orange for a citrusy zing. A few drops are usually all you need to transform the taste.
- Master the Art of Color Play: Achieve vibrant, bold colors without affecting your icing’s perfect consistency by using gel food coloring. Unlike liquid dyes, gel colors are highly concentrated, meaning you need very little to achieve intense hues, preventing your icing from becoming too thin.
- Add a Glittery Finish: Elevate your decorated treats with a touch of edible shimmer. Mix in a bit of edible glitter or luster dust to your royal icing for a dazzling, fancy sparkle effect that’s perfect for special occasions and festive bakes.
Enhance Your Royal Icing with Flavor Boosters
While vanilla is a classic, don’t be afraid to experiment with other flavorings to make your royal icing truly unique and tailored to your baked goods:
- Lemon Zest: For a bright, fresh contrast to the sweetness, mix in some finely grated lemon zest. It adds a zesty zing that’s particularly delightful with sugar cookies.
- Almond Extract: A few drops of almond extract introduce a subtle, comforting nutty depth. This pairs exceptionally well with simple butter cookies or shortbread.
- Peppermint Oil: Perfect for holiday baking, a tiny amount of food-grade peppermint oil gives your icing a cool, refreshing, and festive flavor.
- Cinnamon or Nutmeg: A small pinch of warm spices like cinnamon or nutmeg can add an incredible aroma and subtle complexity to your icing, ideal for gingerbread or fall-themed treats.
- Vanilla Bean Seeds: For an extra fancy touch and a richer, more authentic vanilla flavor with beautiful flecks, scrape the seeds from half a vanilla bean directly into your icing.
Versatile Treats: What Can Royal Icing Be Used For?
Royal icing isn’t just for sugar cookies! Its firm, decorative finish makes it suitable for a wide variety of baked goods:
- Simple Sugar Cookies: The classic choice! Buttery sugar cookies provide the perfect smooth canvas for showcasing intricate royal icing designs, with their soft texture offering a lovely contrast to the icing’s slight crunch.
- Gingerbread Cookies: The warm, spicy notes of gingerbread are beautifully complemented by the sweet, smooth royal icing, making them a festive favorite, especially during colder months.
- Cupcakes: Elevate your cupcakes by using royal icing to pipe delicate designs, elegant borders, or even small edible toppers, giving them a sophisticated, bakery-style finish.
- Brownies: For a surprisingly delightful twist, spread a thin, even layer of royal icing over cooled brownies. It adds a decorative glaze and a hint of sweetness that makes them party-ready.
- Fruit Pies: Create stunning visual appeal by piping intricate royal icing decorations onto the crust edges of your fruit pies before or after baking. It’s a fantastic way to add a fancy, photo-worthy touch to your dessert presentation.
- Gingerbread Houses: This easy royal icing recipe is absolutely perfect for constructing and decorating gingerbread houses. Its thick, sturdy consistency acts like an incredibly strong edible glue, firmly holding walls and roof pieces together. Once dry, it provides a smooth, glossy surface ready for all your decorative flourishes, ensuring your architectural masterpiece remains standing proud.
Perfect Pairings for Royal Icing
Royal icing enhances a wide range of desserts. Here are some fantastic pairings to inspire your next baking adventure:
- Shortbread Cookies: The rich, buttery, and crumbly texture of shortbread cookies provides an exquisite contrast to the crisp, smooth finish of royal icing, creating a satisfying and addictive treat.
- Macarons: Already elegant, delicate macarons receive an artistic upgrade with royal icing decorations. Pipe intricate patterns or flood the tops with soft pastel shades for an even more refined look.
- Fruit Tart: A fresh, vibrant fruit tart finds a beautiful companion in royal icing. Use it to add delicate piped borders or small decorative elements, complementing the juicy freshness with a touch of sweetness.
- Lemon Bars: The tangy, zesty flavor of lemon bars is beautifully balanced by the sweet richness of royal icing. A drizzle or a light spread can enhance both the flavor and presentation.
- Madeleines: These charming shell-shaped sponge cakes become even more sophisticated with a delicate drizzle of royal icing. It adds a classy, quaint touch to any dessert spread or afternoon tea.
Storage Tips for Royal Icing
Proper storage is key to making your royal icing last and ensuring it’s ready for your next decorating project.
Room Temperature Storage: Any leftover royal icing can be stored in an airtight container at room temperature for up to one week. To prevent it from drying out and forming a crust, always press a layer of plastic wrap directly onto the surface of the icing before sealing the container.
Refrigerated Storage: For slightly longer storage, you can refrigerate royal icing in an airtight container for up to two weeks, following the same plastic wrap method to prevent crusting.
Freezing for Extended Shelf Life: For maximum longevity, royal icing can be frozen for up to three months. Store it in an airtight freezer-safe container, again with plastic wrap pressed directly onto the surface. When you’re ready to use it, simply thaw the icing overnight in the refrigerator. Once thawed, stir it thoroughly to restore its smooth consistency before transferring it to piping bags.
Royal Icing Expert Tips
Achieving royal icing perfection is within reach with these pro tips:
- Optimal Egg White/Meringue Powder Temperature: If using traditional egg whites (though meringue powder is recommended for safety and ease), ensure they are at room temperature. Cold egg whites are significantly harder to whip to stiff peaks. For meringue powder, simply ensure your water is not icy cold.
- Always Sift Your Powdered Sugar: This step is non-negotiable for smooth royal icing. Sifting confectioner’s sugar eliminates any tiny clumps, ensuring a silky-smooth consistency that flows beautifully through a piping bag and prevents a grainy texture.
- Adjust Consistency with Precision: Royal icing consistency is crucial and highly adaptable. For outlining and fine details, you’ll want a stiffer icing (often called “piping consistency”). For filling in areas (flooding), a slightly thinner, more flowy consistency is needed (known as “flooding consistency”). Always add water just a few drops at a time to thin, and a spoonful of powdered sugar to thicken.
- Keep Icing Covered at All Times: Royal icing dries incredibly quickly when exposed to air. To prevent crusting while you work, always cover any icing not currently in use with a damp cloth or plastic wrap pressed directly onto the surface.
- Patience with Drying Time: Resist the urge to rush this step! For the best, most durable results and to prevent smudging, allow your decorated items to dry overnight, ideally for 8-12 hours. This ensures the icing sets completely and retains its crisp shape.
- Start Mixing on Low Speed: When beginning to mix your royal icing, always start your electric mixer on a low speed to incorporate ingredients without creating a cloud of powdered sugar. Gradually increase the speed to medium-high to achieve the desired stiff peaks. For best results, use the whisk attachment rather than a paddle attachment, as it incorporates more air for lighter, stiffer icing.
Royal Icing Troubleshooting: Common Issues & Solutions
Even with a reliable recipe, challenges can arise. Here’s how to tackle common royal icing problems:
Icing Is Too Runny:
If your icing has become too thin, simply add more confectioner’s sugar, one spoonful at a time, mixing well after each addition until the desired thickness is achieved. For very runny icing, chilling it in the refrigerator for 10-15 minutes can also help it firm up slightly before you attempt piping.
Icing Cracks When Drying:
Cracking is often a sign that your icing was too thick when applied. To remedy this, add a tiny bit of water (just a few drops) to your icing and mix thoroughly until you achieve a smoother, slightly thinner consistency. Ensure your layers are not excessively thick.
Icing Won’t Pipe Smoothly:
This issue usually indicates that your icing is too stiff or that it has begun to dry out in the piping tip. If it’s too thick, add a few drops of water. To prevent drying, keep a damp cloth over the tip of your piping bag when not actively decorating.
Color Bleeds or Runs:
To prevent colors from bleeding, always use high-quality gel-based food coloring. Liquid food colorings can introduce too much moisture, causing colors to spread. Crucially, allow each layer of icing to dry completely before applying a different color on top, especially when colors touch.
Icing Takes Forever to Dry:
High humidity is the most common culprit for slow drying times. To accelerate the process, consider using a fan on a low setting pointed indirectly at your decorated items, or a dehumidifier in the room. Always plan to give your cookies or cakes a full night (8-12 hours) to dry properly, especially in humid conditions, for the best, most durable results.
NOTE – This recipe, utilizing meringue powder, is a safe and excellent choice for pregnant women. Traditional royal icing prepared with raw egg whites is not recommended for consumption by pregnant women due to potential health risks.
Creative Ways to Use Leftover Royal Icing
Don’t let any of your precious royal icing go to waste! There are many creative ways to utilize leftovers:
- DIY Cookie Decorating Kits: Package any remaining royal icing (in small piping bags or squeeze bottles) with a batch of plain sugar cookies and some sprinkles. This makes for a delightful and engaging DIY decorating kit, perfect for kids’ activities, party favors, or a thoughtful gift.
- Elegant Drizzles Over Cakes: Thin your leftover icing with a few drops of water until it reaches a smooth, drizzly consistency. Use it to create a glossy, decorative finish over plain cakes, bundt cakes, or even quick breads for an instant upgrade.
- Craft Edible Art Decorations: Use different colors and consistencies of icing to pipe intricate designs, flowers, shapes, or elegant letters onto parchment paper. Allow them to dry completely, then carefully peel them off and use them as beautiful, custom edible toppers for cakes, cupcakes, or individual desserts.
- Seal Homemade Candies: Royal icing can serve as a shiny, protective seal or a decorative accent for homemade chocolates, truffles, or fondants, adding both flair and a touch of preservation.
- Add Detailed Flourishes to Cupcakes: Even a small amount of leftover icing can make a big impact. Pipe delicate borders, intricate dots, or small themed shapes onto frosted cupcakes to give them a polished, professional bakery look with minimal effort.
Frequently Asked Questions About Royal Icing
Can royal icing be made without egg whites?
Absolutely! Meringue powder is a fantastic, widely available, and safe alternative to raw egg whites. It provides excellent stability, a perfect glossy finish, and eliminates any concerns regarding raw egg consumption. This recipe specifically utilizes meringue powder for these very benefits.
How long does royal icing take to dry completely?
The drying time for royal icing can vary significantly, typically ranging from 4 to 12 hours. Factors such as the thickness of the icing layer and the humidity levels in your environment play a major role. Thinner layers and lower humidity will result in faster drying times.
Can I store royal icing once it’s dried on cookies?
Yes, once completely dry, royal icing acts as a protective shell. Decorated cookies can be stored at room temperature in an airtight container for up to two weeks. Ensure they are kept away from excessive humidity to maintain their crispness.
Why does royal icing sometimes get grainy?
Graininess in royal icing usually occurs for one of two main reasons: either the confectioner’s sugar was not properly sifted, leaving small clumps, or too much liquid was added too quickly during the mixing process. To prevent this, always sift your powdered sugar and add water gradually, mixing thoroughly.
Can royal icing be colored with natural dyes?
While natural colorings (like beet powder, spirulina, or fruit/vegetable juices) can be used, they come with a few caveats. They may affect the icing’s consistency more readily and can sometimes result in less vibrant hues or colors that fade over time. For consistently bright, bold, and stable colors, gel food colorings are generally the more reliable option.
DON’T MISS THESE HOLIDAY E-BOOKS!



If you love this royal icing recipe, you’re sure to adore these other fantastic frosting and decorating recipes, too. Click each link below to discover easy, printable recipes that will expand your baking repertoire!
Coffee Buttercream Frosting
Calling all coffee lovers! This rich and incredibly creamy Coffee Buttercream Frosting is the perfect accompaniment for all your cakes and confections. Crafted with just 4 simple ingredients, it’s ready in a mere 5 minutes!
Check out this recipe
Easy Marble Drip Icing
Create a stunning “WOW” factor on your cakes with this Easy Marble Drip Icing technique. It’s incredibly simple—just whisk, drop, and pour for amazing, artistic cake decorations!
Check out this recipe

Chocolate Ganache Drip Cake
Master the art of the Chocolate Ganache Drip Cake with this simple recipe. Made with just 2 ingredients, it can be prepared with or without heavy cream and customized with a variety of chocolate flavors!
Check out this recipe

Whipped Cream Frosting
This stabilized Whipped Cream Frosting reliably holds its shape, making it an ideal topping for dipping, spreading, or piping onto all your favorite desserts. It offers the perfect amount of sweetness and, crucially, won’t deflate!
Check out this recipe
Delicious Recipes to Pair with This Royal Icing
This versatile royal icing is the perfect companion for these delightful baked goods:
Grinch Cookies
Marble Cookies
Heart Shaped Cookies
Chocolate Sugar Cookies
CONNECT WITH YUMMI HAUS!
Be sure to follow me on my social media, so you never miss a post!
Substack,
FB,
Pinterest,
IG,
Email Subscription

Royal Icing Recipe
Whip up the perfect royal icing every time! This easy recipe creates a smooth, glossy icing ideal for decorating cookies, cakes, and more. Whether you’re piping intricate designs or flooding your cookies, this homemade royal icing will give your treats a flawless, professional look.
Pin Recipe
10 mins
10 mins
Ingredients
- 3 cups confectioner’s sugar
- 2 tbsp meringue powder (or 2 large pasteurized egg whites)
- 5-6 tbsp water
Optional:
- 1 tsp vanilla extract
Instructions
- Combine the confectioner’s sugar and meringue powder in a large bowl.
- Add the water, one tablespoon at a time, while beating on medium speed with an electric mixer until the icing is thick and glossy, about 5–7 minutes.
- Gently fold in the vanilla extract, if using, until just combined.
Notes
Adjusting Consistency: Fine-tune your icing for decorating needs. Add a few drops of water at a time for thinner flooding or outlining consistency. For stiffer icing, perfect for fine details or creating flowers, mix in more confectioner’s sugar a spoonful at a time.
Decorating & Drying: Transfer the prepared icing to piping bags. Decorate your cooled cookies, cakes, or other treats. It’s crucial to allow the icing to dry completely, ideally overnight, before stacking or storing to prevent smudging and ensure a firm set.
Vanilla Selection: If you aim for a bright white icing, opt for clear artificial vanilla extract. Pure vanilla extract, while delicious, has a natural amber tint that will give your icing a cream or off-white color.
Yield: This recipe typically yields about 2 cups of royal icing.
For cookies: This amount is generally sufficient for icing approximately 20–25 standard-sized cookies.
For cupcakes: Expect to cover roughly 12–18 cupcakes with a thin, decorative layer of this icing.
Equipment
- Mixer (Electric or Stand Mixer with whisk attachment)
- Large Mixing Bowl
- Measuring Cups and Spoons
- Rubber Spatula
- Piping Bags and Tips (optional)
Nutrition
Calories: 46 kcal |
Carbohydrates: 11g |
Protein: 0.1g |
Sodium: 0.1mg |
Sugar: 11g |
Calcium: 0.1mg
Nutritional information for this recipe is provided as a courtesy and is an approximation. Please double-check with your own dietary calculator for the best accuracy. We at Yummi Haus cannot guarantee the accuracy of the nutritional information given for any recipe on this site.
Love this recipe?
Follow @KleinworthCo for even more tasty recipes!