
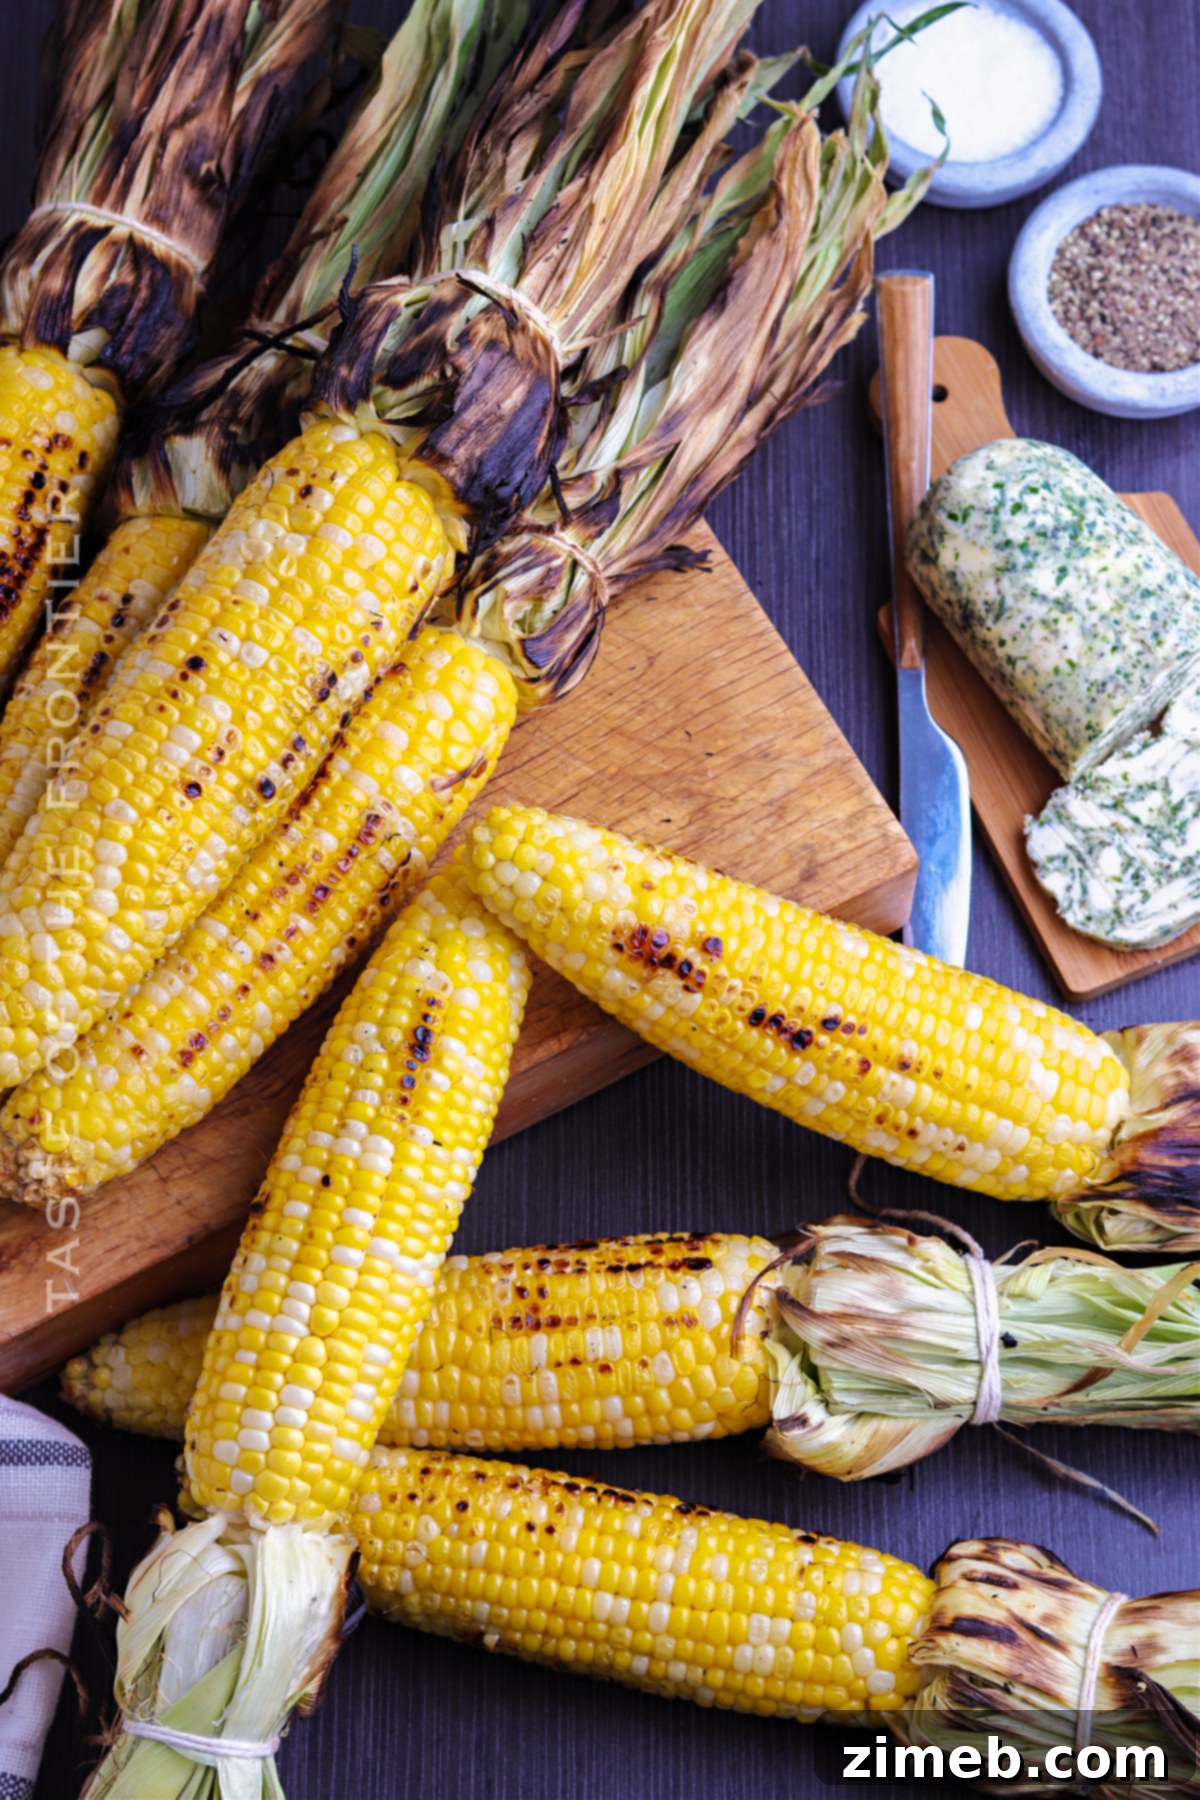
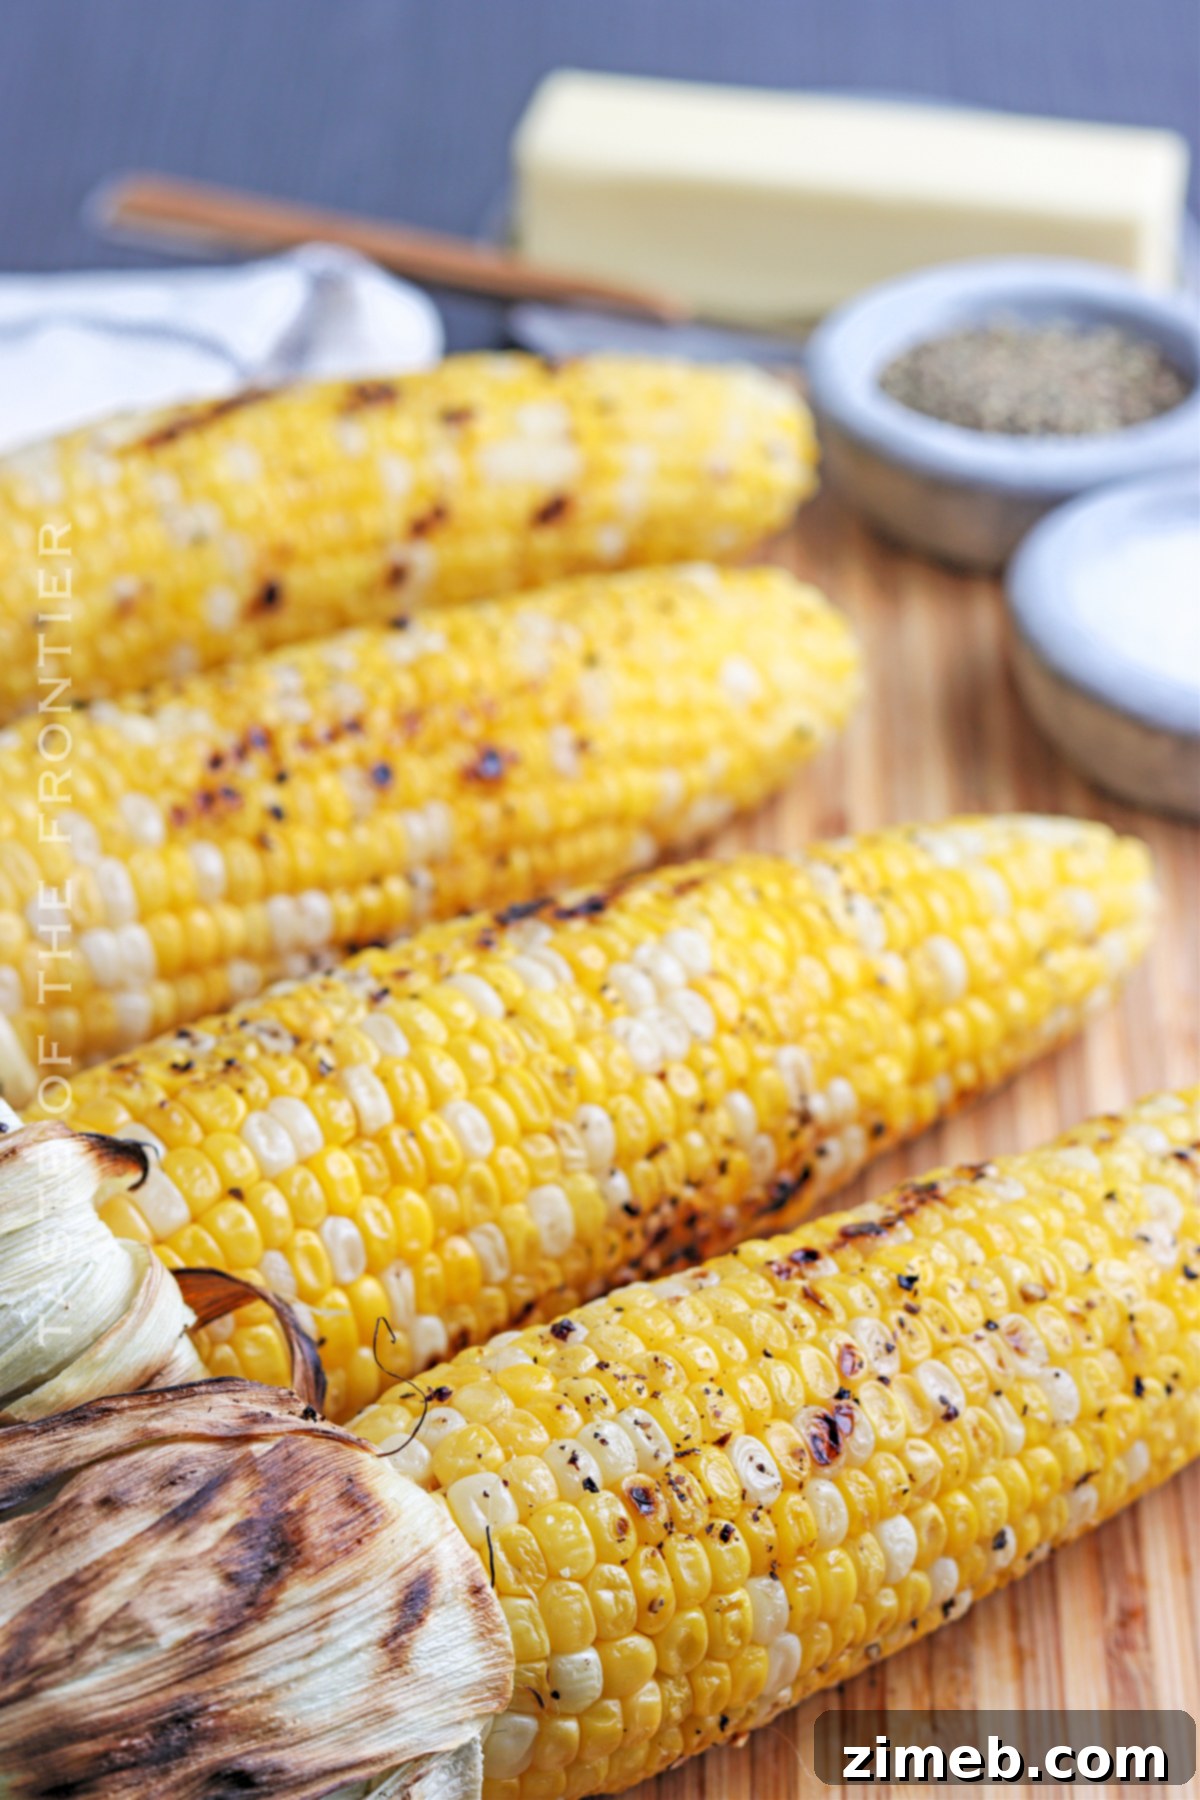
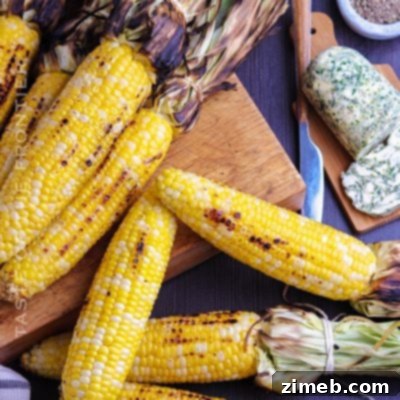
Grilled corn on the cob is an undeniable star of summertime cuisine, and mastering its preparation is easier than you think! This comprehensive guide provides simple yet effective methods for making the most delicious Easy Grilled Corn, whether you prefer it wrapped in foil, grilled with its husks on, or exposed directly to the flame for those perfect char marks. Get ready to elevate your barbecue game and delight your taste buds with this quintessential warm-weather treat.
Easy Grilled Corn on the Cob: Your Ultimate Guide to Summertime Perfection
There’s nothing quite like the sweet, smoky aroma of corn on the cob fresh off the grill. It’s a classic side dish that instantly transports you to sunny backyard gatherings and memorable family meals. Grilling corn is not just about cooking it; it’s about infusing it with a unique flavor profile that boiling or steaming simply can’t replicate. Whether you’re a seasoned grill master or a novice looking to impress, this guide covers everything you need to know to achieve perfectly grilled corn every single time.
The beauty of grilled corn lies in its versatility. You can achieve different textures and flavors depending on your chosen method: a tender, steamy result by wrapping it in foil, a smoky, slightly charred kernel by grilling it bare, or a classic, moist sweetness by leaving the husks on. There’s no single “right” way, only your preferred way to enjoy this delicious vegetable. We’re here to ensure you have the confidence and know-how to prepare this delightful side dish exactly how you like it.
**Don’t forget to use this amazing grilled corn as a base for our popular Grilled Corn Salad!**
PIN THIS RECIPE TO SAVE FOR LATER
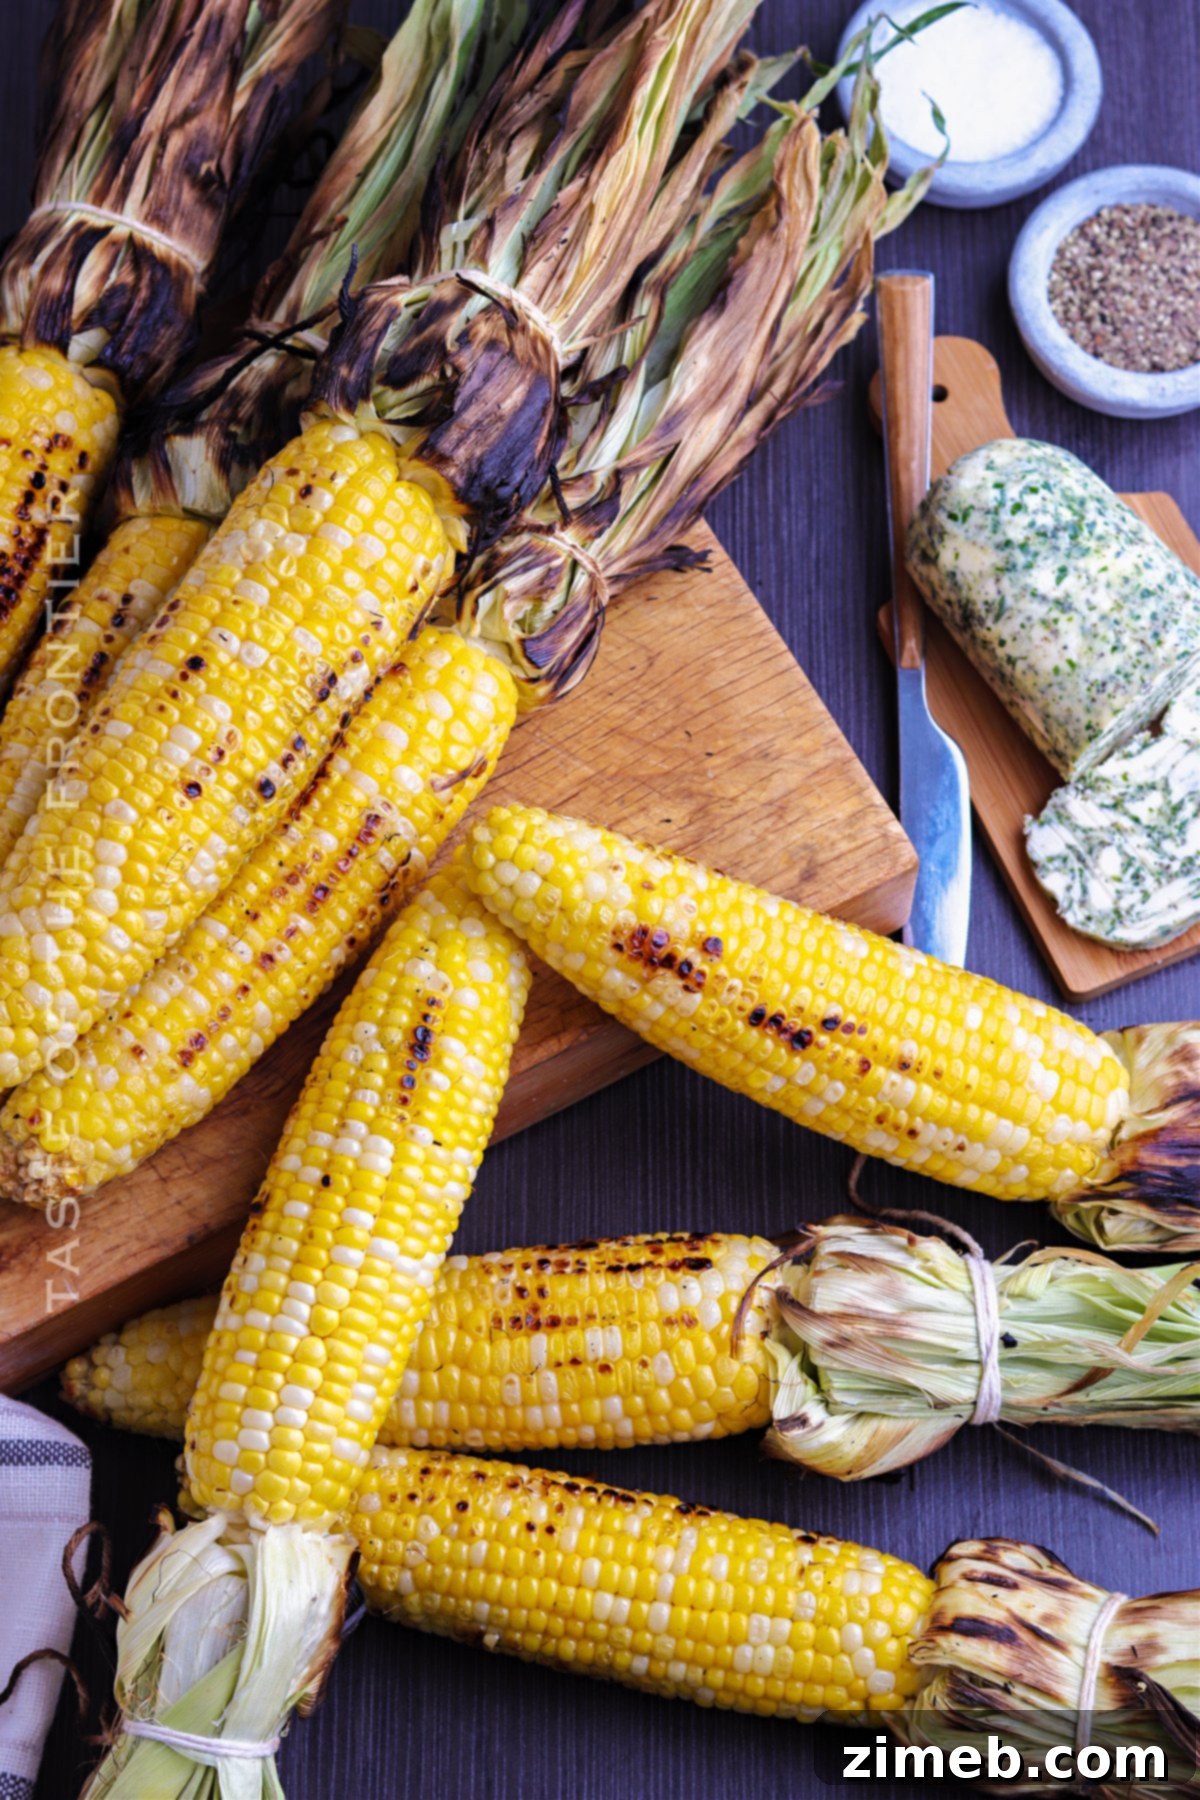
Why Grilled Corn is the Best Summer Side Dish
For me, corn has always been a top contender among side dishes. This passion only deepened after I had the incredible opportunity to travel to Iowa for a corn press tour. Imagine days filled with back-to-back corn-themed events, where every meal featured corn in some delightful form. It was a true culinary paradise for a corn enthusiast like myself. That experience solidified my belief that corn is not just a vegetable; it’s a canvas for endless culinary creativity, especially when grilled.
Grilled corn offers a unique combination of textures and flavors. The natural sugars caramelize under the high heat, creating a sweet and slightly smoky taste that is simply irresistible. The kernels become tender yet retain a satisfying bite, making it an ideal companion for a wide array of summer mains, from juicy steaks to light salads. It’s a dish that evokes nostalgia, bringing to mind long summer evenings, laughter, and good company. You’ll undoubtedly fall in love with these straightforward and delicious methods for grilling corn this season!
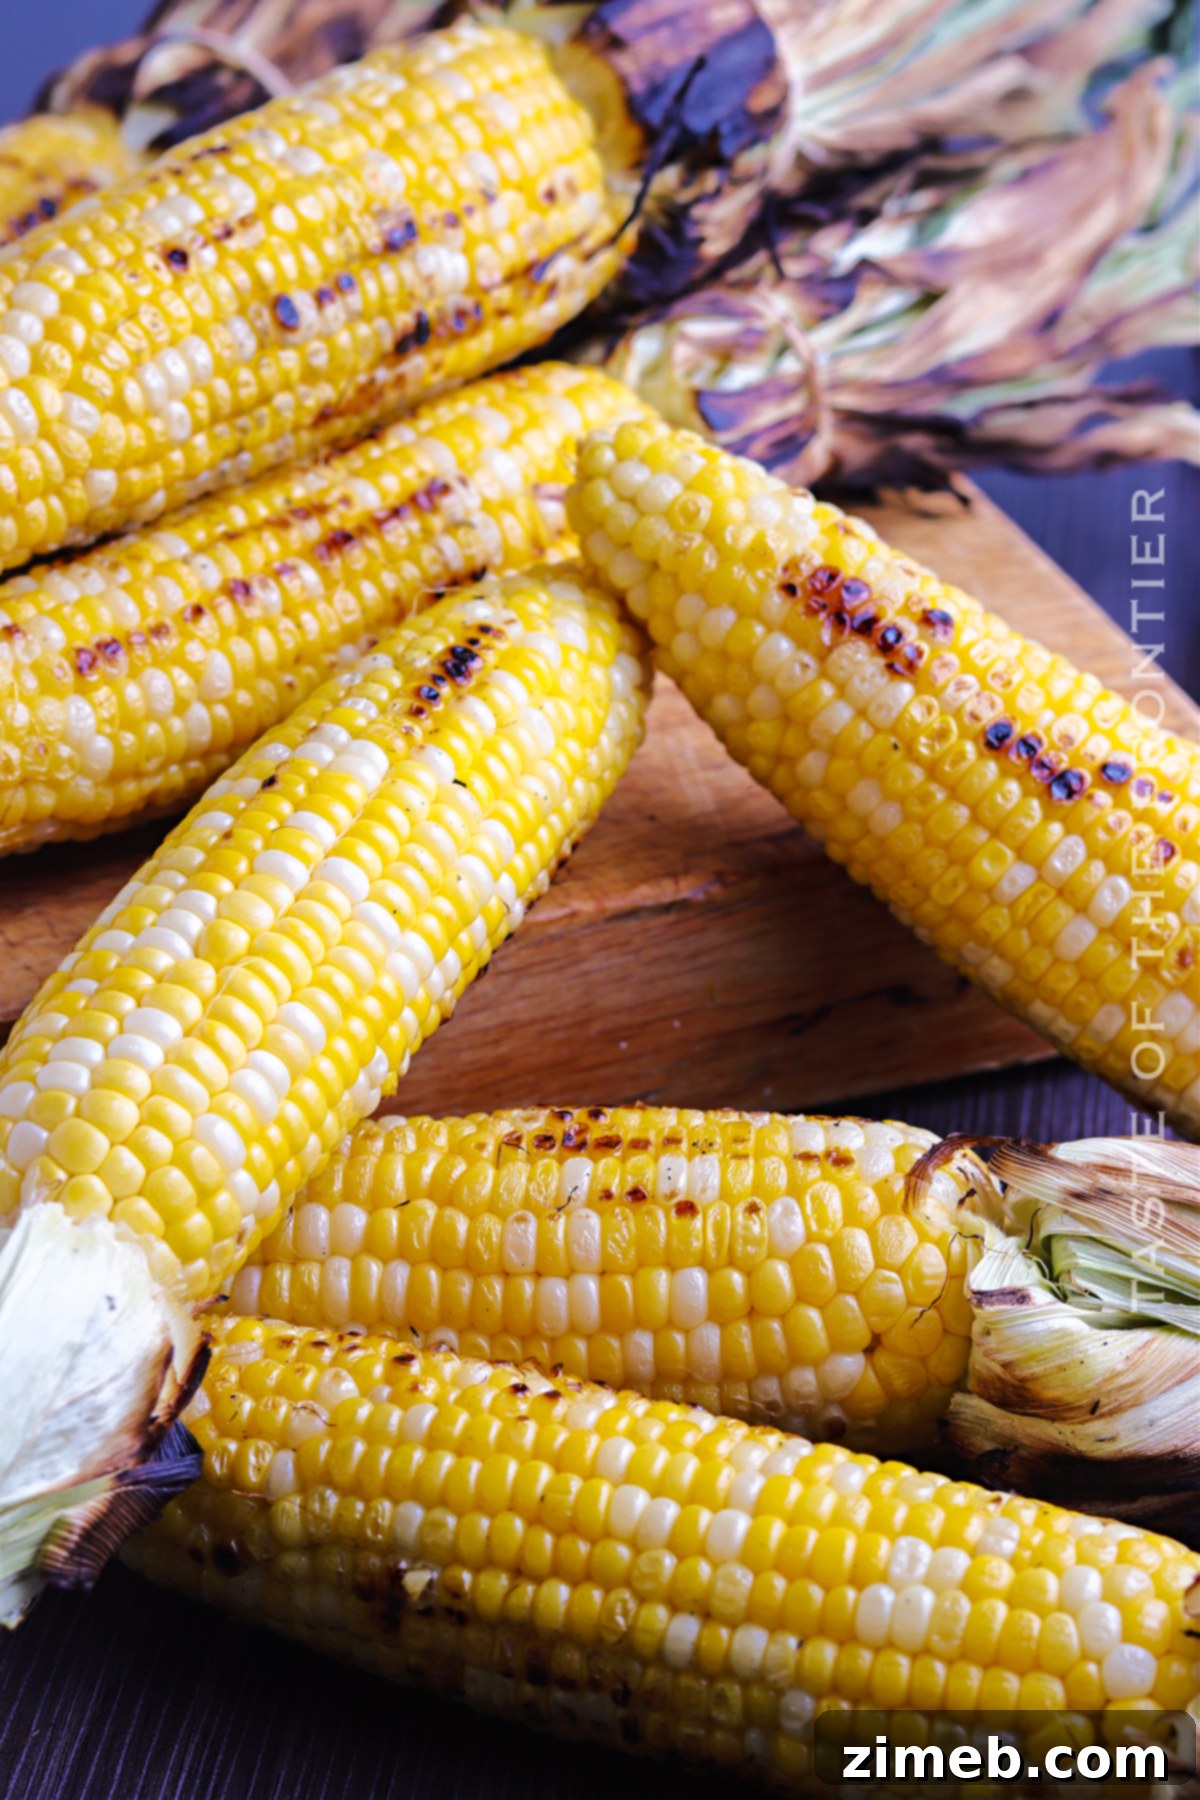
Frequently Asked Questions About Grilled Corn
Is it best to grill corn with or without the husk?
The “best” method truly depends on the flavor and texture you’re aiming for. If you prefer your corn to be steamed to a delicate tenderness, with just a subtle hint of barbecue essence, then grilling unshucked corn is likely your ideal choice. The husk acts as a natural protective layer, trapping moisture and gently cooking the kernels. This method results in a softer bite and a cleaner corn flavor.
Conversely, those who opt to grill their corn without the husks are typically seeking those distinctive grill marks, a slightly firmer texture, and a more pronounced, smoky barbecue flavor that comes from direct heat exposure. This method allows for a delicious caramelization of the kernels, adding depth to the natural sweetness. Don’t hesitate to experiment with both techniques! You might discover a new favorite way to enjoy this beloved backyard classic, pleasing every palate in your family.
What seasonings go well with grilled corn?
A classic salt and pepper base is always an excellent starting point for enhancing the natural sweetness of grilled corn. However, the possibilities for creative seasoning are endless! For an added layer of flavor, consider a dash of paprika, a sprinkle of garlic salt, or a pinch of chili powder once the cobs are finished grilling. These spices introduce a warm, savory note that complements the corn beautifully.
For a bolder taste, don’t shy away from trying your favorite steak or meat seasonings, such as Montreal seasoning. The blend of garlic, coriander, black pepper, and dill often found in these mixes can add an unexpected and delightful kick. Beyond dry rubs, a generous slathering of butter – plain, herb-infused, or even spicy butter – is always a winner. Consider toppings like crumbled cotija cheese, fresh cilantro, lime juice, or a drizzle of hot sauce for an authentic Mexican street corn experience. The key is to experiment and find what tantalizes your taste buds most!
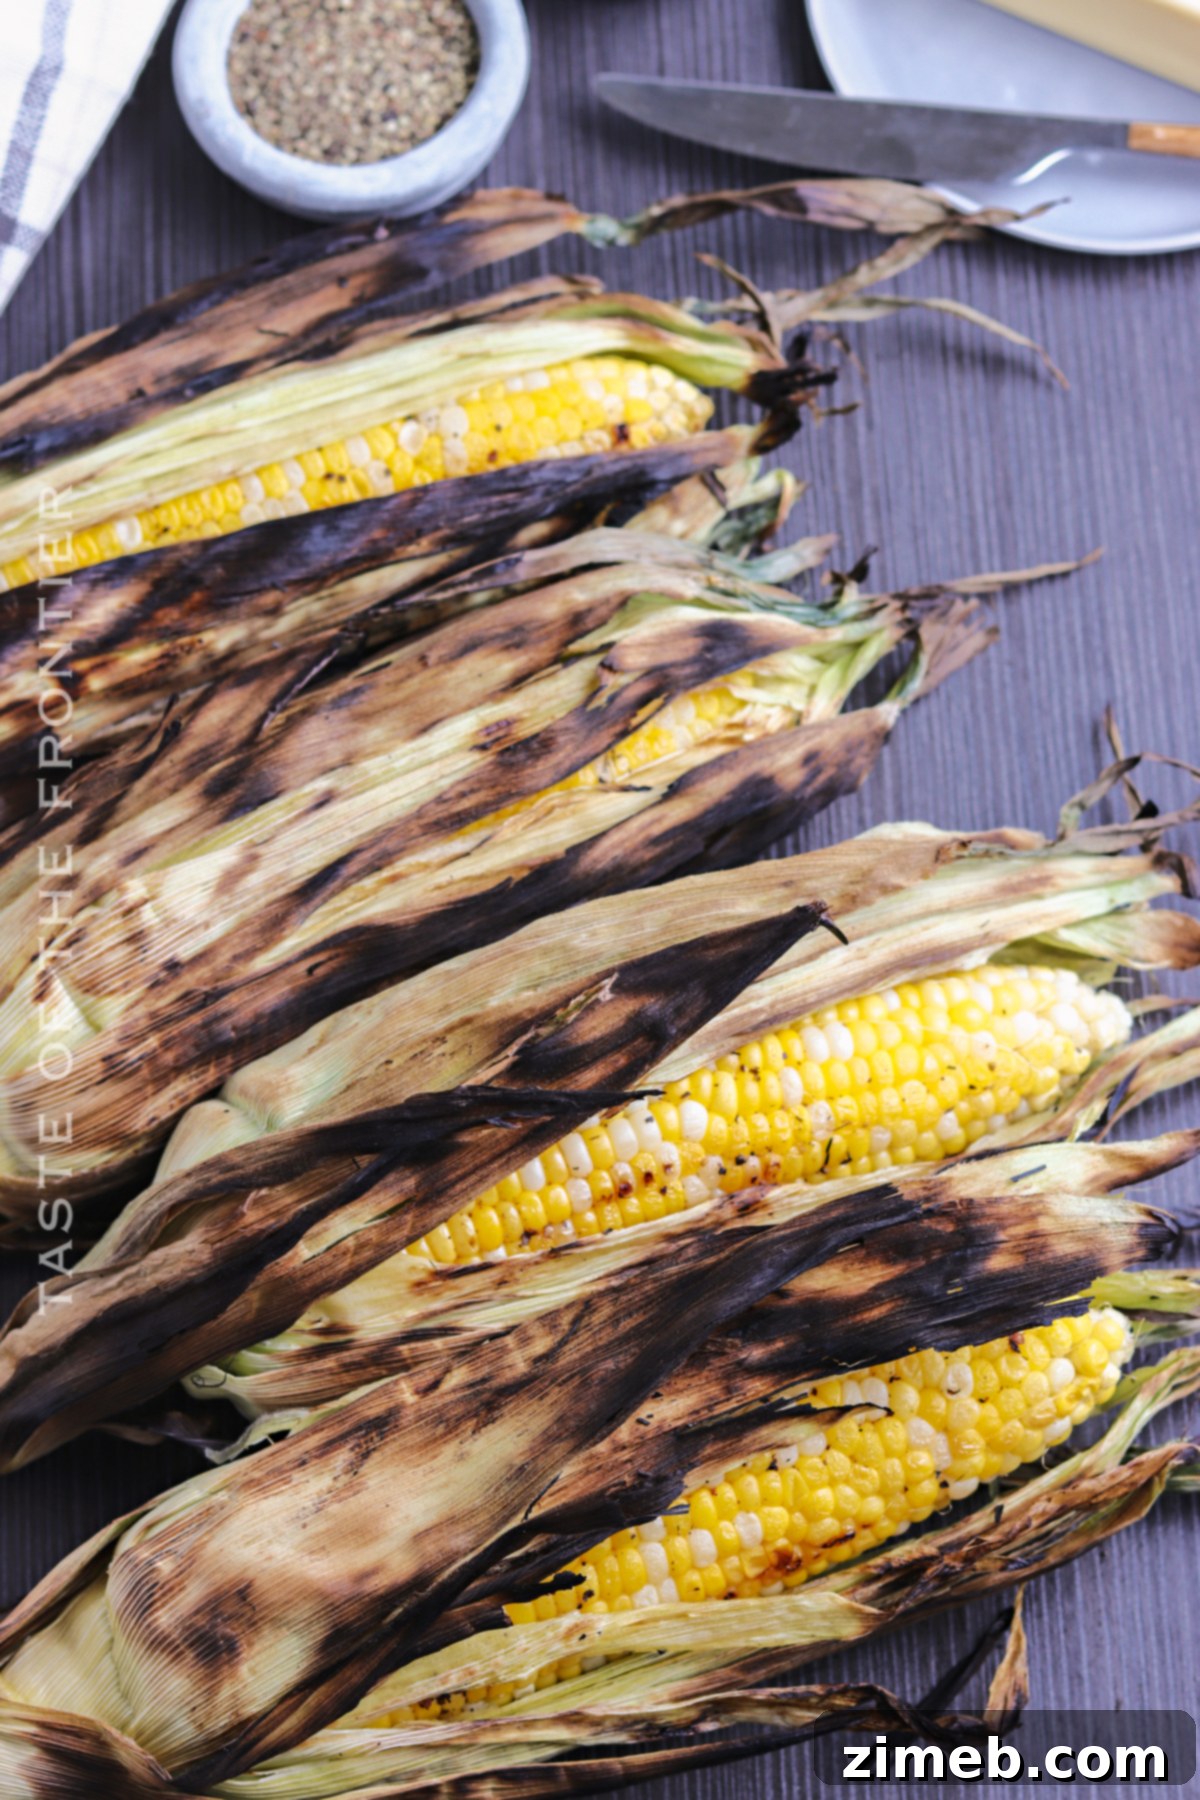
What is the purpose of soaking unshucked corn for so long before grilling?
When grilling corn with the husks still on, soaking them in water for an extended period (typically 30-60 minutes, or even longer) serves a crucial purpose: preventing dehydration and burning. Corn, like many vegetables, can quickly dry out and char when exposed to the direct, intense heat of a barbecue. While leaving the husks on provides some protection, they can still catch fire or dry out excessively if not properly hydrated.
Soaking the husks saturates them with water. This moisture then acts as a barrier, protecting the kernels from direct flames and preventing the husks themselves from burning too quickly. More importantly, as the water in the husks heats up on the grill, it creates steam, which gently cooks the corn inside. This steaming process results in incredibly tender, sweet kernels that are moist and full of flavor. If you find soaking to be too time-consuming, wrapping the cobs tightly in aluminum foil can achieve a similar steaming effect, offering a convenient alternative for delicious, moist grilled corn.
Can I make my own herb butter to use on my grilled corn?
Absolutely! Homemade herb butter is a fantastic way to add a gourmet touch to your grilled corn. It’s incredibly simple to make and allows you to customize the flavors to your liking. For a truly unforgettable pairing, be sure to try my Italian Garlic Butter recipe. This rich, aromatic butter is packed with savory garlic and herbs, perfectly complementing the sweetness of fresh grilled corn.
The wonderful thing about making your own herb butter is its versatility. If you find yourself with extra, it’s an excellent addition to other dishes. Slather it on some warm dinner rolls for an elevated bread course, or melt it over your favorite cut of meat, like a succulent filet mignon. It’s a simple ingredient that can dramatically enhance a variety of meals, making it a staple in any kitchen.
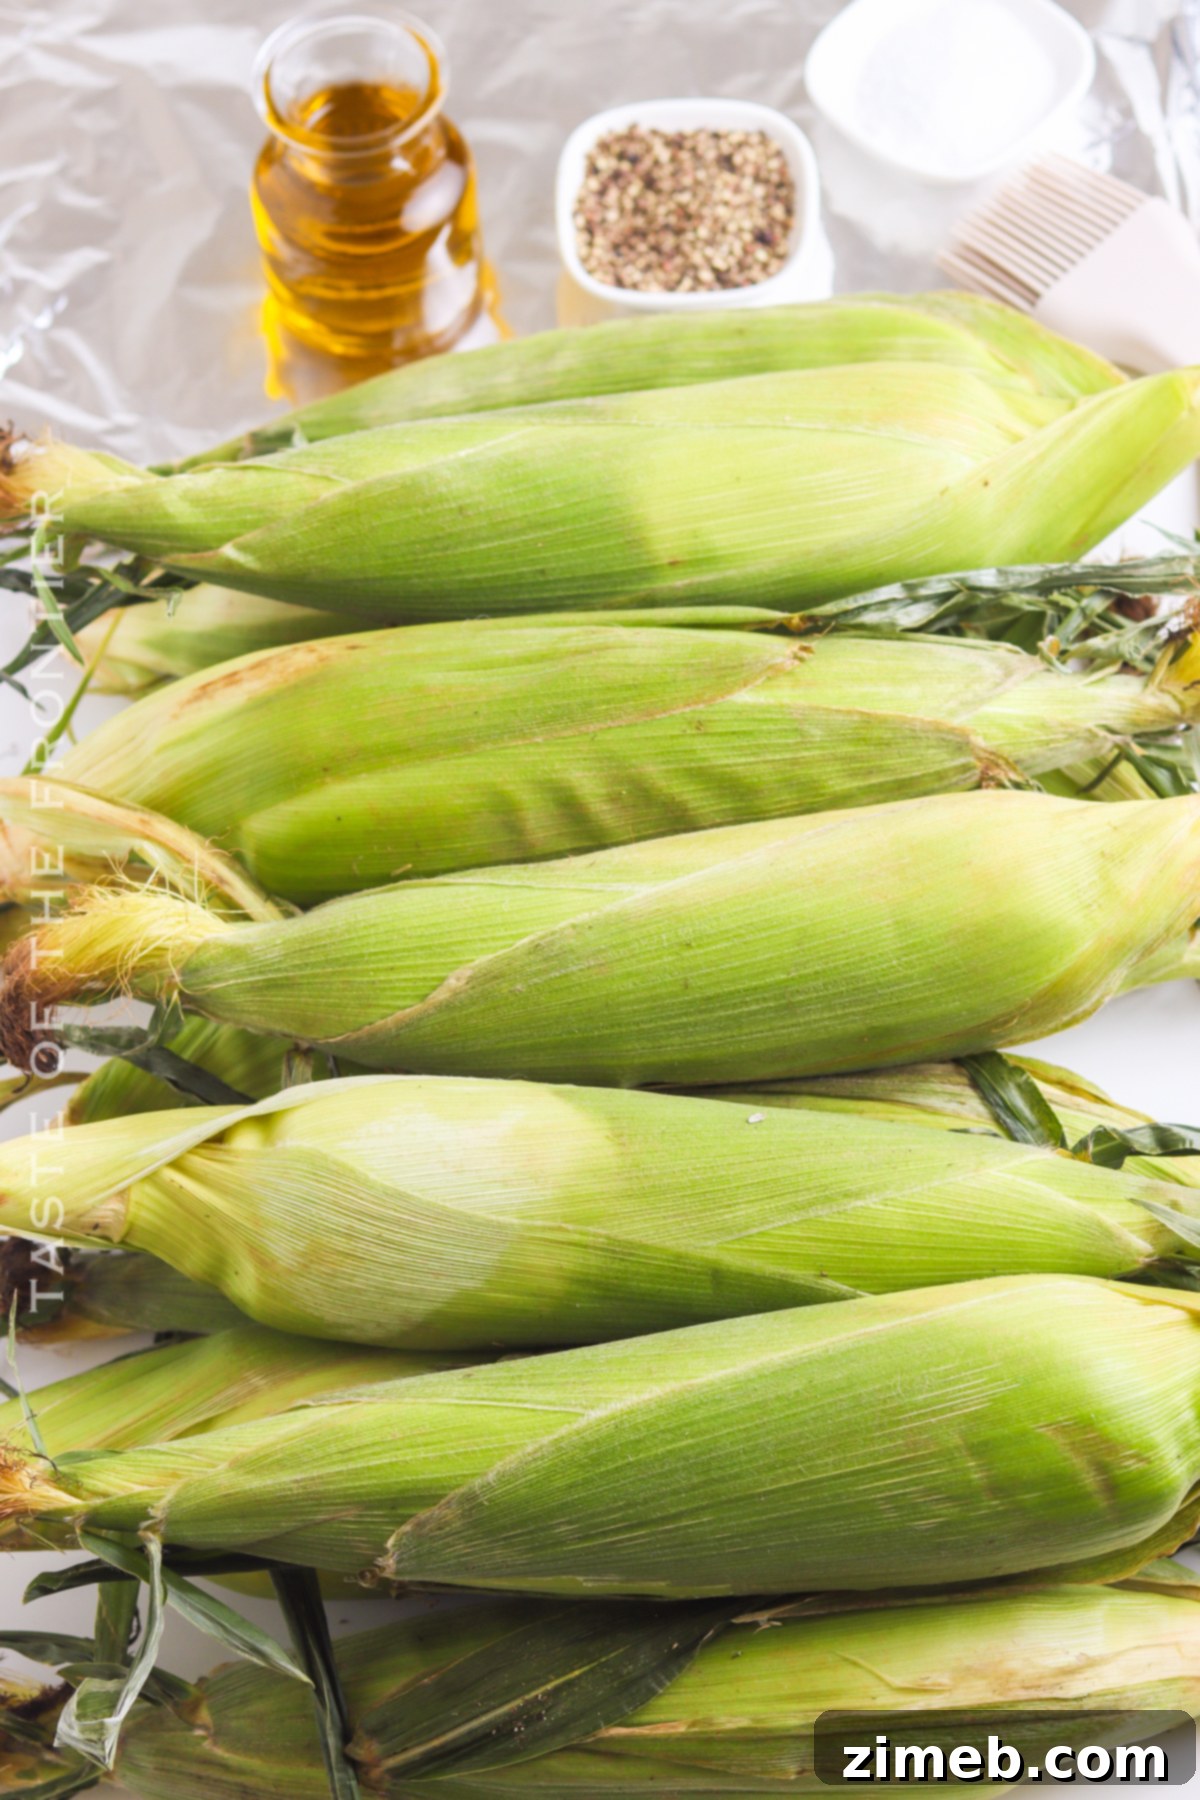
Ingredients for Easy Grilled Corn
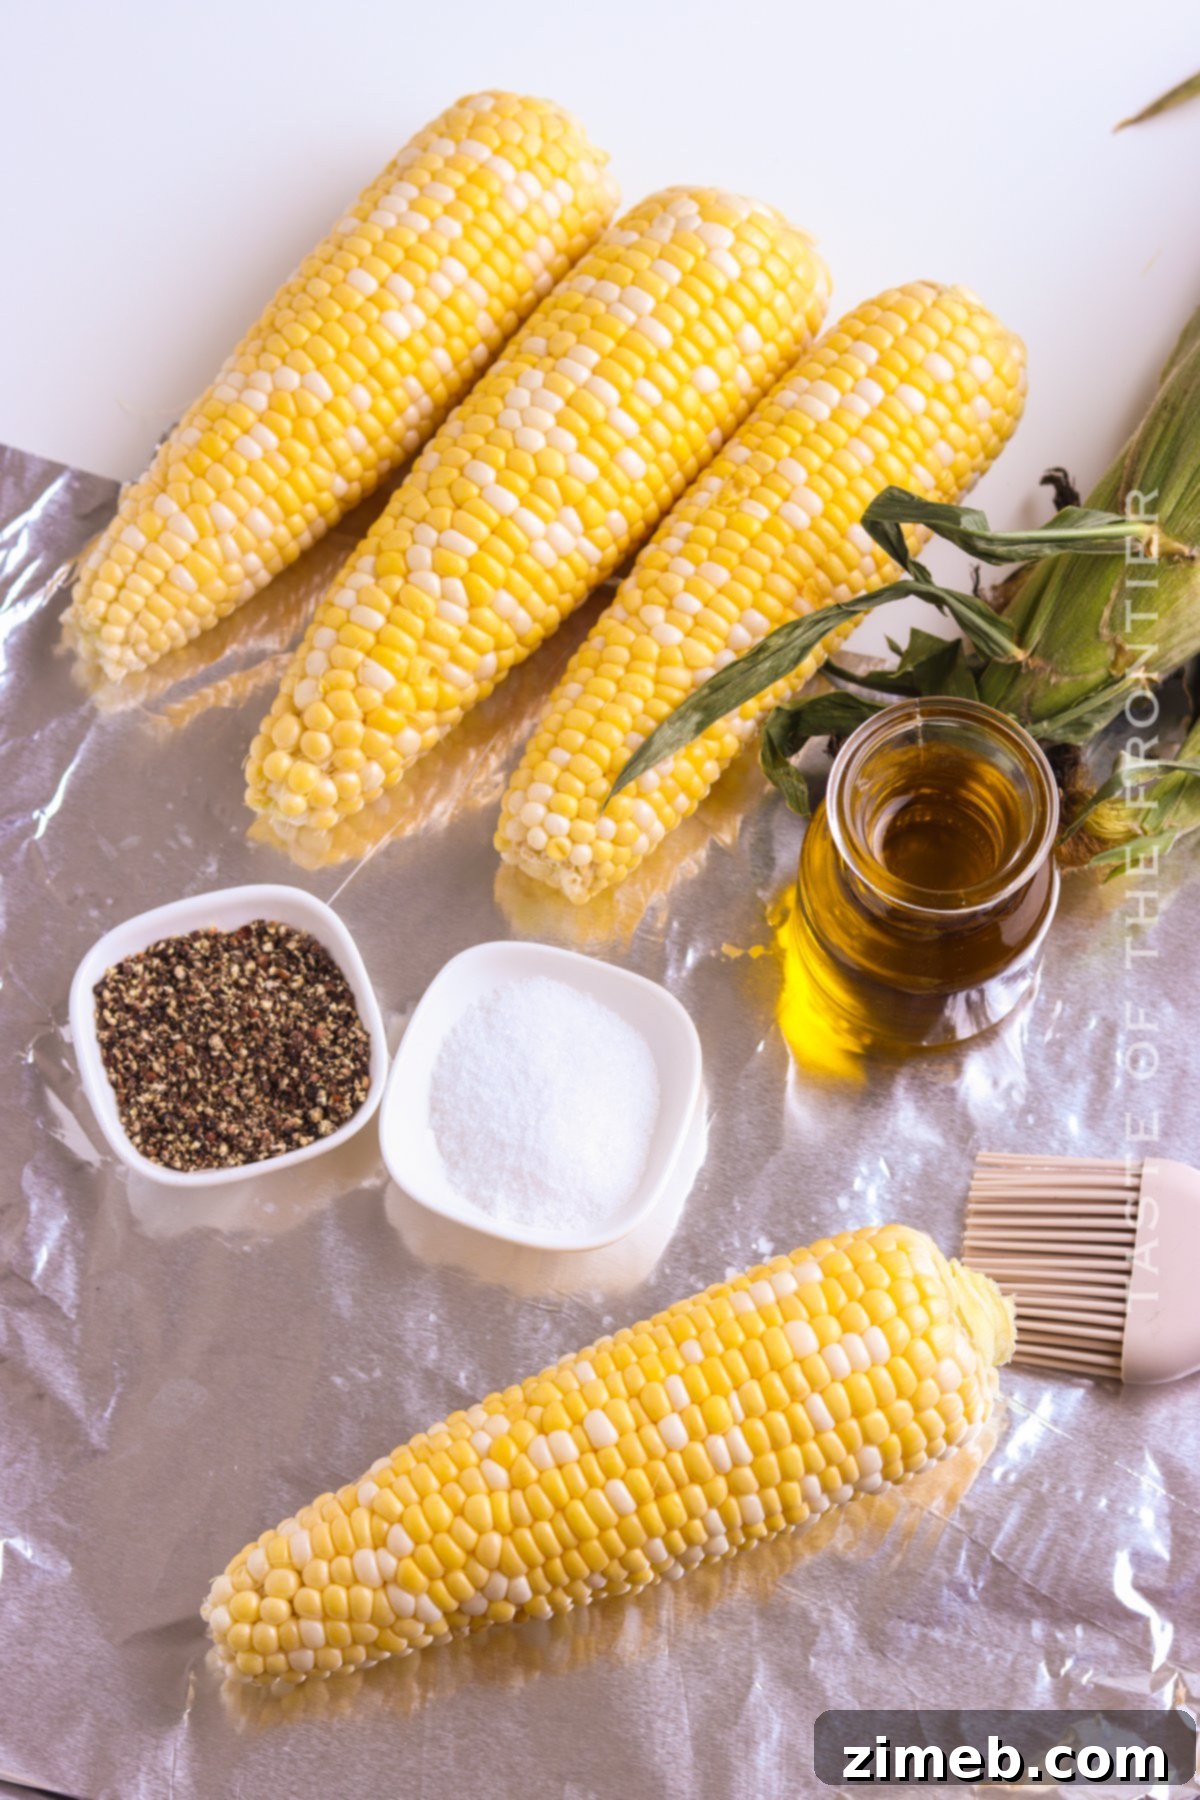
Regardless of your chosen grilling method, the basic ingredients for flavorful corn on the cob remain delightfully simple. Fresh corn, a good quality olive oil, and basic seasonings are all you need to create a mouthwatering side dish. Here’s what you’ll need:
For All Methods:
- Corn on the Cob: Choose fresh ears with bright green husks and moist silks.
- Olive Oil: A light coating helps prevent drying and promotes even cooking, while also helping seasonings adhere.
- Salt: Essential for enhancing the corn’s natural sweetness.
- Pepper: Adds a subtle, savory kick.
Specific preparation notes for each method are detailed in their respective instruction sections below.
How to Grill Corn in Foil (The Tender & Steamed Method)
Grilling corn in foil is an excellent method for achieving tender, juicy kernels with a delicate smoky flavor. This technique is especially forgiving for novice grillers, as the foil protects the corn from burning while trapping moisture and natural sweetness. It’s a fantastic way to prepare corn that remains succulent and flavorful, perfect for slicing off the cob for salads or enjoying straight off the grill.
Step-by-Step Instructions: Grilling Corn in Foil
- Preheat your grill to a medium-high heat, aiming for a temperature between 350-375 degrees F.
- Prepare the corn by thoroughly removing all husks and silks from each cob.
- Tear off several sheets of heavy-duty aluminum foil, one for each ear of corn.
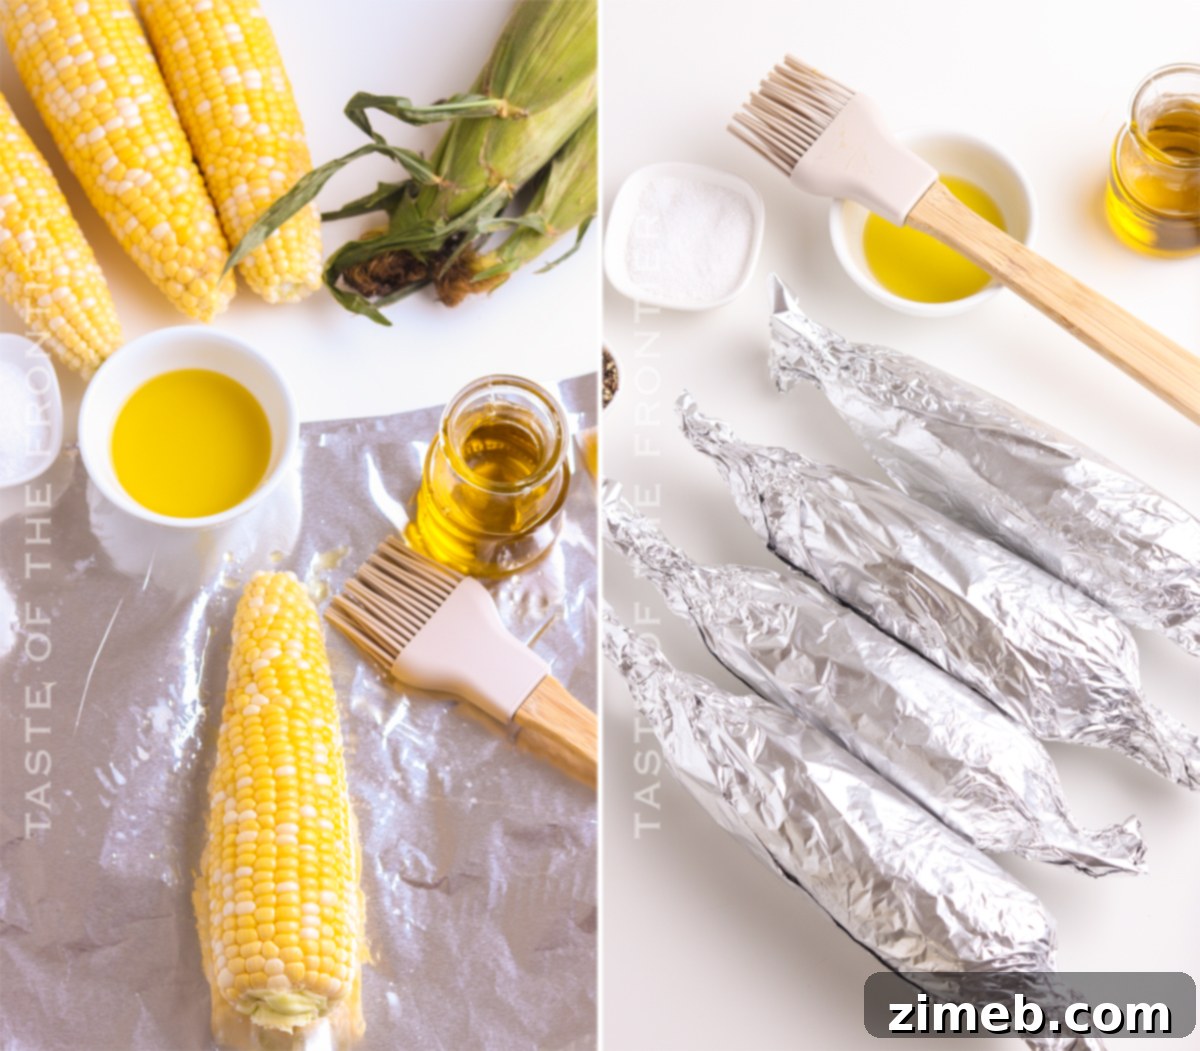
- Generously brush each ear of cleaned corn with olive oil, ensuring even coverage.
- Season the corn liberally with salt and pepper, or your preferred spice blend.
- Individually roll each seasoned corn cob tightly in its sheet of foil, creating a sealed packet.
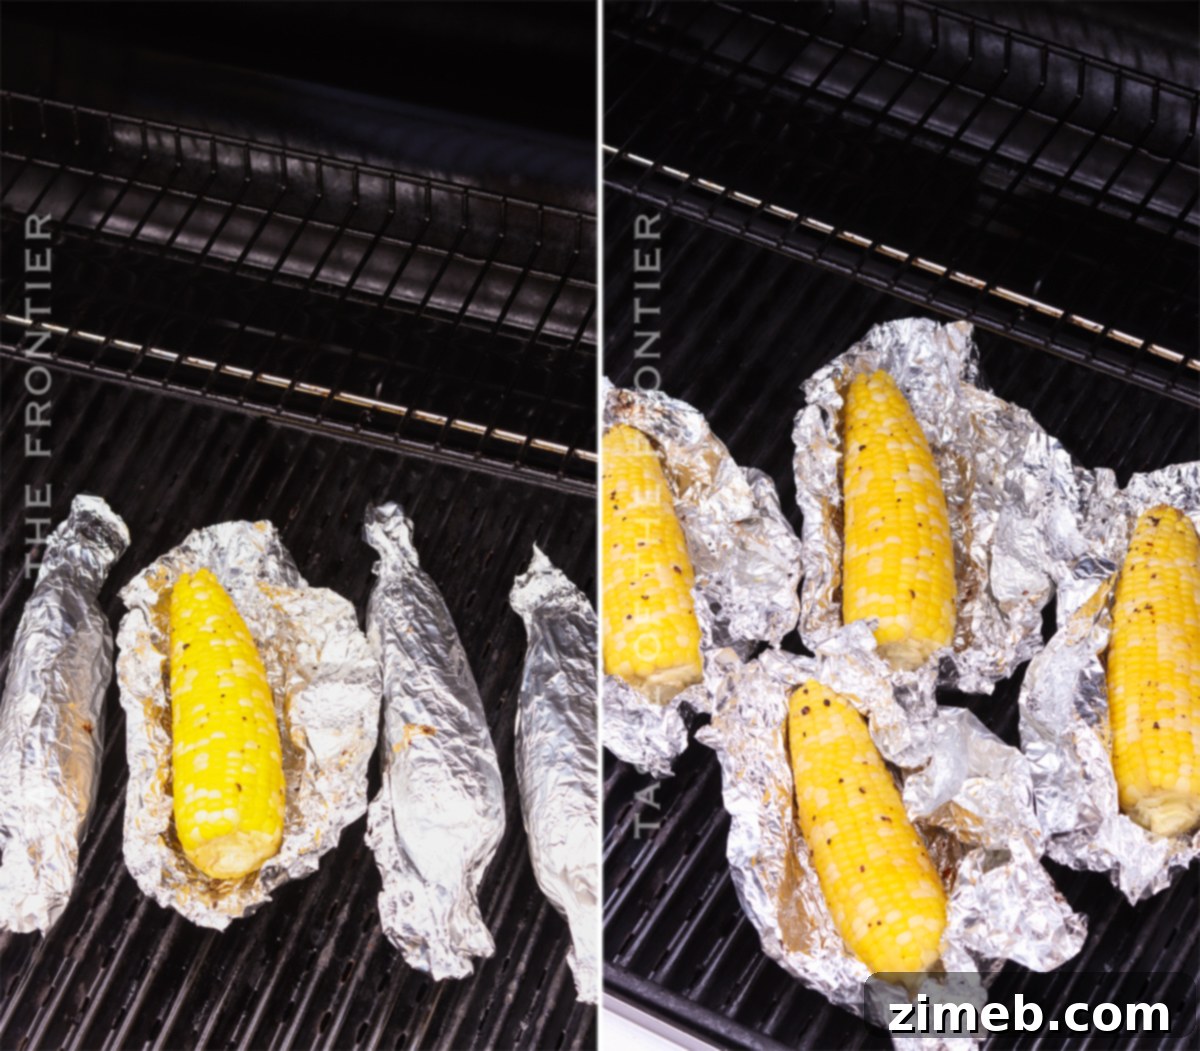
- Place the wrapped corn directly on the preheated grill grates.
- Cook for 15-20 minutes, remembering to turn the foil packets frequently (every 5-7 minutes) to ensure even cooking and prevent any section from scorching.
- Carefully remove the corn from the grill using tongs. Be cautious as the foil will be hot and may release steam when opened.
- Serve immediately with a pat of butter, a dollop of homemade herb butter, a sprinkle of cheese, or any other toppings of your choice.
Can I make this grilled corn recipe in the smoker?
Absolutely! Using a smoker to prepare your corn can impart a wonderfully deep, smoky flavor that’s distinct from traditional grilling. To achieve this, select your favorite wood pellets or wood chips – hickory, apple, or pecan work exceptionally well with corn – and preheat your smoker to a consistent temperature of 230℉.
For this low-and-slow cooking method, it is highly recommended to leave the husks on the corn. The husks will act as a natural protective layer, preventing the corn from becoming dehydrated and overly smoky during the longer smoking process. Once your smoker is up to temperature, place the husked cobs directly on the grates. Smoke the corn for approximately 20-30 minutes, or until it reaches your desired level of tenderness and smoky infusion. The husks will subtly char, and the kernels inside will be incredibly moist and bursting with flavor.
What goes well with grilled corn?
Grilled corn, with its sweet and smoky notes, is a phenomenal complement to a wide range of barbecue and summer dishes. I find that it particularly shines when paired with rich, savory meats that have a tangy or spicy barbecue sauce. The goal is to create a harmonious balance between the corn’s inherent sweetness and the robust flavors of the main course, ideally enhanced with a touch of flavorful garlic butter.
Consider serving your easy grilled corn alongside some of my most popular recipes:
- Smoked Baby Back Ribs: The tender, fall-off-the-bone ribs with their sticky, savory sauce are a match made in heaven for sweet grilled corn.
- Pork Belly Burnt Ends: The rich, melt-in-your-mouth pork belly, often glazed with a sweet and spicy sauce, finds a perfect counterpoint in the fresh crunch of corn.
- Smoked Beef Brisket: The deep, smoky flavor of a perfectly cooked brisket offers a hearty contrast to the light and sweet corn.
Beyond these savory mains, grilled corn is also excellent with grilled chicken, burgers, hot dogs, or even fish tacos. Its versatility makes it an indispensable component of any summer spread.
How long can I store my grilled corn in the refrigerator?
Properly stored, leftover grilled corn can be a delightful treat for days after your barbecue. Assuming it wasn’t left out at room temperature for an extended period after cooking, your grilled corn will remain fresh and delicious for 3 to 4 days when stored in the refrigerator. To maximize its freshness and ensure food safety, place any cooled grilled corn in an airtight container or a resealable bag before refrigerating.
It’s crucial to be mindful of food safety guidelines: hot foods should be either consumed or refrigerated within two hours of finishing the cooking process. This timeframe is essential because it limits the amount of time food spends in the “danger zone” (between 40°F and 140°F), where harmful microbes can rapidly multiply. By promptly refrigerating your grilled corn, you ensure its safety and maintain its quality for future enjoyment.
More Delicious Corn Recipes You’ll Love!
- Corn Chowder
- Slow Cooker Corn on the Cob
- Elote Street Corn Dip
- Sea Salt Garlic Corn
- 3-Minute Instant Pot Corn on the Cob
- Slow Cooker Corn Casserole
- Mexican Street Corn Salad
- Classic Cornbread
- Pressure Cooker Creamed Corn
- Smoked Fiesta Corn on the Cob
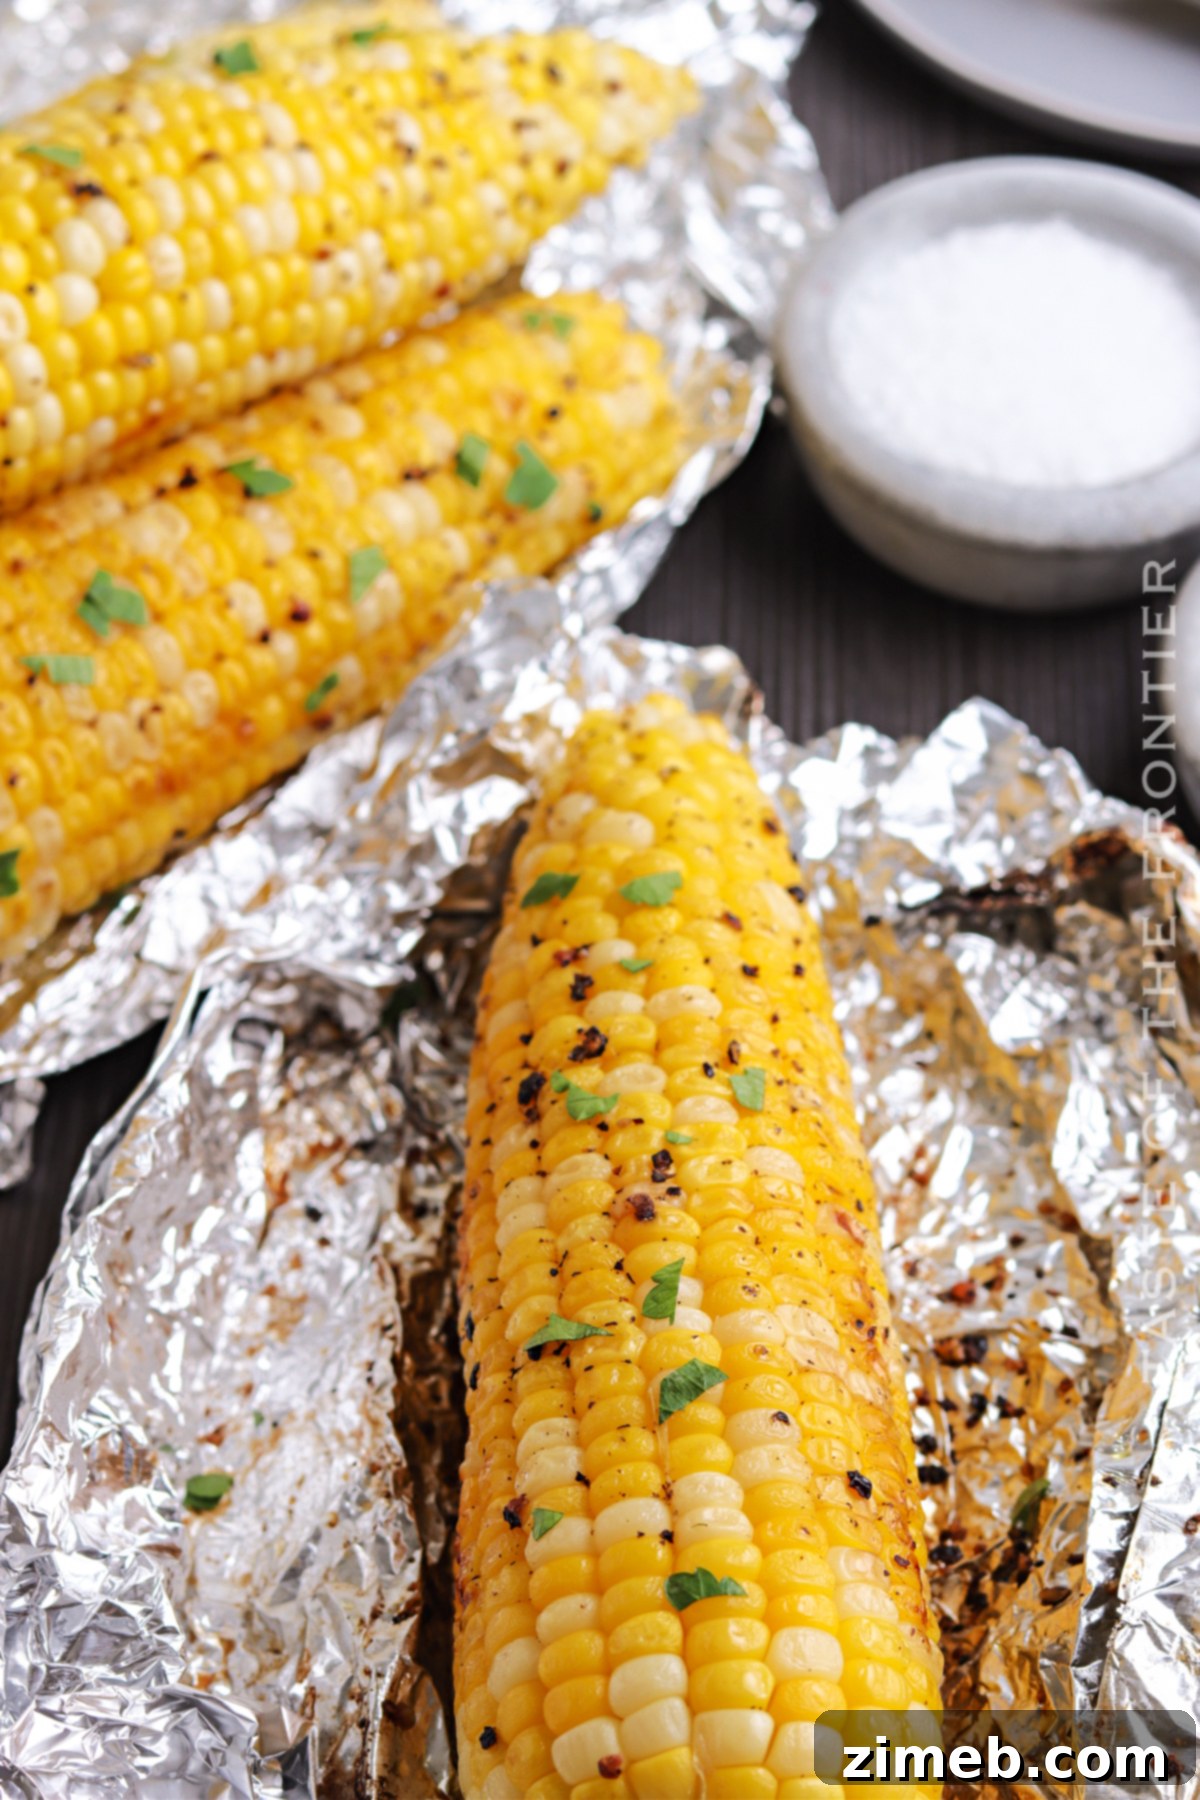
How do I know when the corn is done grilling?
Determining when grilled corn is perfectly done is a skill that develops with practice, as it can vary based on your specific grill, the cooking method used, and personal preference for texture. Unfortunately, there isn’t a single, universal timer that guarantees perfection. This means a little experimentation will be your best friend in achieving your ideal grilled corn.
A reliable way to check for doneness is to gently poke a kernel with a toothpick or the tip of a knife. The kernels should feel tender but still retain a slight firmness, offering a satisfying pop when bitten into. I personally prefer my corn to be a little more firm, as it offers a pleasant chewiness, but feel free to cook it a bit longer if you prefer a softer, more yielding texture. Remember, the goal is tender, not mushy, and with a beautiful caramelized sweetness.
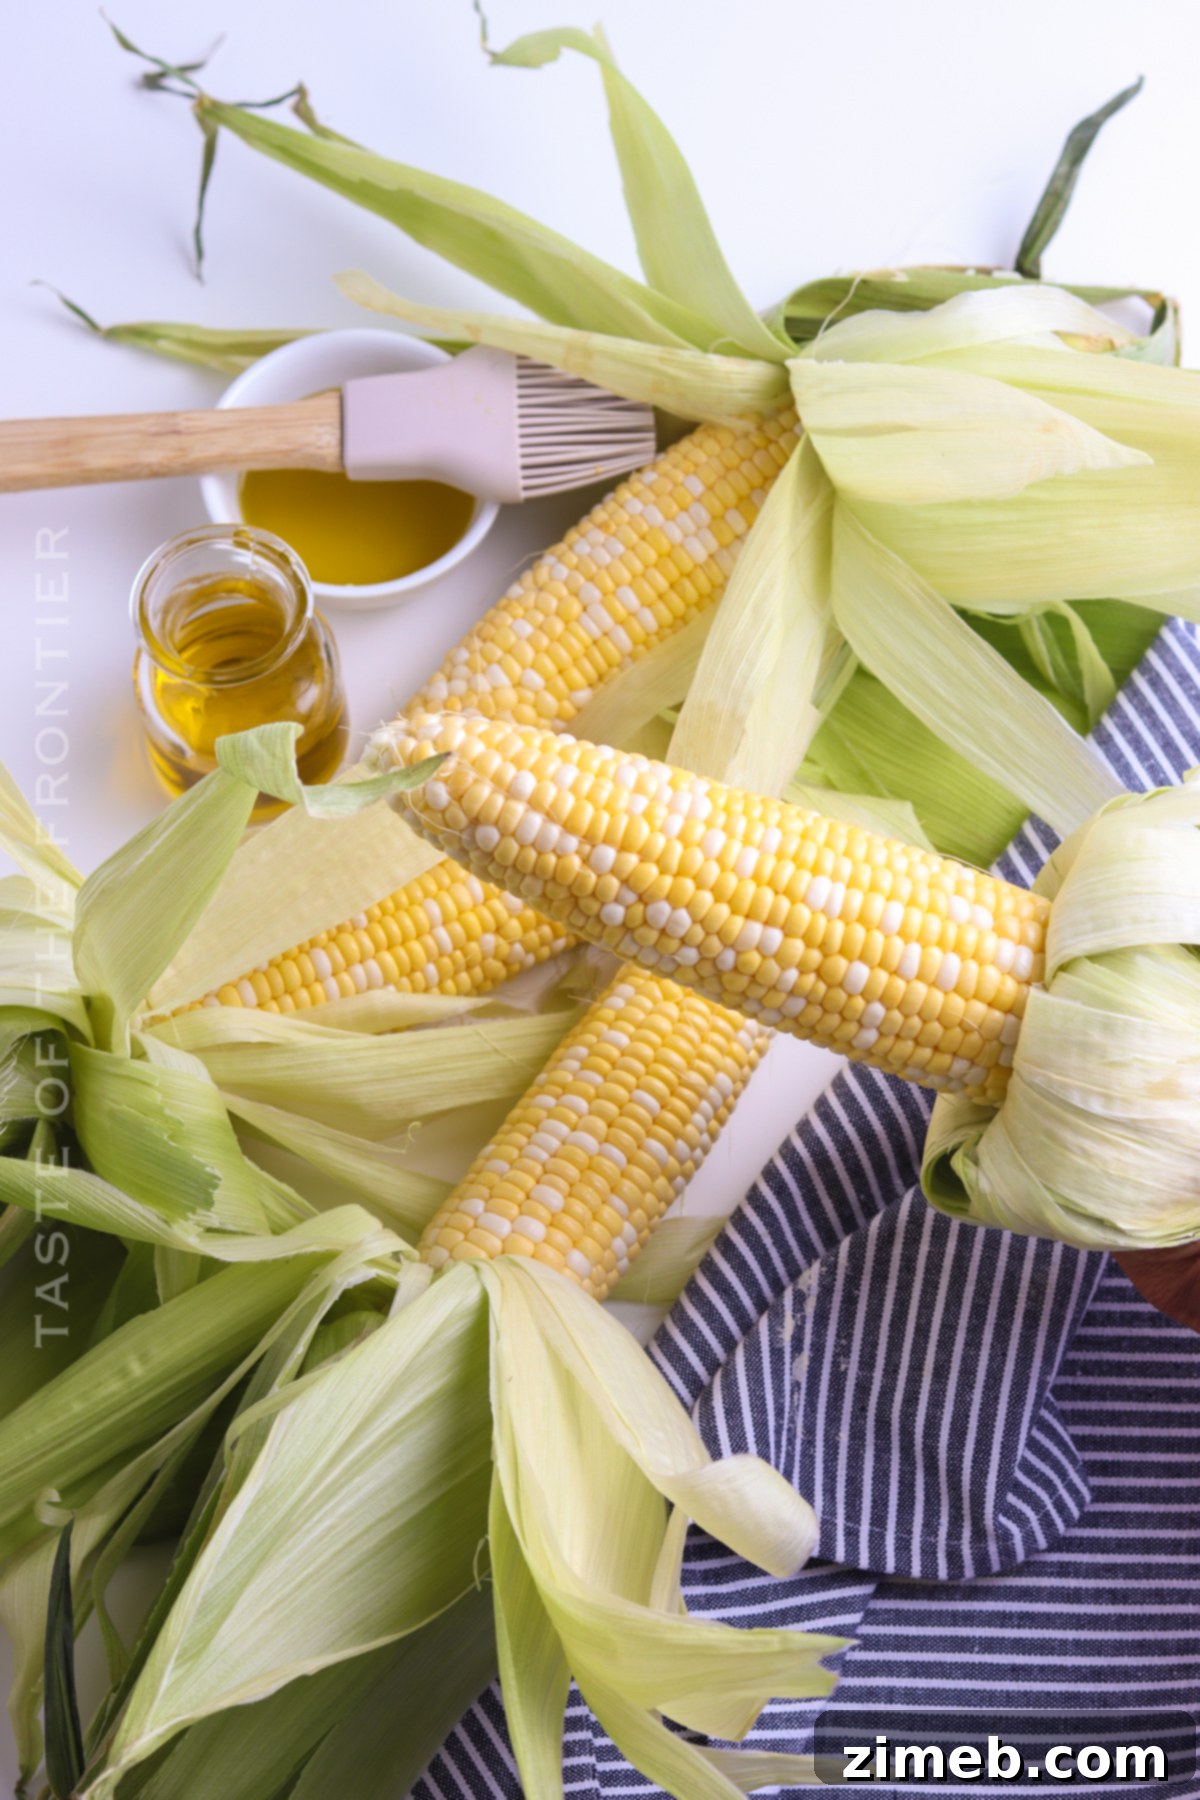
How to Grill Corn Without Husks (For Smoky Char Marks)
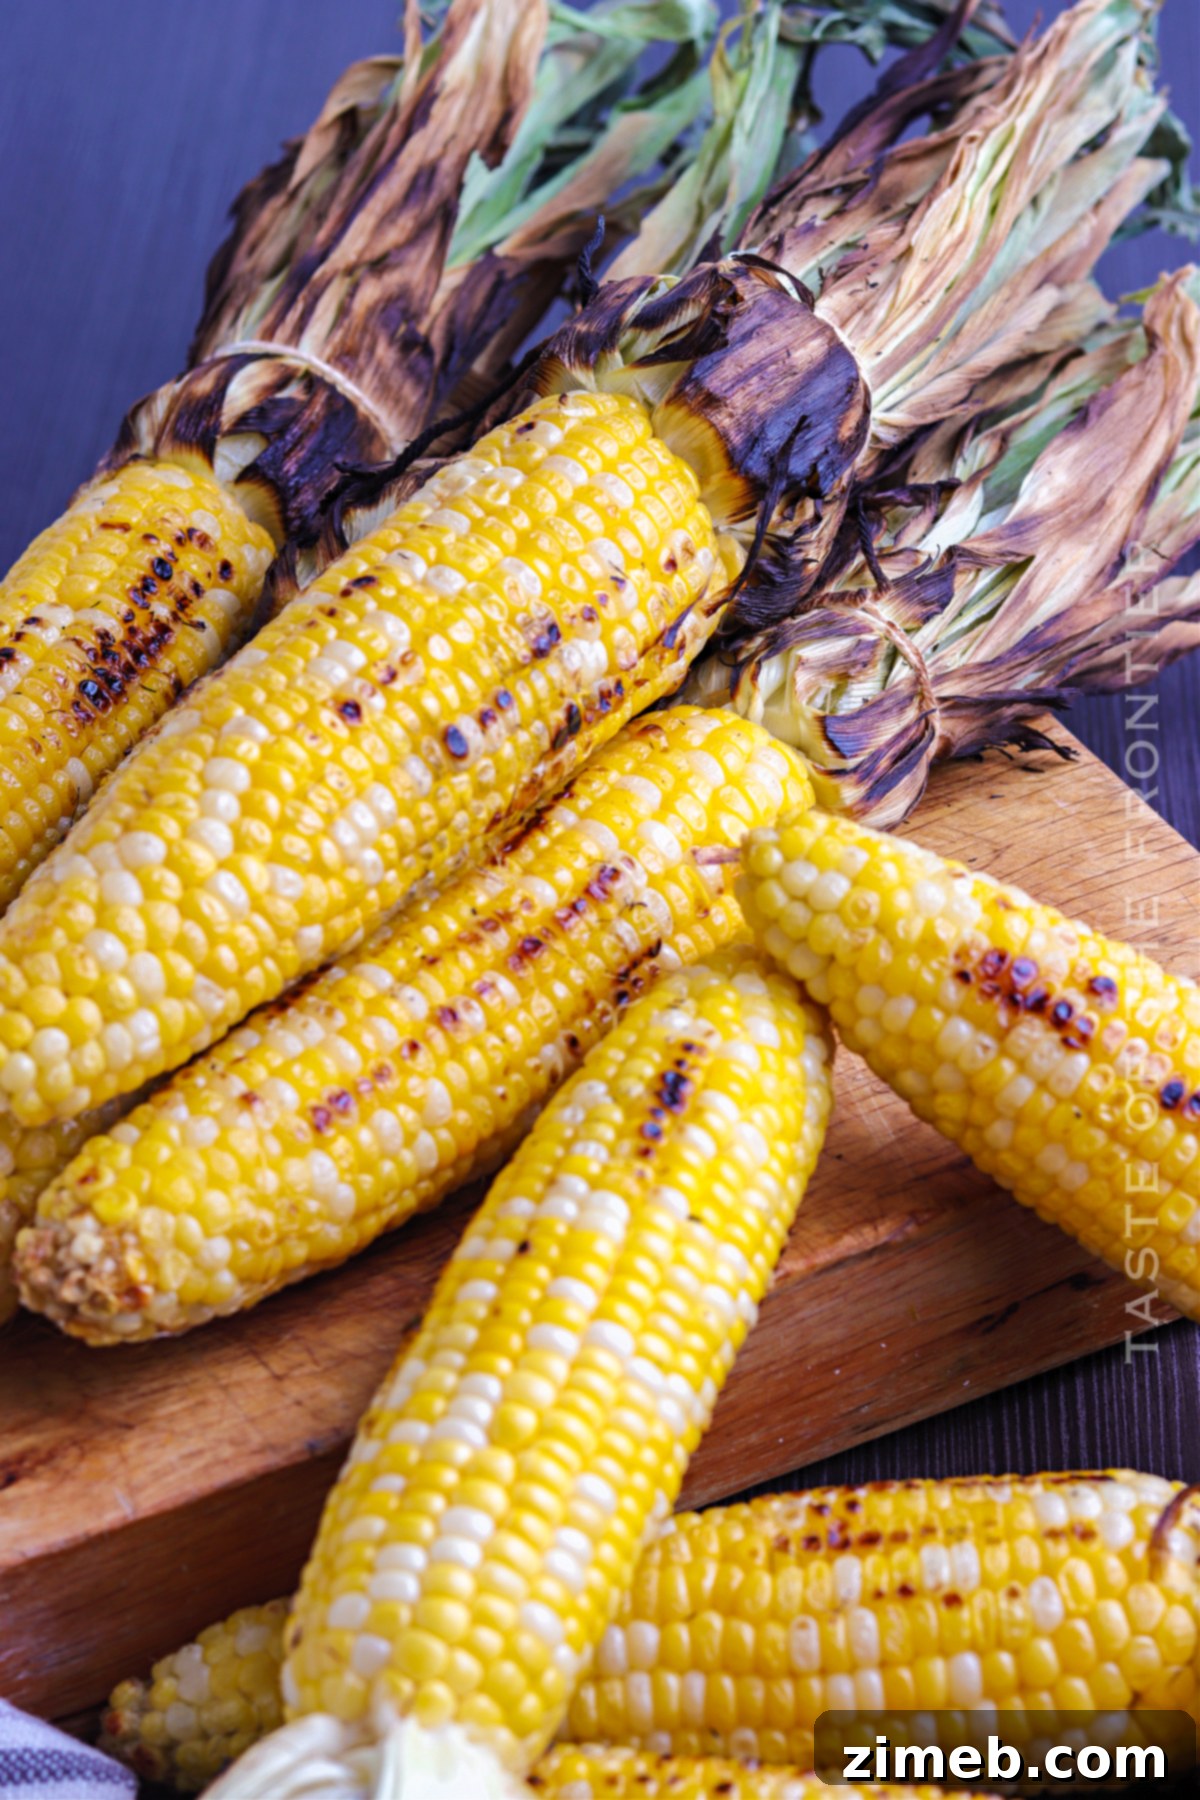
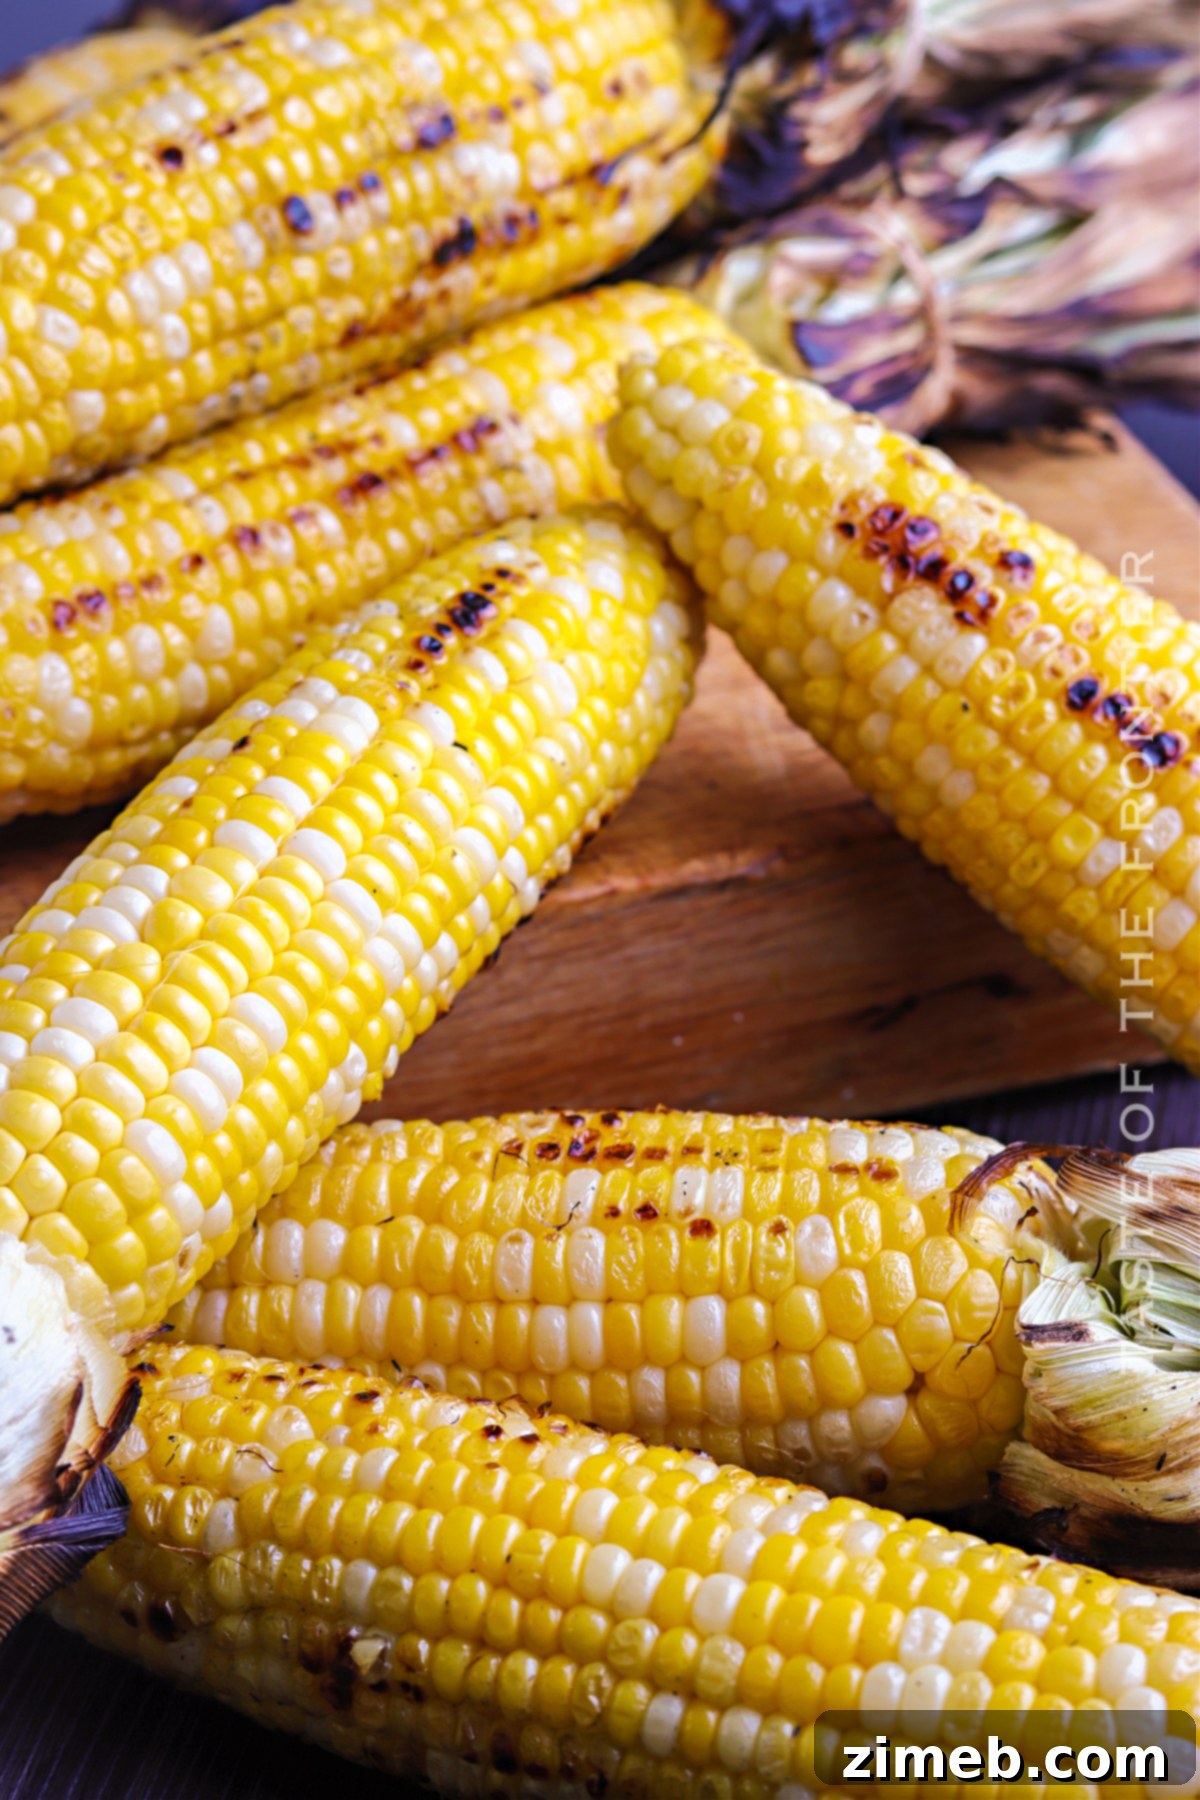
Grilling corn without its husks allows for direct contact with the heat, resulting in beautiful char marks and an intensified smoky flavor that many grill enthusiasts adore. This method is perfect for those who love a slightly crisper texture and the rich, caramelized taste that comes from exposing the kernels directly to the flame. It’s a faster cooking method that delivers impressive results, making it ideal for a quick summer meal.
Step-by-Step Instructions: Grilling Corn Without Husks
- Preheat your grill to a medium-high heat, targeting a temperature range of 350-375 degrees F.
- Clean the corn by carefully pulling back the husks and meticulously removing only the silks. Leave the husks attached at the base of the cob.
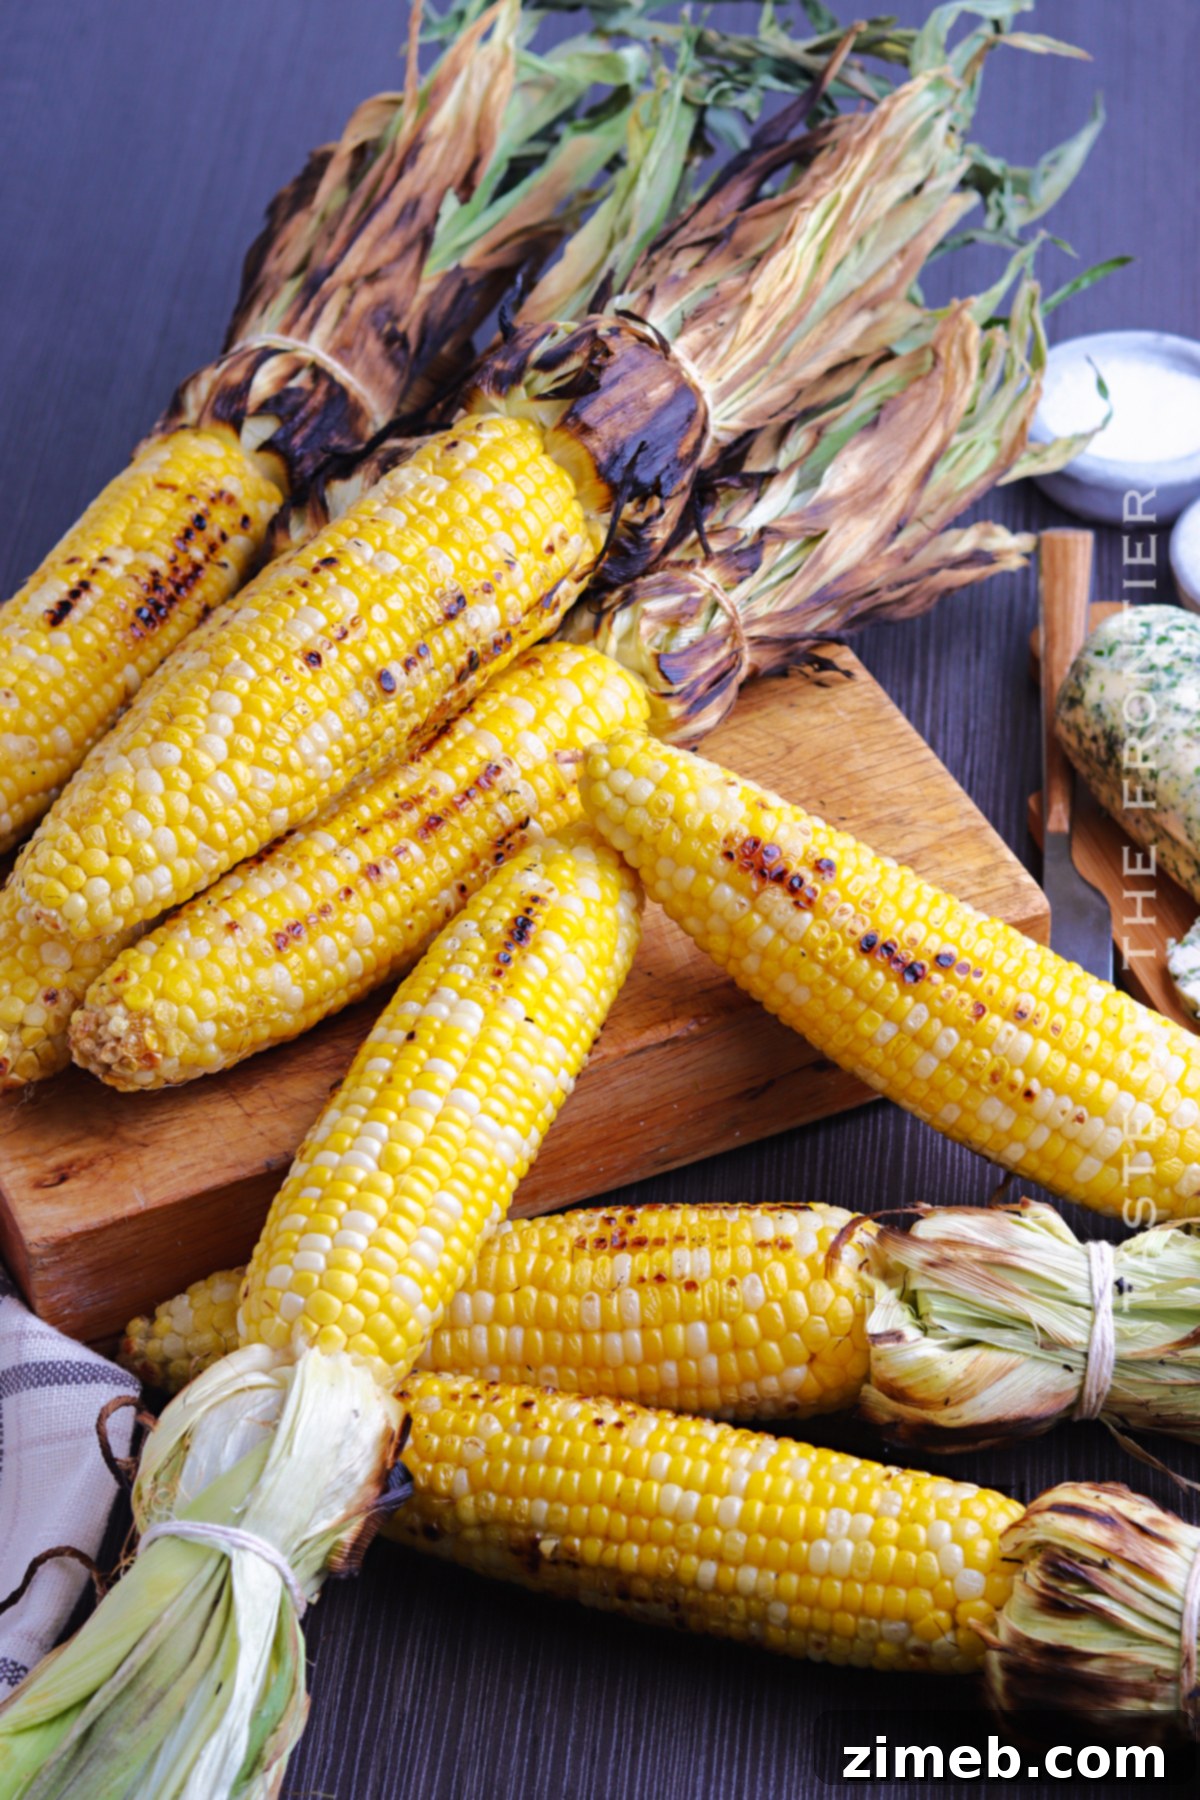
- If you prefer, you can secure the husks back around the corn with kitchen twine or by twisting them together at the base. This provides a convenient “handle” for turning and keeps the kernels slightly protected.
- Generously brush each ear of corn with olive oil. This not only adds flavor but also helps prevent sticking and promotes even browning.
- Season the corn well with salt and freshly ground black pepper, or any other seasonings you desire.
- Place the prepared corn directly onto the preheated grill grates.
- Cook for 15-20 minutes, turning the cobs frequently (every 3-5 minutes) to ensure uniform charring on all sides and prevent burning.
- Once cooked to your desired tenderness and char level, remove the corn from the grill.
- Serve immediately with butter, your favorite herb butter, grated cheese, a squeeze of lime, or any other desired toppings.
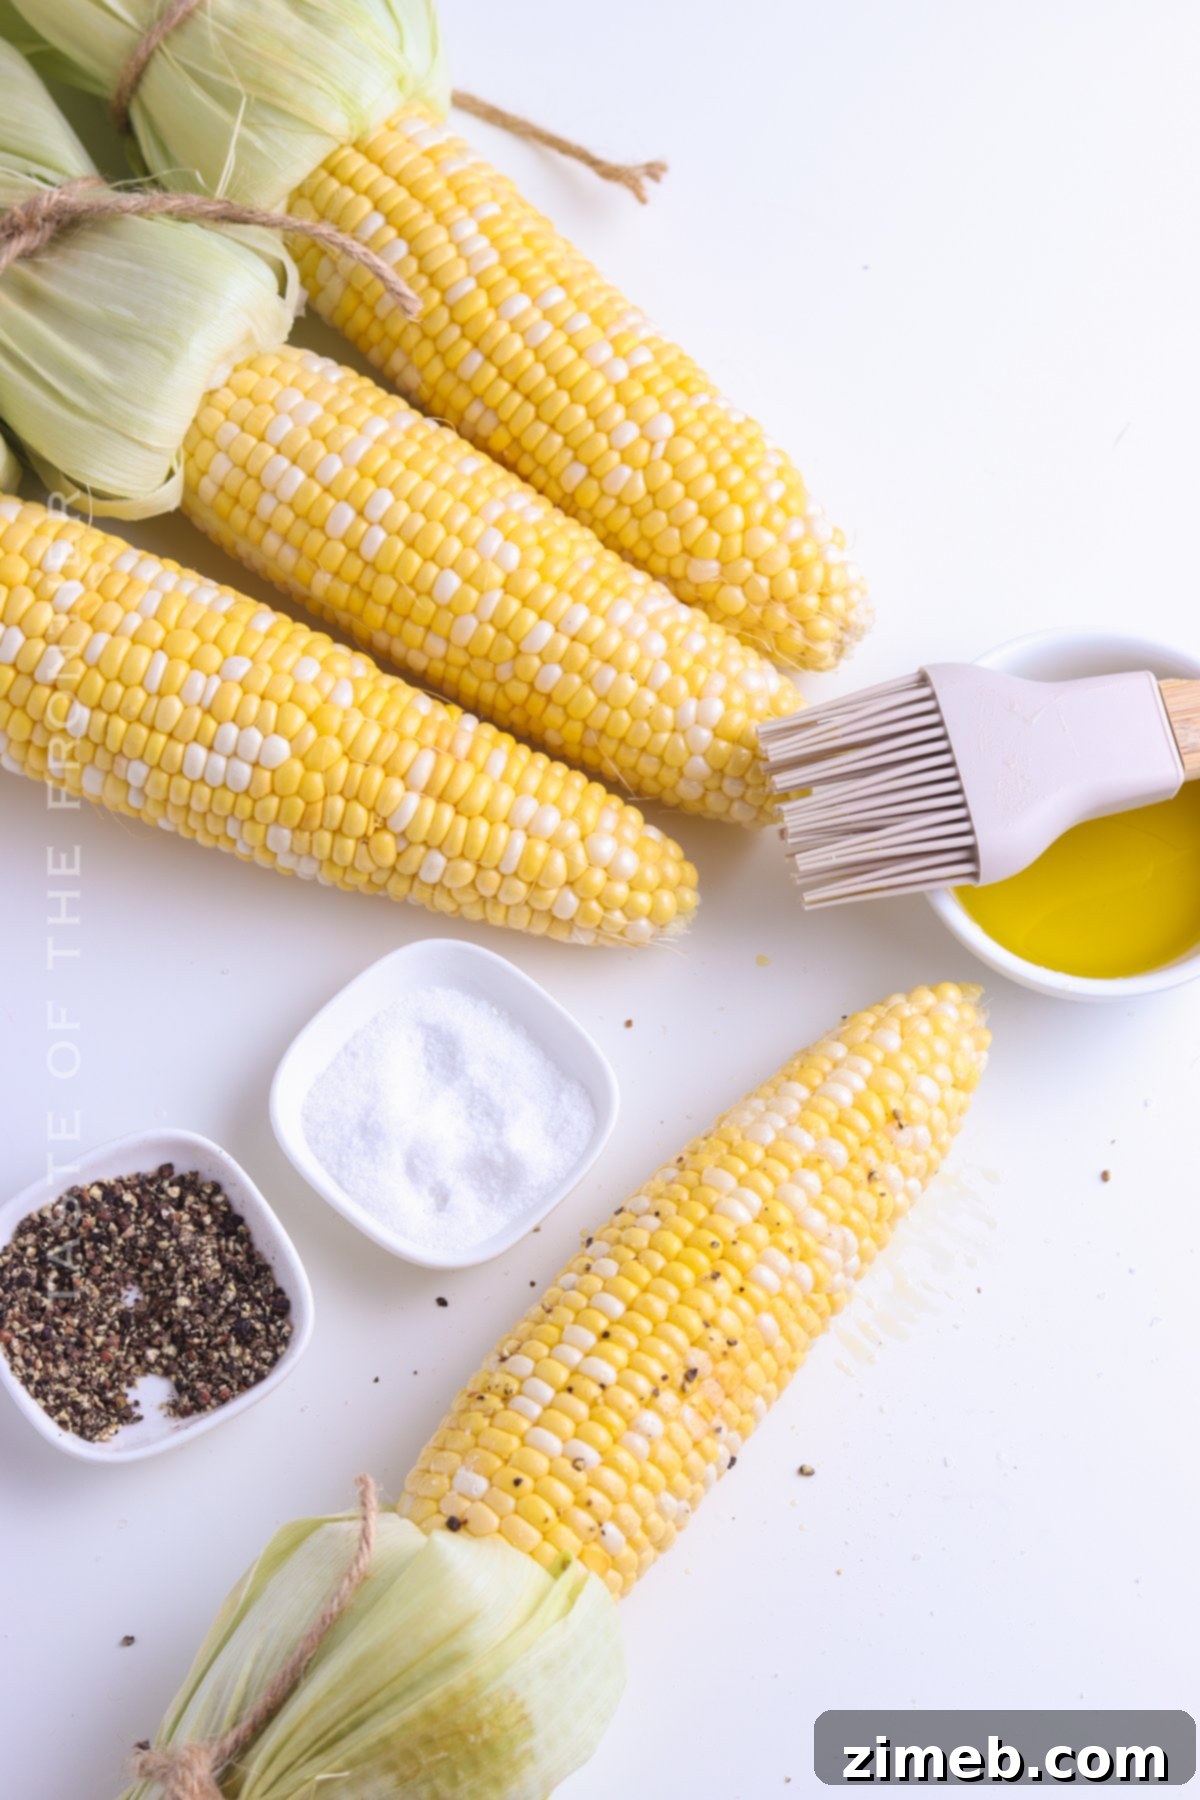
How to Grill Corn With Husks (The Classic, Moist & Sweet Method)
Grilling corn with its husks on is often considered the traditional and easiest method for perfectly steamed and flavorful kernels. The husks act as a natural steaming pouch, protecting the corn from direct heat and infusing it with a subtle smoky aroma while retaining maximum moisture. The soaking step is crucial here, as it ensures the husks don’t burn and helps create that wonderful steamy environment.
Step-by-Step Instructions: Grilling Corn With Husks
- Begin by filling a very large bowl, bucket, or clean tub with cold water.
- Carefully pull back the husks from each ear of corn, but do not remove them completely. Leave them attached at the base. Gently remove only the silks, as these can be bitter and are easier to remove before cooking.
- Once the silks are removed, carefully wrap the husks back around each ear of corn, covering the kernels.
- Place the husked and re-wrapped corn into the water, ensuring it is fully submerged. Let the corn soak for a minimum of 30-60 minutes; a longer soak (up to several hours) is perfectly acceptable and will further prevent burning.
- While the corn is soaking, preheat your grill to medium-high heat, reaching a temperature of 350-375 degrees F.
- Once soaked, remove the corn from the water and gently shake off any excess. Generously brush the outside of the husks (and any exposed kernels if you chose to leave some visible) with olive oil. This helps prevent the husks from sticking and promotes a nice char.
- Place the soaked corn directly onto the preheated grill grates.
- Cook for 25-30 minutes, turning the corn frequently (every 5-7 minutes) to ensure even cooking and to prevent the husks from burning excessively. The husks should turn dark and slightly charred.
- Carefully remove the corn from the grill using tongs. Let it cool for a few minutes before peeling back the husks to reveal the perfectly cooked kernels.
- Serve immediately with butter, homemade herb butter, your favorite cheese, or any other toppings you desire.
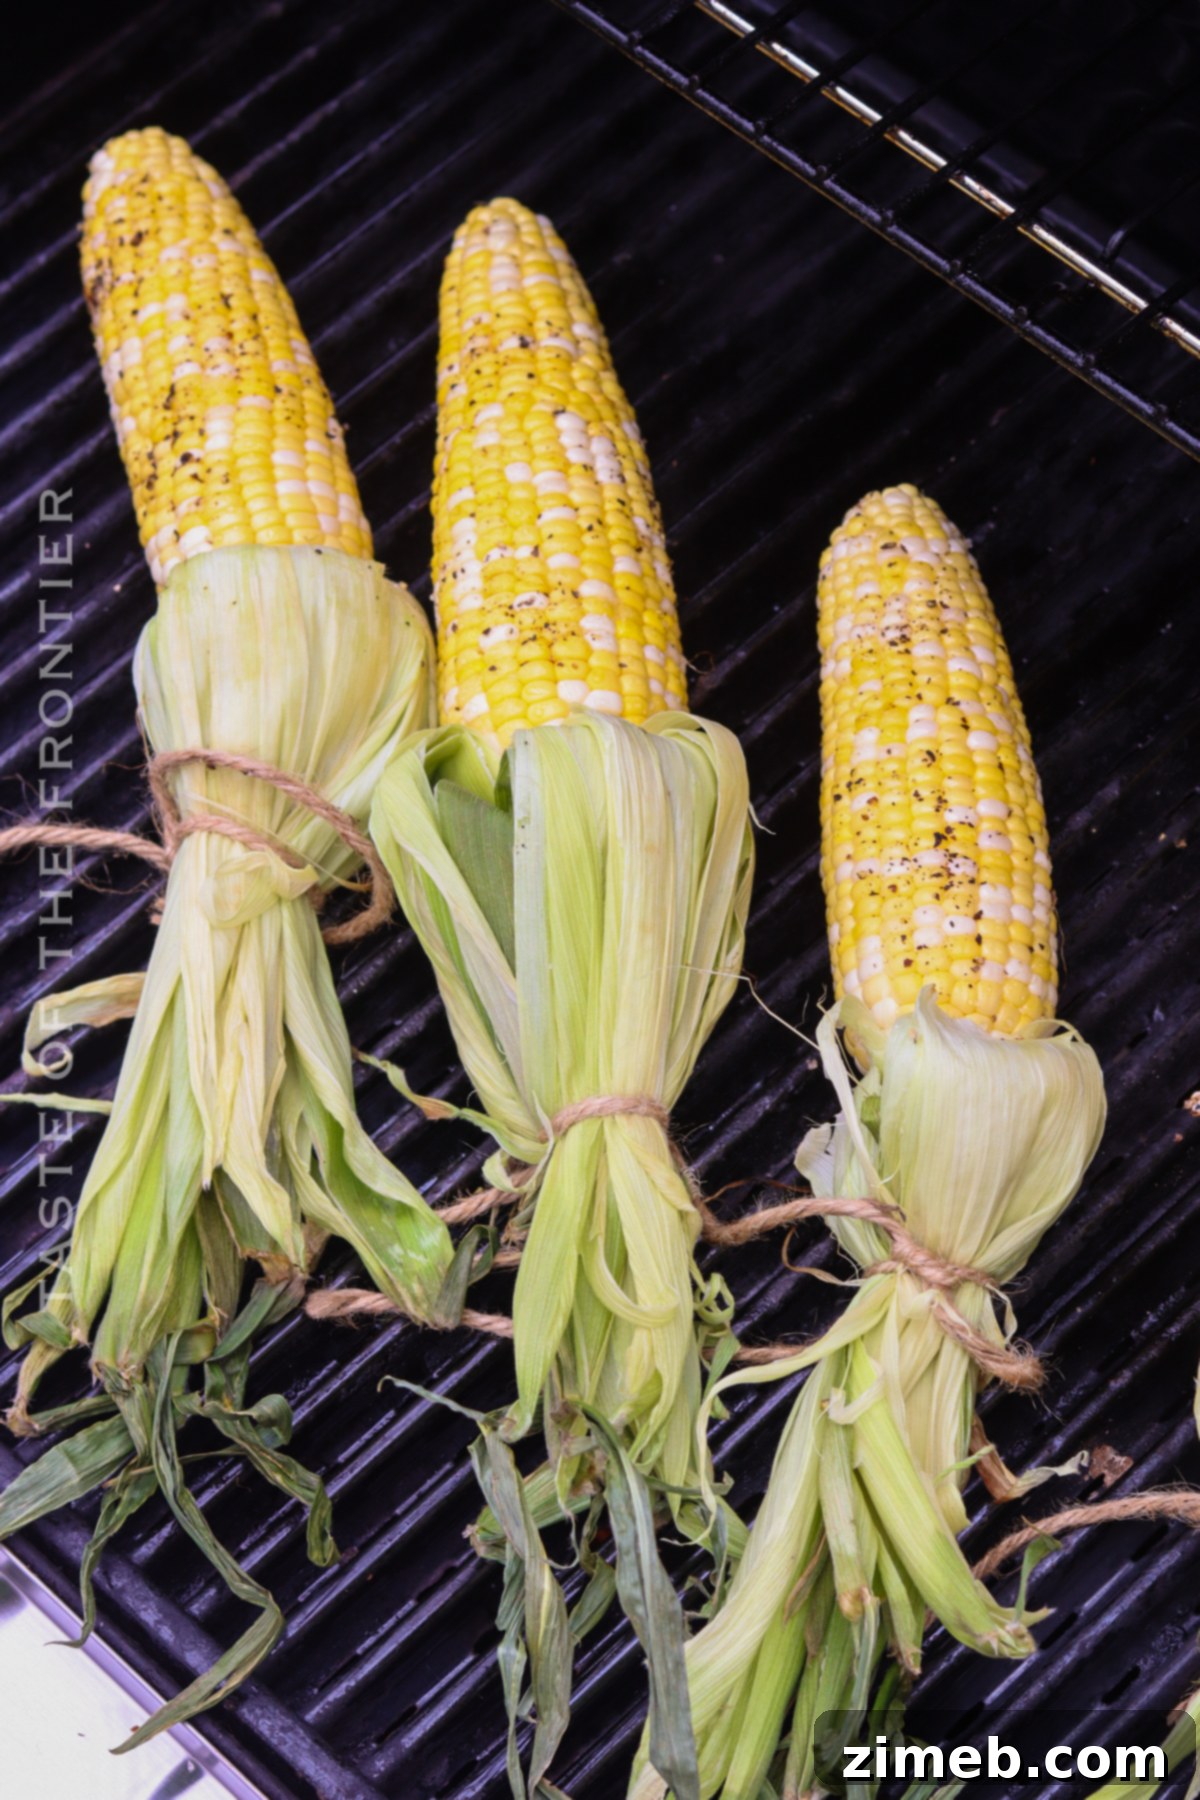
Essential Tools for Your Grilling Success
This easy grilled corn recipe is incredibly delicious and straightforward, even if you’re new to grilling vegetables. To ensure a smooth and enjoyable cooking experience, having the right tools on hand can make all the difference. While you might already possess some of these items, or perhaps you’re considering expanding your grilling arsenal, I’ve compiled a list of my absolute must-haves for making this fantastic side dish. (You can also SHOP MY FAVORITES in my online store for more suggestions!)
- Traeger – Pro 34 (A reliable pellet grill for consistent heat and smoky flavor)
- Traeger for camping (Portable grilling options for adventures)
- Stay Dry Bin for Pellets (Keeps your pellets fresh and ready for optimal smoke)
- Grilling Tongs (Essential for safely turning corn and handling hot foil packets)
- Quality Grill Pellets (For optimal flavor when using a pellet grill)
Expand Your Grilling Repertoire: Other Delicious Grilled Favorites
If you’ve fallen in love with this Easy Grilled Corn recipe, you’ll be thrilled to discover these other fantastic grilling ideas! From juicy meats to vibrant vegetables and even pizza, the grill offers endless possibilities for delicious meals. Click each link below to find easy, printable recipes that will quickly become staples in your summer cooking rotation!
Grilled Asparagus
Grilled Asparagus is a quick and easy dish perfect for any occasion. Serve it as a delightful side or even as a light main course on a hot summer day!
Check out this recipe
Grilled Boneless Chicken Thighs
Add these delicious Grilled Boneless Chicken Thighs to your grilling menu for an easy, flavorful, and healthy dish the whole family will love.
Check out this recipe
Grilled Pizza Recipe
If you’ve never had pizza on the grill, you’re in for a treat! Enjoy the traditional taste of your favorite food with the added smoky flavor that comes from the grill with this delicious Grilled Pizza recipe. Includes instructions for both Gas Grill & Traeger.
Check out this recipe
Grilled Chicken Salad
Enjoy flavorful, juicy chicken on a bed of fresh lettuce with your favorite dressing and extras with this Grilled Chicken Salad recipe. It’s easy to make and is the perfect meal for lunch or dinner.
Check out this recipe
Grilled Pork Chops
Juicy marinated Grilled Pork Chops make a deliciously easy dinner. This recipe includes clear instructions for making them on either a gas grill or a Traeger pellet grill.
Check out this recipe
Grilled Chicken Wings
Grilled Chicken Wings are a deliciously simple grilled chicken recipe sure to wow your crowd at your next BBQ, party, or summer gathering. Seriously SO GOOD & the perfect thing to enjoy on a weekend afternoon. This is summertime grilling at its finest!
Check out this recipe
Grilled Chicken & Bacon Pizza with Garlic Cream Sauce
Grilled Chicken & Bacon Pizza with Garlic Cream Sauce is the best homemade pizza recipe EVER! Better than any frozen, take & bake or delivery. WOW! AMAZING! Don’t miss my tip for quick & easy prep time too!
Check out this recipe
Grilled Hot Pastrami Sandwich
Summer grilling just got better with this Grilled Hot Pastrami Sandwich. Combining foil grilling & the love for a pastrami sandwich, it’s delicious & easy!
Check out this recipe
Grilled Chicken Skewers
Grilled Chicken Skewers are a fun & easy grilled chicken recipe that’s better than what you find at the carnival. Seasoned to perfection & oh so delicious!
Check out this recipe
If you cherish this Easy Grilled Corn recipe as much as I do, please take a moment to write a five-star review below. Your feedback helps others discover delicious recipes! And don’t forget to share this fantastic guide on Facebook and Pinterest so more people can enjoy perfect grilled corn this summer!
CONNECT WITH YUMMI HAUS!
Be sure to follow me on my social media, so you never miss a post!
Substack, FB, Pinterest, IG, Email Subscription
Easy Grilled Corn Recipe Card
Easy Grilled Corn
Grilled corn on the cob is perfect for summertime! This Easy Grilled Corn recipe tells how to make it with or without the husk or wrapped in foil.
Course: Side Dish
Servings: 6
Prep Time: 10 mins
Cook Time: 20 mins
Soaking – for husks: 1 hr
Total Time: 1 hr 30 mins
Ingredients
In Foil
- Corn on the Cob (husks and silks removed)
- Olive Oil
- Salt
- Pepper
Without Husks
- Corn on the Cob (just the silks removed)
- Olive Oil
- Salt
- Pepper
With Husks
- Corn on the Cob (just the silks removed)
- Olive Oil
- Salt
- Pepper
Instructions
In Foil
- Preheat the grill to medium-high heat, 350-375 degrees F.
- Clean the corn by removing all husks and silks.
- Lay out sheets of foil.
- Generously brush the corn with olive oil.
- Season with salt and pepper.
- Roll the corn in the foil.
- Place the wrapped corn on the grill.
- Cook for 15-20 minutes, turning frequently to prevent the corn from burning.
- Remove the corn from the grill.
- Serve with butter, herb butter, cheese, or other toppings of your choice.
Without Husks
- Preheat the grill to medium-high heat, 350-375 degrees F.
- Clean the corn by pulling back husks and removing just the silks.
- Secure the husks back with twine, if desired.
- Generously brush the corn with olive oil.
- Season with salt and pepper.
- Place the prepared corn on the grill.
- Cook for 15-20 minutes, turning frequently to prevent the corn from burning.
- Remove the corn from the grill.
- Serve with butter, herb butter, cheese, or other toppings of your choice.
With Husks
- Fill a very large bowl or tub with water.
- Pull back the husks and remove just the silks.
- Wrap the husks back around the corn.
- Place the corn in the water to soak 30-60 minutes, longer is okay.
- Preheat the grill to medium-high heat, 350-375 degrees F.
- Generously brush the corn with olive oil.
- Place the corn on the grill.
- Cook for 25-30 minutes, frequently turning to prevent the corn from burning.
- Remove the corn from the grill.
- Serve with butter, herb butter, cheese, or other toppings of your choice.
Nutrition
Serving: 1g | Calories: 119kcal | Carbohydrates: 17g | Protein: 3g | Fat: 6g | Saturated Fat: 1g | Sodium: 207mg | Potassium: 245mg | Fiber: 2g | Sugar: 6g | Vitamin C: 6mg | Calcium: 3mg | Iron: 1mg | Net Carbohydrates: 15g
Nutritional information for the recipe is provided as a courtesy and is approximate. Please double-check with your own dietary calculator for the best accuracy. We at Yummi Haus cannot guarantee the accuracy of the nutritional information given for any recipe on this site.
Love this recipe?
Follow @KleinworthCo for even more tasty recipes!