
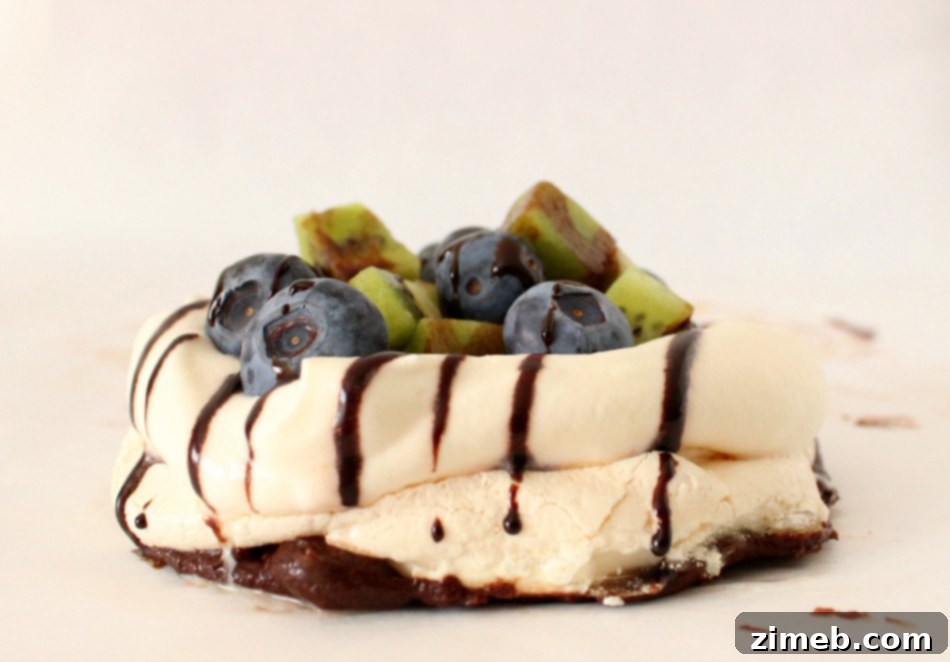
We are absolutely thrilled to share this magnificent dessert creation with you today, courtesy of the incredibly talented Clairellyn from The Simple, Sweet Life. Her expertise and delightful recipes are a wonderful addition to our team, especially during these bustling summer months when entertaining and delicious treats are at the forefront of everyone’s minds. Clairellyn has crafted this truly remarkable **Chocolate Covered Pavlova** specifically for you, and we simply cannot wait to indulge in its exquisite flavors ourselves. A huge thank you to Clairellyn for bringing such sweetness and elegance to our kitchen!
Hello, dear readers! My name is Clairellyn, and I’m delighted to be contributing to Kleinworth & Co. this summer from my home at The Simple, Sweet Life. I extend my sincere gratitude to Gina for inviting me to share my passion for baking with all of you!
Today, I’m excited to present a dessert that embodies both simplicity and sophistication: the Chocolate Covered Pavlova. This dessert is a refreshing delight, perfect for any occasion, from casual summer gatherings to elegant dinner parties. One of its greatest advantages is its flexibility; the pavlova bases can be prepared several days in advance and stored in airtight containers, or you can whip them up a few hours before serving. This make-ahead capability makes it an ideal choice for busy hosts who want to offer a stunning homemade treat without last-minute stress. The delicate crispness of the meringue shell, combined with a soft, marshmallowy interior, creates a textural masterpiece that is further elevated by the luxurious embrace of rich, dark chocolate and a vibrant topping of fresh fruit and whipped cream. It’s a dessert that not only tastes incredible but also looks absolutely breathtaking on any dessert table.
Rate this Recipe
Chocolate Covered Pavlova
Ingredients
- Yields approximately 6 small 5″ pavlovas
- 4 large egg whites (ensure they are at room temperature for optimal whipping volume)
- 1 cup finely granulated sugar (also known as caster sugar, plus 1-2 additional teaspoons for the whipped cream)
- 1 tsp. pure vanilla extract (for a rich, aromatic flavor)
- 2 bars approximately 200 grams of high-quality dark chocolate (choose 70% cacao or higher for the best balance of bitterness and sweetness)
- 1/2 tsp. corn starch (acts as a stabilizer for the meringue)
- 1 cup cold heavy whipping cream (for a light and airy topping)
- Fresh fruit, cut and cubed (such as berries, kiwi, or mango, for vibrant color and fresh taste)
Instructions
-
Begin by preheating your oven to 250 degrees Fahrenheit (approximately 120-130 degrees Celsius). This low temperature is crucial for drying out the meringue slowly, which helps to create a crisp exterior and a chewy interior.
-
To ensure your pavlovas are uniform in size and shape, I highly recommend preparing some outlines on parchment paper. Simply trace circles (I found a small ramekin works perfectly for this) onto the underside of your parchment paper. This simple step will help you pipe consistently sized pavlovas, preventing uneven baking and ensuring a beautiful presentation.
-
In a large, impeccably clean glass bowl, begin whipping your egg whites. Start on medium speed and gradually increase to high until they form soft peaks. These peaks should hold their shape briefly before gently flopping over.
-
Meringues can be quite delicate, so it’s imperative to ensure all your equipment – including the bowl and whisk attachments – is completely free of any grease or moisture. Even a tiny bit of fat can prevent the egg whites from whipping up properly.
-
Once soft peaks are achieved, slowly add the granulated sugar, a little at a time, while continuing to beat the meringue on high speed. This gradual addition allows the sugar to fully dissolve and incorporate. Continue beating until all the sugar has been added and the meringue holds stiff, glossy peaks. You should no longer be able to feel any granulated sugar when rubbing a small amount between your fingers. Gently fold in the vanilla extract and corn starch. Then, either pipe or spoon your meringue onto the prepared parchment paper, following your traced circles.
-
When shaping your pavlovas, make sure to create a slight indentation in the center, ensuring the sides are a little higher. This forms a perfect “nest” for your delightful whipped cream and fresh fruit toppings to sit securely later.
-
Carefully transfer the baking sheet to your preheated oven and bake for 30-35 minutes, or until the pavlovas achieve a beautiful, light cream color and feel firm to the touch on the outside.
-
After baking, turn off the oven and leave the pavlovas inside with the door slightly ajar. This slow cooling process is vital for preventing the pavlovas from cracking and ensures they dry out completely, maintaining their crisp texture. Let them cool completely, undisturbed, which could take an hour or more.
-
Once your pavlovas are entirely cooled and firm enough to handle without breaking, it’s time for the chocolate. Gently melt your dark chocolate in a shallow, microwave-safe bowl, heating in short bursts (15-30 seconds) and stirring frequently to prevent burning. Alternatively, use a double boiler for a more controlled melt.
-
Carefully dip the bottom of each pavlova into the melted chocolate, coating it evenly. Then, place them back on a fresh piece of parchment paper to allow the chocolate to harden. This adds a beautiful contrast and a delightful chocolatey crunch.
-
If you’re pressed for time, you can place the chocolate-dipped pavlovas in the freezer or refrigerator for a few minutes to speed up the hardening process.
-
Once the chocolate has fully set, you can prepare your whipped cream topping. In a medium-sized, chilled bowl, beat the cold heavy cream on high speed until soft peaks begin to form.
-
Add the additional 1-2 teaspoons of granulated sugar to the cream and continue mixing until you achieve stiff peaks. The cream should be thick, airy, and hold its shape well.
-
Finally, spoon a generous dollop of your freshly whipped cream onto each chocolate-covered pavlova. Arrange your beautiful fresh fruit on top, and for an extra touch of elegance, drizzle with a little more melted chocolate or sprinkle with some chocolate shavings. Serve immediately and enjoy!
Nutritional information for the recipe is provided as a courtesy and is approximate. Please double-check with your own dietary calculator for the best accuracy. We at Yummi Haus cannot guarantee the accuracy of the nutritional information given for any recipe on this site.
Mastering the Art of Pavlova: Expert Tips for Success
While pavlova might seem intimidating to some, it’s a surprisingly approachable dessert with stunning results, especially when you keep a few key tips in mind. The secret to a perfect pavlova lies in understanding the meringue. Firstly, always use room temperature egg whites. They whip up to a much greater volume and stability than cold egg whites, giving your pavlova that signature airy texture. Secondly, ensure your mixing bowl and whisk are absolutely spotless and free of any grease. Even a tiny speck of oil can prevent the egg whites from stiffening properly, leading to a flat meringue. When adding the sugar, do so gradually, a tablespoon at a time, allowing each addition to fully dissolve before adding more. This ensures a stable, glossy meringue. Over-mixing after the sugar is incorporated can also be detrimental, so stop once stiff peaks form. The slow baking process at a low temperature is essential for drying out the meringue rather than cooking it, creating that delicate crisp shell. Most importantly, resist the urge to open the oven door during baking or cooling. Sudden temperature changes can cause the pavlova to crack or collapse. Let it cool completely in the oven with the door ajar to gradually acclimatize to room temperature. Lastly, humidity can be a meringue’s worst enemy, so try to bake on a dry day and store finished pavlova bases in an airtight container in a cool, dry place until ready to assemble. Following these simple guidelines will help you achieve pavlova perfection every time!
Beyond the Berries: Creative Serving Suggestions and Variations
While this Chocolate Covered Pavlova with fresh fruit is a showstopper as is, part of its charm lies in its versatility. You can easily adapt it to suit your personal taste or the season’s bounty. Instead of traditional mixed berries, consider a tropical twist with sliced mango, passion fruit, and a sprinkle of toasted coconut. For a richer flavor profile, stone fruits like peaches or cherries, gently sautéed with a hint of brandy, would be divine. The chocolate element can also be played with; try a white chocolate dip for a different aesthetic and sweeter flavor, or drizzle with milk chocolate in addition to the dark. For an extra layer of indulgence, a homemade berry coulis or a salted caramel sauce can be drizzled over the whipped cream and fruit. Individual pavlovas, as featured in this recipe, are ideal for portion control and elegant plating, but you can also create one large pavlova for a dramatic centerpiece dessert. For a more festive touch, garnish with edible flowers or a dusting of cocoa powder. The possibilities are truly endless, allowing you to make this impressive dessert uniquely yours every time.
The Magic of Make-Ahead: Stress-Free Entertaining
One of the most appealing aspects of pavlova, especially this Chocolate Covered Pavlova, is its incredible make-ahead potential. The meringue bases are remarkably sturdy once fully cooled and dried. You can bake them several days in advance, allowing them to cool completely in the turned-off oven, then store them carefully in an airtight container in a cool, dry place. This means that when it’s time for your event, the most time-consuming part of the dessert is already done! All that’s left is melting the chocolate for dipping, whipping the cream, and arranging your fresh fruit. This greatly reduces last-minute kitchen hustle and allows you to enjoy your guests without feeling rushed. The chocolate shell also adds a layer of protection to the meringue, further enhancing its shelf life and preventing it from becoming sticky in humid conditions. This thoughtful preparation makes the Chocolate Covered Pavlova an ideal choice for holiday parties, special celebrations, or any occasion where you want to impress with a gourmet dessert that doesn’t demand all your attention on the day itself.
Recipe adapted from Joy of Baking
Thank you SO MUCH Clairellyn for sharing this beautiful dessert today with our readers! It’s truly a masterpiece.
I can absolutely envision these elegant Chocolate Covered Pavlovas gracing the dessert table at my next holiday party, bringing a touch of sophisticated sweetness to any celebration!
Looking for more beautiful fruit treats to sweeten your gatherings? We’ve got you covered with some other fantastic options:
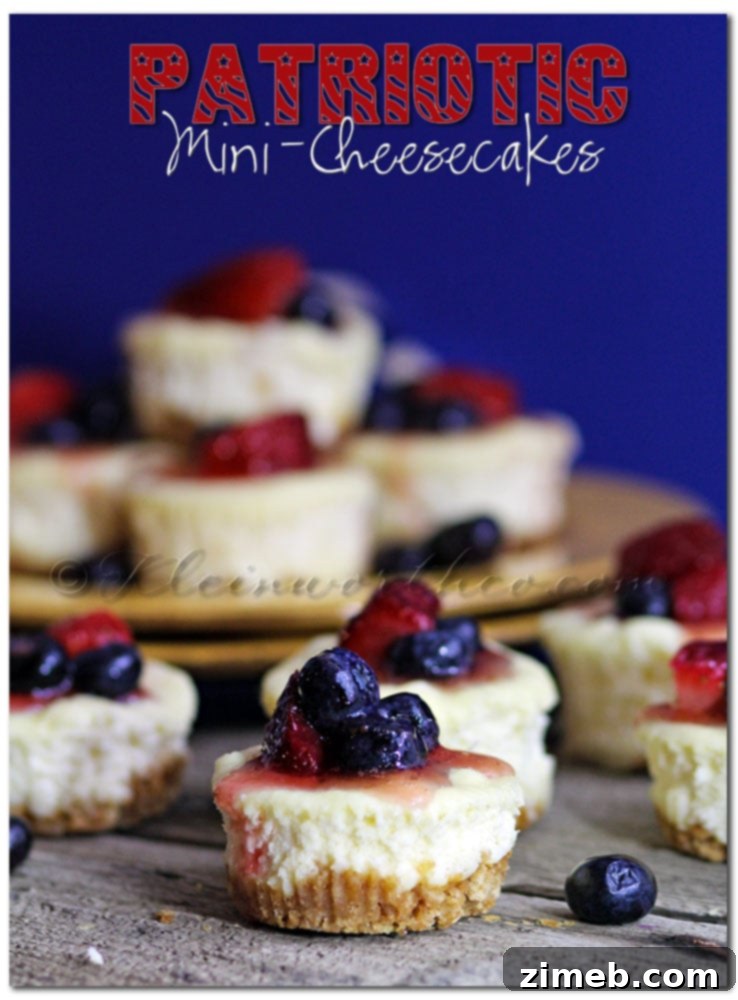
Patriotic Mini-Cheesecakes – These adorable mini cheesecakes are not only visually appealing but also bursting with fresh berry flavors. Perfect for summer picnics or any patriotic celebration, they offer a creamy, tangy complement to any meal.
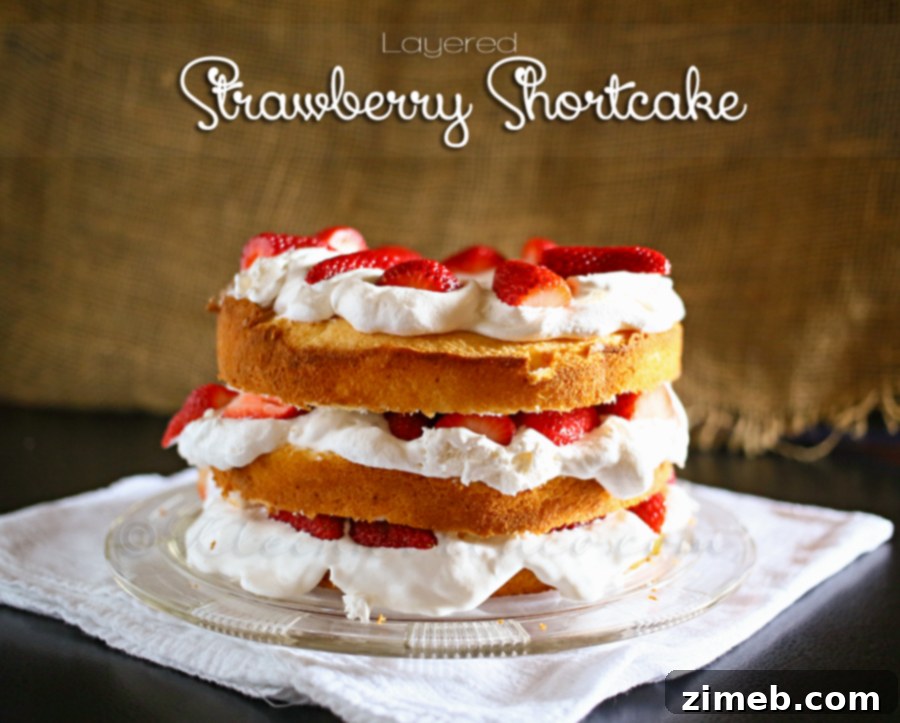
Layered Strawberry Shortcake – A classic dessert reimagined with beautiful layers of tender shortcake, fresh strawberries, and generous dollops of whipped cream. This recipe is a timeless favorite that embodies the essence of summer with every bite.
To see where I am linking today, be sure to visit HERE for more inspiring ideas and culinary delights!
[include id=”1″ title=”Footer Ad”]