
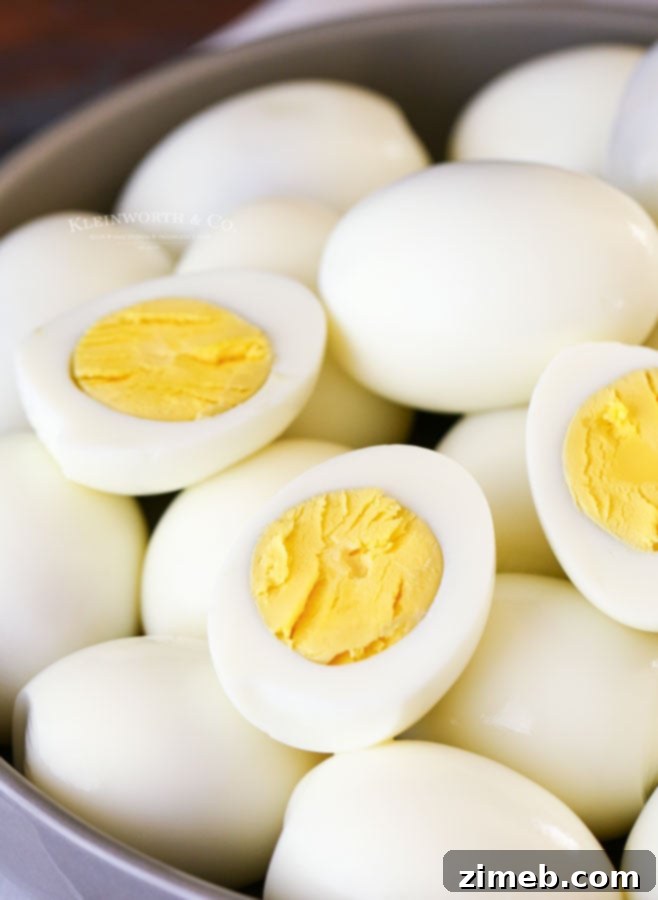
Mastering the art of perfectly hard-boiled eggs is simpler than you think! Our foolproof recipe ensures flawless results every single time, making them ideal for delectable egg salad, savory deviled eggs, and a multitude of other culinary creations. Whether you prefer the classic stovetop approach, the efficiency of a pressure cooker, or the modern convenience of an air fryer, we’ve got you covered with methods that guarantee success.
Eggs are a staple in our household, cherished year-round for their versatility and nutritional value. From quick breakfasts to hearty dinners, and especially during holiday seasons like Easter, eggs play a central role in countless dishes. Understanding the best techniques for hard boiling them is not just about preparation; it’s about unlocking a world of culinary possibilities, transforming simple eggs into delightful components for various meals.
The period around Easter, in particular, highlights the importance of perfectly cooked hard-boiled eggs. You need a reliable method for beautifully dyed eggs before the festivities, and afterward, a collection of creative recipes helps you utilize those colorful creations in new and exciting ways. This guide provides the ultimate blueprint for achieving consistent, easy-to-peel hard-boiled eggs, no matter your preferred cooking appliance.
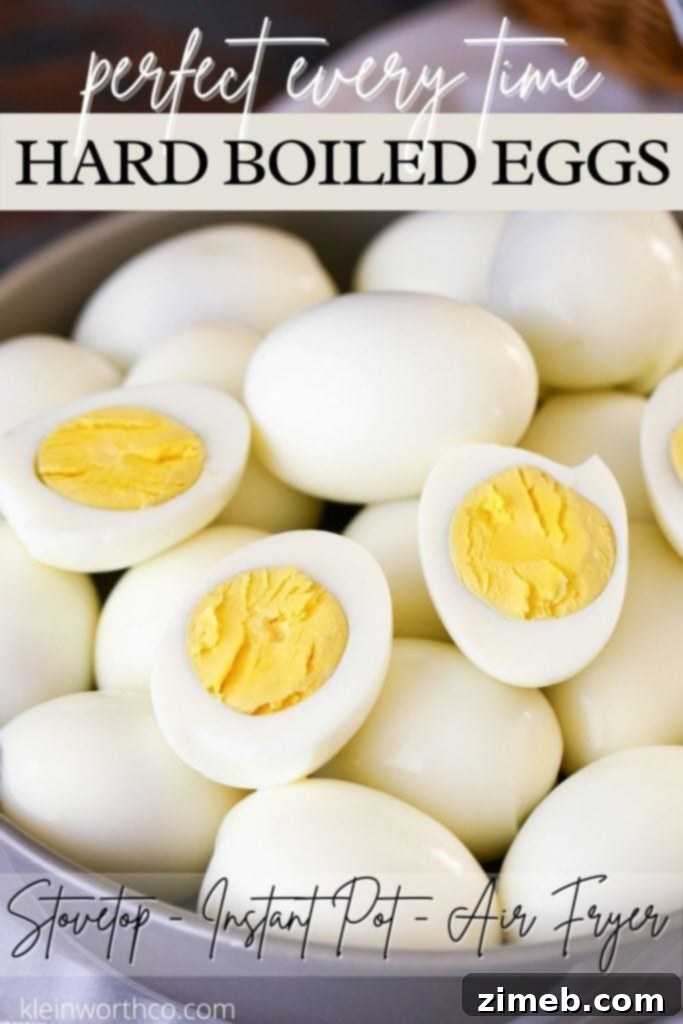
Achieving Perfect Hard-Boiled Eggs: Our Tested Method
This post contains some affiliate links. Click here to read my full disclosure policy.
My husband and I have spent over two decades in the kitchen together, and over those years, we’ve refined our approach to hard-boiling eggs. This journey involved considerable trial and error, experimenting with numerous techniques and tips we encountered along the way. While many people have their preferred method, we consistently return to this particular recipe because it delivers perfect results without fail. Our method guarantees eggs that are cooked just right, with vibrant yellow yolks and tender whites, and most importantly, they are incredibly easy to peel.
The beauty of this perfected technique lies in its consistency and simplicity. No more green rings around the yolk, no more frustratingly stubborn shells, just consistently excellent hard-boiled eggs ready for any recipe you have in mind. We’re excited to share our secrets so you can enjoy perfect hard-boiled eggs every time, without the guesswork.
The Secret to Effortlessly Peeling Hard-Boiled Eggs
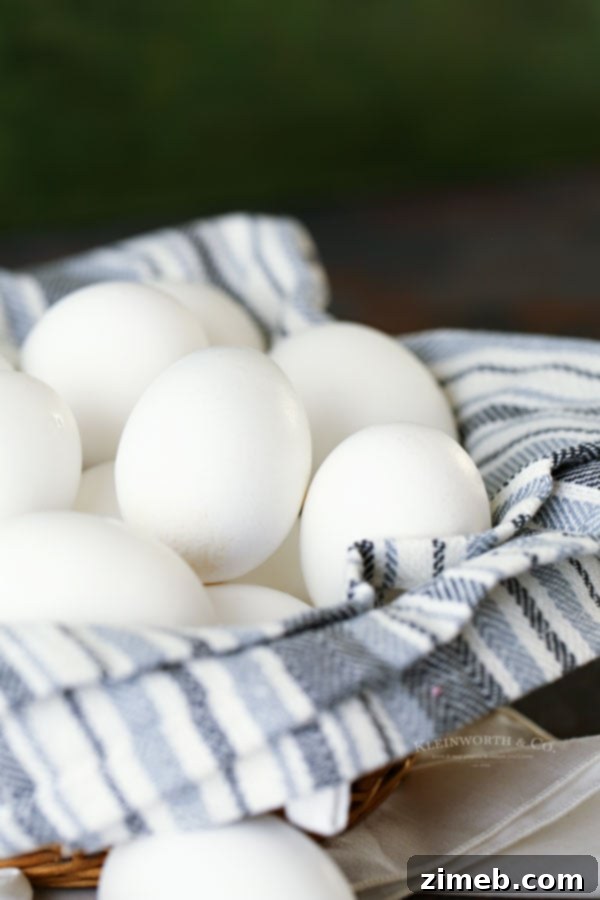
One of the most common frustrations with hard-boiled eggs is the peeling process. Many people struggle with shells that stick, taking chunks of the egg white along with them. But I’m going to let you in on a little secret that makes peeling these eggs an absolute breeze. This technique, coupled with the proper cooking method, will change your hard-boiled egg experience forever.
The trick is to tap the cooked egg gently but firmly on the counter, rotating it to create a network of fine cracks all around the entire shell. You want the whole shell to be visibly fractured, not just one side. Once the egg is thoroughly cracked, immerse it in a bowl of cold water. This allows water to seep under the crushed shell and separate the membrane from the egg white, making the shell practically slide off effortlessly.
After peeling, I always give the egg a quick dip back into the water. This ensures that any tiny, nearly invisible shell particles are washed away, preventing any unpleasant surprises when you bite into your perfectly smooth egg. This small extra step guarantees a pristine, shell-free hard-boiled egg every single time.
Frequently Asked Questions About Hard-Boiled Eggs
How long are hard-boiled eggs good for?
The key to maximizing the shelf life of your hard-boiled eggs is proper storage. Once cooked, hard-boiled eggs should be cooled quickly and thoroughly refrigerated. Immediately after the ice water bath, when they are cool enough to handle, transfer them to the refrigerator. Keeping them chilled until you’re ready to use them is crucial. When stored correctly, hard-boiled eggs typically remain fresh and safe to eat for up to 1 week from the date they were cooked. It’s important to never consume eggs that have been left at room temperature for more than 1 hour.
Why are my hard-boiled eggs difficult to peel?
Difficulty in peeling hard-boiled eggs is a common issue, often due to the age of the eggs or insufficient cooling. Very fresh eggs (less than a week old) tend to be harder to peel because the inner membrane adheres more strongly to the egg white. Older eggs, which have had more time for air to penetrate the shell, are generally easier to peel. Additionally, rapidly cooling the eggs in an ice bath immediately after cooking helps the egg white contract, pulling it away from the shell and making peeling much simpler. Our peeling technique described above further aids in this process.
Can I store peeled hard-boiled eggs?
Yes, you can store peeled hard-boiled eggs, but they will absorb odors from the refrigerator more easily and dry out if not properly covered. For best results, store peeled hard-boiled eggs in an airtight container with a damp paper towel to maintain moisture. They will last for about 5-7 days in the refrigerator. Unpeeled eggs tend to last slightly longer and are better protected from external flavors.
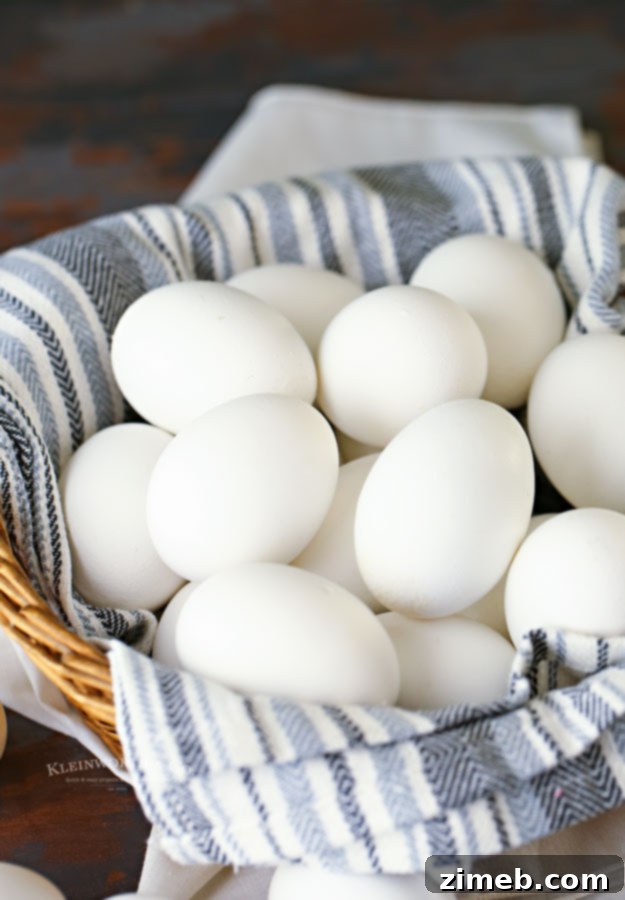
Mastering Stovetop Hard Boiled Eggs
The classic stovetop method remains a popular and reliable way to achieve perfect hard-boiled eggs. It’s a straightforward process that yields consistent results with a few key steps.
- Prepare the Pot: Carefully place your eggs in a single layer at the bottom of a heavy stockpot. Avoid overcrowding, as this can lead to uneven cooking.
- Add Water and Salt: Fill the pot with cold water, ensuring the eggs are completely submerged by at least 1 inch of water. Add about 1 teaspoon of salt to the water. The salt helps prevent cracking and makes peeling slightly easier.
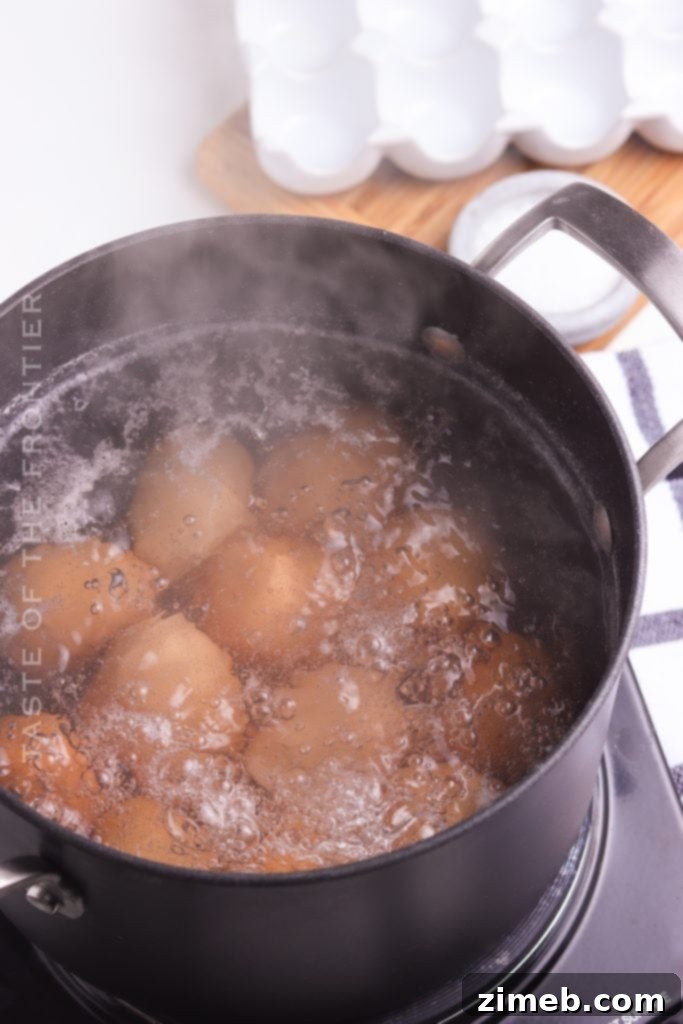
- Bring to a Rolling Boil: Place the pot over high heat and bring the water to a rapid, rolling boil.
- Remove from Heat and Cover: As soon as the water reaches a full boil, remove the pot from the heat source and immediately cover it tightly with a lid.
- Set Timer for Desired Doneness: Let the eggs sit covered in the hot water for the recommended time (see notes below for various doneness levels). This residual heat method ensures gentle, even cooking without overcooking.
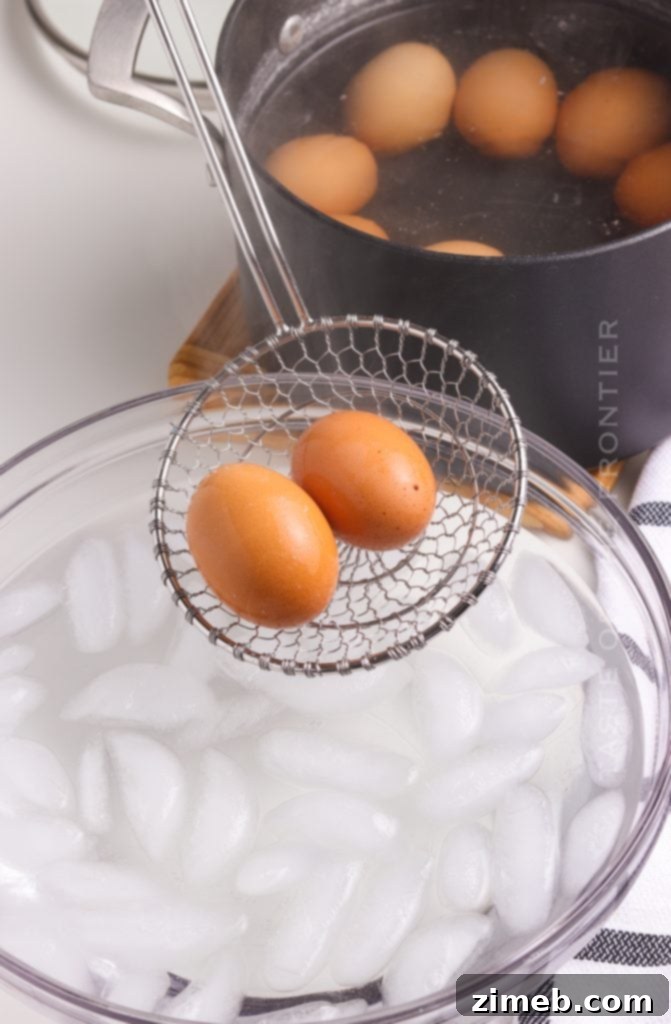
- Ice Bath Shock: Promptly transfer the cooked eggs into a large bowl filled with ice water. This “ice bath” step is critical; it immediately halts the cooking process, preventing green rings around the yolk, and helps the egg whites contract, making them easier to peel.
- Cool Completely: Allow the eggs to cool completely in the ice water until they reach room temperature. This can take about 10-15 minutes.
- Store or Peel: Once cooled, gently pat the eggs dry and refrigerate them in their shells until ready to use. When you’re ready to peel, use the “tap and dip” method described earlier for effortless peeling.
How to Make Hard-Boiled Eggs in an Instant Pot (Pressure Cooker)
Using a pressure cooker, such as an Instant Pot, is a remarkably efficient way to make hard-boiled eggs, often praised for delivering incredibly easy-to-peel results.
- Prepare the Pot: Place the eggs and 2½ cups of cold water into the inner pot of your pressure cooker. You can use a trivet to keep the eggs from directly touching the bottom, but it’s not strictly necessary.
- Pressure Cook: Close the lid, ensure the venting knob is sealed, and set your pressure cooker to cook on manual (or high pressure) for 6 minutes.
- Release Pressure: Once cooking is complete, allow a natural pressure release for 6 minutes. This means you do nothing and let the pressure release on its own. After 6 minutes, carefully quick-release any remaining pressure by turning the venting knob.
- Ice Bath: Immediately transfer the eggs to a bowl of ice water to stop the cooking process completely.
- Cool and Store: Let the eggs cool to room temperature in the ice water before transferring them to a paper towel-lined bowl or an airtight container for refrigeration.
- Peel: When ready to peel, lightly tap the egg on the counter to crack the shell, then peel it away. For any stubborn bits, dip the peeled egg into a small bowl of water to rinse off residual shell pieces.
Is a specific type of pressure cooker required?
Not at all! While I personally use an Instant Pot, the principles of pressure cooking for eggs apply universally across different brands and models of electric pressure cookers. Given their surge in popularity, most appliance companies now offer their own versions. This method will work effectively with any standard pressure cooker.
Optimal Boiling Times for Different Doneness Levels
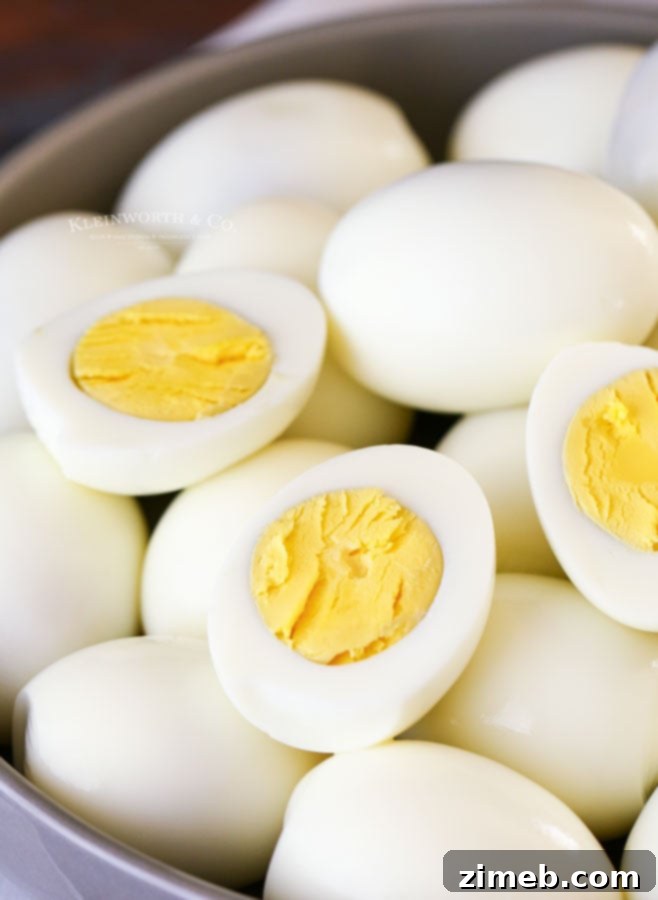
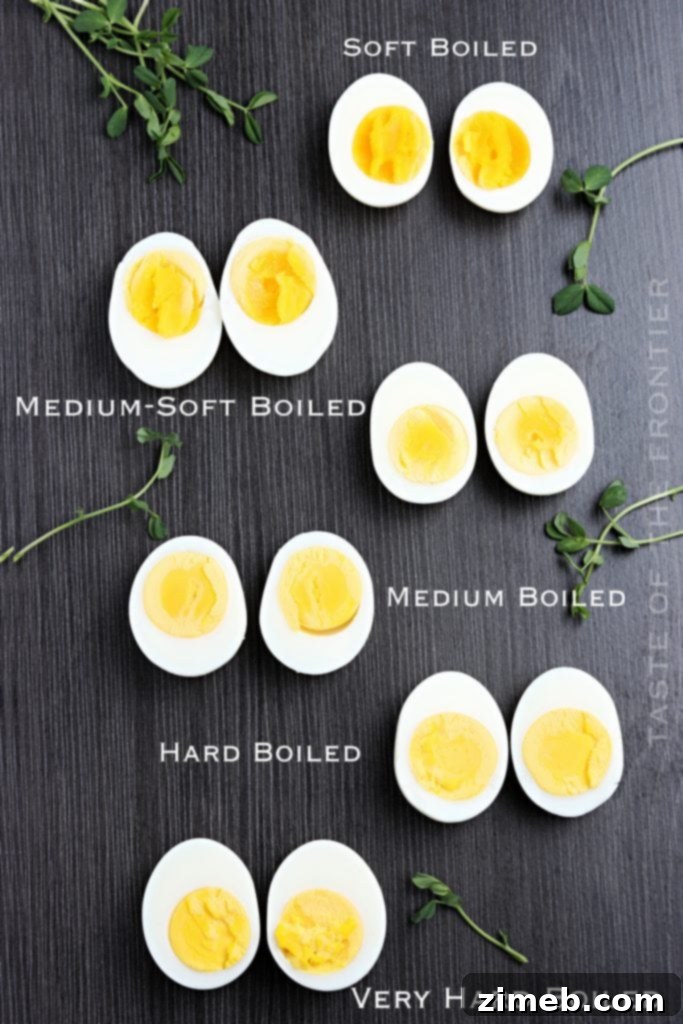
The ideal cooking time for hard-boiled eggs depends entirely on your preferred level of doneness. Here’s a quick guide for stovetop timings once the pot is removed from heat and covered:
- Soft Boiled (Custardy Yolk): 6 minutes
- Medium-Soft Boiled (Jammy Yolk): 8 minutes
- Medium Boiled (Mostly Firm, Slightly Creamy Yolk): 10 minutes
- Hard-Boiled (Firm, Fully Cooked Yolk): 12 minutes
- Very Hard Boiled (Completely Solid Yolk, good for grating): 14 minutes
Always remember to transfer eggs immediately to an ice bath after the cooking time to prevent overcooking and the formation of a grayish-green ring around the yolk.
How to Make Hard-Boiled Eggs in an Air Fryer
Surprisingly, an air fryer can also produce perfectly hard-boiled eggs with minimal effort and no water! This method is incredibly convenient and yields consistent results.
- Arrange Eggs: Carefully place the eggs in the basket of your air fryer in a single layer. Do not overcrowd; ensure there’s enough space for air to circulate.
- Air Fry: Close the air fryer and cook at 270 degrees Fahrenheit (approximately 132 degrees Celsius) for 15 minutes.
- Immediate Ice Bath: As soon as the cooking time is up, immediately transfer the hot eggs into a bowl filled with ice-cold water. This rapid cooling is essential for stopping the cooking process and ensuring easy peeling.
- Cool Completely: Allow the eggs to sit in the ice water until they have reached room temperature.
- Refrigerate or Peel: Refrigerate the cooled eggs in their shells until ready to use. When peeling, apply the “tap and dip” method for best results, dipping the peeled egg back into water to remove any tiny shell fragments.
Air Fryer Settings: “Air Fry” vs. “Bake” Options
Many modern air fryers come with various pre-set functions like “bake,” “roast,” or “broil.” However, for this recipe and most of my air fryer recipes, I developed them using an air fryer that primarily had a simple temperature and timer setting.
Therefore, for hard-boiled eggs, it’s best to use the standard “air fry” setting or simply set the temperature and time manually. While you can use a “bake” setting for recipes traditionally baked, for eggs, consistent hot air circulation is key, which the basic “air fry” function provides perfectly. Just set the temperature to 270°F and the timer for 15 minutes.
Perfect Hard Boiled Eggs
Essential Ingredients for Hard-Boiled Eggs
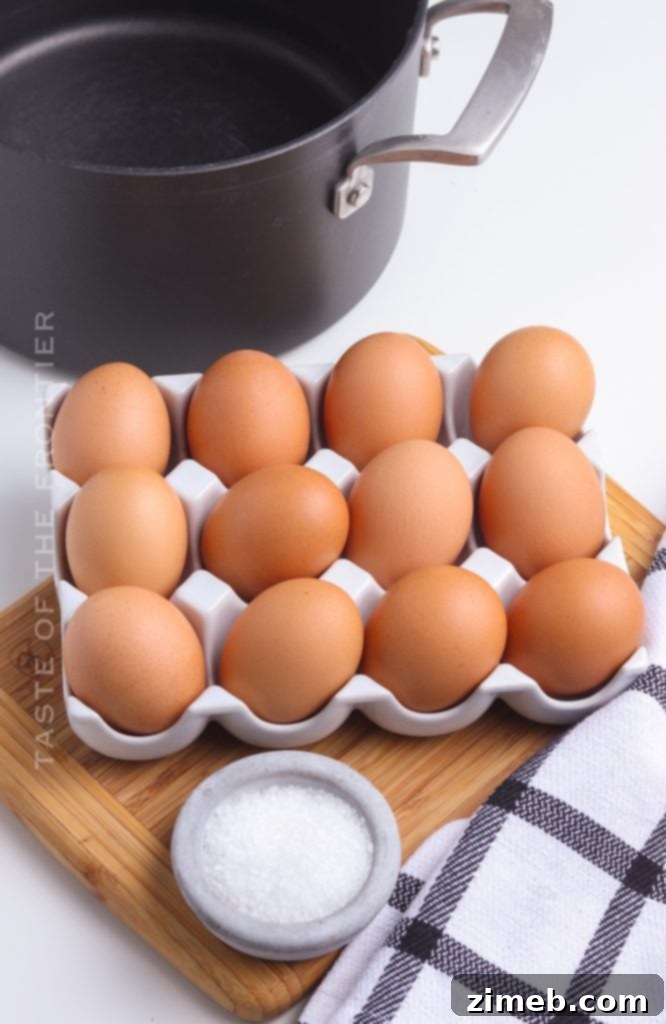
Regardless of your chosen cooking method, the core ingredients for perfect hard-boiled eggs are simple and few:
- Eggs: Fresh, large eggs are typically used, though slightly older eggs may be easier to peel.
- Water: Essential for stovetop and pressure cooker methods.
- Salt: A pinch of salt added to the water can help prevent shells from cracking and may aid in easier peeling.
For air fryer eggs, you only need eggs, as no water or salt is required in the cooking process itself.
Air Frying Doneness Tip for Consistent Results
It’s important to remember that not all air fryers are created equal. Different brands and models can vary in their heating elements, fan power, and overall cooking efficiency. This means that the cooking times provided are always approximate and based on typical performance.
Always consider these times as a guideline. If your eggs aren’t cooked to your desired doneness after the initial cycle, you can always extend the cooking time by a few more minutes. Conversely, if you notice your air fryer cooks particularly hot or fast, you might want to slightly reduce the suggested temperature or cooking duration for future batches. It often takes a batch or two to learn the specific nuances of your appliance.
Our Recommended Air Fryer Models
Over the years, our kitchen has seen a few air fryers, each serving a different purpose. We initially started with a smaller Philips air fryer, which was great for individual portions. My son now uses it since he cooks for one.
As I started using the air fryer more extensively, I realized the benefit of a digital screen. Surprisingly, our XL air fryer from GoWISE was not only more affordable than the Philips but also offered incredible ease of use and additional functions. It even came with a great selection of accessories that enhance the cooking experience.
More recently, while working on my second air fryer cookbook, I decided to upgrade again. I invested in this large, family-sized air fryer with touch screen presets, and it has been absolutely wonderful for preparing larger meals and multiple batches. Each of these machines has served us well, demonstrating that there’s an air fryer out there for every need and budget.
Can this hard-boiled egg recipe be doubled?
Doubling the recipe is entirely possible, especially when using the stovetop method. We often make larger batches this way, filling a larger pot with more eggs and water. However, for pressure cooker and air fryer methods, I generally do not recommend doubling the recipe. These appliances rely on specific space and airflow around the eggs for even cooking. Overcrowding in a pressure cooker can affect steam circulation and cooking times, while in an air fryer, it can hinder proper hot air distribution, leading to unevenly cooked eggs. It’s best to cook multiple smaller batches if you need a larger quantity using these appliances.
Understanding Egg Freshness: The Float Test
How to Determine Egg Freshness
It’s easy to lose track of how long eggs have been in the refrigerator, especially if you have a secondary fridge for stocking up. While eggs can remain safe to eat for up to 6 weeks beyond the carton’s “sell-by” date when properly refrigerated, it’s always wise to perform a quick freshness test if you’re unsure. The date on the carton isn’t always the most accurate indicator of true freshness.
As eggs age, they naturally develop a larger air cell inside their shell. This phenomenon is the basis for the simple “float test”:
- If it sinks and lies flat on its side: The egg is very fresh and excellent for eating.
- If it sinks but stands upright on its pointed end: The egg is still good to eat but is a bit older. It’s best to use it soon, perhaps for hard-boiling, as older eggs are often easier to peel.
- If it floats to the top: This indicates a large air cell has formed, meaning the egg is likely spoiled and should be discarded immediately. Do not consume floating eggs.
This simple test is a reliable way to ensure you’re only using fresh, safe eggs in your cooking.
Enjoying Perfectly Boiled Eggs for Any Occasion
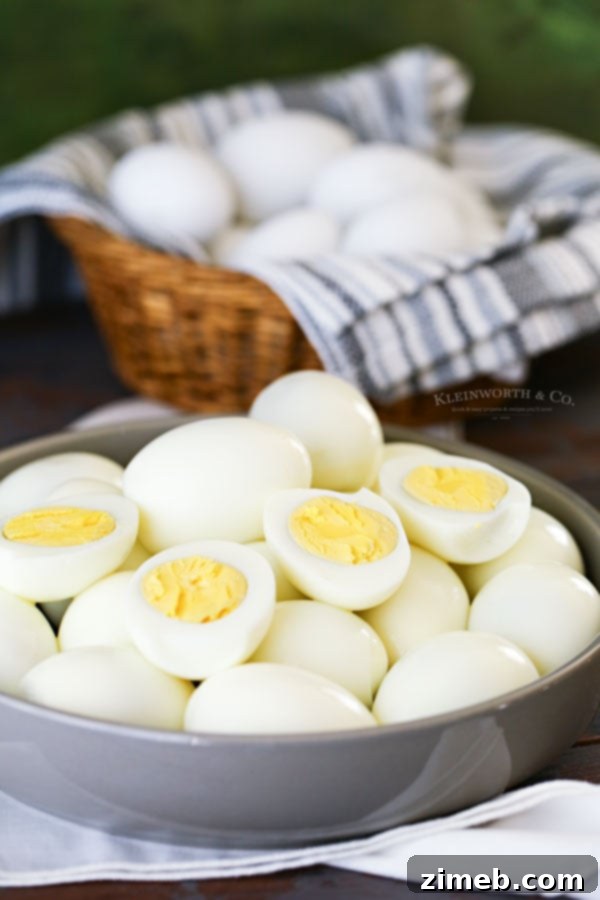
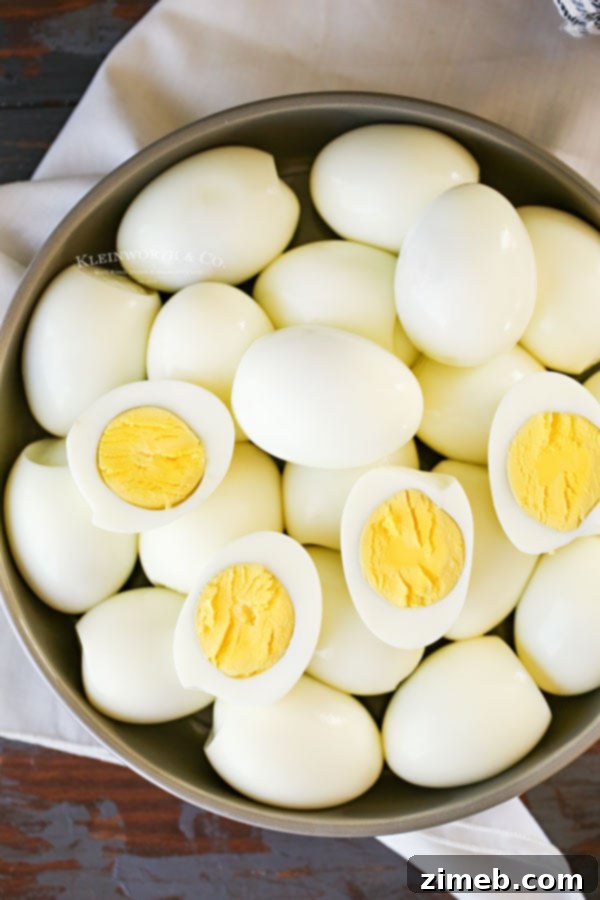
With these proven methods, you can confidently prepare perfect hard-boiled eggs for any purpose. Whether it’s for a quick protein-packed snack, a delightful addition to salads, or the foundation for classic recipes like egg salad and deviled eggs, you’ll achieve consistent, easy-to-peel results every time. These techniques simplify the process, allowing you to enjoy the versatility of this humble kitchen essential without any fuss.
If you love this easy hard-boiled egg recipe, you’re going to love these other quick recipes too. Please click each link below to find the easy, printable recipe!
Egg Salad Spinach Wraps are simple to make & take along on a picnic. Everything you love about an egg salad sandwich, in an easy to-go wrap for lunch.
Check out this recipe
With Easter coming up, you don’t want to miss this tutorial for How to Dye Eggs using vinegar and food color – no kit required. So easy!
Check out this recipe

Easy egg salad recipe paired with buttery garlic bread slices makes these Egg Salad Sliders AH-MAZ-ING. You’ll never want a regular egg salad sandwich again.
Check out this recipe

More Delicious Egg Recipes to Explore
Expand your egg-cooking repertoire with these fantastic recipes, ranging from breakfast classics to savory appetizers:
Bacon Deviled Eggs
Fluffy Scrambled Eggs
Perfect Soft Boiled Eggs
Easy Poached Eggs
Sunny Side Up Eggs
Classic Over Easy Eggs
The Best Egg Salad Recipe
Simple Deviled Eggs Recipe
Don’t miss this – it is one of our most popular recipes!
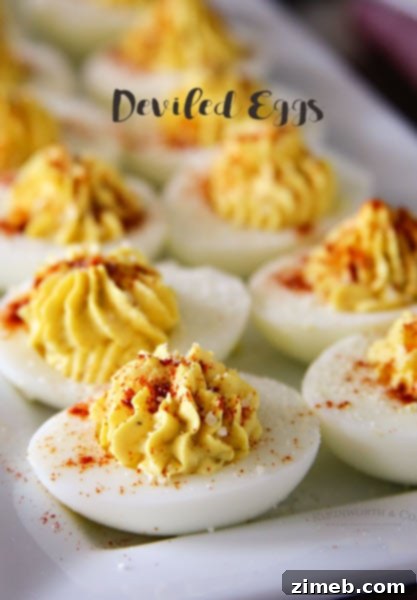
Traditional Deviled Eggs
If you love this recipe for Hard Boiled Eggs as much as I do, please write a five-star review, and be sure to help me share on Facebook and Pinterest!
CONNECT WITH YUMMI HAUS!
Be sure to follow me on my social media, so you never miss a post!
Substack, Facebook, Pinterest, Instagram, Email Subscription
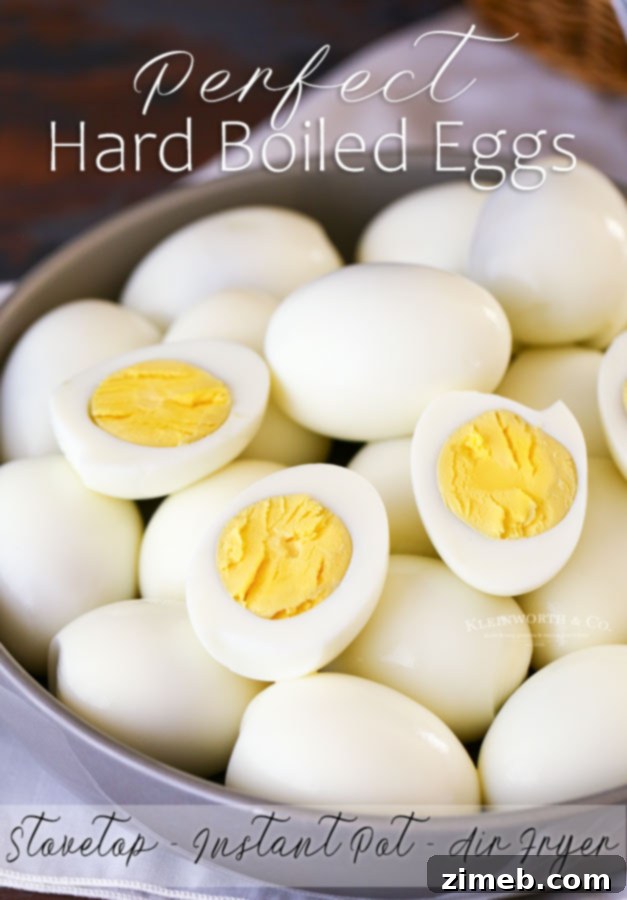
PIN THIS RECIPE
Rate this Recipe
Hard Boiled Eggs – Perfect Every Time
Ingredients
Stovetop
- 12 eggs
- water
- 1 tsp salt
Pressure Cooker
- 12 large eggs
- 2½ cups cold water
Air Fryer
- 12 large eggs
Instructions
Stovetop
-
Place the eggs in the bottom of a heavy stockpot.
-
Fill the pot with water until the eggs are covered completely & the water level is about 1″ higher than the top of the eggs and then add the salt.
-
Bring to a boil over high heat.
-
Once the water begins to boil, remove the pot from the heat & cover.
-
Set a timer for the desired length of time – 6 to 14 minutes. (See notes)
-
After the eggs have sat covered in the hot water, immediately transfer the eggs into a bowl of ice water to stop the cooking process.
-
Let the eggs come to room temperature in the ice water before transferring to another bowl lined with paper towels.
-
Refrigerate until ready to use.
-
When ready to peel, tap lightly on the counter to crack the shell, dip in a bowl of water & then peel the shell away.
-
Re-dip into the water to remove any remaining shell pieces you may not be able to see.
Pressure Cooker
-
Place the eggs and water in the pot. Close the lid & set it to cook on manual pressure for 6 minutes.
-
Do a complete natural release for 6 minutes, then quick release the remaining pressure.
-
Then transfer the eggs to a bowl of ice water to stop the cooking process.
-
Let the eggs come to room temperature in the ice water before transferring to another bowl lined with paper towels.
-
Refrigerate until ready to use.
-
When ready to peel, tap lightly on the counter to crack the shell, & then peel the shell away.
-
Dip the peeled egg into a small bowl of water to remove any remaining shell pieces you may not be able to see.
Air Fryer
-
Place the eggs in the air fryer.
-
Close and cook at 270 degrees for 15 minutes.
-
Immediately transfer the eggs to ice-cold water after the cooking time is up.
-
Let the eggs come to room temperature in the ice water before transferring to another bowl lined with paper towels.
-
Refrigerate until ready to use.
-
When ready to peel, tap lightly on the counter to crack the shell, dip in a bowl of water & then peel the shell away.
-
Re-dip into the water to remove any remaining shell pieces you may not be able to see.
Notes
- Soft boiled: 6 minutes
- Medium-soft boiled: 8 minutes
- Medium boiled: 10 minutes
- Hard-Boiled: 12 minutes
- Very Hard Boiled: 14 minutes
Note – if doing the pressure cooker version & you want to do back-to-back batches, you need to increase the time by 1-2 minutes for each step on the second batch because the cooker will already be hot from the first batch & therefore won’t take as long to come to full pressure. That period of time is part of the cooking process.
**If you live above 5000 feet, use the 5-5-5 method – 5 minutes cook time, 5 minutes natural pressure release, 5 minutes in the ice water bath.
Nutritional information for the recipe is provided as a courtesy and is approximate. Please double-check with your own dietary calculator for the best accuracy. We at Yummi Haus cannot guarantee the accuracy of the nutritional information given for any recipe on this site.