
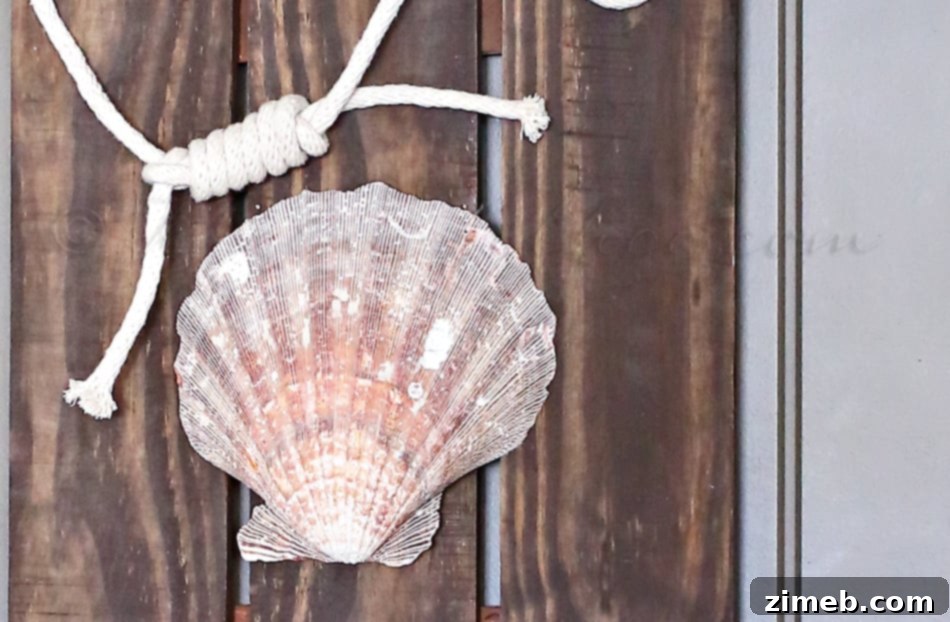
Transforming ordinary materials into charming home decor doesn’t have to be complicated or time-consuming. This simple yet incredibly striking Coastal Pallet Art project is the perfect solution for anyone looking to infuse their living space with a serene, beachy ambiance. Whether you’re an experienced crafter or just starting your DIY journey, this project promises an enjoyable experience and a beautiful result. Best of all, it can be brought to life in under 30 minutes, making it an ideal weekend afternoon craft or a quick decor update whenever inspiration strikes. Dive into the world of upcycling and discover how easy it is to create a unique piece that captures the essence of the coast, right in your own home. Get ready to add a touch of seaside charm with minimal effort and maximum impact!
Why Choose Coastal Pallet Art for Your Home?
Coastal decor has a timeless appeal, bringing a sense of tranquility, relaxation, and natural beauty into any room. It evokes memories of sandy beaches, ocean breezes, and sun-kissed holidays, creating a peaceful sanctuary in your home. Furthermore, crafting with pallet wood is not only incredibly cost-effective but also an excellent way to practice sustainable living by upcycling materials that might otherwise go to waste. This specific DIY Coastal Pallet Art project combines these benefits seamlessly. It’s a budget-friendly way to achieve a high-end look, and its rustic charm complements a wide range of interior styles, from farmhouse to modern minimalist. The simplicity of the design ensures that even beginner crafters can achieve a polished, professional-looking piece, proving that beautiful home decor doesn’t always require a hefty price tag or extensive crafting skills.
Gathering Your Essential Materials
Before you begin, assembling your materials will streamline the process and ensure you can complete your beautiful coastal art without interruption. For this project, you’ll mainly be working with reclaimed wood and a few basic craft supplies. You’ll need:
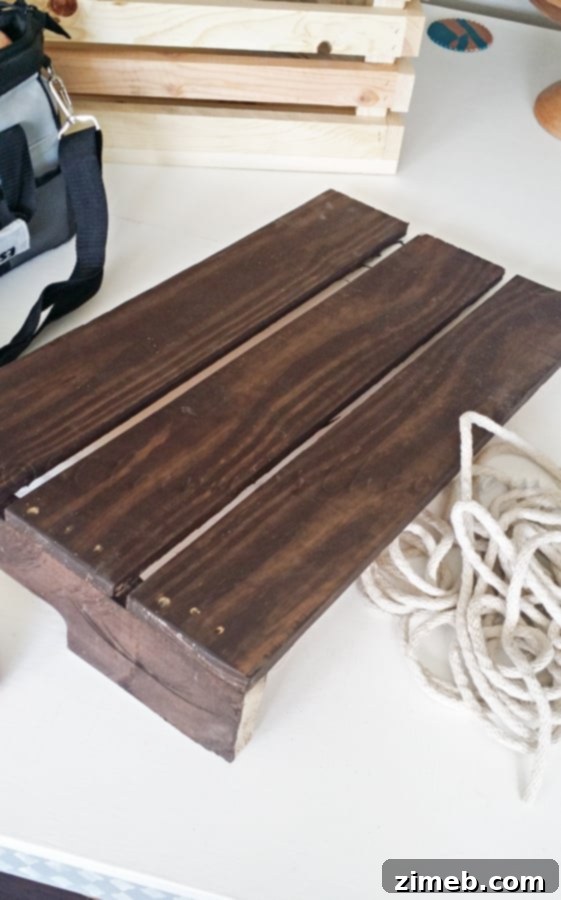
1. Pallet Wood Boards: Your primary material. For this specific piece, we started with a section of a pallet that had previously been used for an industrial cart coffee table. The key is to select three relatively similar-sized wooden boards from a disassembled pallet. Ensure they are free from excessive damage, rot, or hazardous chemical stains. It’s always a good idea to thoroughly clean and lightly sand your pallet wood to remove any splinters or rough edges, preparing a smooth surface for your art piece. Safety first when handling reclaimed wood!
2. Sturdy Rope: Jute, sisal, or natural cotton rope works best for a truly authentic coastal feel. The thickness of the rope can vary based on your aesthetic preference – a thicker rope makes a bolder statement, while a thinner one offers a more delicate look. You’ll need enough to securely wrap and tie your three boards together, plus a little extra for decorative knotting if desired.
3. Small Wood Shims or Thin Wood Strips: These are crucial for adding stability to the back of your joined pallet boards, preventing them from warping or separating over time. Standard shims found at any hardware store will work perfectly.
4. Drill and Small Screws: Necessary for attaching the shims securely to the back of your pallet boards. Choose screws that are short enough not to penetrate through the front of your wood.
5. String or Picture Wire: To create a hanging mechanism for your finished art piece. Durable twine, jute string, or a thin picture hanging wire are all suitable options.
6. Decorative Seashell (or other coastal embellishment): This is the focal point that truly defines the coastal theme. Select a beautiful seashell, a piece of driftwood, a starfish, or some sea glass that complements the size of your pallet art. Make sure it’s clean and dry.
7. Strong Adhesive: Hot glue, E6000, or a similar heavy-duty craft adhesive will be needed to securely attach your chosen embellishment to the pallet wood.
Optional materials include sandpaper for smoothing, wood stain or paint to customize the boards, and a clear protective sealant for durability.
Step-by-Step Guide to Crafting Your Coastal Pallet Art
Step 1: Preparing and Cleaning Your Pallet Boards
The foundation of your coastal art lies in well-prepared pallet wood. As mentioned, I started with three individual boards, remnants from a larger pallet project. If you’re sourcing a new pallet, the first step is always careful dismantling. Use a pry bar and hammer to gently separate the boards, taking care to remove any nails or staples. Safety gloves are highly recommended. Once you have your three chosen boards, give them a good cleaning. Wipe away any dirt or grime with a damp cloth. Next, a light sanding is crucial. Use medium-grit sandpaper (around 120-180 grit) to smooth out any rough edges or splinters. This not only makes the piece safer to handle but also provides a better surface if you plan to paint or stain your wood later. For this rustic look, excessive sanding isn’t necessary, but ensure it’s comfortable to touch.
Step 2: Assembling Your Boards with Rustic Rope
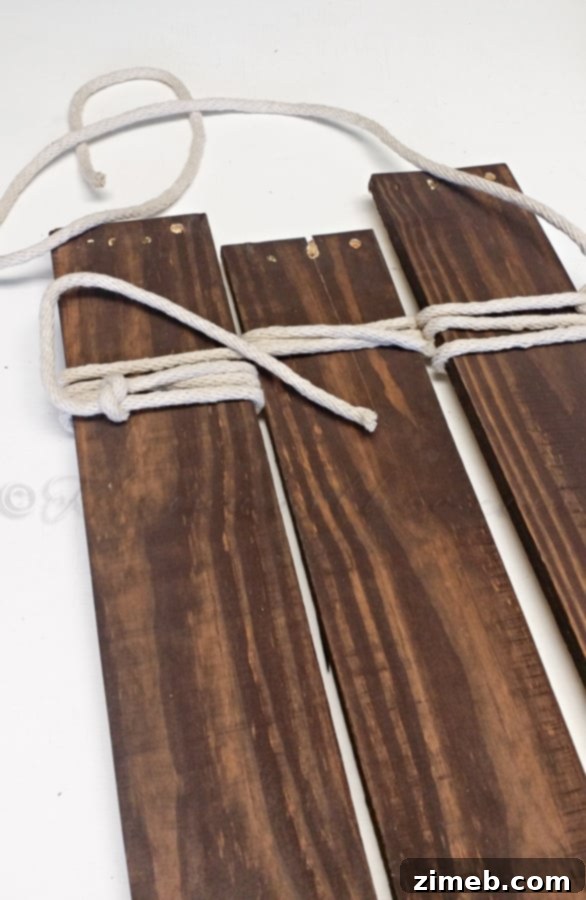
Once your boards are prepped, it’s time to bring them together. Arrange your three pallet boards side-by-side, ensuring they are aligned to your satisfaction. The beauty of this project is its inherent simplicity and the charm of visible construction. I used a natural jute rope to bind them, wrapping and knotting it securely. Begin by laying the rope across the back of the assembled boards, then bring it around to the front. You can create a simple, neat wrap around each end of the joined boards, tying a sturdy knot on the back to secure it. Alternatively, for added visual interest, you might experiment with decorative nautical knots on the front. Ensure the rope is pulled taut enough to hold the boards firmly together, but not so tight that it warps the wood. A small dab of wood glue between the boards before tying can provide extra adhesion and prevent movement, though the rope itself offers significant structural integrity and a distinctive aesthetic.
Step 3: Enhancing Stability and Preparing for Hanging
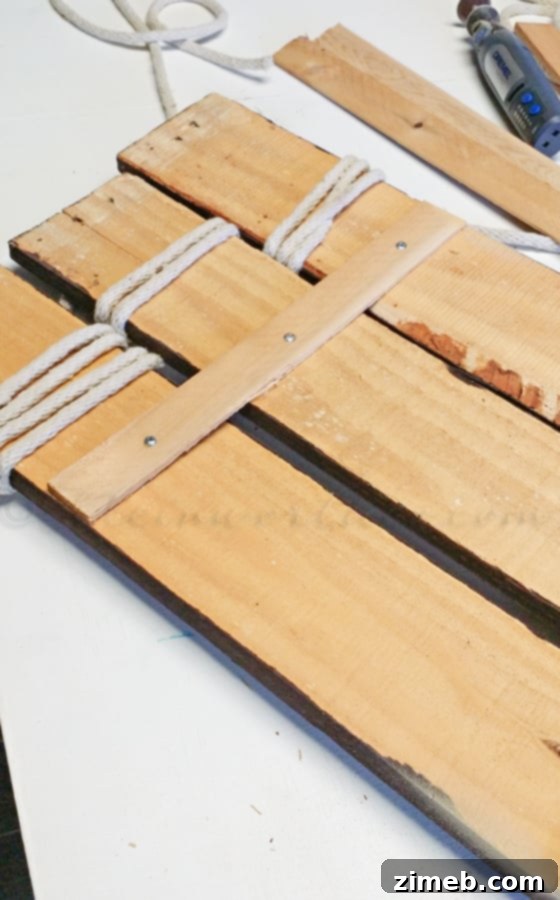
To ensure your Coastal Pallet Art remains sturdy and flat over time, adding a couple of small wood shims to the back is a crucial step. Lay your art piece face down. Position two shims horizontally across the back of the joined boards, one near the top and one near the bottom, spanning all three boards. Using your drill and small screws, carefully attach the shims to each pallet board. This creates a strong brace that prevents the individual boards from separating or warping. Once the shims are in place, it’s time to add a hanging mechanism. Screw two small screw eyes into the top edge of the top shim, spaced evenly. Thread a length of sturdy string or picture wire through these screw eyes, creating a loop for easy hanging. Make sure the string is tight enough to hold the art level but loose enough to provide some flexibility when hanging.
With the structural elements complete, flip your pallet art over to its front side. Now comes the exciting part: attaching your chosen coastal embellishment. For this project, a beautiful seashell was selected. Position the seashell aesthetically on one of the boards – typically centered or slightly off-center to create visual balance. Apply a generous amount of strong adhesive, such as E6000 or hot glue, to the back of the seashell and firmly press it onto the wood. Hold it in place for a few moments until the glue begins to set. If using hot glue, setting time is quick; for other adhesives, allow ample time to dry according to the product instructions before moving or hanging your artwork. You can also experiment with other nautical elements like small pieces of weathered driftwood or a tiny painted anchor for a personalized touch.
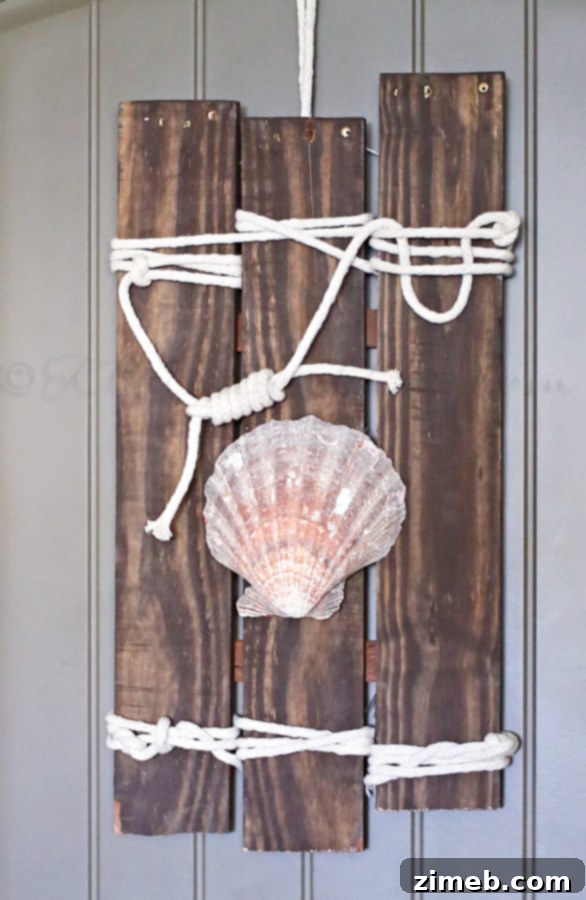
Customizing Your Coastal Pallet Art to Reflect Your Style
While the natural, rustic look of untreated pallet wood paired with simple rope and a seashell offers an authentic charm, there are countless ways to customize your DIY Pallet Art to perfectly match your home decor. Consider painting your pallet boards with a distressed white, light blue, or seafoam green for a more vibrant coastal feel. A whitewash technique can achieve a weathered, beach-house aesthetic. You could also apply a dark wood stain for a more refined, nautical look that highlights the wood grain. Instead of a single seashell, perhaps create a small cluster of various shells and sea glass, or integrate a piece of actual fishing net. Small metal anchors, rustic buoys, or even stenciled coastal phrases like “Beach Life” or “Seaside Dreams” can add a unique character. Don’t be afraid to experiment with different textures and colors to make this project truly your own. The versatility of pallet wood allows for endless creative possibilities, transforming a simple idea into a personalized masterpiece.
Displaying Your New Coastal Creation
The finished Coastal Pallet Art adds the perfect little bit of beach charm to any room. Its compact size and eye-catching design make it incredibly versatile for display. Imagine it as a focal point in a bathroom, creating a spa-like retreat with subtle maritime touches. It would look equally stunning in a living room, perhaps above a mantelpiece or as part of a gallery wall, complementing existing coastal accents. In a bedroom, it can evoke a sense of calm and escape, perfect for unwinding after a long day. Even an entryway can benefit from this charming piece, welcoming guests with a hint of seaside serenity. Its rustic yet refined appeal means it can blend seamlessly with various decor styles, from modern farmhouse to bohemian chic, proving that a touch of the beach is always in season. So easy, so effective!
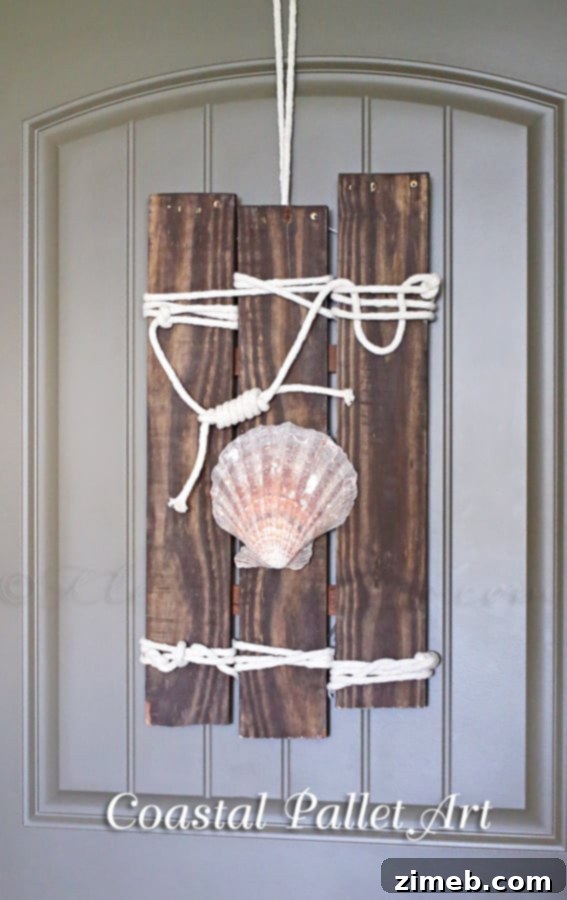
Looking for more easy DIY projects?
If you’ve enjoyed crafting this charming coastal pallet art and are eager to explore more creative ventures, you’re in luck! The world of DIY is brimming with simple, rewarding projects that can transform your home and express your unique style. From seasonal decorations to practical home improvements, there’s always something new to create. Here are a few more inspiring and easy-to-follow DIY projects that promise beautiful results without demanding extensive time or specialized skills. Dive in and let your creativity flow!
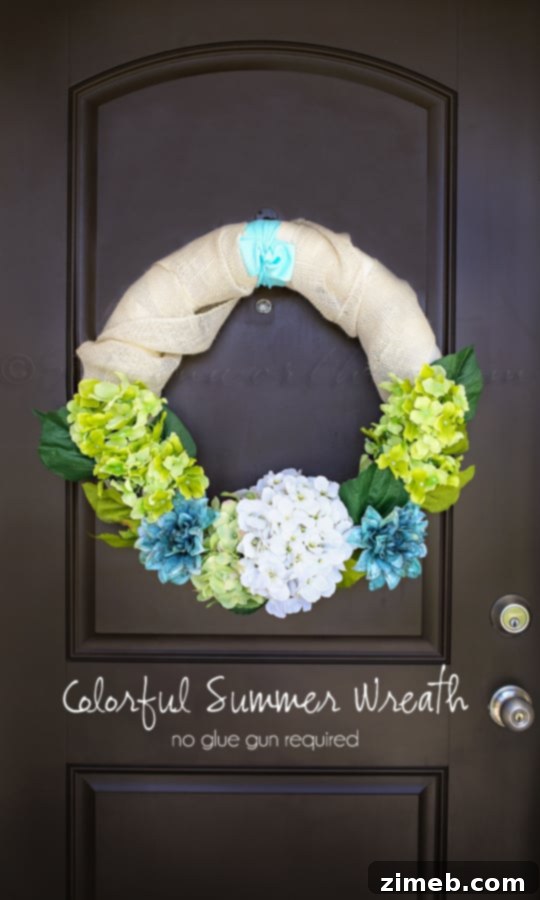
Colorful Summer Wreath
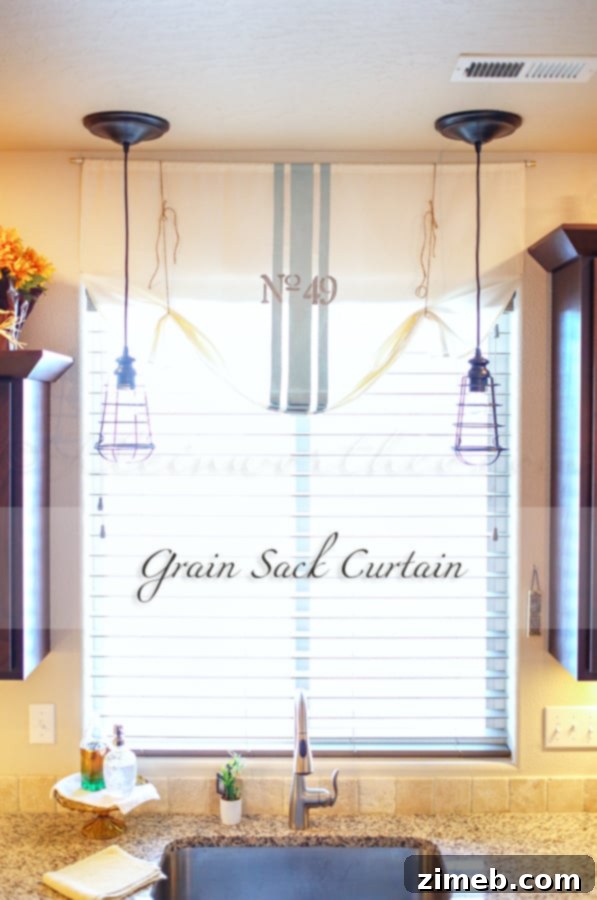
Grain Sack Curtain
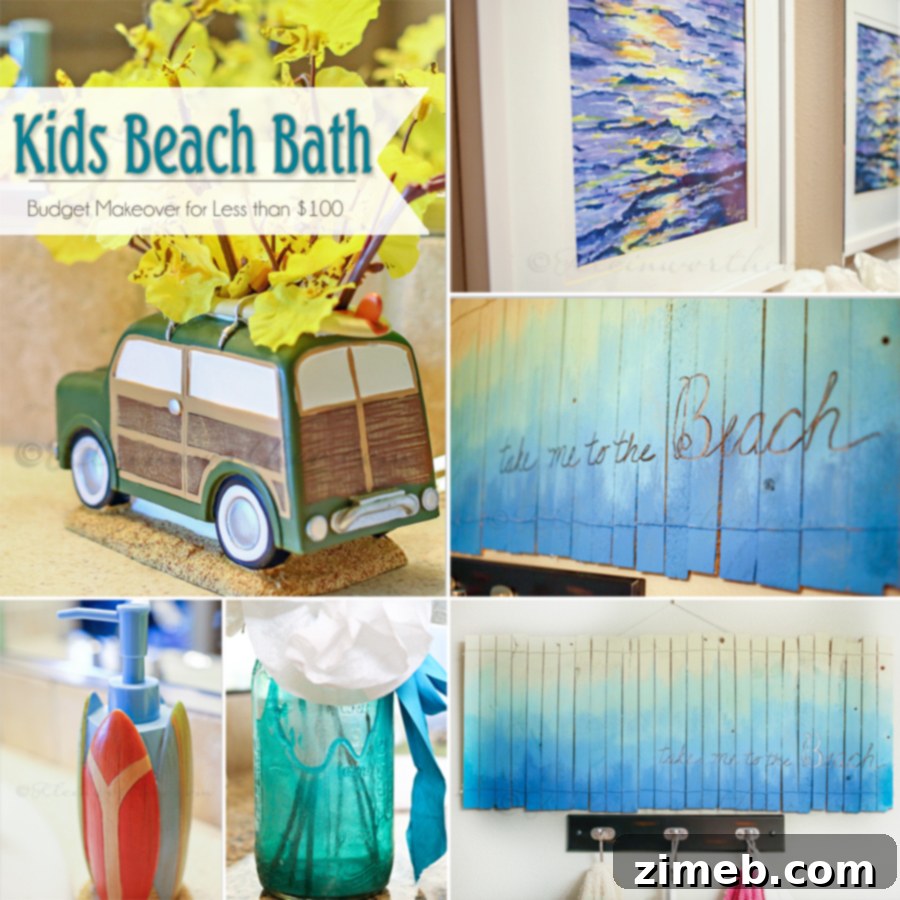
Kids Beach Bath
To see where I am linking today- visit HERE