
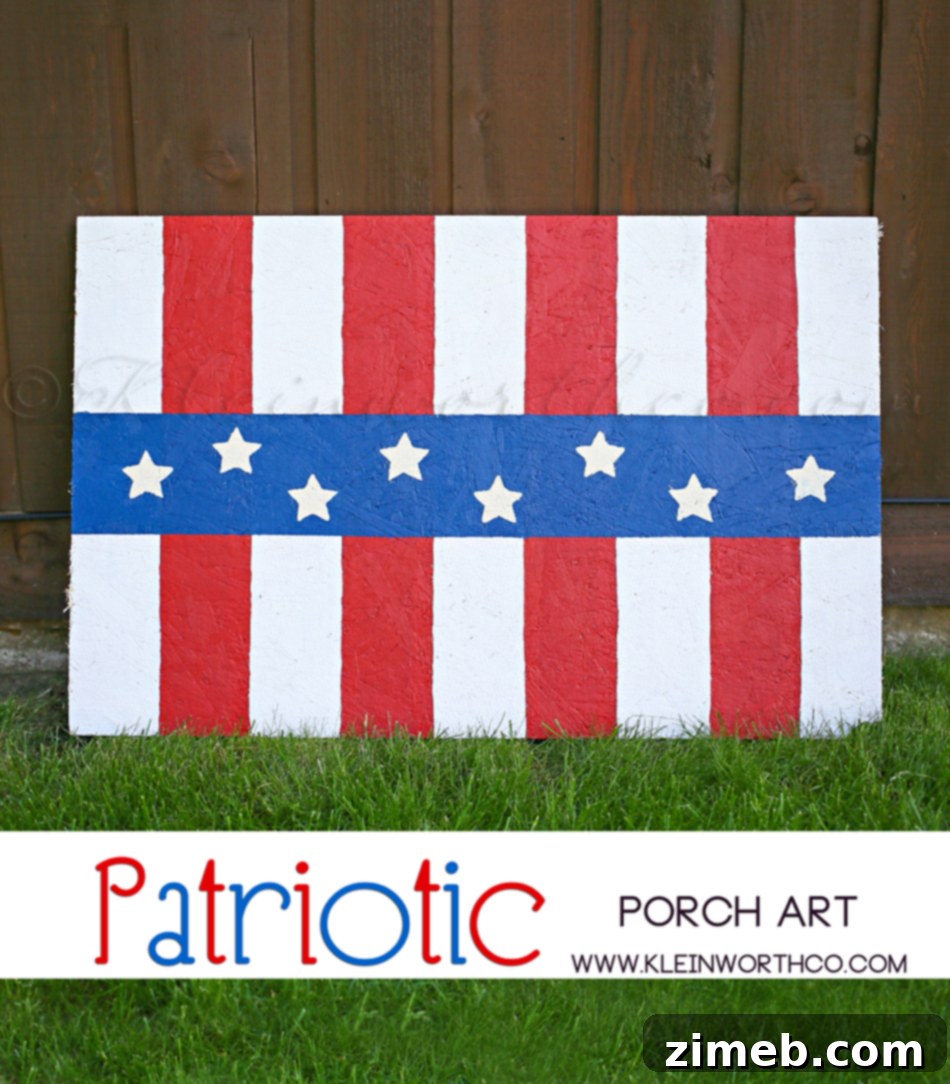
As the vibrant hues of summer emerge, there’s one particular time of year that truly ignites my spirit and inspires a burst of creative energy: the Fourth of July season! While my typical decor leans towards serene, beach-inspired palettes, the undeniable charm of red, white, and blue takes center stage during this festive period. This captivating color combination doesn’t just celebrate a holiday; it evokes a profound sense of Americana, a style I’m increasingly eager to weave into the fabric of our new home. My vision involves incorporating subtle touches of stars and stripes throughout the space, creating a welcoming and subtly patriotic atmosphere year-round. This desire for meaningful, handmade decor led me to embark on a delightful wood crafting project, resulting in this stunning DIY Patriotic Porch Art. It’s designed to bring a cheerful, patriotic welcome to our new porch and can easily transition to an indoor display once the seasonal festivities subside, offering a heartwarming reminder of national pride.
Crafting Your Own Patriotic Porch Art: The Vision and Materials
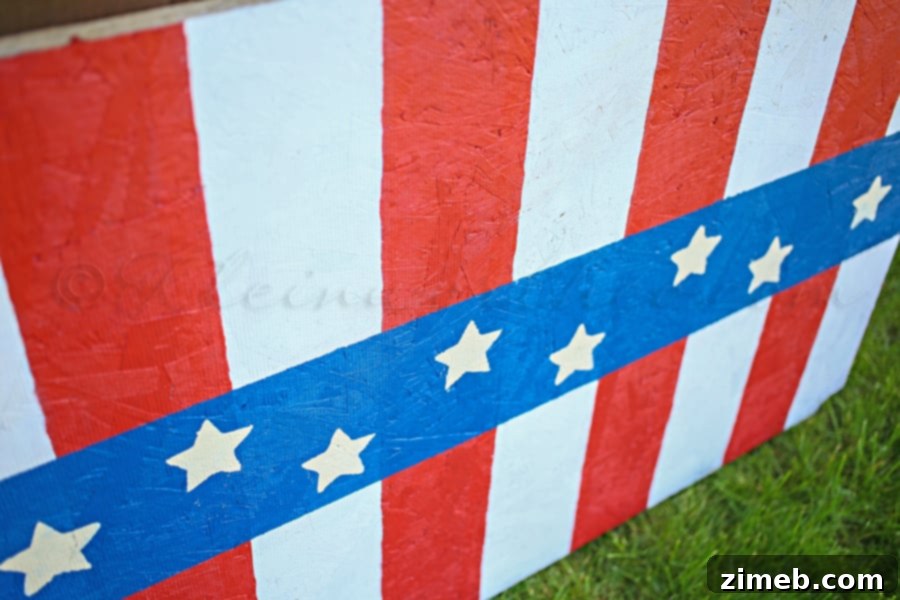
The beauty of this project lies in its simplicity and the ability to transform readily available materials into something truly special. For my Patriotic Porch Art, I began with a fantastic find: a scrap piece of plywood I acquired from a local “scrap free-for-all” event – a true treasure hunt for any DIY enthusiast. This approach not only makes the project budget-friendly but also adds a unique, rustic character to the finished piece. When it came to choosing paints, I aimed for a palette that offered a classic patriotic feel but with a nuanced, slightly deeper tone than the standard primary colors. This subtle shift helps create a more vintage aesthetic without needing extensive distressing techniques, a detail I particularly appreciate.
My selected paints included:
- Olympic in Burning Bush (Red): A rich, deep red that feels sophisticated yet festive.
- Valspar in DuJour (Off-White): A soft, warm off-white, offering a gentle contrast to the deeper tones.
- Valspar in Indigo Cloth (Blue): A beautiful, muted indigo that provides a heritage feel.
- Valspar in Belle Grove Buff (Cream Tone for Stars): A lovely creamy hue that ensures the stars stand out with a subtle glow.
These specific shades harmonized perfectly, imbuing the artwork with an immediate sense of history and warmth. The beauty of choosing these slightly muted yet traditional colors is that they inherently give the piece a desirable vintage quality, allowing me to bypass the need for additional distressing methods, which saved both time and effort.
Evolving Decor Style: Blending Old Traditions with New Inspirations
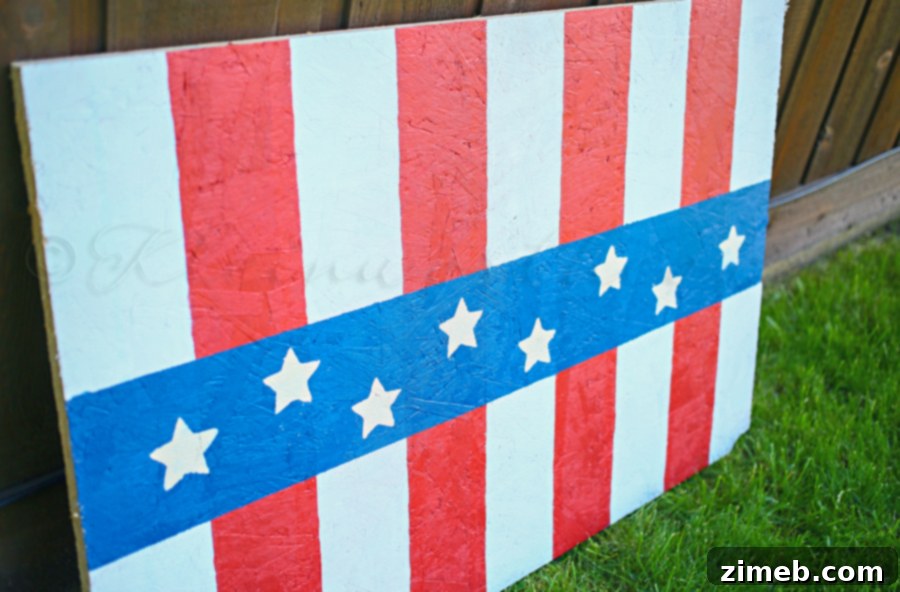
As we prepare for the significant undertaking of moving into our new home, I’ve been reflecting deeply on our evolving decor preferences. For years, our home has been filled with a cherished collection of antiques, vintage finds, and rustic pieces, each telling its own story. While these items hold immense sentimental value, there’s a growing desire for a refreshed aesthetic. We’ve enjoyed these pieces for so long that we’re ready to embrace a new, lighter feel in our living spaces. This means carefully curating our existing collection. Many beloved antiques will be thoughtfully packed away, and only those pieces that genuinely align with the new mood and atmosphere we’re striving for will be proudly displayed. This selective approach allows us to honor our past while consciously shaping a fresh, inspiring environment for the future. Depending on how the rest of our new home’s decor comes together, I might decide to lightly distress this patriotic board to integrate it further, but for now, its naturally vintage-inspired paint palette serves the purpose beautifully.
Step-by-Step Guide: Creating Your Americana Wood Art
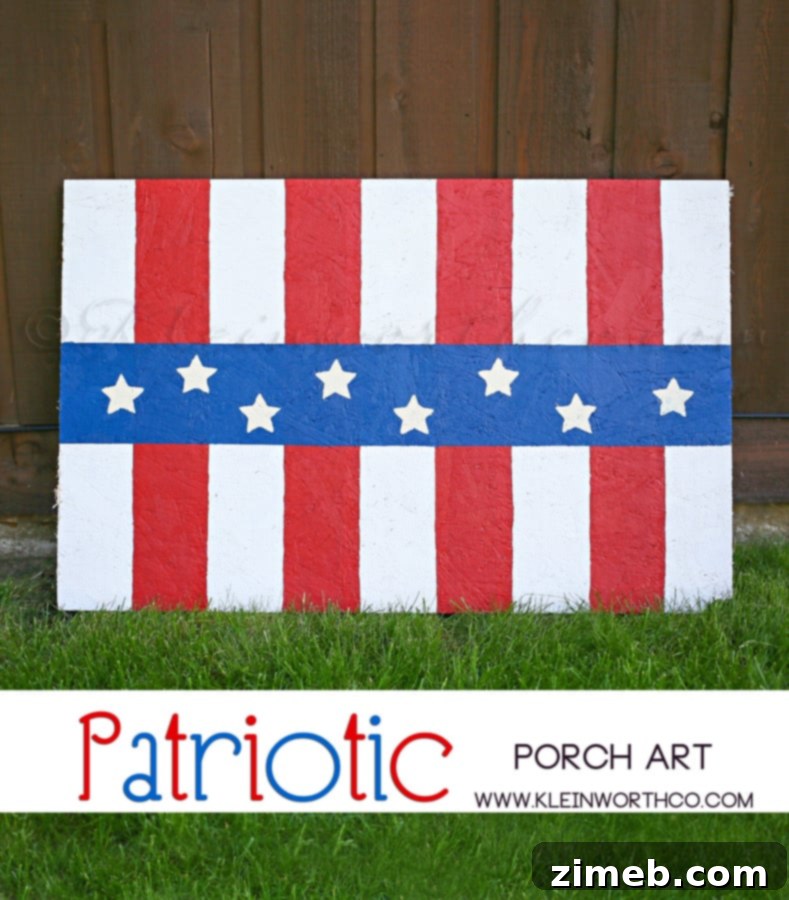
Crafting this patriotic masterpiece was surprisingly straightforward, with the primary challenge being the patience required for paint layers to thoroughly dry. Here’s a detailed breakdown of the process:
Materials You’ll Need:
- Scrap plywood or a smooth wood board (approximately 2-3 feet in length, width as desired)
- Painter’s tape (high quality for clean lines)
- Measuring tape or ruler
- Pencil
- Paint brushes or foam rollers
- Paint in desired red, off-white, blue, and cream colors (e.g., Olympic Burning Bush, Valspar DuJour, Valspar Indigo Cloth, Valspar Belle Grove Buff)
- Small craft stencil for stars
- Small stencil brush or sponge
- Protective sealant (optional, for outdoor display)
Detailed Instructions:
- Prepare Your Wood: Begin by ensuring your scrap plywood is clean, dry, and free of any debris. A light sanding can help create a smoother surface, though a rustic finish is also charming. Decide on the orientation of your flag design – horizontal or vertical – and sketch out a light pencil line to mark where your “union” (the blue field for stars) will be.
- Measure and Tape Stripes: Using your measuring tape, carefully mark out your stripe widths. I opted for 4-inch wide stripes, which provided a bold and balanced look on my board. Apply painter’s tape along these lines to create crisp edges for your first color.
- Paint the White Stripes: For the base, I started by painting the designated “white” sections. Apply two thin coats for even coverage, allowing ample drying time between coats. This is crucial for preventing paint bleed when you apply the next layer of tape. I let the white paint dry for a full day to ensure it was completely cured.
- Tape for Red Stripes: Once the white paint is thoroughly dry, carefully re-tape your board. This time, cover the dried white stripes precisely and tape off the areas designated for red. Ensure the tape is firmly pressed down to prevent any paint from seeping underneath.
- Apply Red Paint: Paint the red sections, again applying two thin coats and allowing sufficient drying time between each. Patience here is key! I waited another full day before proceeding to the next color.
- Tape for Blue Section: After the red paint is completely dry, remove the previous tape. Now, carefully tape off the large rectangular area intended for the blue “union” where the stars will reside. Ensure this section is proportionate to your overall flag design.
- Paint the Blue Section: Apply your chosen indigo blue paint to this taped-off area. Two coats should suffice for rich, opaque coverage. While the previous layers required a full day to dry, the blue section only needs to be dry to the touch before moving on to stenciling the stars.
- Add the Stars: Once the blue paint is dry to the touch, position your craft stencil for the stars onto the blue field. Using your cream-colored paint and a stencil brush or sponge, gently dab the paint onto the stencil openings. Apply light pressure and thin layers to prevent paint from seeping under the stencil. Repeat this process until your blue field is adorned with a beautiful constellation of stars.
- Final Touches & Sealing: Carefully peel off all the painter’s tape. If there are any minor imperfections, you can touch them up with a fine brush. For outdoor display, I highly recommend applying a clear, weather-resistant sealant to protect your beautiful artwork from the elements, ensuring its longevity and vibrancy on your porch.
A Touch of Americana for Every Season
This Patriotic Porch Art isn’t just a seasonal decoration; it’s a versatile piece that can add a touch of charming Americana to your home year-round. Its vintage-inspired colors and classic design allow it to blend seamlessly with various decor styles, from farmhouse to coastal chic. Whether displayed proudly on your porch to welcome guests or gracing an entryway, living room wall, or even a child’s bedroom, it serves as a subtle yet powerful reminder of heritage and home. The satisfaction of creating something beautiful and meaningful with your own hands is truly unparalleled, and this project is a testament to how simple materials can yield stunning results.
Want more patriotic ideas to inspire your home decor and celebrations?
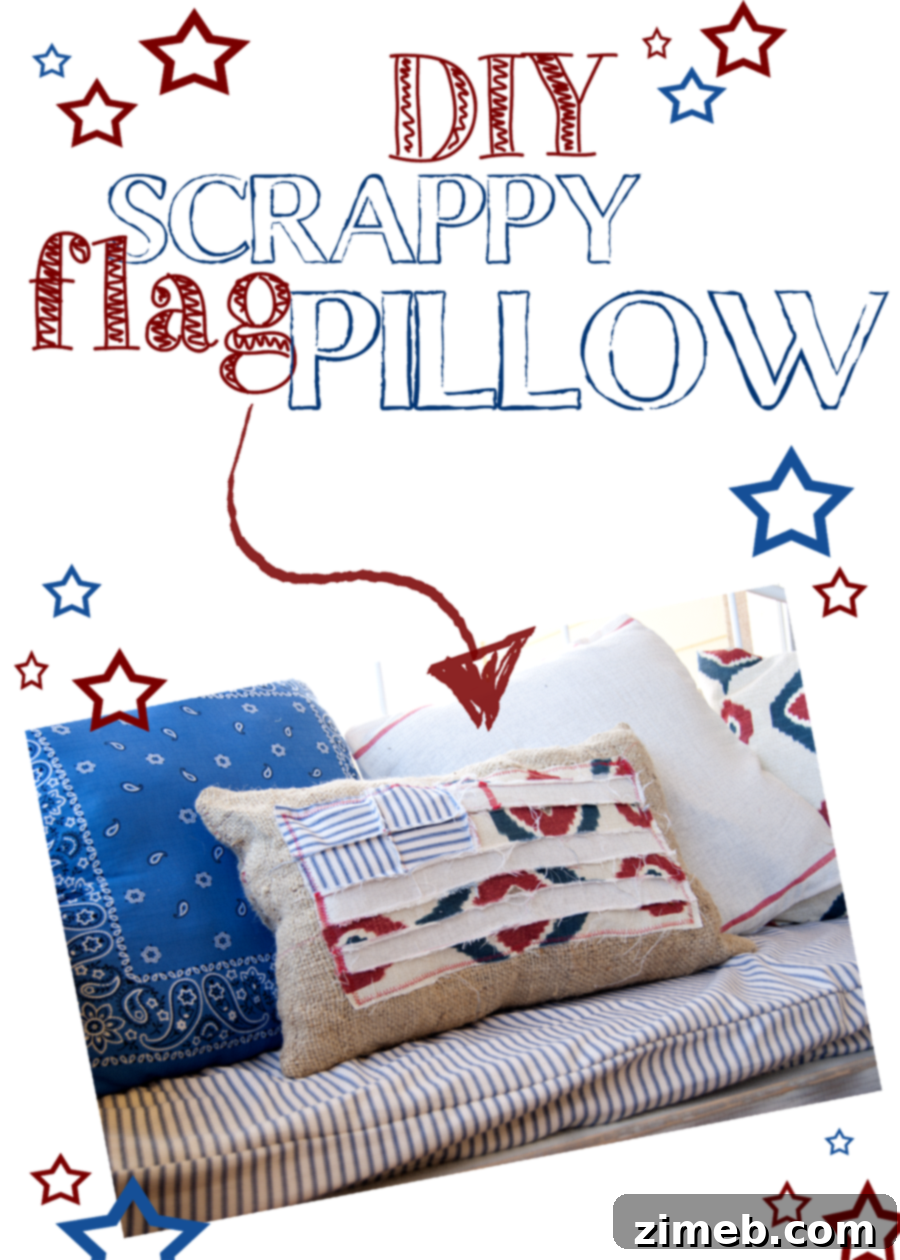
DIY Scrappy Flag Pillow

4th of July Decor & Celebration Ideas

Mastering Fireworks Photography Tutorial
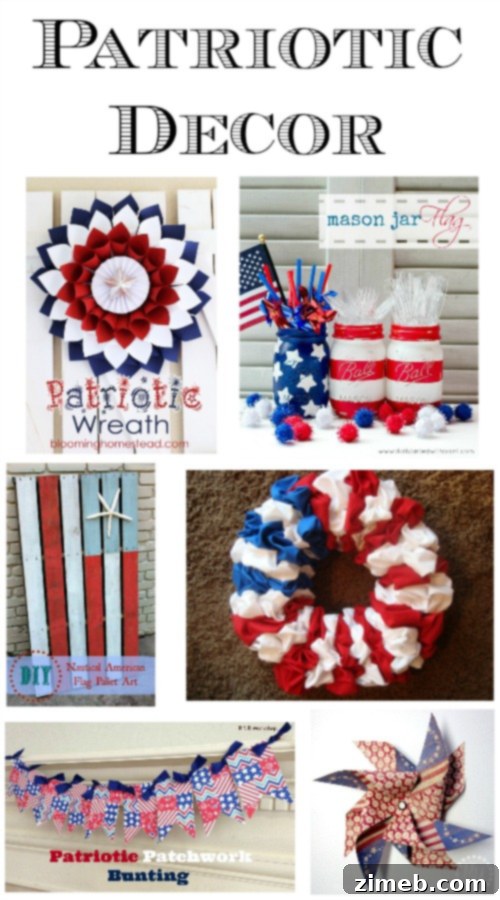
Inspiring Patriotic Decor Round-Up
For more inspiration and where I share my creative journey, be sure to visit HERE.