
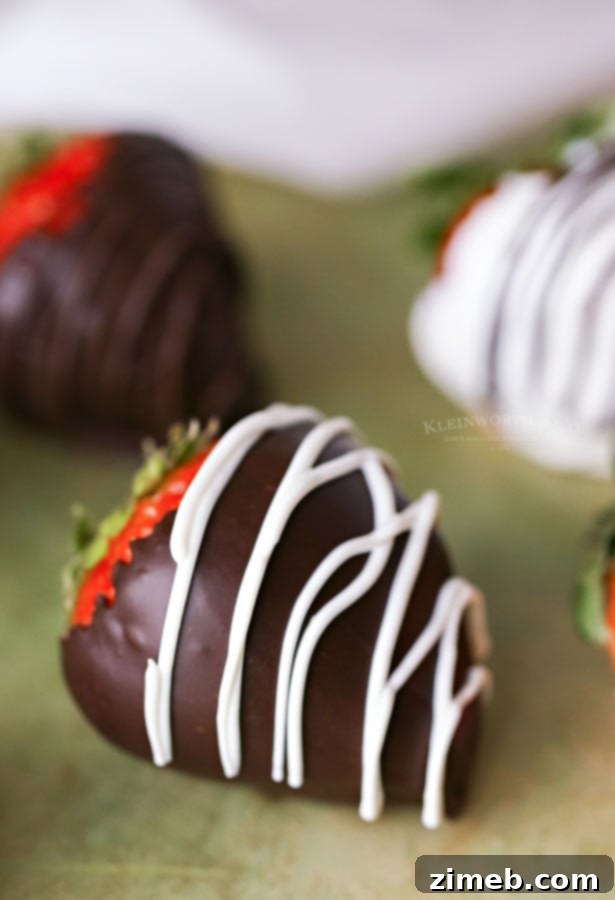
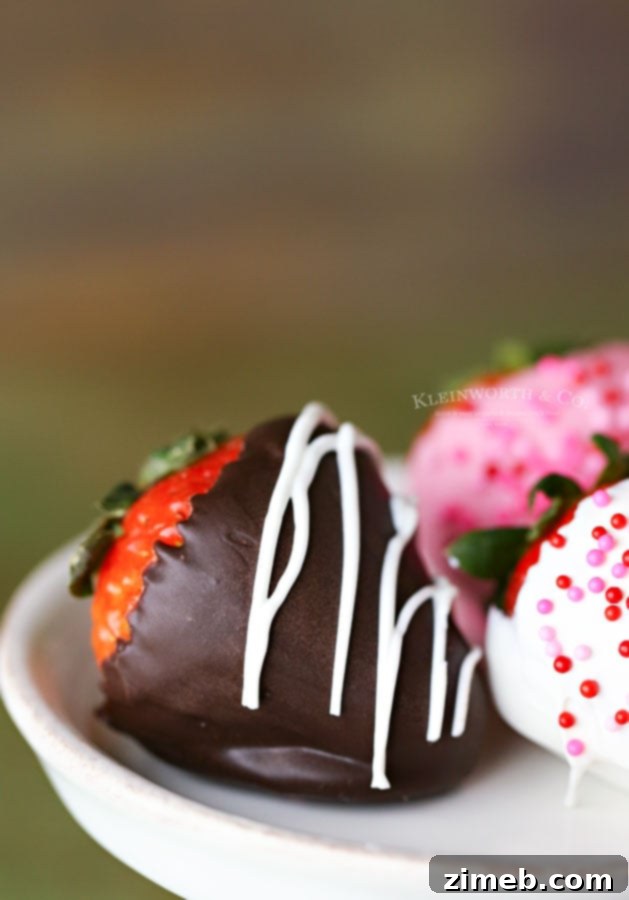
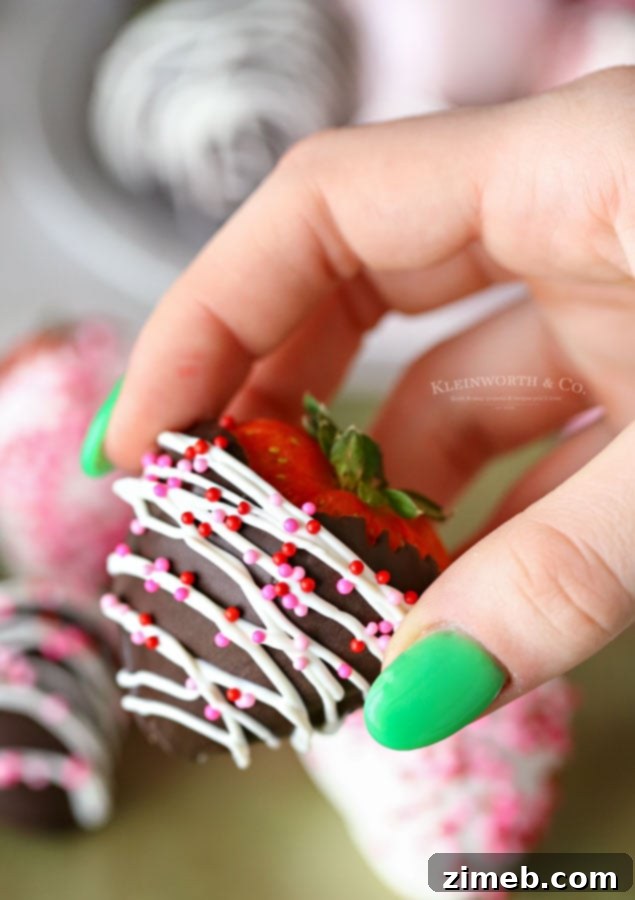
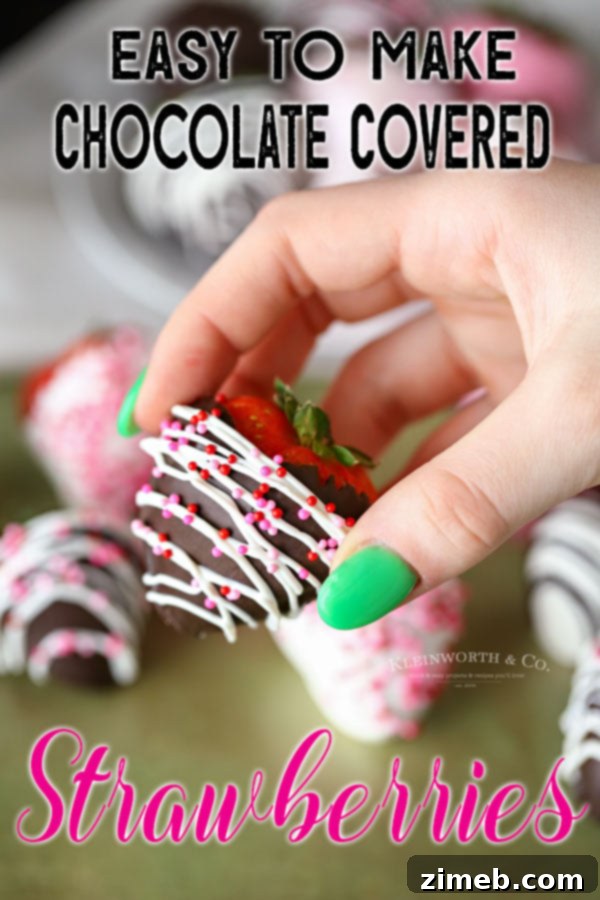
Delight your friends and family with these effortlessly Easy Chocolate Covered Strawberries. Requiring just two primary ingredients and your choice of decorations, these delectable treats are perfect for a multitude of special occasions. Whether you’re celebrating holidays like Valentine’s Day, Easter, or Mother’s Day, or seeking thoughtful gifts for colleagues and neighbors, these berries truly shine. They also serve as an exquisite dessert for joyous celebrations such as bridal and baby showers, adding a touch of elegance and sweetness to any gathering.
There’s an undeniable charm and elegance inherent in chocolate-covered strawberries. For my mother, they were a cherished staple, an absolute must-have at every single family celebration. This deep-rooted tradition instilled in me a similar affection for these delightful treats, and I make it a point to include them whenever possible for holidays and special events.
The best part? These gourmet-looking confections are surprisingly simple to create right in your own kitchen. This means no more last-minute dashes to a specialty treat shop, saving both time and money. The satisfaction of crafting these beautiful desserts yourself, knowing they’ll be met with oohs and aahs, is truly rewarding.

Believe me when I say these truly are incredibly simple to make! My culinary philosophy revolves around making delicious food accessible and straightforward for everyone. You’ll be amazed at how easily these elegant treats come together.
What I adore most about chocolate-covered strawberries is their impressive appearance. Guests often assume they required hours of meticulous effort, when in reality, the process is as easy as melting chocolate and dipping fresh, ripe strawberries. It’s a culinary magic trick that yields stunning results with minimal fuss.
Homemade Chocolate Covered Strawberries: A Timeless Tradition
As I mentioned, my mother held a special place in her heart for these luscious berries. They were her signature gesture of love, often sent to mark special occasions when she couldn’t be there in person. Her affection for them was so profound that we even featured them at her memorial service – a tribute she would have undoubtedly appreciated.
Over the years, I’ve strived to uphold this beautiful tradition, and I’m genuinely thrilled that I can now prepare them myself. The convenience of whipping up a batch of these delectable treats in mere minutes, without the need to place an order or wait for delivery, is incredibly satisfying.
Crafting Perfect Chocolate Covered Strawberries: Your Guide
Frequently Asked Questions for Flawless Dipped Strawberries
Why did my chocolate wafers seize instead of melting smoothly?
When melting chocolate, encountering a chunky, grainy texture instead of a smooth, creamy one is a common issue known as “seizing.” This typically occurs due to two main reasons: overheating the chocolate or introducing even a tiny amount of water or steam.
In the case of overheating, the chocolate simply burns, causing the sugar crystals to clump together. When water or steam comes into contact with chocolate, a negative chemical reaction takes place. Chocolate contains fats and oils that are hydrophobic (water-fearing). The water causes these components to separate from the cocoa solids and sugar, leading to a thick, pasty, unworkable mess. To prevent this, always melt chocolate slowly and gently, preferably using a double boiler or a microwave on low power, stirring frequently. Always ensure your utensils and containers are completely dry. Referencing the package directions for specific melting instructions is also crucial for the best results.
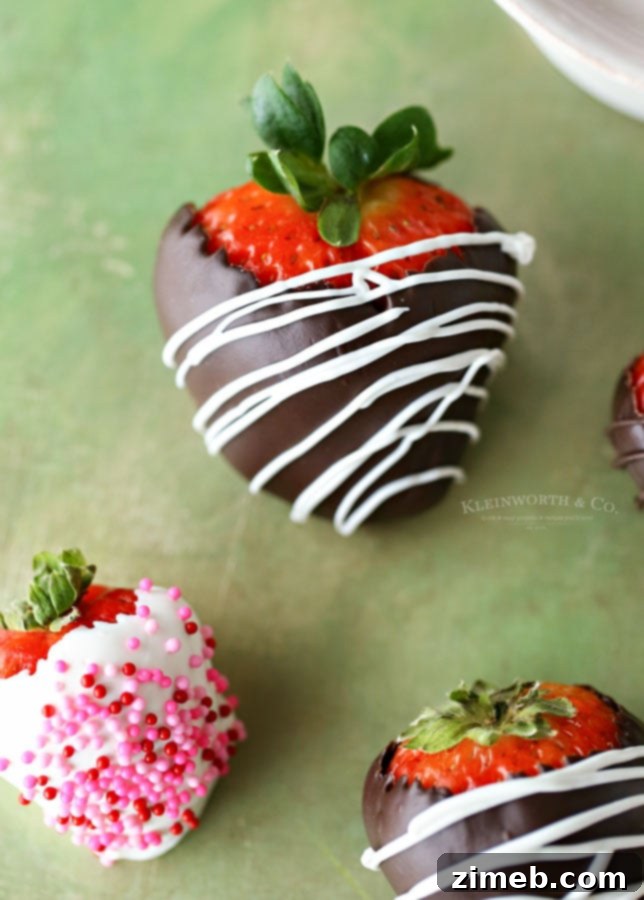
Indulge in White Chocolate Covered Strawberries

Can I use frozen strawberries for this recipe?
Unfortunately, using frozen strawberries is not recommended for several important reasons. Firstly, the success of perfectly chocolate-covered strawberries hinges on the berries being firm and intact. Once frozen berries thaw, their cell structure breaks down, causing them to become significantly softer and lose their appealing texture. This compromises the final presentation and bite.
Moreover, thawed frozen berries release a considerable amount of moisture, making them quite wet. Chocolate struggles to adhere properly to wet surfaces, leading to a patchy, uneven, and often peeling chocolate coating. Even if you were to meticulously thaw and dry them, you would still be left with the issue of them not being firm enough to achieve the desired elegant effect. Additionally, frozen berries often come without their stems, which are crucial for a clean dipping process and add to the aesthetic appeal of the finished product. For these reasons, it’s best to stick with fresh strawberries for this recipe.
Achieving the Best Chocolate Covered Strawberries
How to Make Easy Chocolate Covered Strawberries: A Step-by-Step Guide
- Begin by carefully selecting your strawberries. Choose the firmest, most vibrant berries with intact green stems. Set aside any with bruising, blemishes, odd shapes, or wilted leaves, as these won’t yield the best results for dipping.
- Place your chosen berries in a colander and rinse them thoroughly under cool, running water. Ensure all dirt and debris are removed. Drain them completely to remove as much surface water as possible.
- This step is crucial for chocolate adhesion: meticulously dry each strawberry individually with paper towels. Any residual water will cause the chocolate to seize or not stick properly. Pay special attention to the area around the stem.
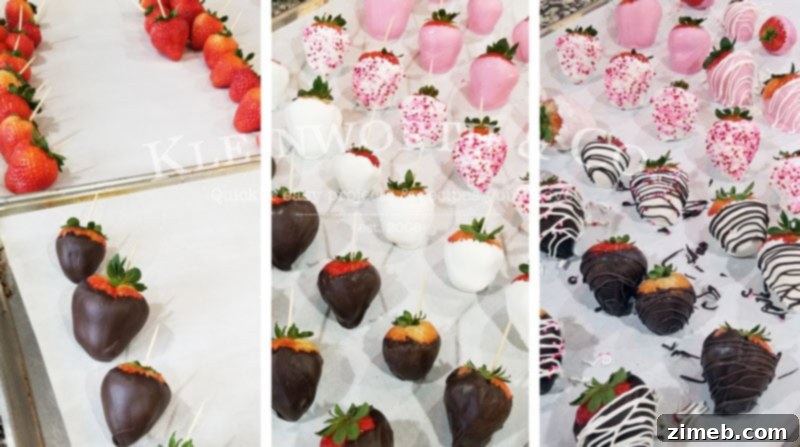
- Once perfectly dry, arrange the strawberries on a baking sheet that has been lined with parchment paper. This non-stick surface will prevent the chocolate from sticking as it sets.
- For easier handling during dipping, insert a toothpick gently into the top of each strawberry, near the stem. This provides a clean handle, preventing your fingers from touching the chocolate.
- Prepare your chocolate for melting. Place the chocolate candy melts into a microwave-safe container. I highly recommend using a tall, narrow cup rather than a wide bowl; this creates a deeper pool of chocolate, making it much easier to achieve a full, even coating when dipping.
- Microwave the candy melts for 1-2 minutes at 50% power, stirring diligently every 30-60 seconds. Lowering the power level is vital to prevent the chocolate from overheating and seizing. Continue stirring and microwaving in short bursts until the chocolate is smooth and fully melted.
- Working one berry at a time, hold the strawberry by the toothpick and dip it into the melted chocolate, rotating it to coat nearly all the way up to the stem. Allow any excess chocolate to drip back into the cup before gently placing the berry back onto the parchment-lined baking sheet.
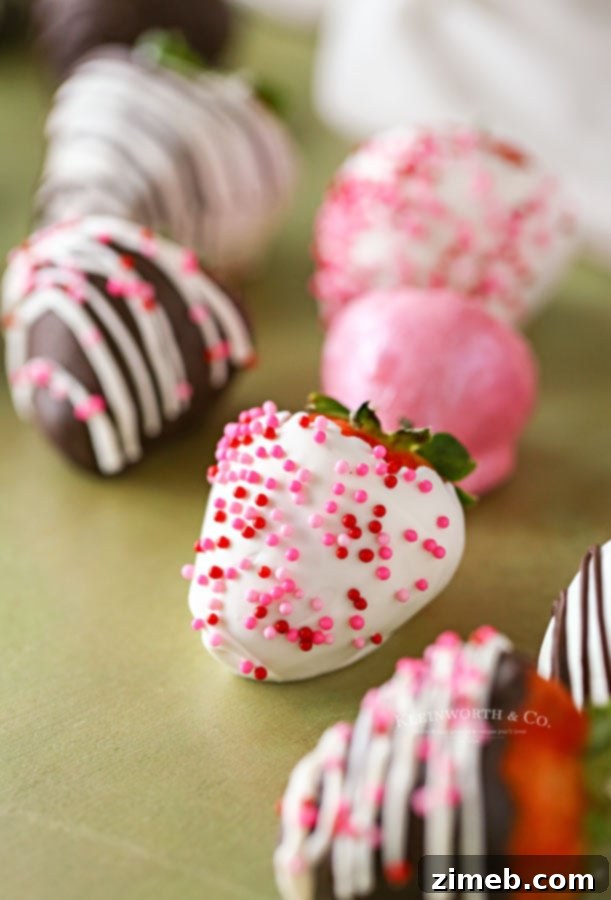
- If you plan to add sprinkles, chopped nuts, or other decorations, do so immediately after dipping and before the chocolate begins to harden. This ensures the decorations adhere properly.
- Repeat the dipping process with the remaining strawberries until they are all beautifully coated.
Elevate Your Design: Adding a Contrasting Chocolate Drizzle
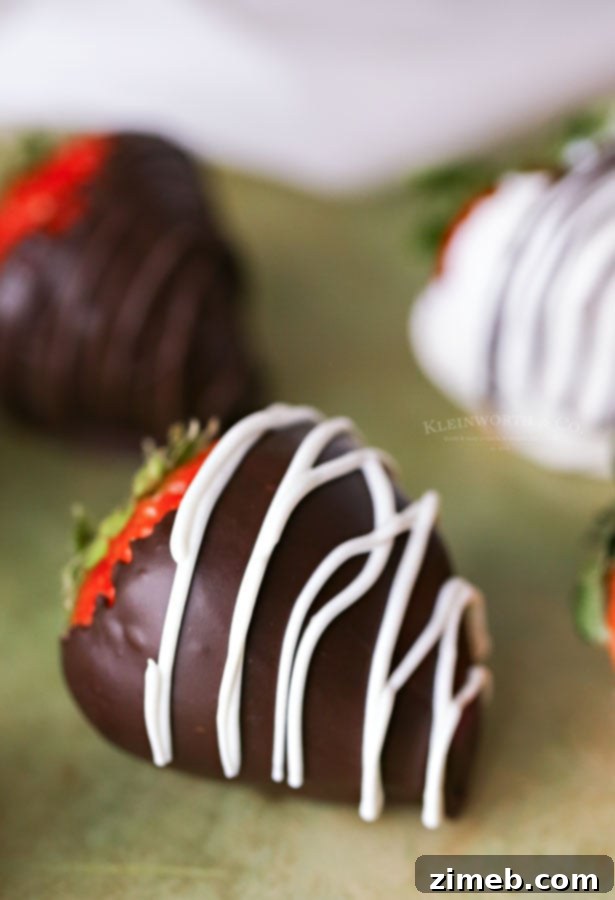
- Melt your contrasting chocolate color (e.g., white chocolate on dark-dipped berries) using the same careful method you used for the original chocolate.
- Once melted and smooth, transfer the contrasting chocolate into a cake-decorating squeeze bottle equipped with a small, fine tip. This tool allows for precise and elegant drizzling.
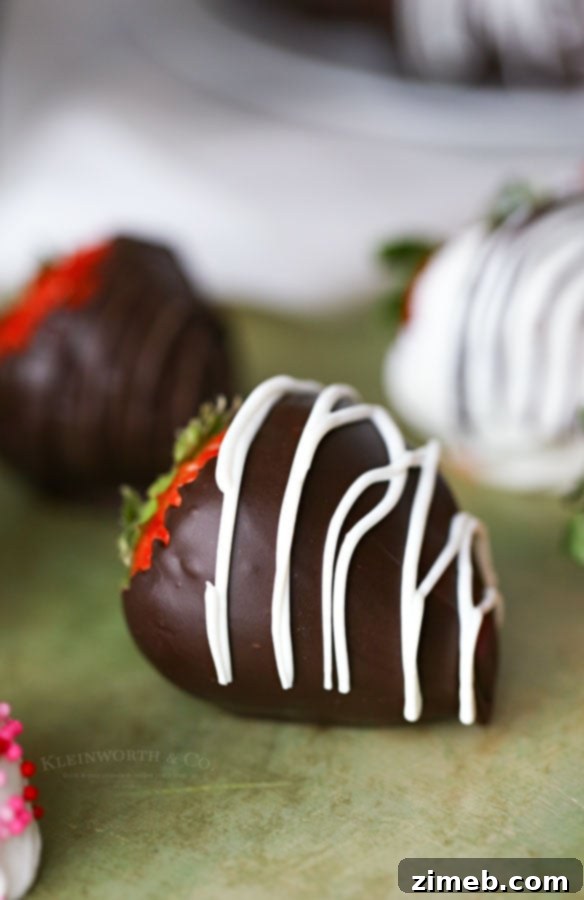
- Drizzle the contrasting chocolate artfully over the dipped berries to create beautiful patterns. Berries can be served immediately once the chocolate has set, or they can be refrigerated until you’re ready to present them.
Important Notes for Best Results
If you choose to decorate your chocolate-covered strawberries with nonpareils, be aware that when refrigerated, there’s a possibility they may “sweat,” causing the colors to bleed slightly into the chocolate. For best appearance, consider adding nonpareils closer to serving time if refrigeration is necessary for an extended period.
Perfectly Chocolate Coated Strawberries
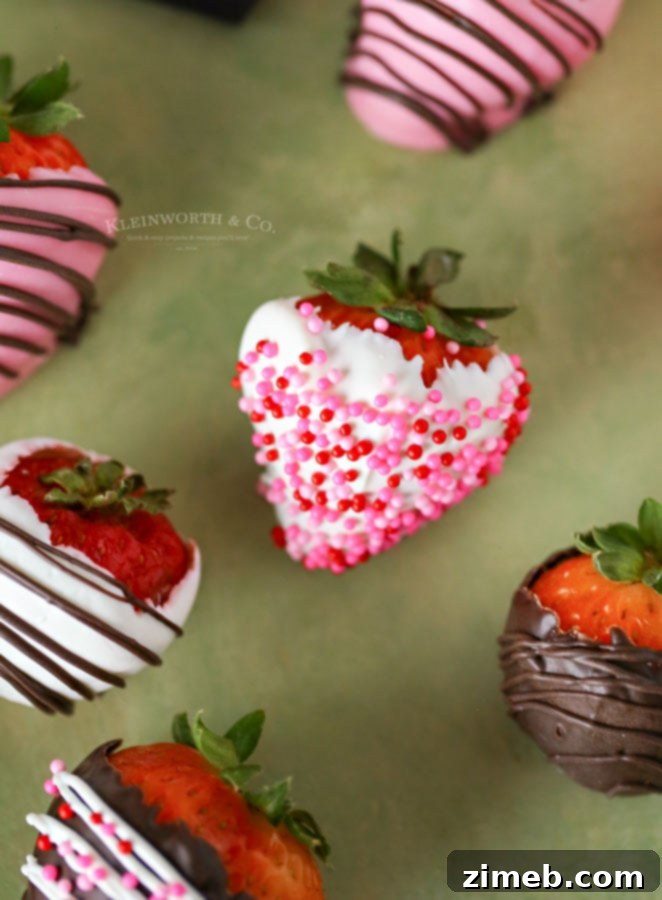
Can this chocolate covered strawberry recipe be doubled?
Absolutely! This recipe can easily be scaled up, and we often double or even triple it for larger gatherings or gifting. When increasing the quantities, it’s advisable to work in batches, especially when melting the chocolate. Instead of trying to melt an entire large bag at once, melt smaller portions of the candy melts at a time. This prevents overcrowding in your melting container, ensures even heating, and significantly reduces the risk of the chocolate seizing. While doubling the recipe will naturally take a bit longer, the process remains just as straightforward and rewarding.
Microwave Method for Chocolate Covered Strawberries
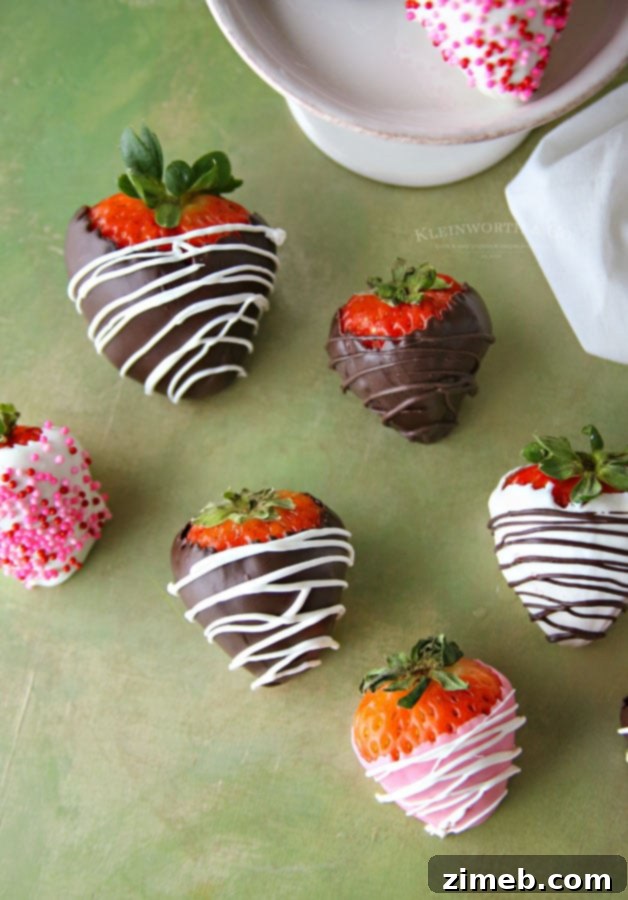
Essential Ingredients for Making Chocolate Covered Strawberries:
- Fresh Strawberries: The star of the show! Choose plump, ripe berries with vibrant green stems.
- Chocolate Candy Melts: Available in a wide array of colors and flavors, these are specifically formulated for easy melting and a smooth finish.
- Toothpicks: Your essential tool for mess-free dipping.
- Nonpareils / Sprinkles: (Optional) For adding a festive touch and extra crunch.
- Contrasting Chocolate Candy Melts: (Optional) For elegant drizzling and decorative flair.
Decadent Dark Chocolate Covered Strawberries
Choosing the Best Chocolate for Dipping Strawberries
While standard chocolate chips can be used for dipping, you’ll often find they require a small addition of coconut oil or shortening to achieve the ideal, smooth consistency for a beautiful coating. This extra step can sometimes be tricky to perfect.
This is precisely why I wholeheartedly recommend using chocolate candy melts. These products are specifically engineered with the perfect formula to melt smoothly, coat beautifully, and set with a lovely sheen, all without needing any additional tempering or additives. They are designed to perform exactly as needed for dipping. Furthermore, candy melts come in an incredible variety of colors, flavors, and formulations (dark, milk, white, and even vibrant hues), offering endless creative possibilities for customizing your chocolate-covered strawberries. The versatility of candy melts allows you to unleash your imagination and create truly unique and stunning confections.
Perfectly Dipped Strawberries Every Time
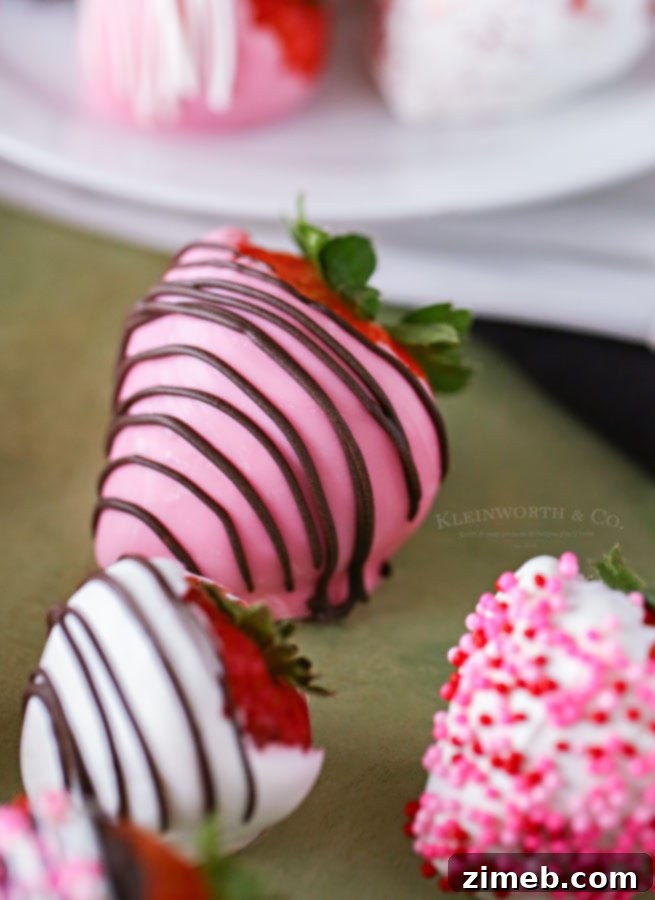
My Favorite Products for Making Chocolate Covered Strawberries…
Making these chocolate strawberries is incredibly easy and yields delicious results. Whether you’re a seasoned home baker who already has these items on hand, or a first-timer feeling a little nervous about making homemade chocolate-covered treats, you’re going to absolutely love the process and the outcome. To help you achieve perfection, I’ve compiled a list of the essential tools and ingredients I can’t live without when preparing this delightful recipe.
- Chocolate Candy Melts – Choose any desired color or flavor to customize your berries.
- Toothpicks – Indispensable for clean and easy dipping.
- Nonpareils / Sprinkles – Add a festive look and textural contrast.
- Contrasting Chocolate Candy Melts – Perfect for elegant drizzles and decorative touches.
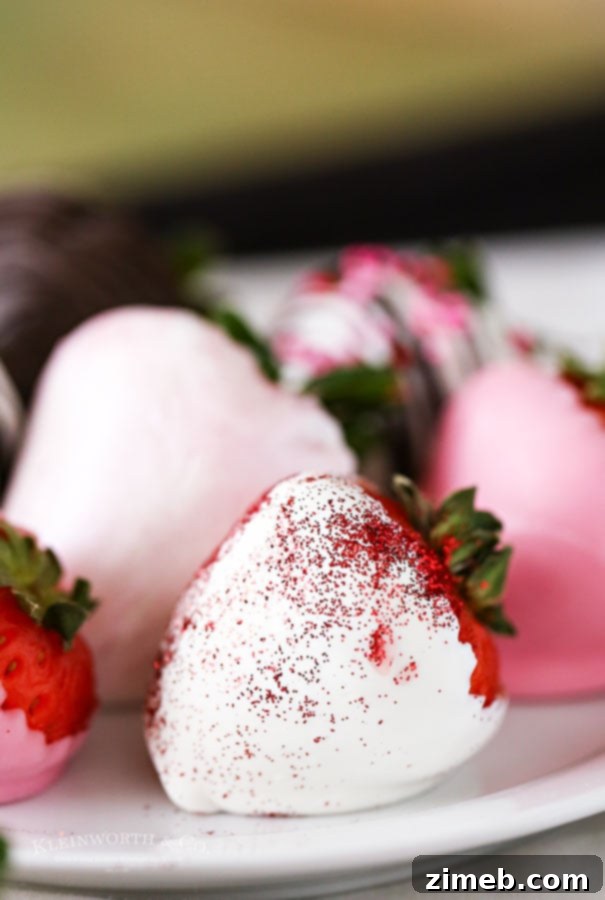
- Edible Shimmer Dust – For a truly glamorous and professional finish.
- Parchment Paper – Essential for preventing sticking and easy cleanup.
- Baking Sheet – Provides a flat surface for setting your dipped strawberries.
- Microwave-Safe Cups for Melting Chocolate – Tall and narrow cups are ideal for deep dipping.
- Colander – For efficiently rinsing your fresh strawberries.
If you adore this Easy Chocolate Covered Strawberries recipe, you’ll be thrilled to discover these other delightful treats. Click on each link below to find the simple, printable recipes!
Check out this recipe
Check out this recipe
Check out this recipe
Check out this recipe

Check out this recipe
Check out this recipe

Check out this recipe
Check out this recipe
Explore More Chocolatey Desserts
Decadent Chocolate Cheesecake
Rich Chocolate Ganache Tart
Effortless Chocolate Truffles
Luscious Chocolate Raspberry Cake
If you cherish this recipe for Homemade Chocolate Strawberries as much as I do, please take a moment to write a five-star review. Your feedback is greatly appreciated! Also, help spread the joy by sharing this delicious recipe on Facebook and Pinterest!
CONNECT WITH YUMMI HAUS!
Be sure to follow me on my social media channels, so you never miss a delicious post!
Substack, Facebook, Pinterest, Instagram, Email Subscription

Rate this Recipe
Easy Chocolate Covered Strawberries
Ingredients
- 16 ounces fresh strawberries
- 12 ounces chocolate candy melts – any desired color or flavor
- Toothpicks
- 1-2 tbsp Nonpareils / sprinkles *OPT
- 2-3 ounces contrasting chocolate candy melts *OPT for decoration
Instructions
-
Pick through the strawberries and separate out the ones with the best quality. You want to set aside the ones with bruising, blemishes, odd shapes, and wilted leaves.
-
Place the desired berries in a colander and rinse well under cold water. Drain well.
-
Dry the strawberries with paper towels, each individually to make sure no water remains.
-
Place the dried strawberries on a baking sheet lined with parchment.
-
Insert a toothpick into the top of each strawberry. This will give you more to hold onto when dipping.
-
Place the candy melts in a microwave-safe container. I like to use a cup rather than a bowl, so the chocolate is less shallow for dipping.
-
Microwave for 1-2 minutes on 50% POWER, stirring every 60 seconds until melted. Lowering the power level is very important so the chocolate doesn’t heat too quickly, causing it to seize instead of melt.
-
Working one berry at a time, dip into the chocolate, coating almost to the stem. Let the excess drizzle off a bit and then place it back onto the parchment.
-
If you are adding sprinkles or other decorations, you will want to do that NOW, before the chocolate hardens.
-
Repeat until all of the strawberries are coated.
If you want to add contrasting chocolate drizzle-
-
Melt the contrasting chocolate color the same way you did the original chocolate.
-
Once melted, transfer to a cake decorating squeeze bottle with a small tip and drizzle over the desired berries.
-
Berries can be served immediately after the chocolate hardens or refrigerated until ready to serve.
Notes
Nutritional information for the recipe is provided as a courtesy and is approximate. Please double-check with your own dietary calculator for the best accuracy. We at Yummi Haus cannot guarantee the accuracy of the nutritional information given for any recipe on this site.