

Transform Your Kitchen: DIY Vintage Grain Sack Curtains Tutorial
Moving into a new home is an exciting journey, often accompanied by a seemingly endless list of projects to truly make the space your own. For us, after settling in about six months ago, the process of decorating and adding those crucial finishing touches has been a thoughtful and deliberate one. We’ve been careful with every nail hole and every design choice, wanting to ensure each element reflects our style and stands the test of time. This meticulous approach means some walls have remained bare, and some windows, including our kitchen window, have waited patiently for their perfect dressing. The goal is to choose pieces we’ll adore for years, avoiding the cycle of frequent redecoration.
Amidst this thoughtful process, a clear vision for our kitchen began to emerge: vintage grain sack curtains. I’ve always been captivated by the rustic charm and timeless appeal of old French grain sacks, their simple stripes and stenciled details evoking a sense of history and European farmhouse elegance. So, when my husband was away on a trip, I seized the opportunity to tackle this project. Armed with some leftover stencils from a previous craft and a collection of old muslin scraps – the very fabric my mom used to craft rag dolls – I embarked on creating these charming curtains. The result? Absolutely perfect, blending a touch of nostalgia with a fresh, custom look that complements our kitchen beautifully.
Why Choose DIY Grain Sack Curtains for Your Home?
The appeal of grain sack inspired decor lies in its unique blend of simplicity, rustic charm, and historical elegance. These curtains are more than just window coverings; they are a statement piece that brings warmth and character to any room, particularly a kitchen or breakfast nook. Opting for a DIY approach offers several advantages:
- Cost-Effectiveness: Creating your own curtains can be significantly cheaper than buying custom or even off-the-shelf vintage-style options. Using readily available materials like muslin, drop cloth, or even repurposed fabric keeps the budget in check.
- Customization: You have complete control over the length, width, stripe pattern, colors, and stenciled details, ensuring a perfect fit and a look that perfectly matches your existing decor.
- Personal Touch: There’s immense satisfaction in knowing you’ve created something beautiful and functional with your own hands. It adds a unique, personal touch that mass-produced items simply can’t replicate.
- Versatility: While perfect for a farmhouse or shabby chic aesthetic, grain sack curtains can also add an interesting textural element to more modern or minimalist spaces, providing a touch of unexpected charm.
This project is ideal for both seasoned crafters and those new to DIY home decor, requiring only basic sewing skills and a little patience for painting. Let’s gather our supplies and get started on creating your very own piece of timeless charm.
Gather Your Materials: What You’ll Need
Before diving into the creative process, ensure you have all the necessary tools and materials at hand. Having everything prepped will make the project smooth and enjoyable. Here’s a detailed list:
- Fabric: A sturdy, natural fiber fabric is best. I used muslin scraps, but unbleached cotton, duck cloth, canvas, or even a simple painter’s drop cloth work wonderfully. The amount needed will depend on your window dimensions; always buy a little extra for mistakes or shrinkage.
- Measuring Tape: For accurate window and fabric measurements.
- Fabric Scissors: Sharp scissors are crucial for clean cuts.
- Sewing Machine (or Needle and Thread): For creating hems and the rod pocket. Basic straight stitches are all that’s required.
- Iron and Ironing Board: Essential for crisp hems and seams, and for setting paint if recommended.
- Painter’s Tape (Low Tack): For creating sharp, clean stripe lines. Choose a tape that won’t pull fabric fibers when removed.
- Ruler or Yardstick: For measuring and ensuring straight lines for your stripes.
- Pencil or Fabric Marker: For initial markings if desired.
- Fabric Paint (or Chalk Paint with Fabric Medium): I used Americana Decor chalk paint in “Vintage,” a lovely gray/blue. If using chalk paint, consider mixing it with a fabric medium for increased flexibility and washability. Fabric-specific paints are also an excellent choice for durability.
- Paint Brushes or Sponges: For applying paint to the fabric. Small foam rollers can also work well for stripes.
- Stencils: Numbers, letters, or simple vintage motifs work best to replicate the authentic grain sack look.
- Jute Twine or Ribbon: For gathering the curtains once hung, adding to the rustic aesthetic.
- Drop Cloth or Cardboard: To protect your work surface from paint.
Step-by-Step Guide to Crafting Your Grain Sack Curtains
Step 1: Precise Measurements and Fabric Preparation
Accuracy in this initial stage is key to achieving professional-looking curtains. Start by measuring your window’s width and the desired hanging length. Consider how you want your curtains to fall: just to the sill, pooling slightly on the sill, or extending past it. Remember that grain sack curtains often have a more relaxed, gathered look, so adding a little extra length can contribute to that casual charm.
Once you have your desired finished dimensions, it’s time to calculate the fabric size. For the bottom hem, add approximately 3/4 inch to 1 inch. For the side hems, add another 3/4 inch to 1 inch on each side. Crucially, for the top casing (the pocket for your curtain rod), add 2 to 3 inches, depending on the diameter of your rod. A common rule of thumb for casing width is twice the rod diameter plus an inch for ease of movement. For example, if your finished curtain needs to be 30 inches wide and 40 inches long:
- Width: 30 inches (desired) + 0.75 inches (left hem) + 0.75 inches (right hem) = 31.5 inches.
- Length: 40 inches (desired) + 0.75 inches (bottom hem) + 2 inches (top casing) = 42.75 inches.
Always pre-wash and dry your fabric according to its care instructions. This step is vital to pre-shrink the fabric and remove any sizing, preventing future shrinkage or uneven paint application. After washing, press your fabric thoroughly to remove all wrinkles, ensuring a smooth surface for cutting and painting.
Step 2: Stitching Your Curtain Panel
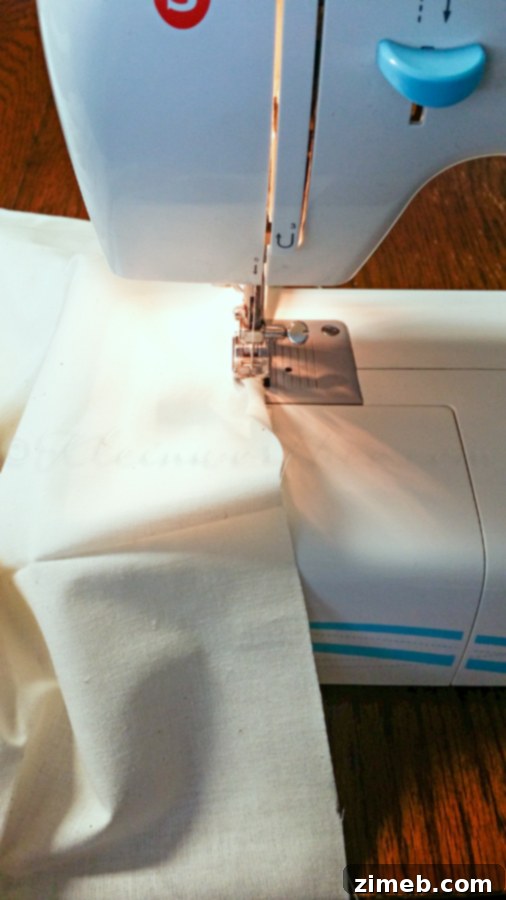
With your fabric perfectly cut and pressed, it’s time to sew the basic curtain panel. This involves creating neat hems on the sides and bottom, and then forming the casing at the top where the curtain rod will slide through. These are simple straight stitches, making this project accessible even for beginner sewers.
- Side Hems: Along each vertical side of your fabric panel, fold the raw edge inwards by 3/8 inch and press. Then, fold it in again by another 3/8 inch, encasing the raw edge. Press firmly and stitch close to the inner folded edge. Repeat for both sides.
- Bottom Hem: For the bottom edge, fold the fabric up by 3/8 inch and press. Fold it up again by 3/8 inch (or slightly more, depending on your desired hem depth) and press. Stitch close to the inner folded edge to create a clean, durable hem.
- Top Casing (Rod Pocket): This is where your curtain rod will go. Fold the top raw edge inwards by 3/8 inch and press. Then, fold it over again by the full 2 inches (or your calculated casing allowance) and press firmly. This creates the channel for your rod. Stitch across the bottom edge of this fold, ensuring you leave enough space for your curtain rod to slide through easily. You can also sew a second seam closer to the very top edge of the casing to create a small ruffle if desired, but for a classic grain sack look, a single, clean casing is often preferred.
*A small note on photography during the process: please excuse some of the phone photos! I often find myself getting into the zone and working on projects late at night when the house is quiet and my husband is traveling. While perfect for uninterrupted crafting, it’s not always ideal for capturing professional-grade photos with the best lighting. Rest assured, the steps are clear, and the end result is worth it!*
Step 3: Mastering the Classic Grain Sack Stripes
The iconic stripes are what truly define the grain sack aesthetic. Achieving crisp, evenly spaced stripes is simpler than you might think with the right technique. The key is careful measurement and firmly applied painter’s tape.
The classic grain sack design typically features a wider central stripe flanked by two narrower stripes on either side. To ensure your main stripe is perfectly centered:
- Fold and Mark the Center: Lay your curtain panel flat on your protected work surface and fold it perfectly in half lengthwise, pressing lightly along the fold line. This gives you a clear visual center.
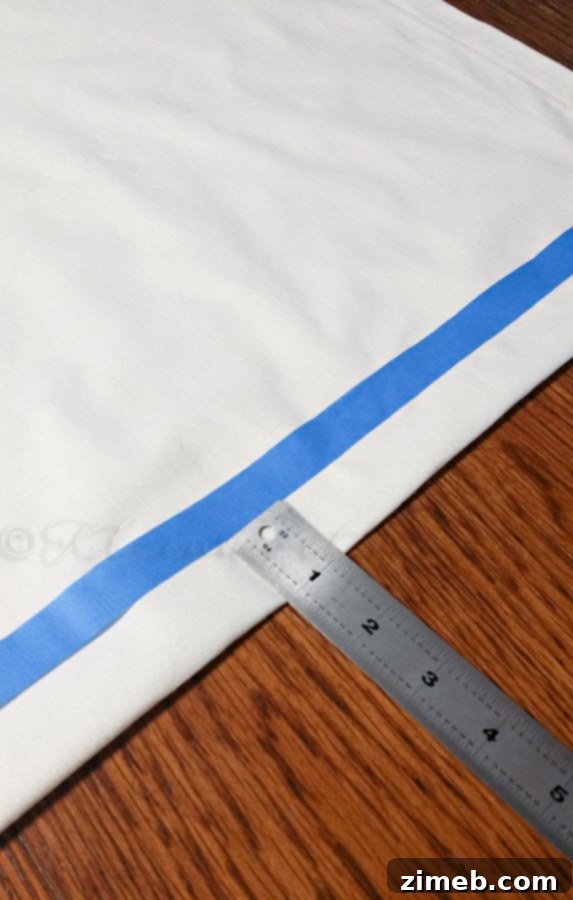
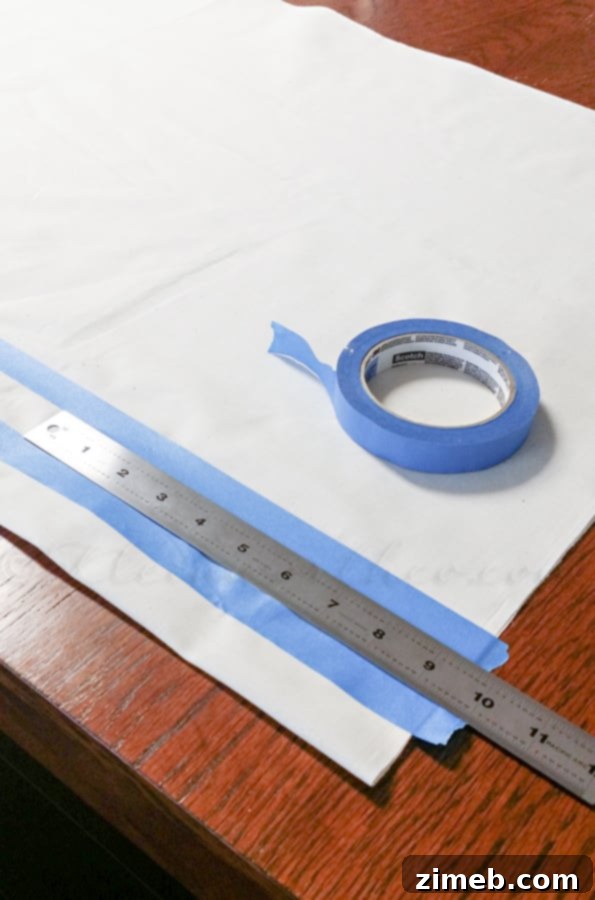
- Tape the Center Stripe: Unfold the curtain. Now, measure a ruler’s width (or your desired stripe width) from the center fold line. Place your painter’s tape along this mark, running it from the top to the bottom of the curtain. Flip the curtain over and repeat on the other side. When you open the curtain, you’ll have two parallel lines of tape perfectly defining your central stripe. Press the tape down firmly with your fingers or a credit card to prevent paint bleed.
- Add the Narrower Side Stripes: Using your ruler, measure out your desired distance from the edge of your central taped stripe. Typically, these outer stripes are narrower than the central one. Place additional strips of painter’s tape to mark these narrower stripes. Ensure all tape is perfectly straight and firmly adhered to the fabric.
Precision here will result in beautiful, sharp lines that truly elevate the vintage feel of your curtains. Take your time with this step, as it forms the visual foundation of your grain sack design.
Step 4: Selecting and Applying Your Paint
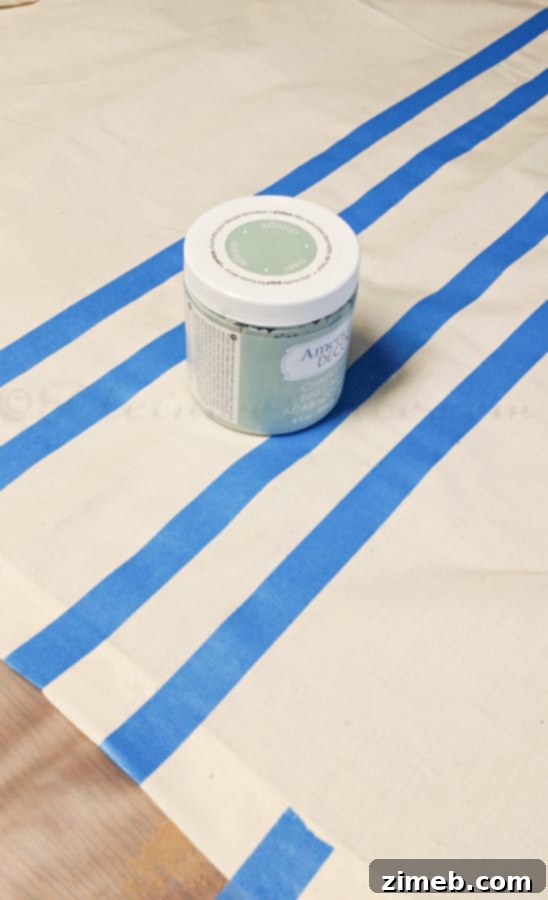
Choosing the right paint and applying it correctly are crucial for a lasting and aesthetically pleasing finish. For this project, I used Americana Decor chalk paint in “Vintage,” a lovely gray/blue shade that perfectly captured the faded, aged look I envisioned. While chalk paint might not be the conventional choice for fabric without a fabric medium, its matte finish and beautiful color selection make it a compelling option for decorative projects like this. I loved this particular color so much, I wished I had it by the gallon!
When painting on fabric, less is often more. Apply thin, even coats of paint within your taped-off areas. Use a dabbing or stippling motion with your brush or sponge, rather than long strokes, to prevent paint from bleeding under the tape. If using chalk paint, consider mixing in a fabric medium according to the product instructions. This will help the paint penetrate the fibers, making it softer to the touch and more durable, especially after washing. For best results, allow each coat to dry completely before applying the next. Once your stripes are fully painted and dry, carefully peel off the painter’s tape while the paint is still slightly pliable or fully dry, depending on paint instructions, to reveal those crisp, clean lines. If you wait too long with some paints, the tape might pull off dried paint.
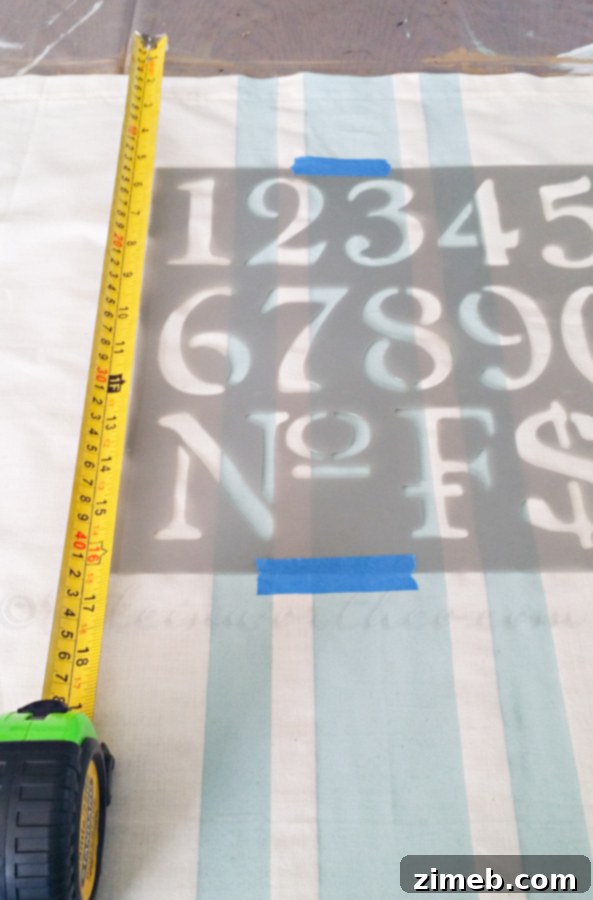
Step 5: Adding Authentic Stenciled Details
Beyond the stripes, stenciled numbers, letters, or simple motifs are characteristic of genuine grain sacks. These details add an extra layer of authenticity and vintage charm. Think of traditional French numbers like “1884” or “27,” or a simple initial or “FARM.”
Before stenciling, carefully measure down from the top edge of your curtain to determine the ideal placement for your letters and numbers. You’ll want to ensure they are positioned attractively and won’t be obscured once the curtains are gathered or hung. Once you’ve marked your spot, position your stencil. Secure it gently with a small amount of painter’s tape or a temporary spray adhesive if you have one, to prevent it from shifting while you paint. Using a stencil brush or a small sponge, apply paint using a light dabbing motion. This technique minimizes bleeding under the stencil and helps create sharp edges. Apply multiple thin coats rather than one thick one. Carefully lift the stencil to reveal your perfectly painted details.
Allow all painted areas to dry thoroughly. If your paint requires heat setting for durability or washability, follow the manufacturer’s instructions, typically using a dry iron on a low setting over a pressing cloth.

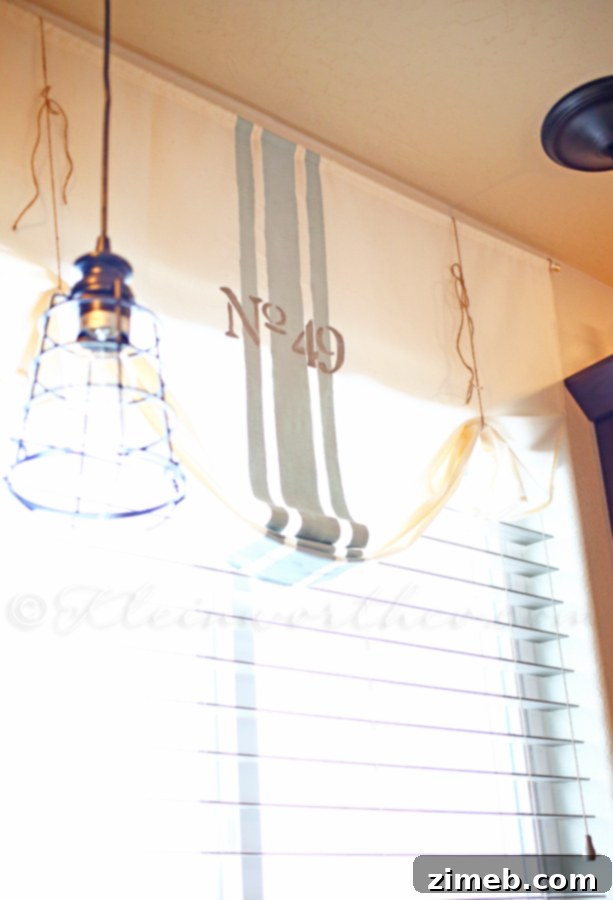
Step 6: Hanging Your Beautiful New Curtains
Once all the paint is completely dry and cured, it’s time for the exciting final step: hanging your handmade grain sack curtains! Slide your curtain rod through the casing you created at the top of the fabric panel. For a true farmhouse or vintage look, a simple tension rod or a decorative wooden or metal rod with classic finials would be perfect.
Hang the rod securely above your window. Now comes the charming gathering part. I used simple jute twine to gather the curtains up to the desired length. This creates a relaxed, cafe-style effect that enhances the rustic appeal. You can tie the jute around the curtain at various points to create a swag or a simple tied-up look. Experiment with how much you gather and where you tie them to achieve the perfect drape for your window. This casual gathering adds to the effortless elegance of the grain sack style, making them feel inviting and lived-in.
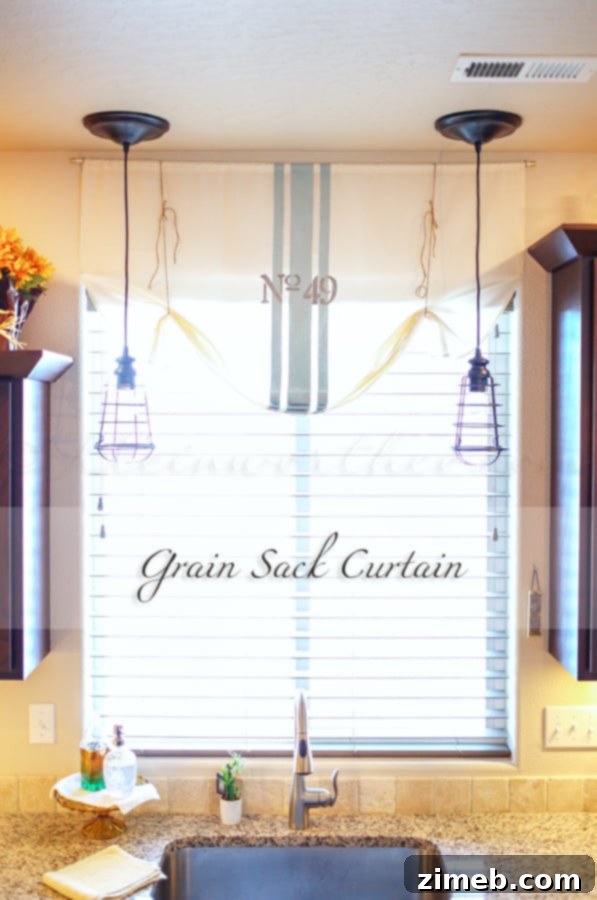
The Joy of DIY: A Timeless Addition to Your Home
This project truly didn’t take an exorbitant amount of time, proving that impactful home decor doesn’t always require weeks of dedication. The most challenging part, for me at least, was the waiting – waiting for paint to dry is a test of patience, especially when you’re excited to see the finished product! I confess, I have very little patience when it comes to creative endeavors; I prefer them to move swiftly, or I risk losing interest entirely. Fortunately, the impending return of my husband provided the perfect deadline, giving me that extra push to wrap things up before he walked through the door. There’s nothing quite like a gentle time constraint to focus the mind and bring a project to a satisfying conclusion.
The immense satisfaction derived from transforming a simple piece of fabric into a custom, vintage-inspired window treatment is truly rewarding. These DIY grain sack curtains not only serve a functional purpose but also infuse our kitchen with character, warmth, and a story. They perfectly capture the essence of farmhouse charm and vintage elegance that I adore. I encourage you to embark on your own curtain-making journey; you’ll be amazed at what you can create with a little inspiration and a few basic tools. The personalized touch a handmade item brings to your home is simply invaluable.
Explore More Inspiring Home Projects
Feeling inspired to tackle more projects around your home? Dive into these other creative DIY endeavors that add unique style and personality to any space.
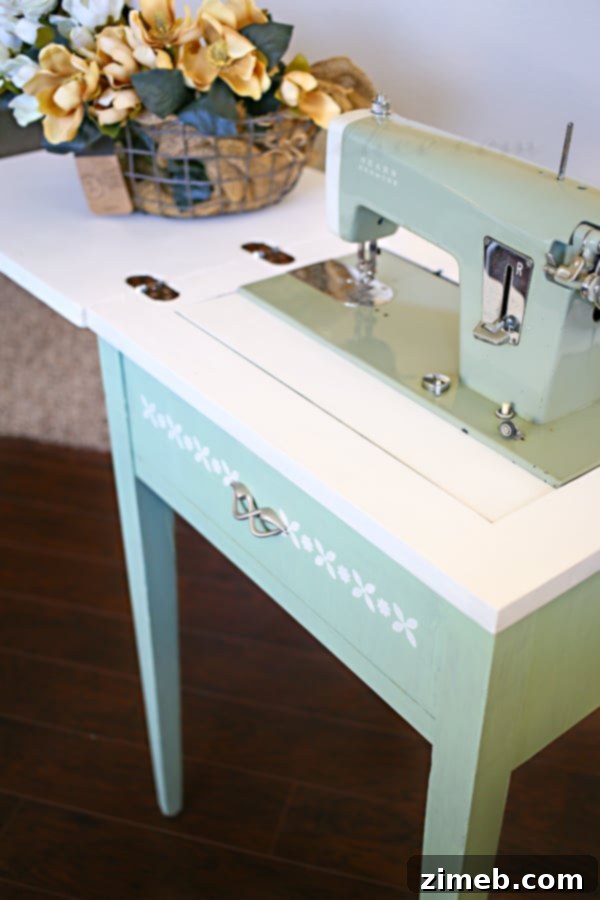
Antique Sewing Table Makeover
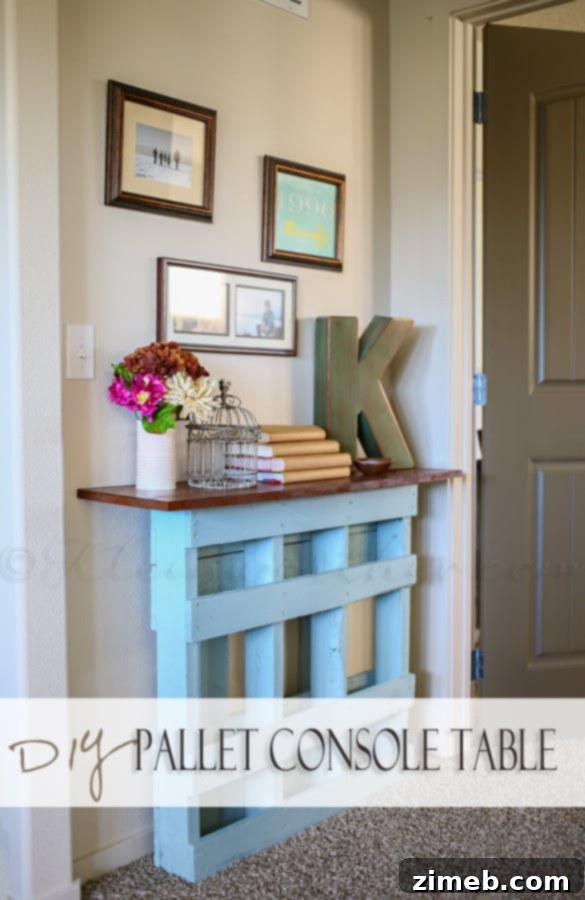
DIY Pallet Console Table

Glitter Jars Tutorial
For more inspiration and to see where I’m linking today, visit HERE.