
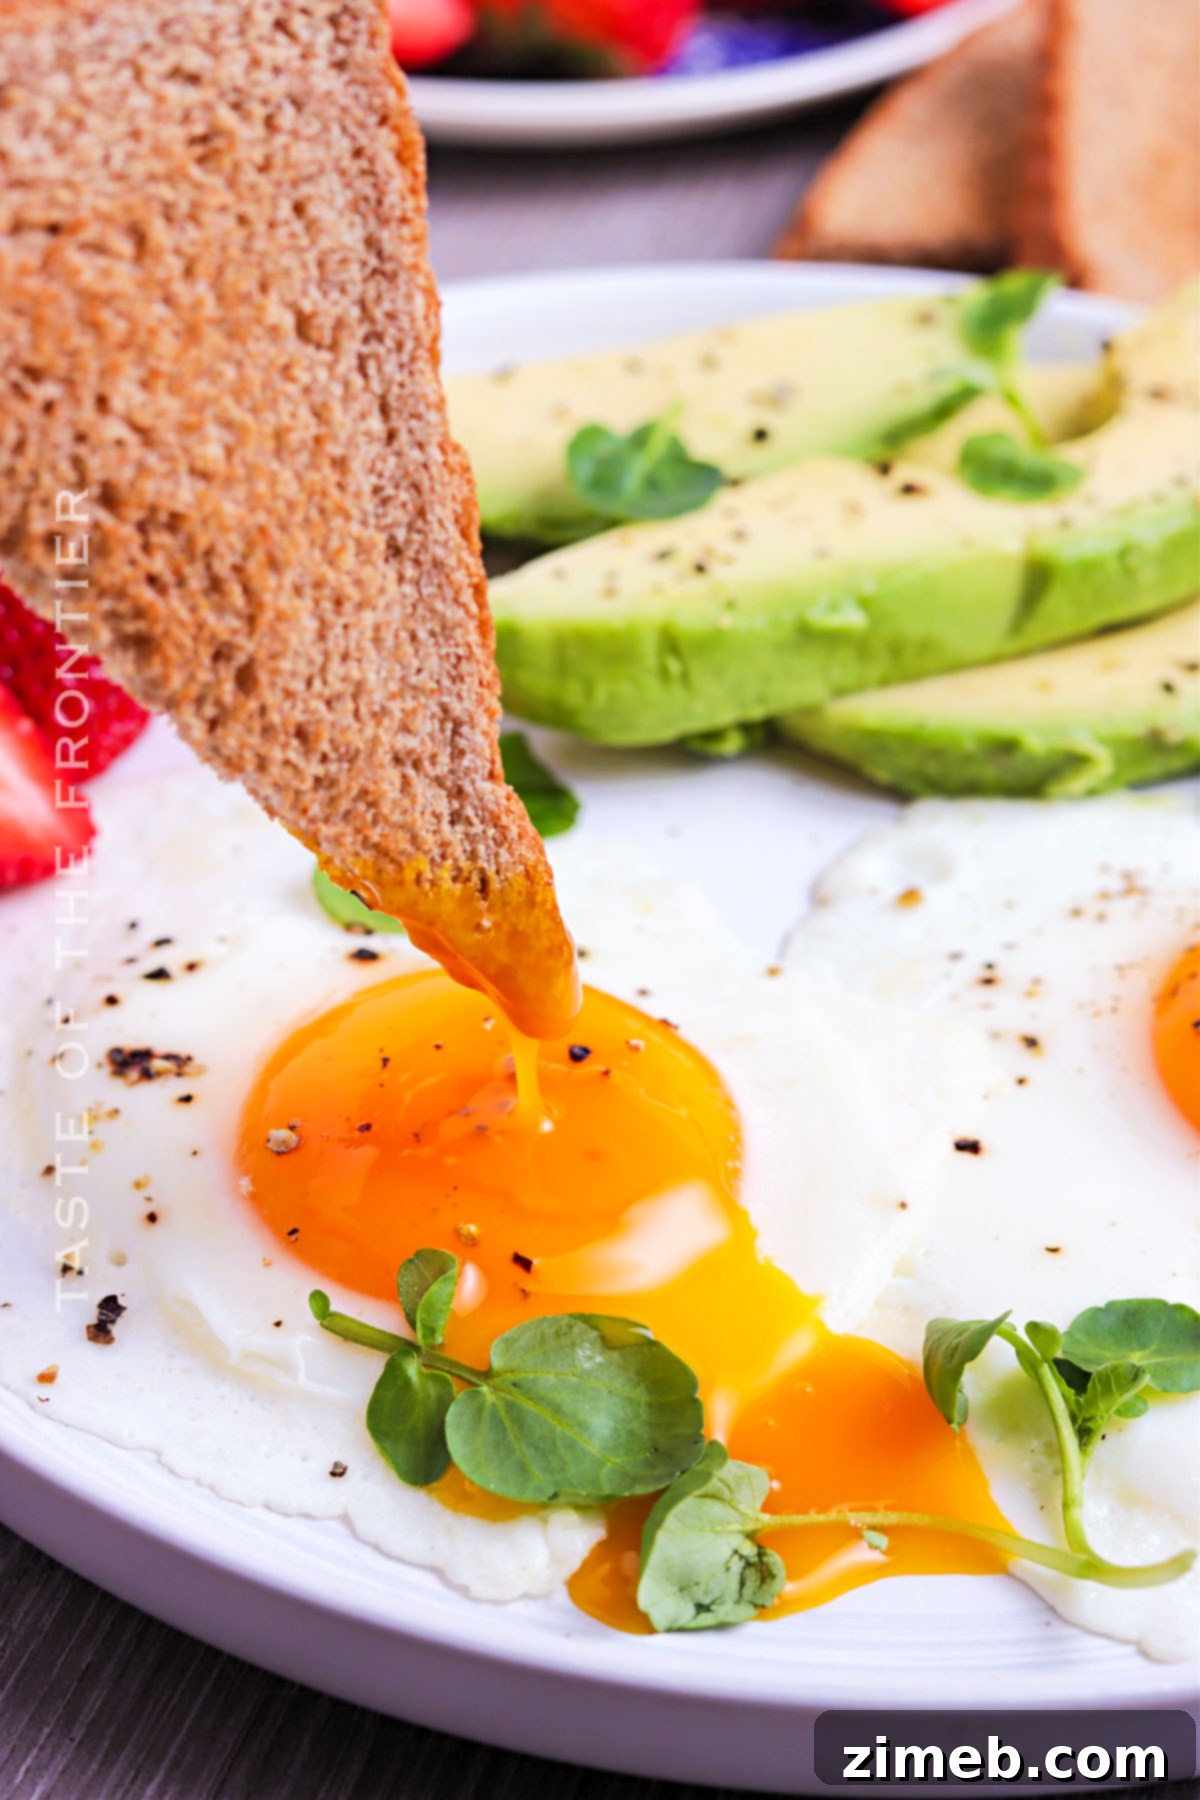
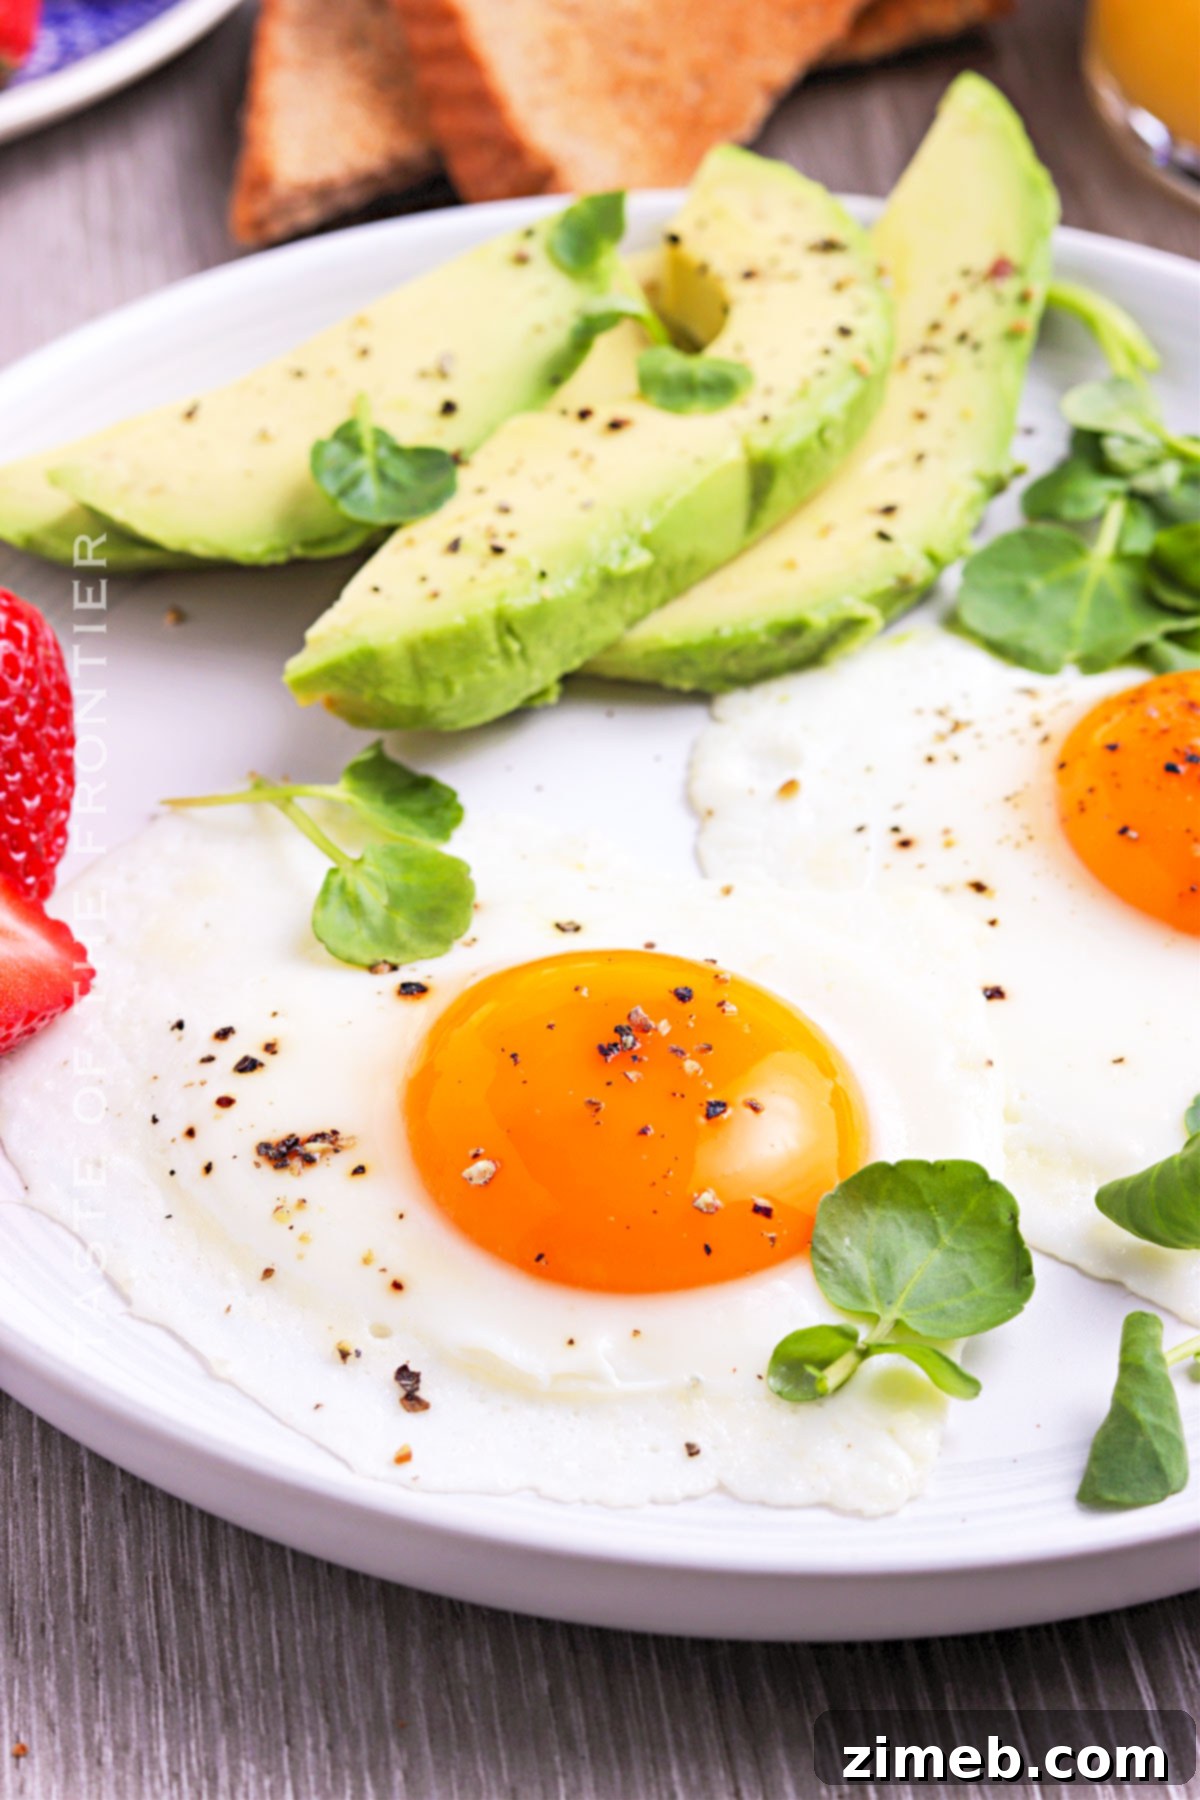
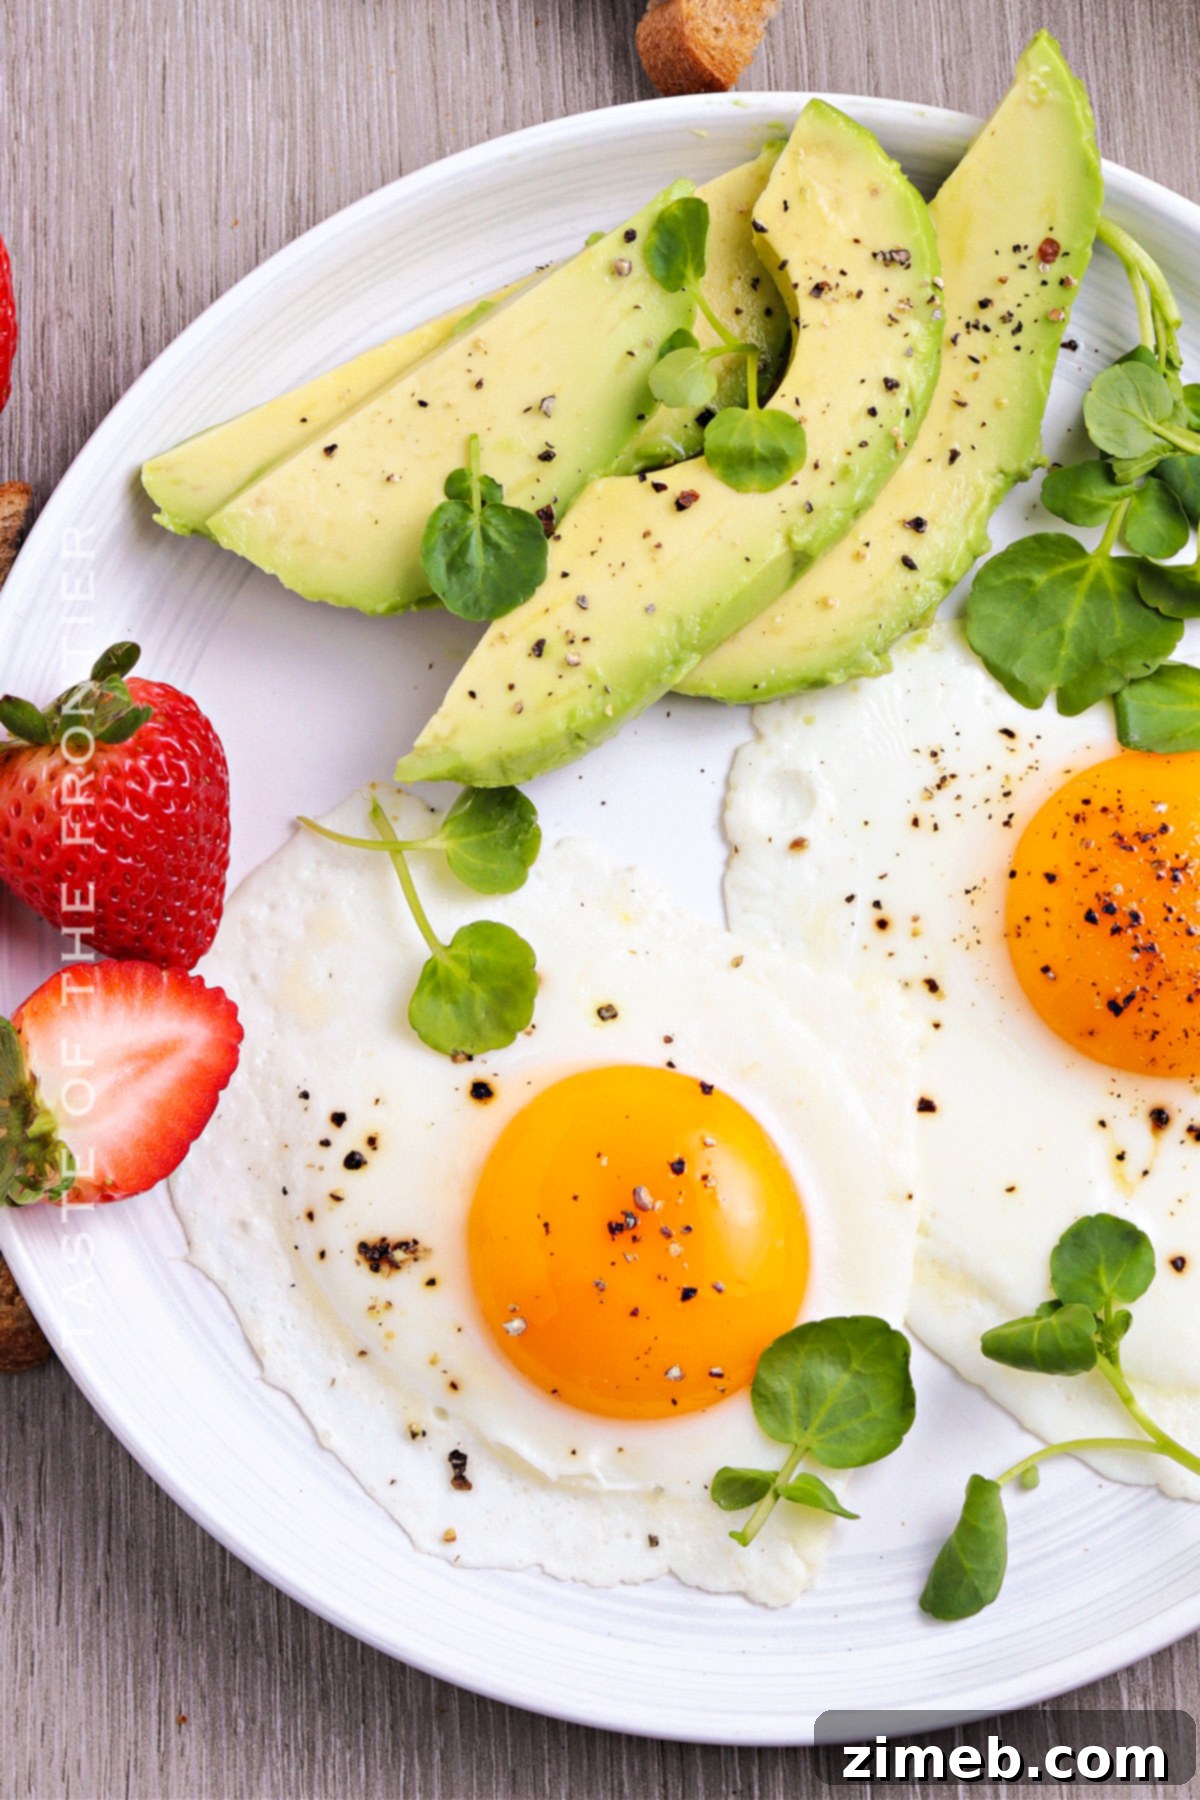
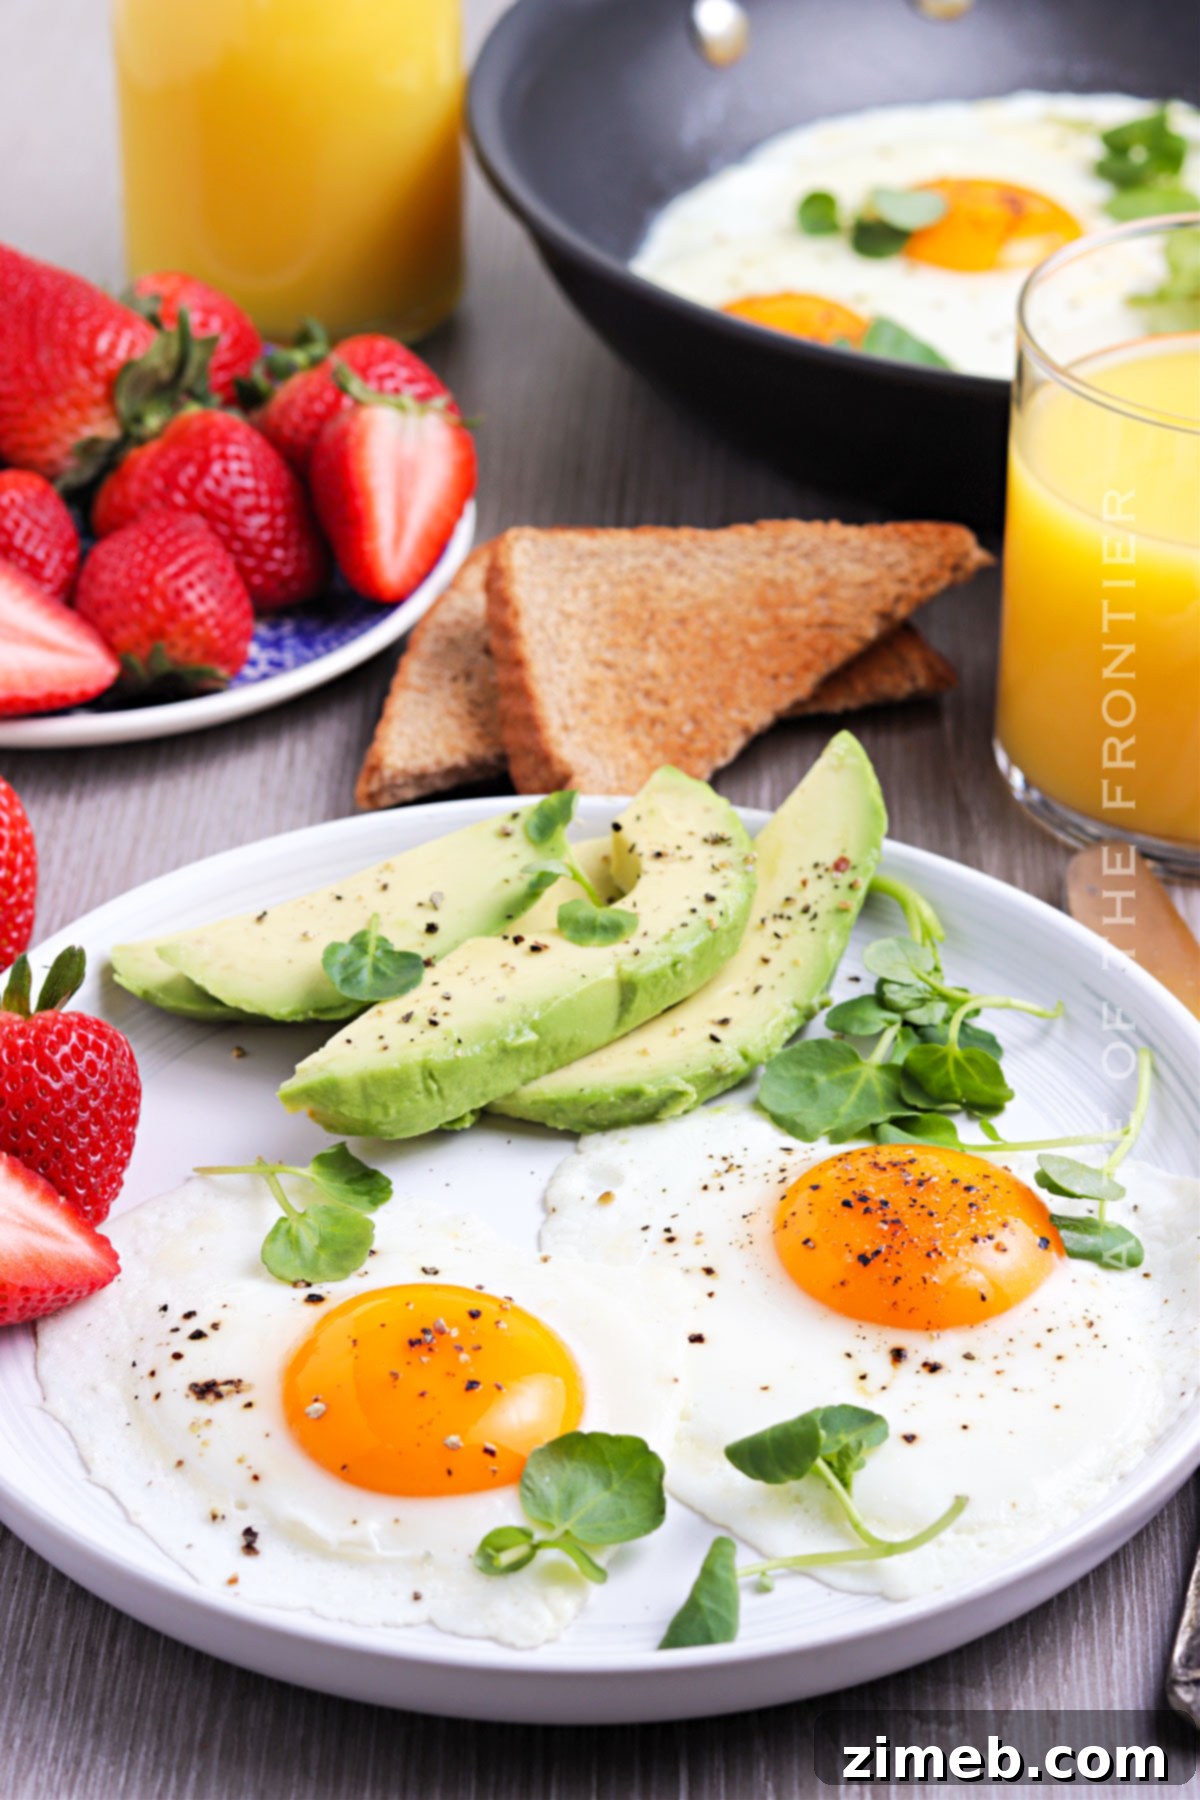
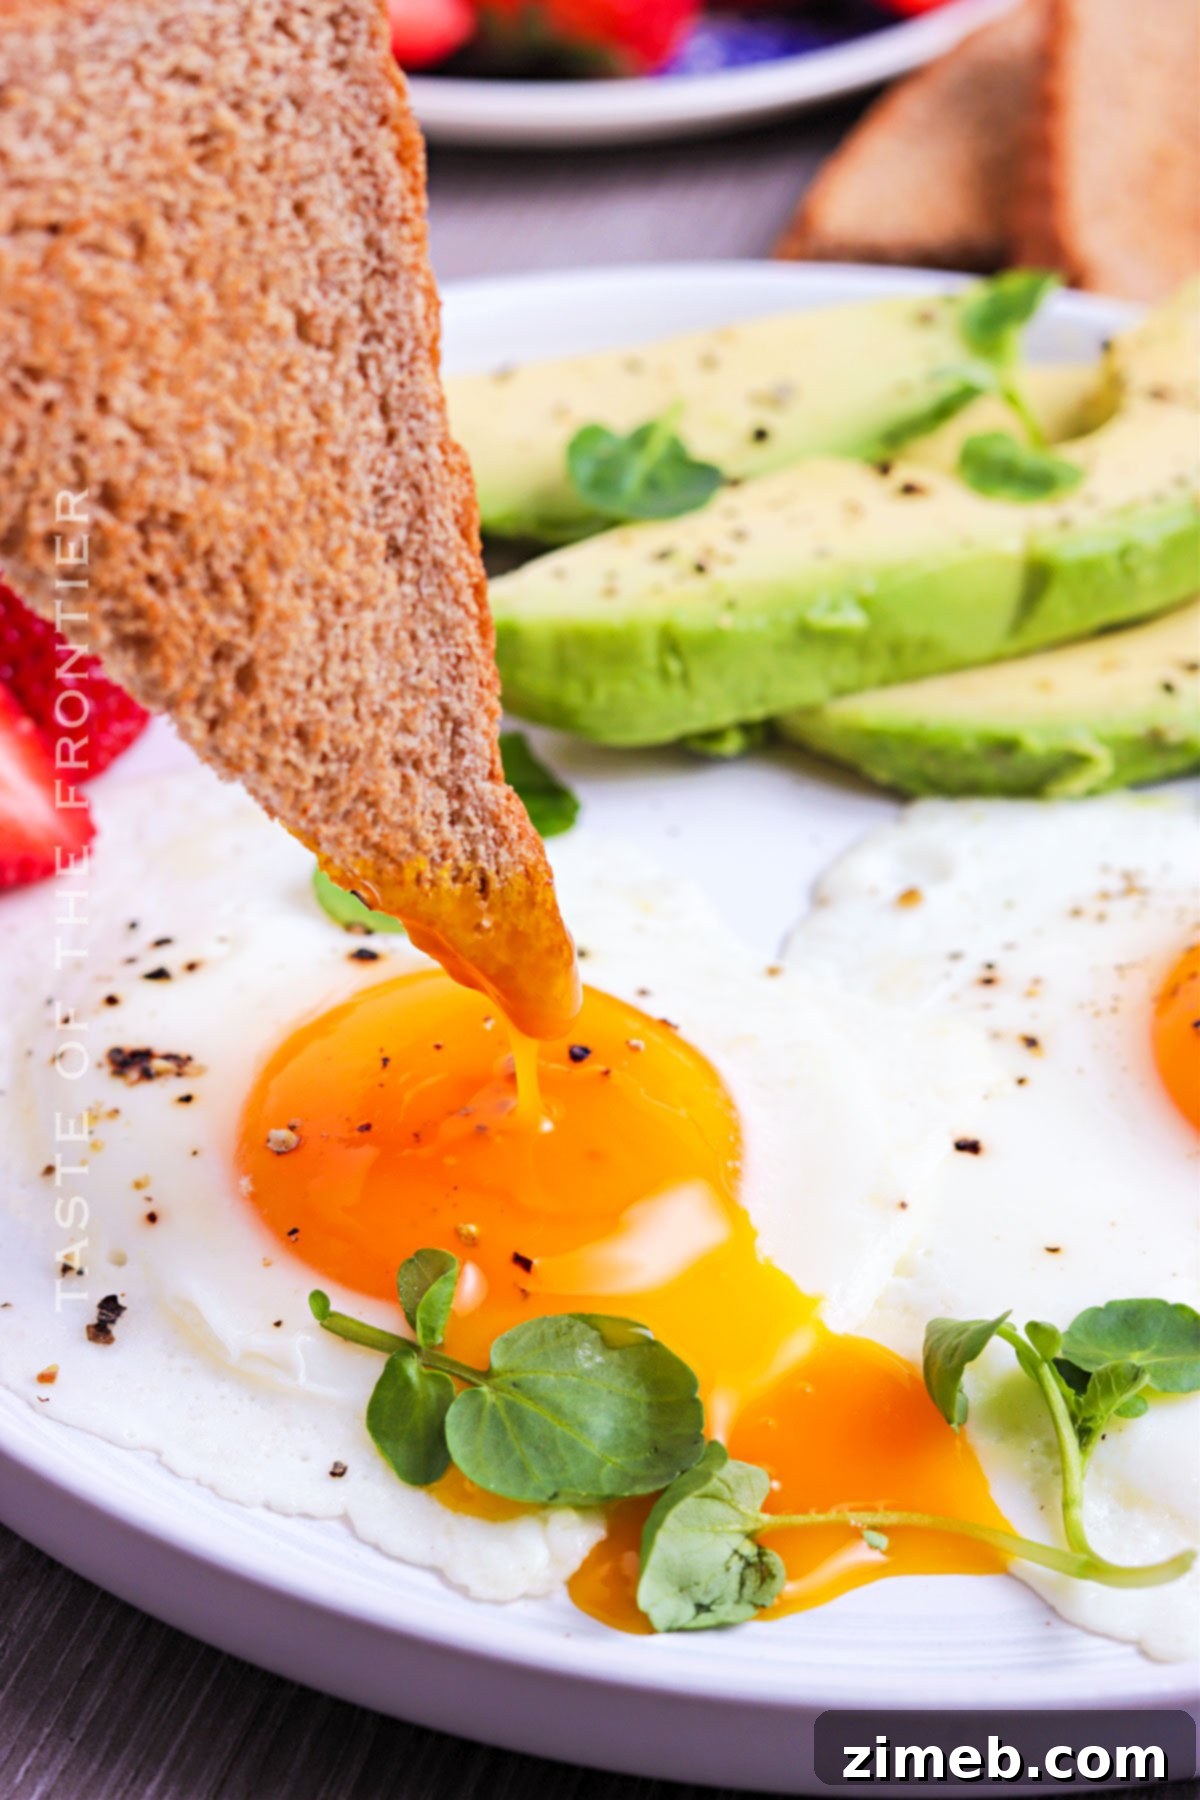
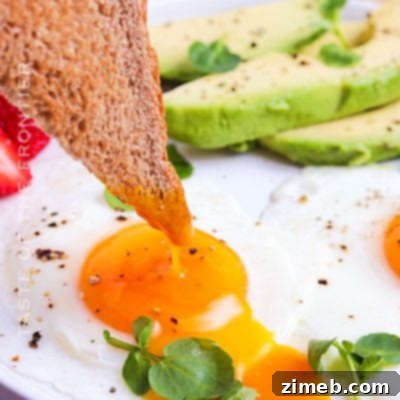
There are few things more delightful in the morning than the sight of a perfectly cooked fried egg, especially when it’s a sunny-side-up with its radiant, golden yolk. This beloved breakfast staple is more than just food; it’s a culinary experience. Imagine a bright, beautiful sphere of rich, liquid yolk nestled on a bed of just-set whites, their edges delicately crisp and golden. This guide is your ultimate resource for mastering the art of the perfect sunny-side-up egg, ensuring every bite is a dippable, savory pleasure.
Whether you’re a seasoned home cook or just starting your culinary journey, this recipe provides invaluable tips and tricks to transform a simple egg into a breakfast masterpiece. We’ll delve into the nuances of heat, the importance of fresh ingredients, and the subtle techniques that elevate a humble fried egg to gourmet status.
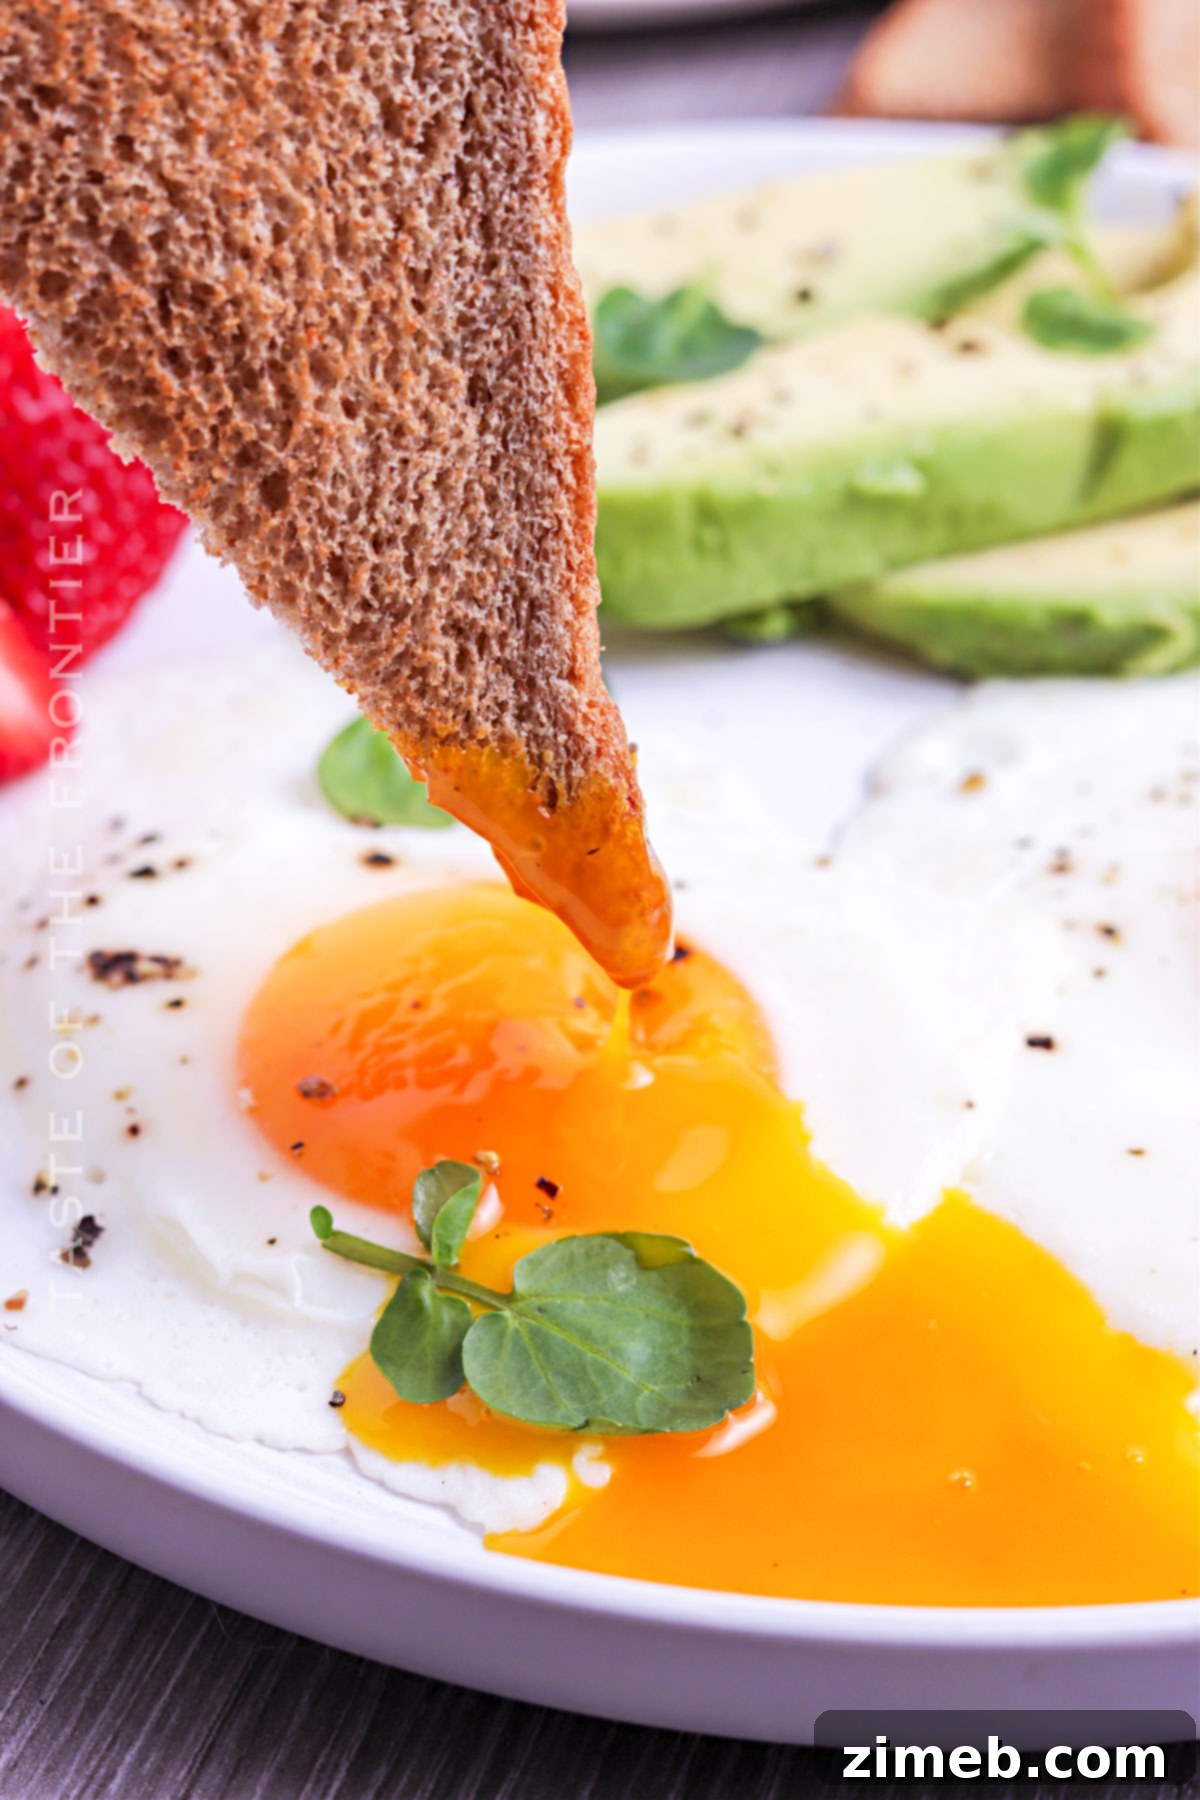
The next time you reach for your frying pan, bypass the ordinary and embrace the extraordinary with these guidelines. Our goal is to empower you to create sunny-side-up eggs that are consistently flawless, offering a visually stunning and incredibly delicious start to any day. Prepare to impress yourself and your family with these irresistible, golden-yolked beauties.
Common Questions About Sunny Side Up Eggs
What is the difference between sunny-side-up eggs and over-easy eggs?
While both culinary styles boast a delightful runny yolk, the key distinction lies in a flip. Over-easy eggs require a brief flip during cooking, which creates a thin, almost translucent film of cooked white over the top of the yolk. This slightly mists the yolk, making it less bright. Sunny-side-up eggs, on the other hand, are cooked exclusively on one side, allowing the bright, vibrant yellow yolk to remain fully exposed and radiant on top. This unflipped method gives them their characteristic “sunny” appearance.
Is sunny-side-up healthier than scrambled?
From a purely nutritional standpoint, there’s no inherent difference in health between sunny-side-up and scrambled eggs themselves. A large egg contains roughly 70-80 calories, 6 grams of protein, and essential vitamins and minerals, regardless of how it’s cooked. The nutritional profile primarily changes based on the type and quantity of fat (e.g., butter, olive oil, coconut oil, animal fat) you use during the cooking process. Cooking methods that use less added fat or healthier fats will result in a nutritionally superior dish, regardless of whether the egg is scrambled or sunny-side-up.
What pan is best for sunny-side-up eggs?
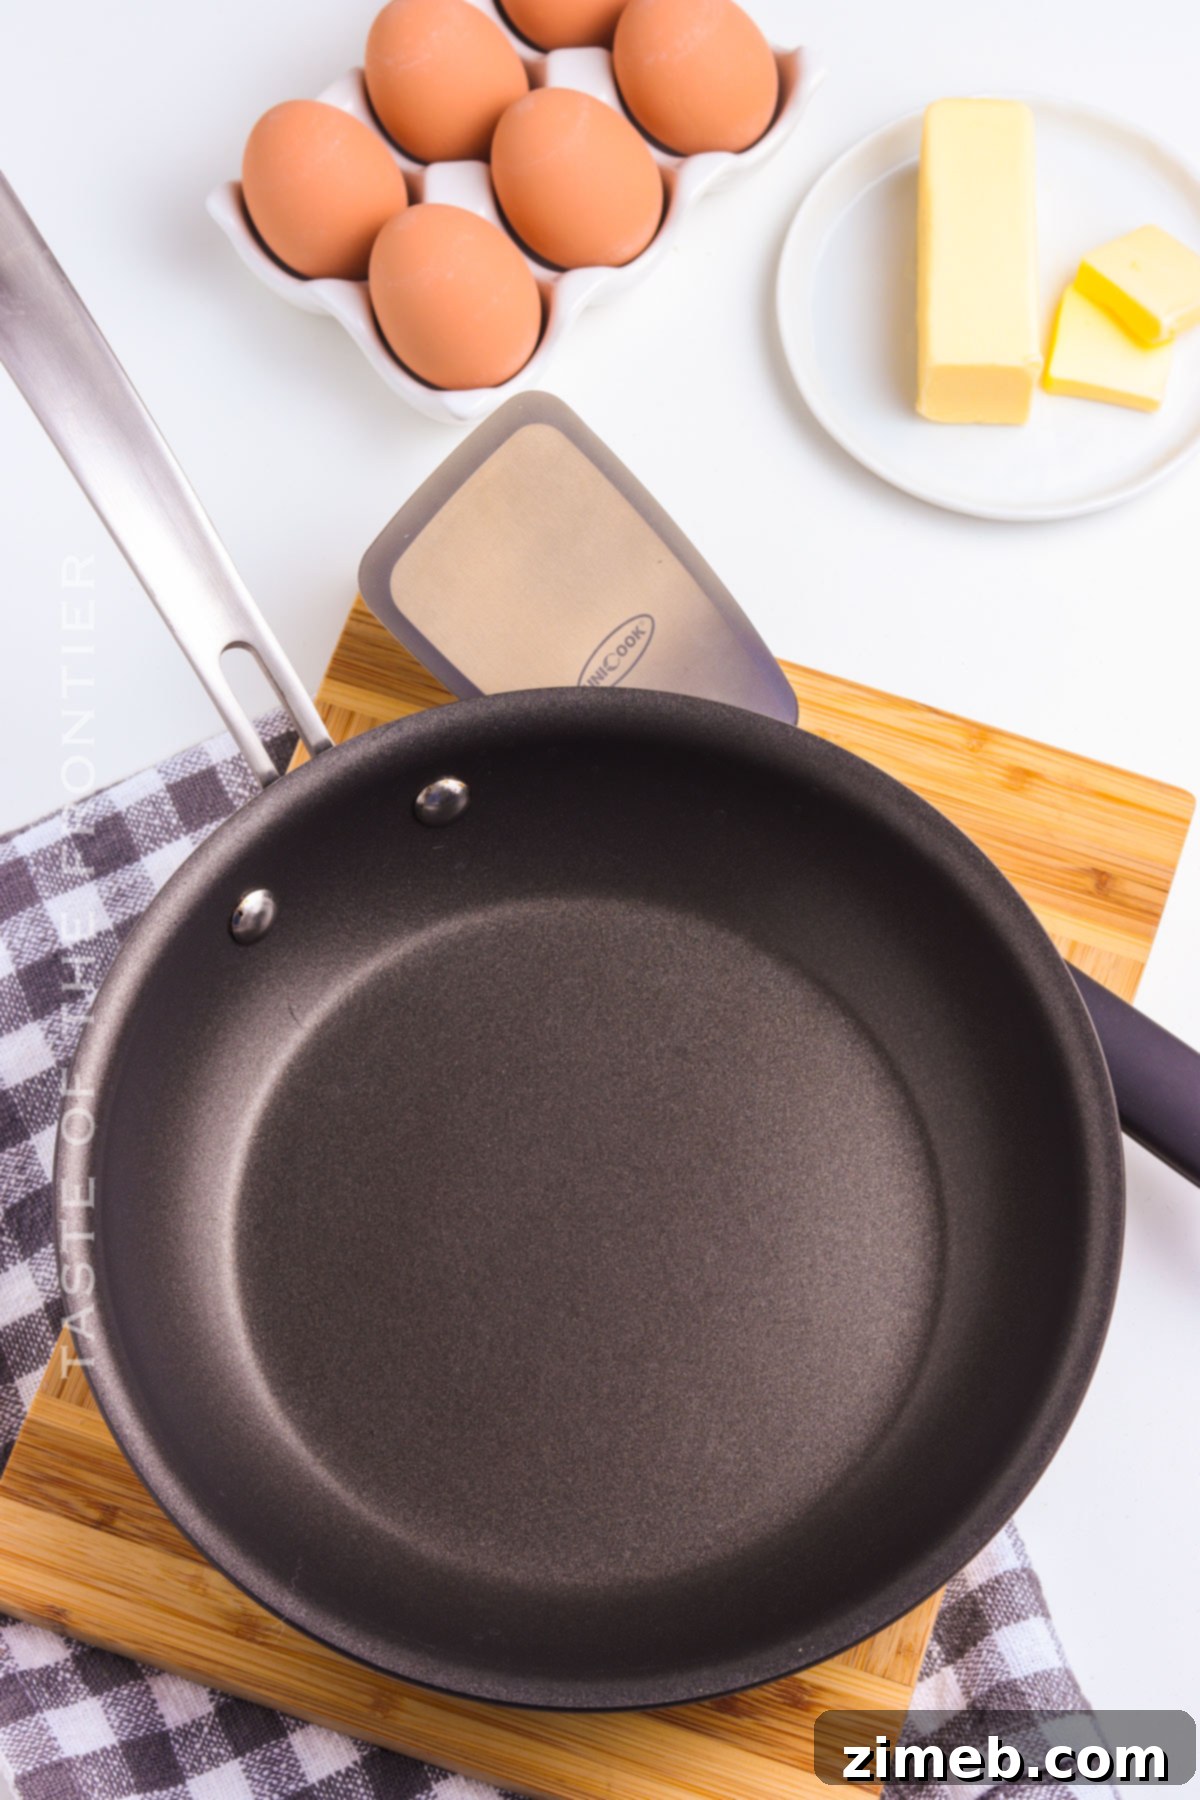
Achieving the perfect sunny-side-up egg with crisp edges and a pristine runny yolk largely depends on your choice of pan. A well-seasoned cast iron skillet is often revered for its superior heat retention and distribution, which helps create those coveted slightly crispy edges. Alternatively, a high-quality nonstick pan is an excellent choice for beginners and experts alike, as it minimizes the risk of sticking and ensures easy transfer to your plate. Both options offer a reliable surface for cooking without tearing the delicate egg whites.
What is the ideal cooking temperature for sunny-side-up eggs?
The secret to sunny-side-up eggs with perfectly set whites and a vibrant, runny yolk lies in low to medium-low heat. High heat can lead to rubbery whites and an unevenly cooked yolk, or worse, burnt edges before the whites are fully set. Gentle, consistent heat allows the egg to cook slowly, giving you greater control over the doneness of both the white and the yolk, ensuring a tender texture throughout.
Simple Tips For The Best Sunny Side Up Eggs Every Time
- Cover for Quicker Cooking: To gently cook the top of the egg whites without flipping, place a lid over the pan for the last minute of cooking. This traps steam, helping the whites to set evenly and rapidly, without overcooking the yolk.
- Maintain Low Heat: Once you add the eggs to the pan, immediately reduce the heat to low. This prevents the oil or butter from spitting and ensures the egg cooks gently, allowing the whites to set without becoming tough or overcooked, and keeps the yolk perfectly runny.
- Use Fresh Eggs: Fresh eggs are undeniably more flavorful and hold their shape better. The whites of a fresh egg will stay compact around the yolk, creating a more attractive and structurally sound sunny-side-up. Older eggs tend to spread out more, resulting in thinner, less appealing whites.
- Room Temperature Eggs: Bringing eggs to room temperature for about 15-20 minutes before cooking allows them to cook more evenly. Cold eggs can cause the whites to cook slower while the yolks firm up too quickly, disrupting the ideal runny yolk consistency.
- Crack Eggs into a Bowl: Always crack your eggs into a small bowl or ramekin first, rather than directly into the hot pan. This allows you to easily inspect for any errant eggshell pieces and ensures you don’t accidentally break the yolk, keeping it pristine for your sunny-side-up creation.
- Watch Closely: While sunny-side-up eggs don’t require much intervention, careful observation is crucial. To guarantee a perfectly runny yolk, keep a keen eye on the whites as they set. The moment the edges become firm and opaque, and the whites are mostly set but still slightly glistening around the yolk, it’s time to remove them from the heat. Overlooking them for even a few seconds can lead to an overdone yolk.
- Choose the Right Fat: Butter adds a rich, nutty flavor and contributes to those beautiful lacy, crisp edges. However, high-smoke-point oils like olive oil or avocado oil can also be used for a lighter flavor profile and less chance of burning.
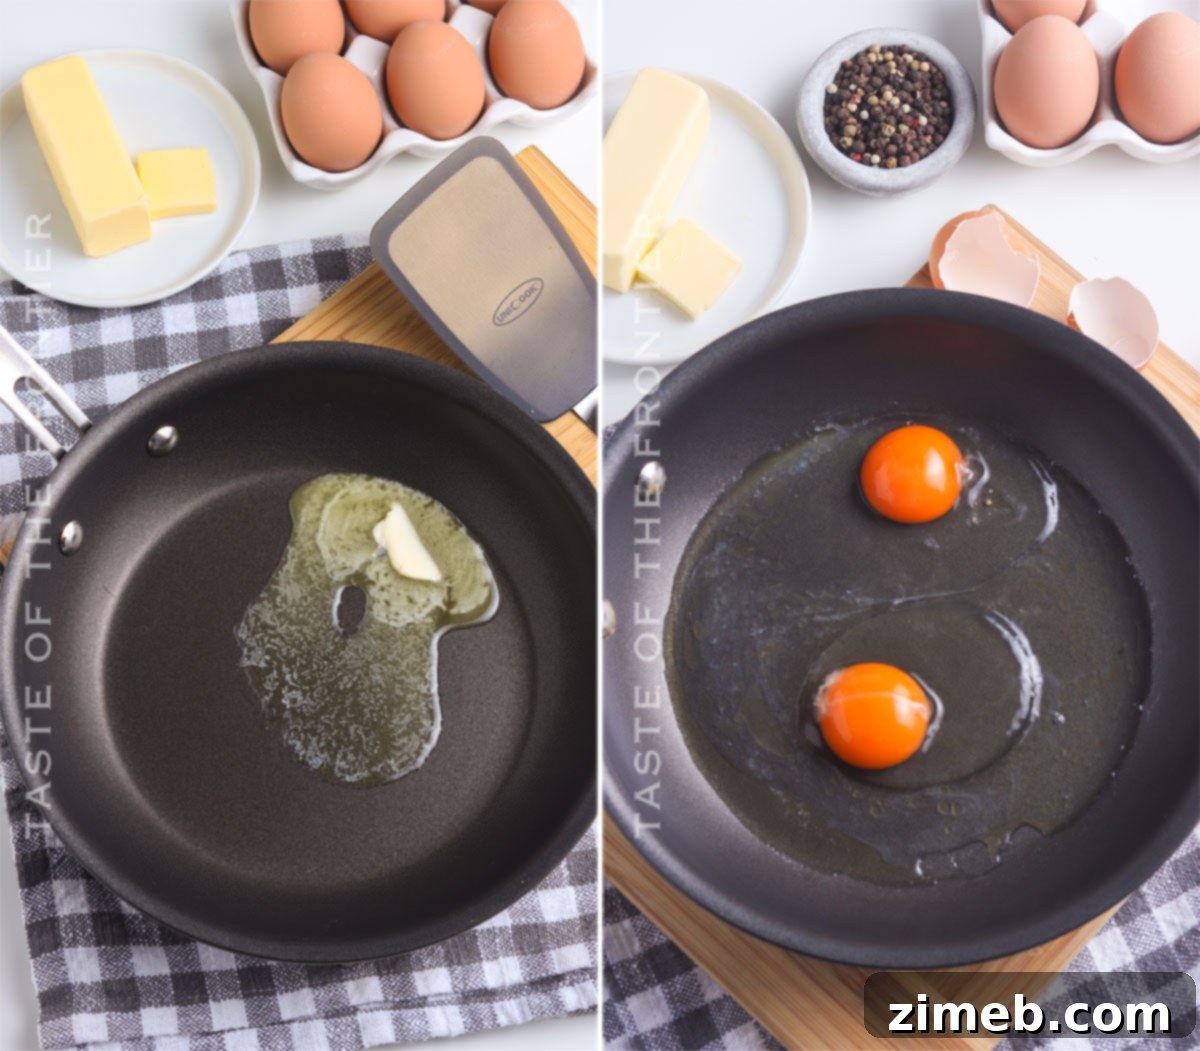
Ingredients for Perfect Sunny Side Up Eggs
Crafting this morning mainstay requires only a few incredibly simple, yet crucial, ingredients. Quality matters here, as each component contributes to the final flavor and texture.
- Unsalted Butter: We recommend unsalted butter for better control over the saltiness of your dish. Butter adds an unparalleled richness and helps achieve those desirable crispy, lacy edges on the egg whites. If using salted butter, simply adjust the added salt accordingly.
- Large or Medium Eggs: Opt for fresh, high-quality eggs if available. Fresher eggs have tighter whites that hold their shape better in the pan, resulting in a more visually appealing sunny-side-up.
- Salt: A sprinkle of salt enhances the natural flavors of the egg. Fine sea salt or kosher salt works best.
- Freshly Ground Black Pepper: A finishing touch of freshly ground black pepper adds a subtle kick and aromatic depth that complements the richness of the egg.
Essential Kitchen Supplies You’ll Need
Having the right tools can make all the difference in achieving consistently perfect sunny-side-up eggs. While simple, these items ensure ease and success in your cooking process.
- Cast Iron Skillet: A well-seasoned cast iron skillet is our top recommendation. Its even heat distribution and ability to retain heat at a stable temperature are ideal for creating crispy edges and a consistently cooked egg.
- Nonstick Skillet: As an alternative, a high-quality nonstick skillet is an excellent choice, especially for those new to cooking eggs. It prevents sticking and ensures your delicate eggs slide effortlessly onto your plate.
- Stainless Steel Skillet: While it requires more fat and careful heat management, a stainless steel skillet can also be used, though it might take a bit more practice to prevent sticking and achieve the desired texture.
- Spatula: A thin, flexible spatula is essential for gently lifting and transferring the cooked eggs from the pan to your plate without breaking the delicate yolks.
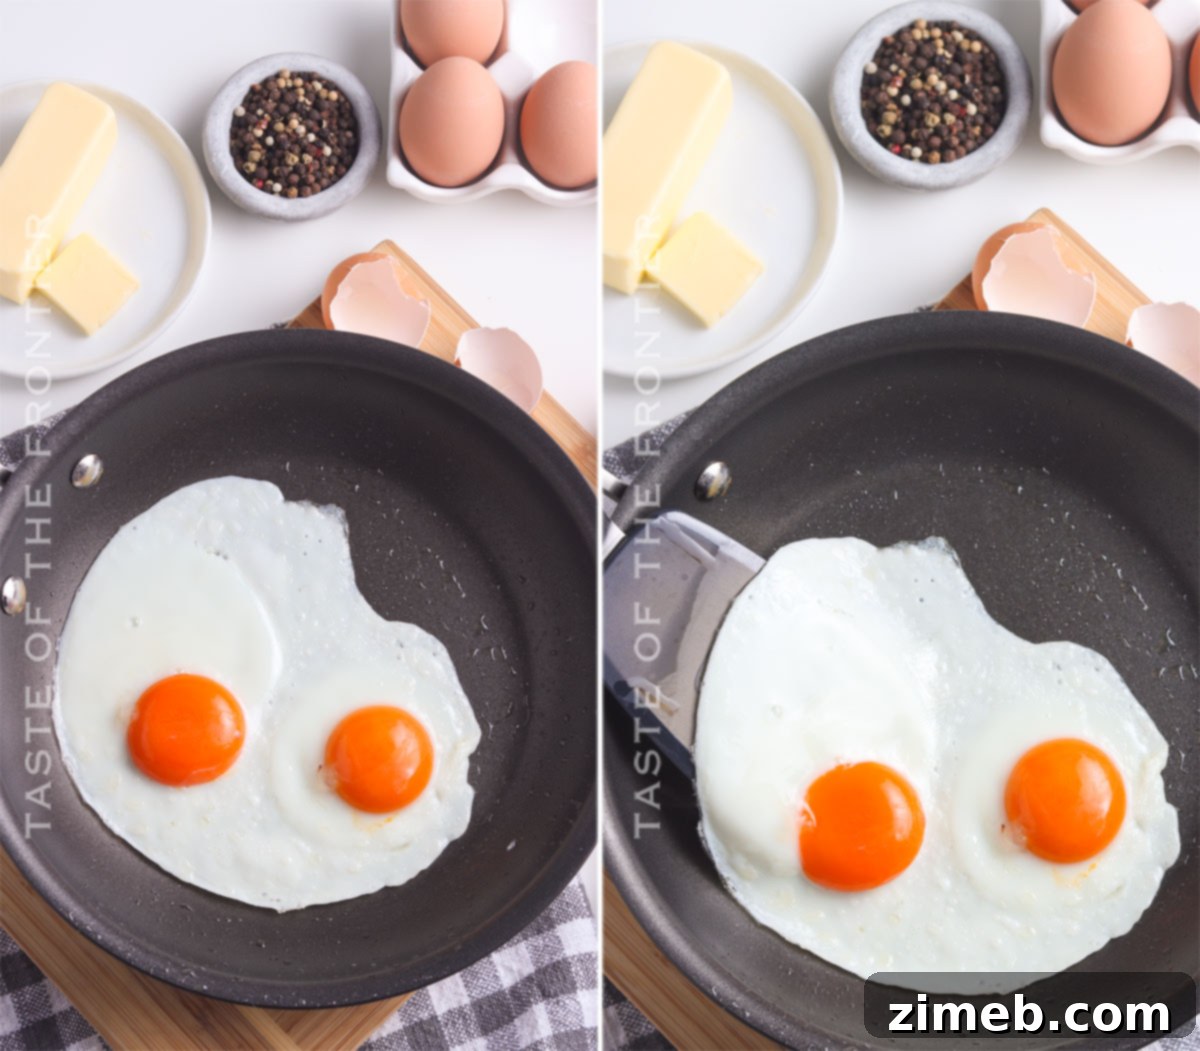
How to Make Perfect Sunny Side Up Eggs
These eggs are incredibly straightforward to prepare – no complicated flipping or intricate techniques required! Just follow these simple steps for a truly delightful outcome.
- Prepare the Eggs: Remove your eggs from the refrigerator and let them sit at room temperature for about 15-20 minutes before you begin cooking. This crucial step ensures more even cooking.
- Heat the Skillet: Place your chosen skillet (cast iron or nonstick) over medium heat. Add the butter and allow it to melt completely, swirling it around to coat the bottom of the pan. The butter should be shimmering but not browning.
- Adjust Heat and Add Eggs: Once the butter has melted and the pan is adequately heated, reduce the heat to low. Gently crack each egg into a small bowl first, then carefully slide it into the hot pan. Be careful not to overcrowd the pan; cook 1-2 eggs at a time, depending on pan size, to maintain consistent heat.
- Cook to Perfection: Let the eggs cook undisturbed for 2-4 minutes. You’ll observe the egg whites firming up and turning opaque, forming delicate, lacy, and slightly crispy edges. The yolk should remain beautifully bright and perfectly runny. For a quicker set on the top of the whites, you can cover the pan with a lid for the last minute of cooking, creating steam.
- Season and Serve: Once the whites are completely set and the yolks are still liquid, carefully transfer the eggs to a plate using a thin spatula. Immediately sprinkle with a pinch of salt and a generous grind of fresh black pepper. Serve them warm and enjoy your perfectly dippable sunny-side-up eggs!
What to Serve With Sunny Side Up Eggs
The versatility of sunny-side-up eggs means they pair wonderfully with a vast array of savory foods. Their rich, runny yolks act as a natural sauce, enhancing almost any dish they accompany. Here are some fantastic ideas to complete your meal:
- Starches: Classic toast is a natural partner, perfect for soaking up that luscious yolk. Consider artisanal sourdough, multigrain, or even a simple white bread. Beyond toast, any variety of breakfast potatoes – hash browns, home fries, or roasted potato wedges – creates a satisfying combination.
- Meats: Crispy bacon is an undeniable winning companion for eggs. Explore other options like savory Canadian bacon, a hearty slice of country ham, or flavorful sausage links or patties for a more substantial meal.
- Avocado Toast: Elevate your heart-healthy avocado toast by topping it with a warm, runny sunny-side-up egg. The creamy avocado and rich yolk are a match made in heaven.
- Soups: A warm bowl of comforting chicken soup or a spicy ramen is made even more delicious and satisfying with the addition of a perfectly cooked egg on top.
- Rice Bowls: Create vibrant and nourishing rice bowls by piling them with your favorite rice, an assortment of fresh or cooked veggies, and your chosen protein (like grilled chicken or tofu), then crown it with one of these golden-yolked eggs.
- Shrimp and Grits: For a Southern-inspired indulgence, dress up your creamy shrimp and grits with an egg perched elegantly on top, allowing its yolk to meld into the rich sauce.
- Biscuits and Gravy: Serve your eggs alongside fluffy biscuits and rich sausage gravy, or, for an extra treat, place them directly on top of the biscuits so the yolk can mix with the gravy.
- Hamburgers: A creamy, runny yolk is the ultimate companion to a sizzling burger fresh off the grill. The richness adds another layer of flavor and texture to your favorite patty.
- Sandwiches: Transform any sandwich into a breakfast or brunch delight by adding a sunny-side-up egg. Build a classic egg sandwich with cheese and breakfast meats, or simply integrate it into your existing sandwich creations for an extra boost of flavor and protein.
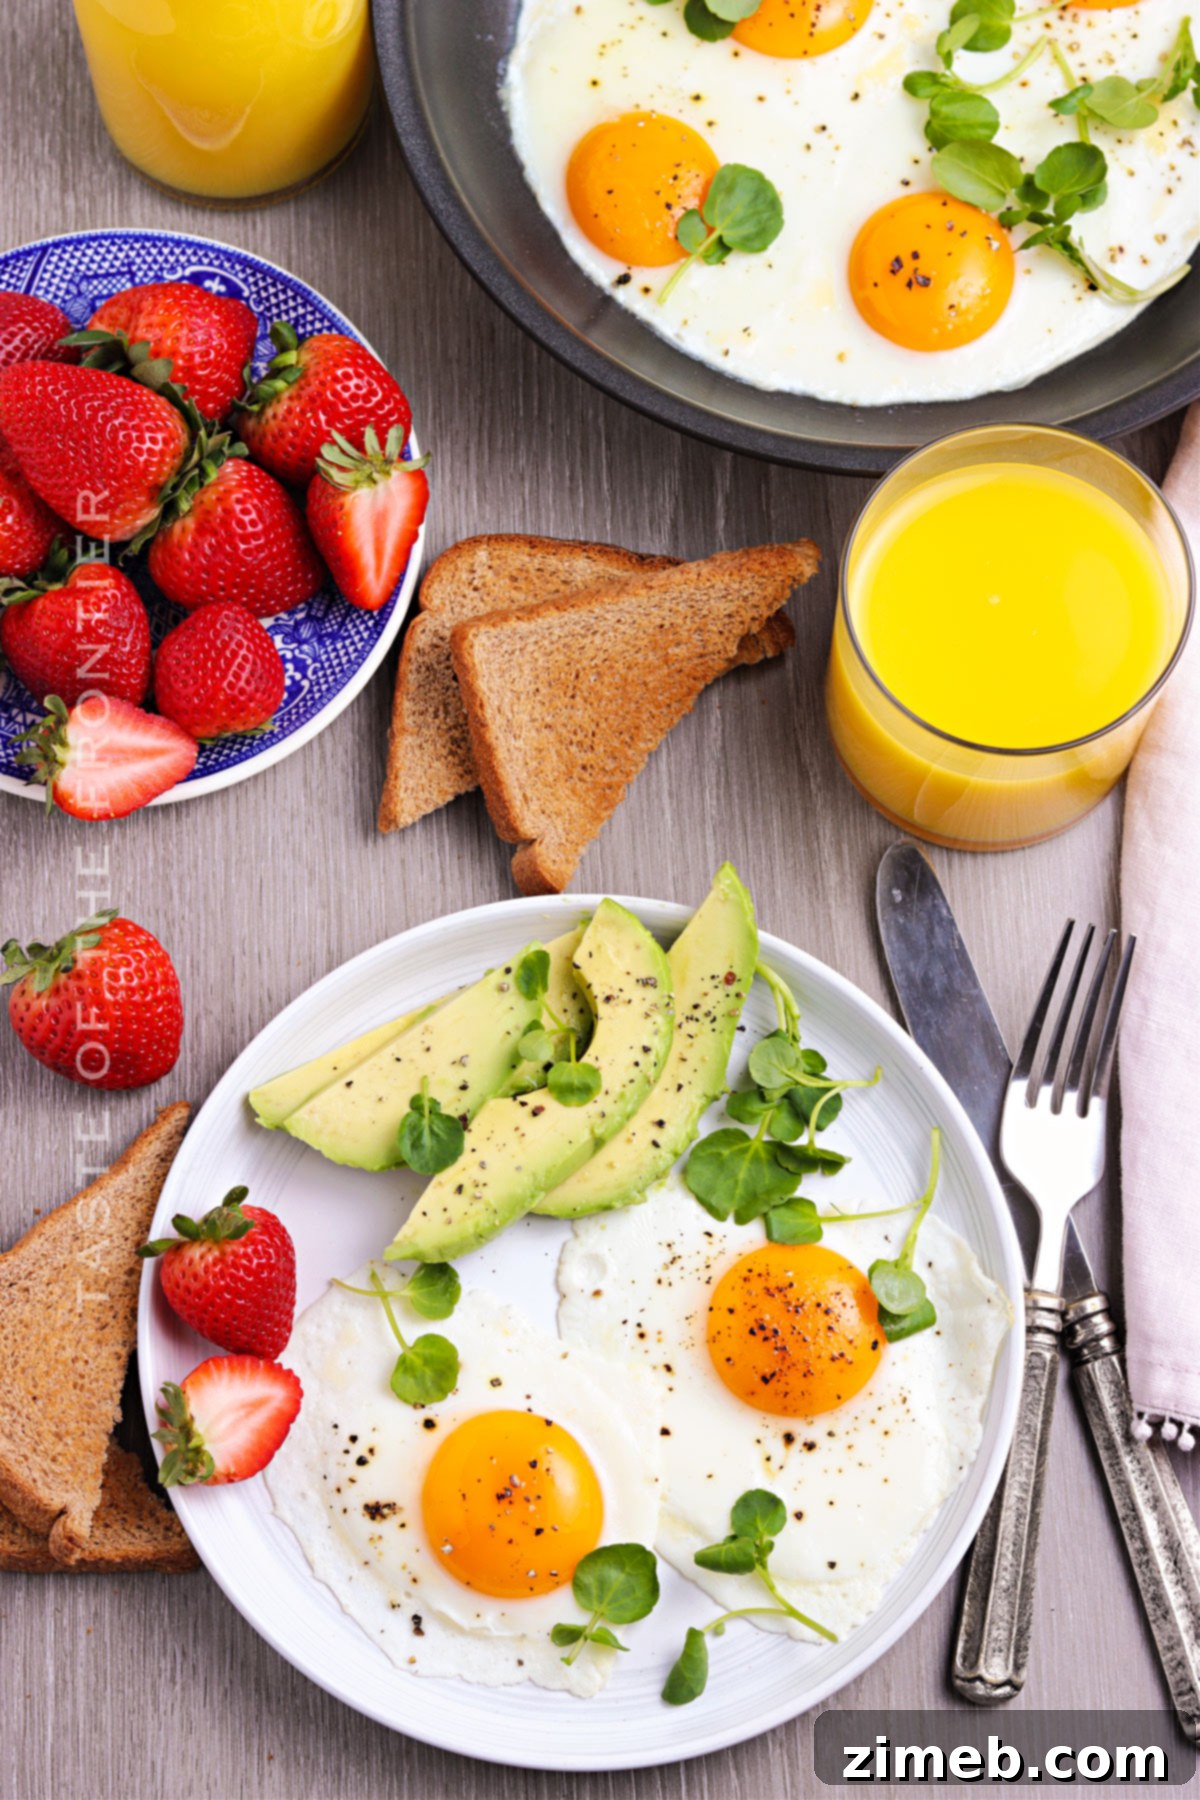
Why You Should Master These Sunny Side Up Eggs
There are countless reasons to add this simple yet satisfying egg preparation to your culinary repertoire. We genuinely can’t think of many reasons not to make these utterly delicious eggs!
- Healthy: Eggs are a complete protein source, packed with essential amino acids, vitamins (like B12, D, and E), and minerals. They are an excellent choice for those pursuing a low-carb or keto lifestyle, but their nutrient density makes them a powerhouse addition to any balanced diet.
- Versatile: Sunny-side-up eggs aren’t just for breakfast! They can be enjoyed any time of day, whether as a quick and satisfying lunch, a light dinner, or a decadent brunch center piece. They are wonderful on their own or can be customized to fit special occasion meals.
- Quick: One of the greatest advantages of sunny-side-up eggs is their speed. The hands-on cooking time for this easy dish is typically only 3-4 minutes, making it perfect for busy mornings or whenever you need a fast, nutritious meal.
- Easy: With just a few straightforward steps, these eggs are incredibly easy to prepare. Since there’s no flipping involved, you eliminate the common worry of breaking the delicate yolk, ensuring a picture-perfect presentation every time.
Variations and Flavorful Add-ins
While a classic sunny-side-up egg is perfection in itself, you can easily kick up the flavor and personalize your meal in a myriad of delicious ways. Experiment with these variations to suit your palate:
- Spices and Herbs: If you enjoy a bit of heat, try dusting your eggs with a pinch of cayenne pepper or a dash of chili powder for a spicy kick. For aromatic depth, shake on any of your favorite dried or fresh herbs, from delicate tarragon or dill to fragrant basil or savory garlic powder. A sprinkle of smoked paprika can add a beautiful color and smoky flavor.
- Sauces: Transform your eggs with a drizzle of your favorite sauce. Hot sauce is a classic choice for a fiery boost. Explore Korean gochujang for a savory, slightly sweet heat, rich and creamy hollandaise for a luxurious touch, or a vibrant pesto for herbaceous freshness.
- Cheese: Add a layer of delightful cheesiness to your meal. Just before serving, sprinkle finely grated Parmesan, sharp cheddar cheese, or spicy pepper jack over the cooked egg, allowing the residual heat to gently melt it into a gooey topping.
- Cooking Grease: For an extra layer of savory flavor, consider using bacon fat instead of butter. This imparts a wonderful smoky bacon essence directly into your eggs, creating a truly indulgent experience.
- Alternative Oils: If butter isn’t your preference, or you’re looking for different flavor profiles, neutral-flavored oils like extra virgin olive oil, canola oil, avocado oil, or vegetable oil can be used. Each will offer a slightly different taste and texture to your finished egg.
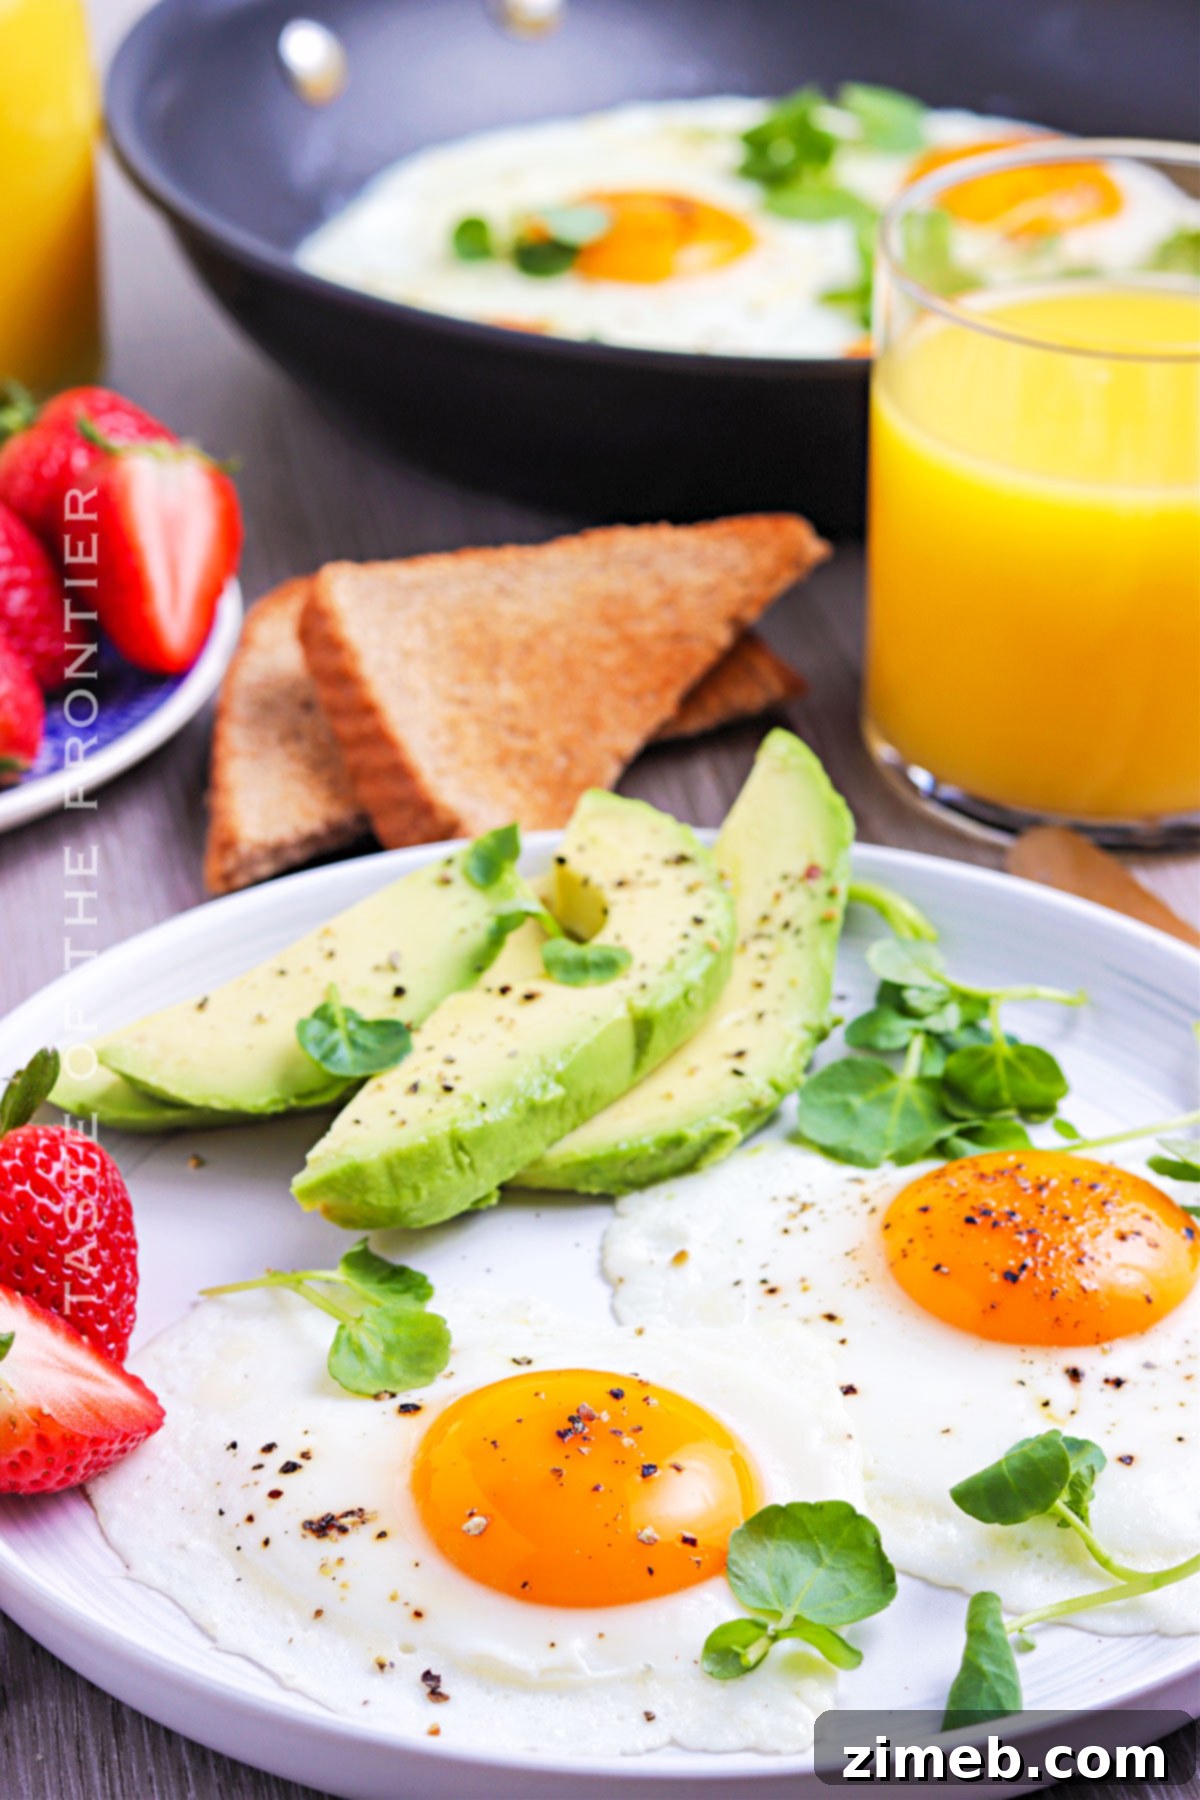
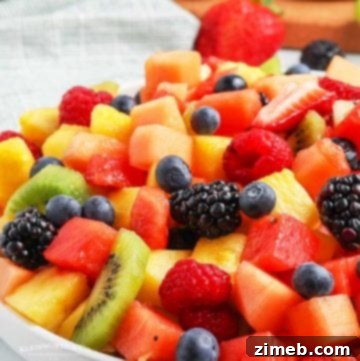
If you love this easy Sunny Side Up Eggs recipe, you’re going to adore these other fantastic breakfast pairings too. Please click each link below to find the easy, printable recipe!
Check out this recipe

Check out this recipe
Check out this recipe

Check out this recipe

Check out this recipe

Other Delicious Egg Recipes to Explore
If you’re an egg enthusiast, there’s a world of culinary possibilities beyond the sunny-side-up. Expand your horizons and try these other fantastic egg preparations:
Bacon Deviled Eggs
Fluffy Scrambled Eggs
Perfect Soft Boiled Eggs
Effortless Poached Eggs
Foolproof Hard-Boiled Eggs
If you loved this simple yet rewarding recipe for Sunny Side Up Eggs as much as I do, please take a moment to write a five-star review below, and be sure to help me share this delightful recipe on Facebook and Pinterest! Your support means the world.
CONNECT WITH YUMMI HAUS!
Be sure to follow me on my social media channels, so you never miss a post!
Substack, Facebook, Pinterest, Instagram, Email Subscription
Rate this Recipe
Sunny Side Up Eggs
Ingredients
- 1 tablespoon butter unsalted
- 2 eggs fresh if available
Instructions
-
Set the eggs out on the counter and allow them to come to room temperature for about 20 minutes before starting. This helps them cook more evenly.
-
In a large non-stick skillet or well-seasoned cast iron pan over medium heat, add the butter and allow it to melt completely until shimmering.
-
Turn the heat down to low to ensure gentle cooking and prevent burning.
-
Carefully crack each egg into a small bowl, then gently slide them into the heated skillet. Cook them for 2-4 minutes, or until the egg white is fully firm and opaque with delicate, lacy edges, but the yolk remains beautifully runny and bright yellow. For quicker cooking of the top whites, cover the pan briefly.
-
Remove the eggs from the pan using a thin spatula. Season generously with kosher salt and freshly cracked black pepper immediately before serving.
Equipment
-
Skillet (cast iron or nonstick recommended)
-
Spatula
Nutrition
Nutritional information for the recipe is provided as a courtesy and is approximate. Please double-check with your own dietary calculator for the best accuracy. We at Yummi Haus cannot guarantee the accuracy of the nutritional information given for any recipe on this site.